
This guide provides instructions on how to add a Google Font to your templates. Follow the steps below to enhance the visual appeal of your content.
Guides on how to retrieve the correct URL are available here:
Google Fonts
Adobe Fonts
Bunny Fonts
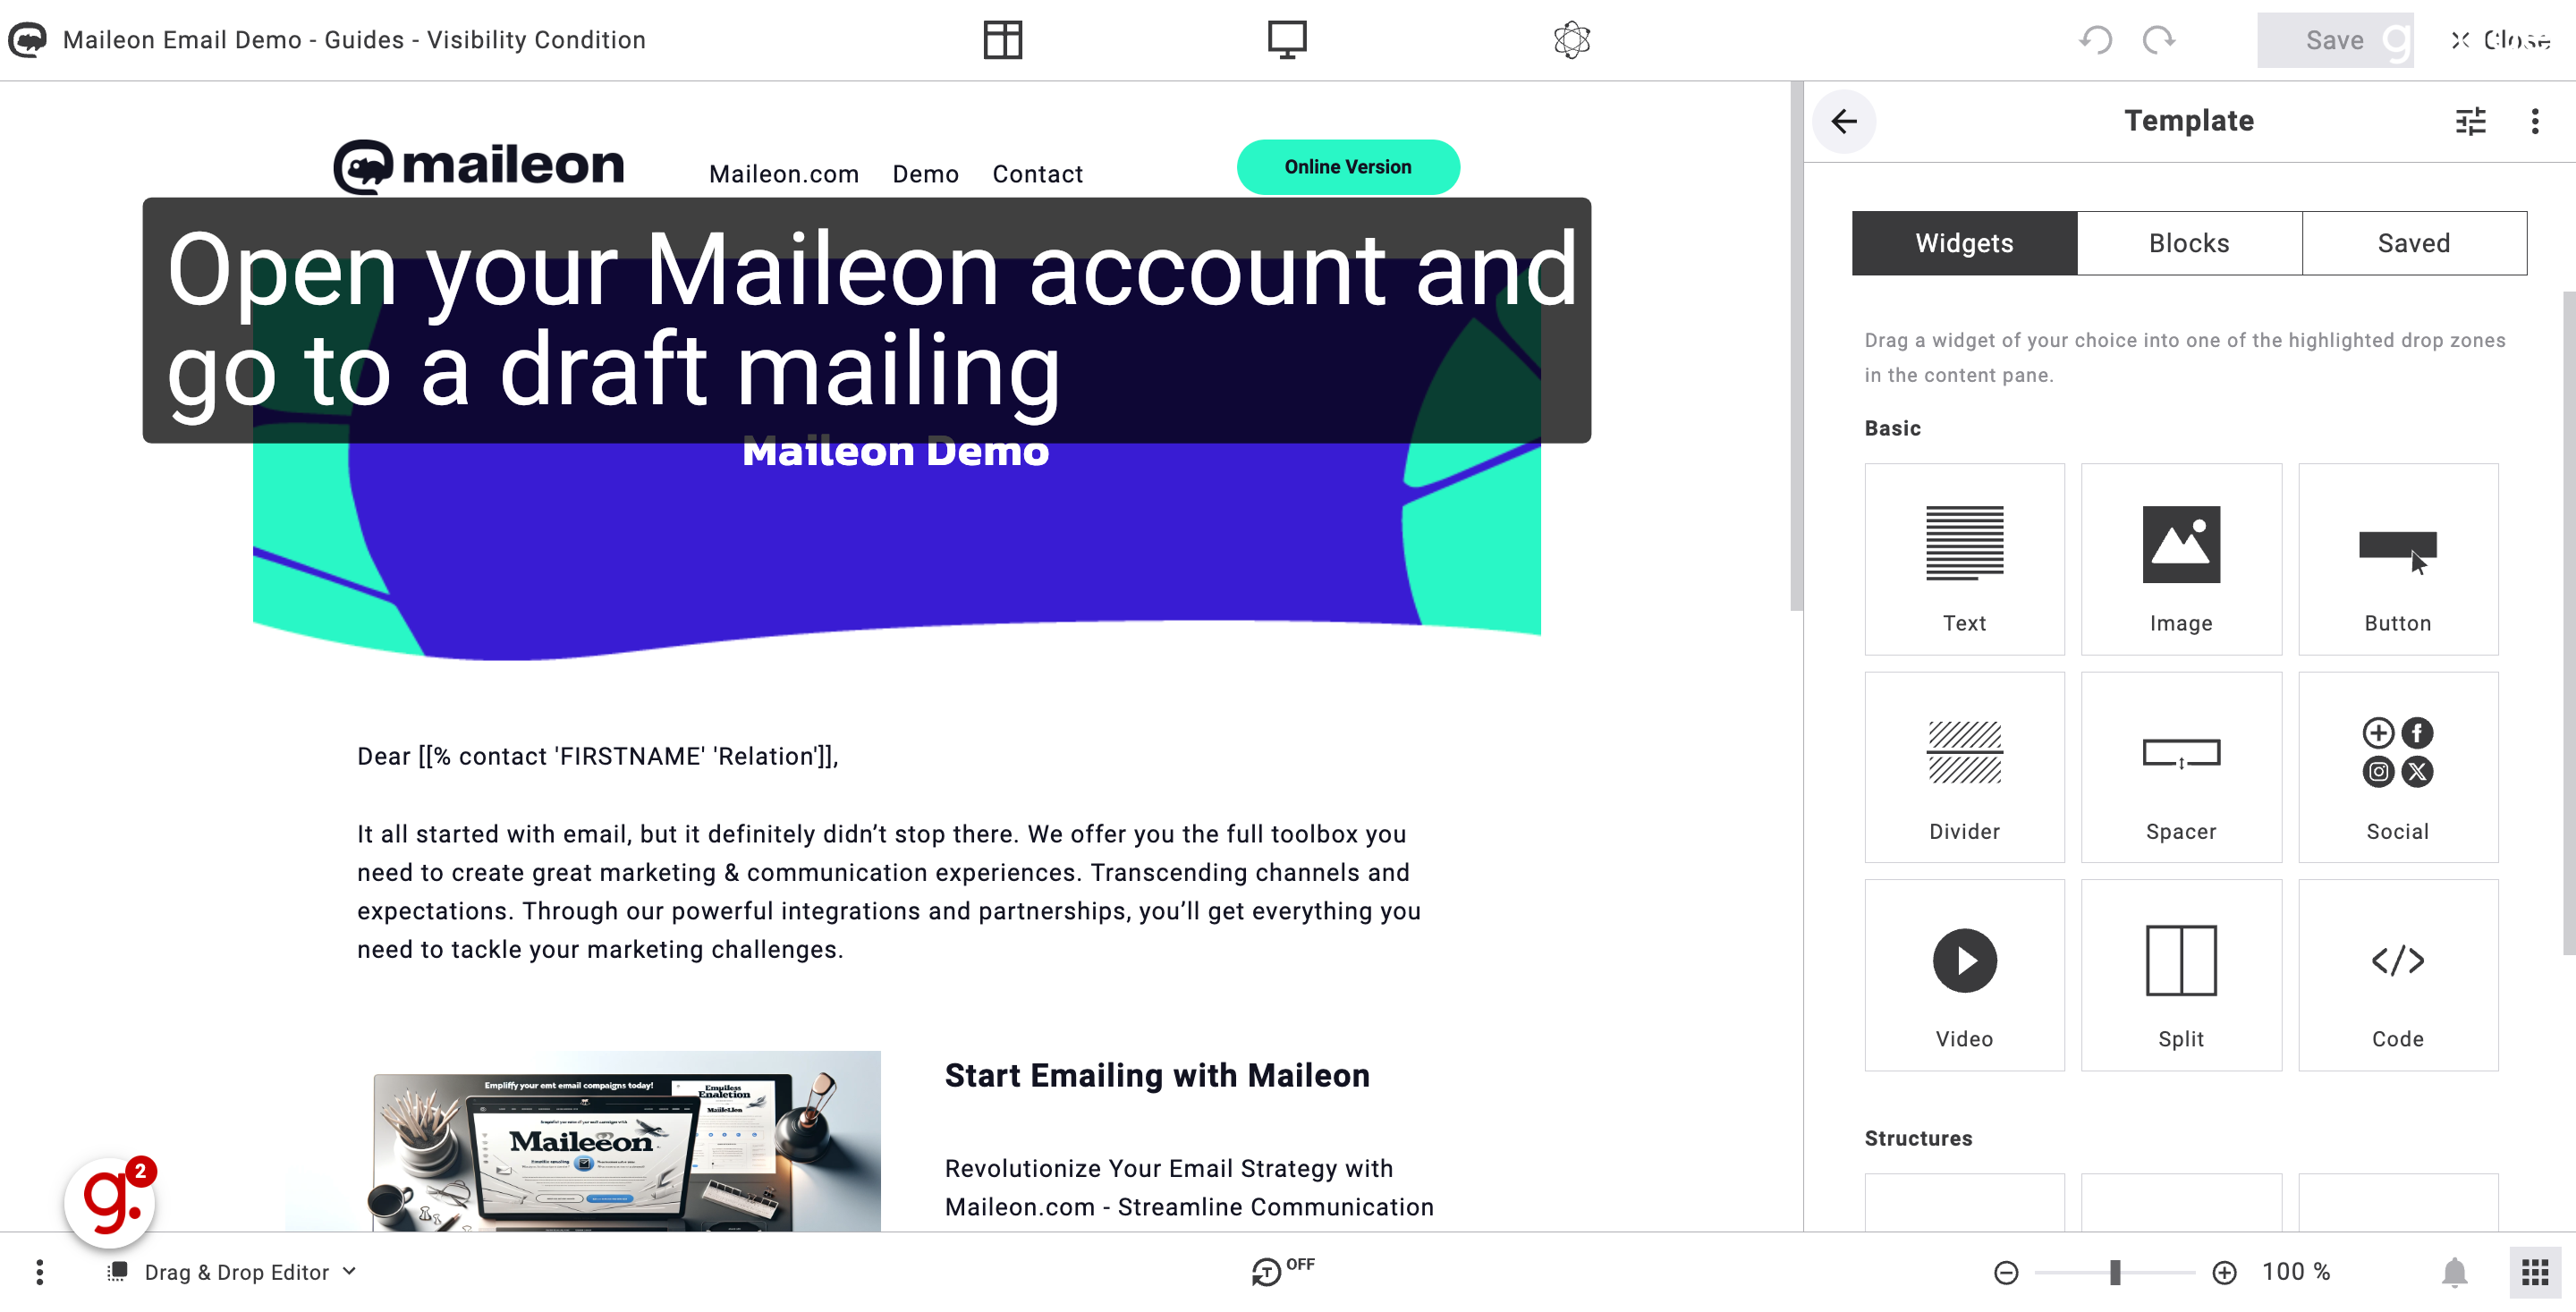
1. Open your Maileon account and go to a draft mailing
Switch back to your Maileon account / editor.
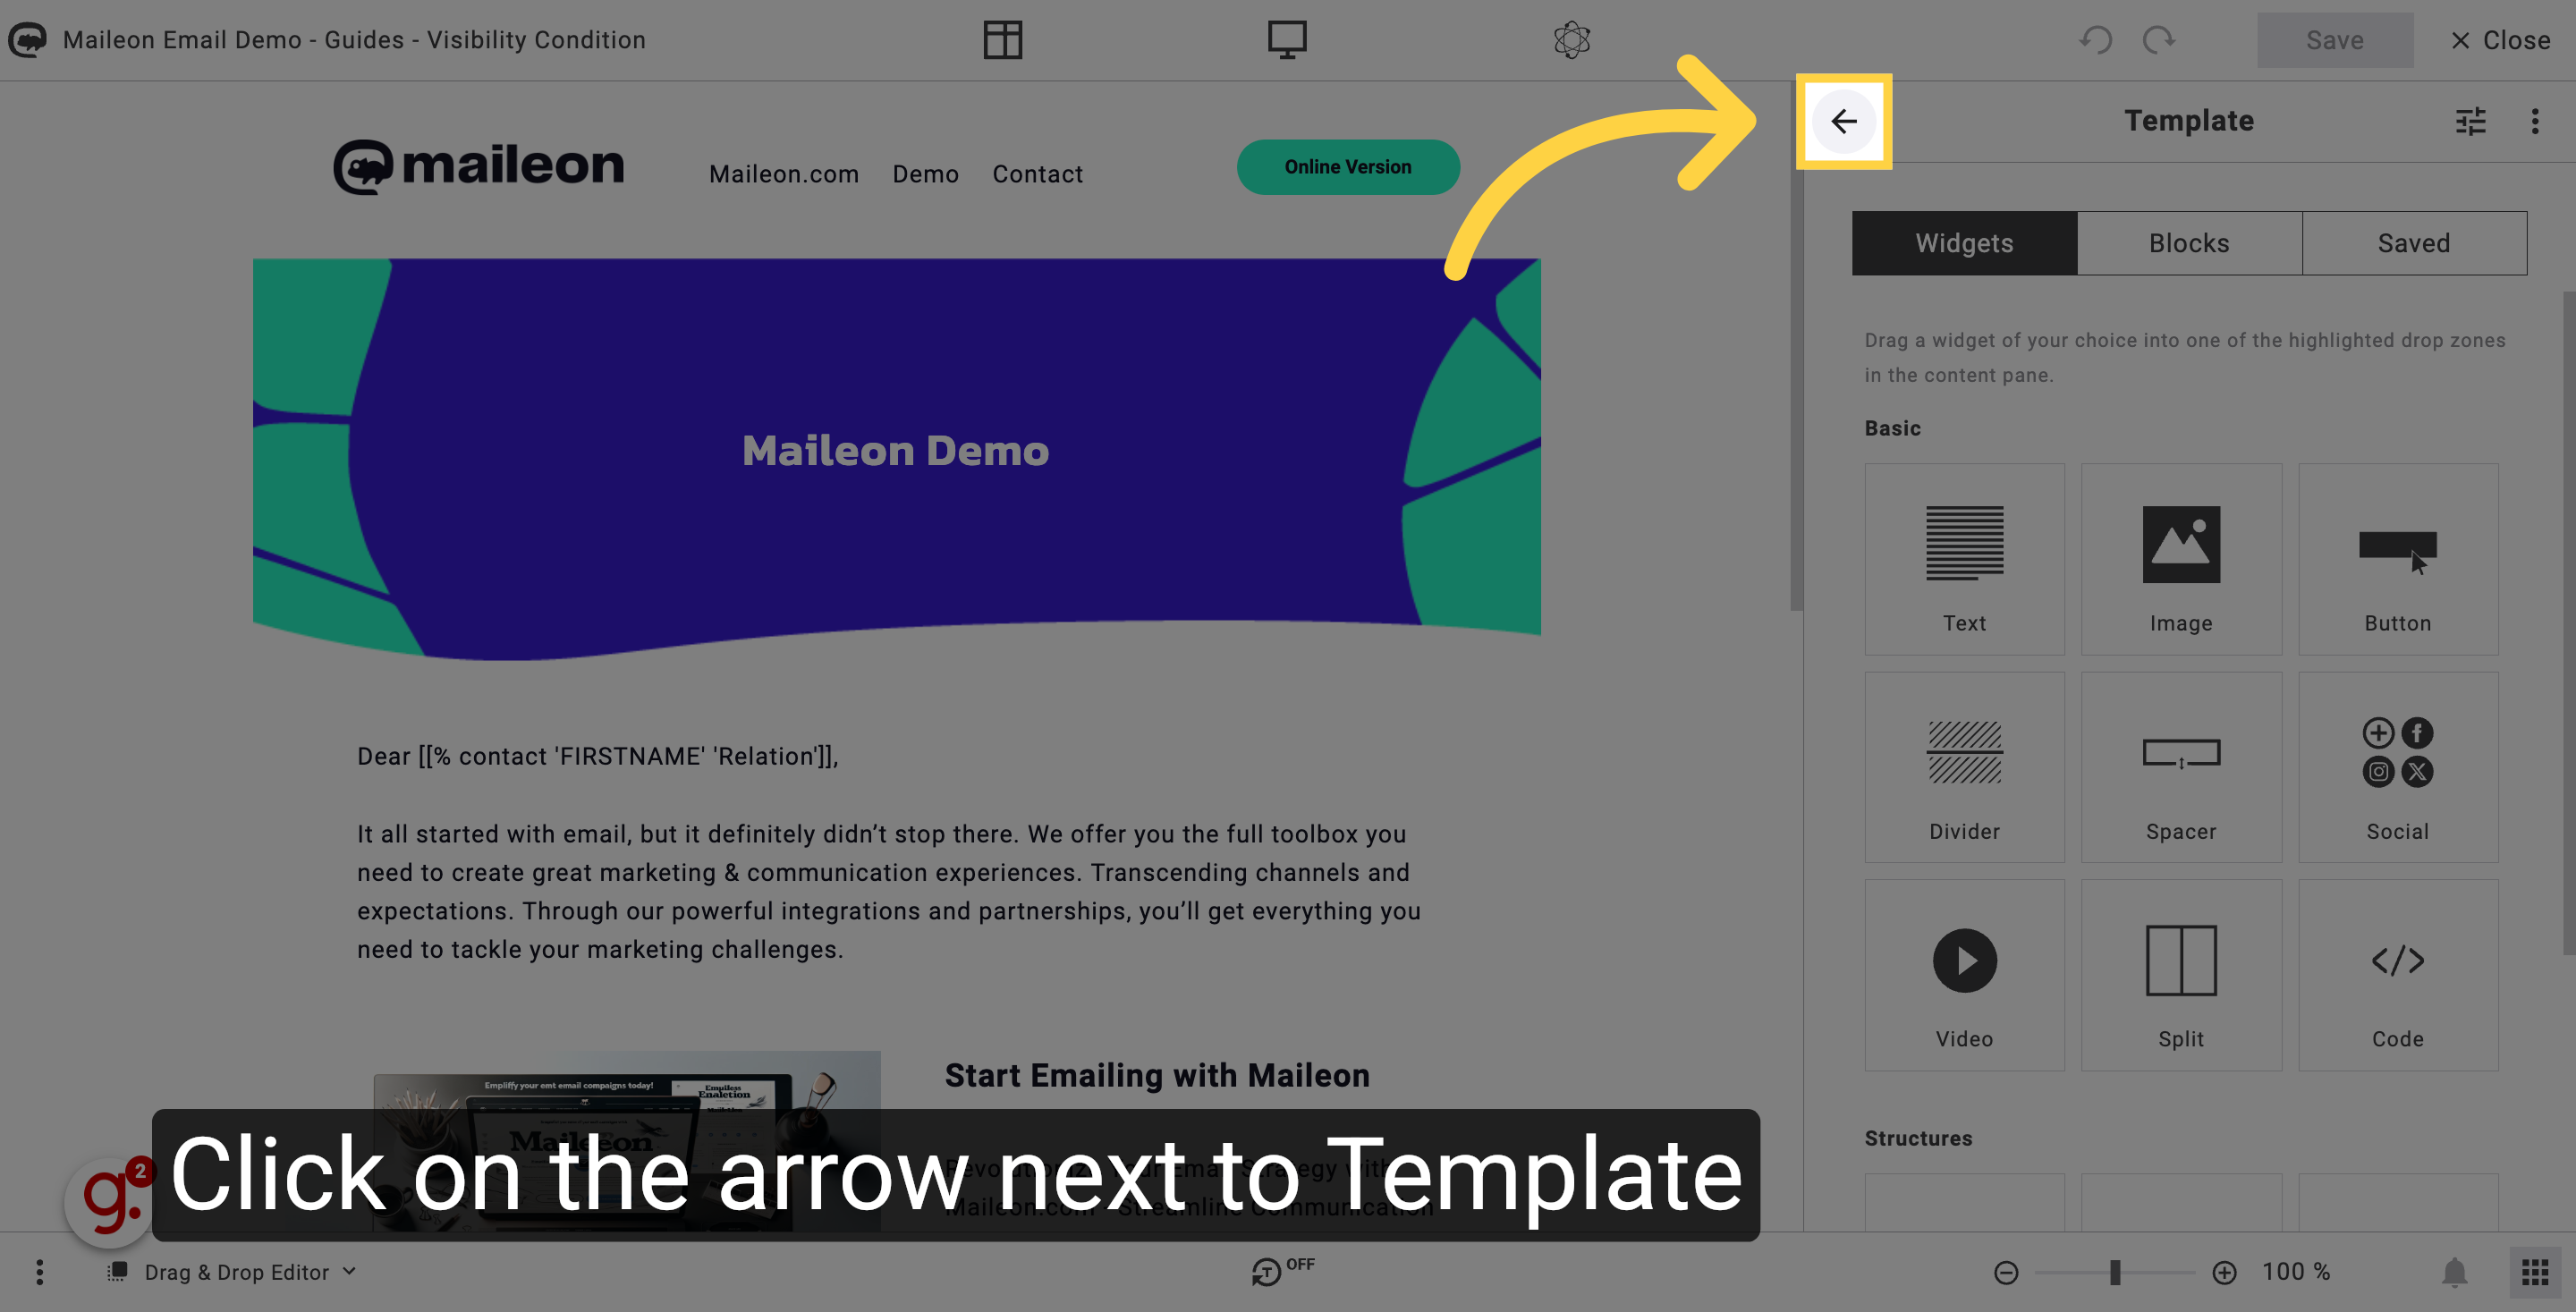
2. Click on the arrow next to Template
Open the Editor Apps section by clicking on the arrow.
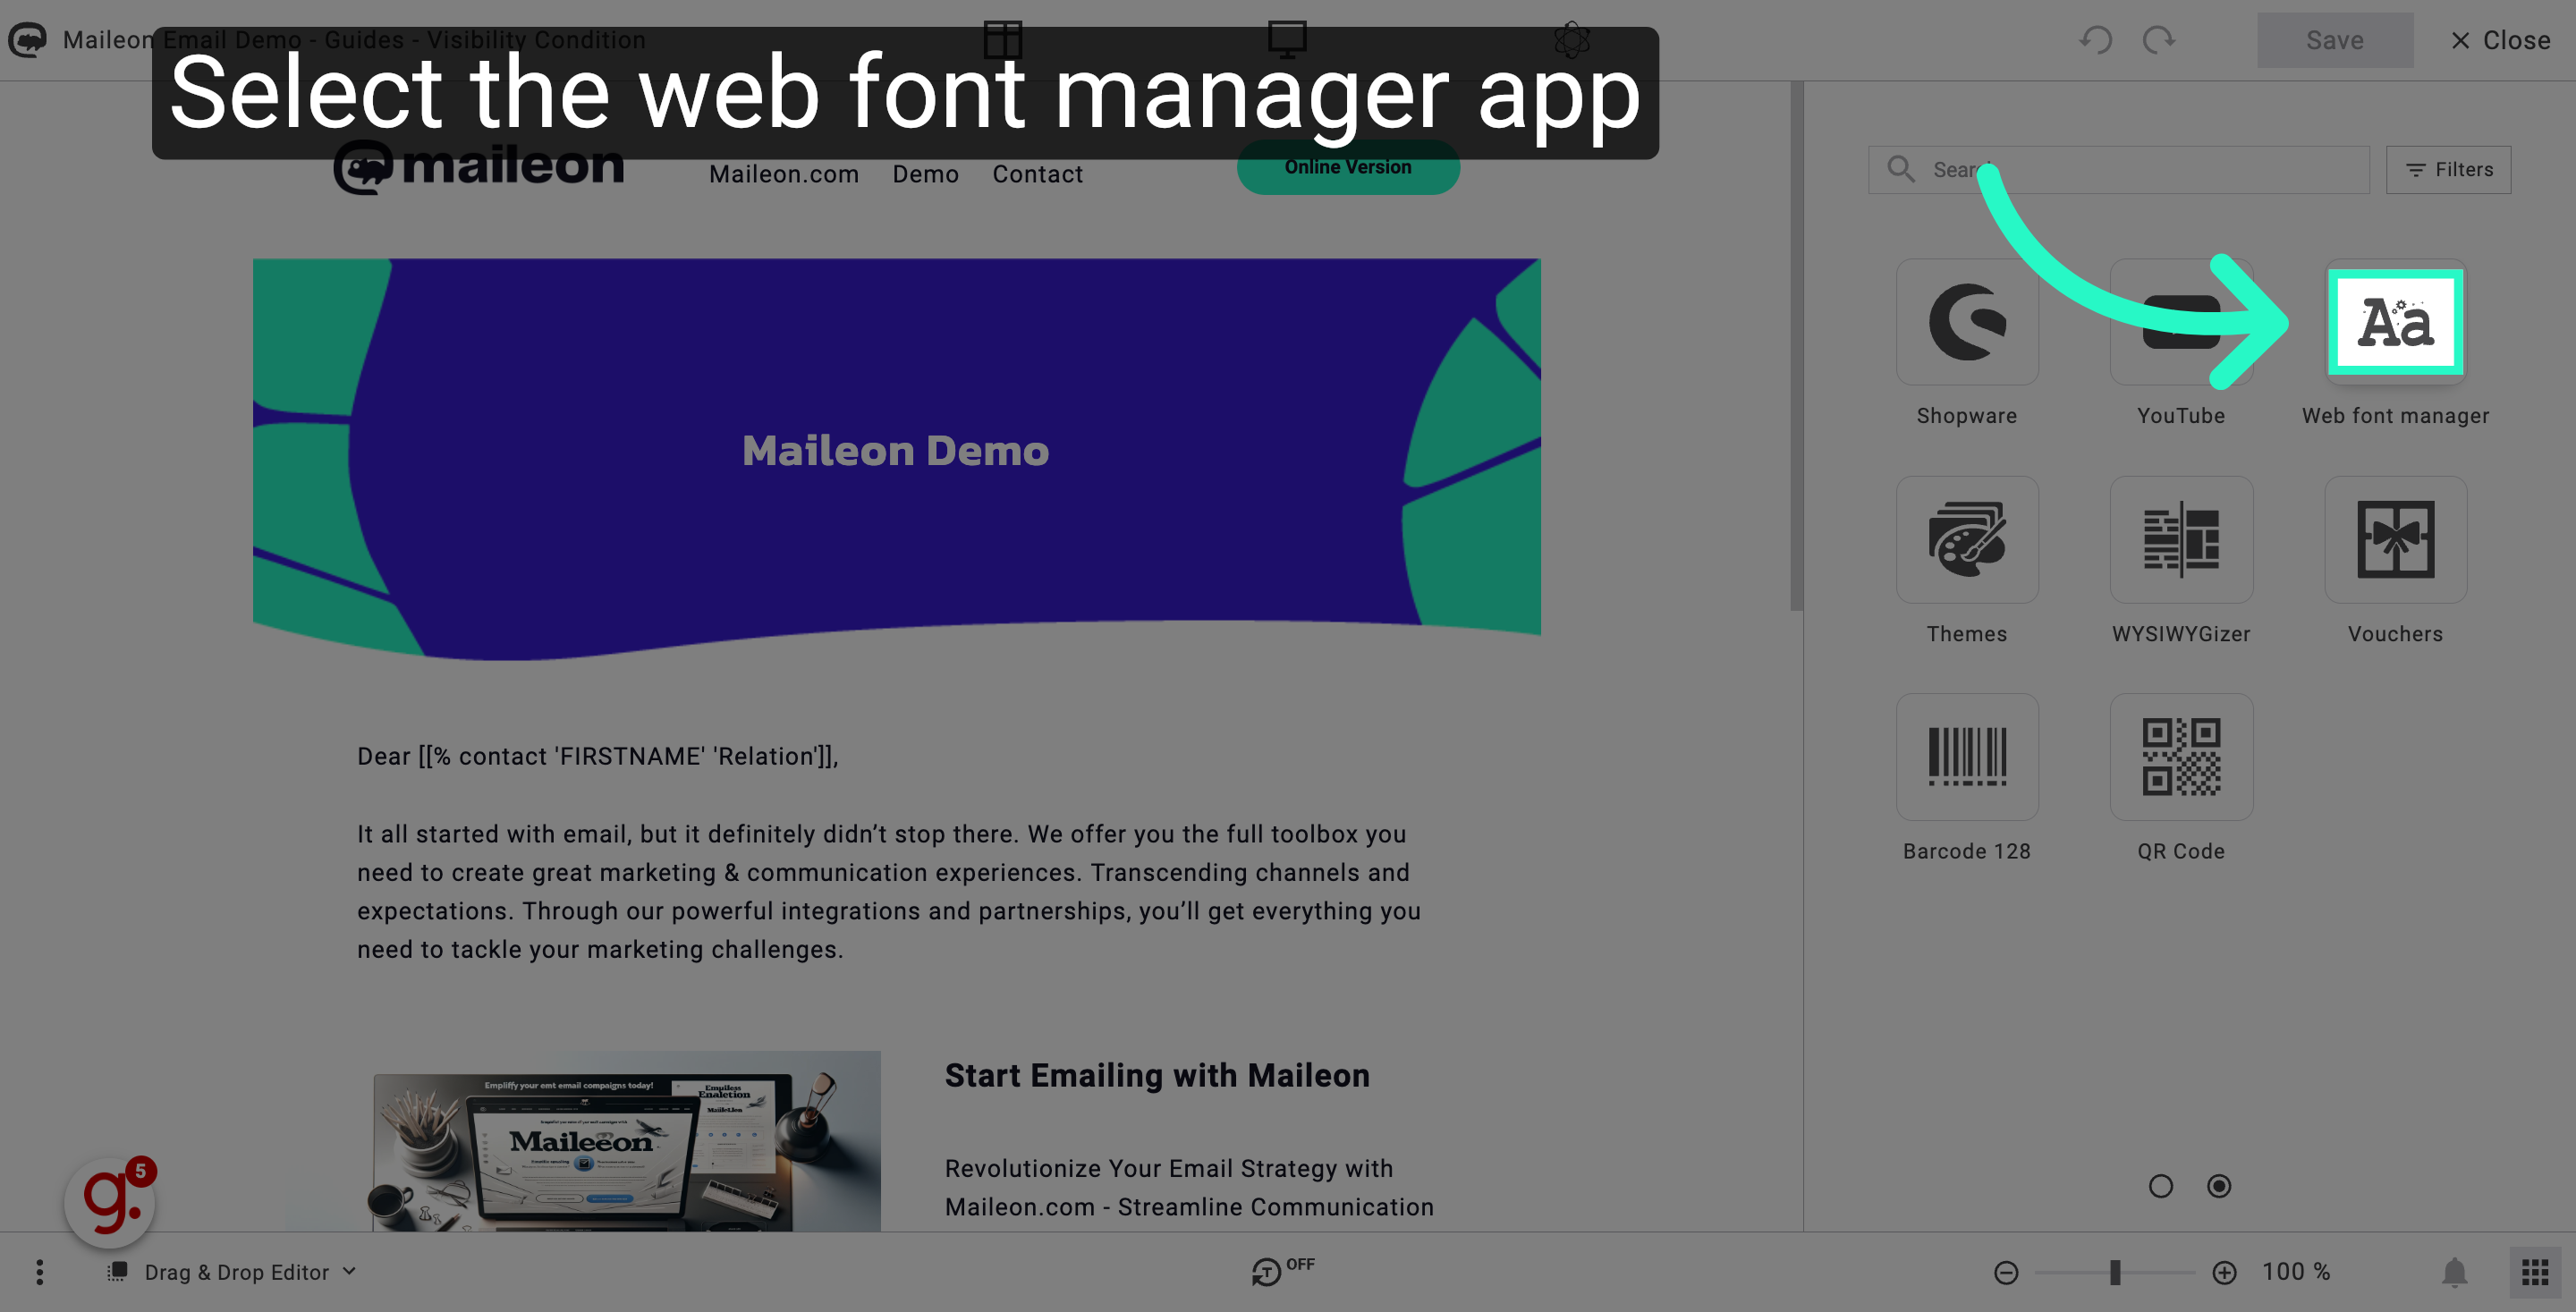
3. Select the web font manager app
Select the Web Font Manager App.
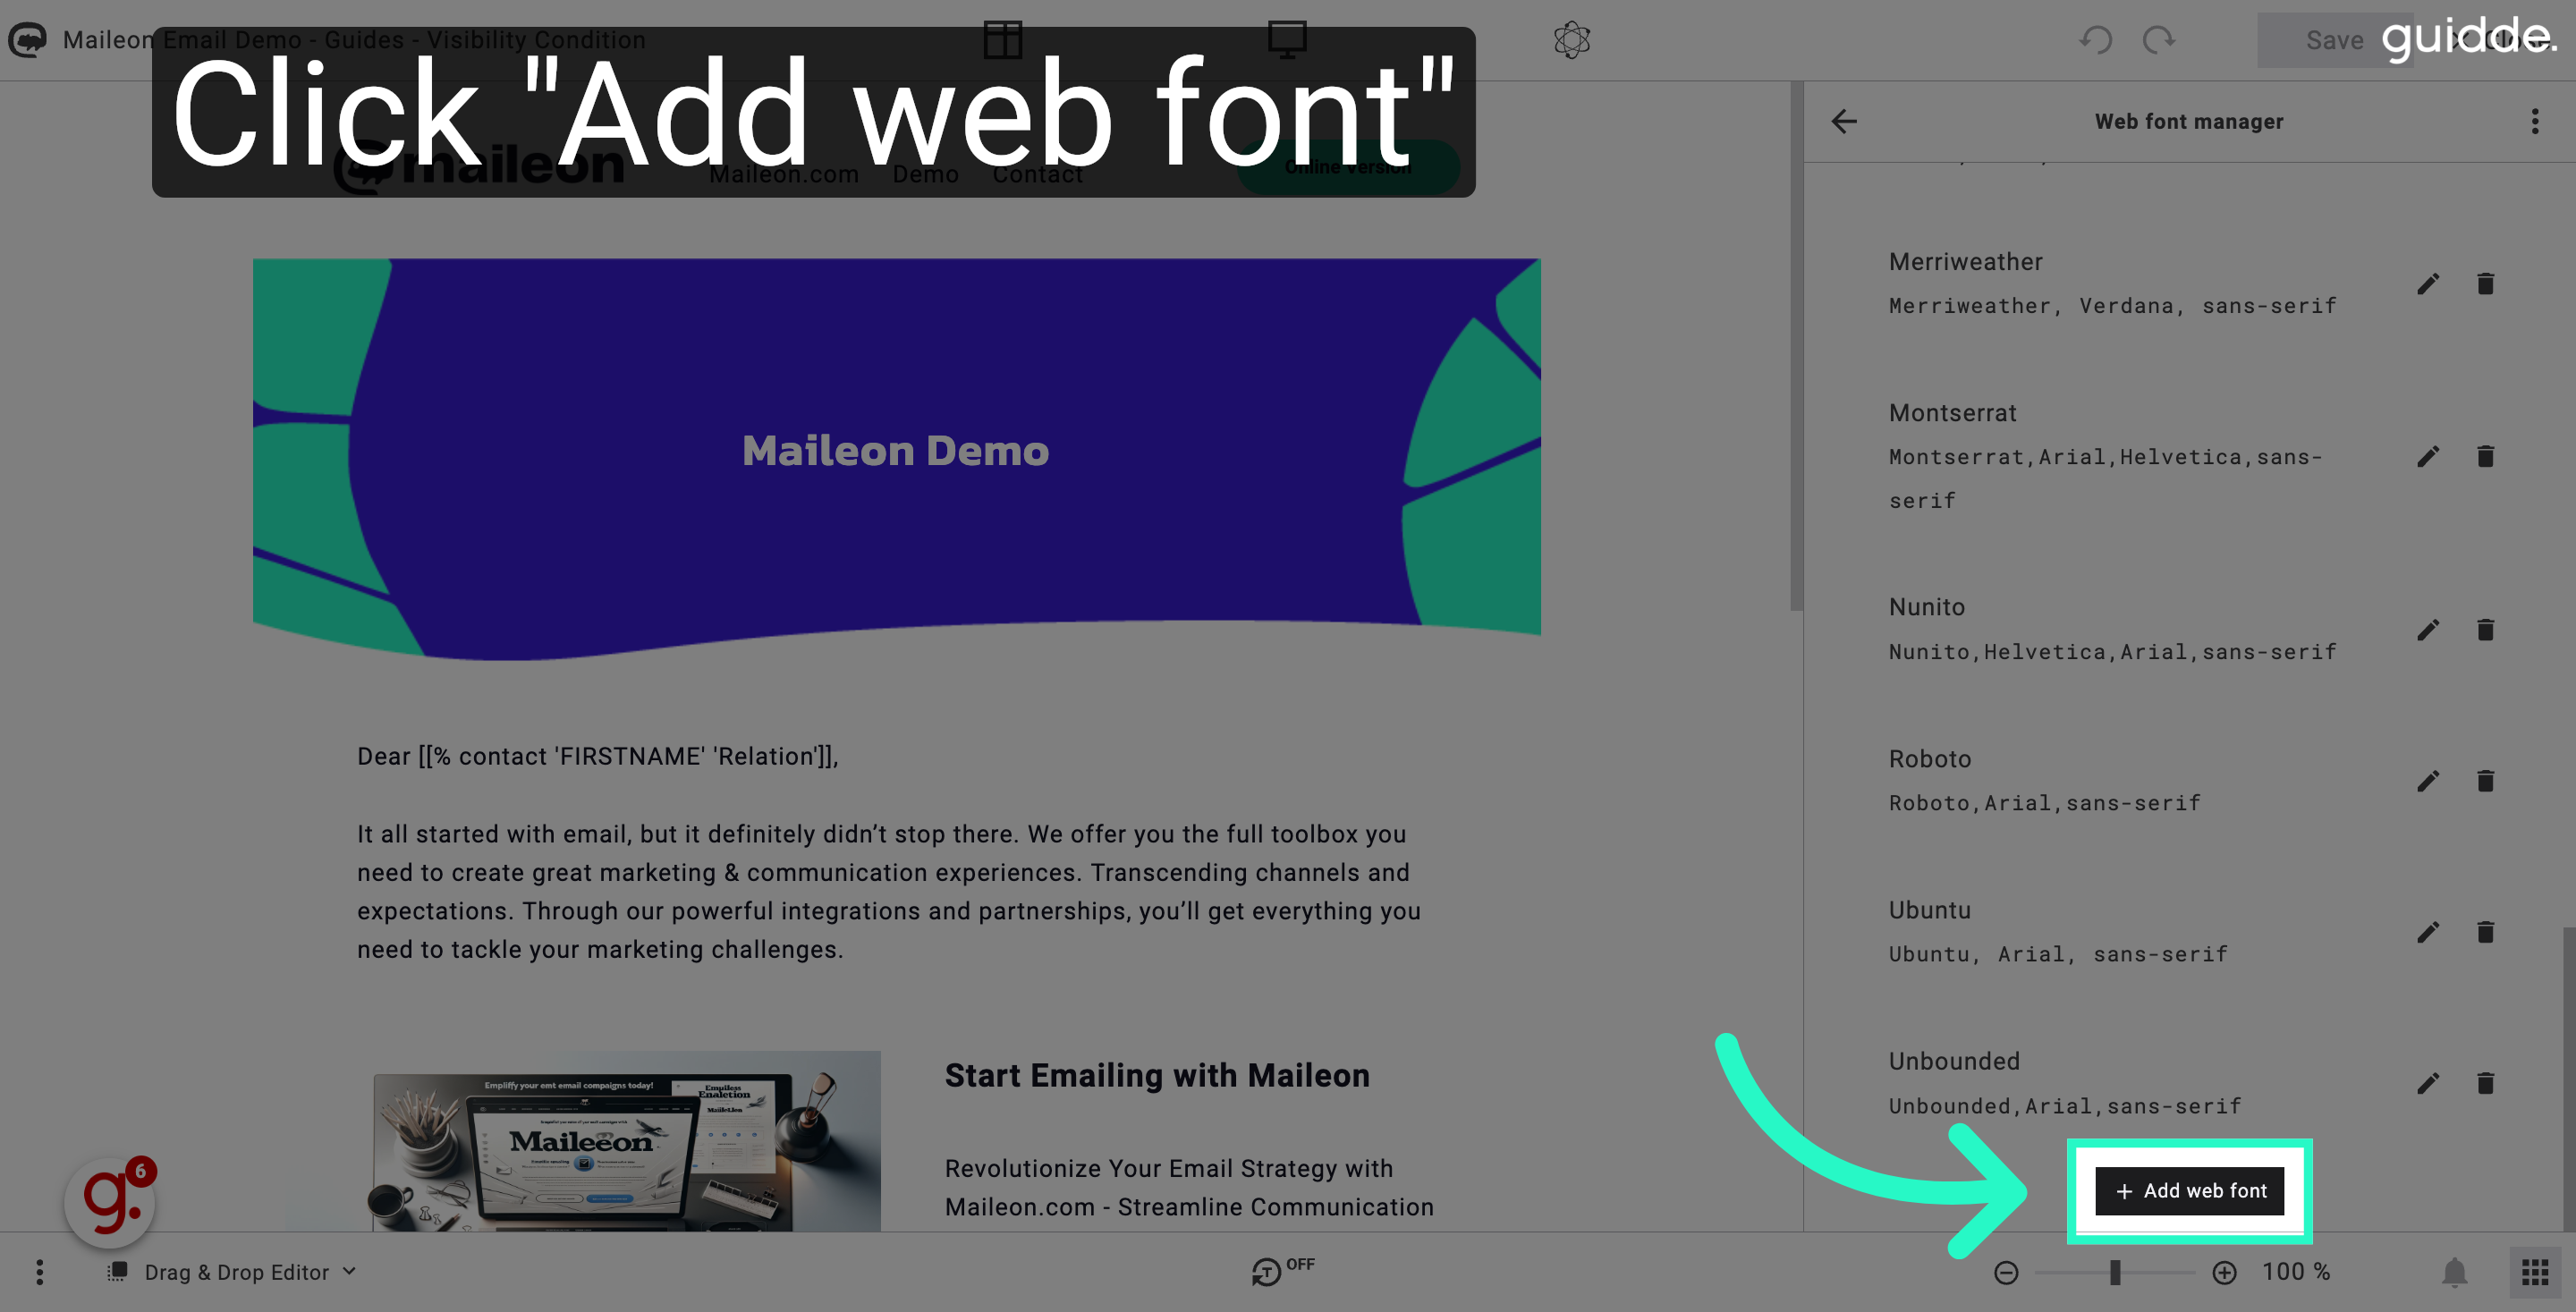
4. Click "Add web font"
Click on the "Add web font" button.
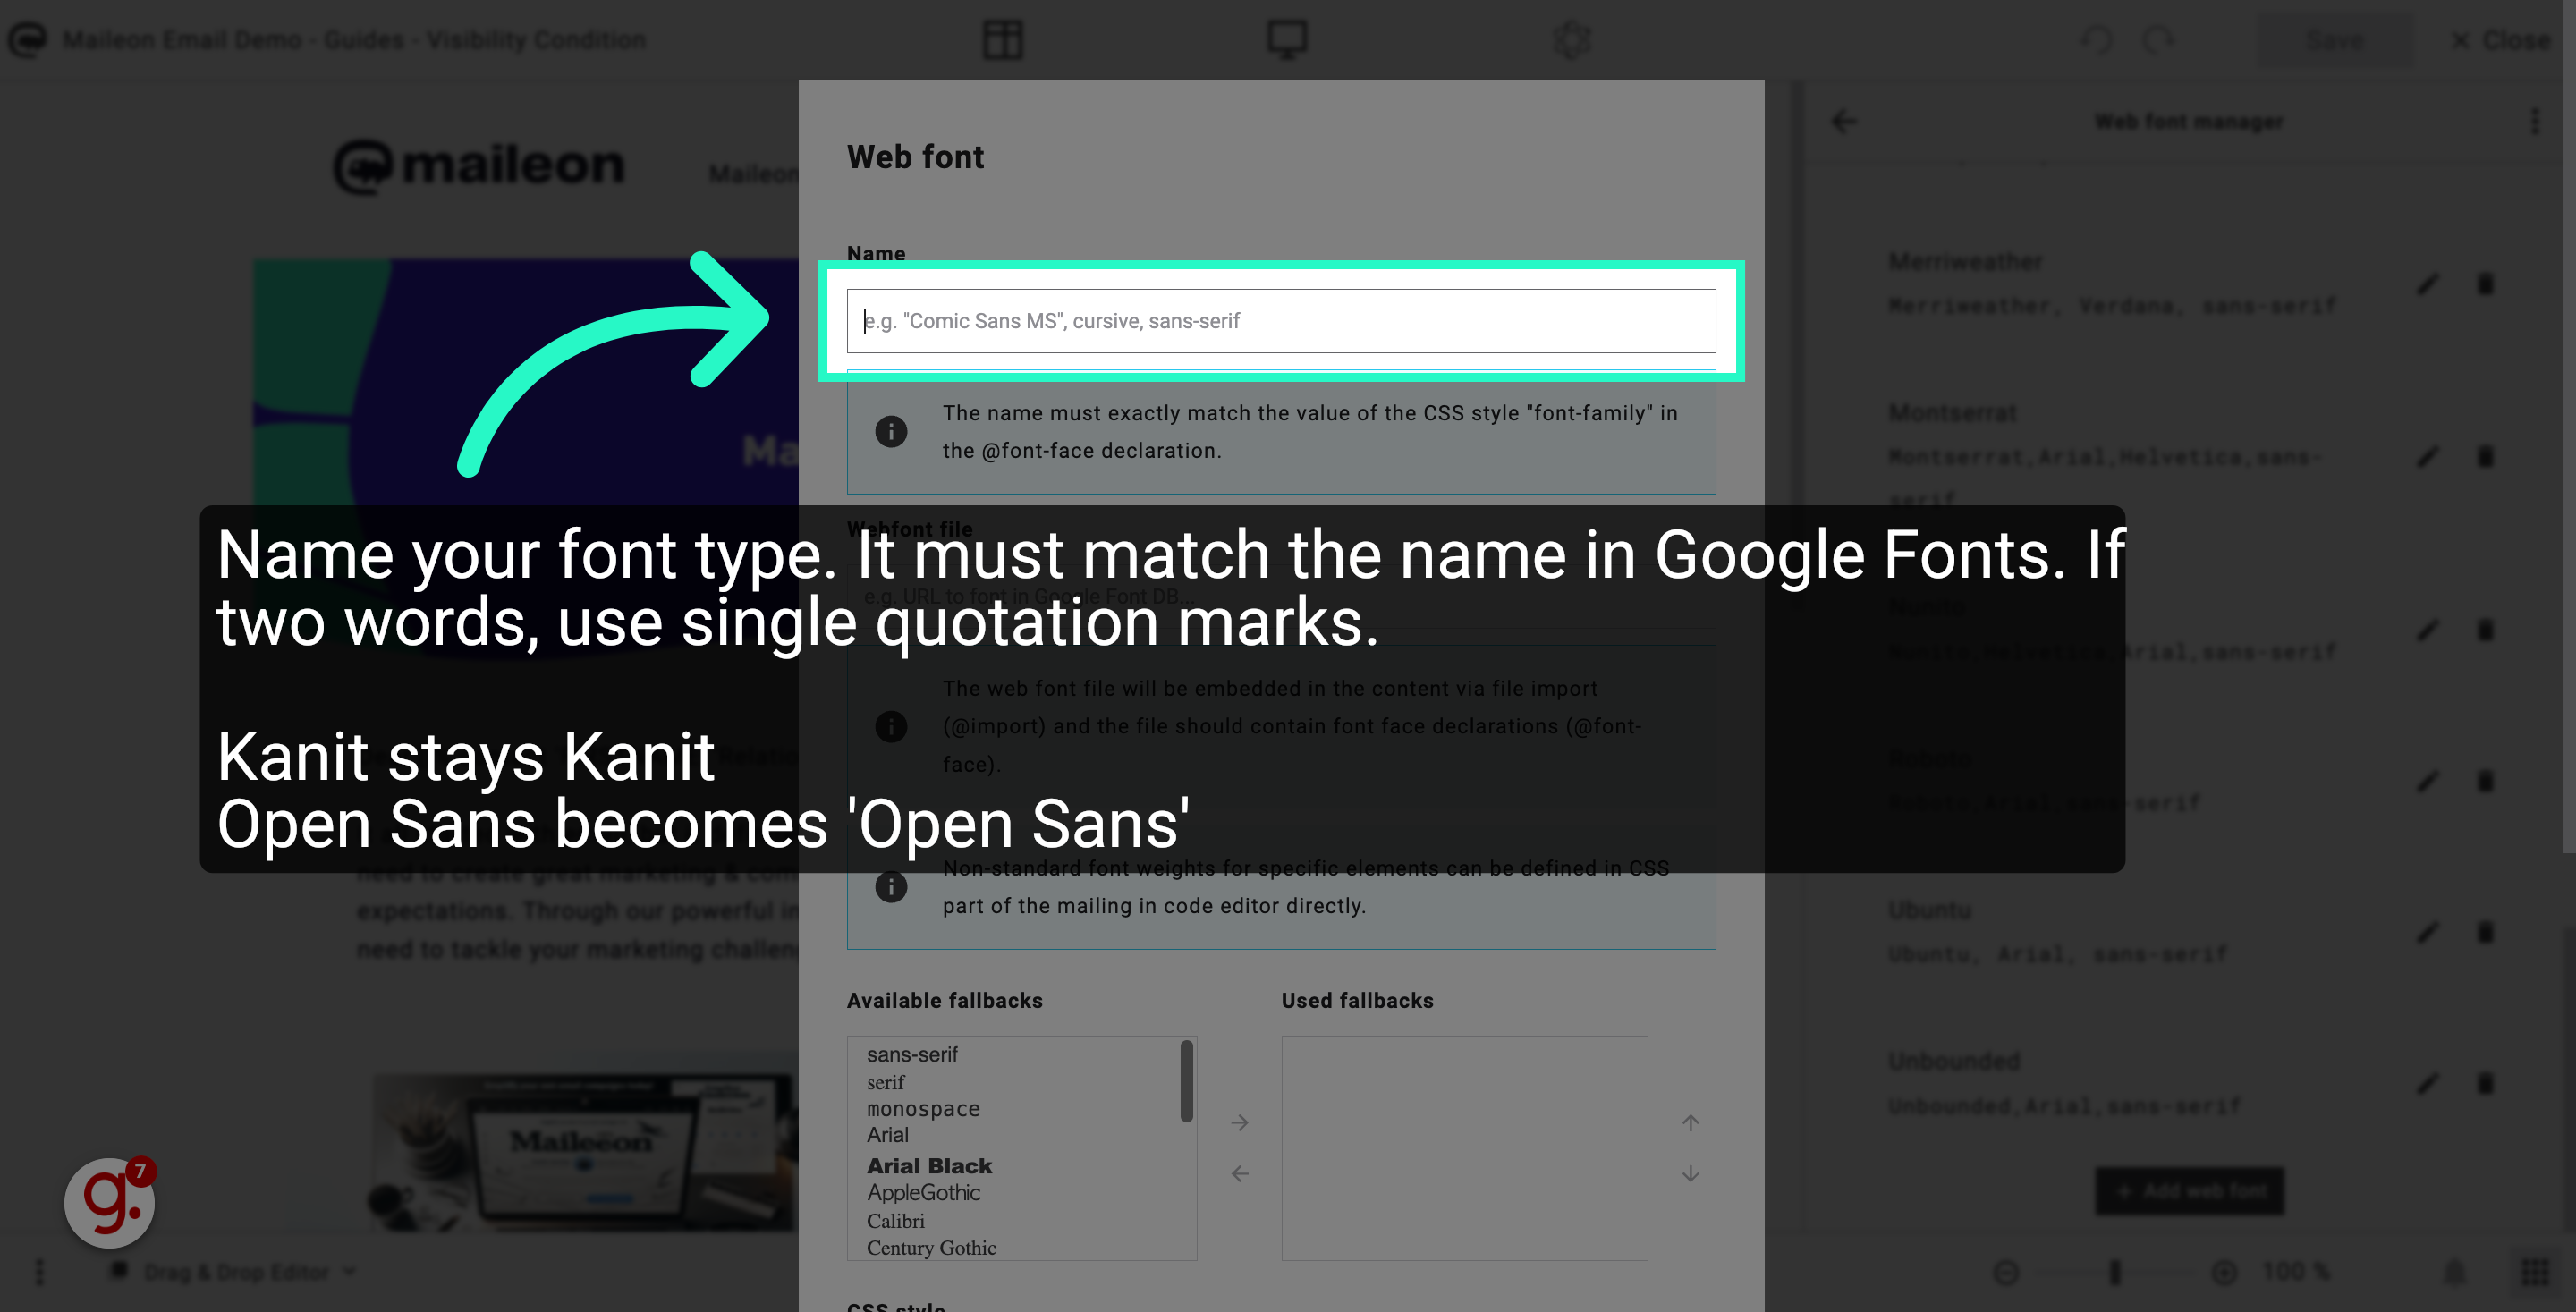
5. Name your font type. It must match the name in Google Fonts. If two words, use single quotation marks. Kanit stays Kanit Open Sans becomes 'Open Sans'
Name your font with the precise name as presented in Google Fonts. If it consists out of 2 or more word, make sure to add quotation marks around the font name. E.g. "Comic Sans".
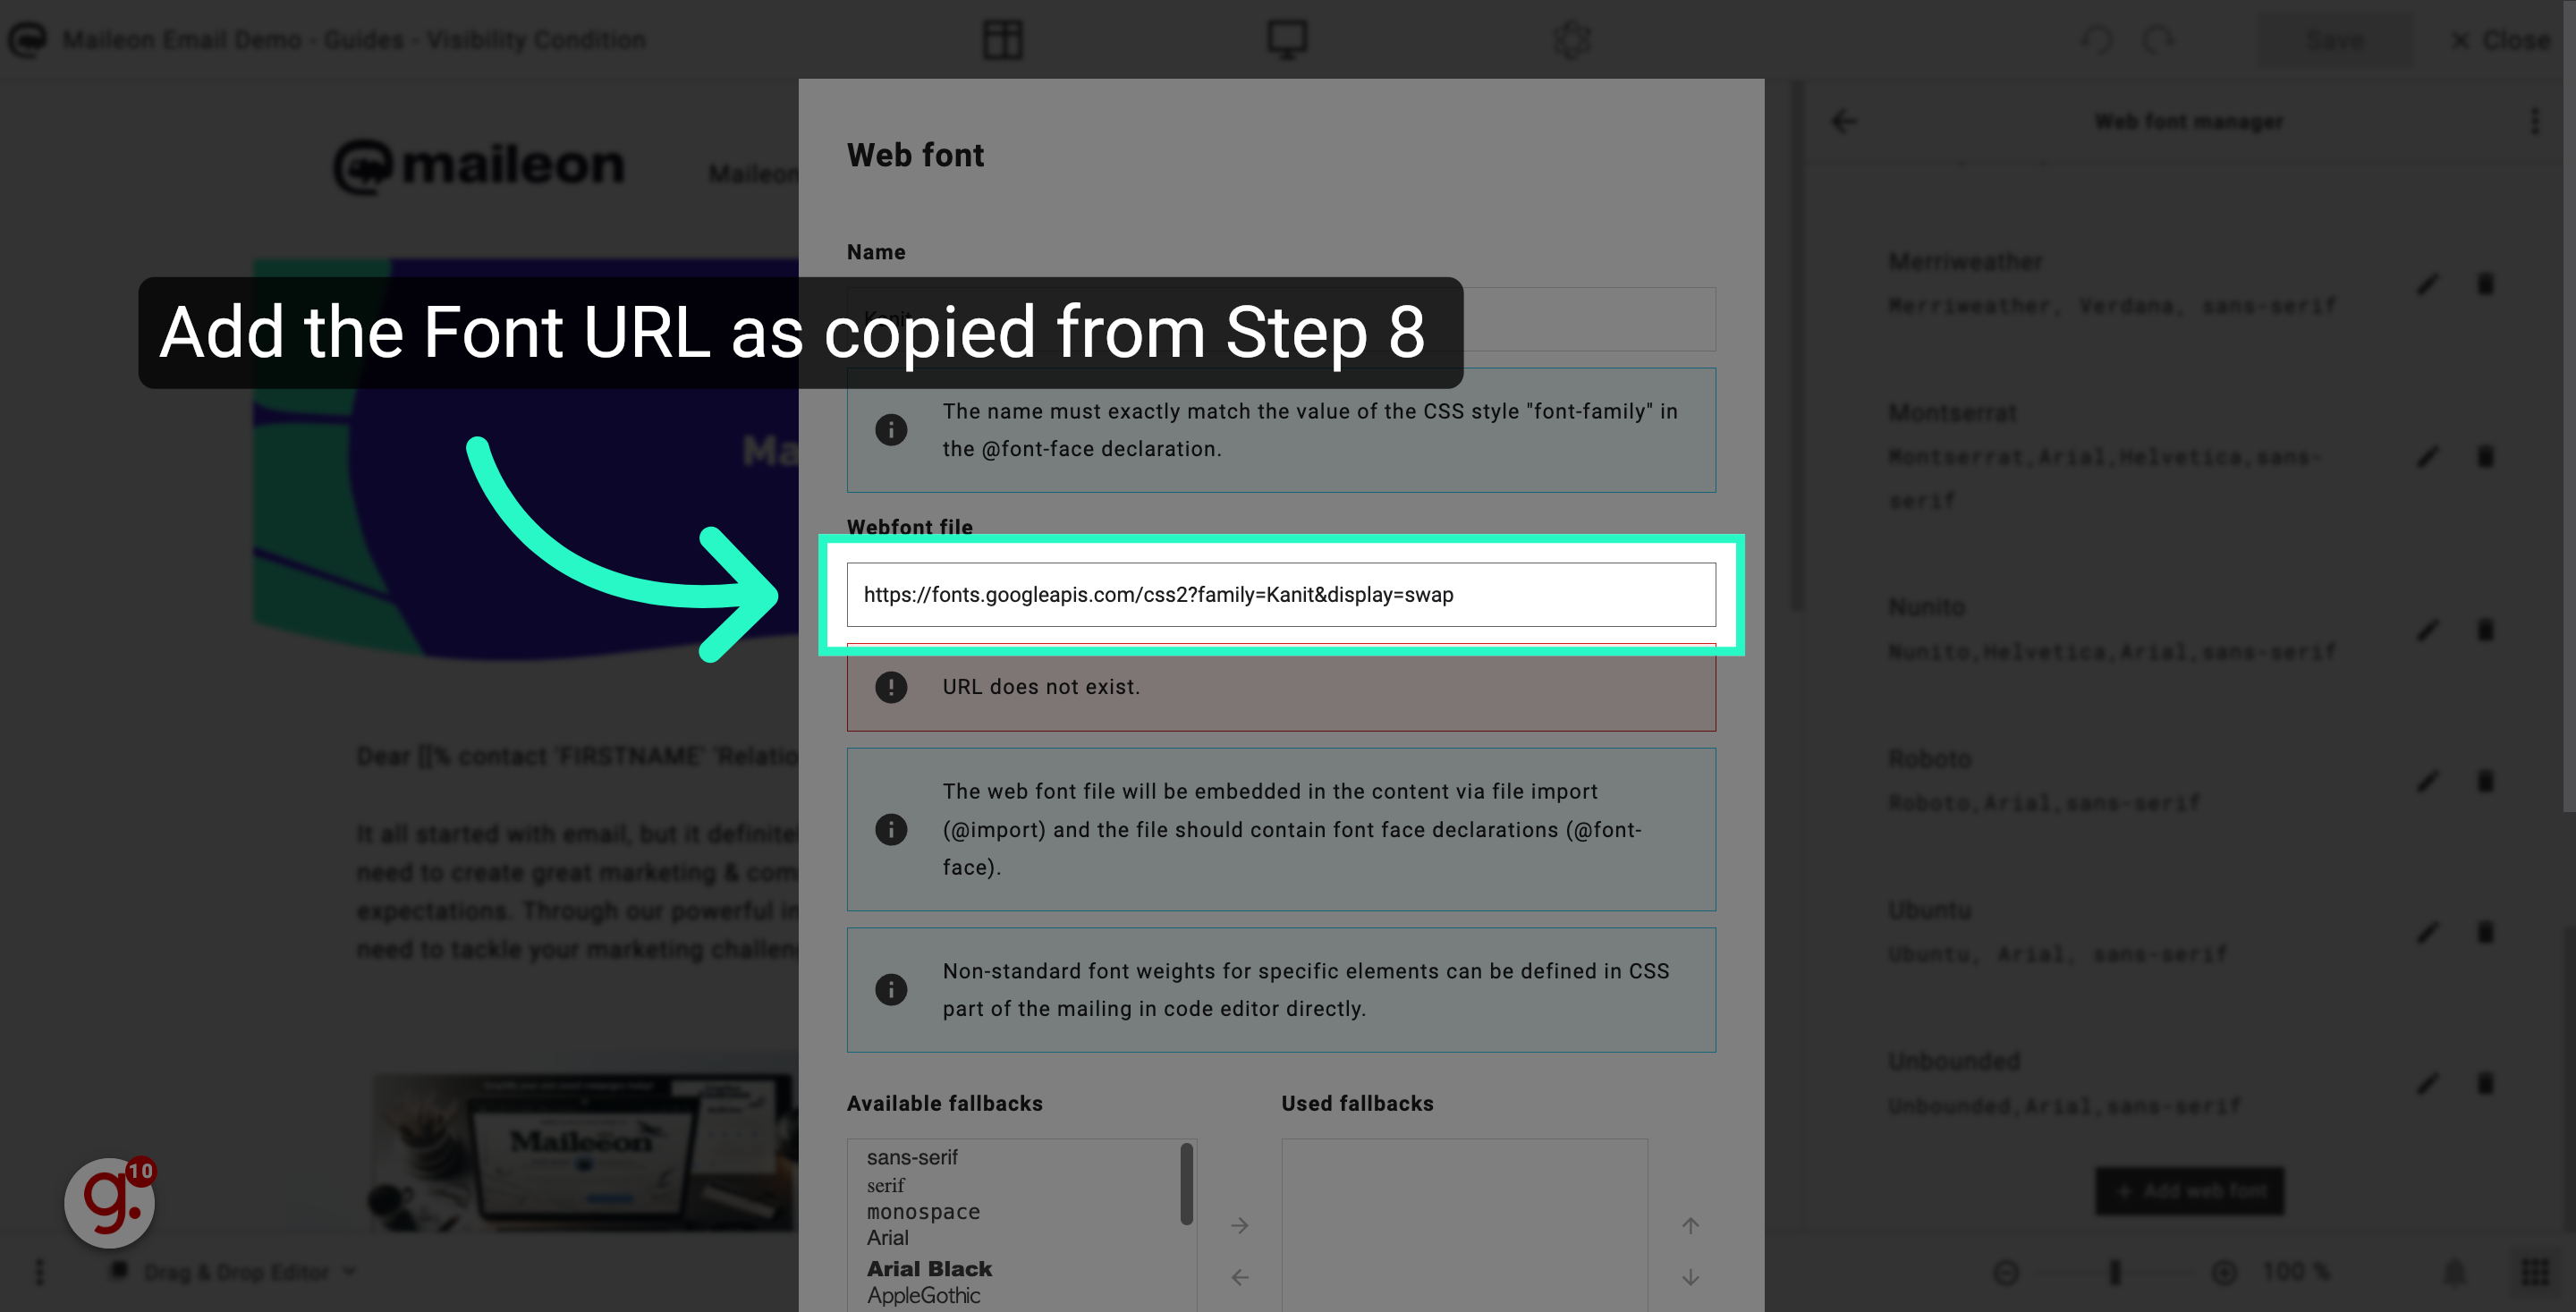
6. Add the Font URL as copied from Step 8
Fill your font URL as copied in step 2.
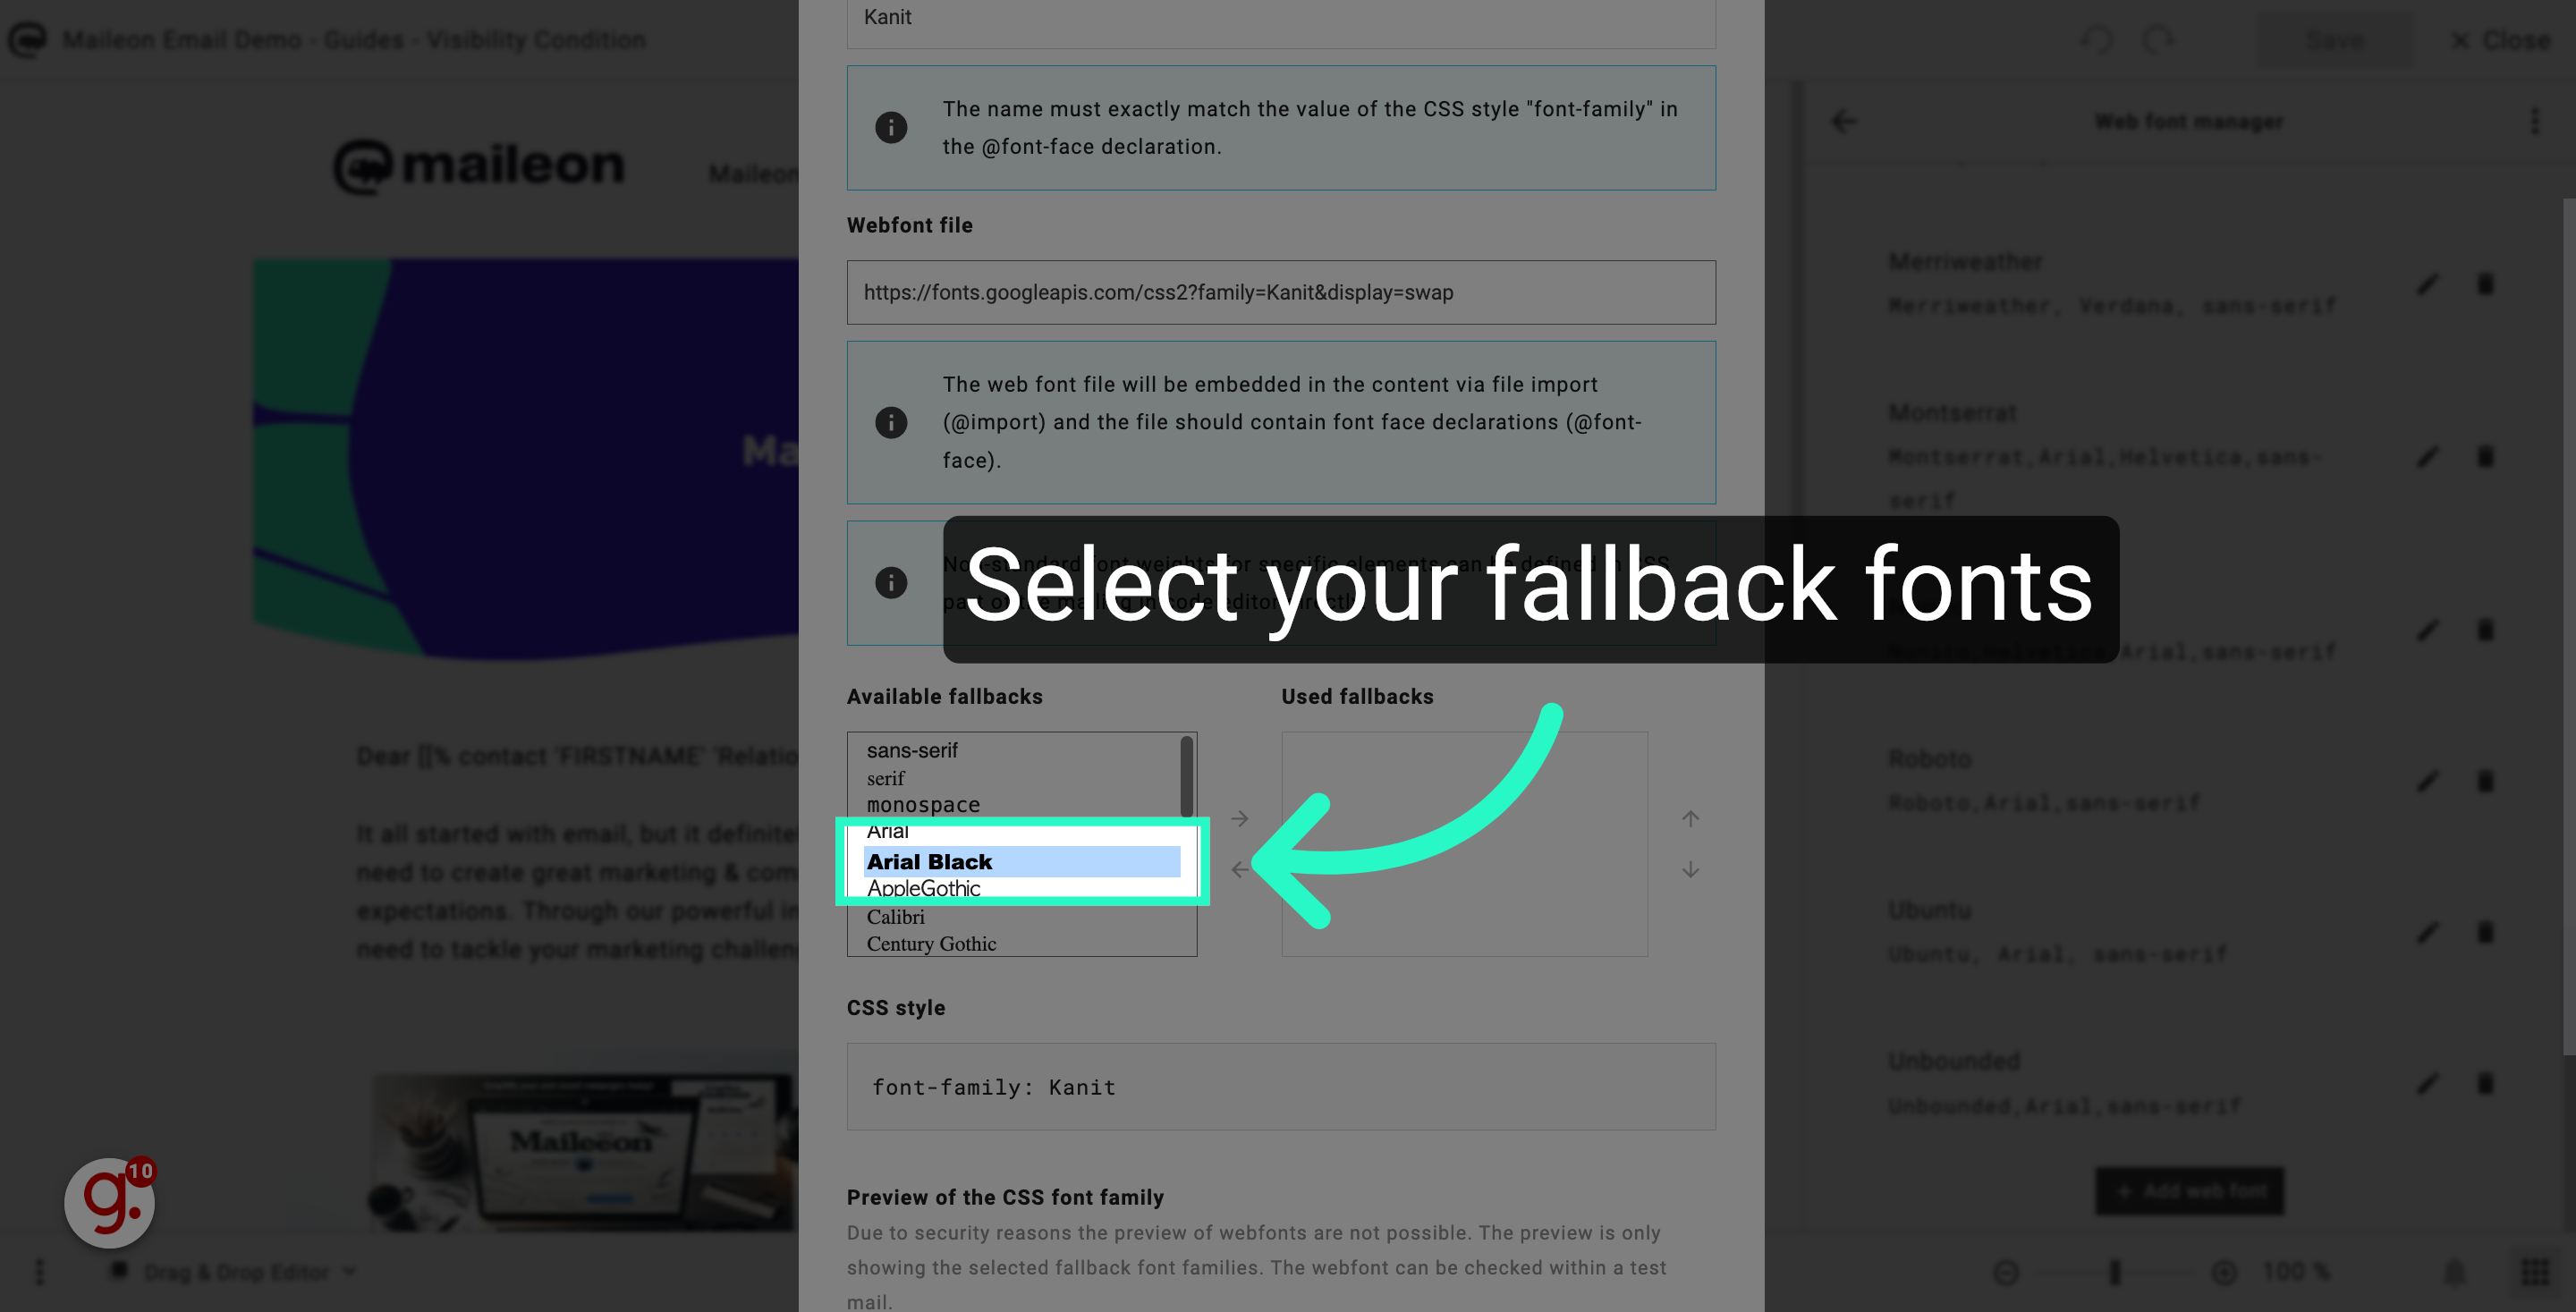
7. Select your fallback fonts
Select the desired backup fonts.
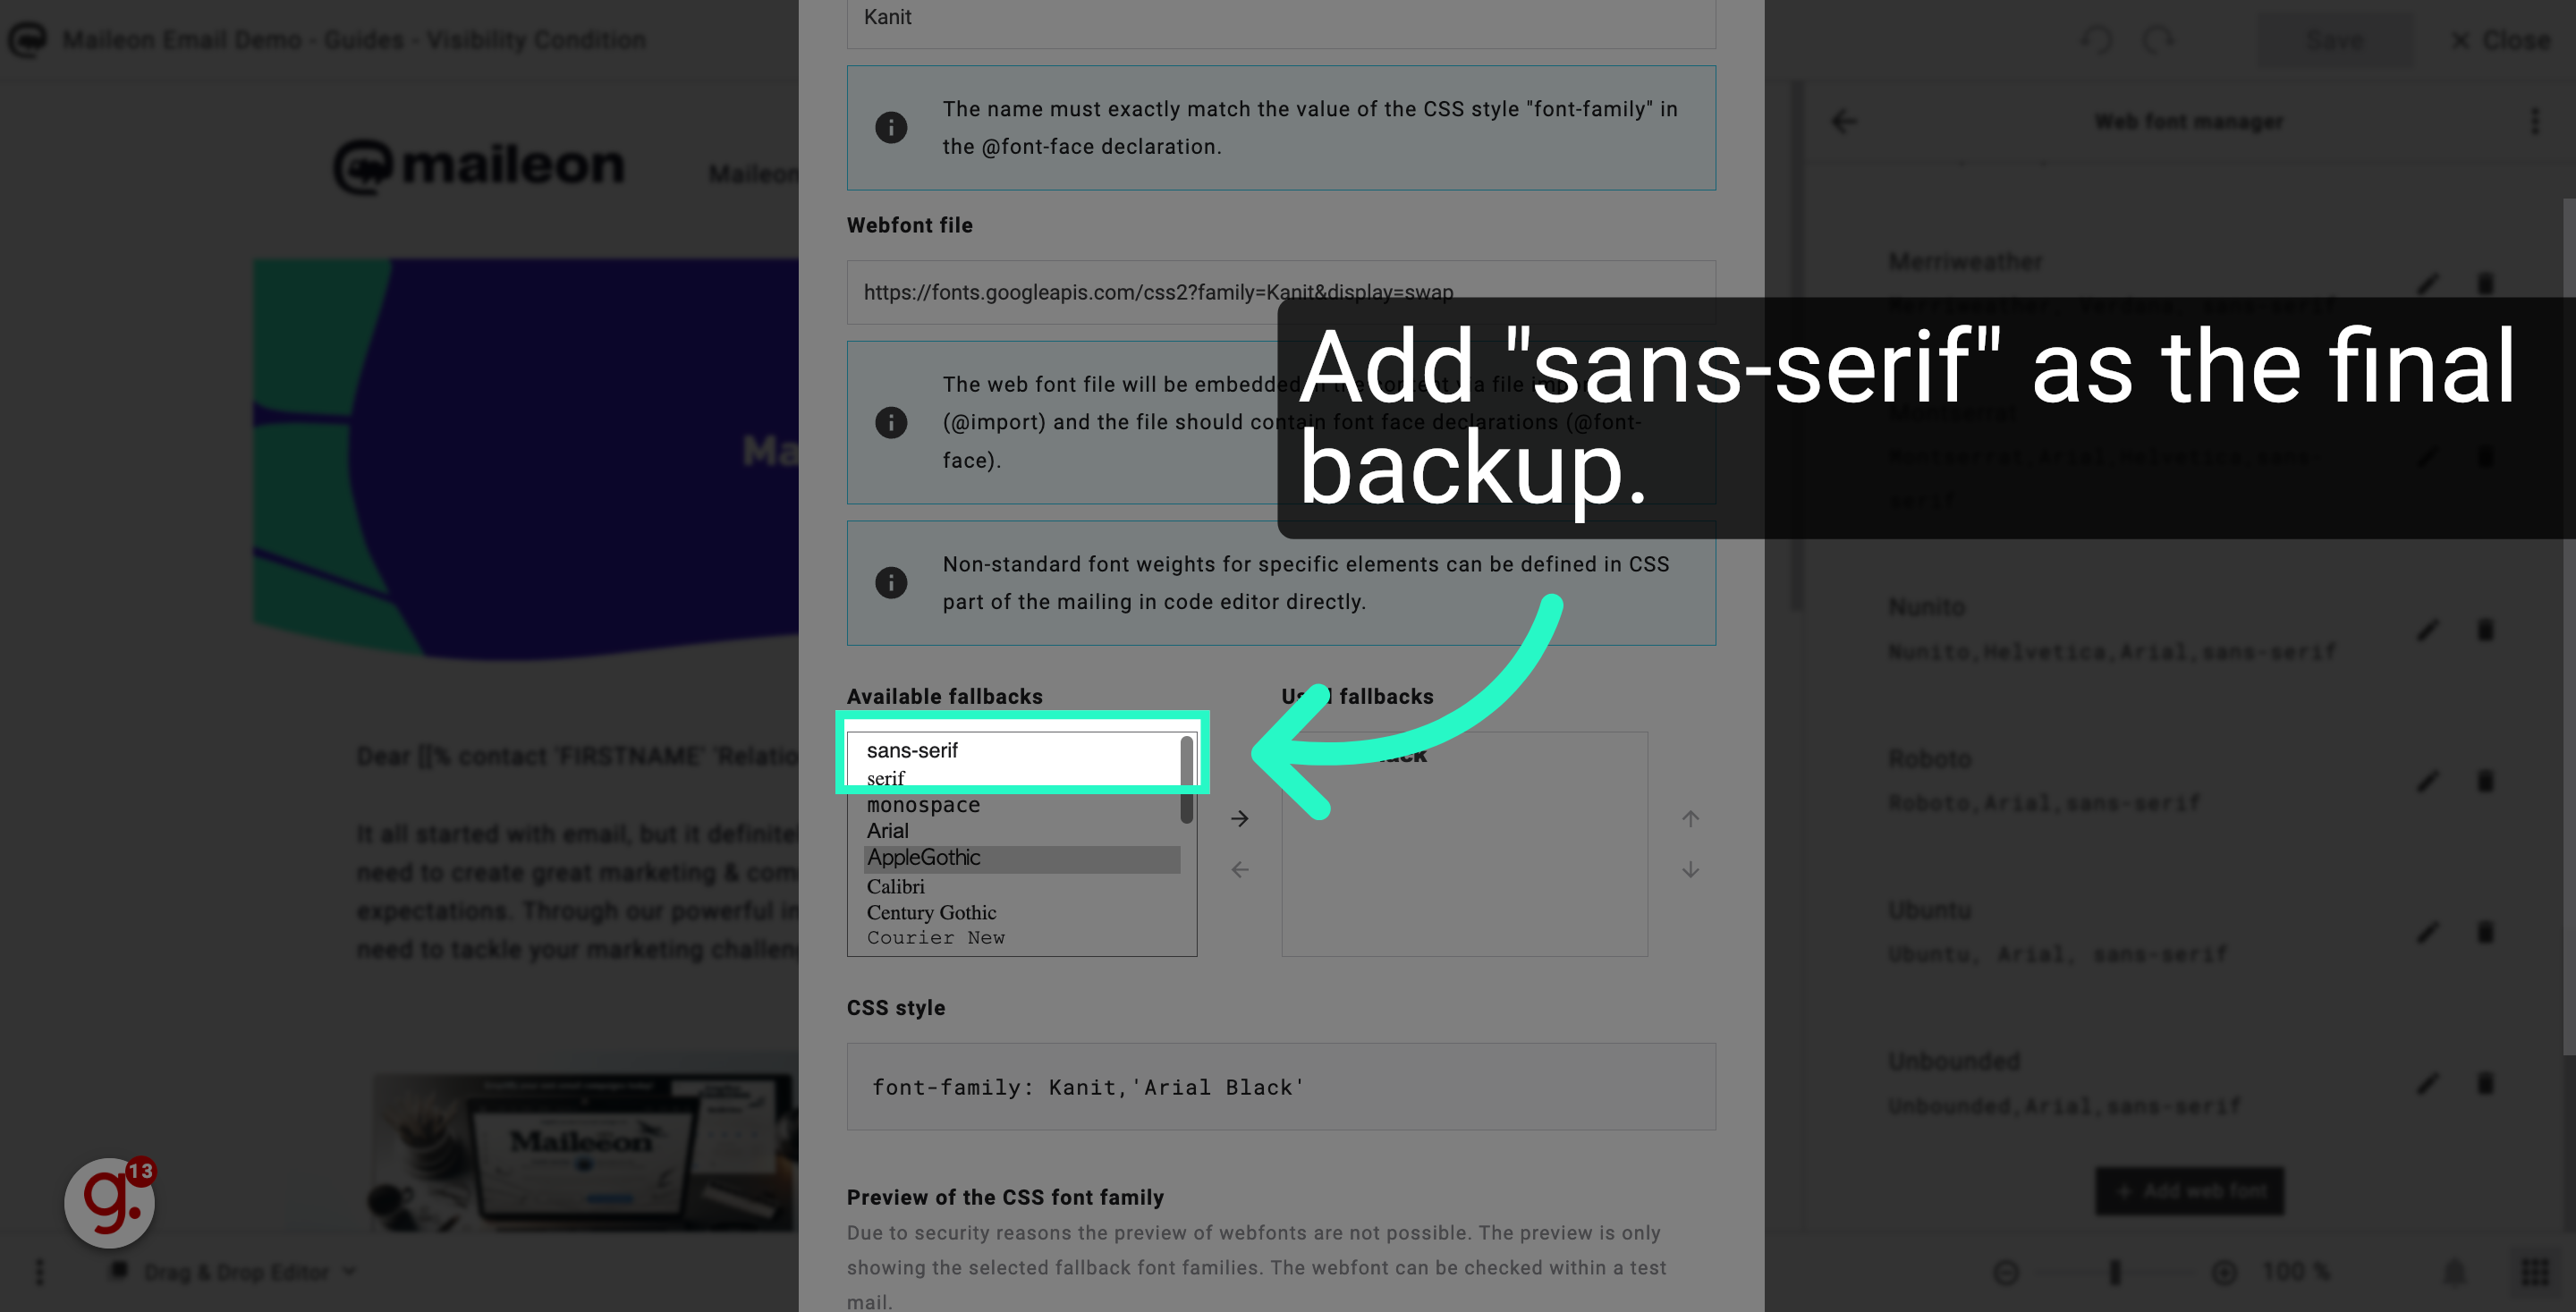
8. Add "sans-serif" as the final backup.
Click on the "sans-serif" font option.
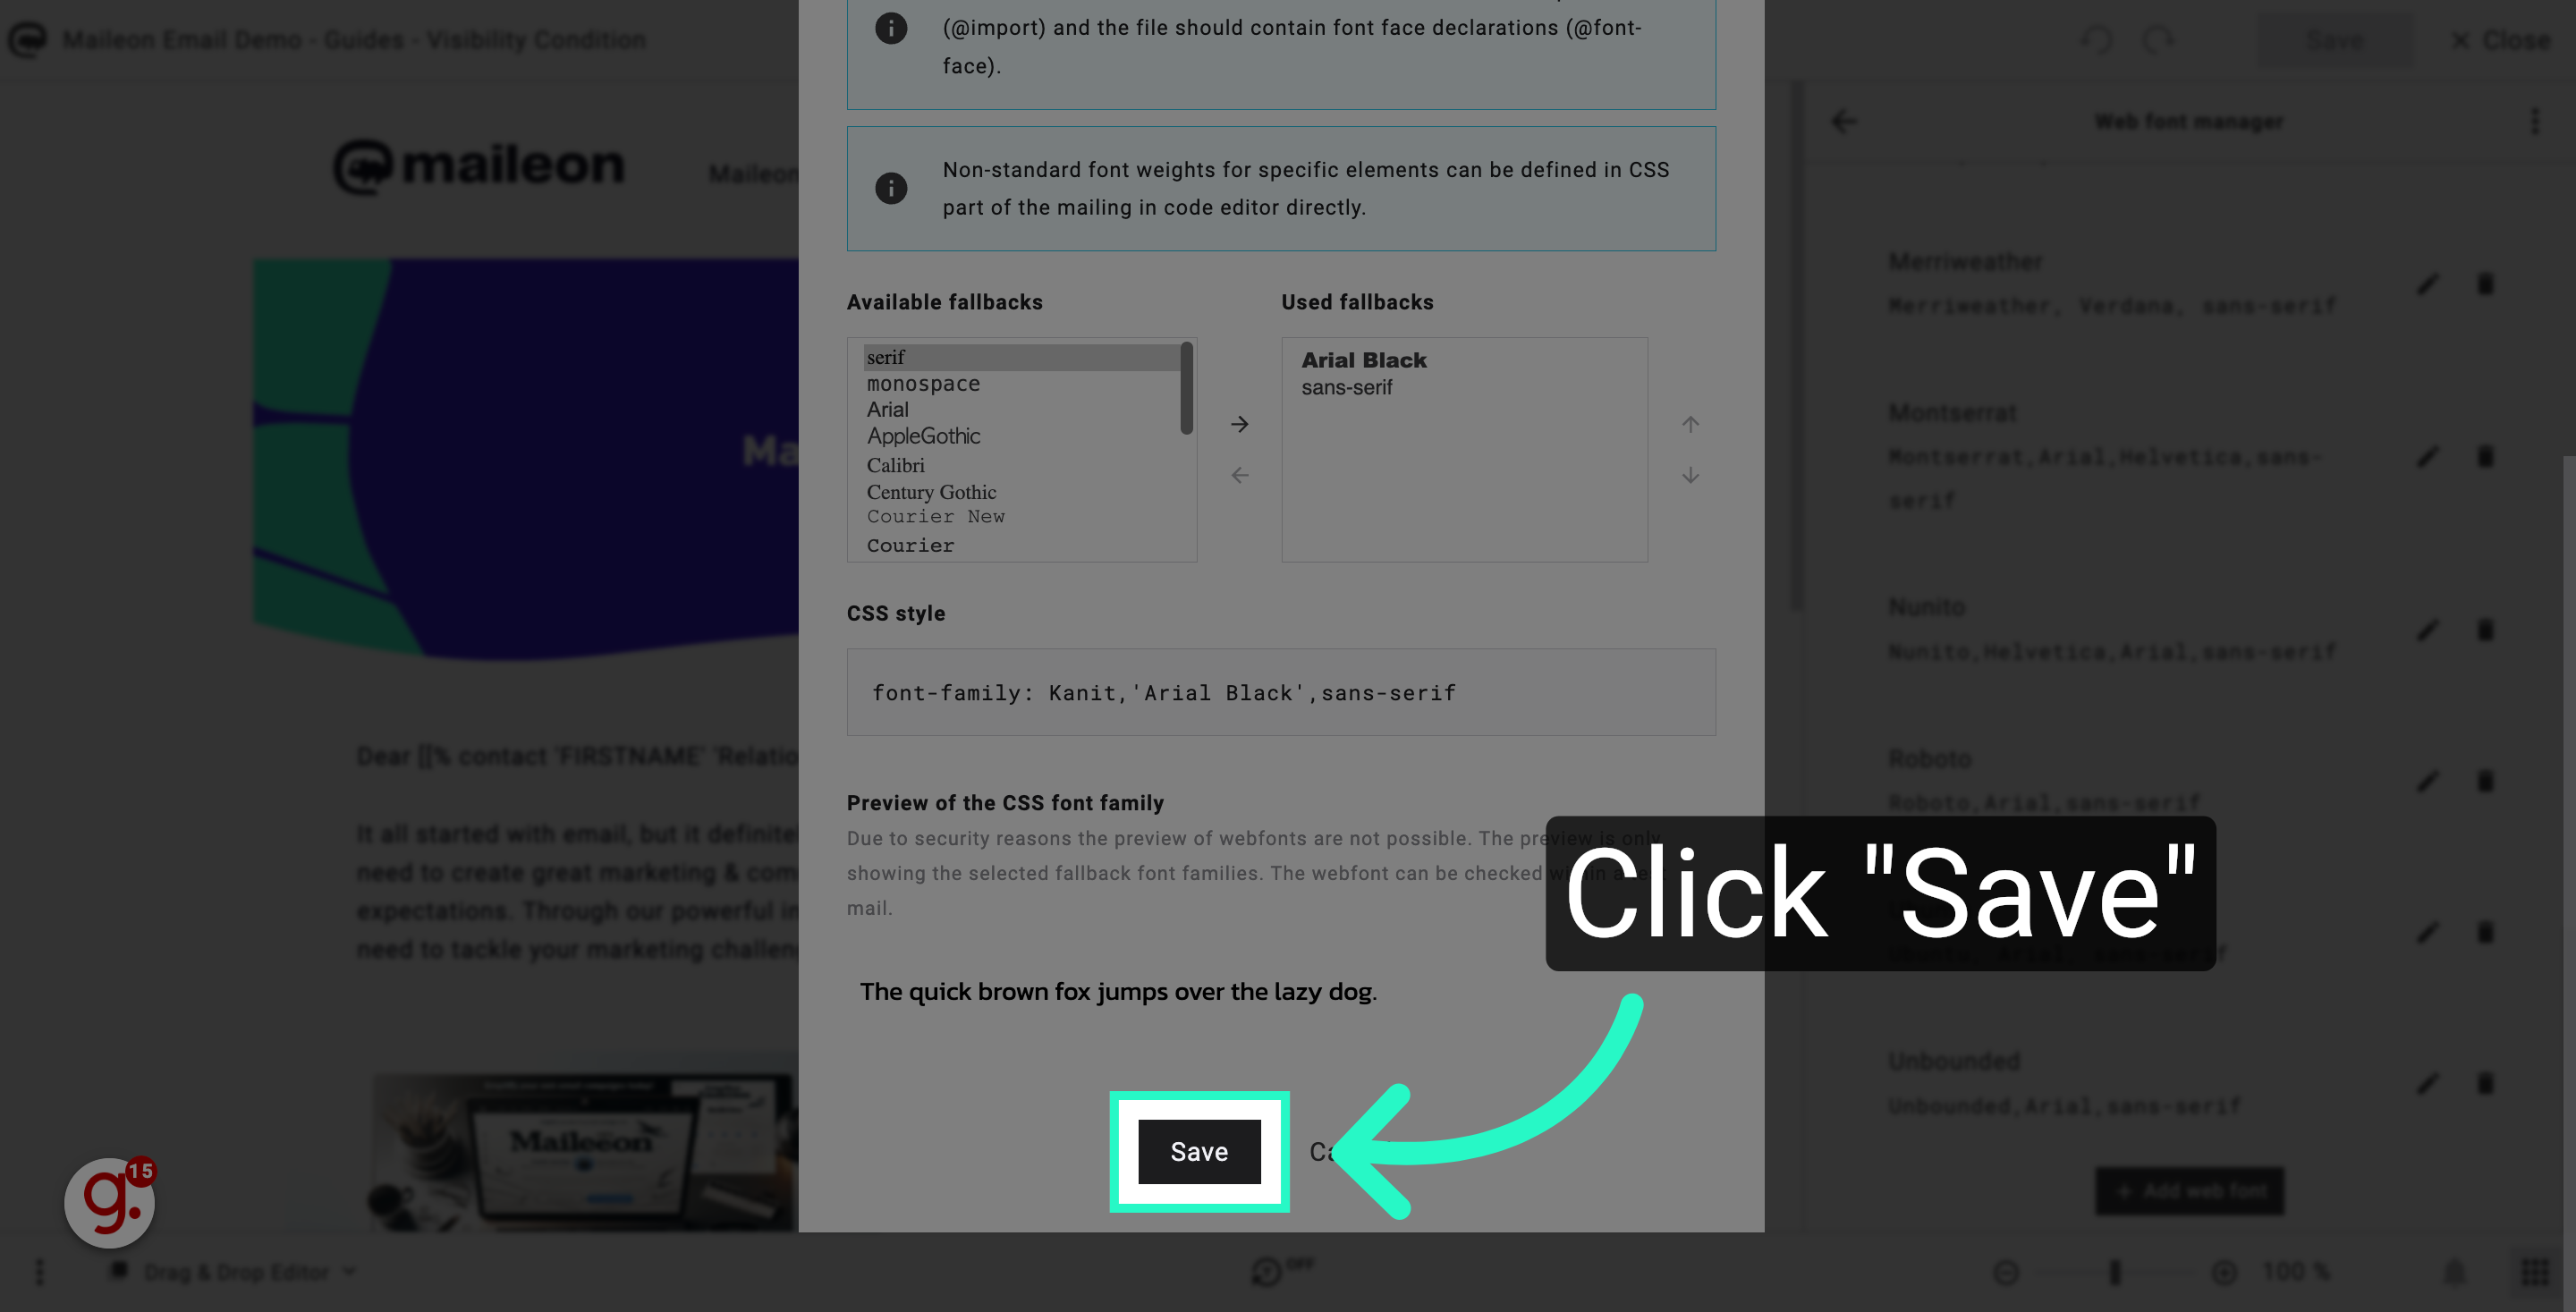
9. Click "Save"
Click on the "Save" button.
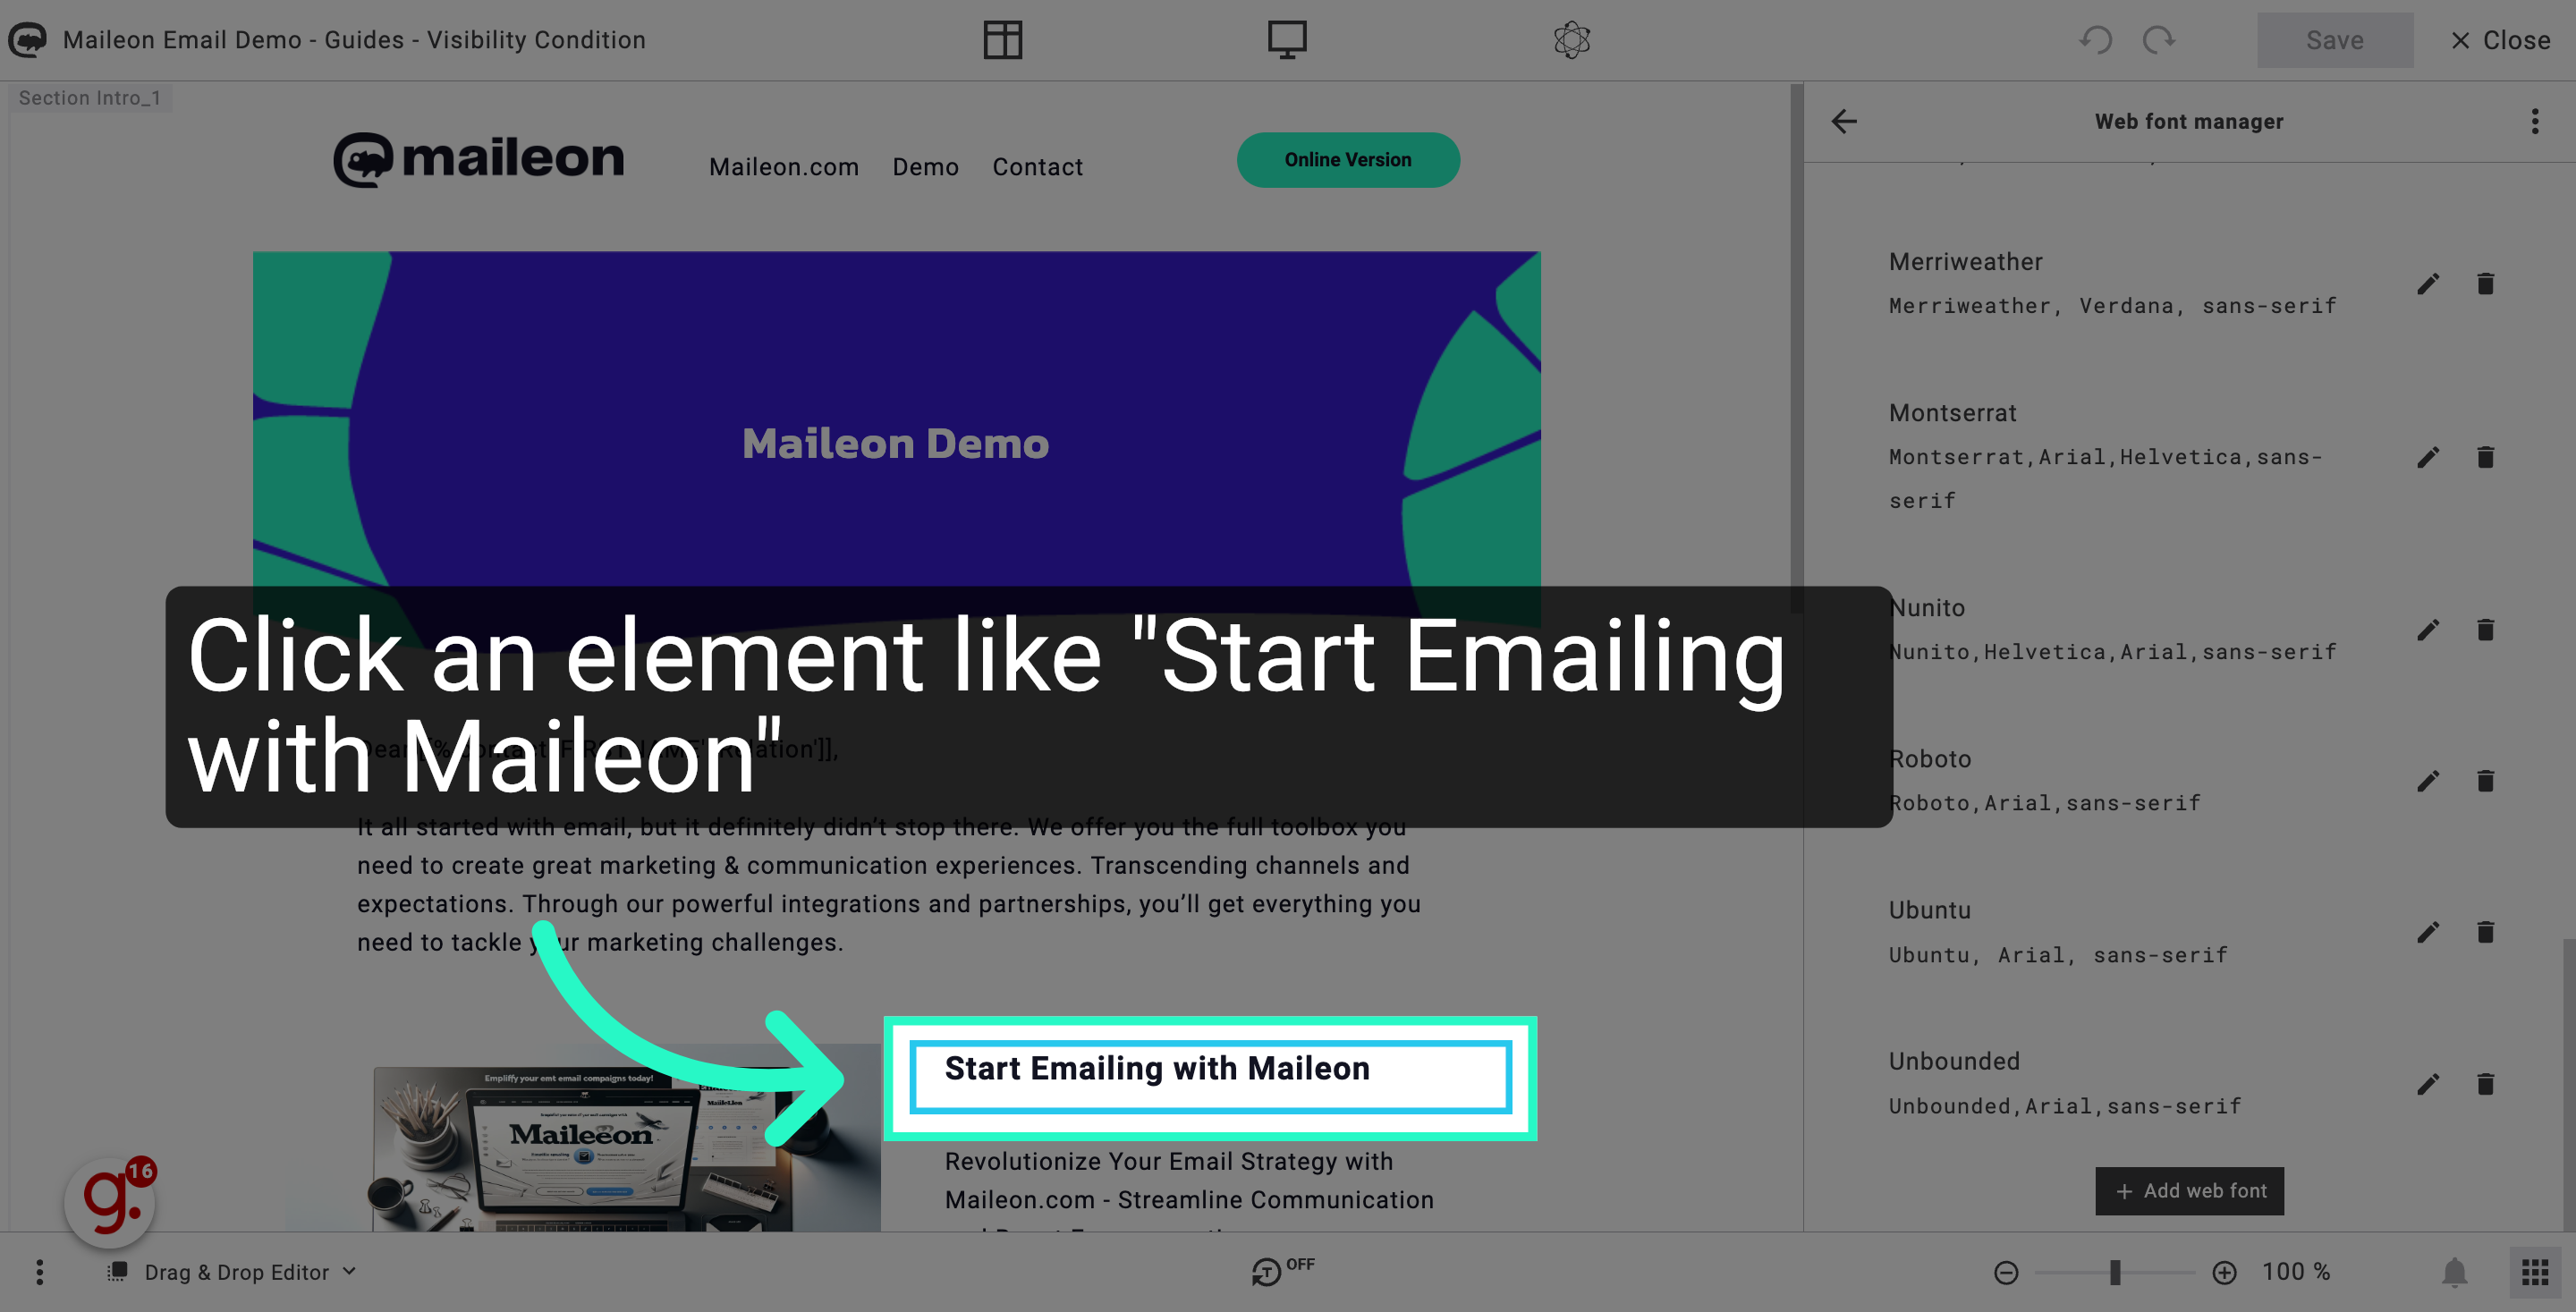
10. Click an element like "Start Emailing with Maileon"
Start using your Google Font by selecting it where you need it in the editor. For example, by editing the title.
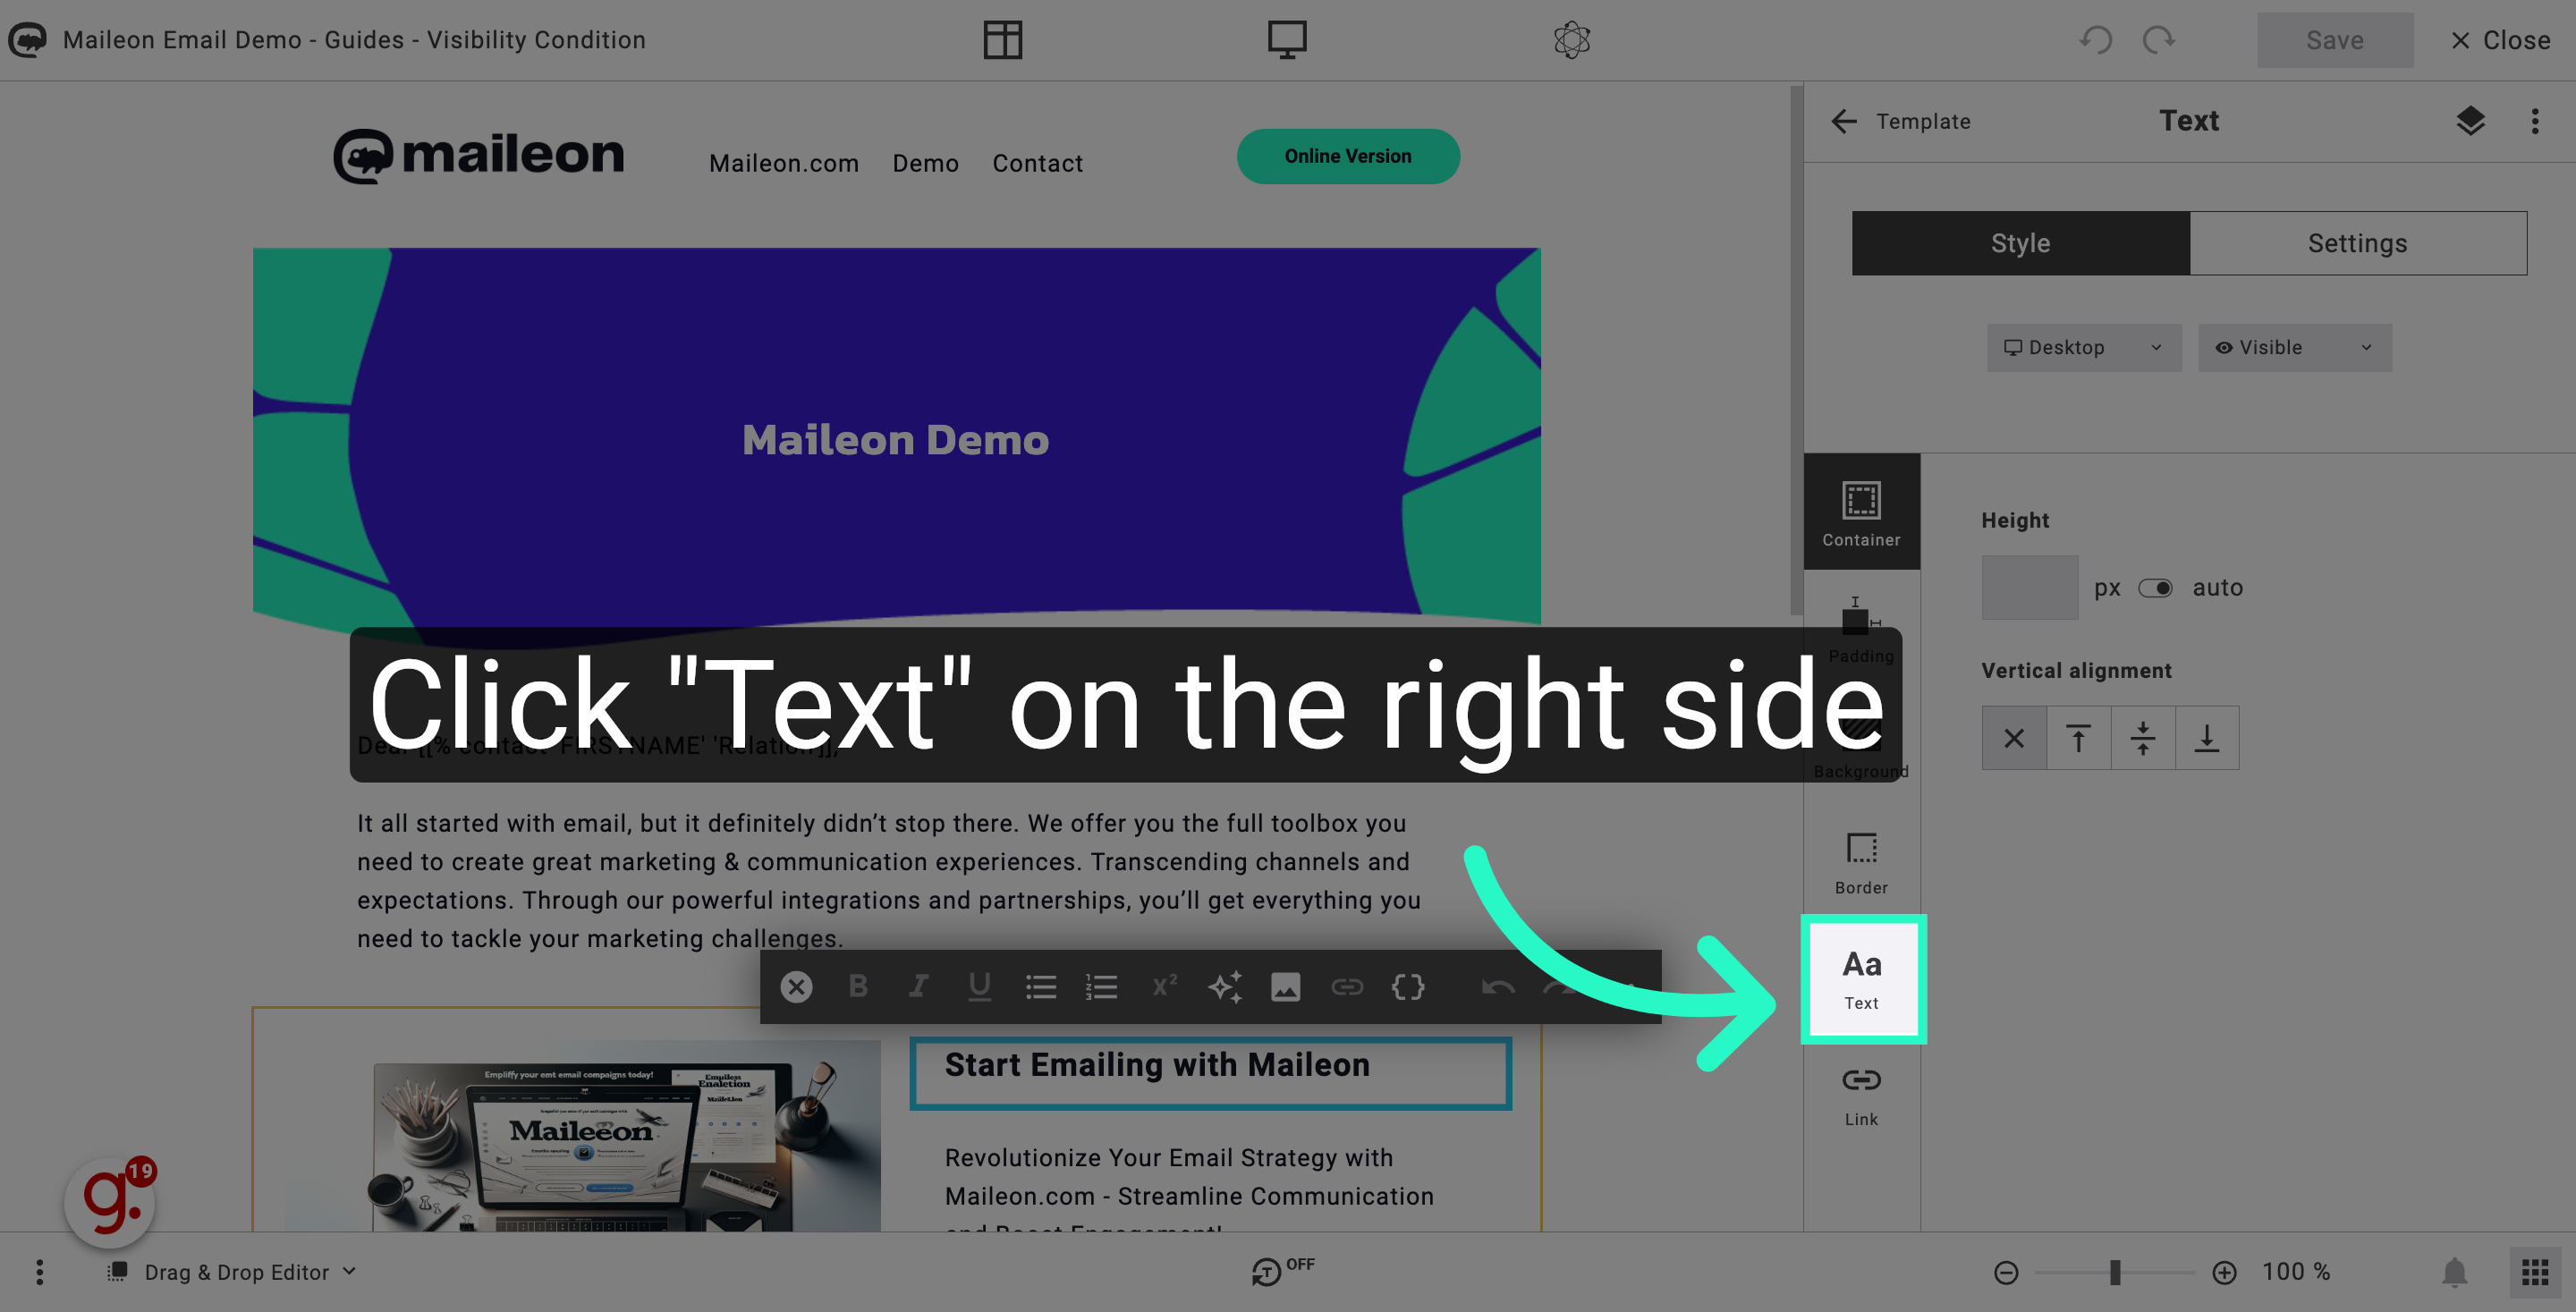
11. Click "Text" on the right side
Click on the "Text" option.
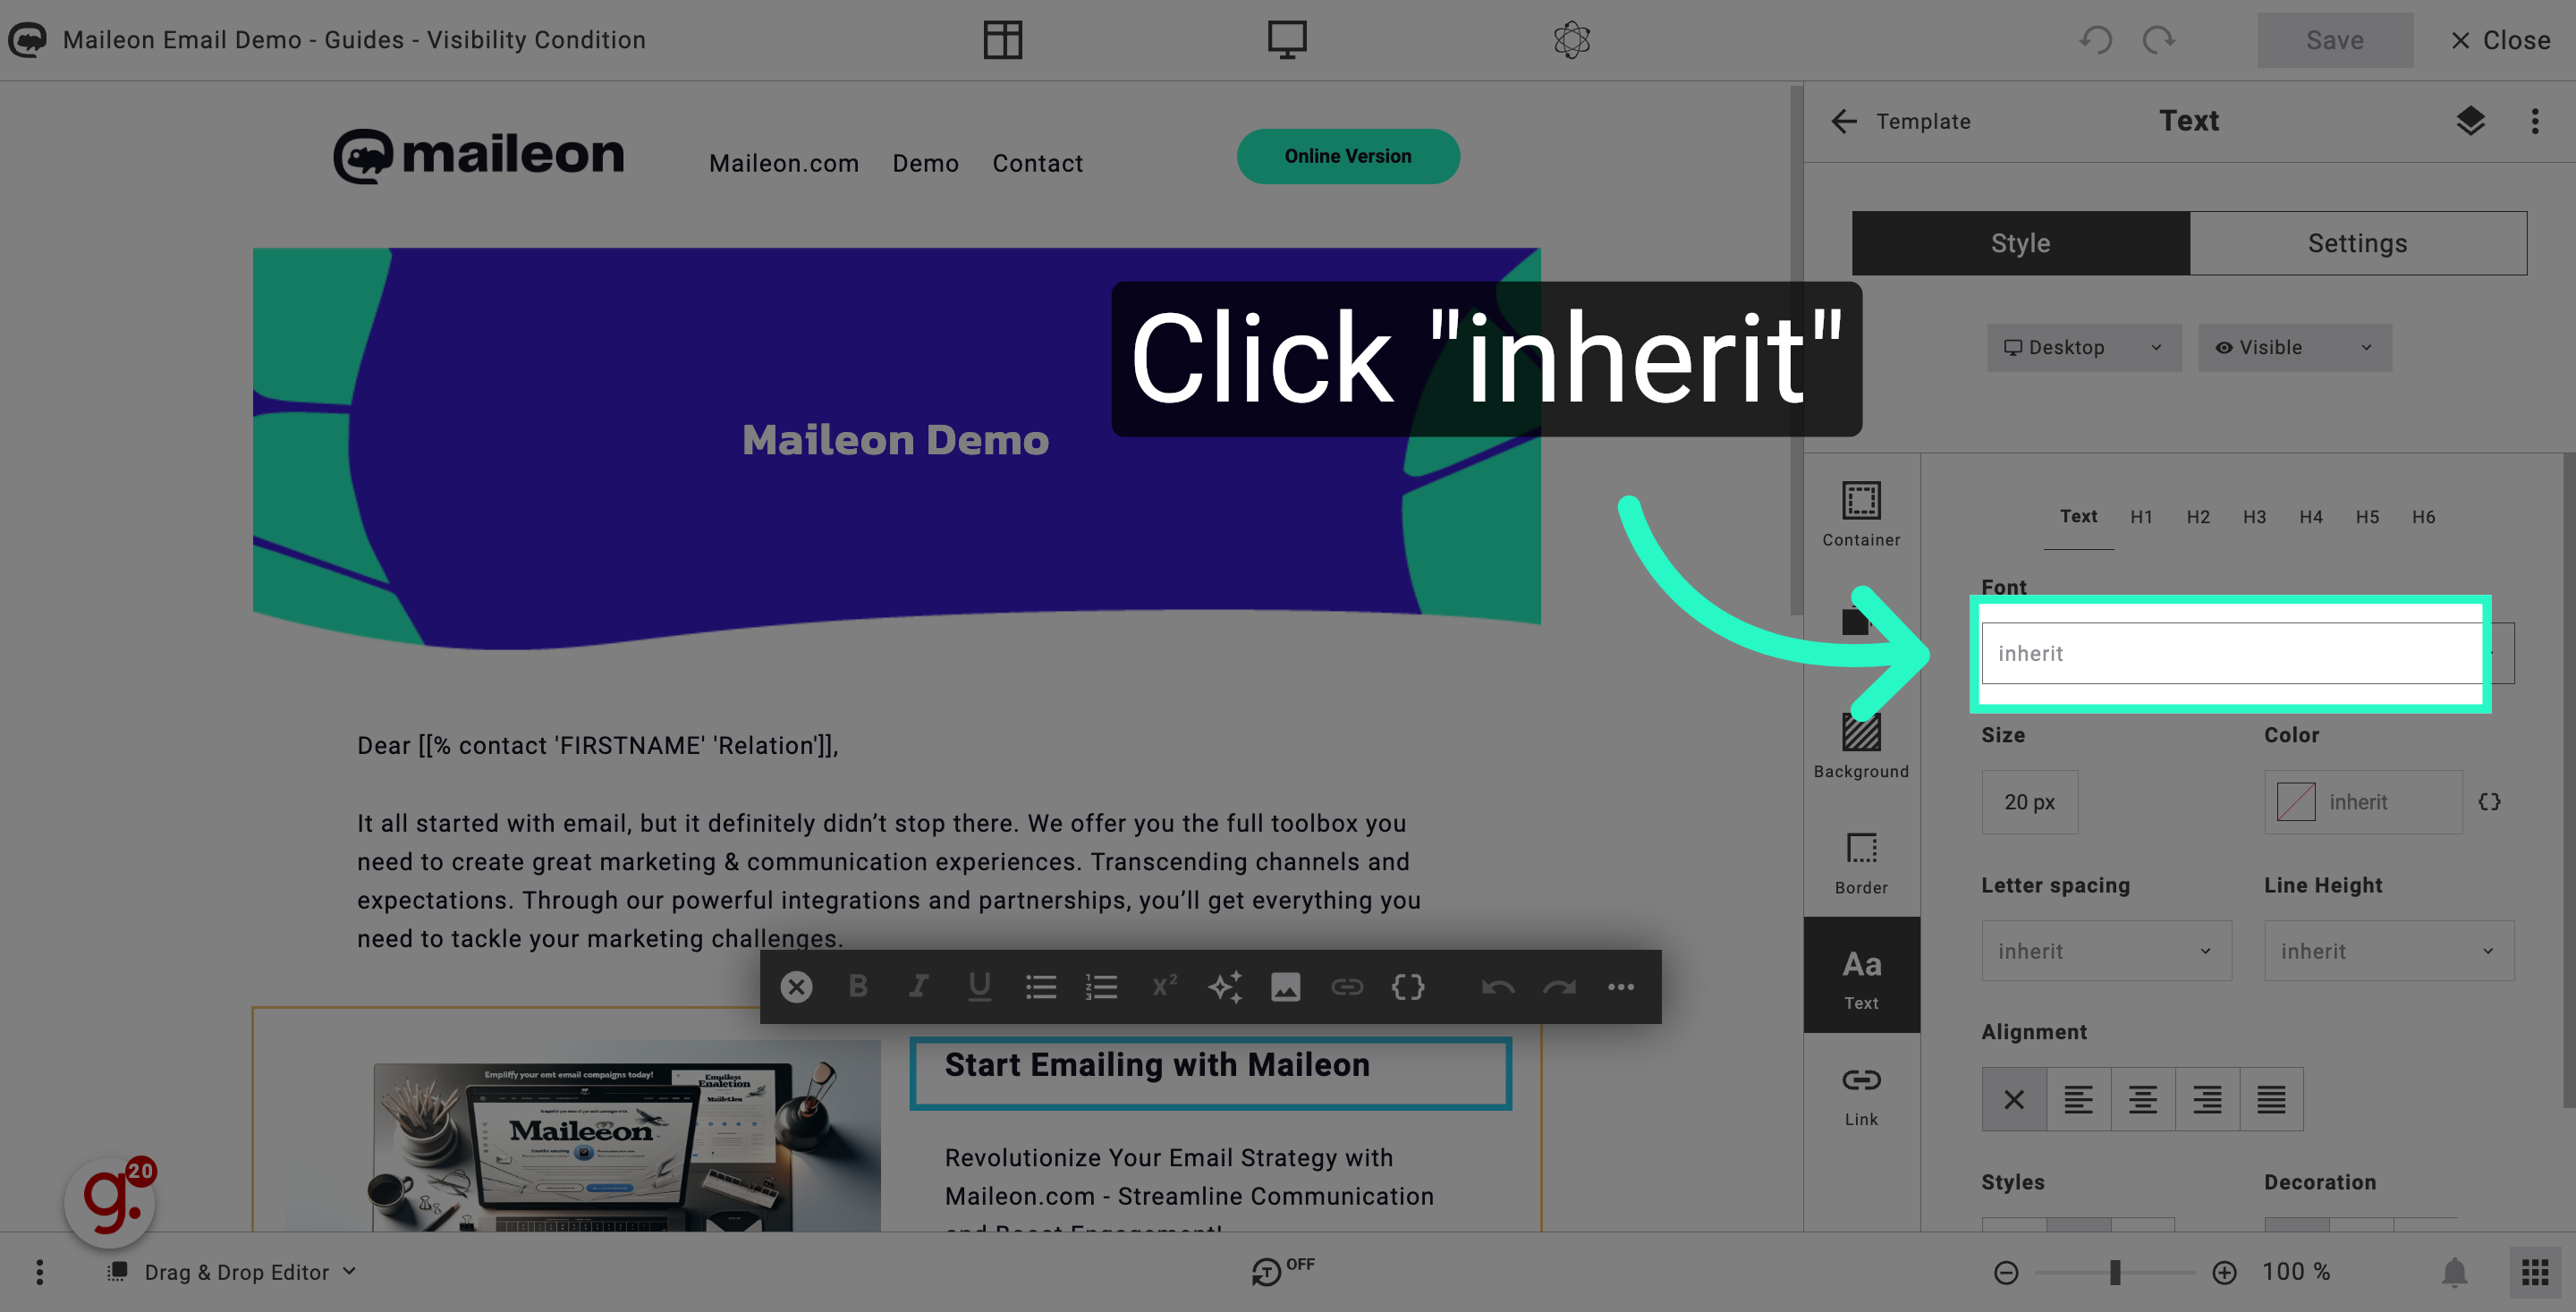
12. Click "inherit" to select your font type
Click "inherit" to select your font type.
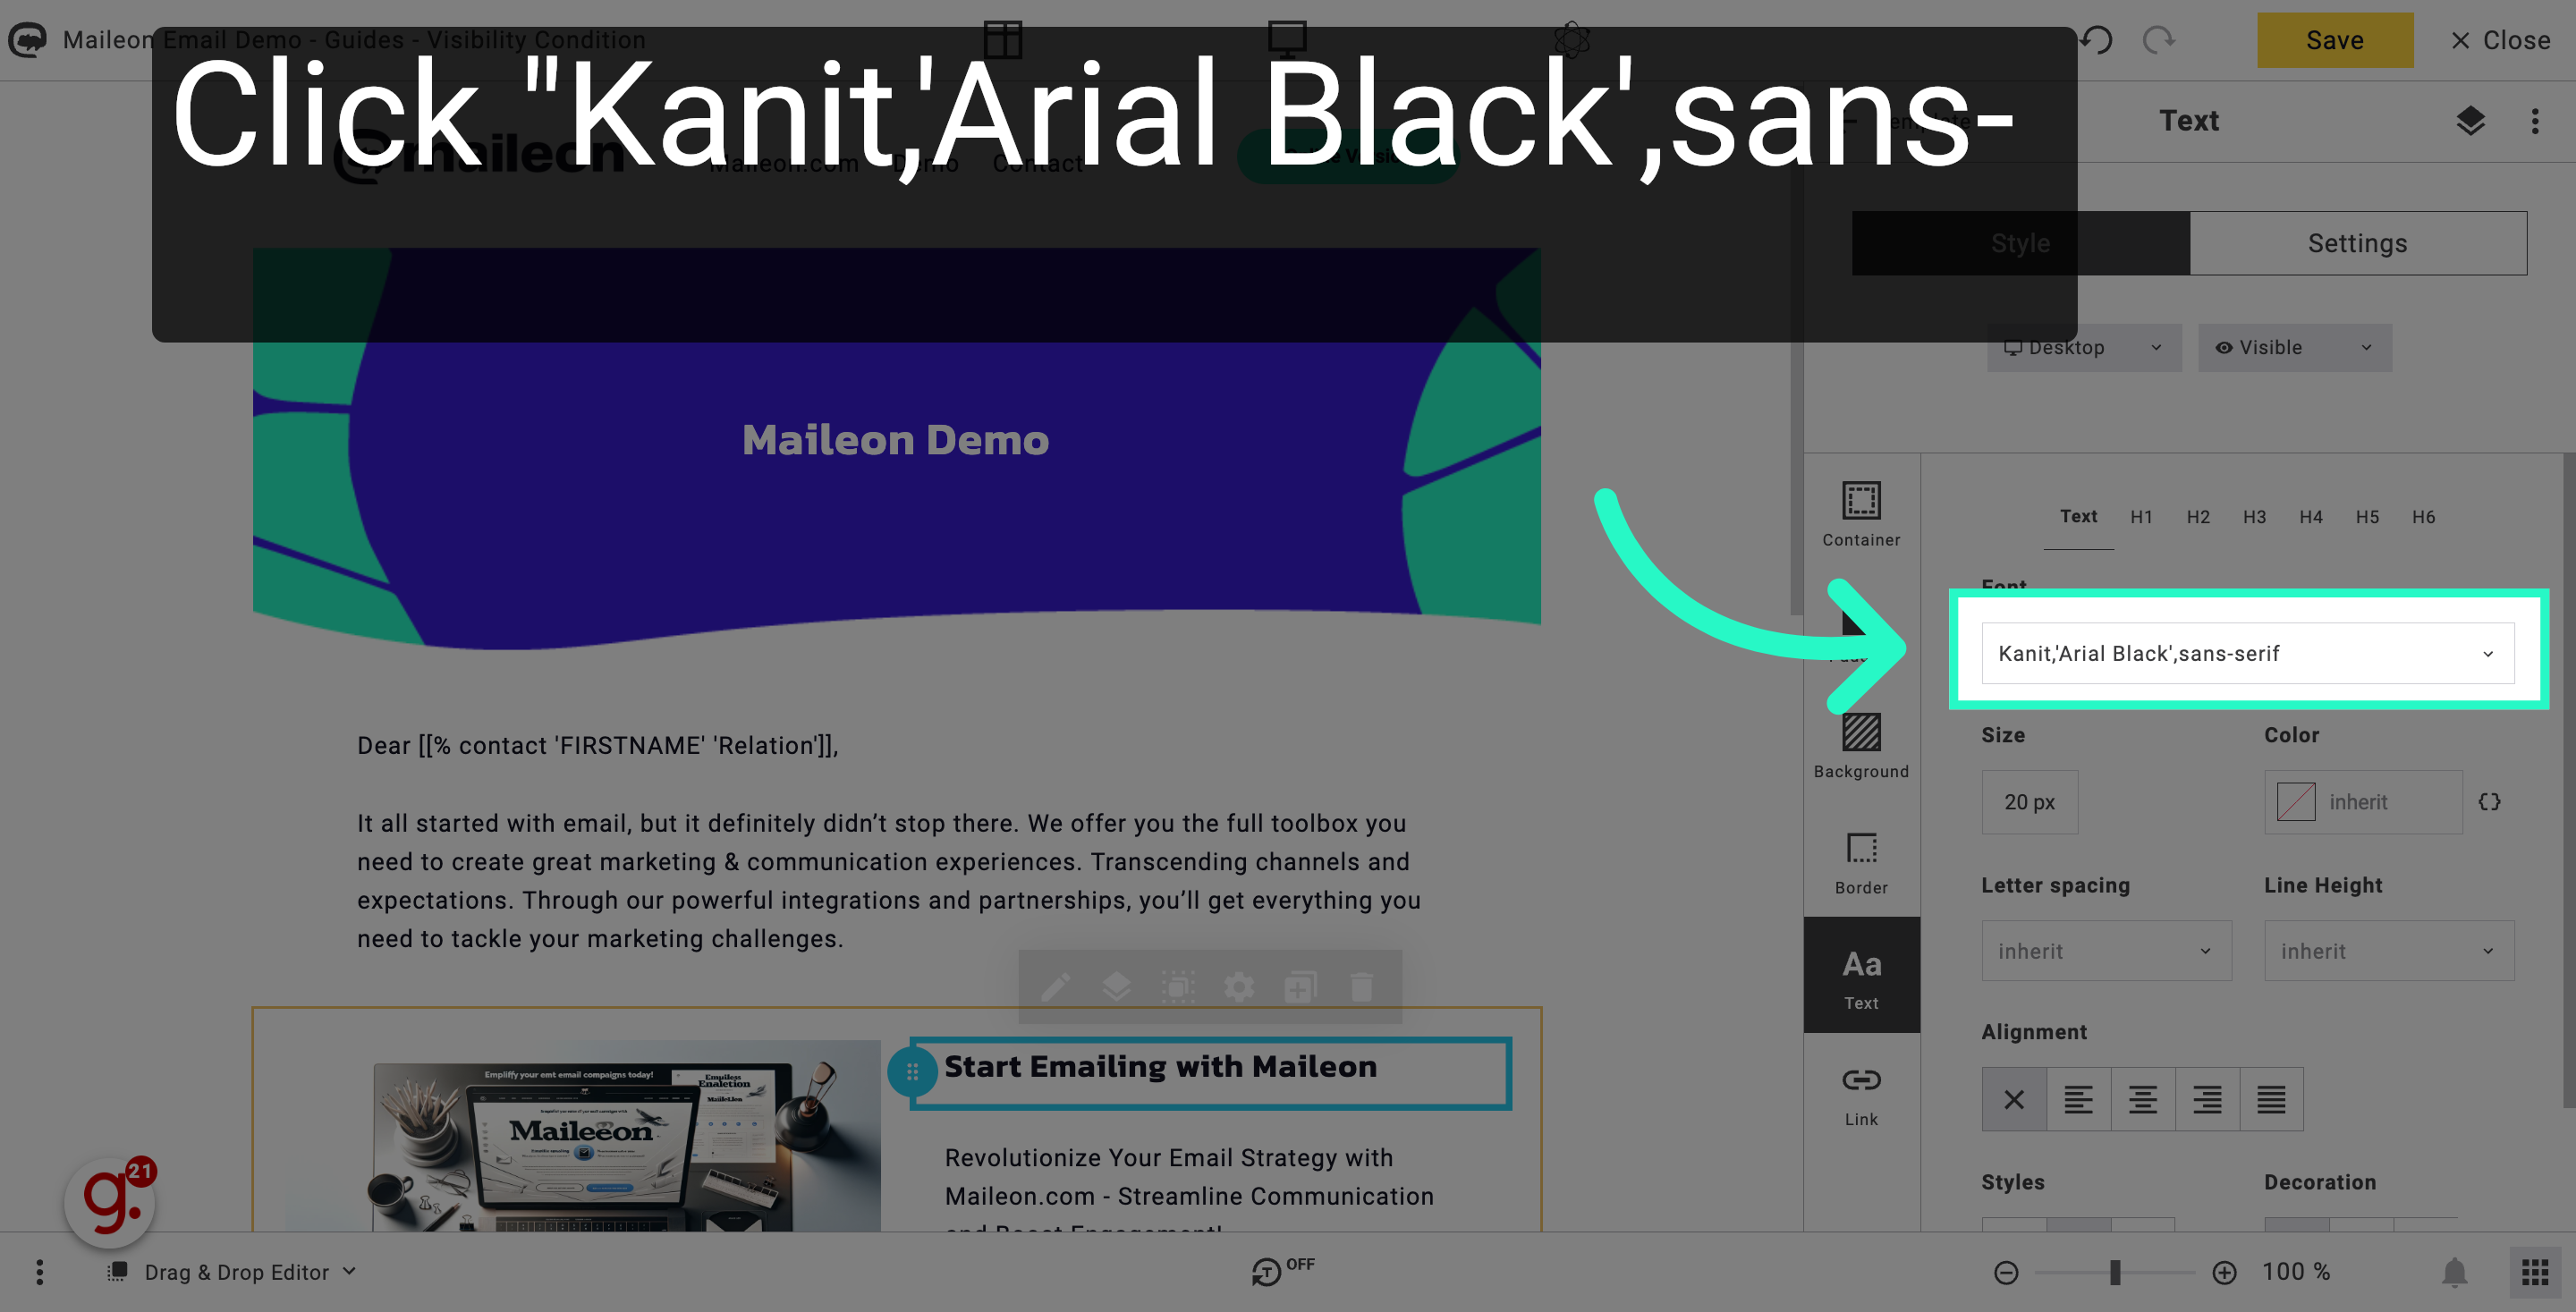
13. Select the font type you've added to your template
Select the font type you've added to your template. In this case we added the "Kanit" font type.
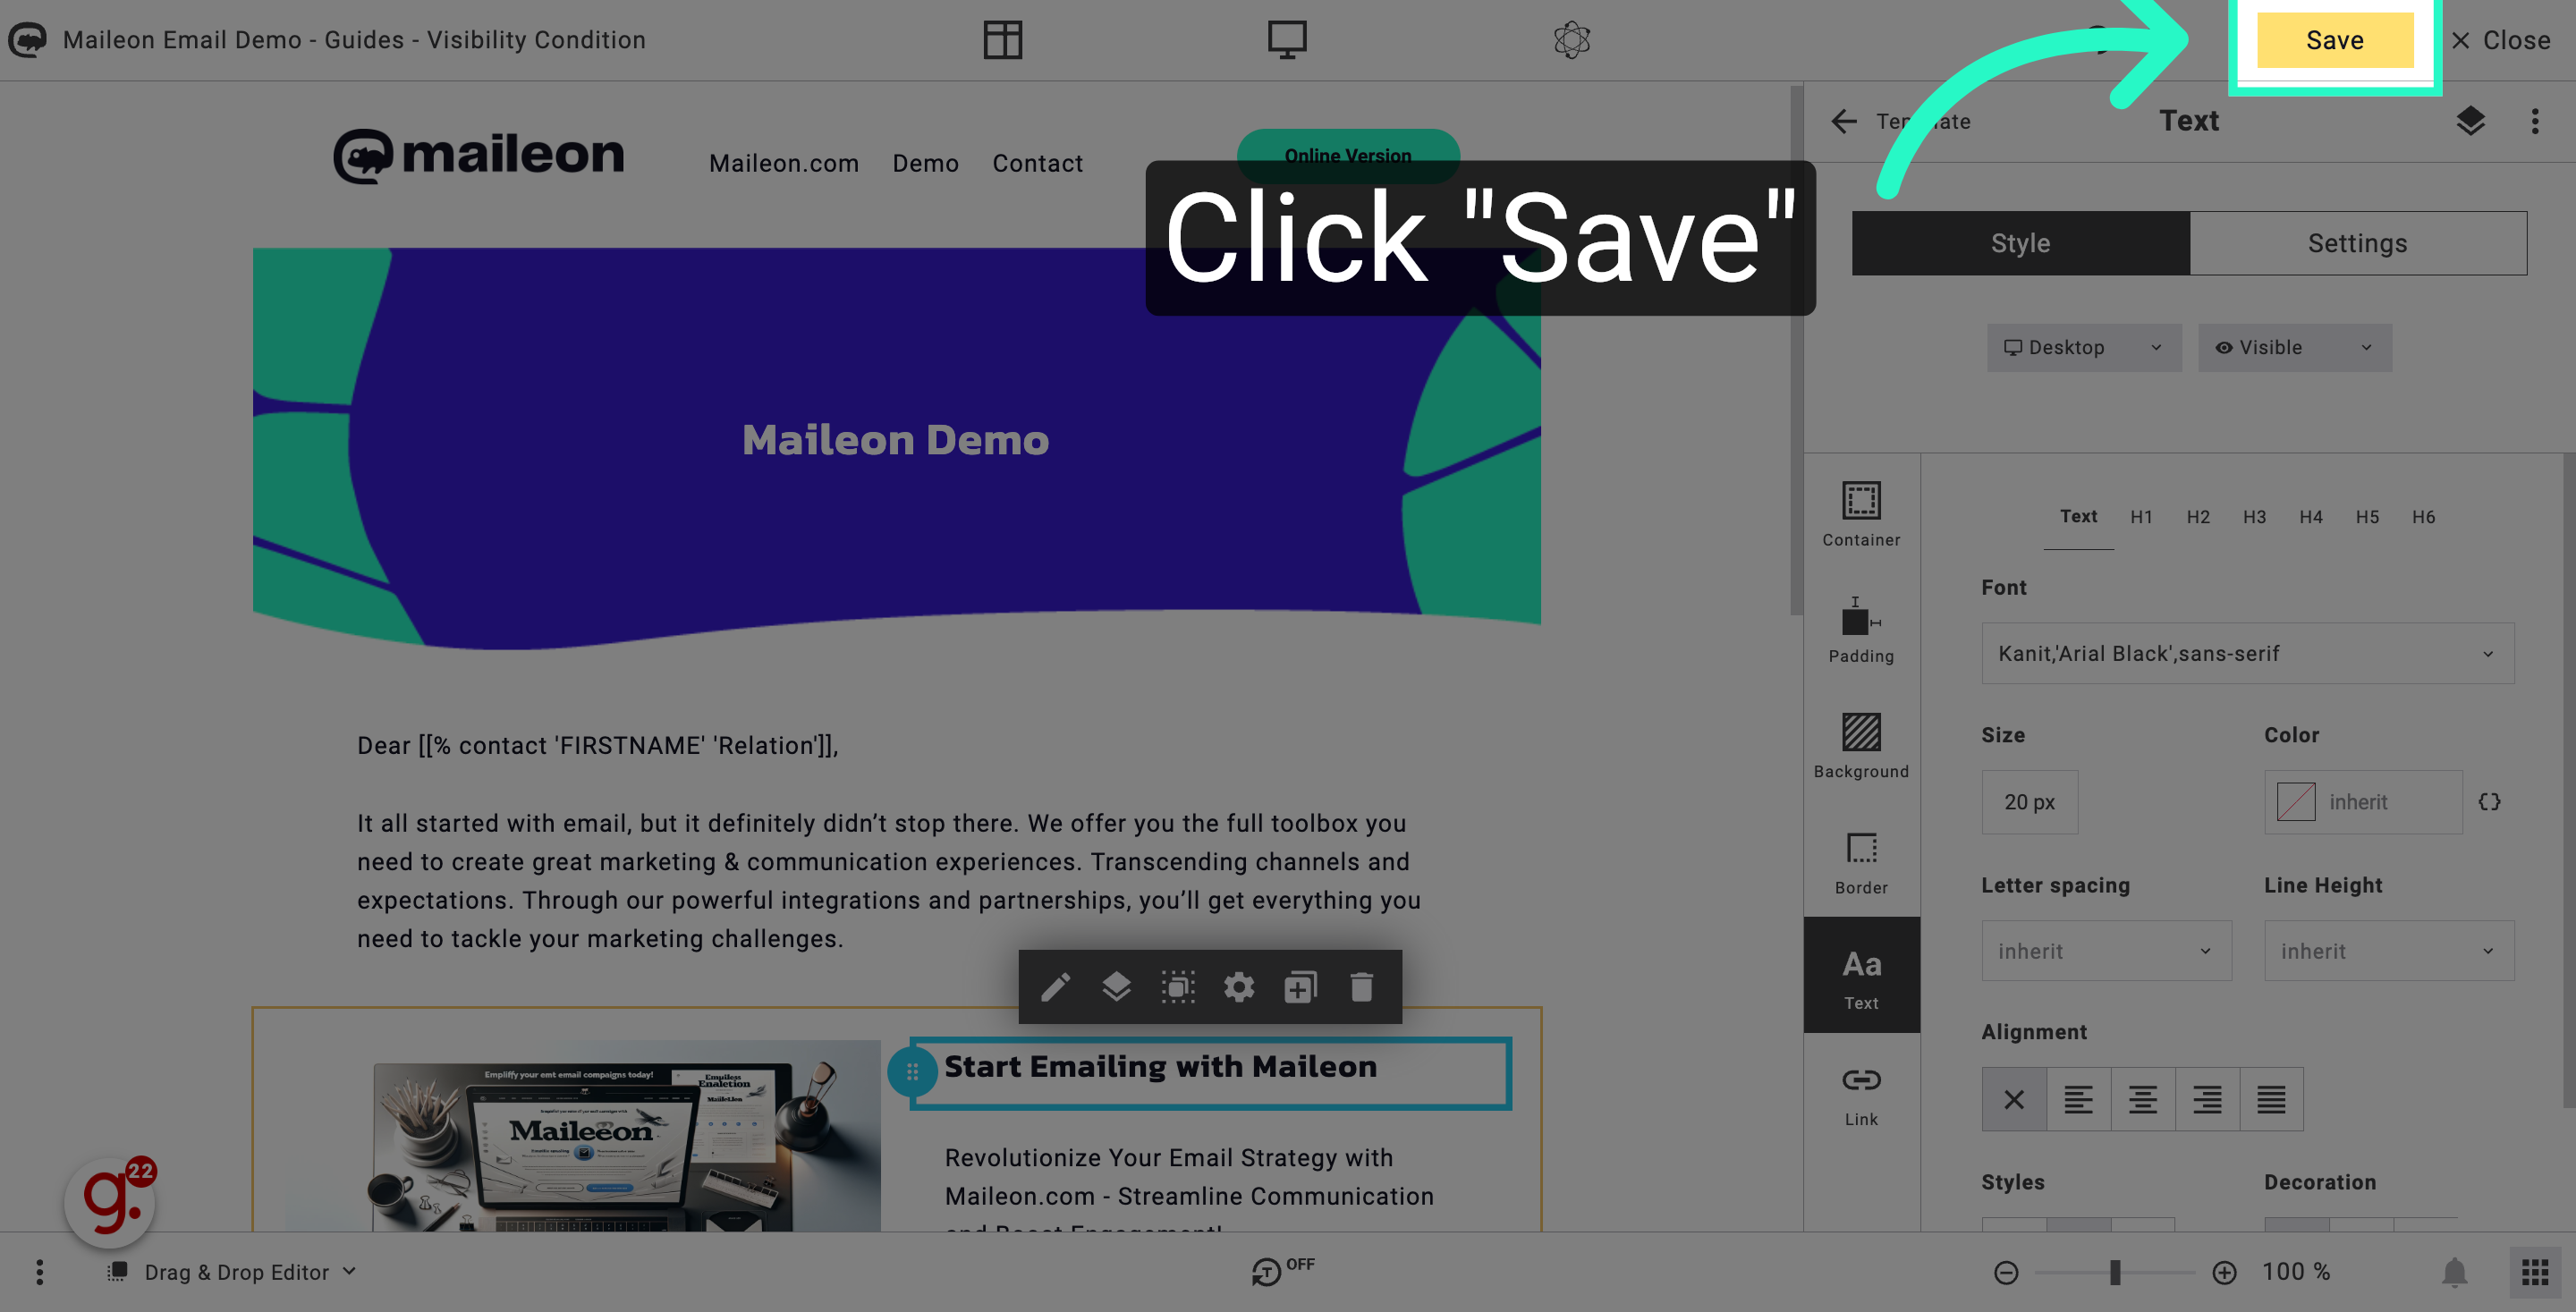
14. Click "Save"
Click on the "Save" button.
This guide covered the process of adding a Google Font to your templates. By following the provided instructions, you can easily customize the typography of your content.