
This tutorial guides you through configuring notification recipients in Maileon.
1. Introduction
You will learn how to update recipients for failed sendout and contact import notifications to ensure proper alerts.
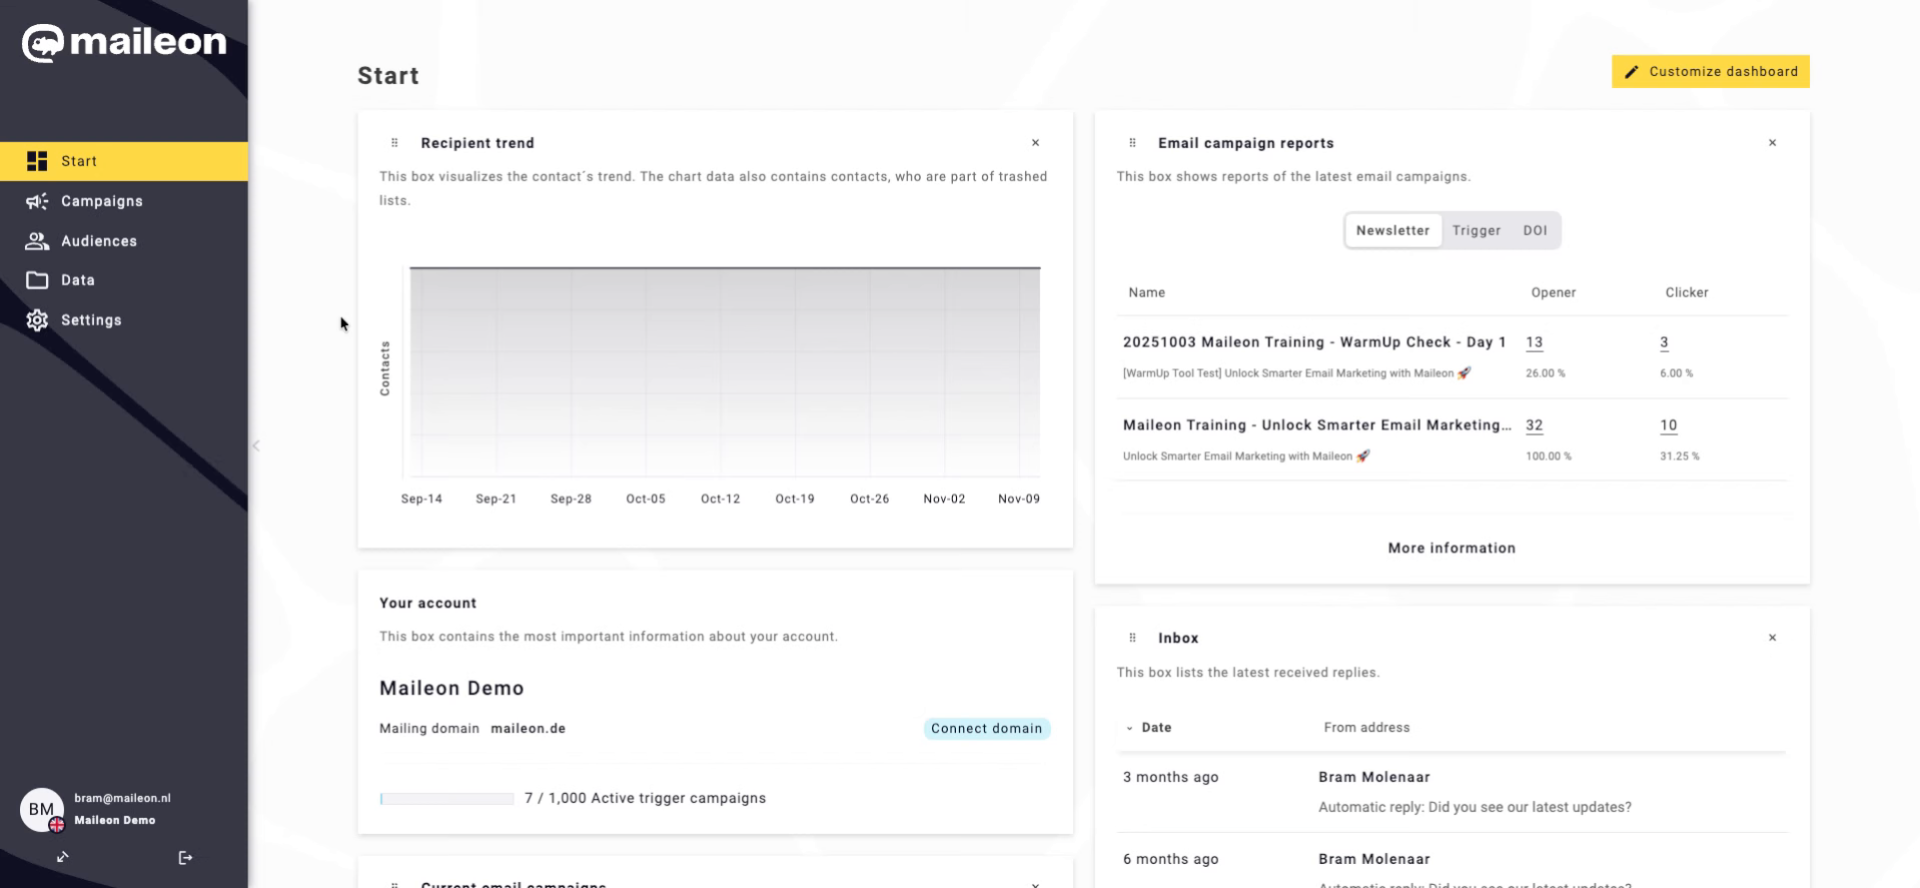
2. Access Settings Menu
Click the Settings tab to open the main configuration menu.
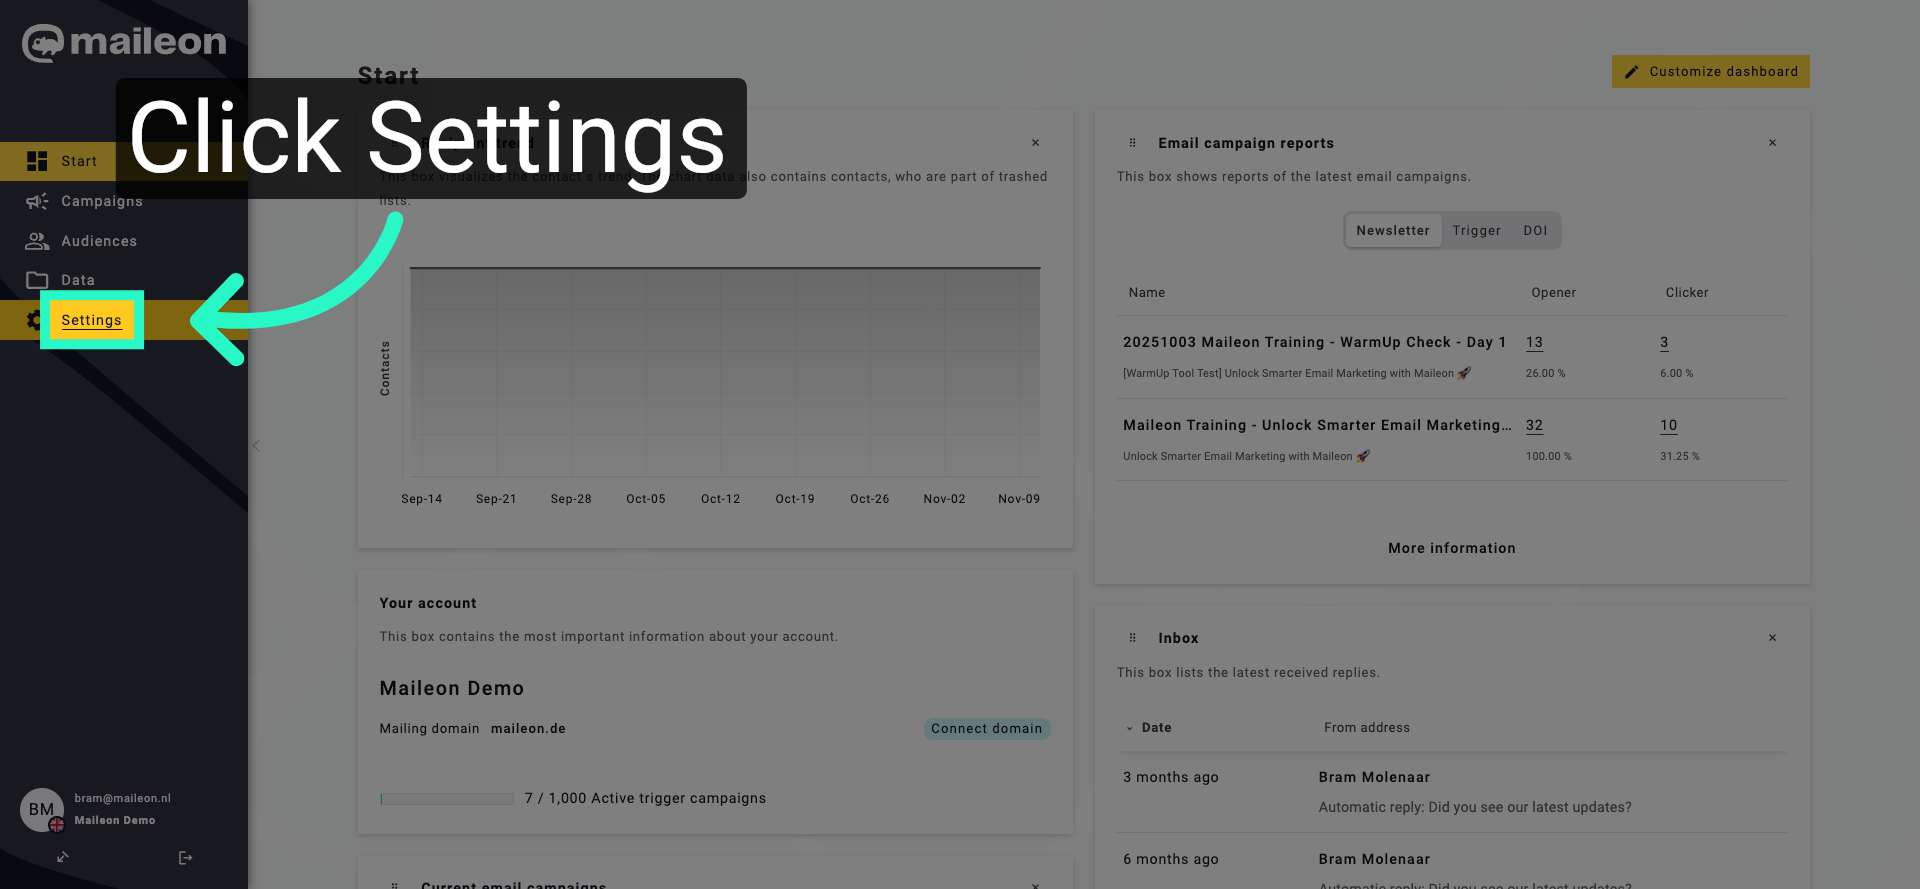
3. Open Notifications Settings
Click the Notifications option to manage your notification preferences.
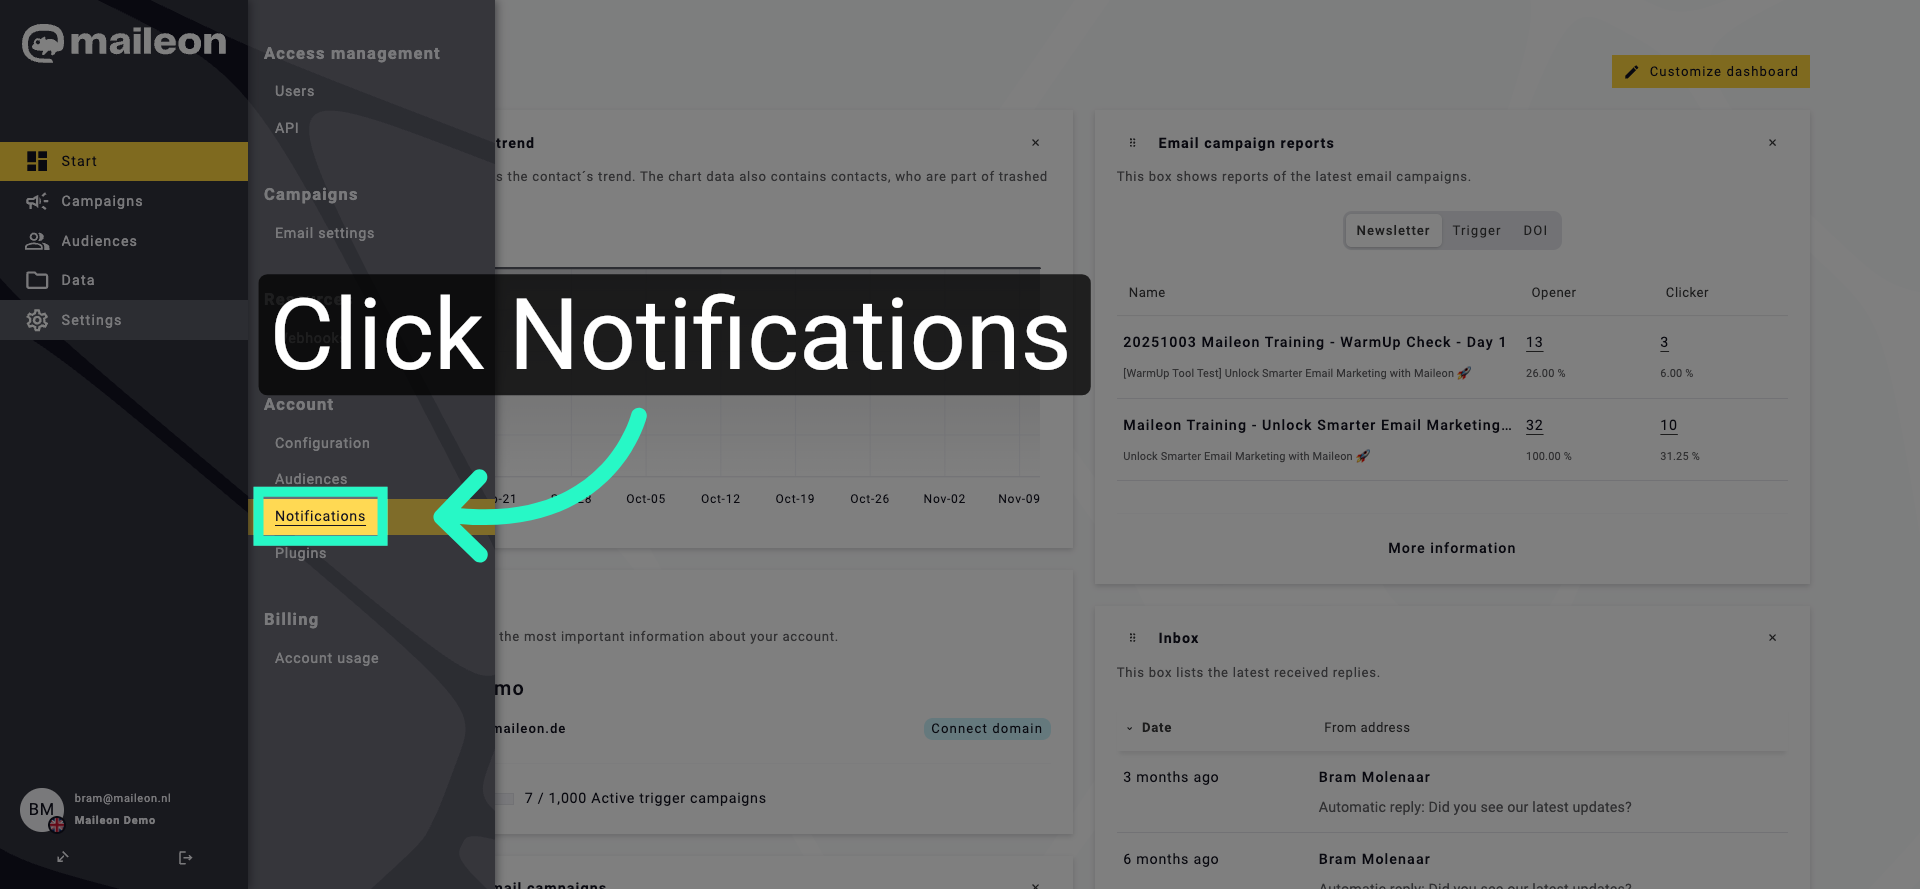
4. View Sendout Failed Recipients
Open the Recipients section for Sendout failed notifications to review current recipients.
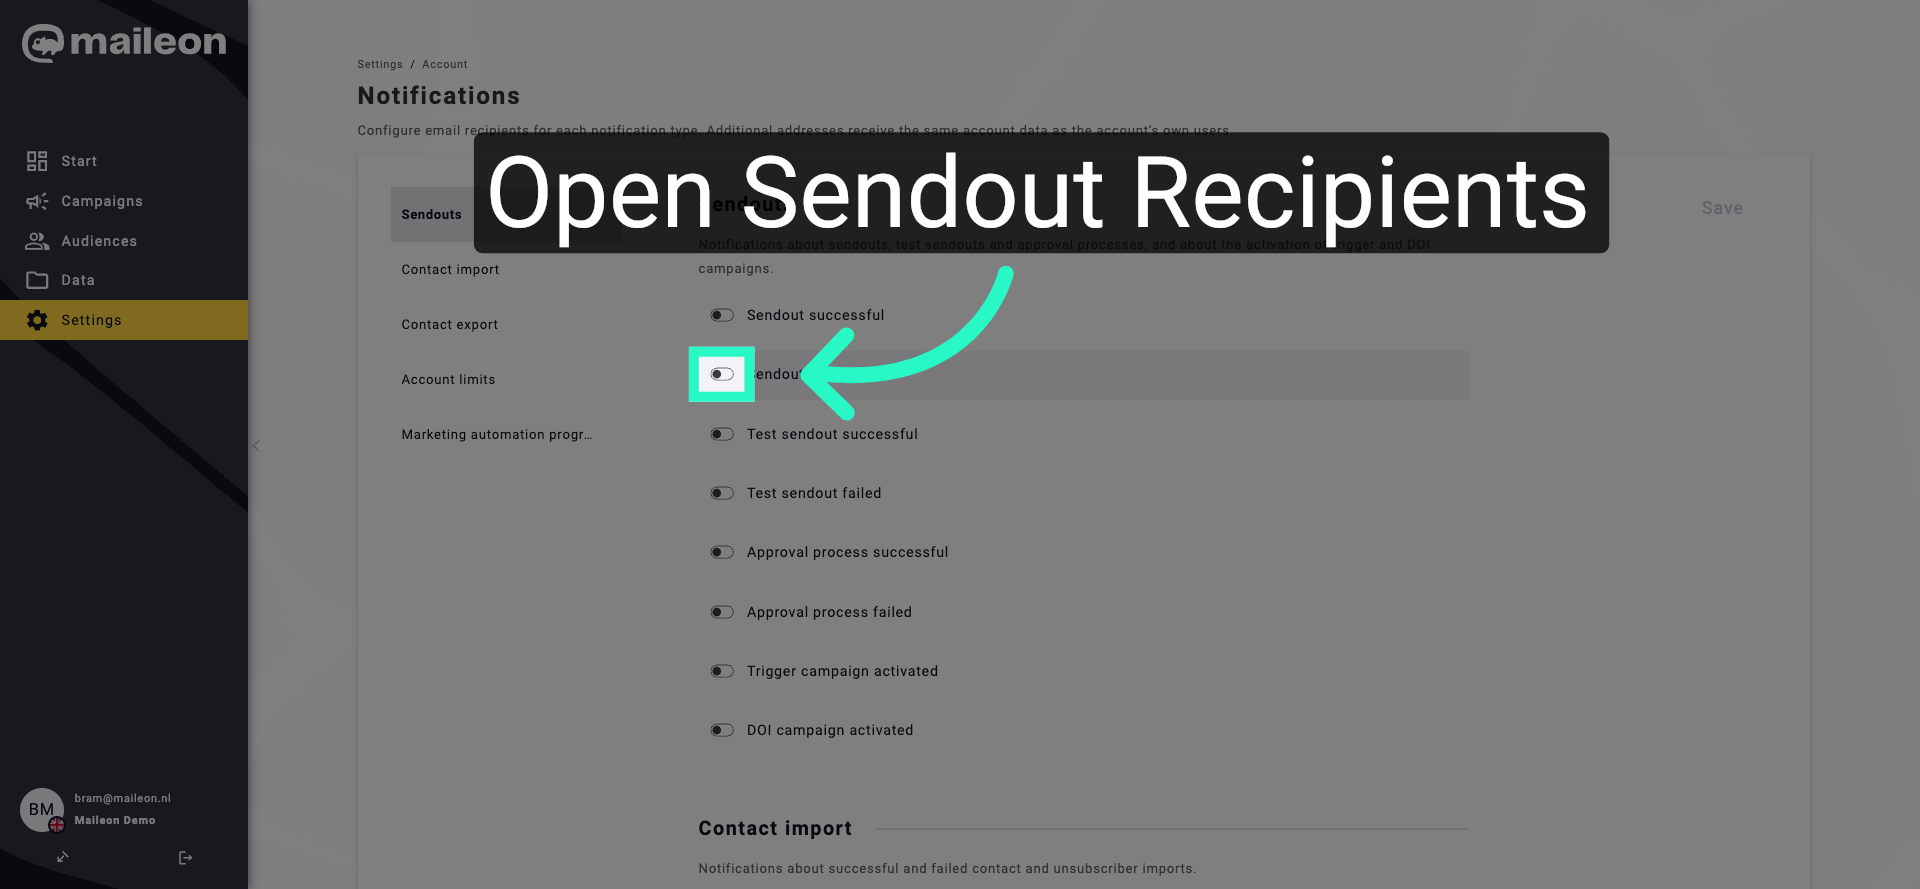
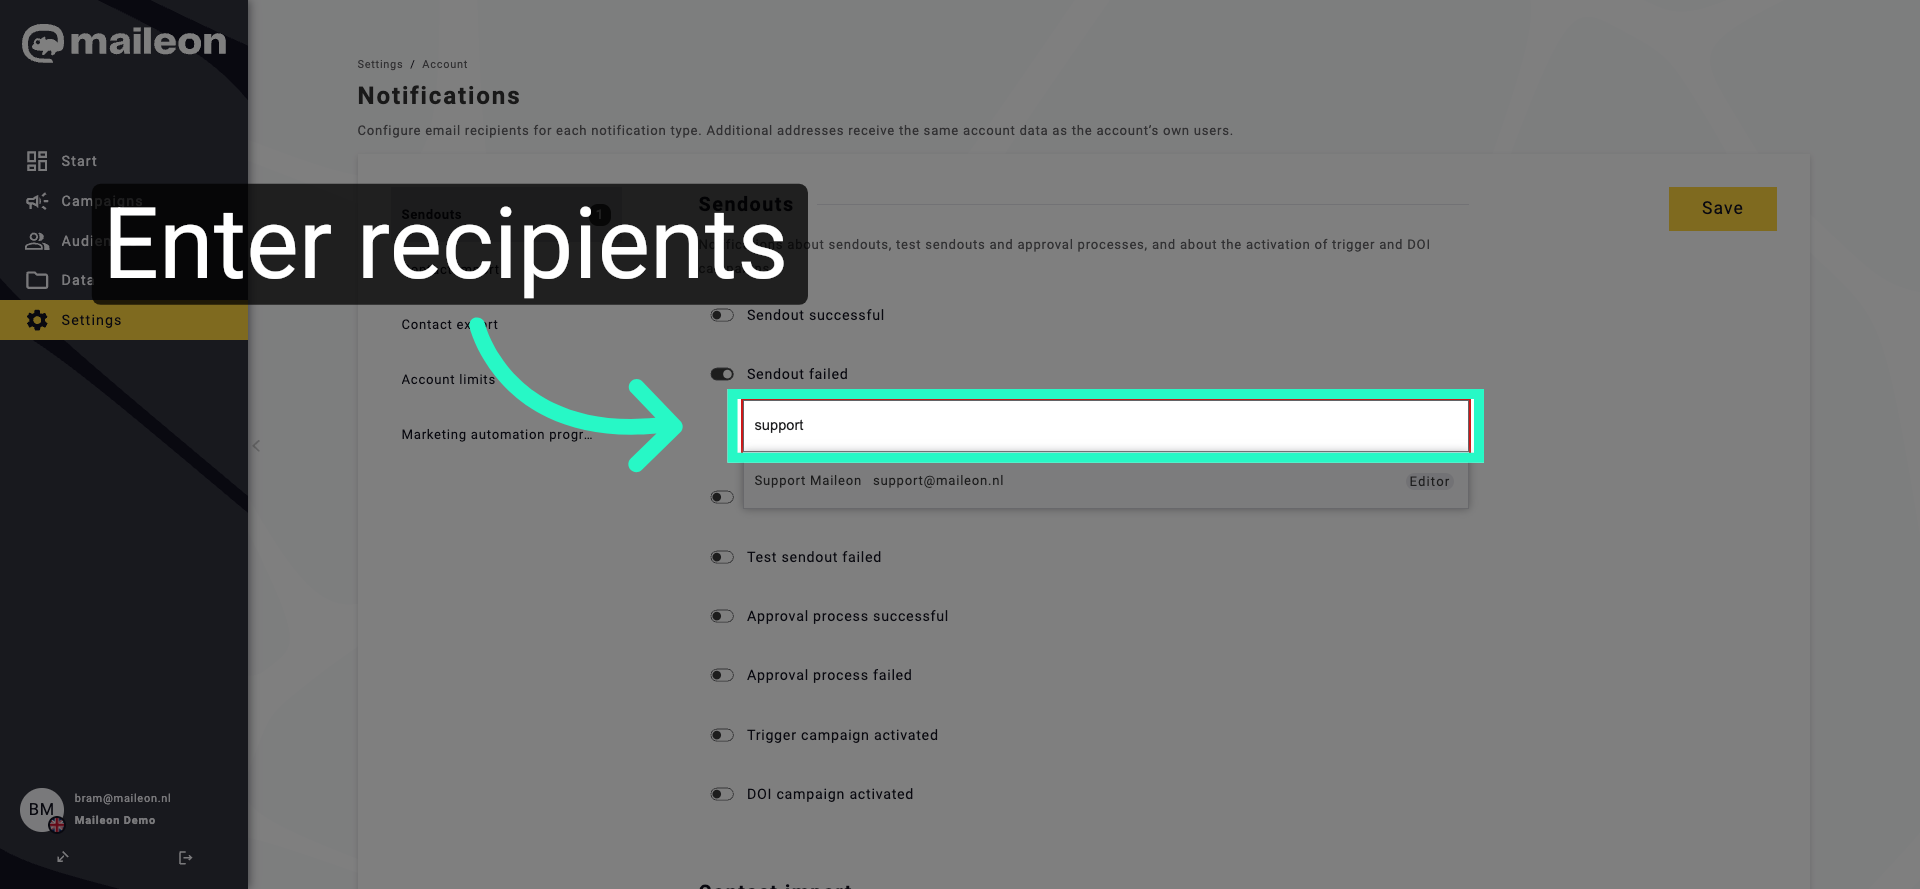
5. Enter Sendout Failed Recipients
Click the Recipients field for Sendout failed notifications, enter the recipient details, and update the list accordingly.
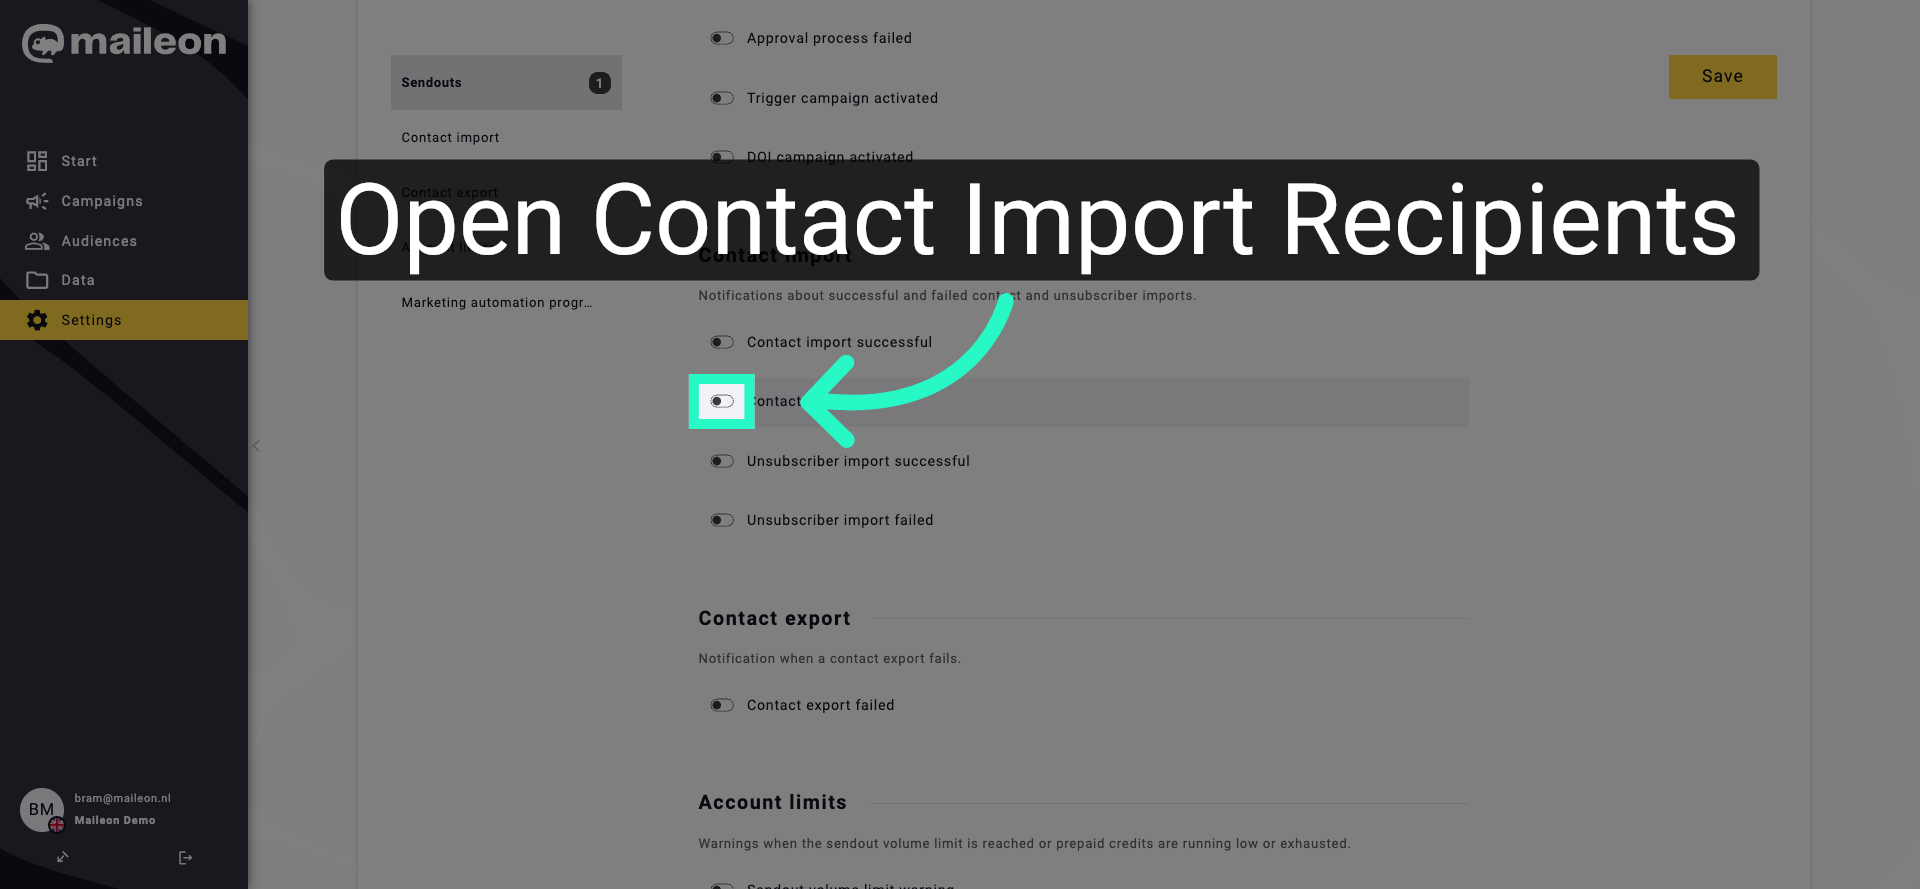
6. View Contact Import Failed Recipients
Open the Recipients section for Contact import failed notifications to access recipient settings.
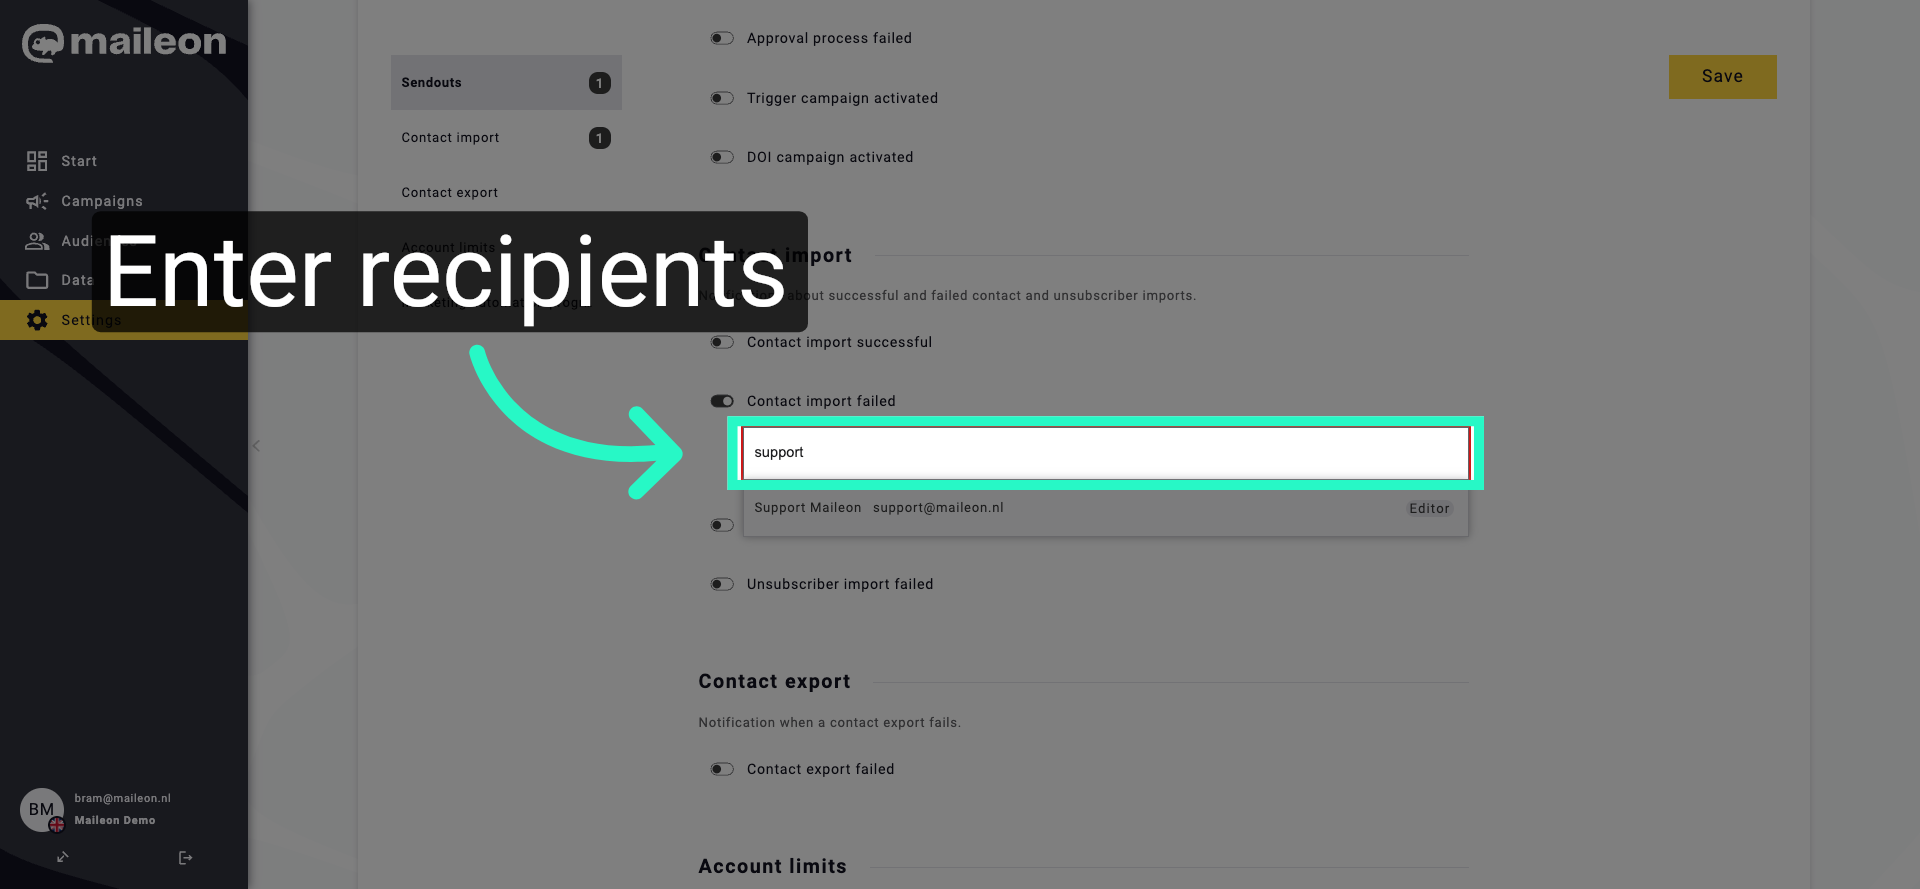
7. Enter Contact Import Failed Recipients
Click the Recipients field for Contact import failed notifications and enter the recipient information to update the notification list.
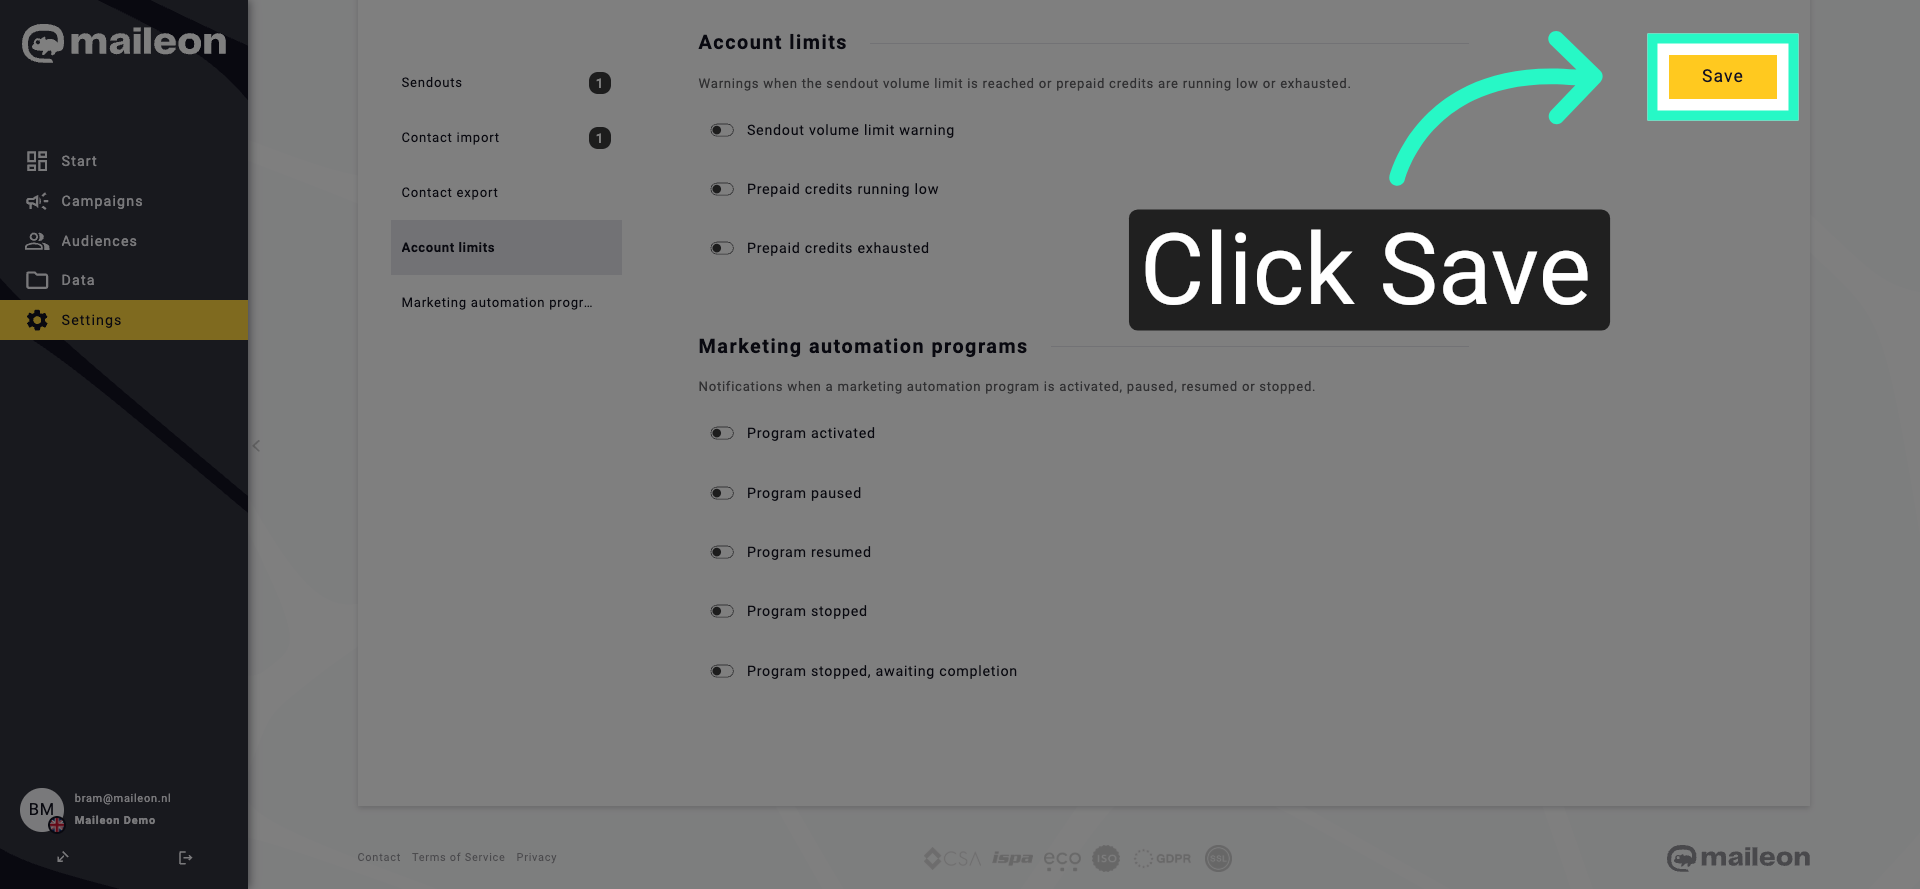
8. Save Notification Settings
Click the Save button to apply all changes made to the notification recipients.
You have successfully configured the recipients for Sendout failed and Contact import failed notifications in the Maileon settings. Next, you can explore additional notification options or review your email campaign settings for further customisation.