
This tutorial guides you through uploading a calendar file into Maileon.
Go to damenmotorkleding-news-mailer.maileon.com
1. Introduction
You will learn how to navigate the interface and complete the upload process efficiently.
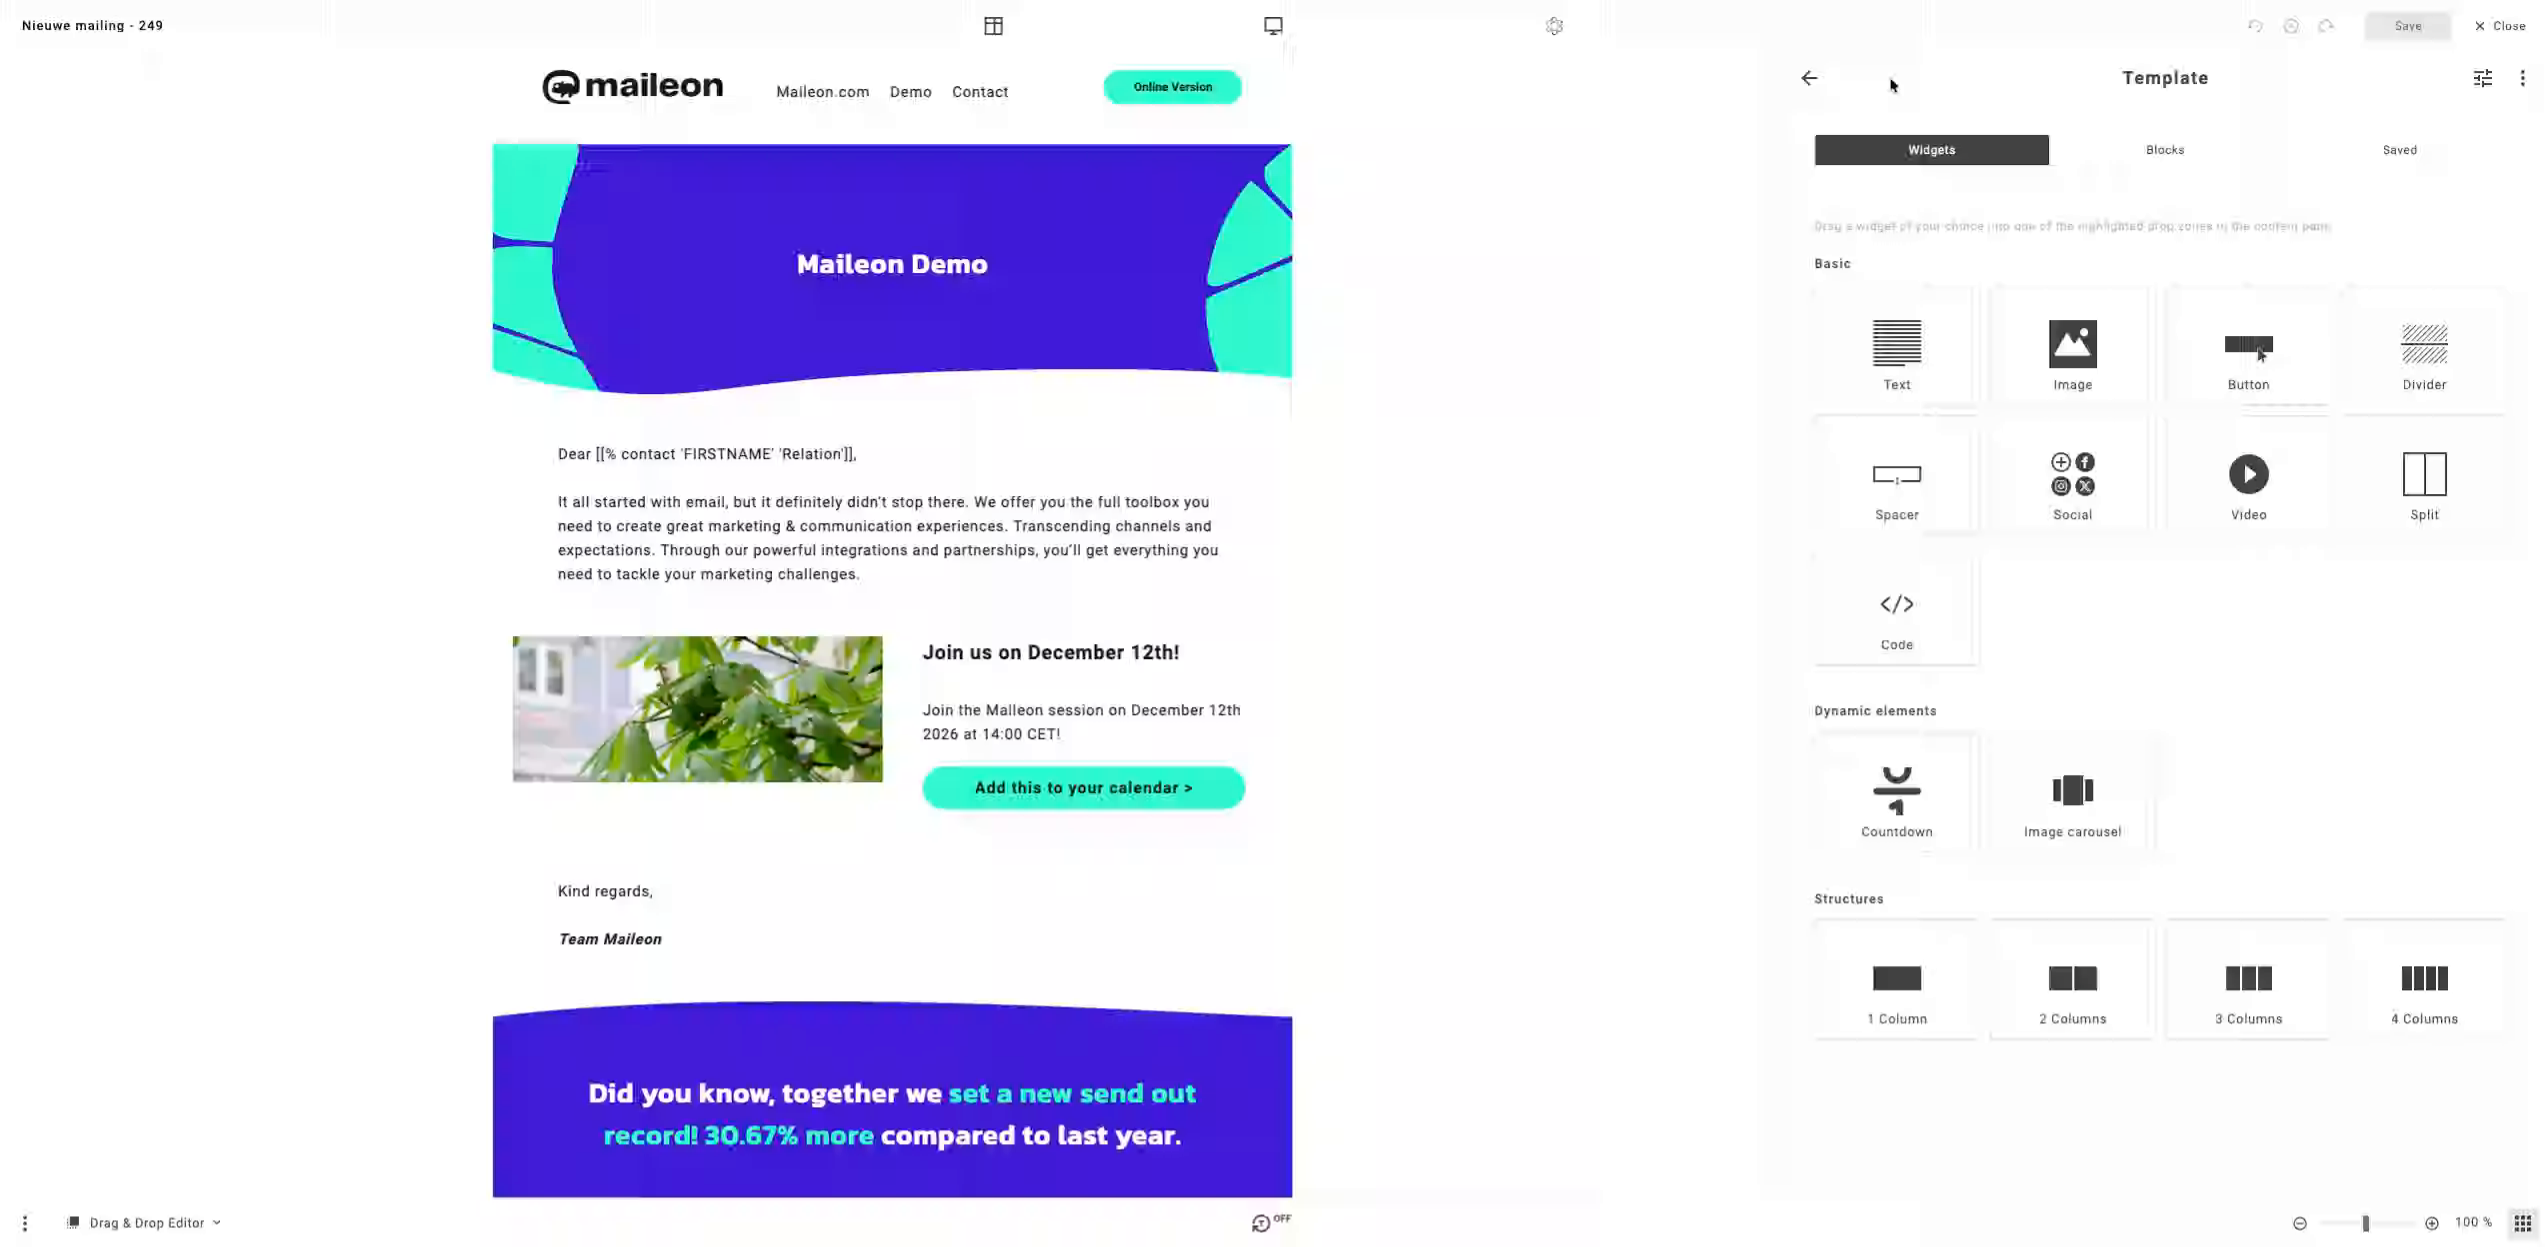
2. Access the Main Menu
Click here to open the main menu in Maileon, where you can access various features and settings.
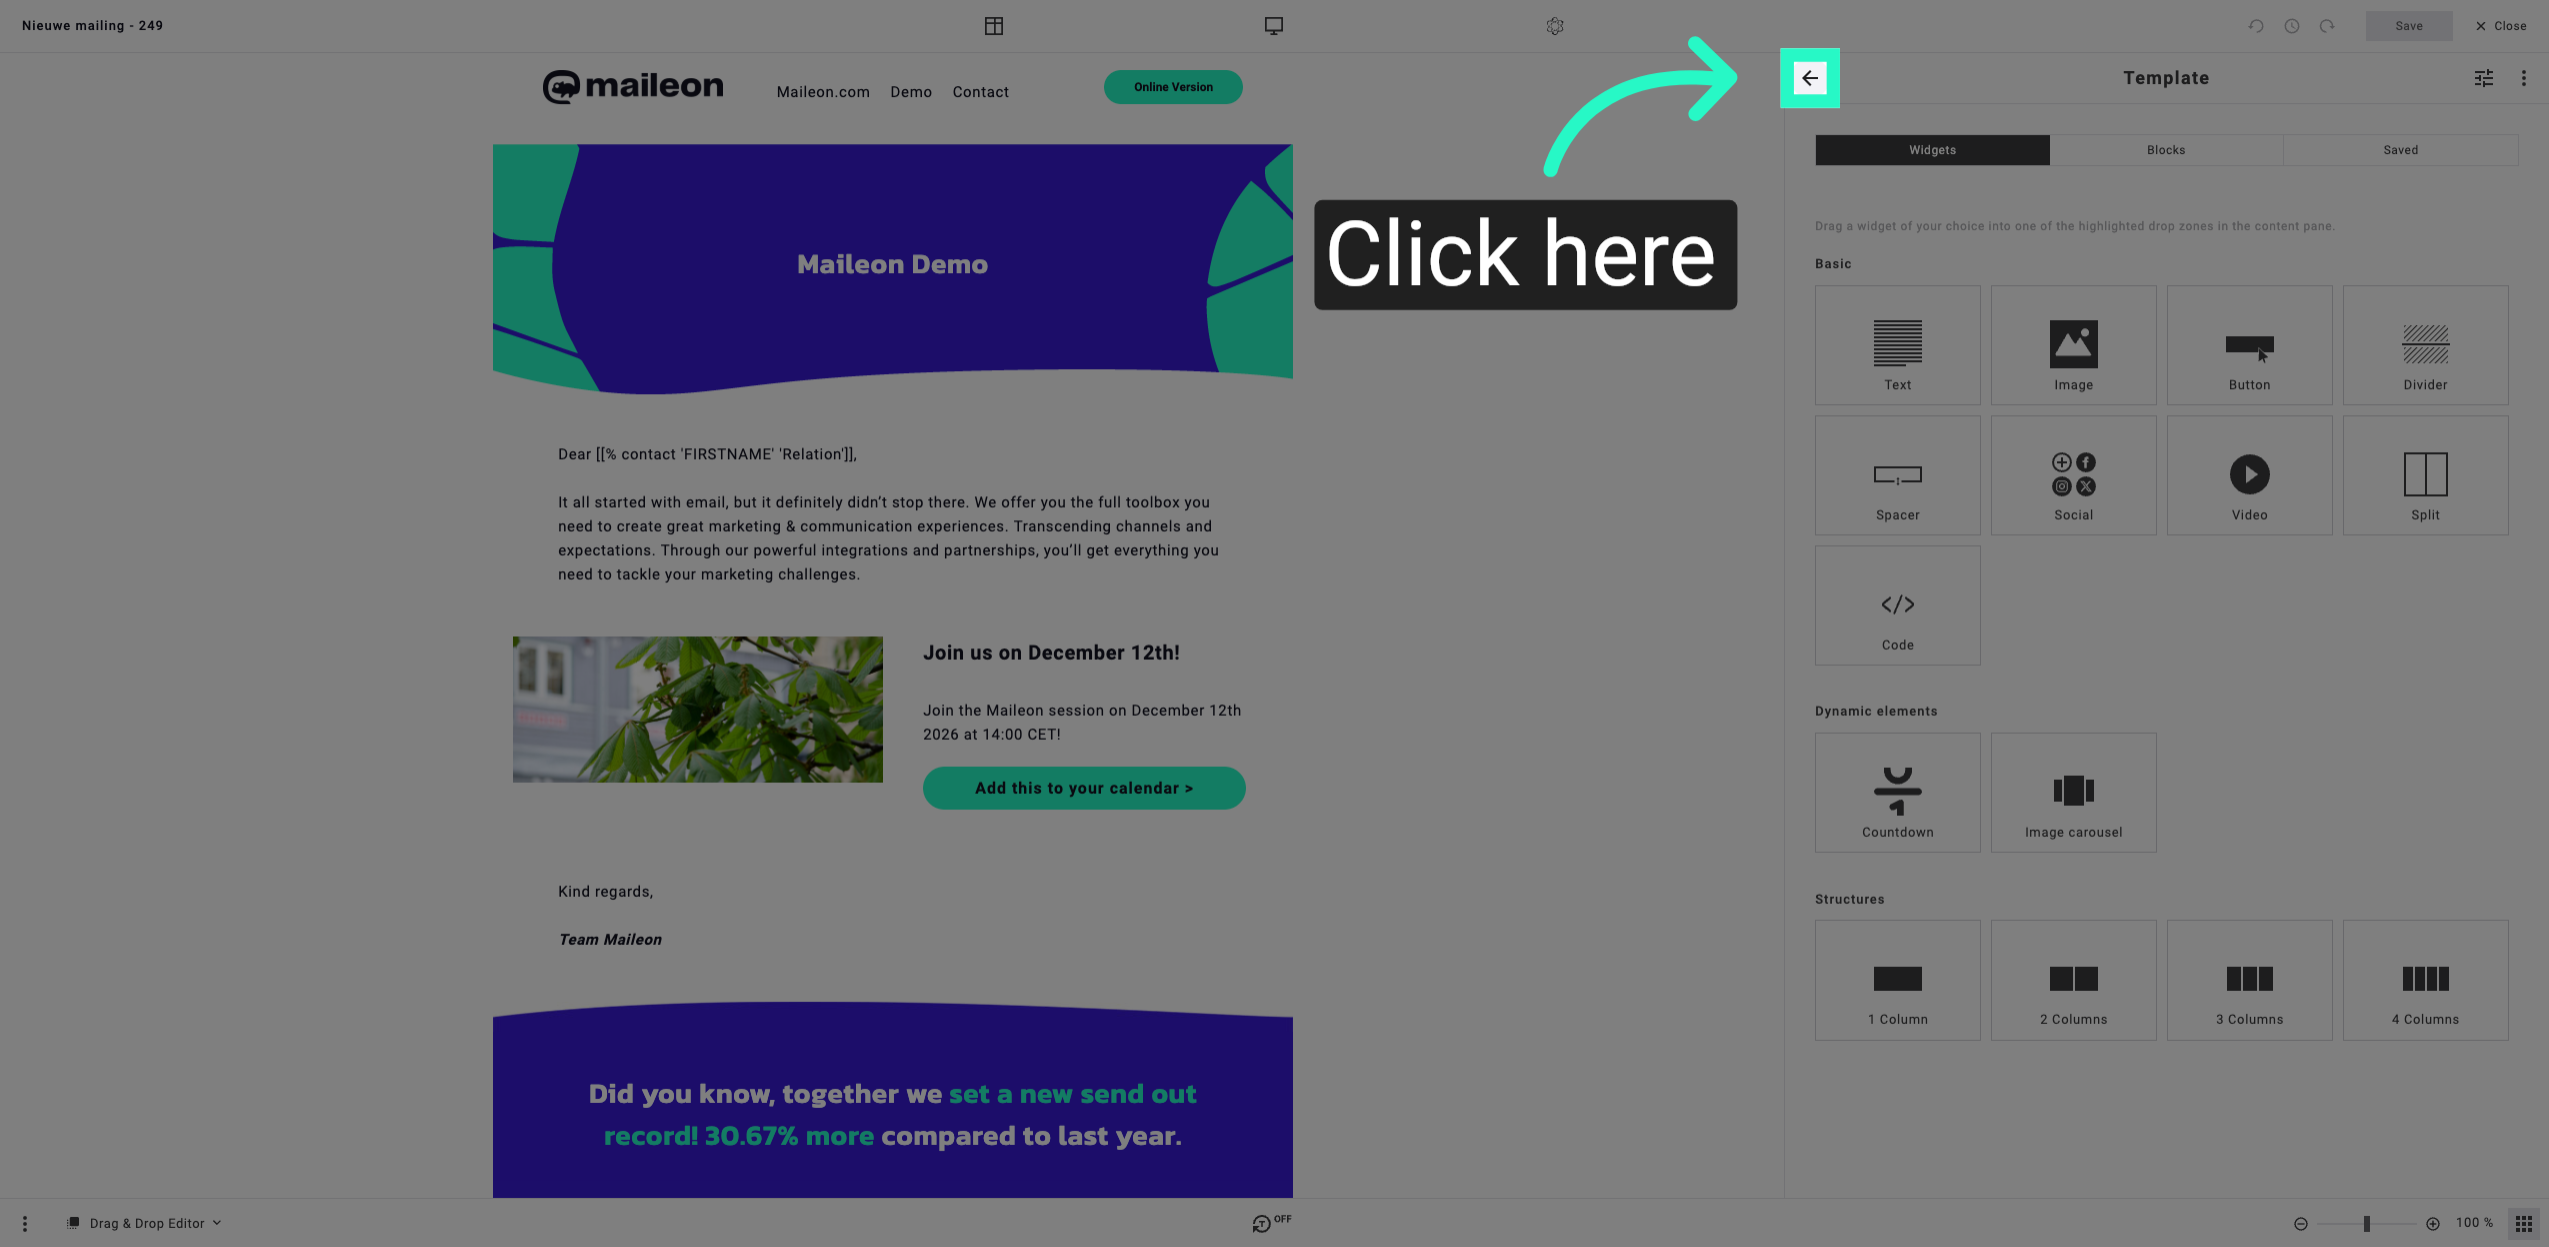
3. Open the Attachments Section
Click here to navigate to the attachments section within Maileon, preparing to add new files.
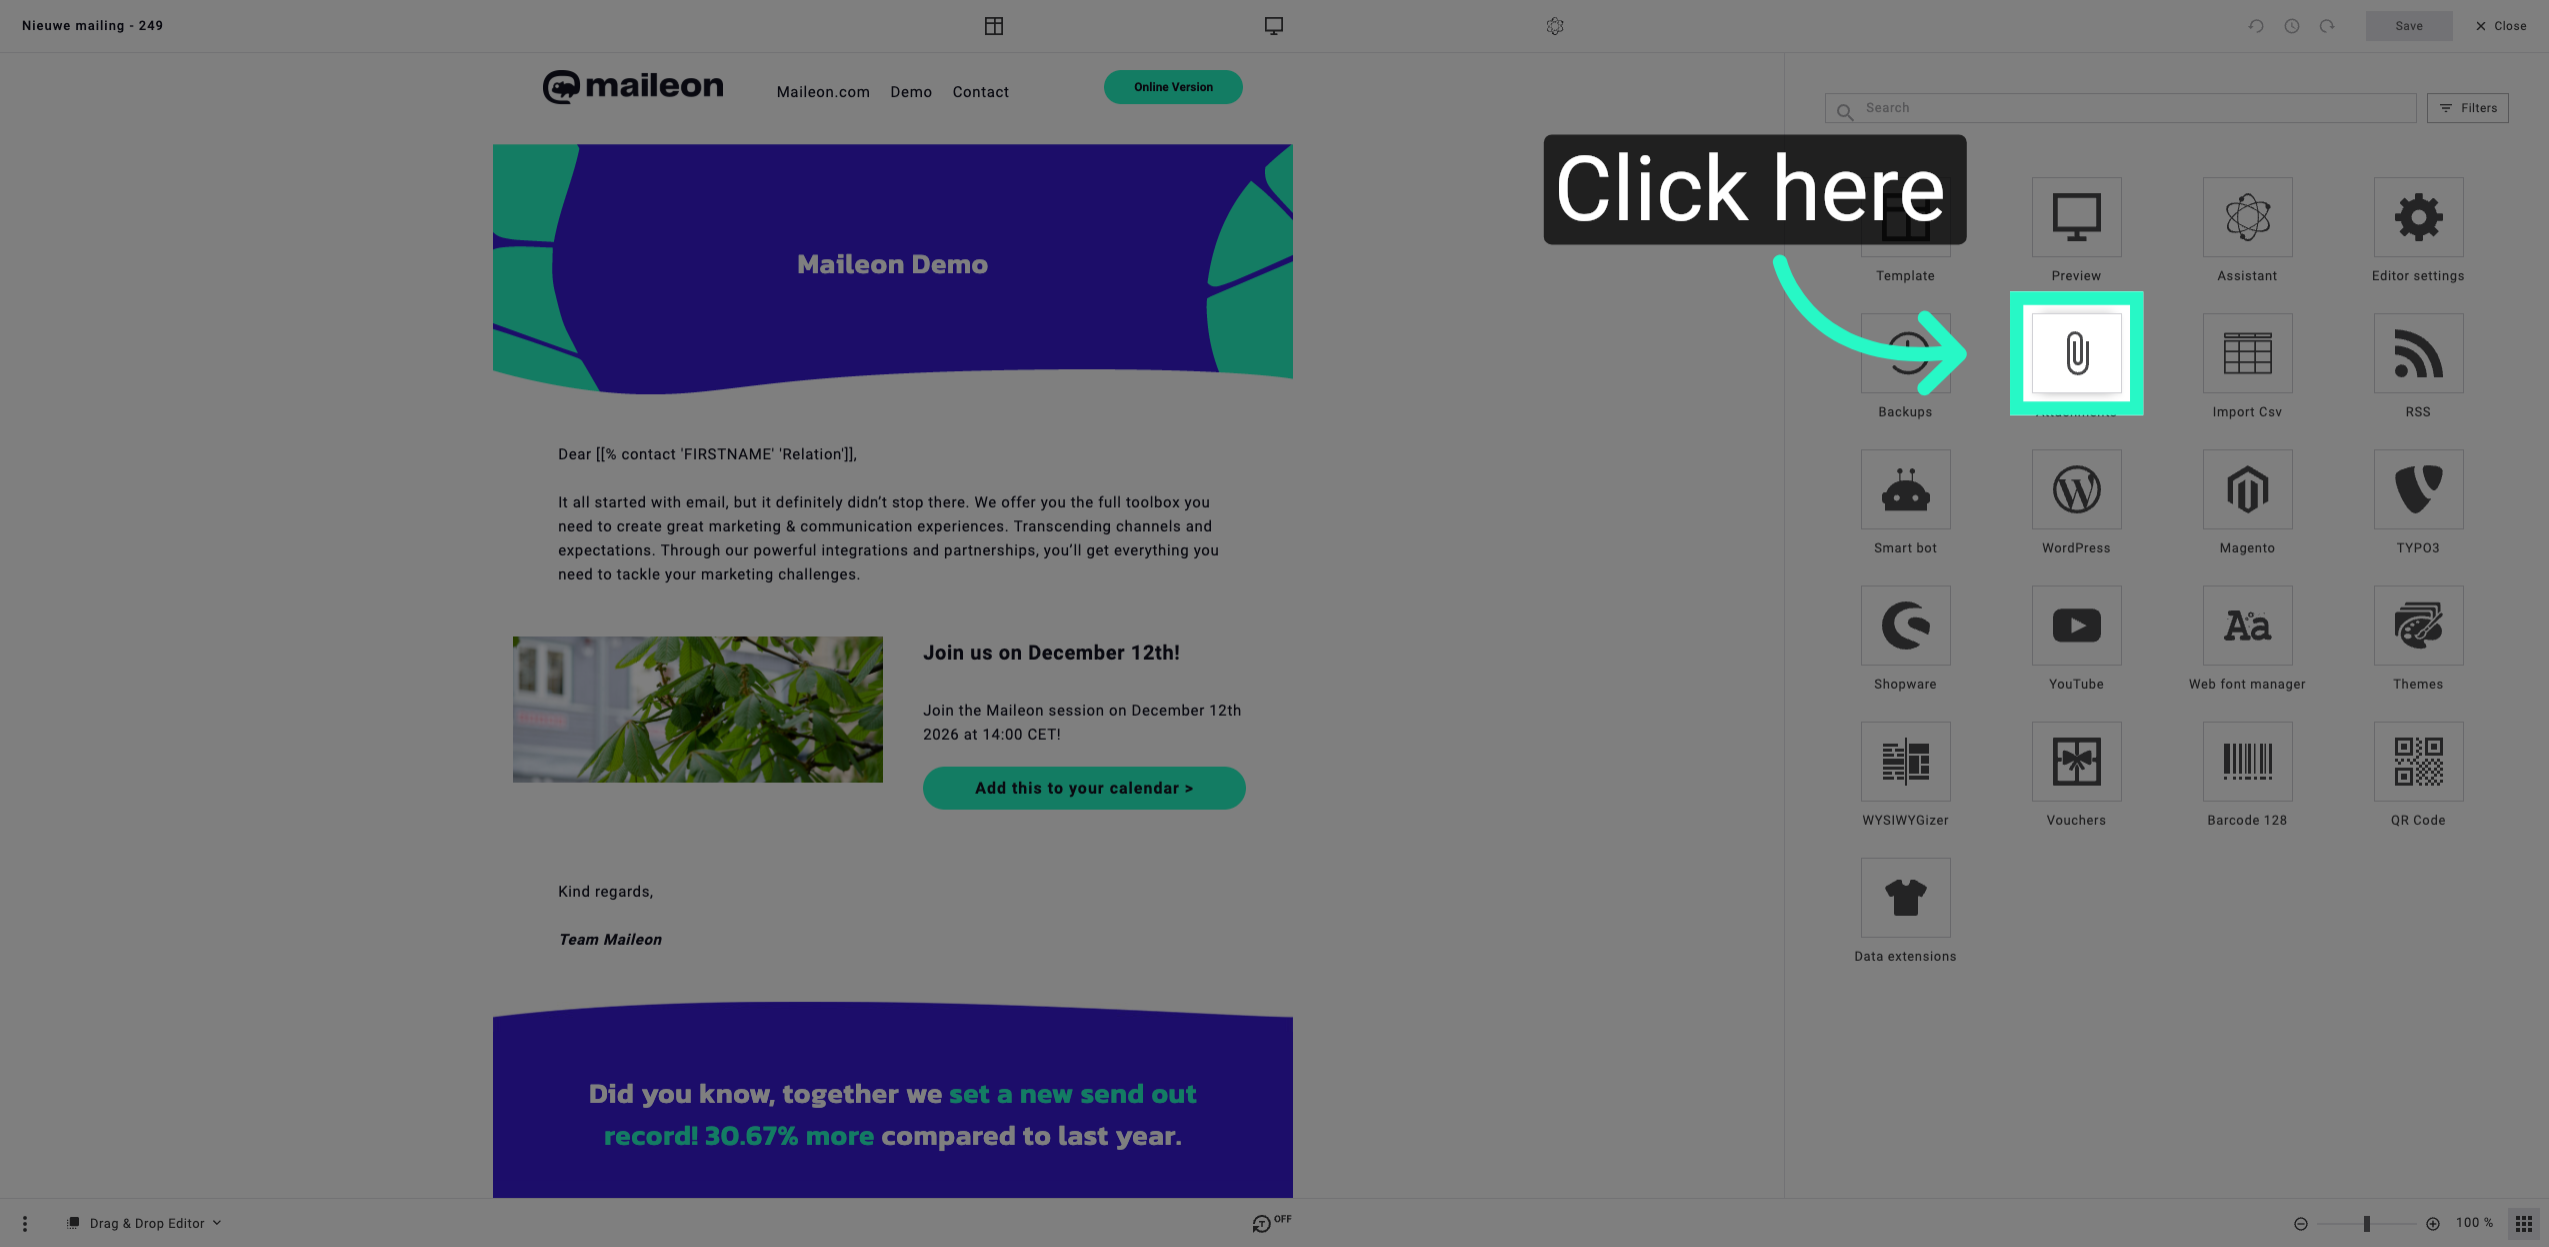
4. Initiate Attachment Upload
Click "Upload attachment" to start the process of adding a new file to your mailing.
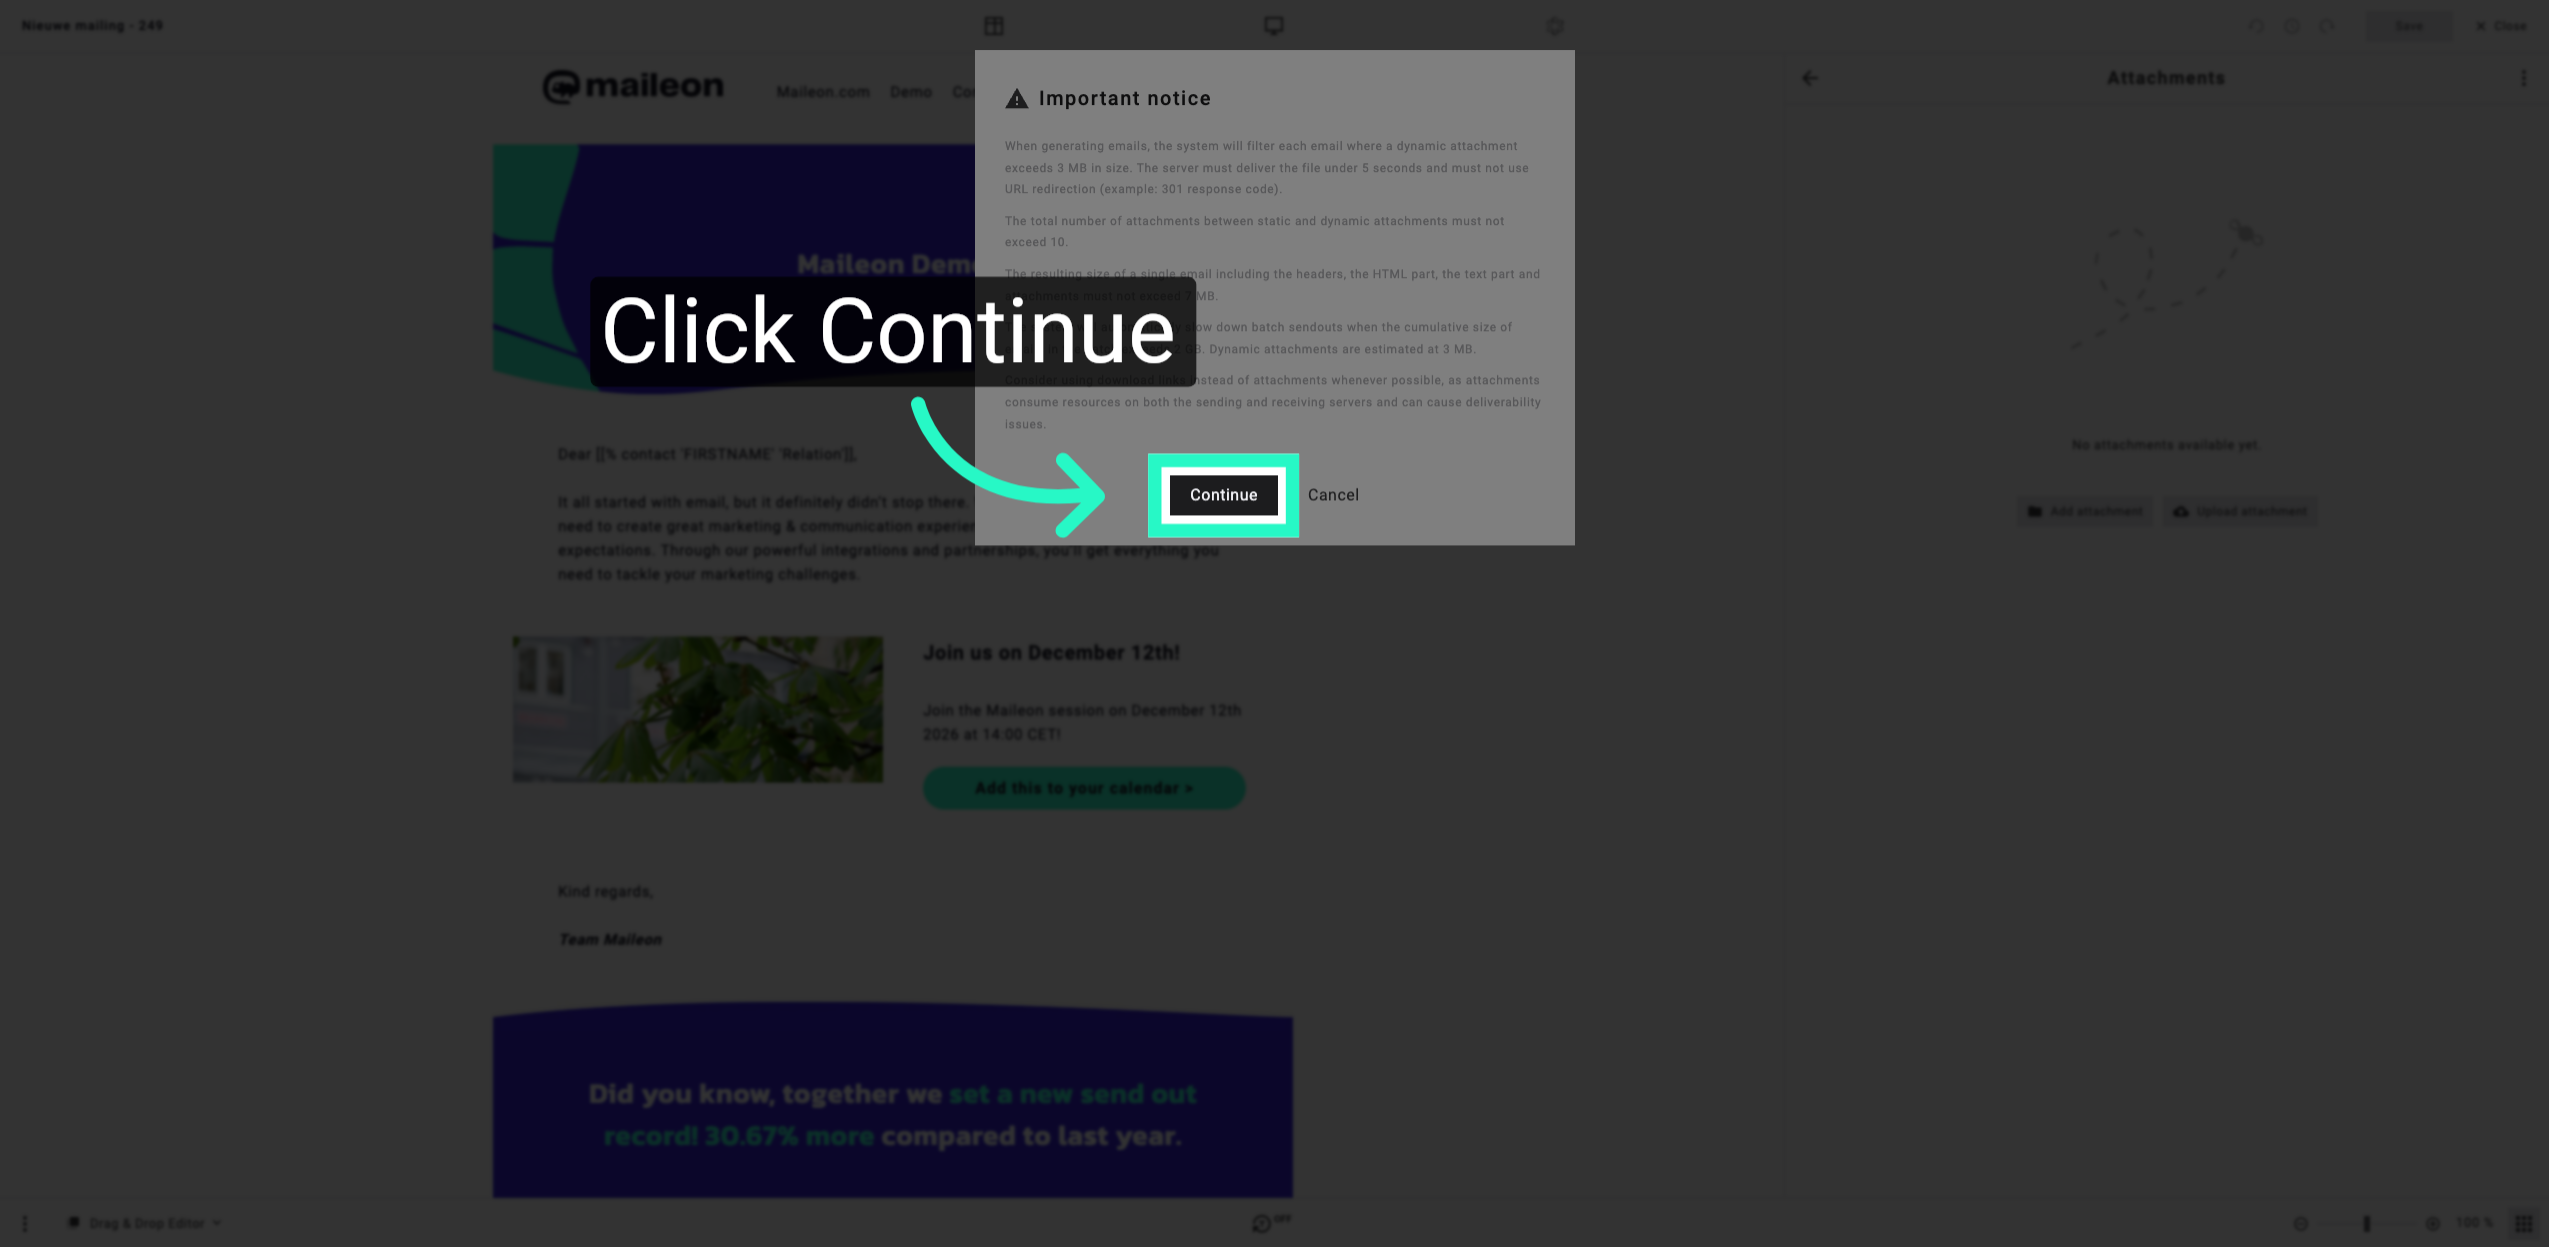
5. Proceed to Upload Step
Click "Continue" to move forward to the file upload interface.
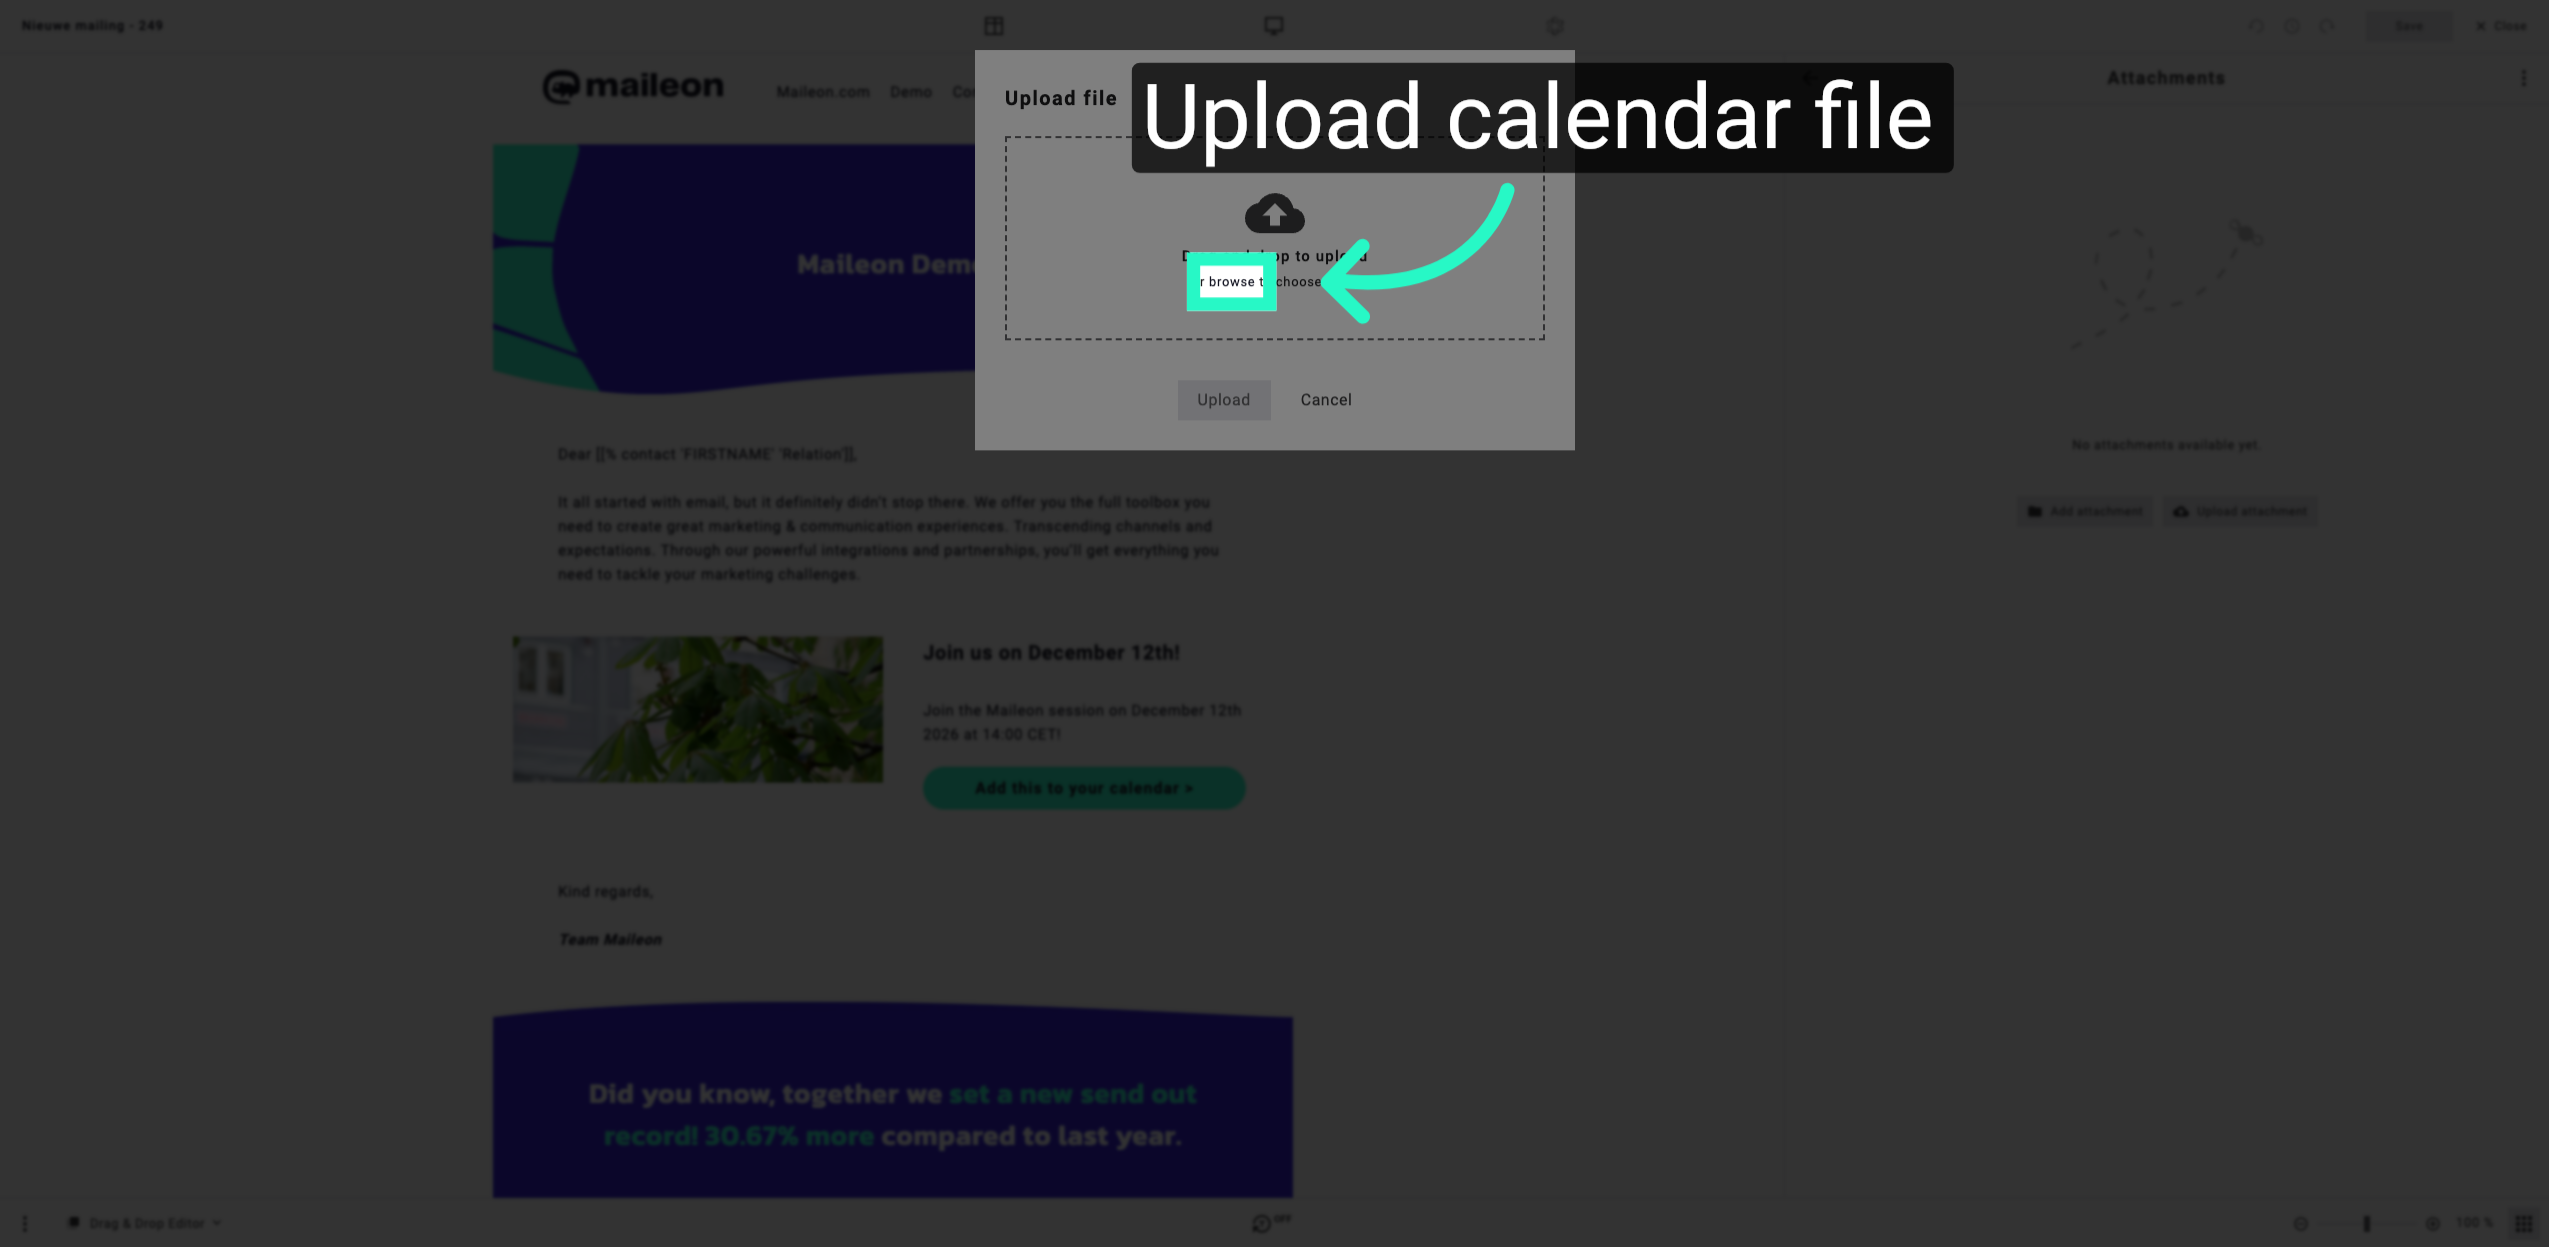
6. Upload Calendar File
Click "browse" to open the file selector, then choose your calendar file to upload it into Maileon.
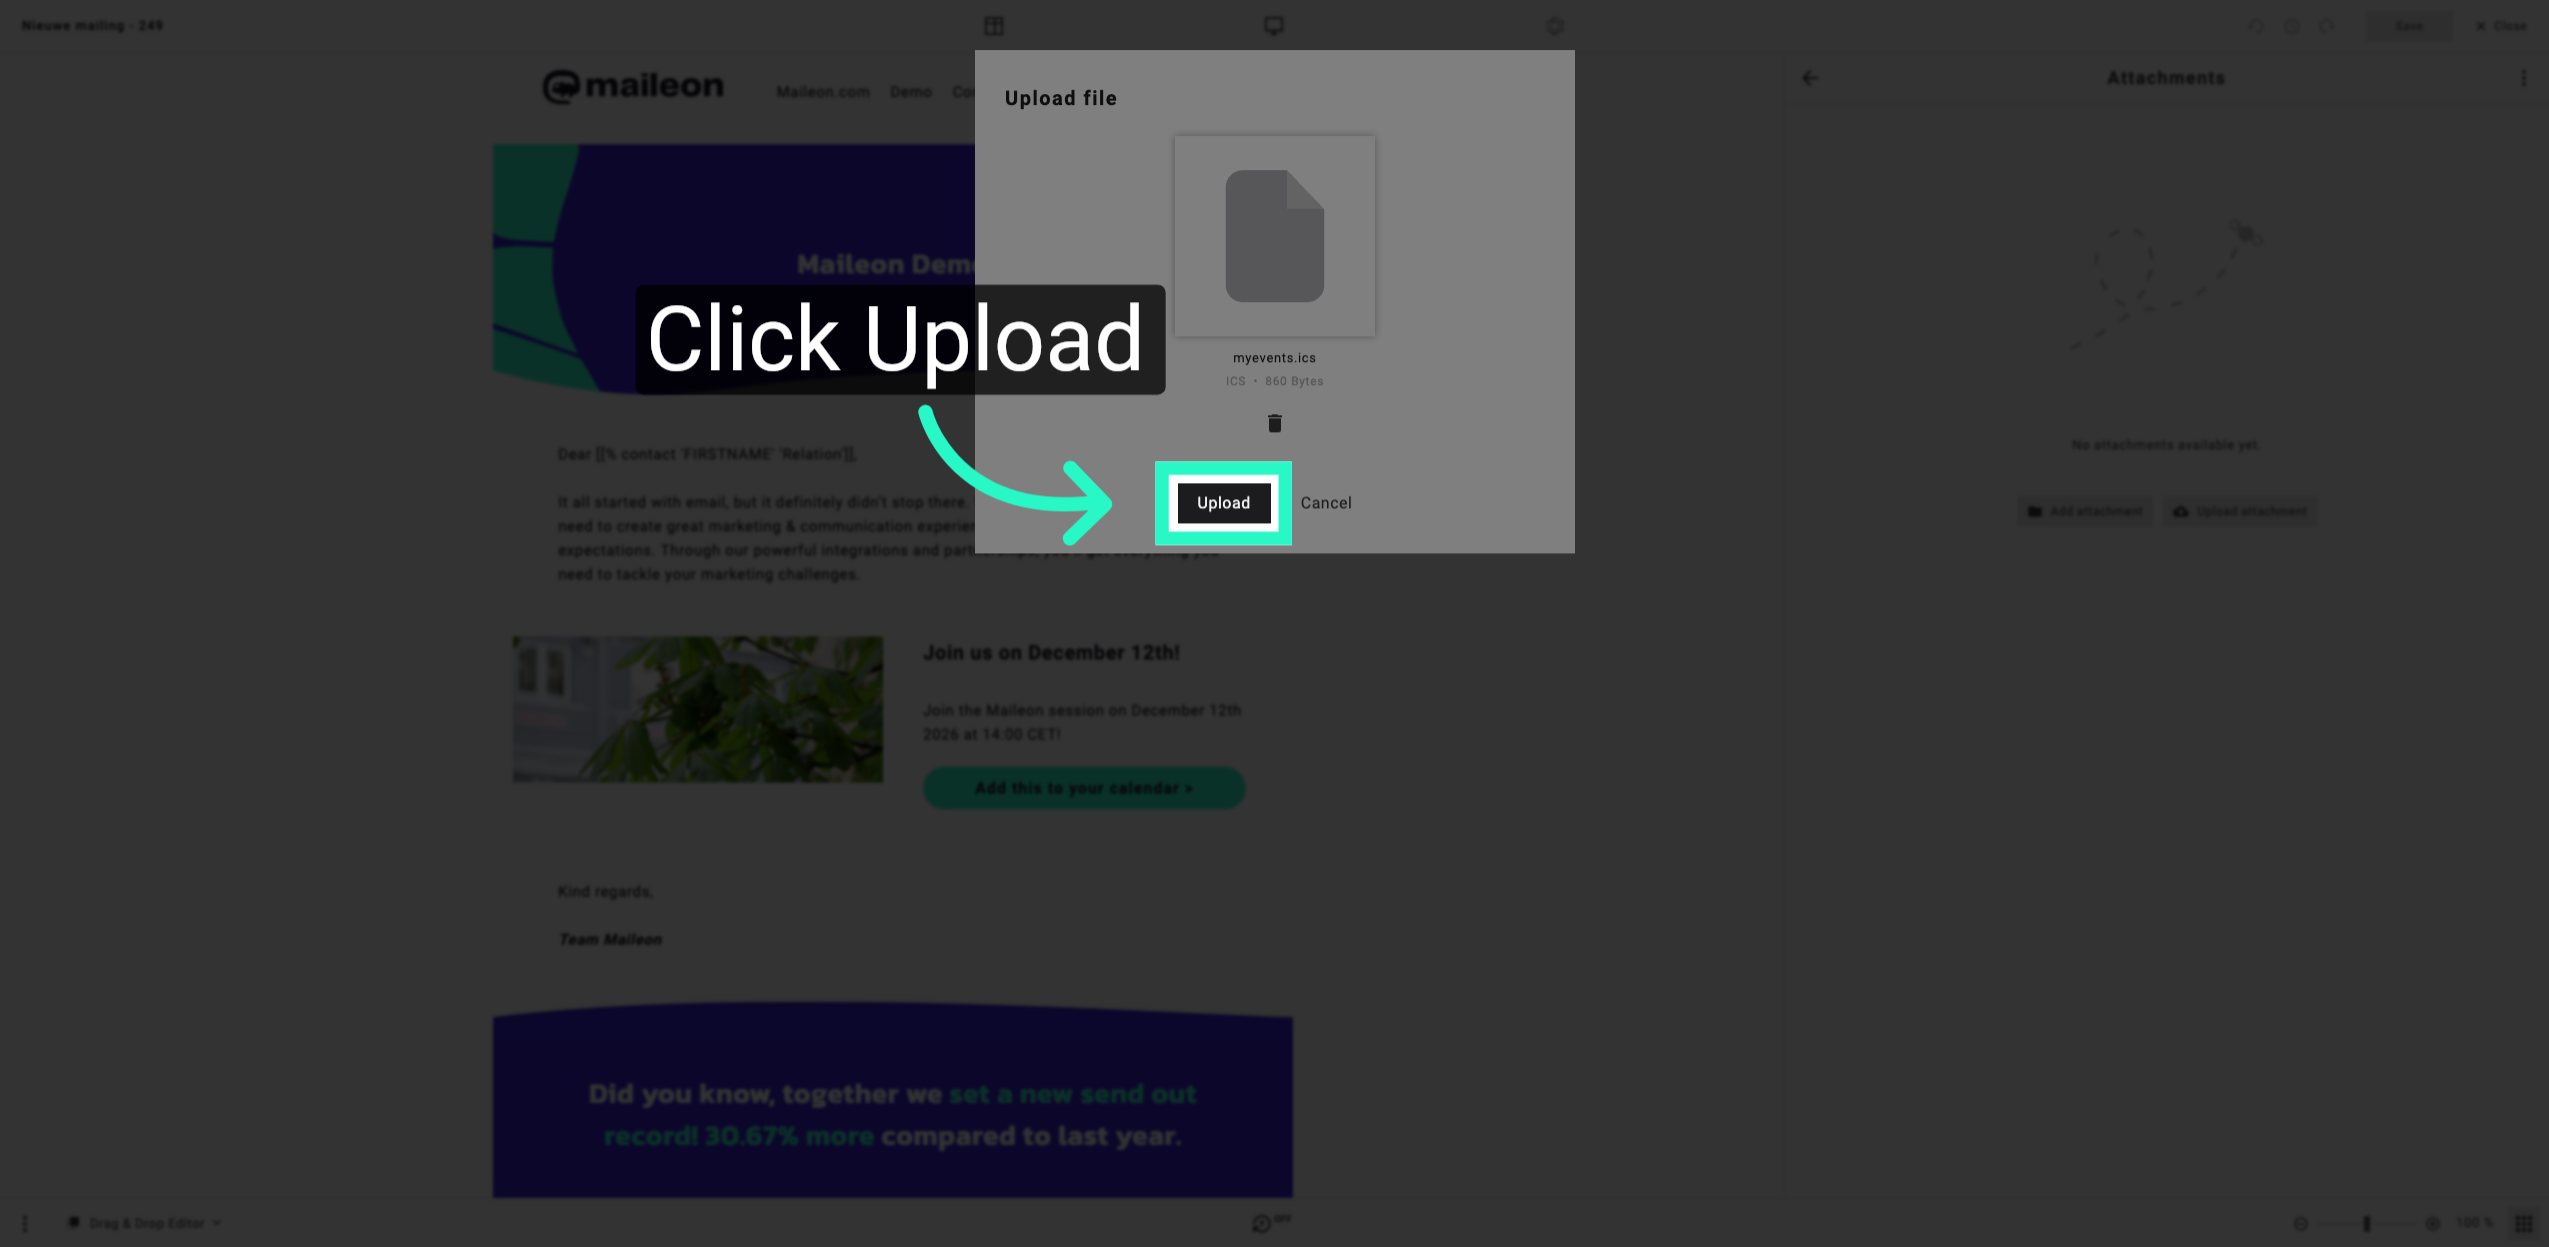
7. Confirm File Upload
Click "Upload" to confirm and start uploading the selected calendar file.
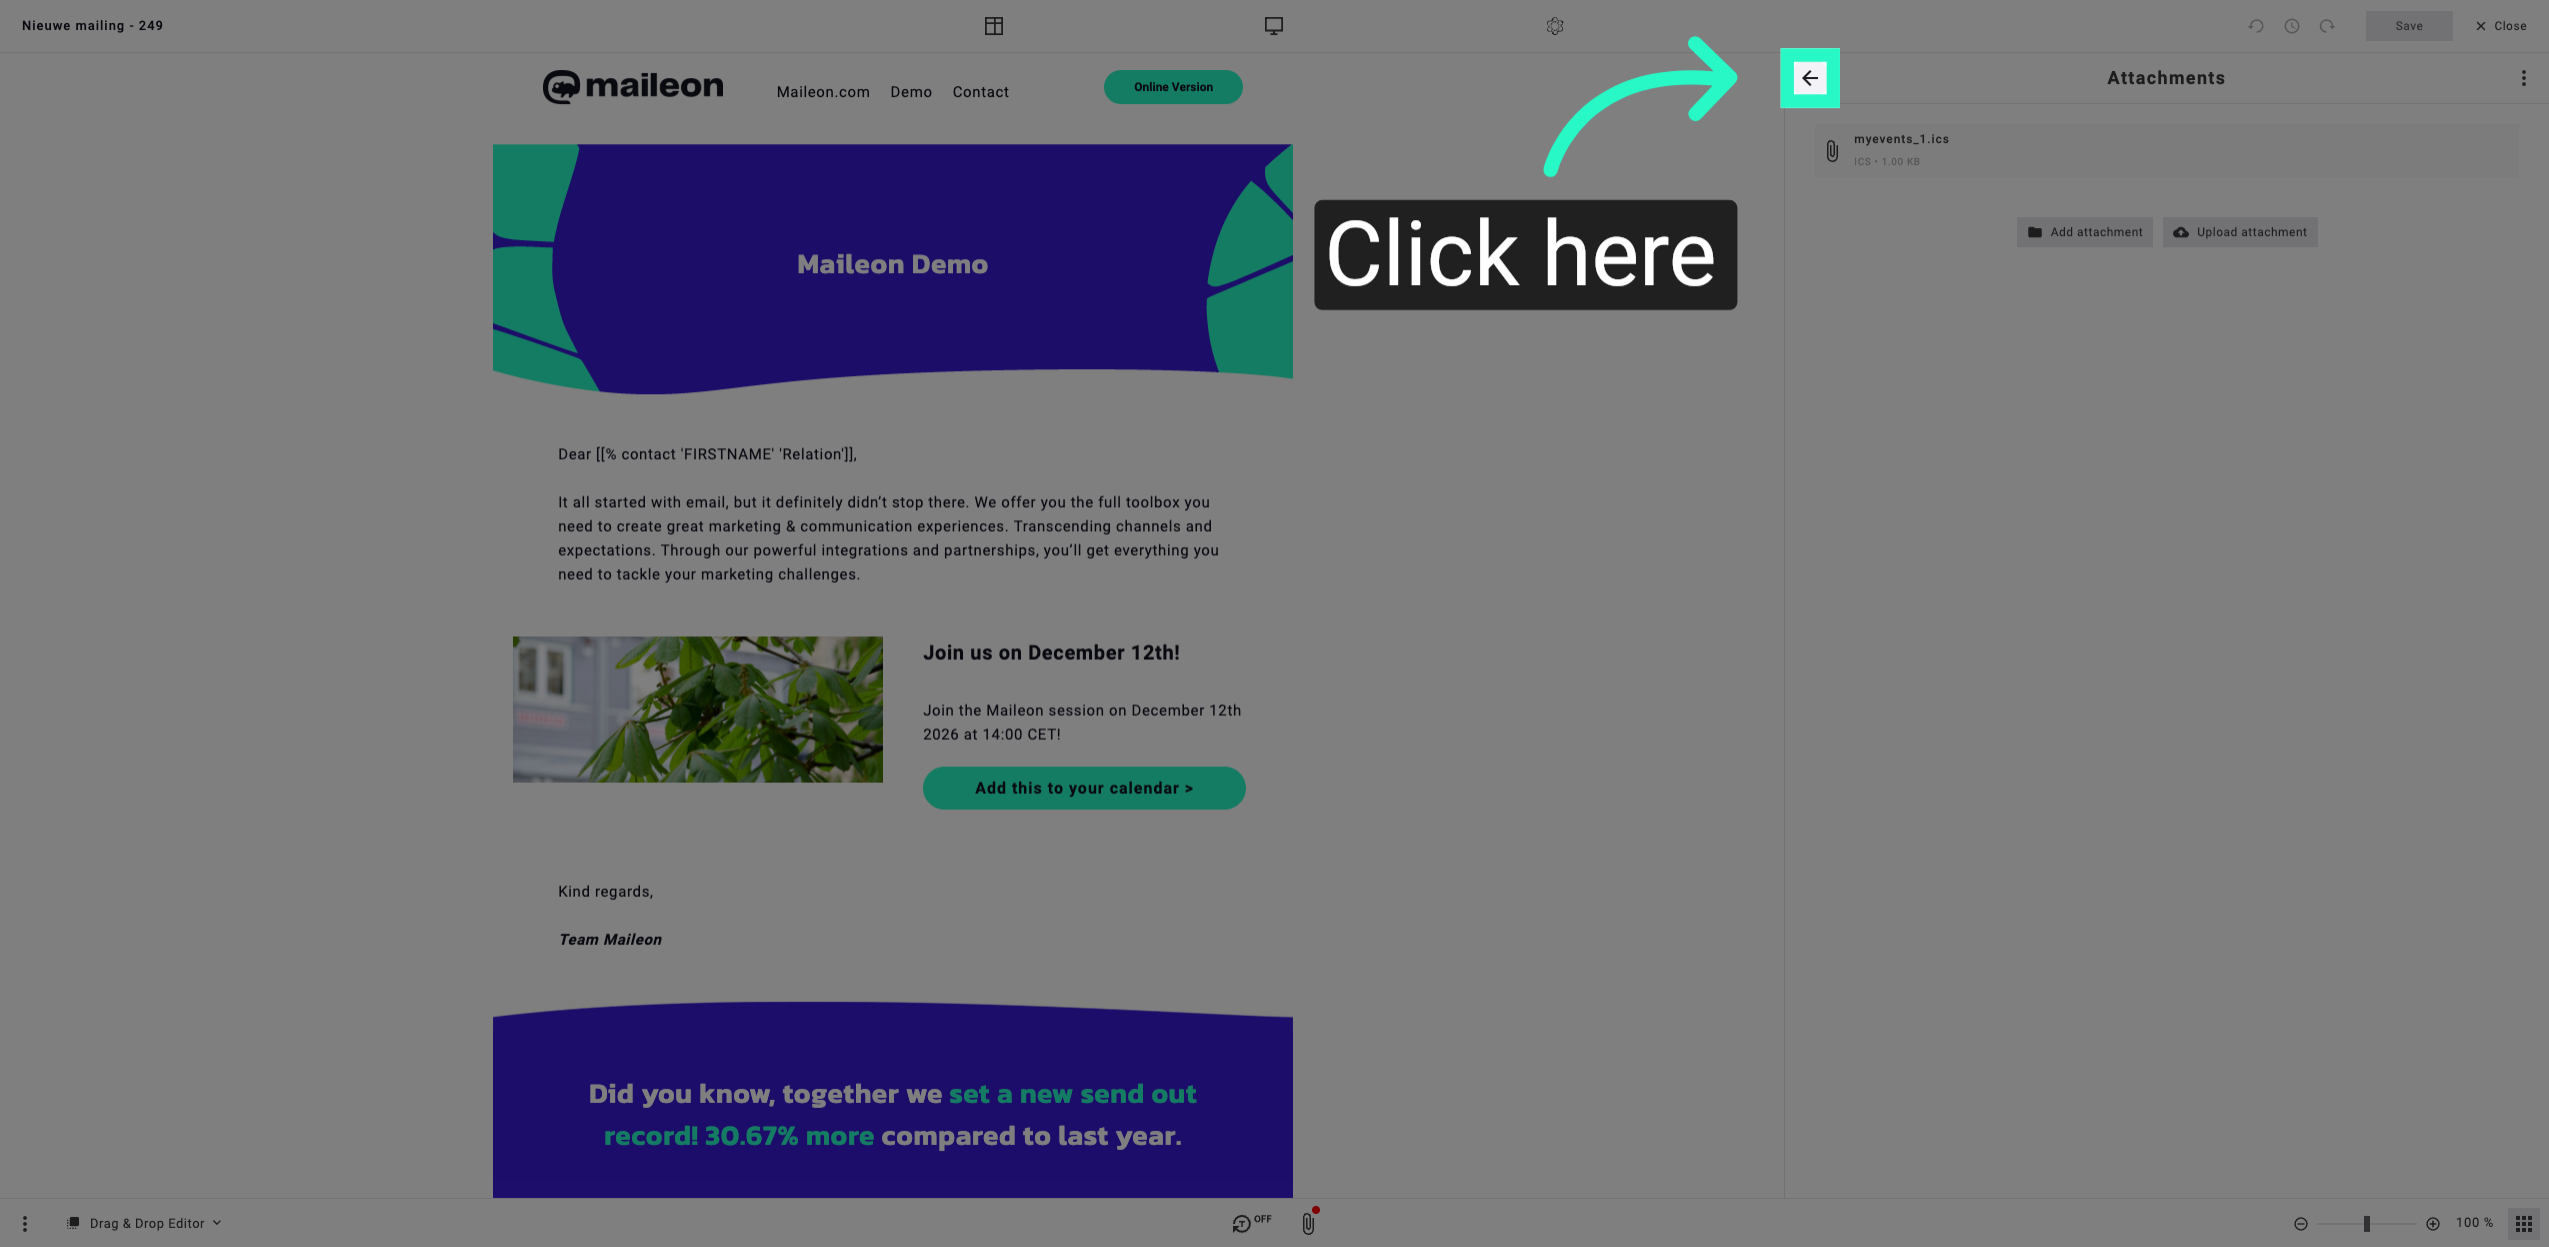
8. Access Calendar Settings
Click here to open the calendar settings area where you can manage your uploaded files.
9. Review Uploaded Calendar
Click here to review the uploaded calendar and verify its details within Maileon.
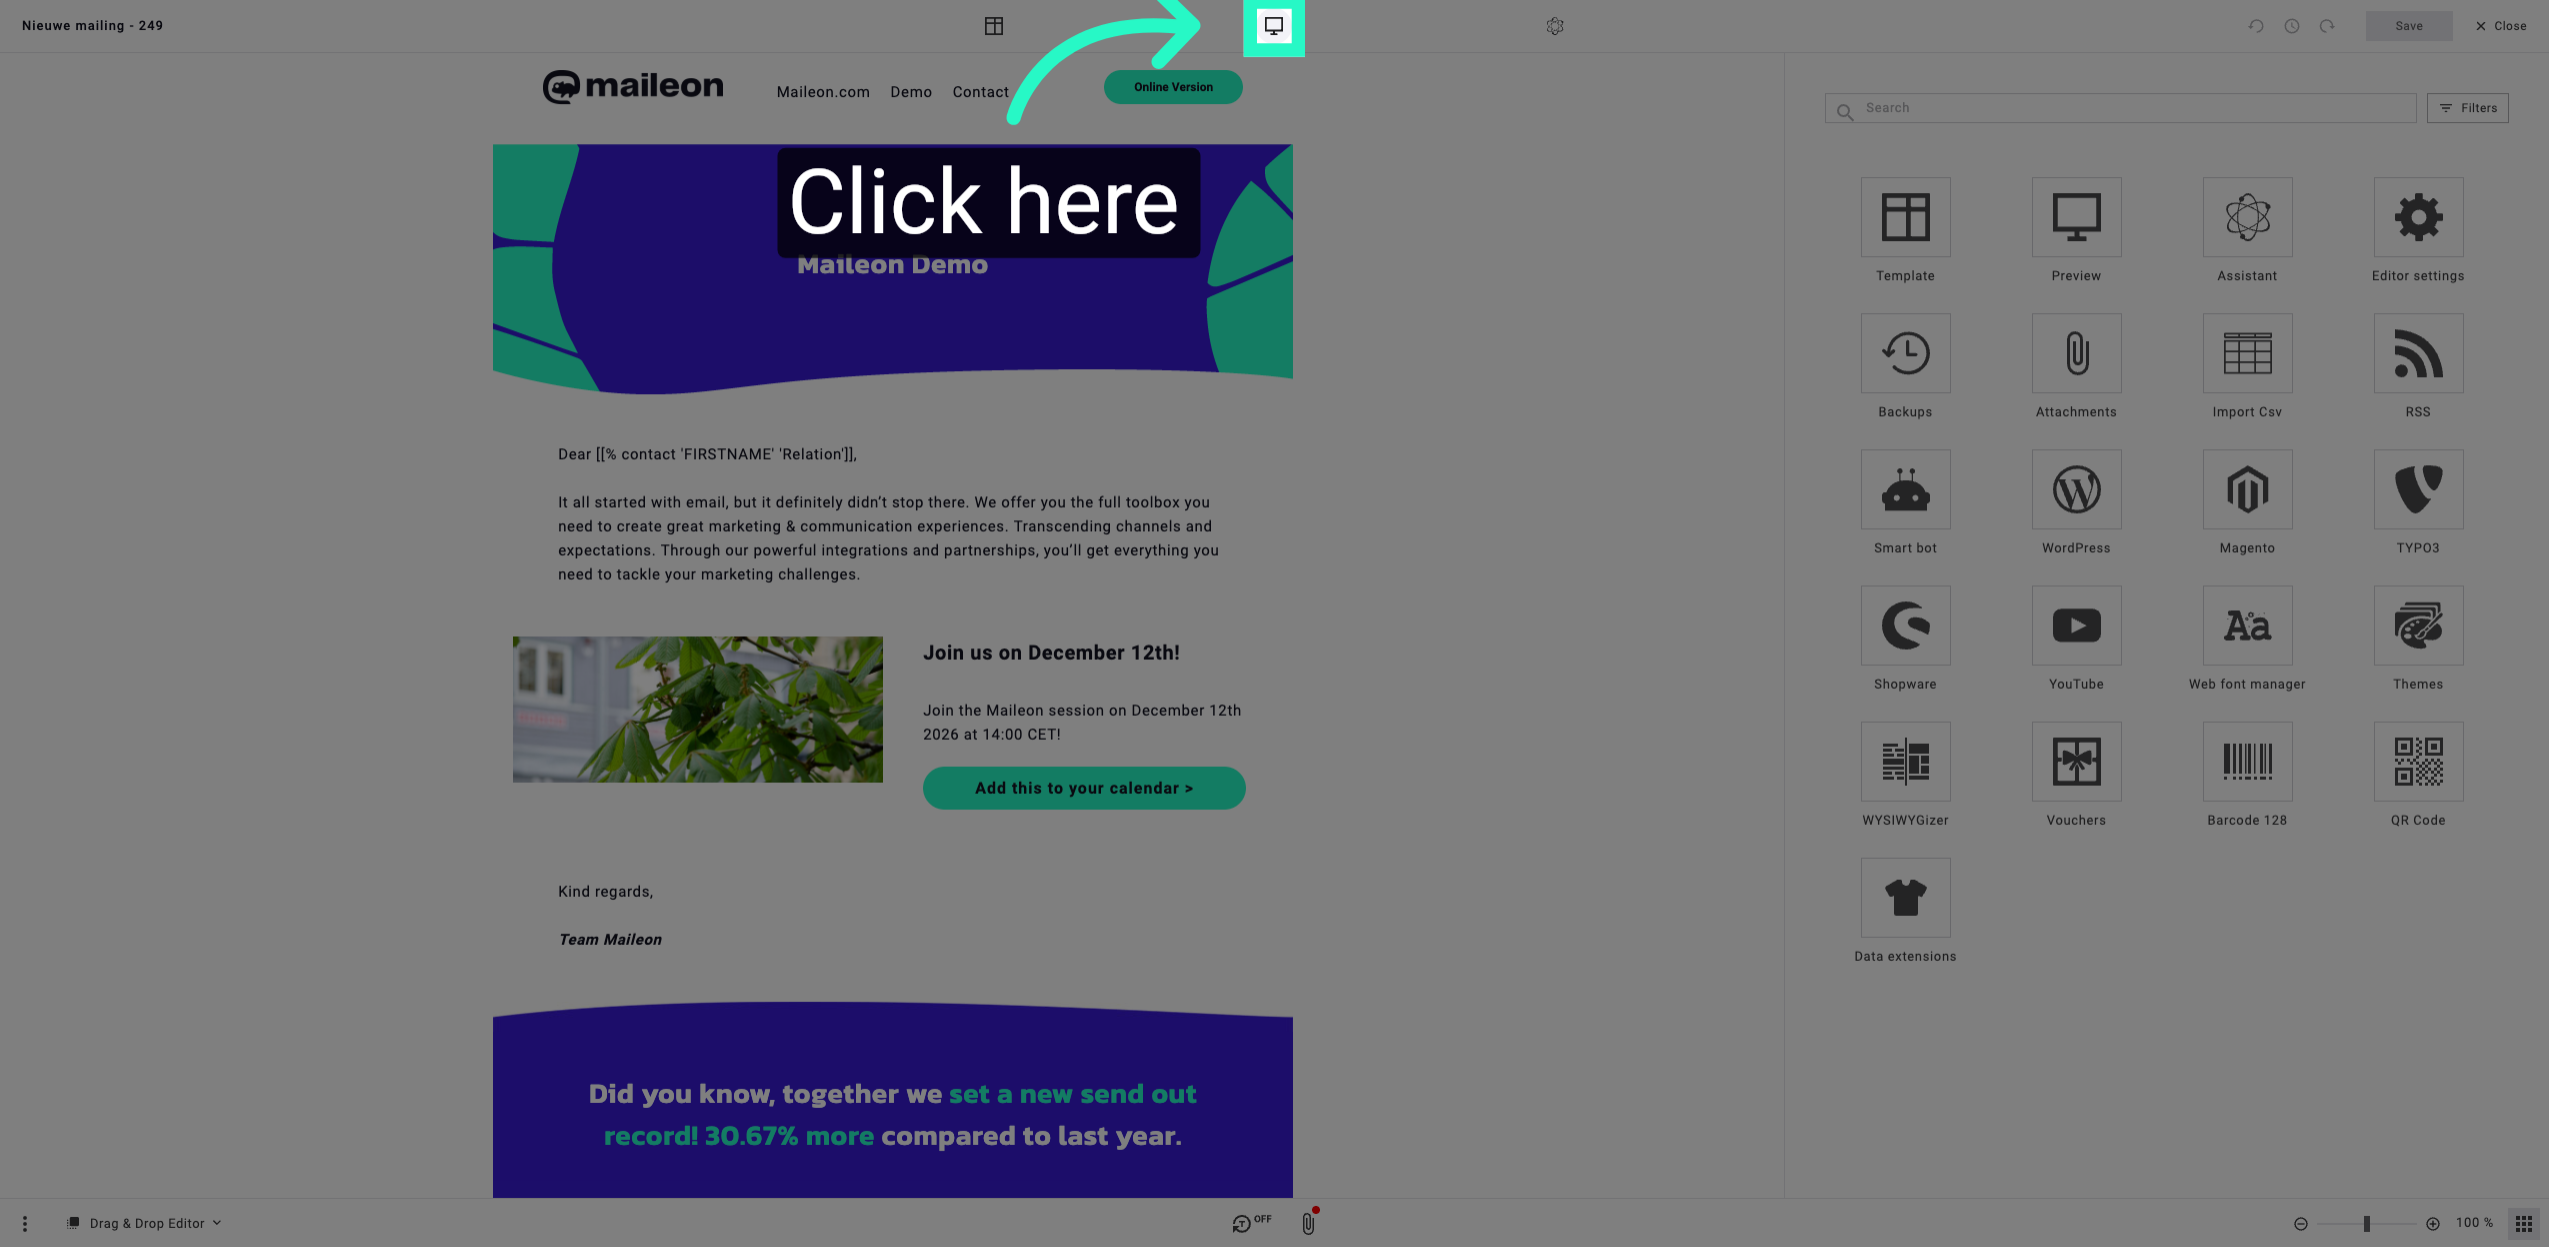
10. Finalise Calendar Integration
Click here to finalise the integration of your calendar file and complete the setup process.
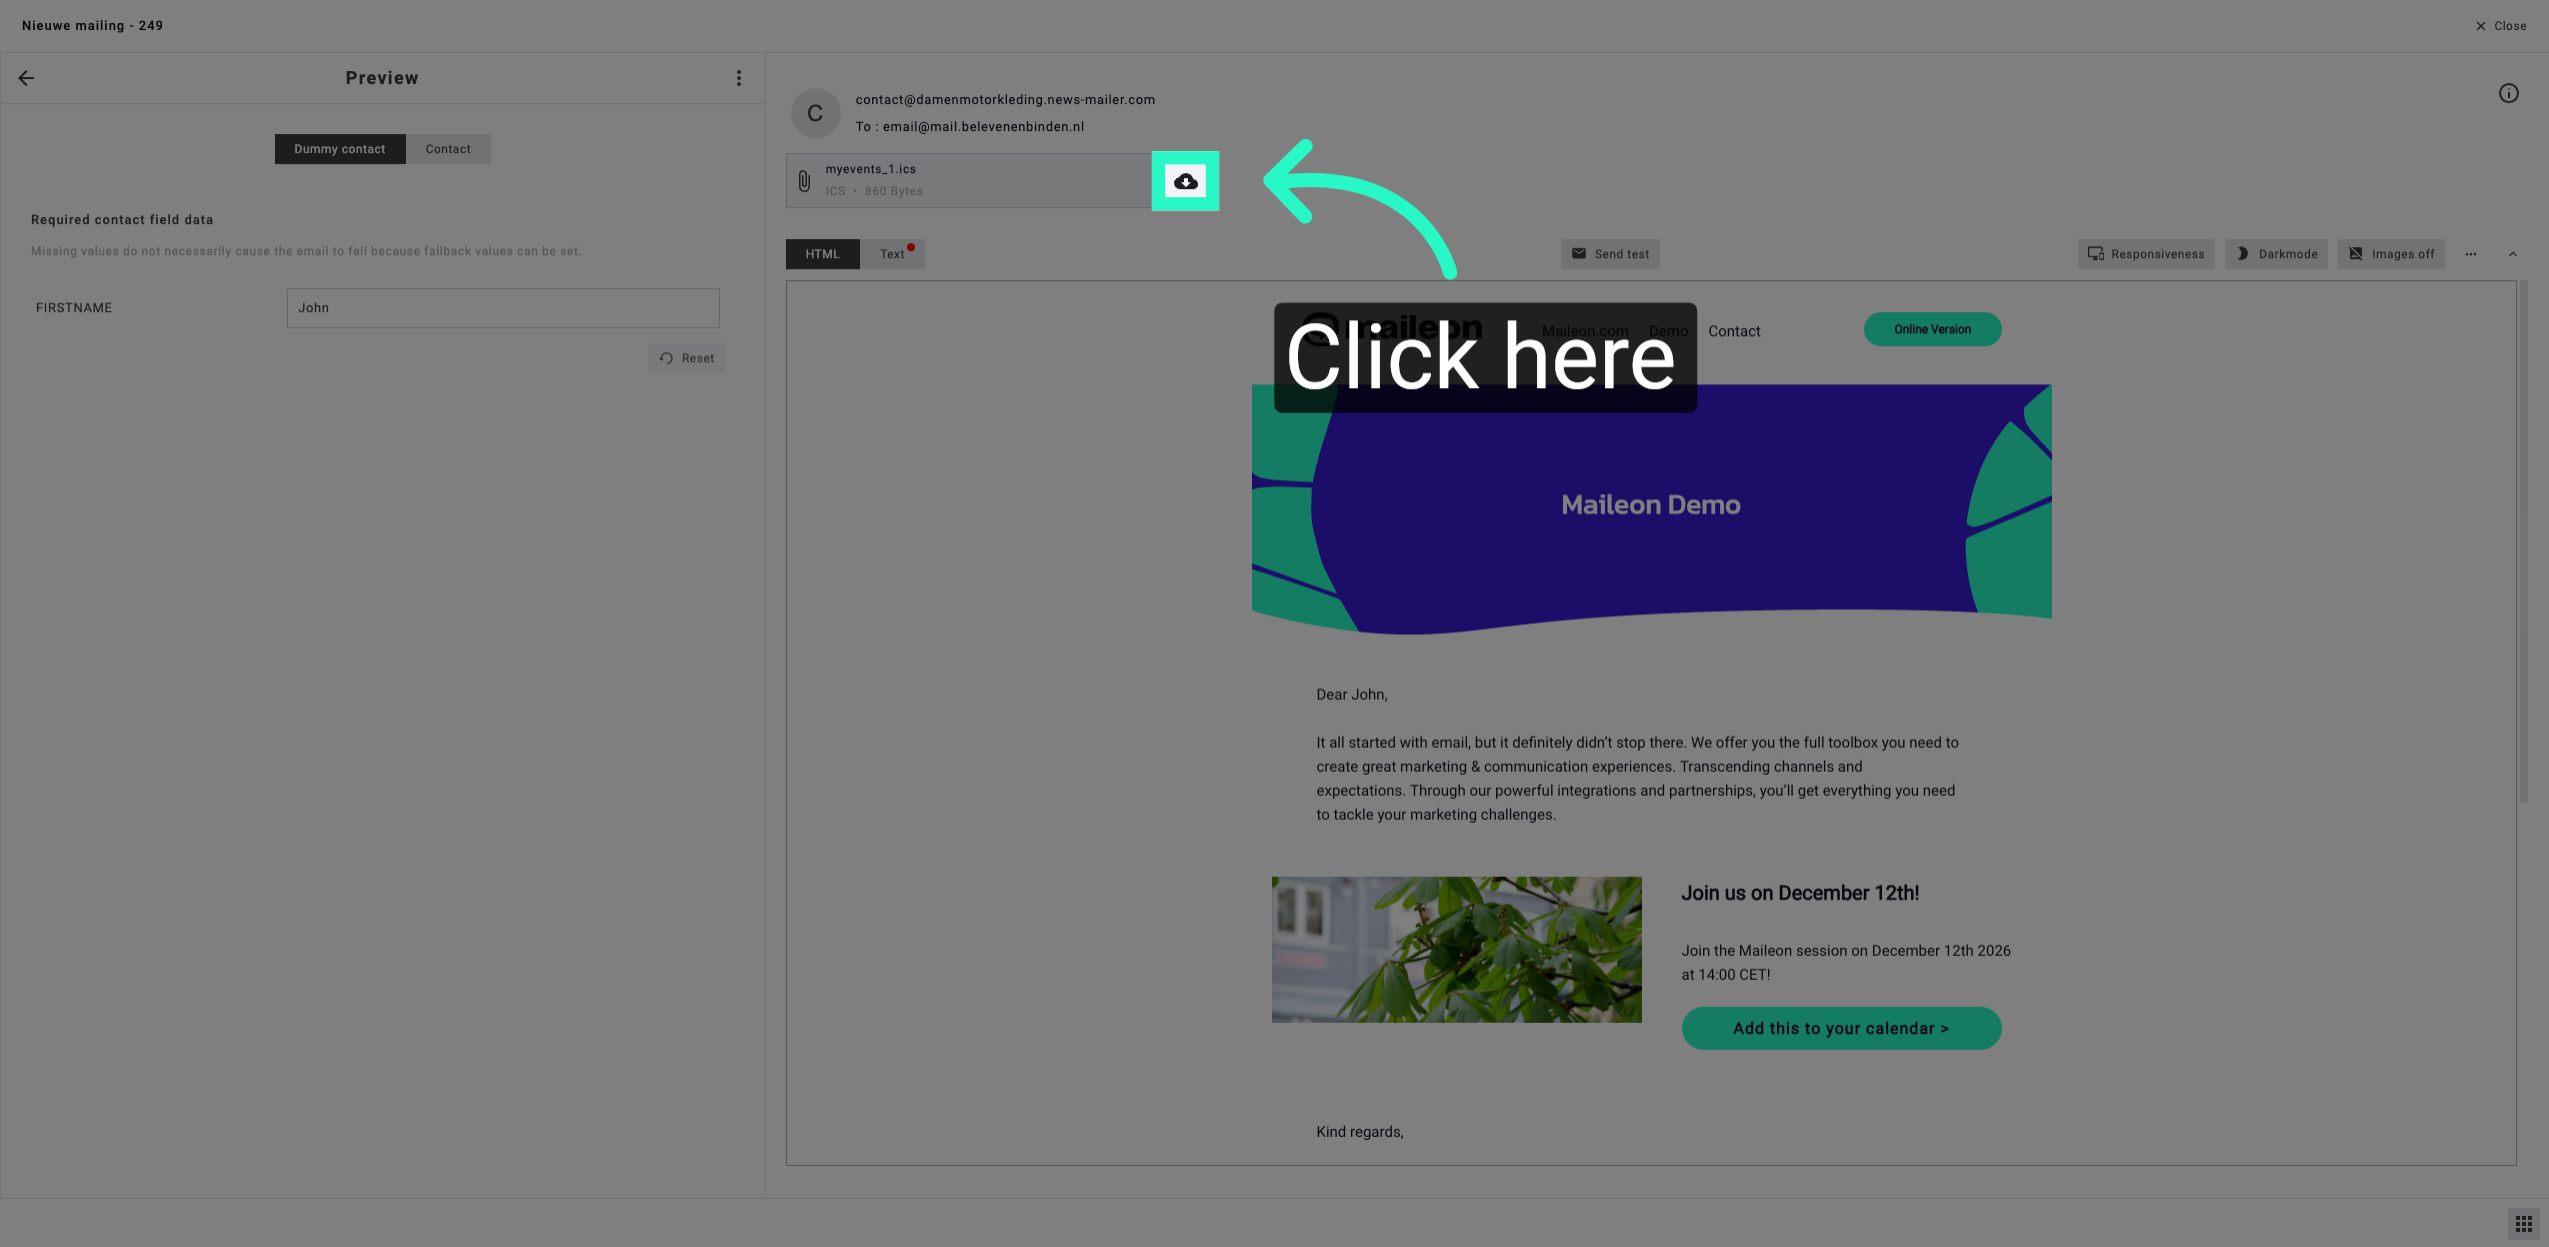
You have successfully uploaded and integrated a calendar file into Maileon. Verify the calendar appears correctly and proceed to manage your mailings with the new calendar data.