
This tutorial guides you through creating and configuring a calendar event using Maileon.
1. Introduction
You will learn how to add event details, set the timing, and save the event for calendar integration.
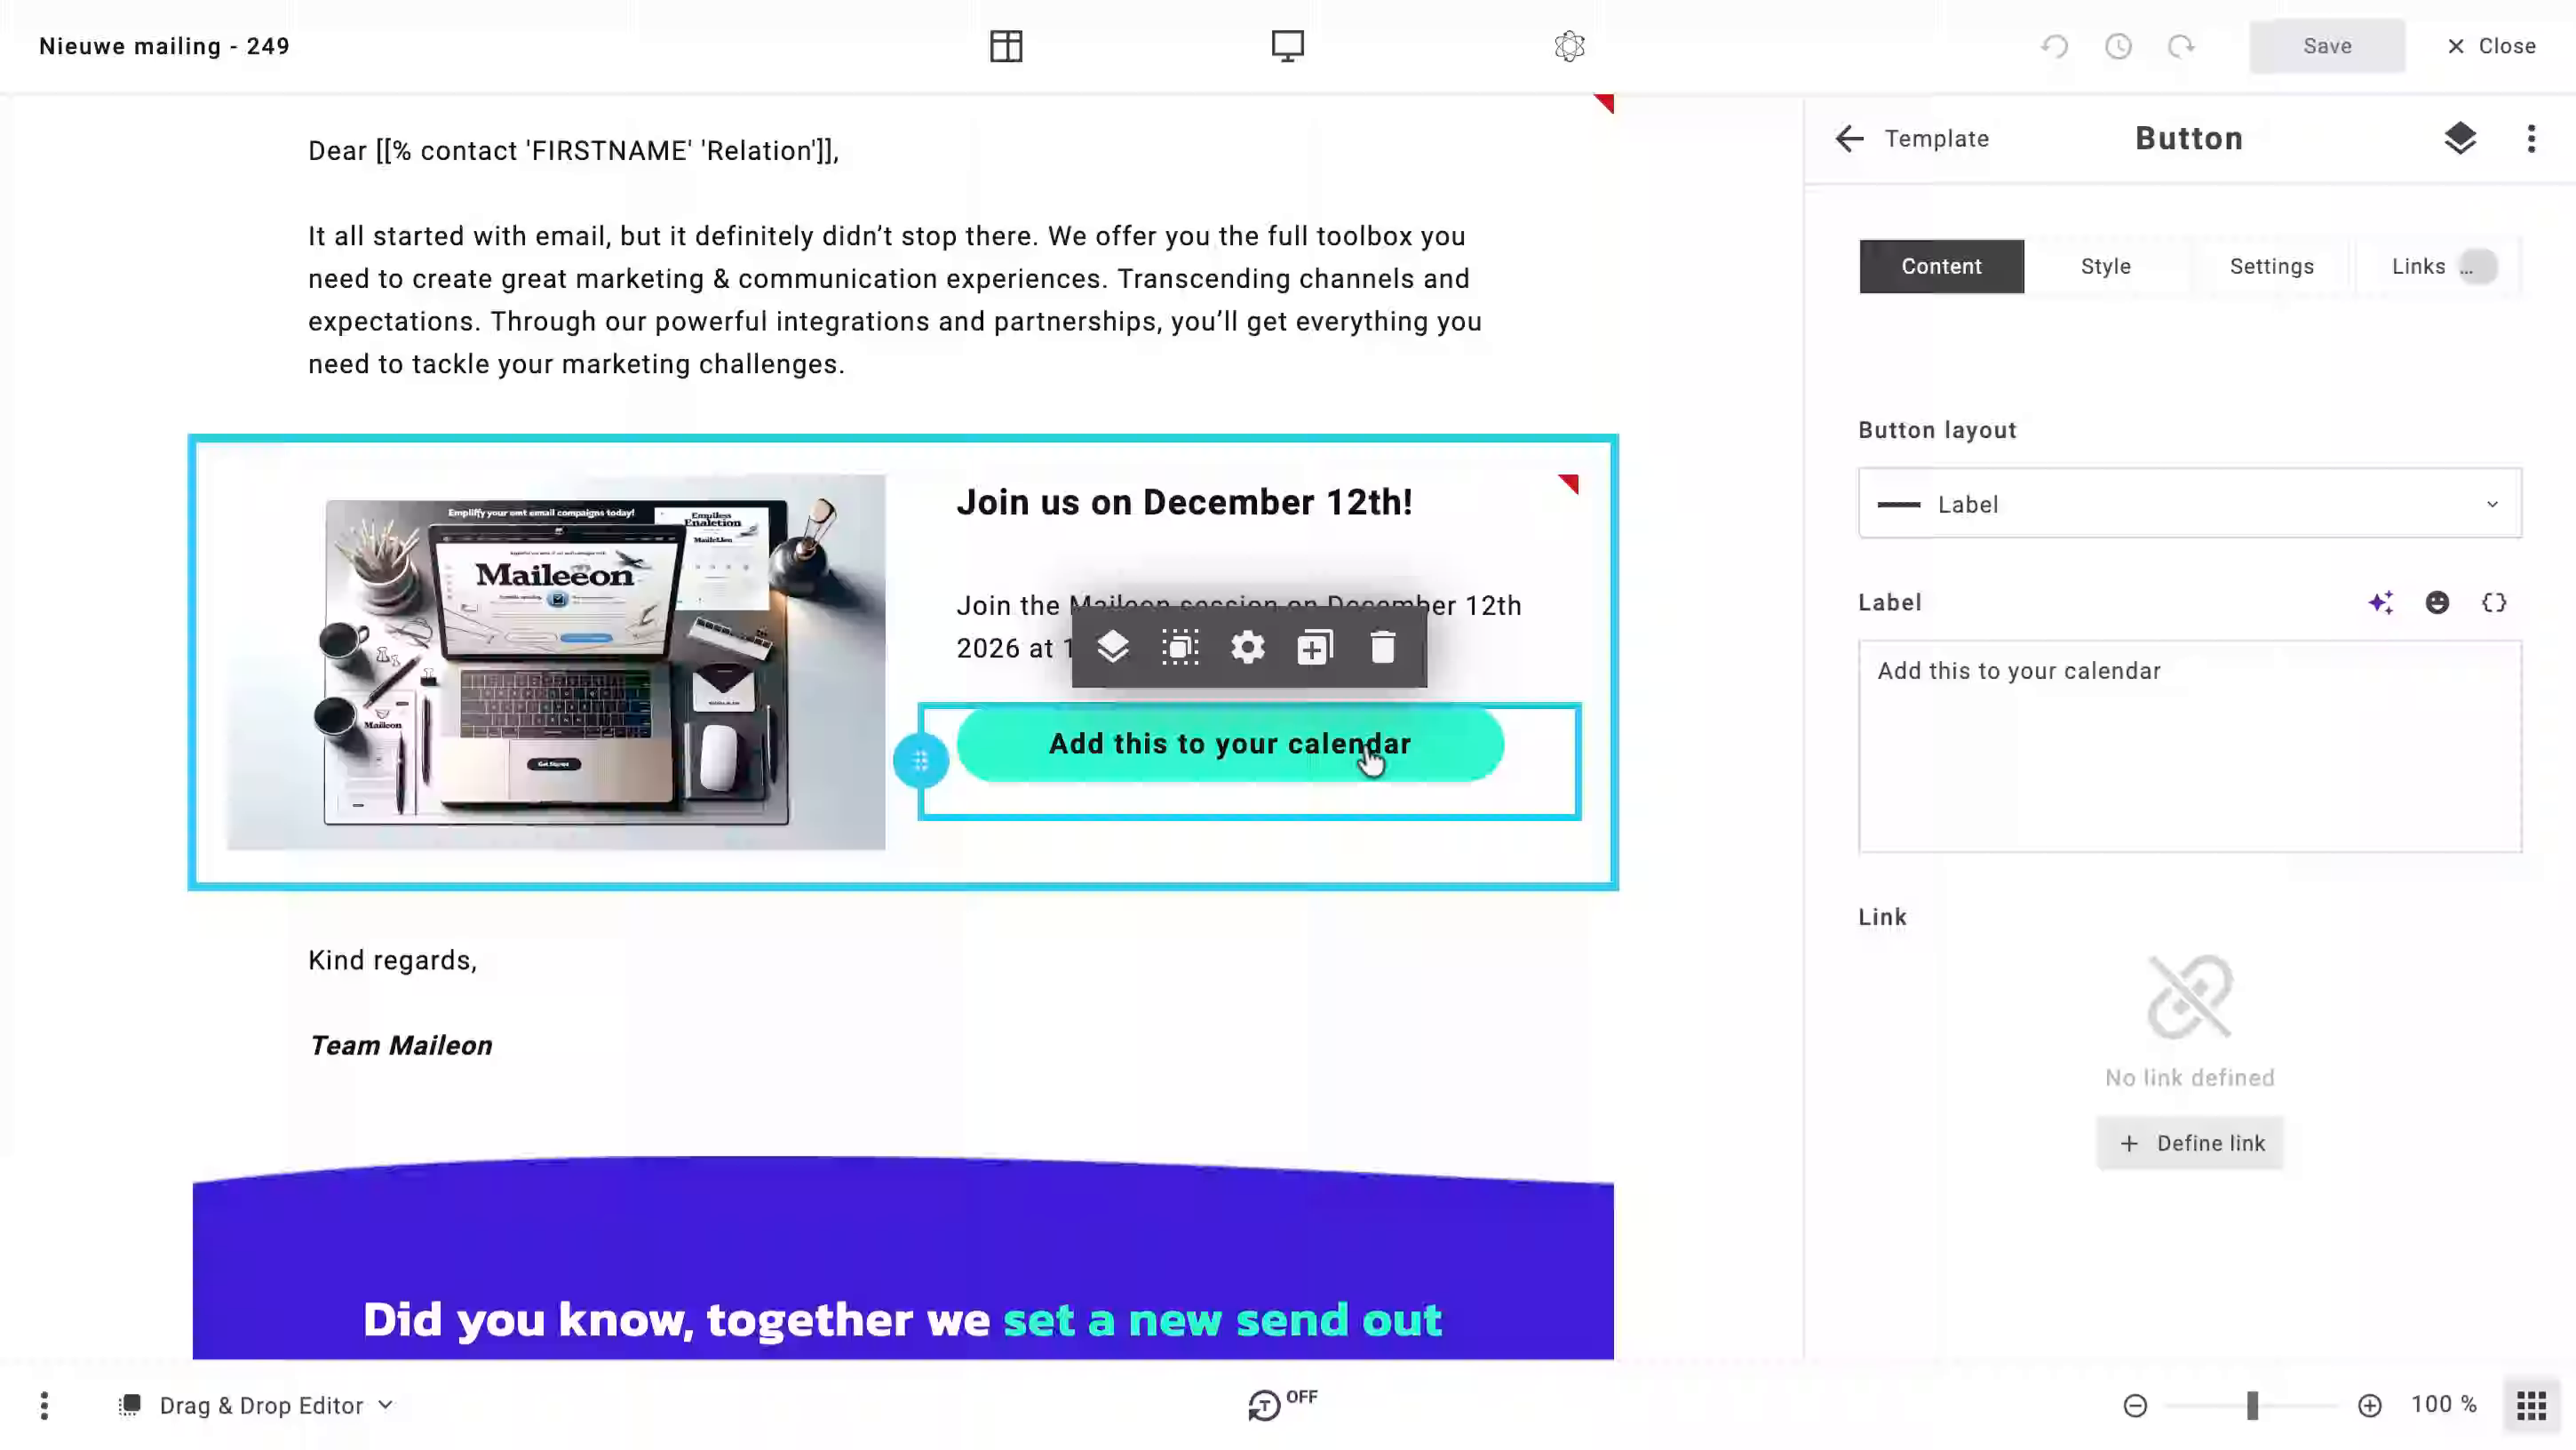
2. Add Event to Calendar
Click the Add this to your calendar option to begin integrating the event with your calendar application.
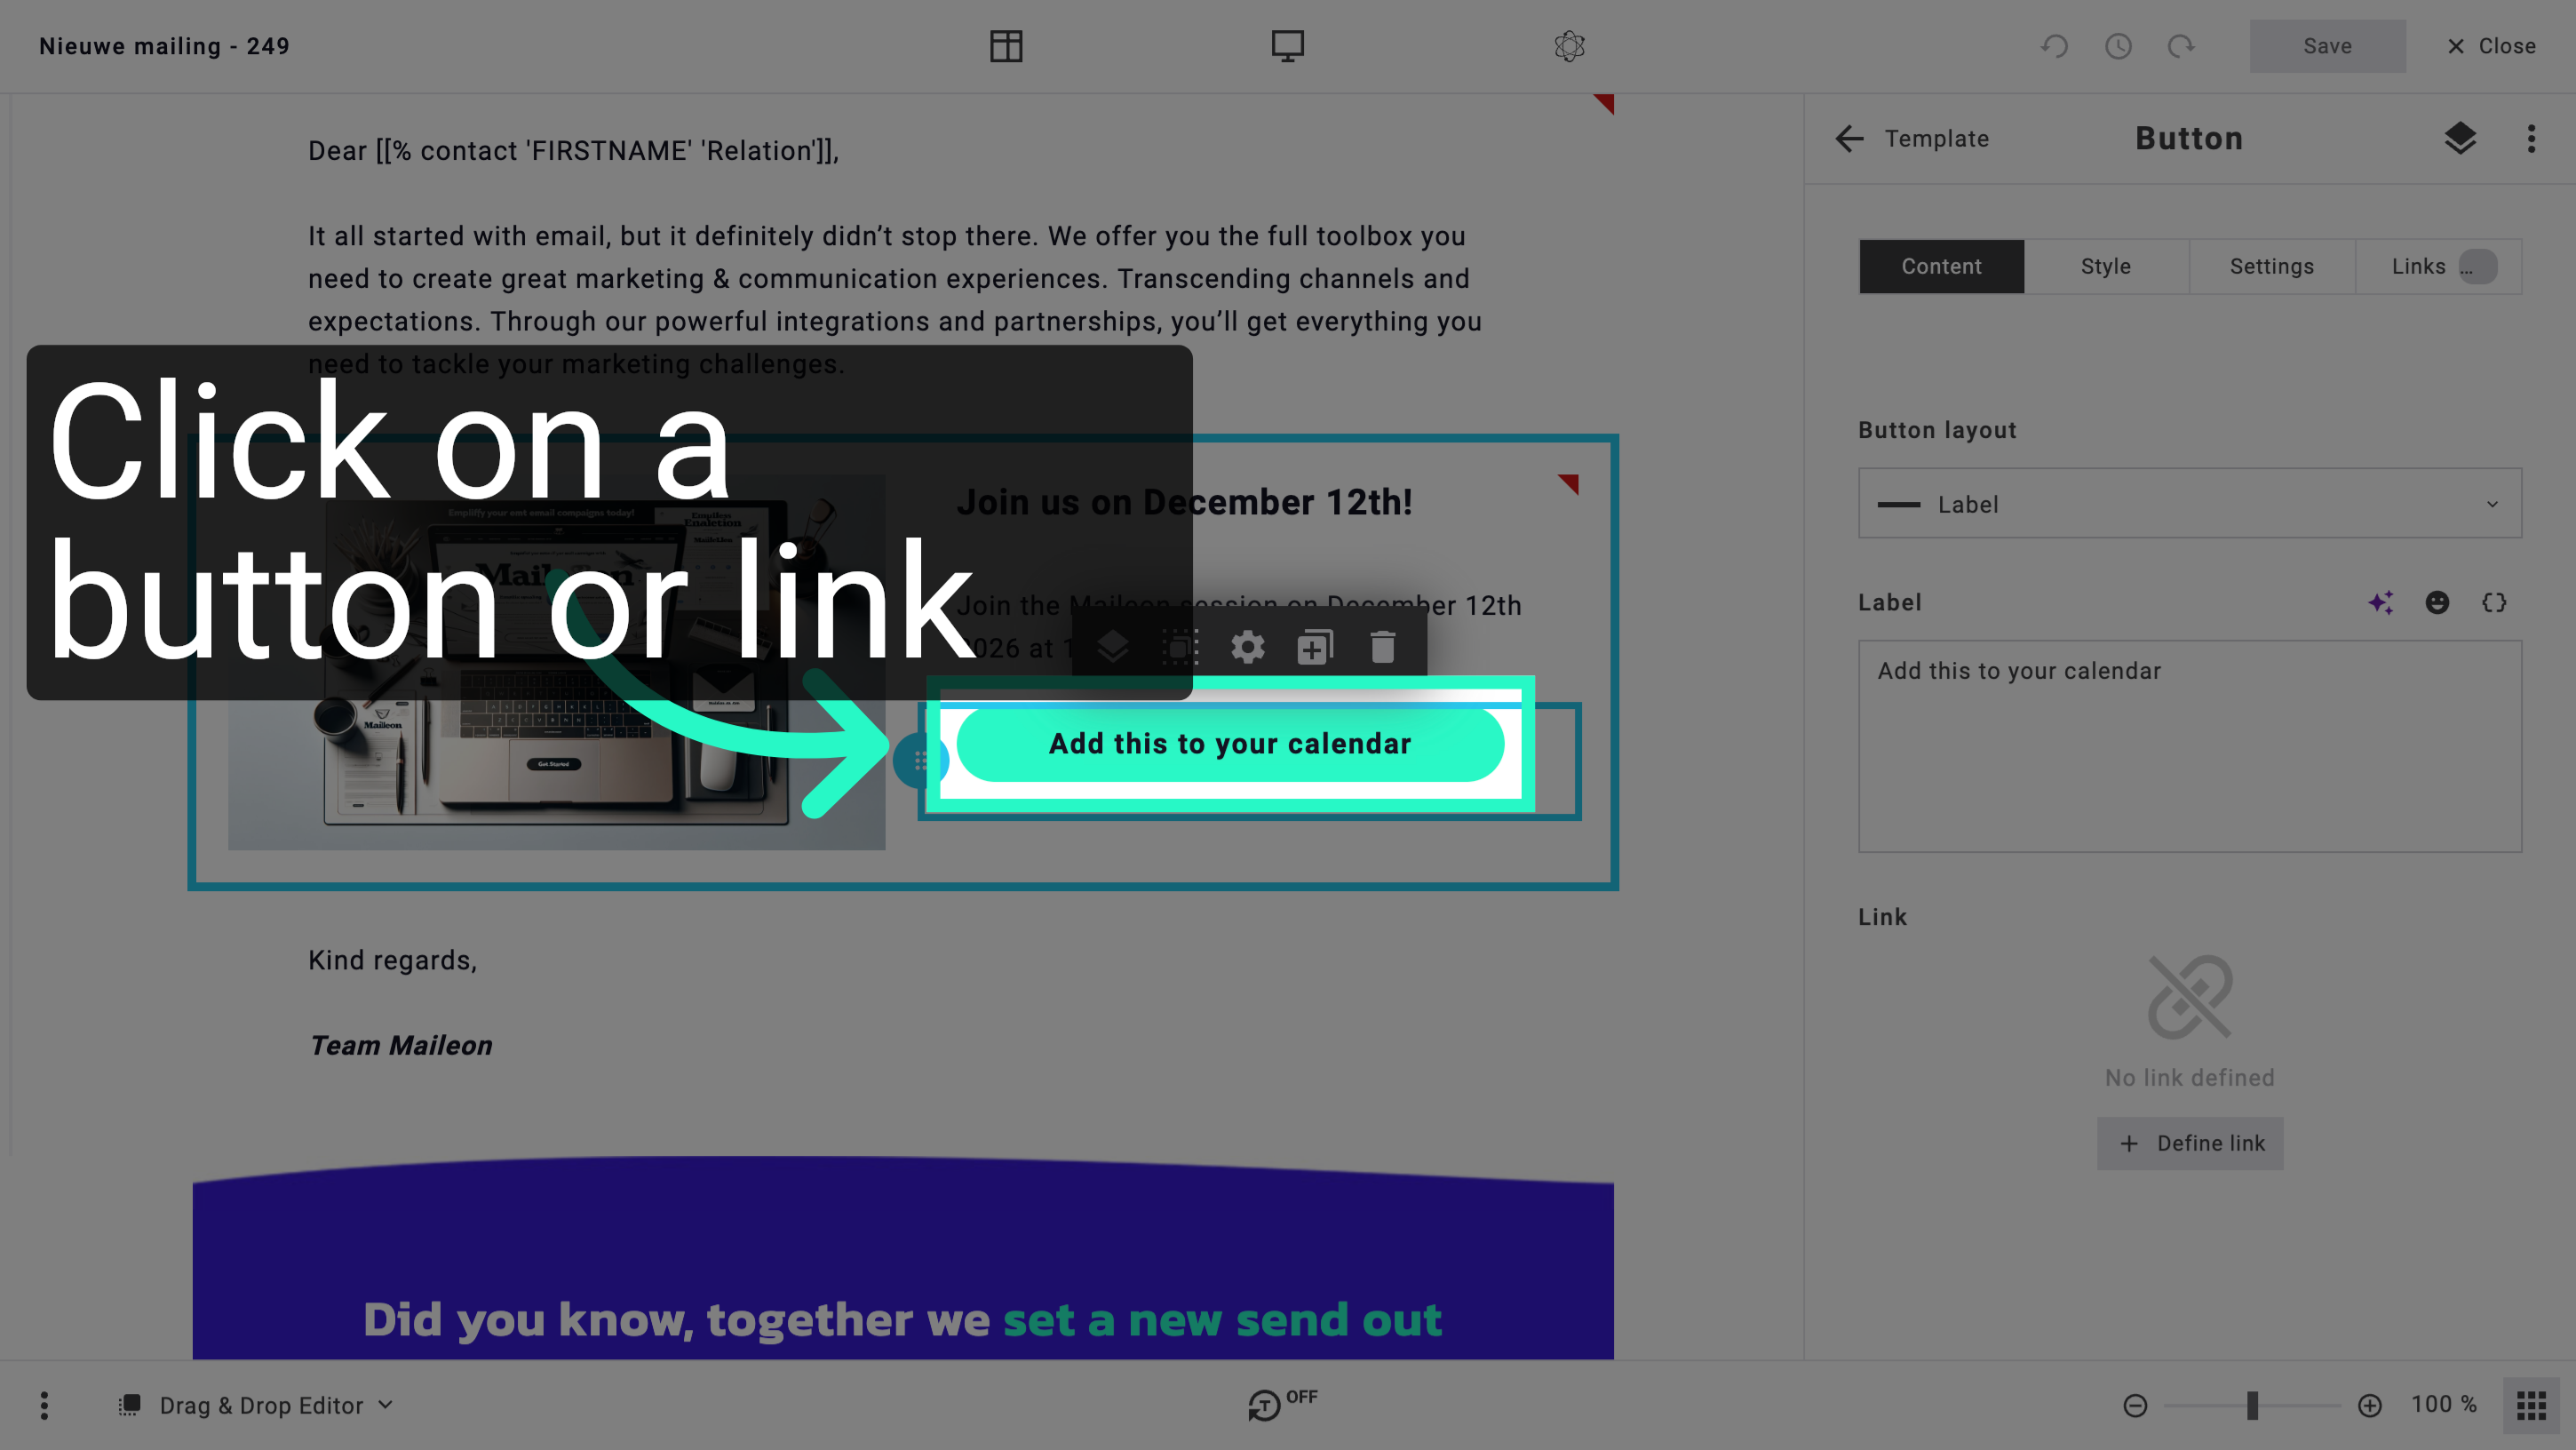
3. Define Calendar Link
Click the Define link button to specify the calendar link details for the event.
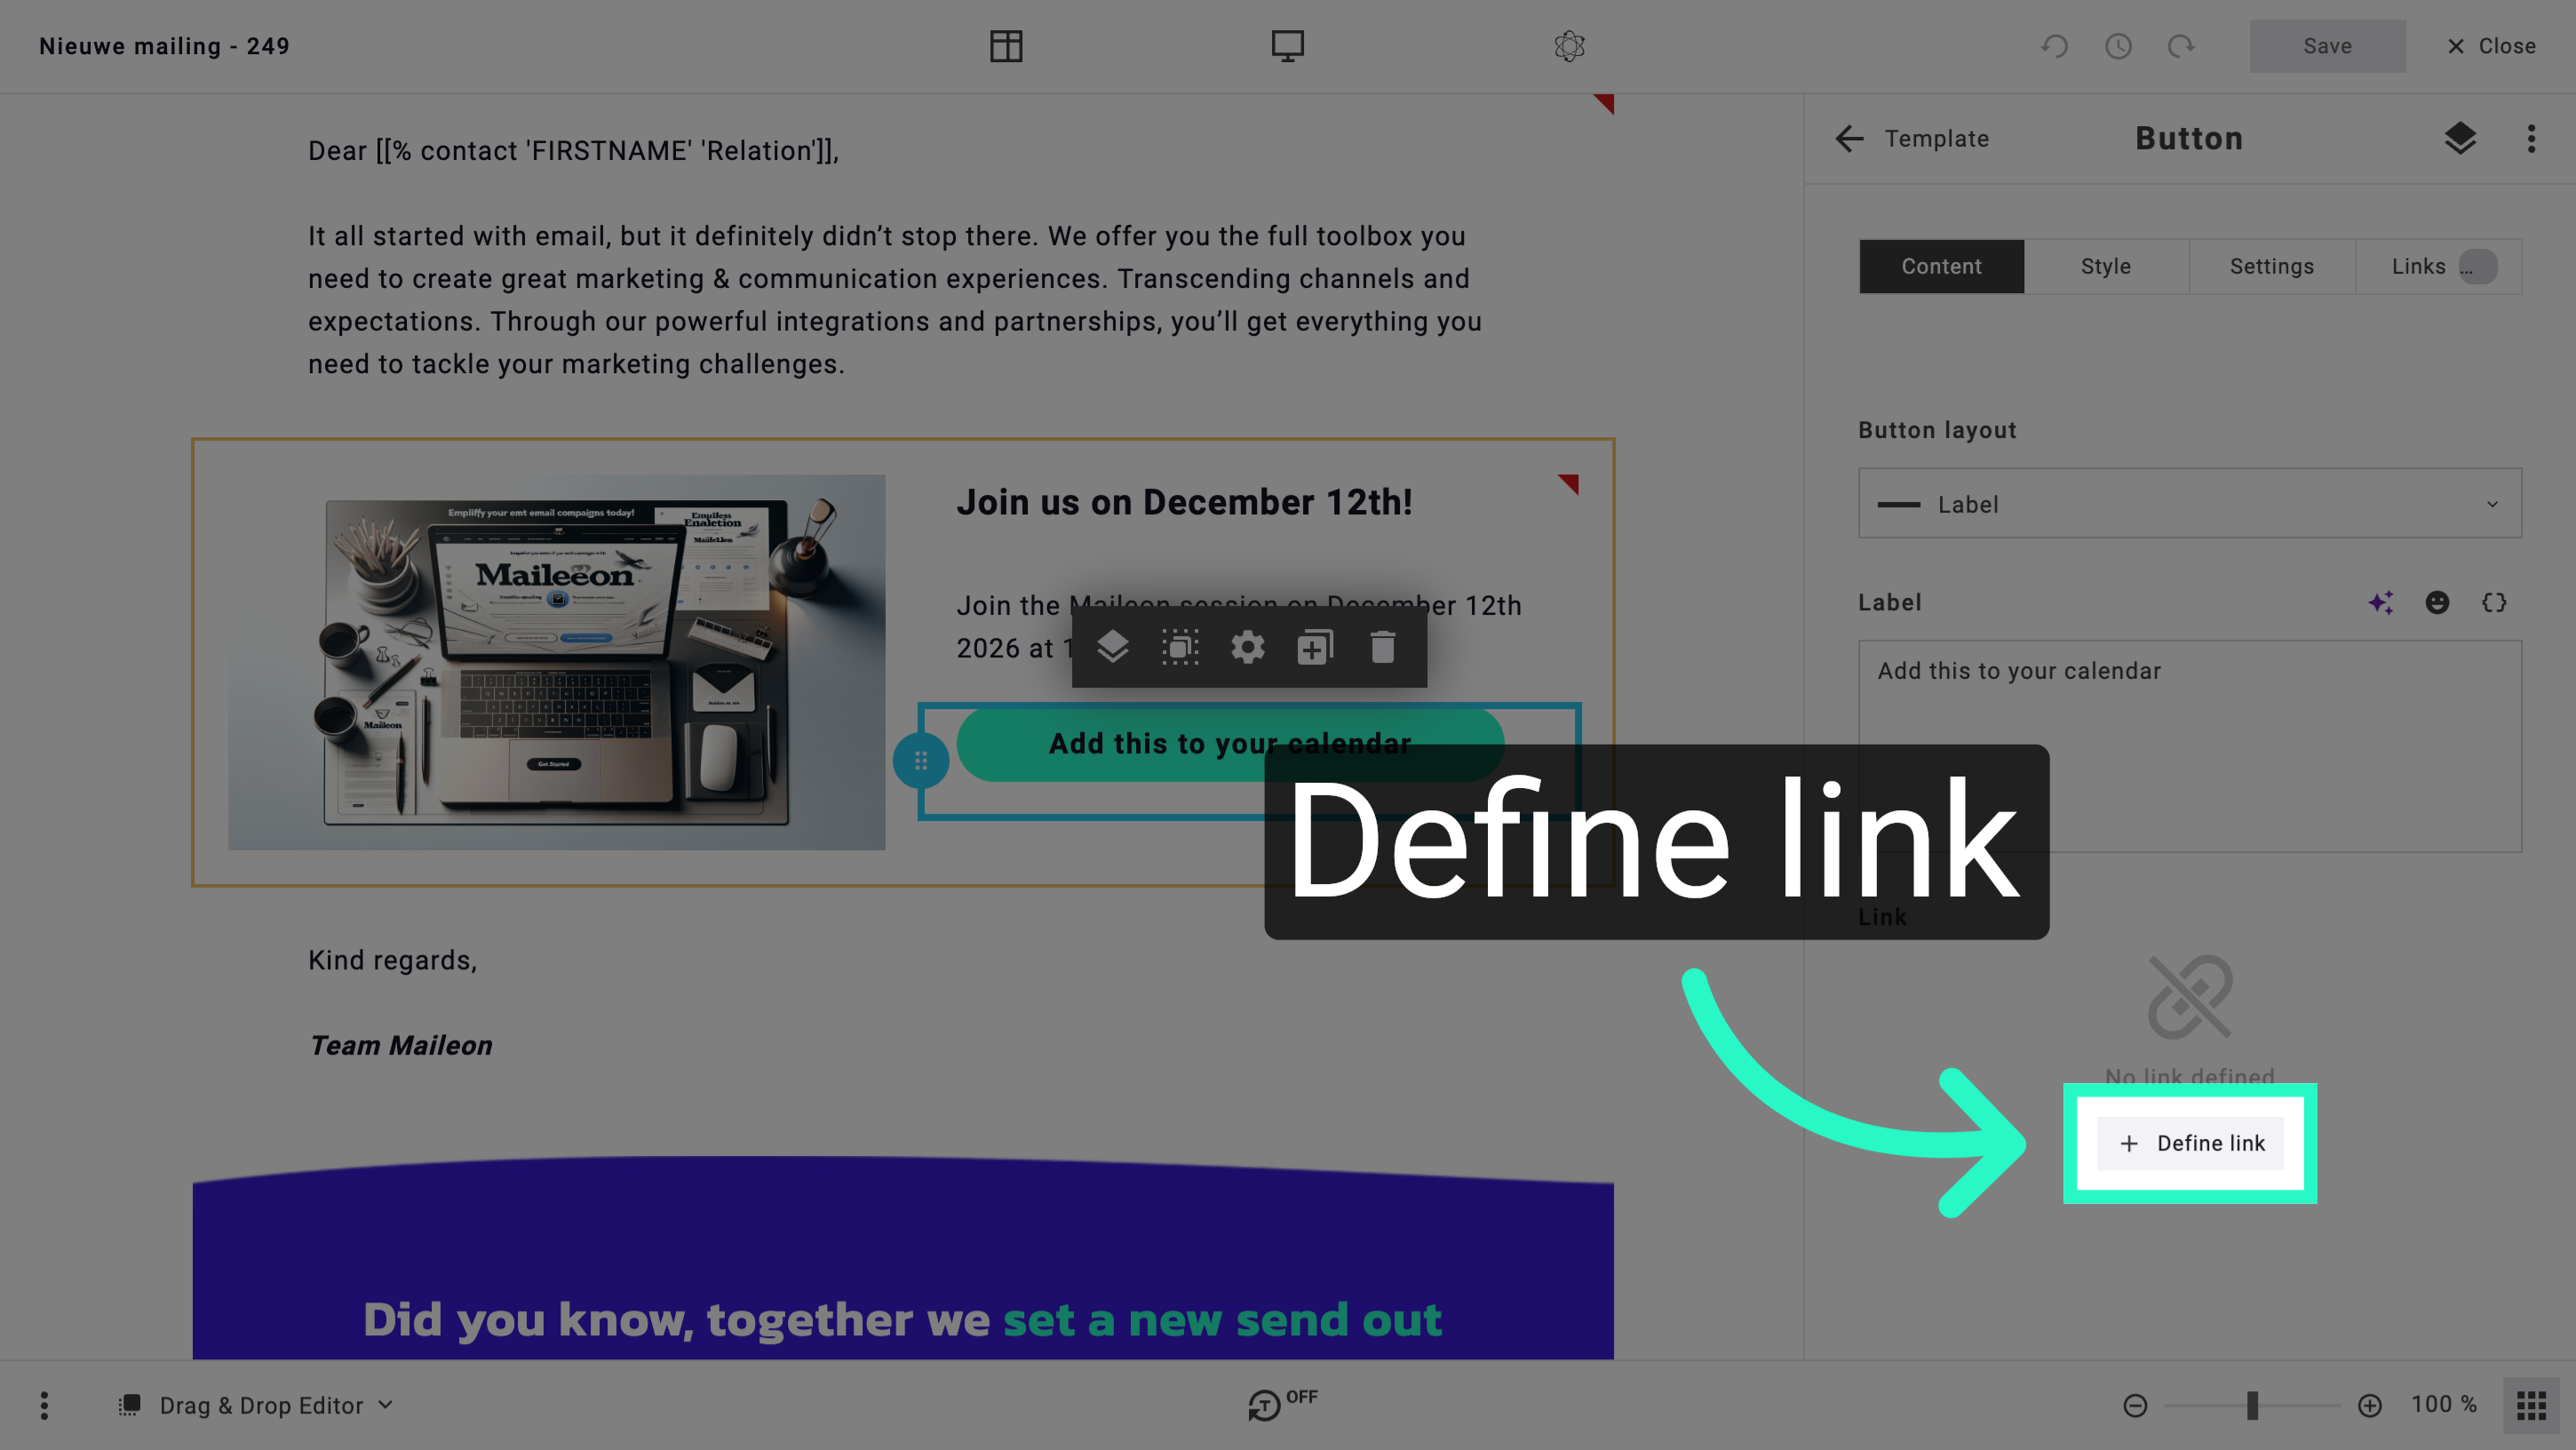
4. Show All Calendar Options
Click Show all to reveal all available calendar link options for further selection.
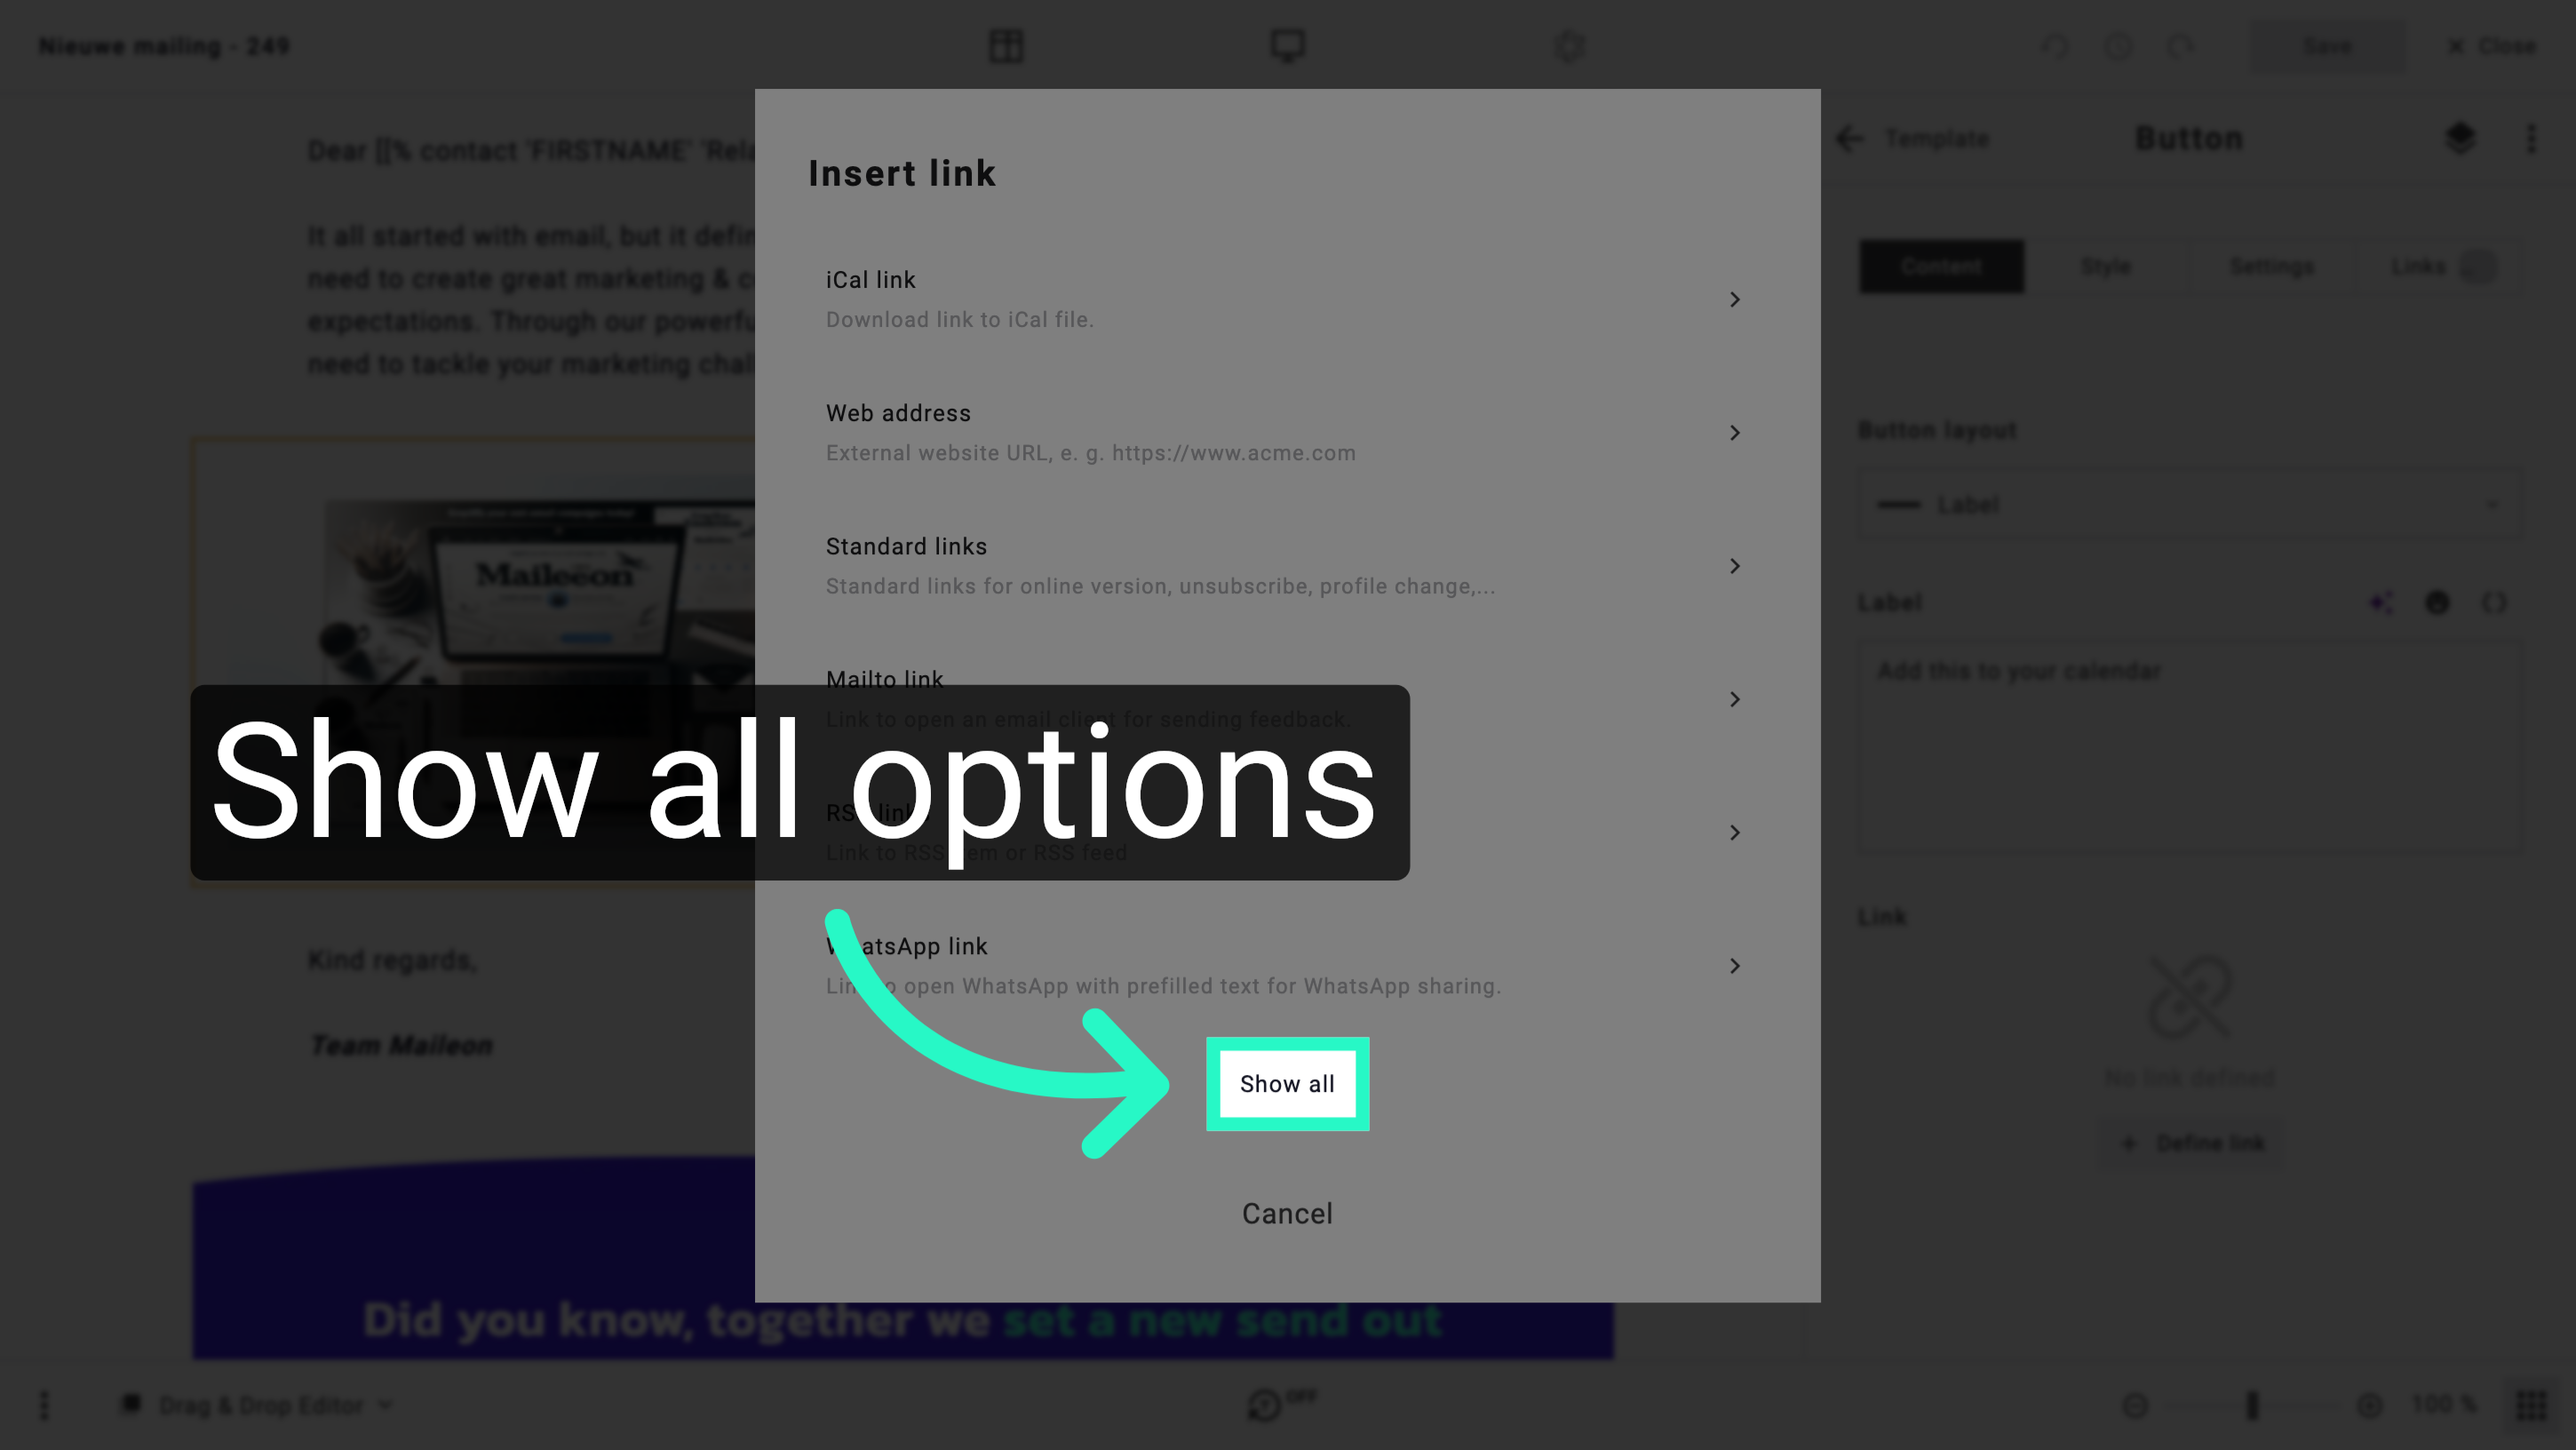
5. Download iCal File
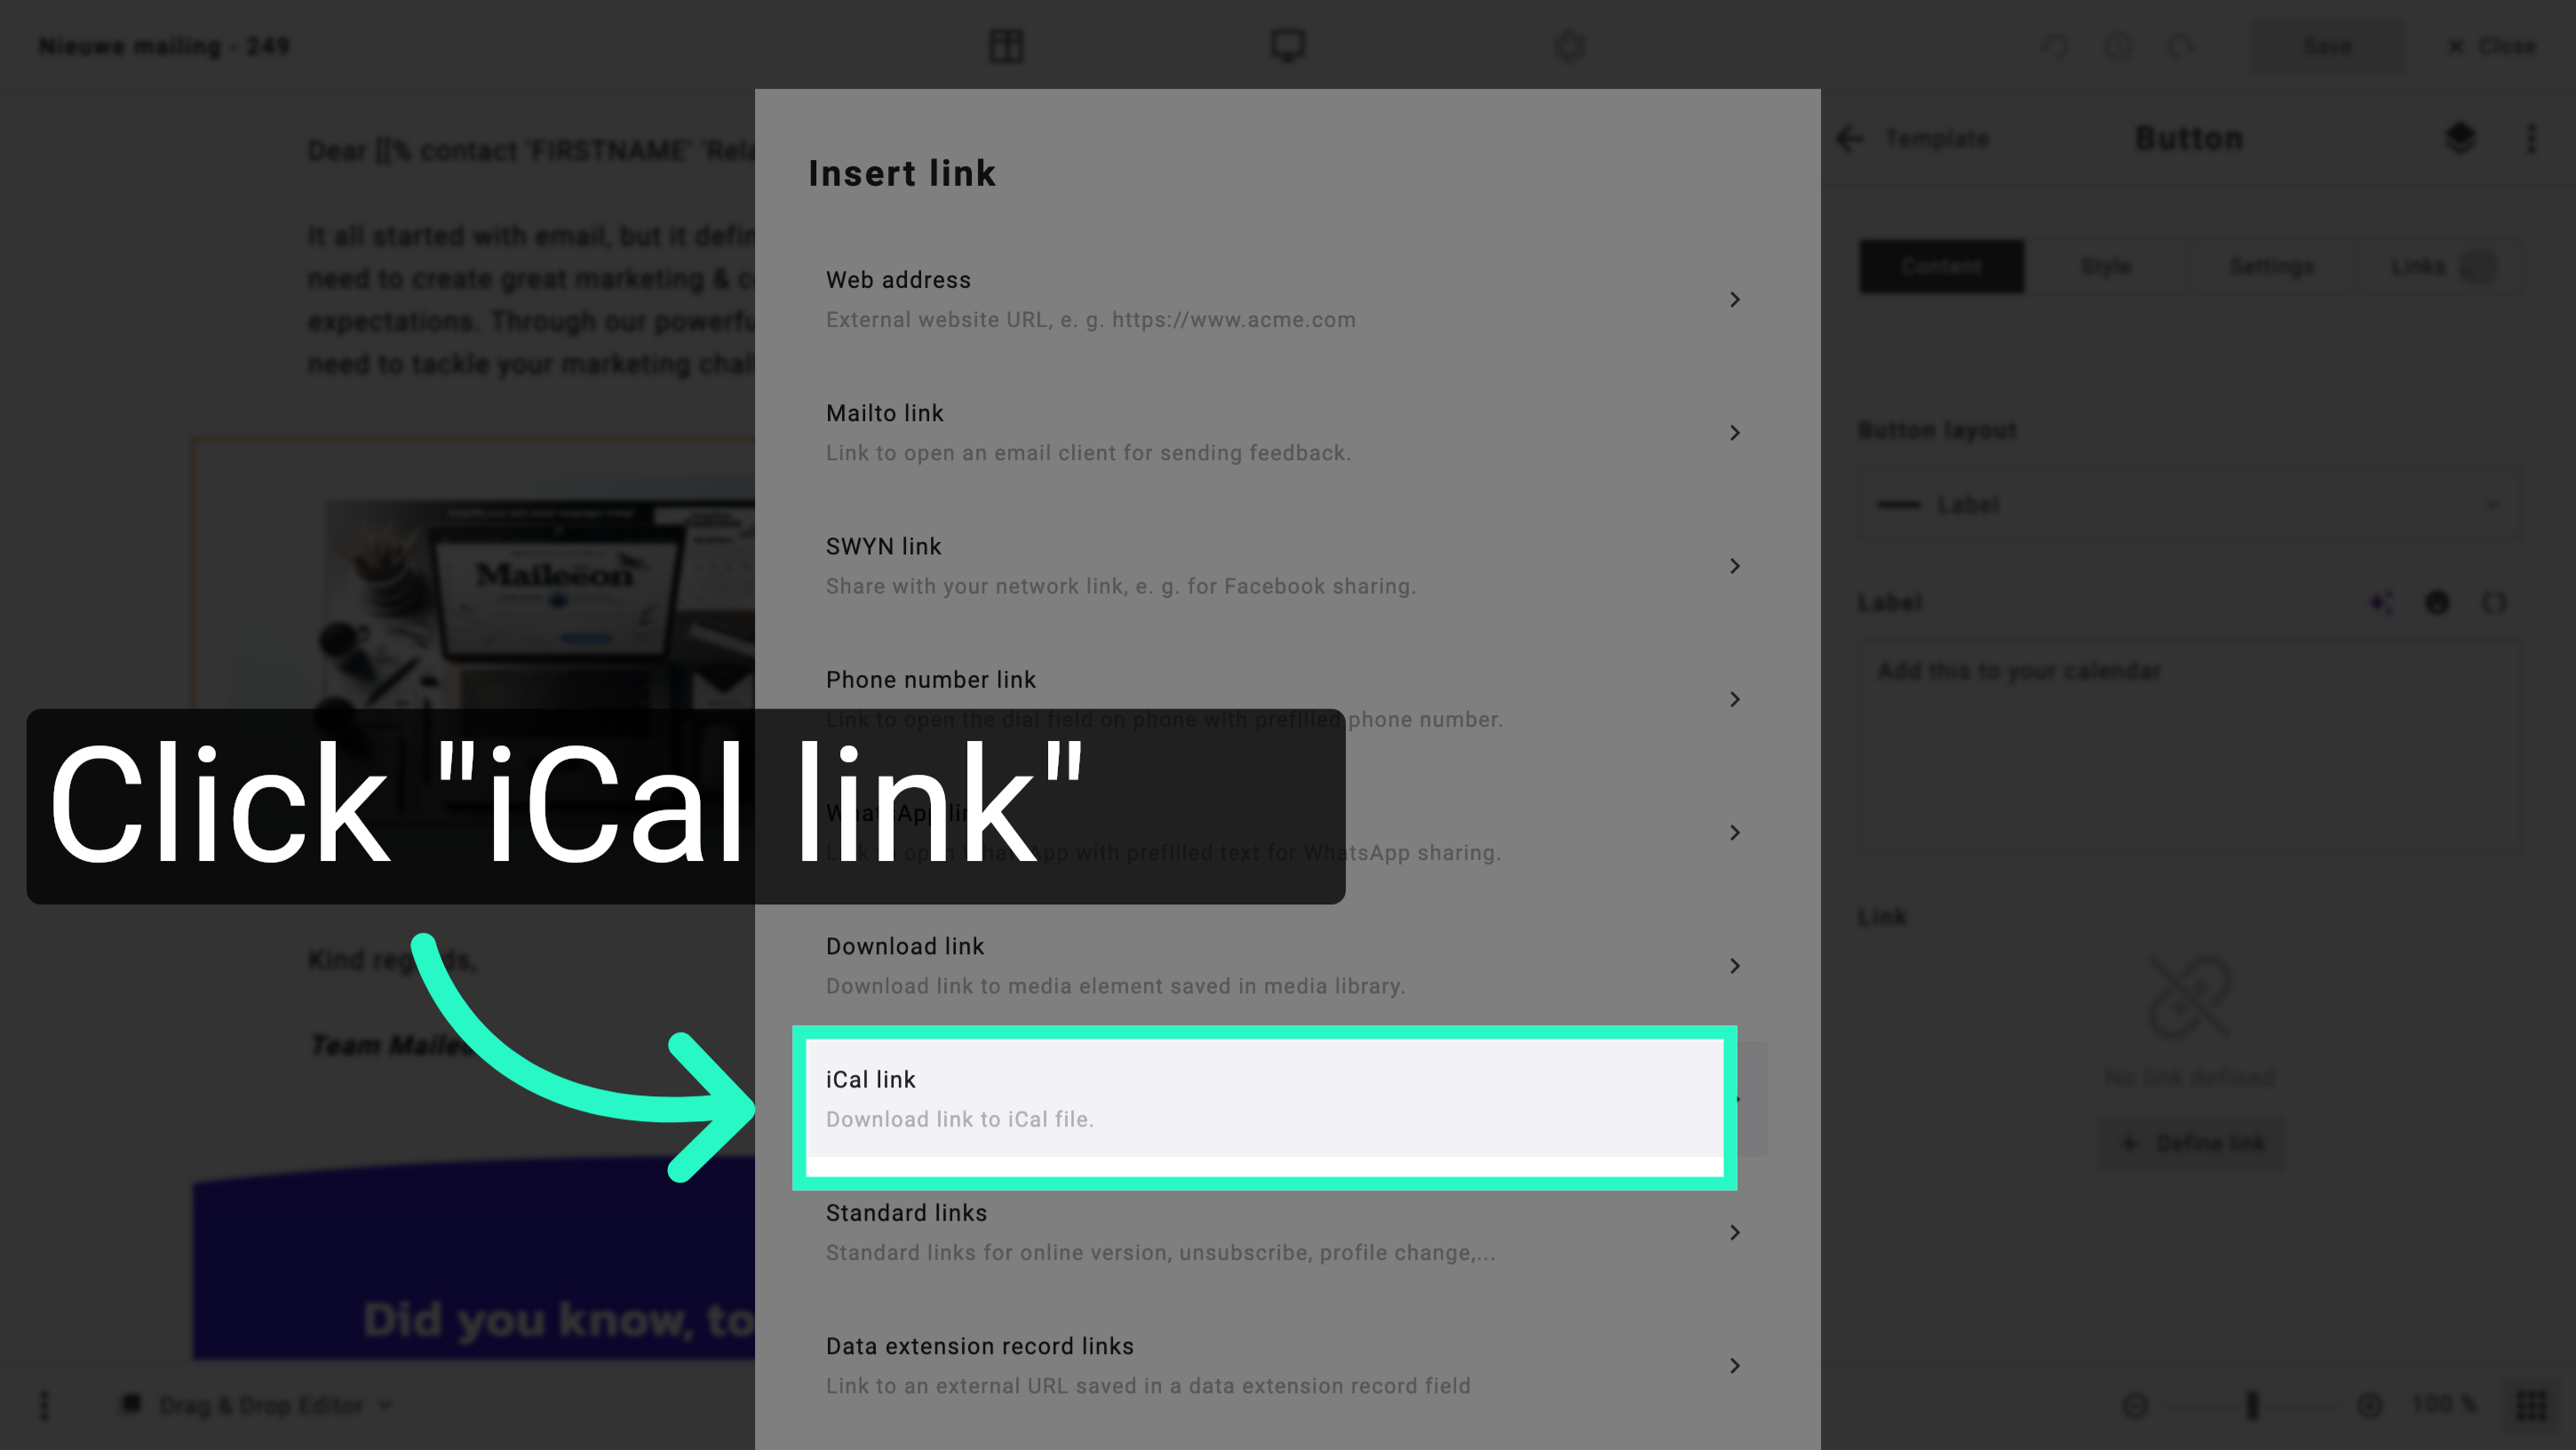
Click the iCal link to download the calendar file in iCal format for easy import.
6. Enter Event Title
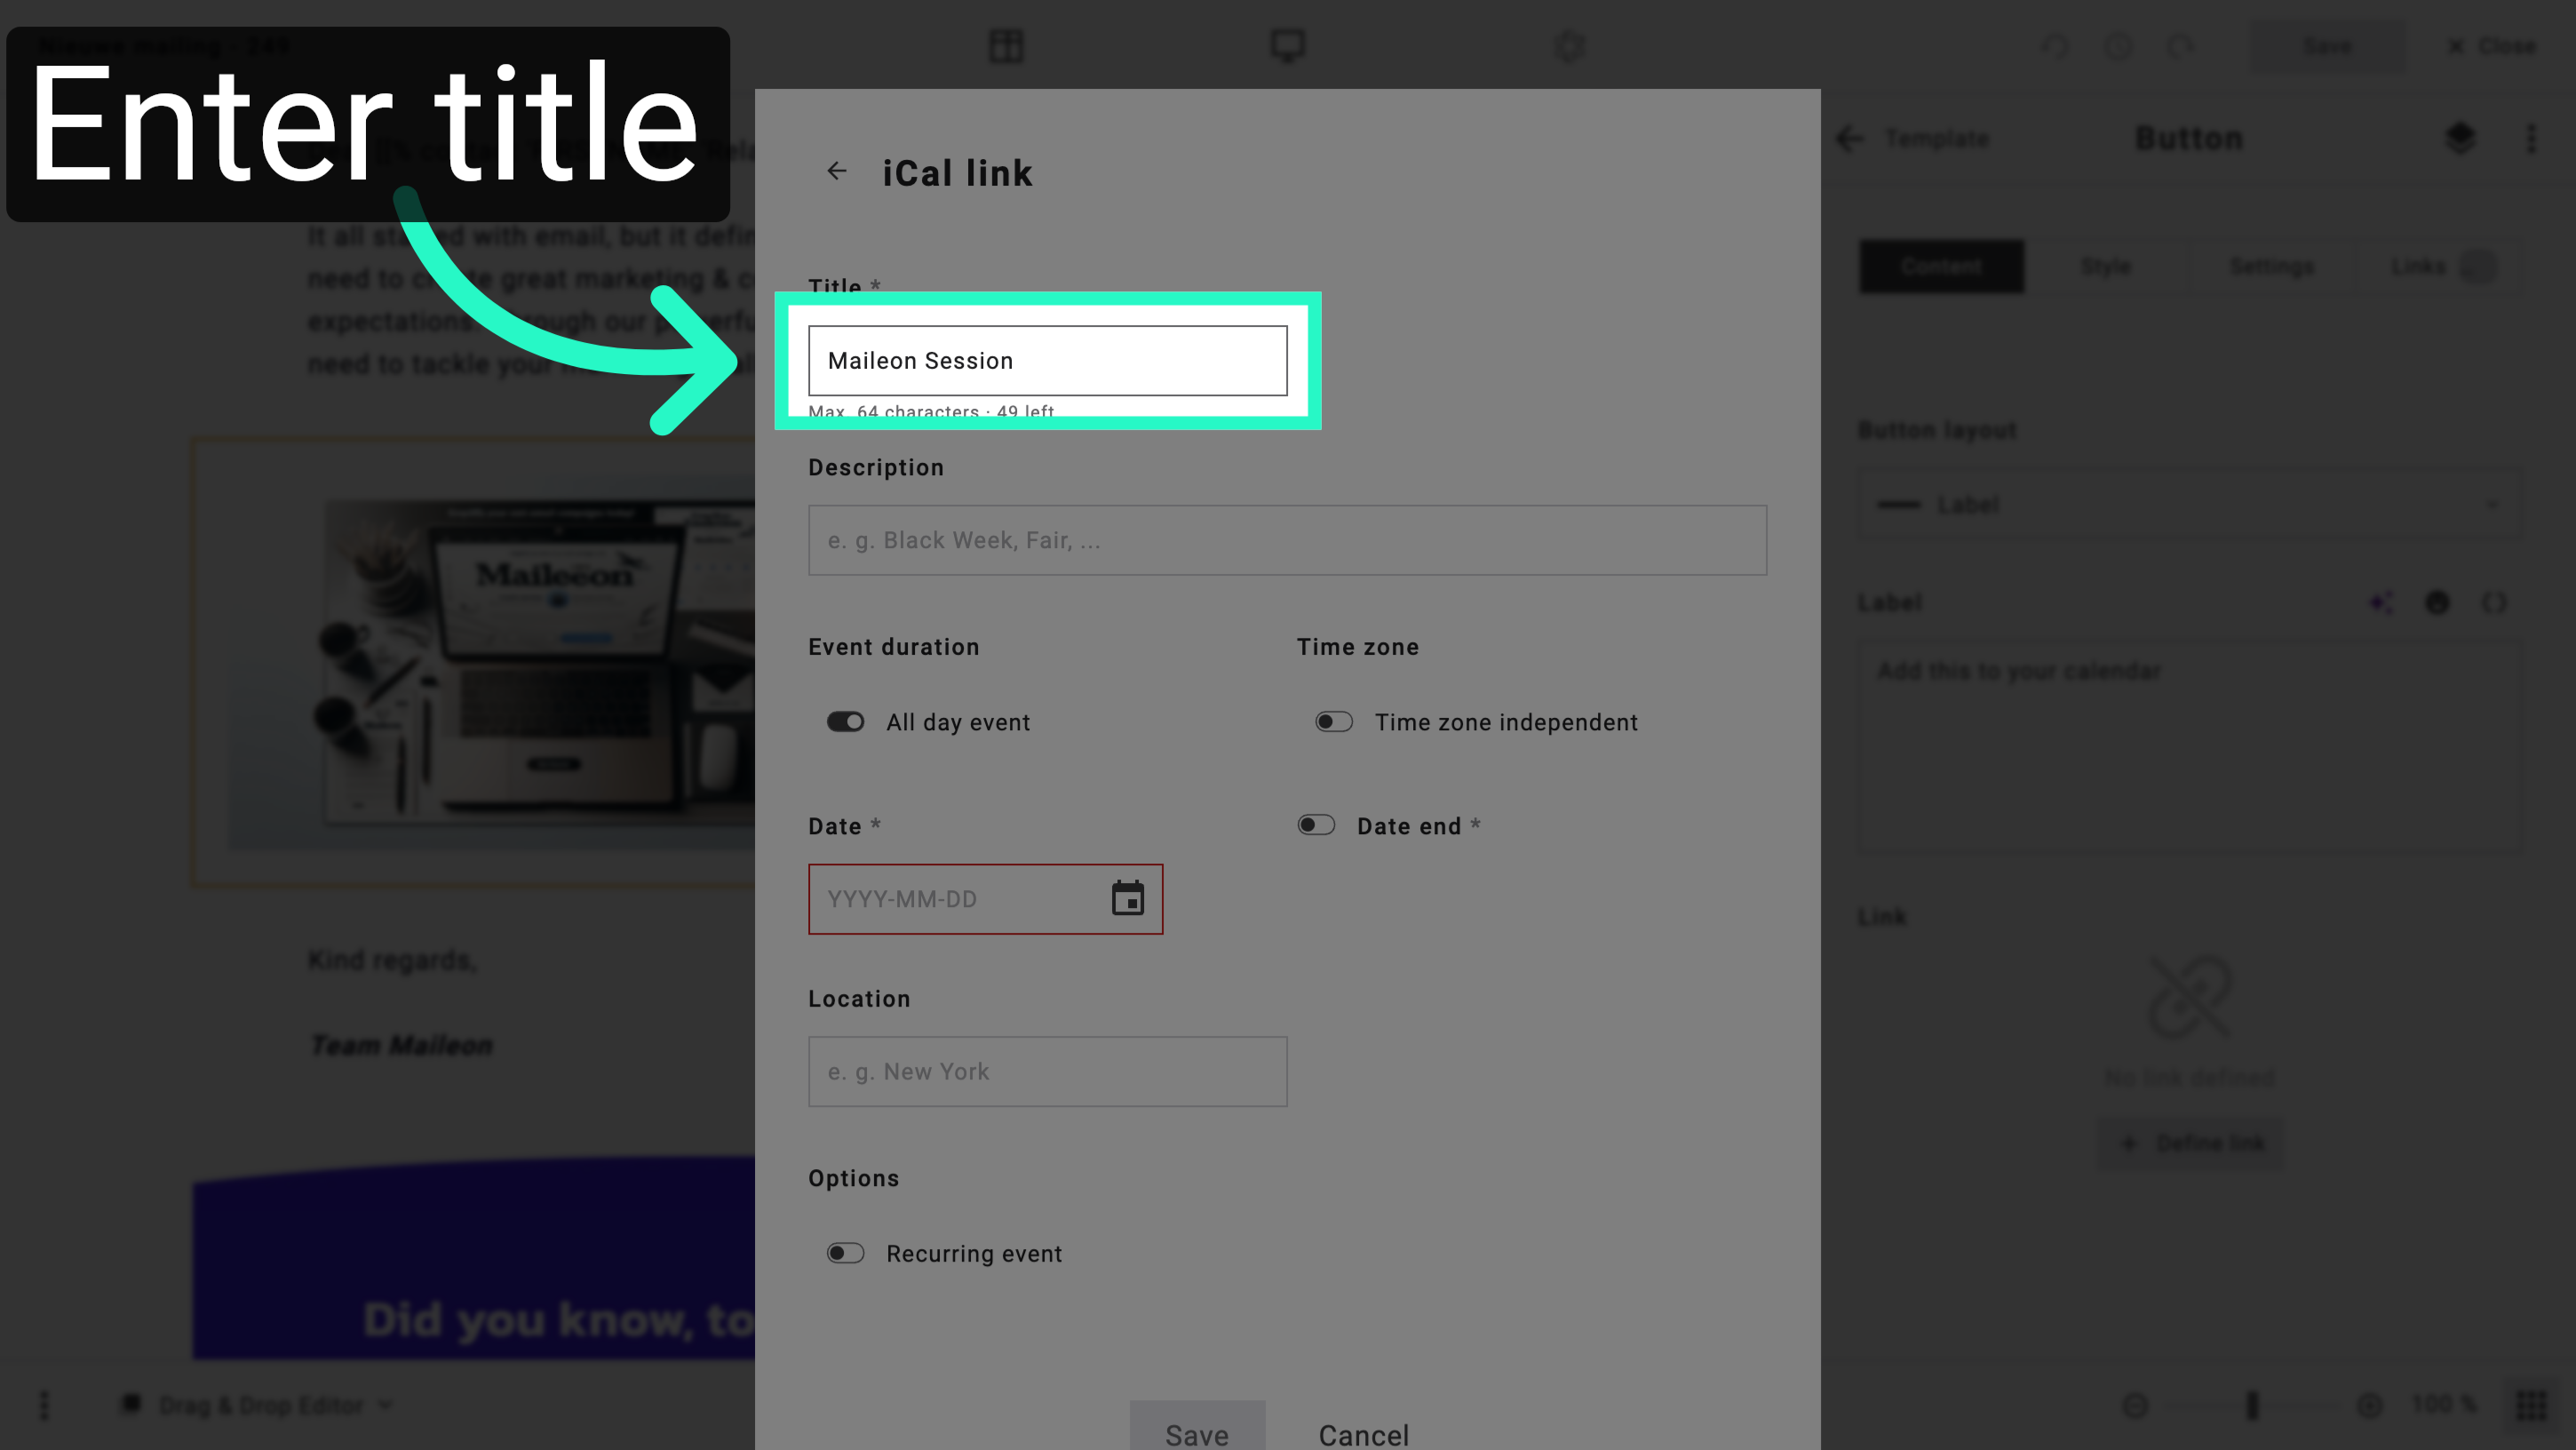
Click the Title field and enter a title for the event to identify it clearly in your calendar.
7. Enter Event Description
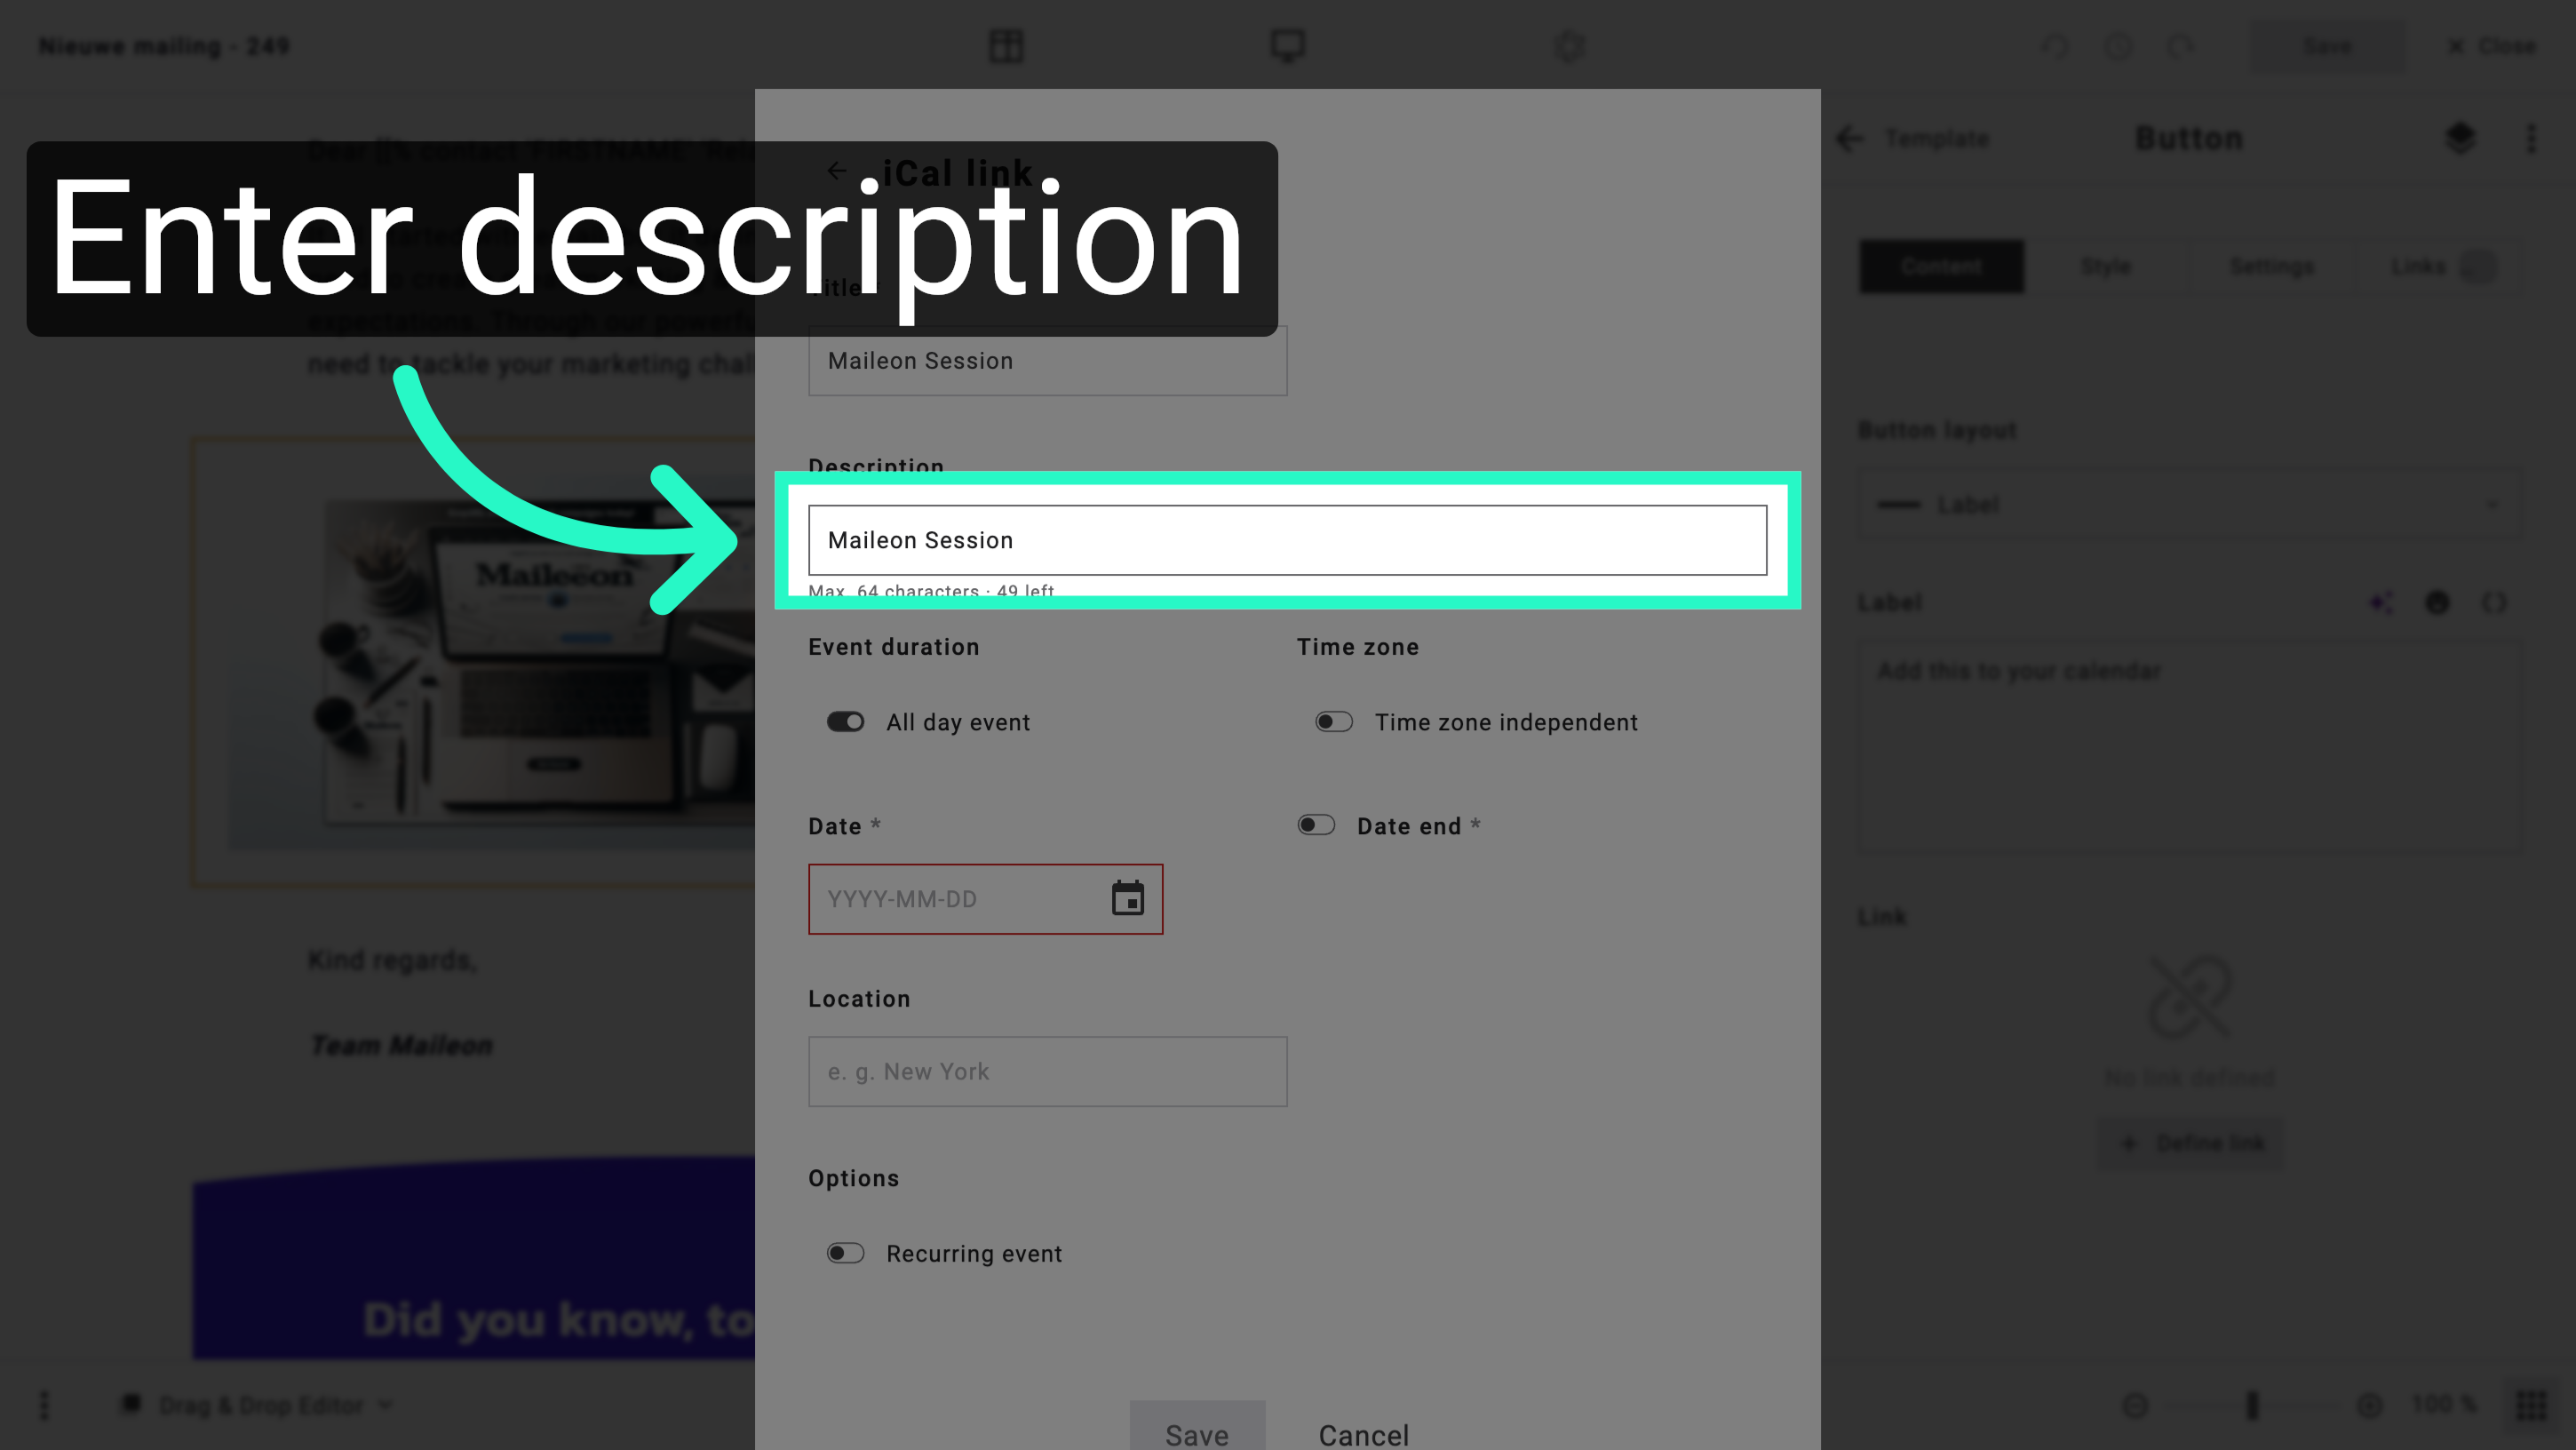
Click the Description field and type a description to provide more details about the event.
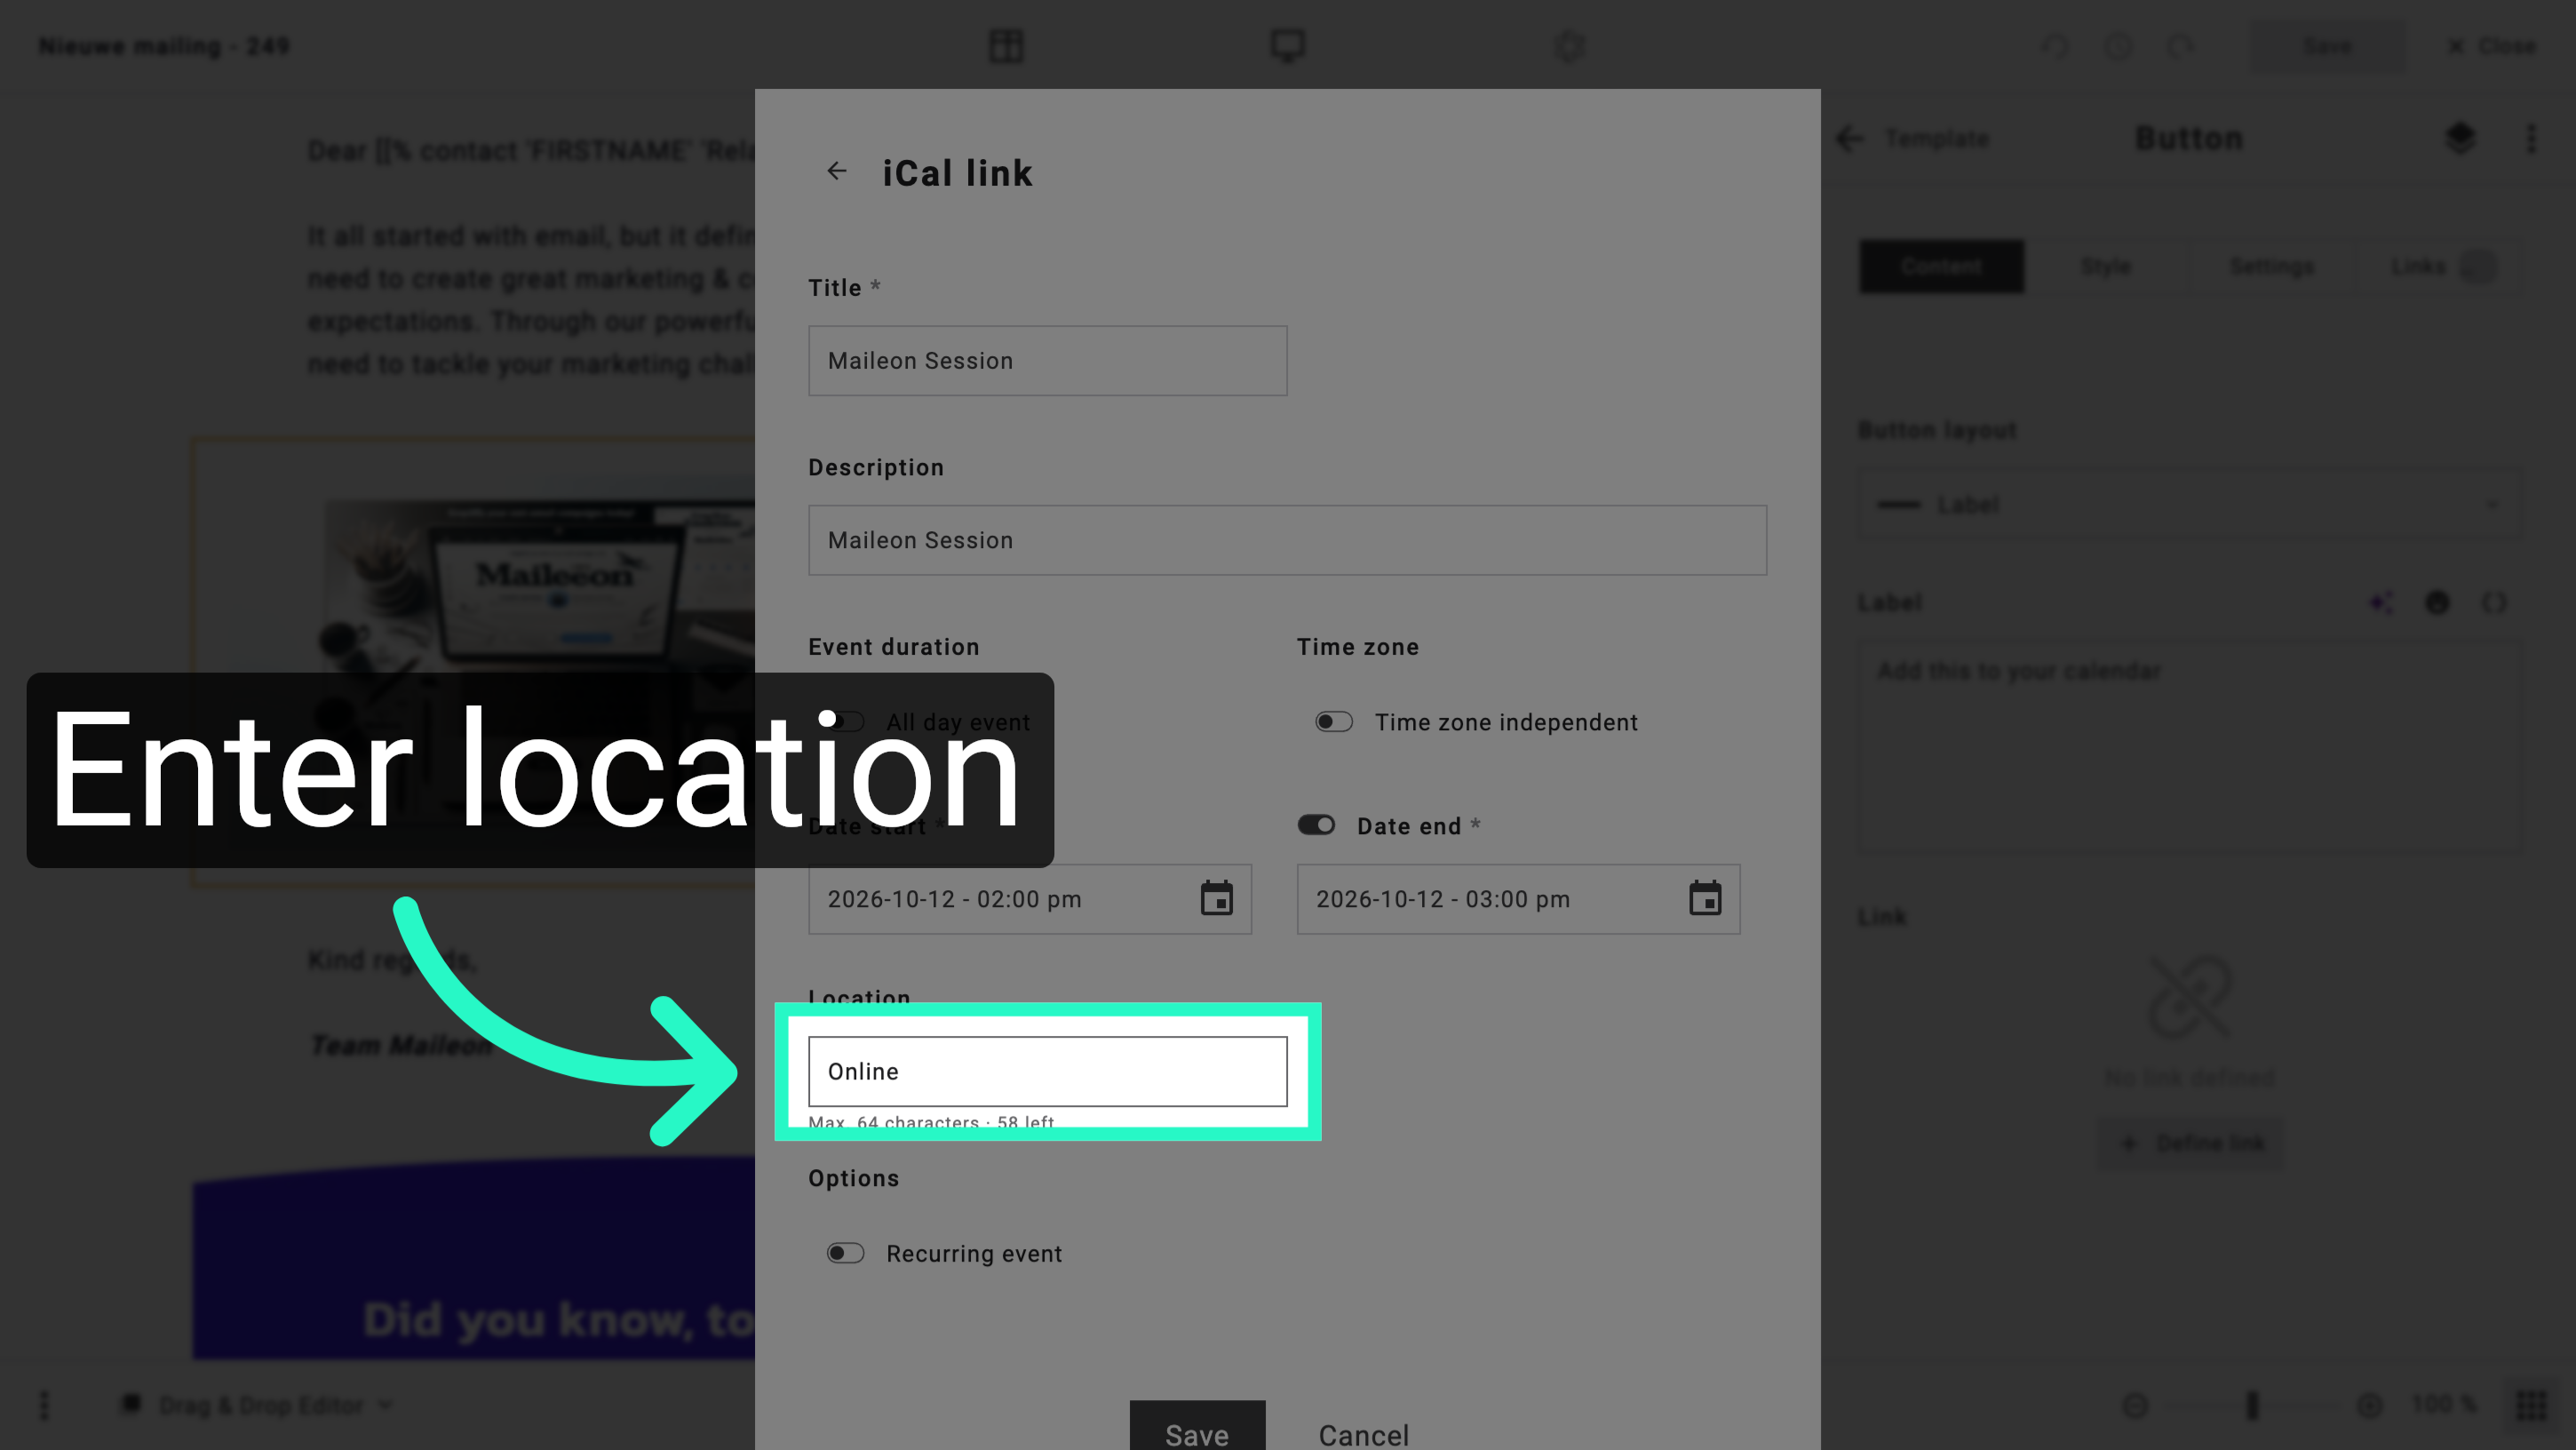
8. Enter Event Location
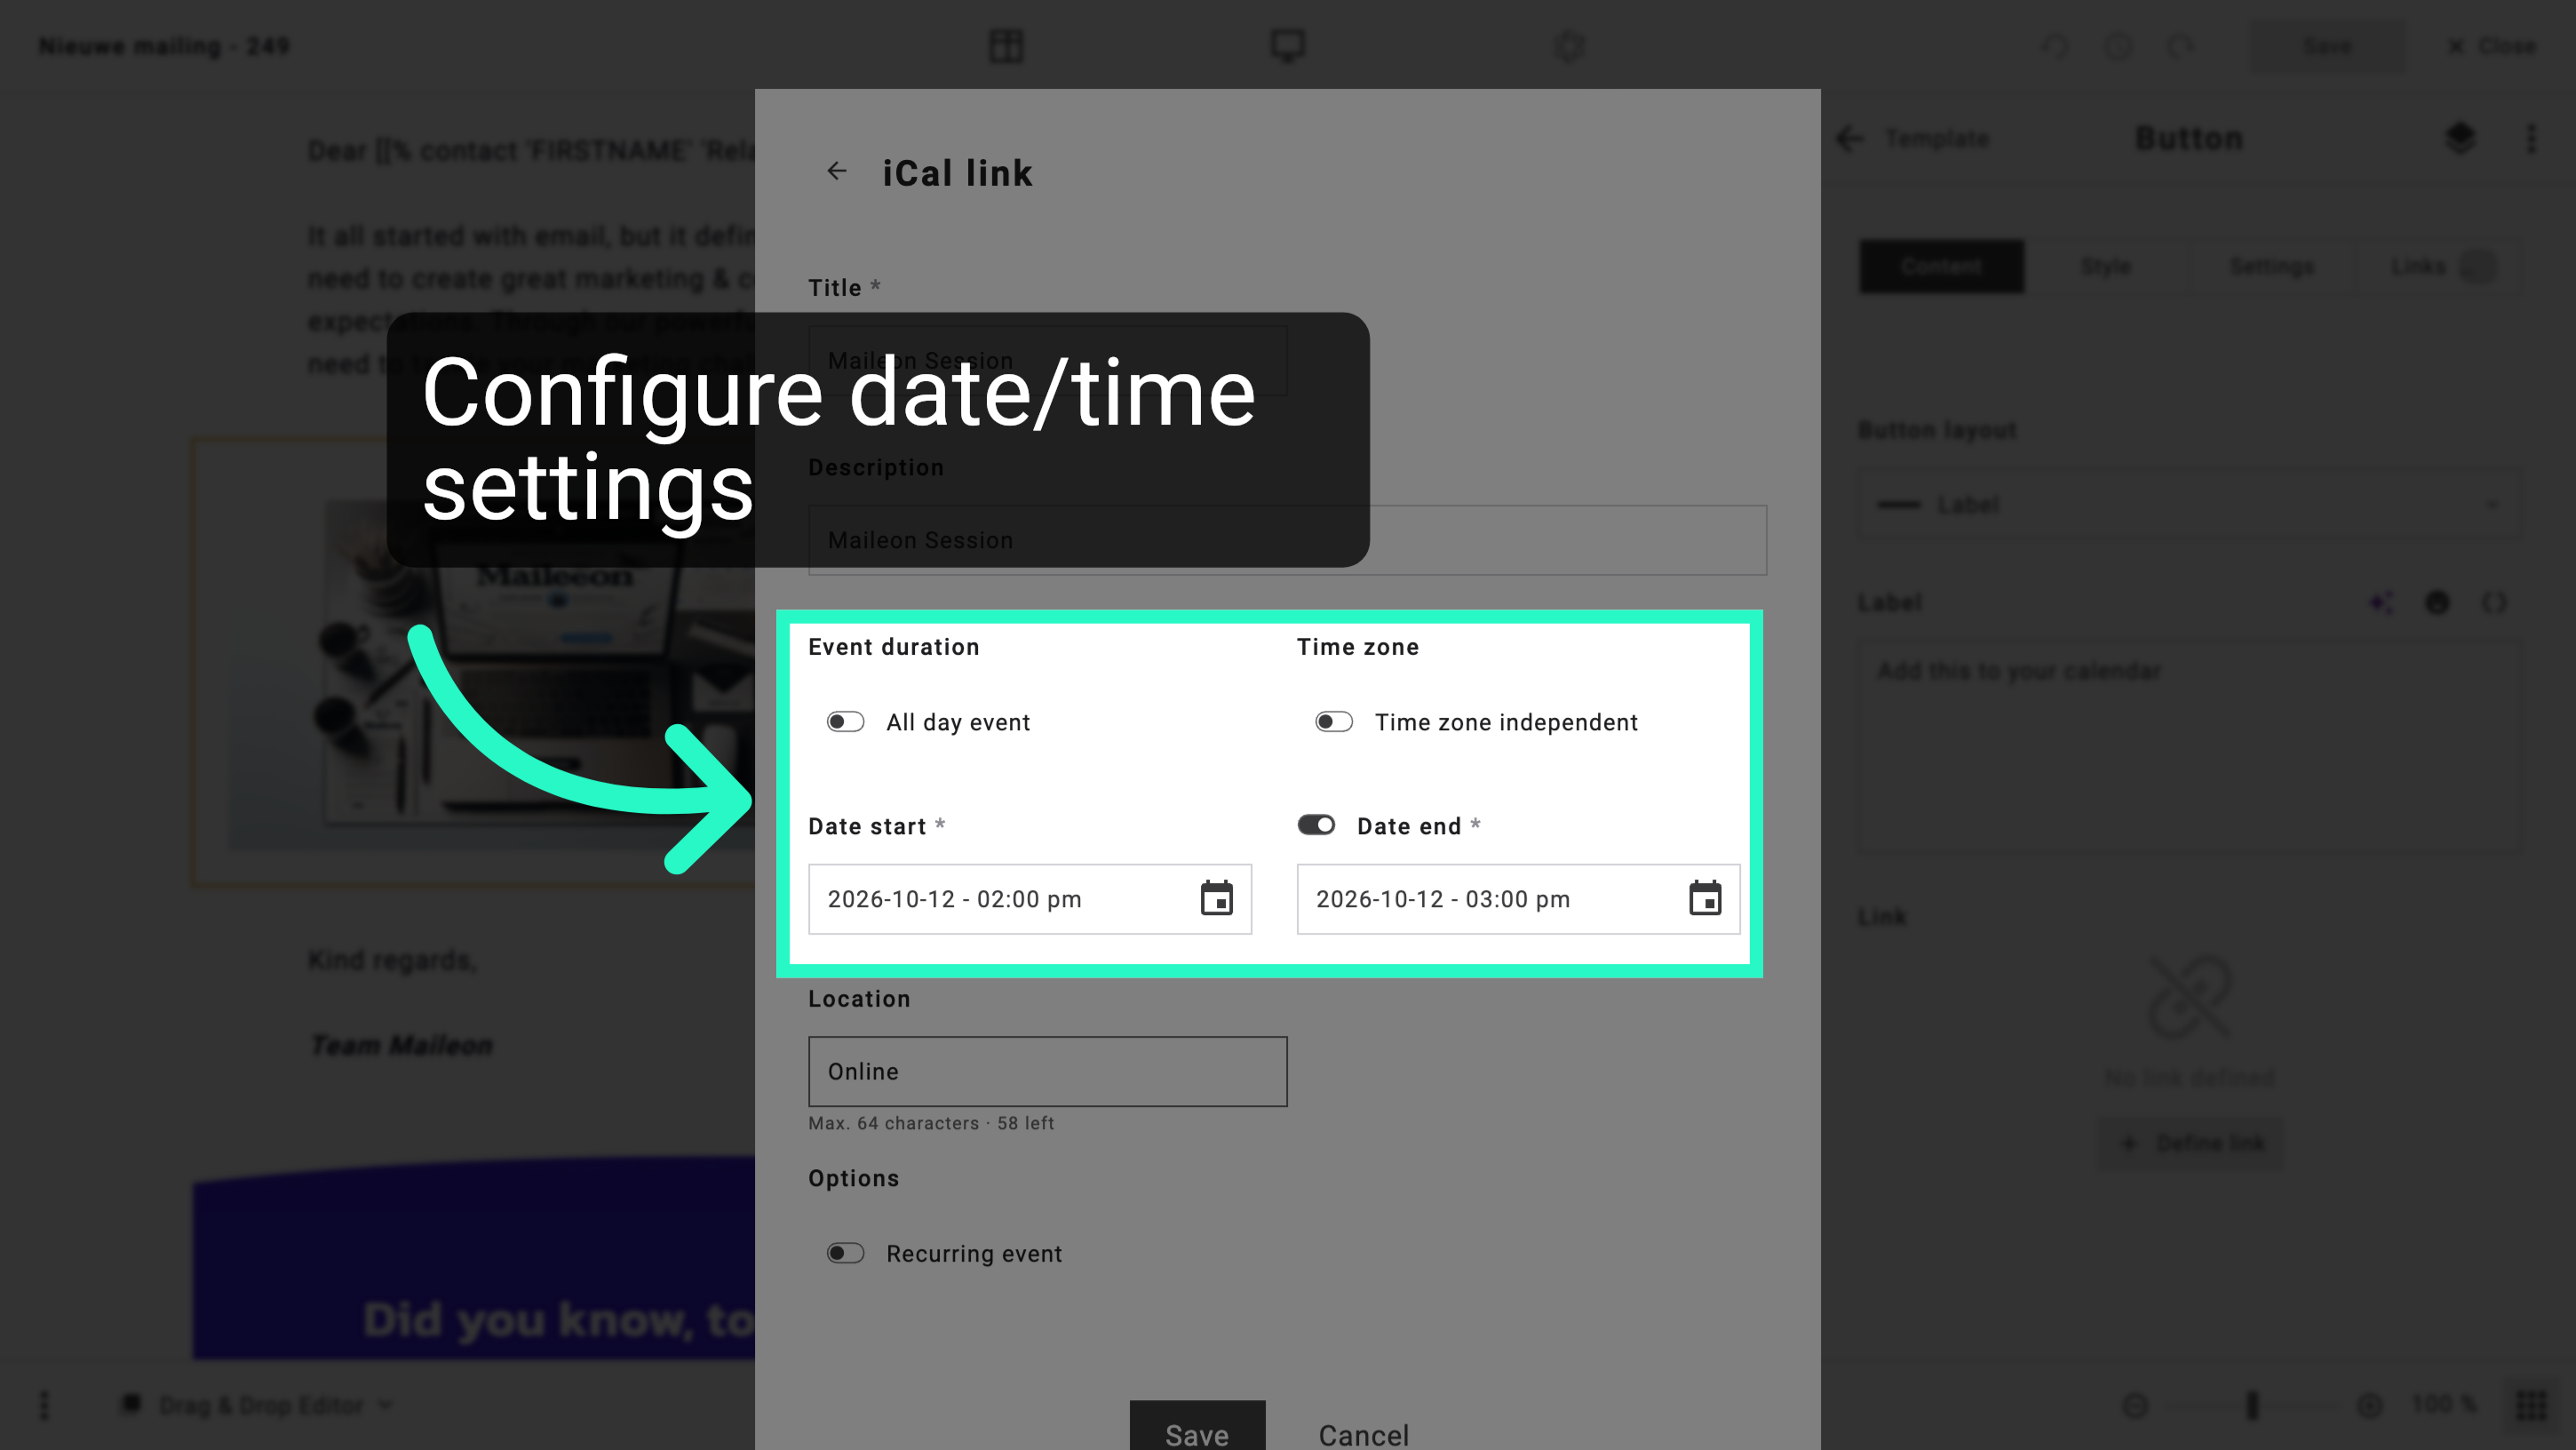
Click the Location field and enter the event location, such as Online, to specify where it will take place.
9. Enter Event Location
Click the Location field and enter the event location, such as Online, to specify where it will take place.
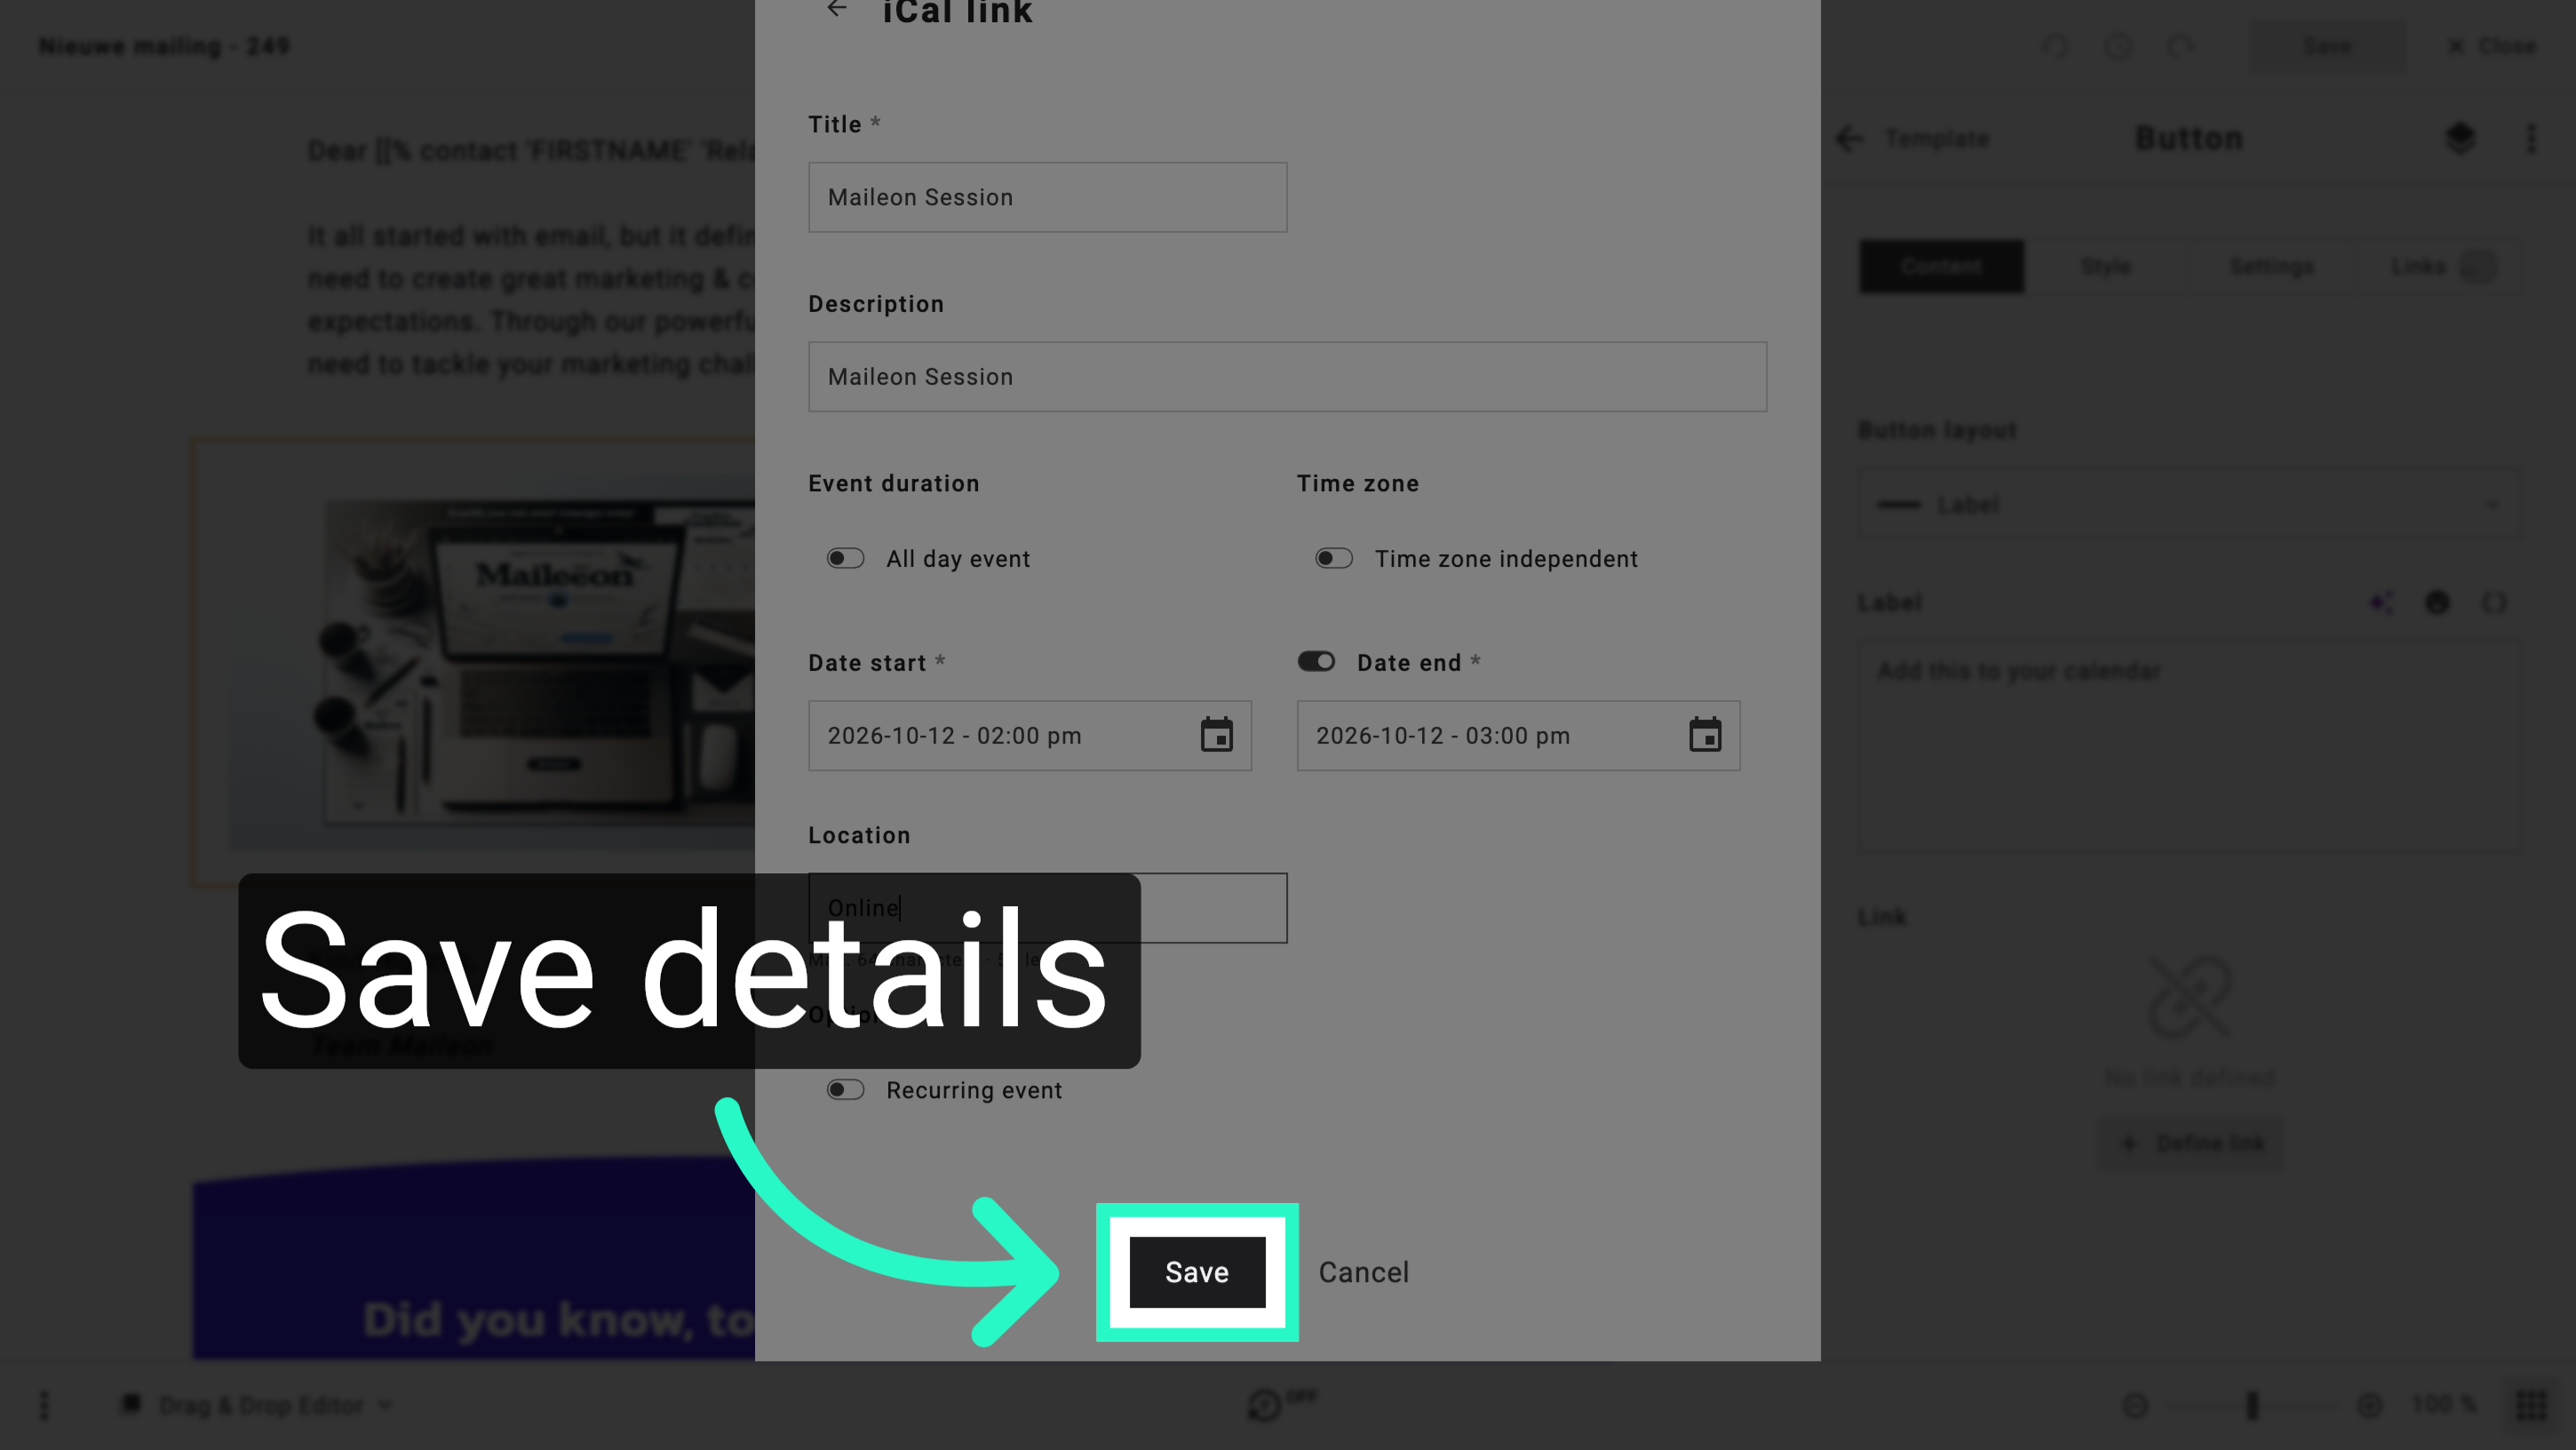
10. Save Event Details
Click Save to store all the event details you have entered so far.
11. Finalise Event Setup
Click Save again to finalise and complete the event setup process.
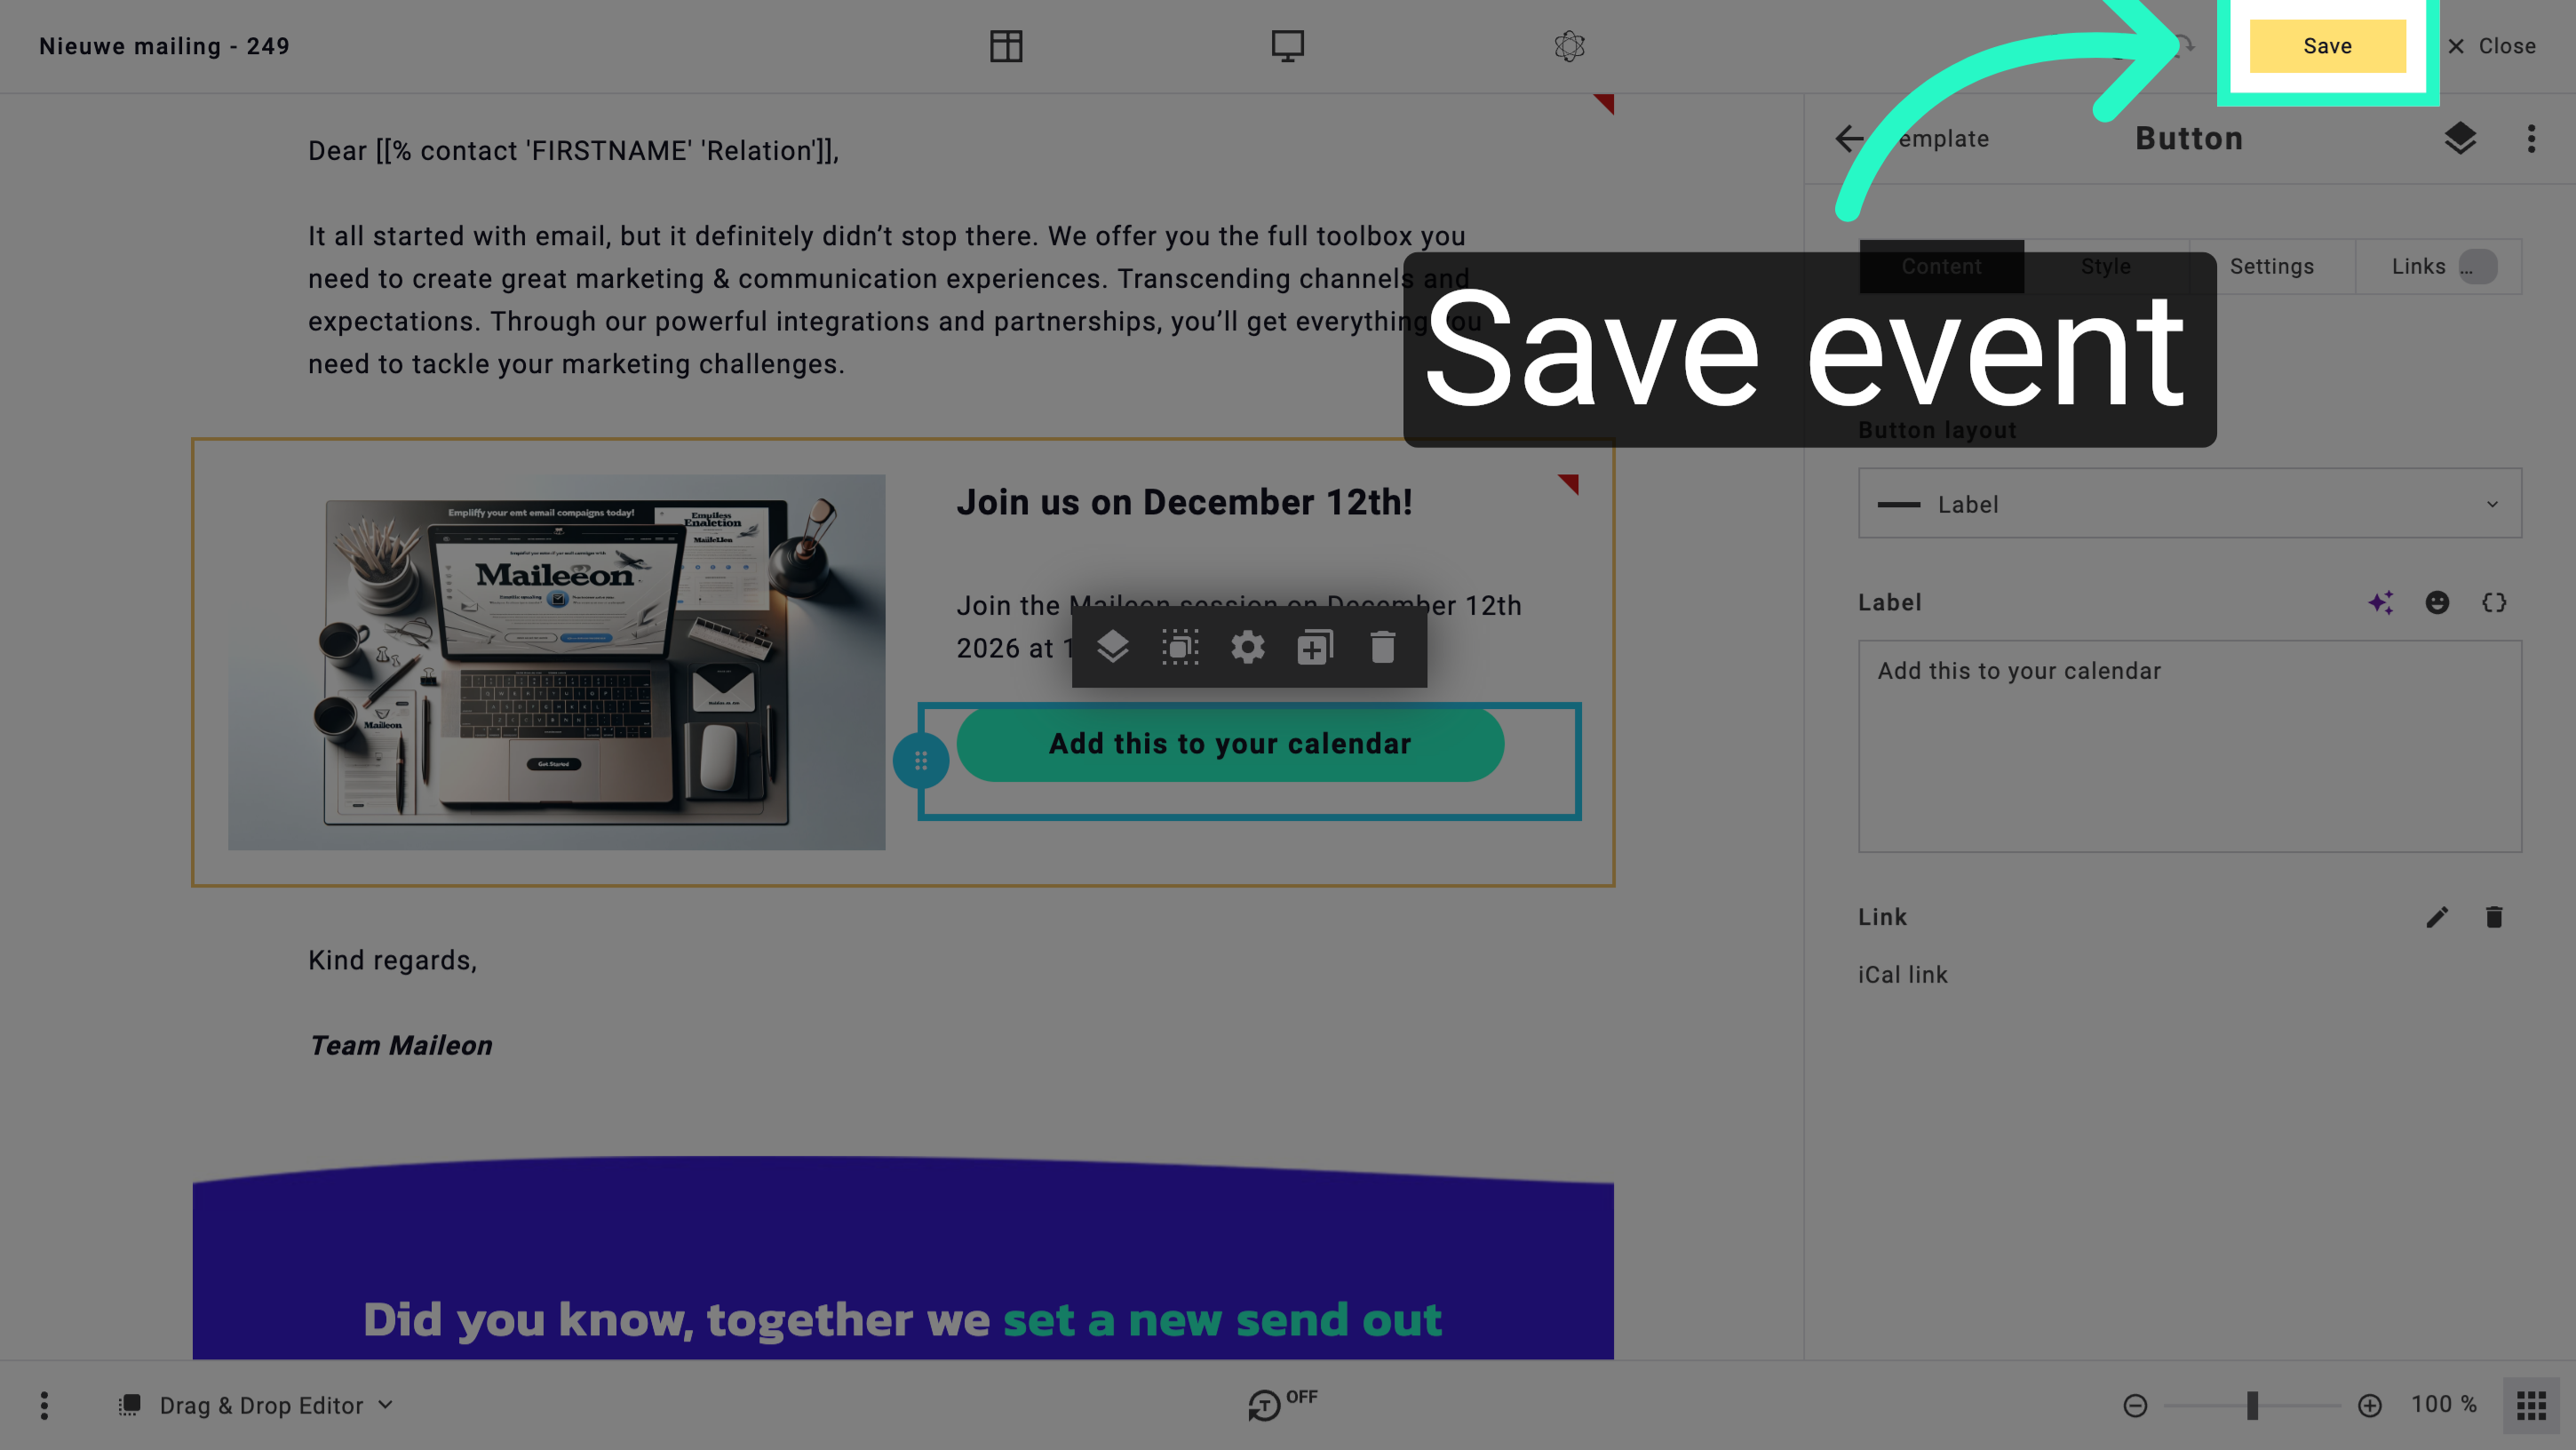
You have successfully created and configured a calendar event by adding its title, description, timing, and location. The event is now ready to be shared or added to your calendar application.