
This tutorial explains how to adjust line height settings within the Maileon application.
1. Introduction
You will learn to modify text spacing to enhance message readability and presentation.
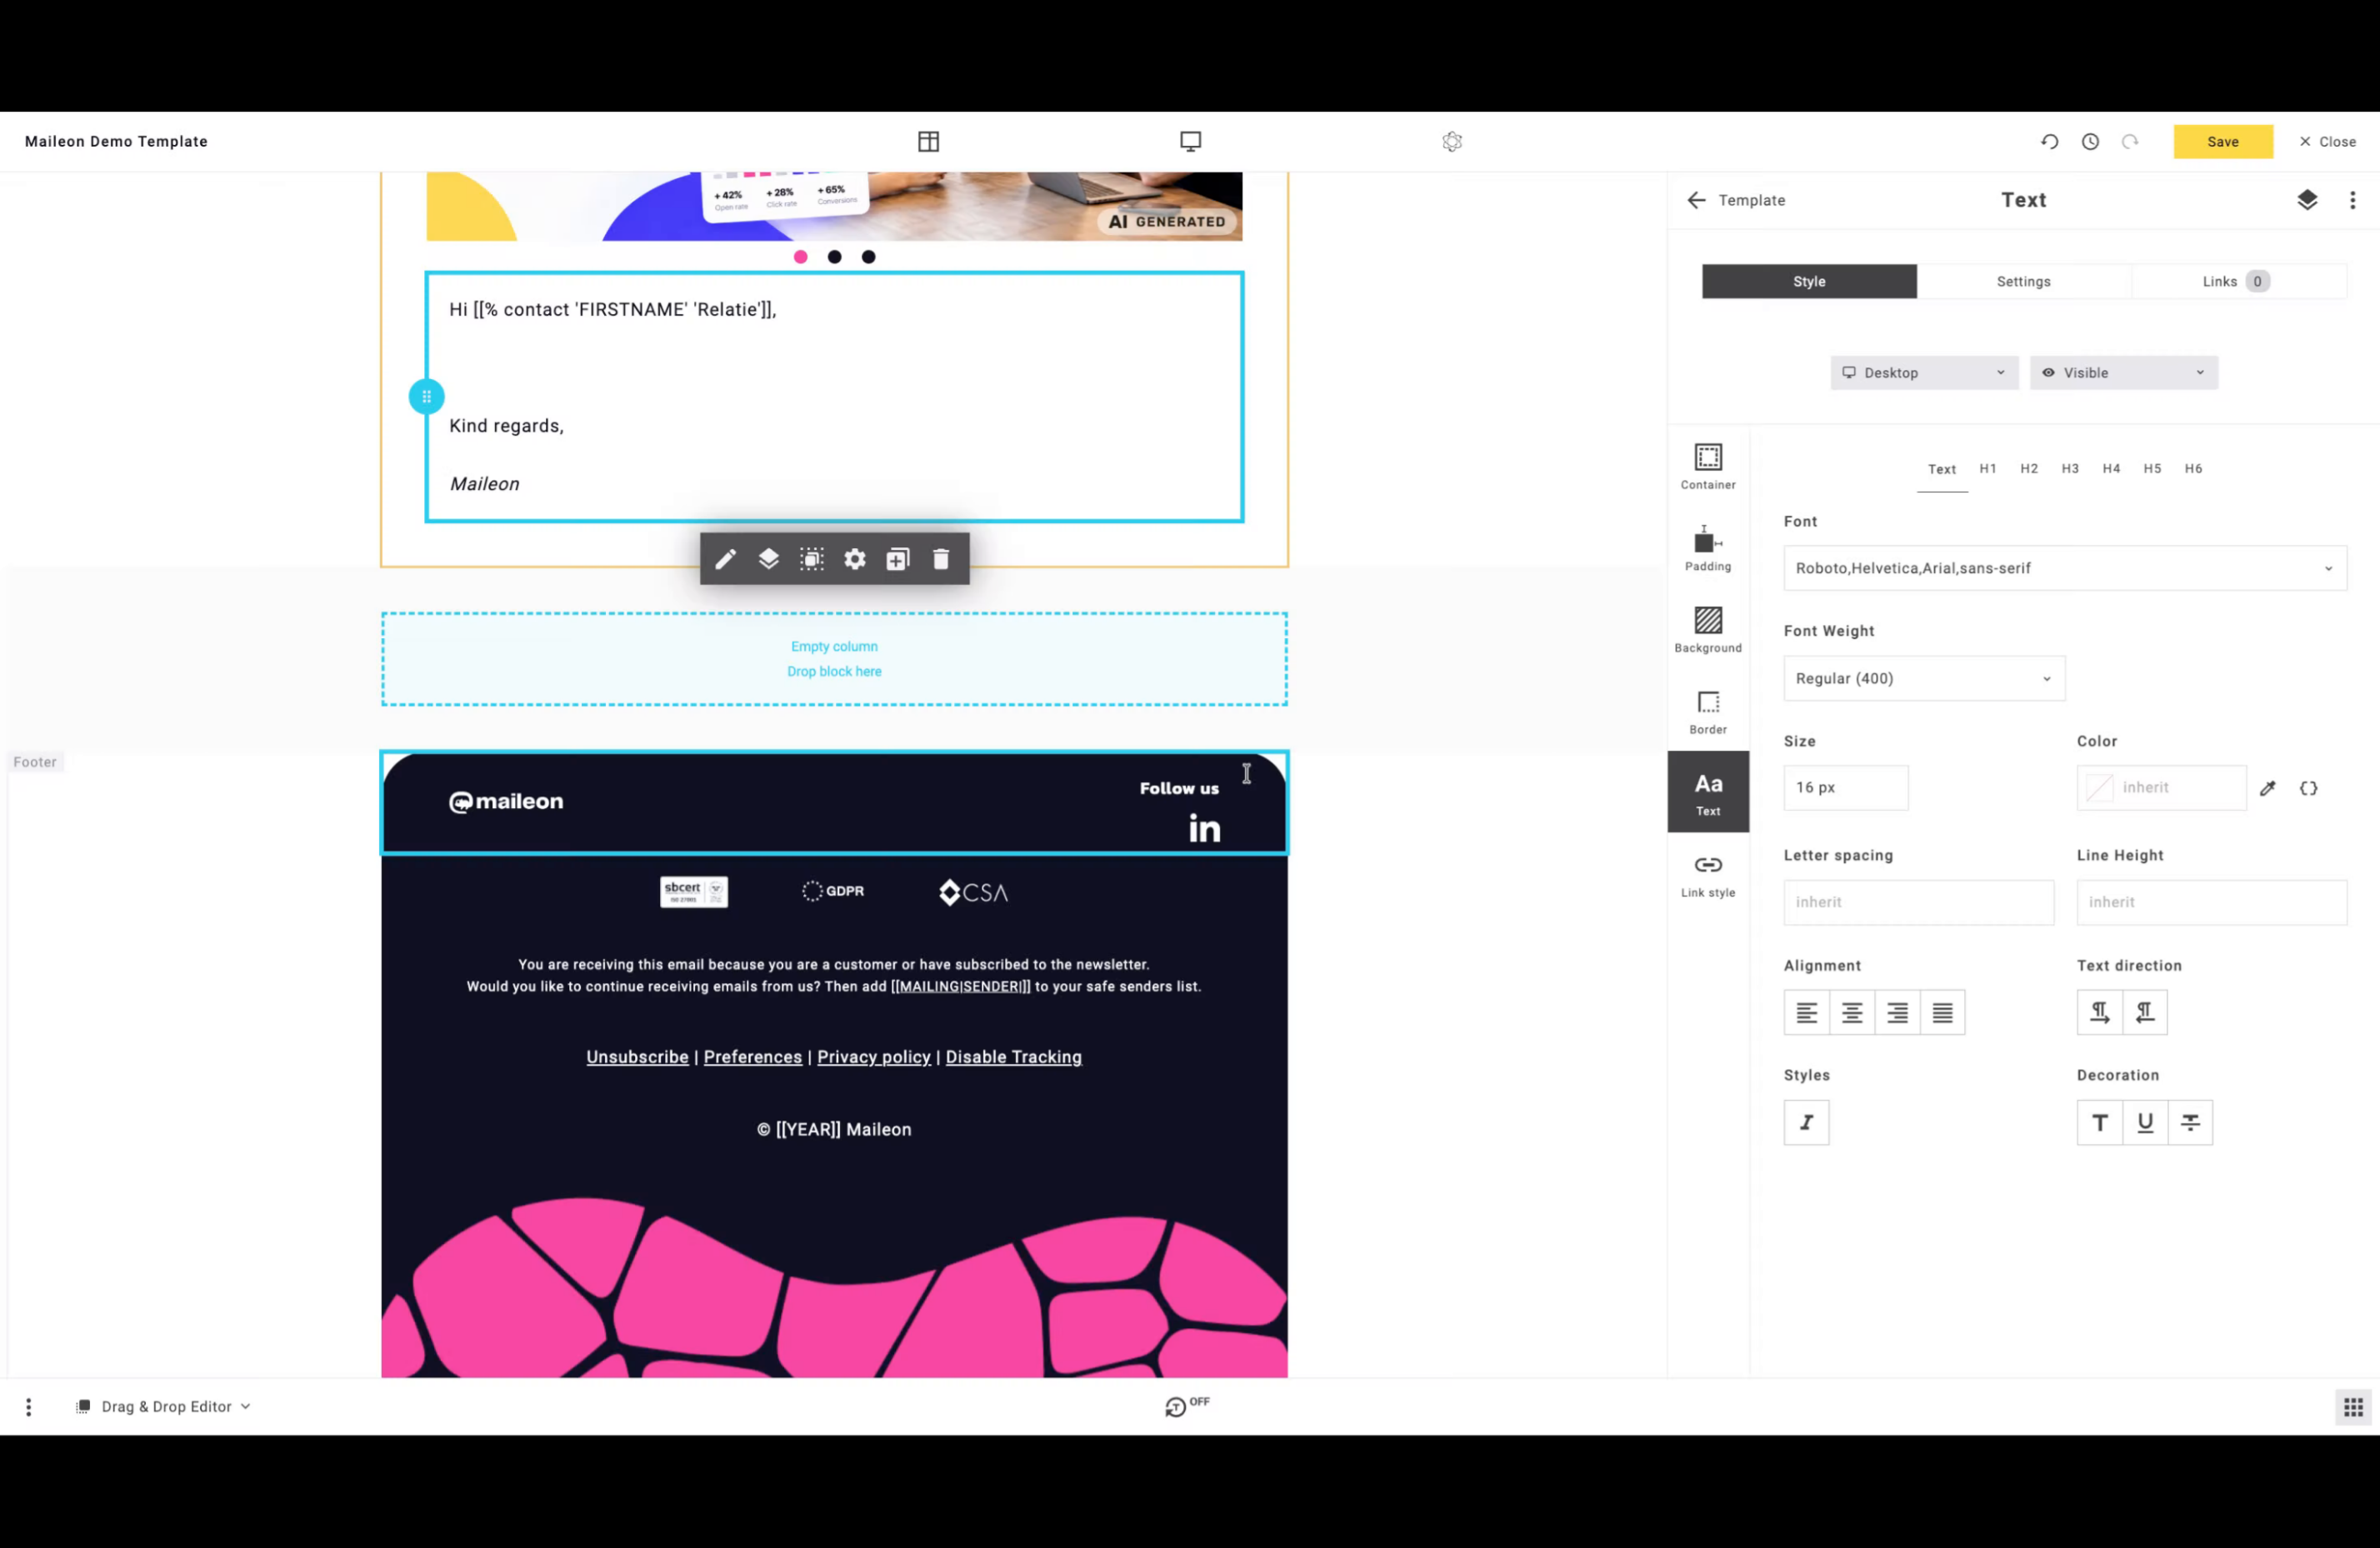
2. Access Contact Personalisation
Open the contact personalisation section to begin editing the message content and layout.
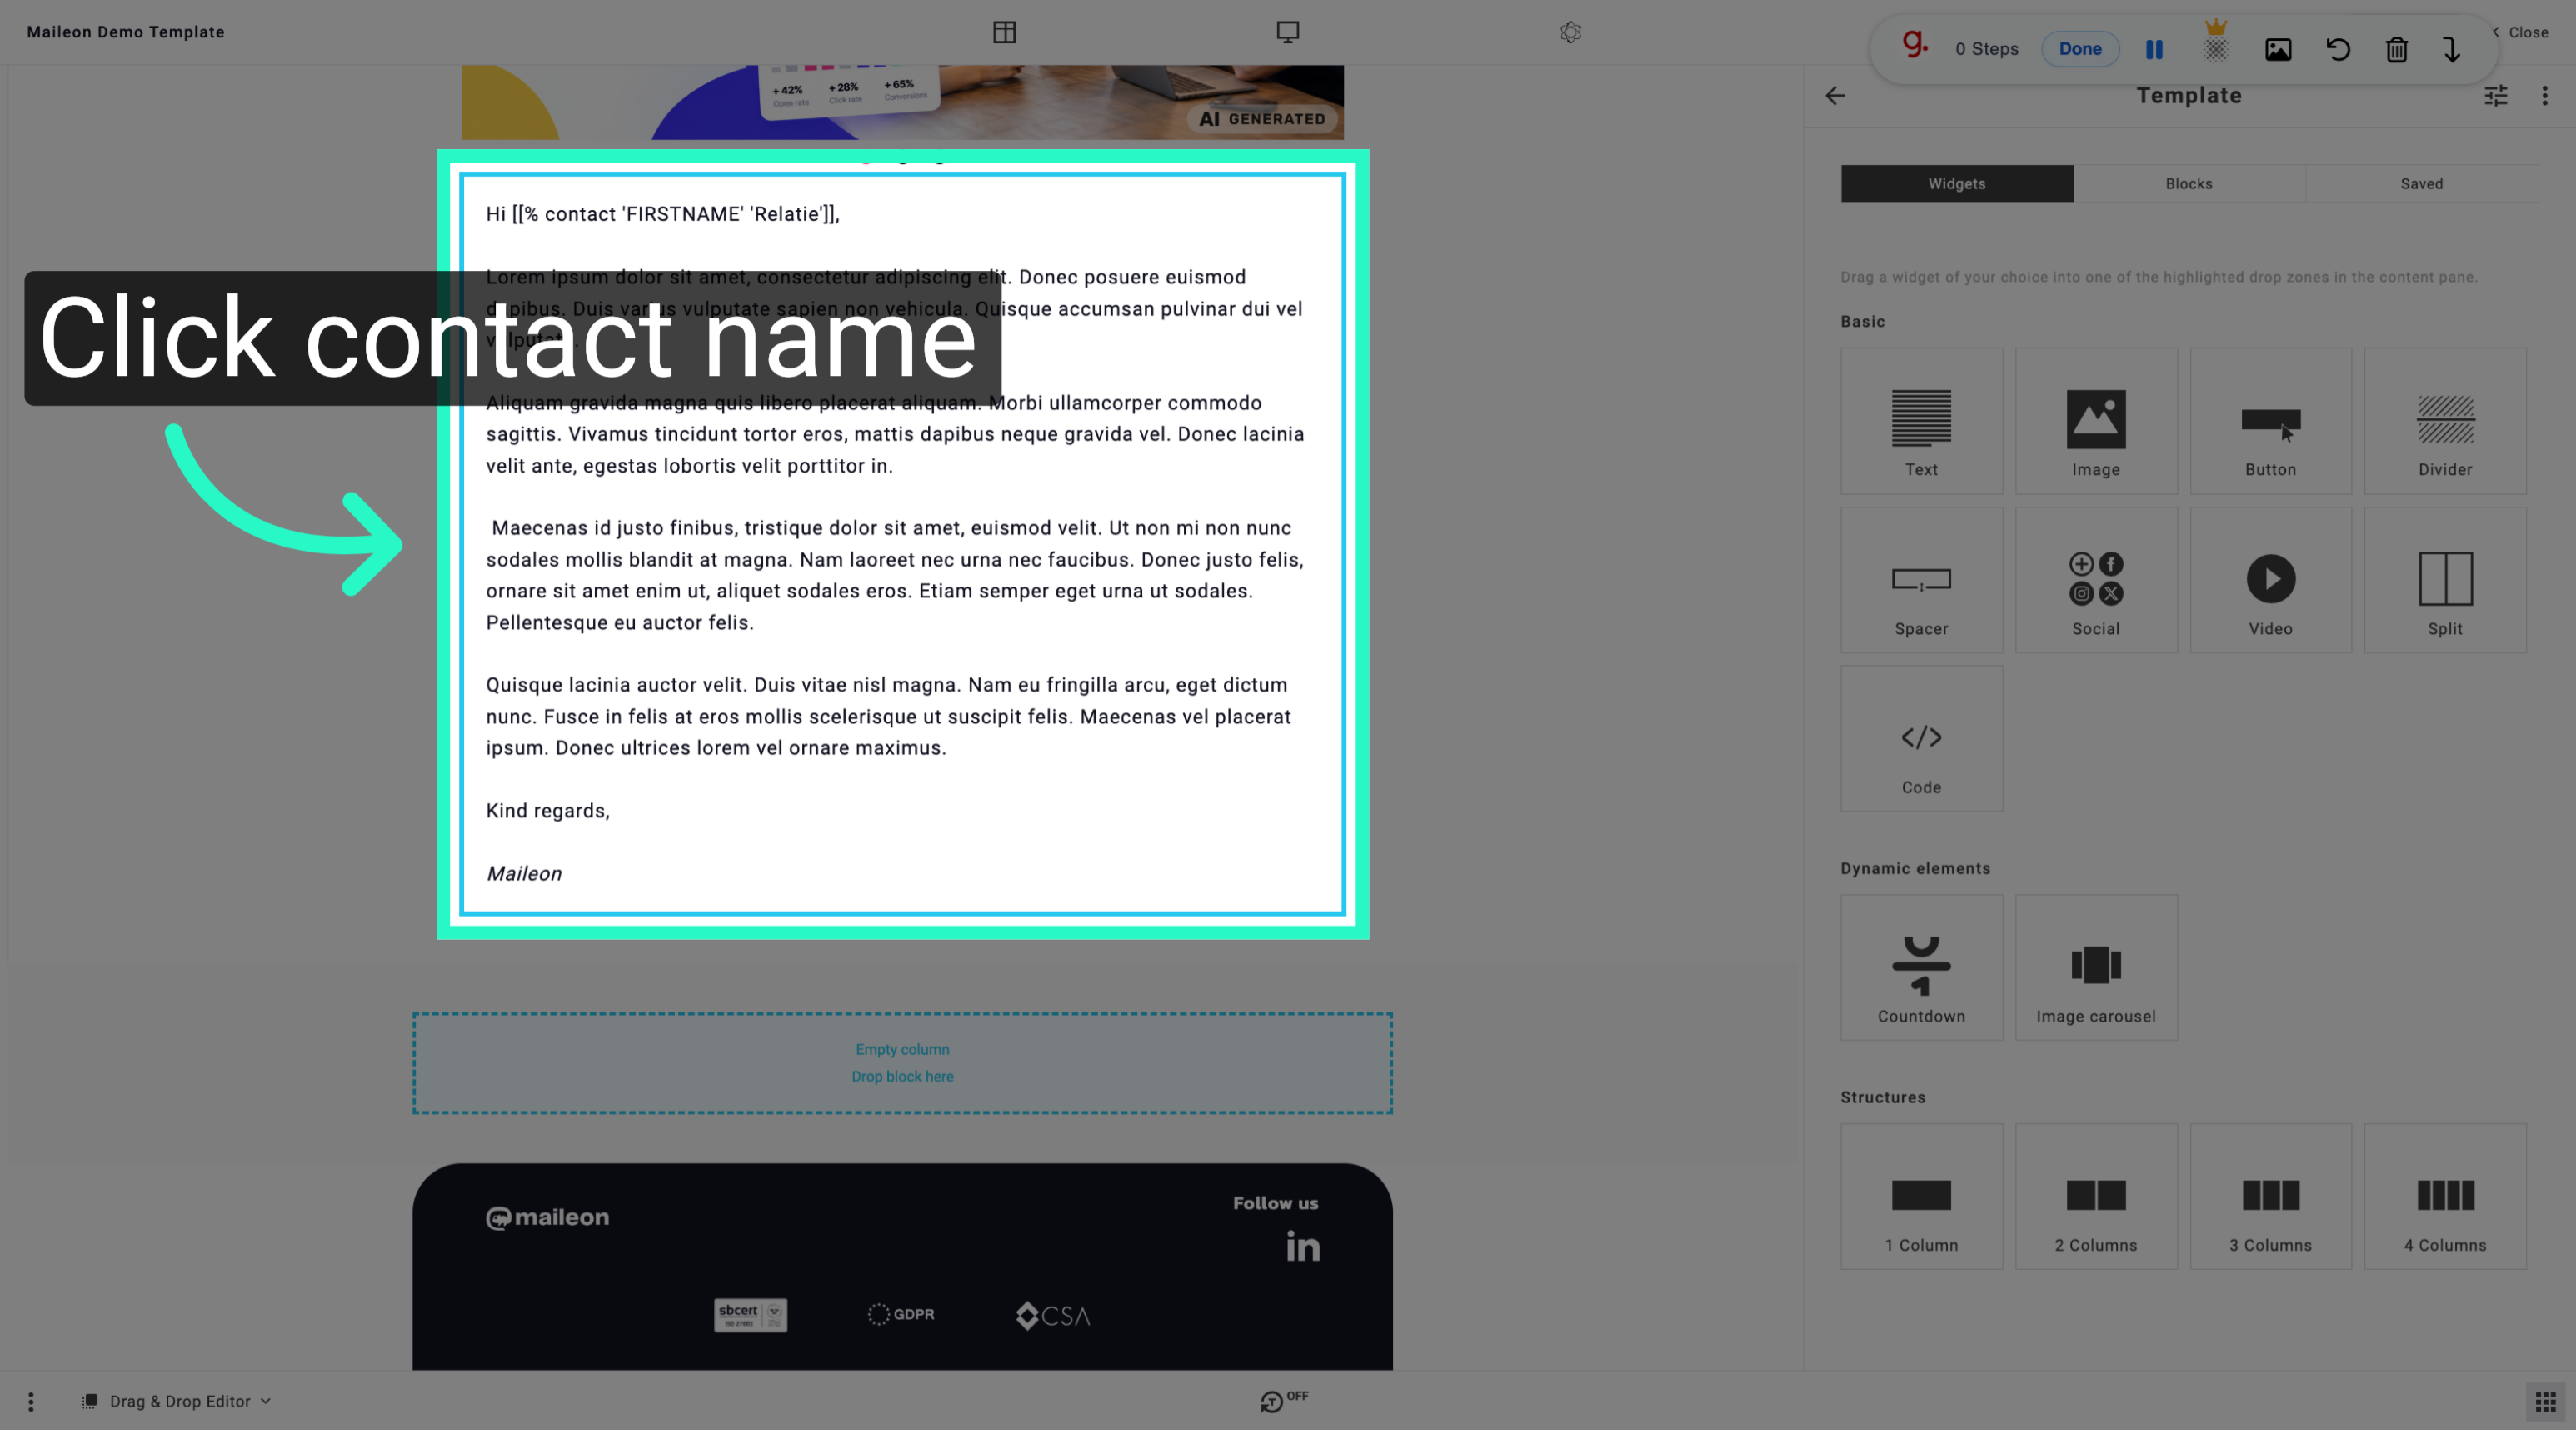
3. Open Text Editing Options
Navigate to the text editing options to adjust the message's textual properties and formatting.
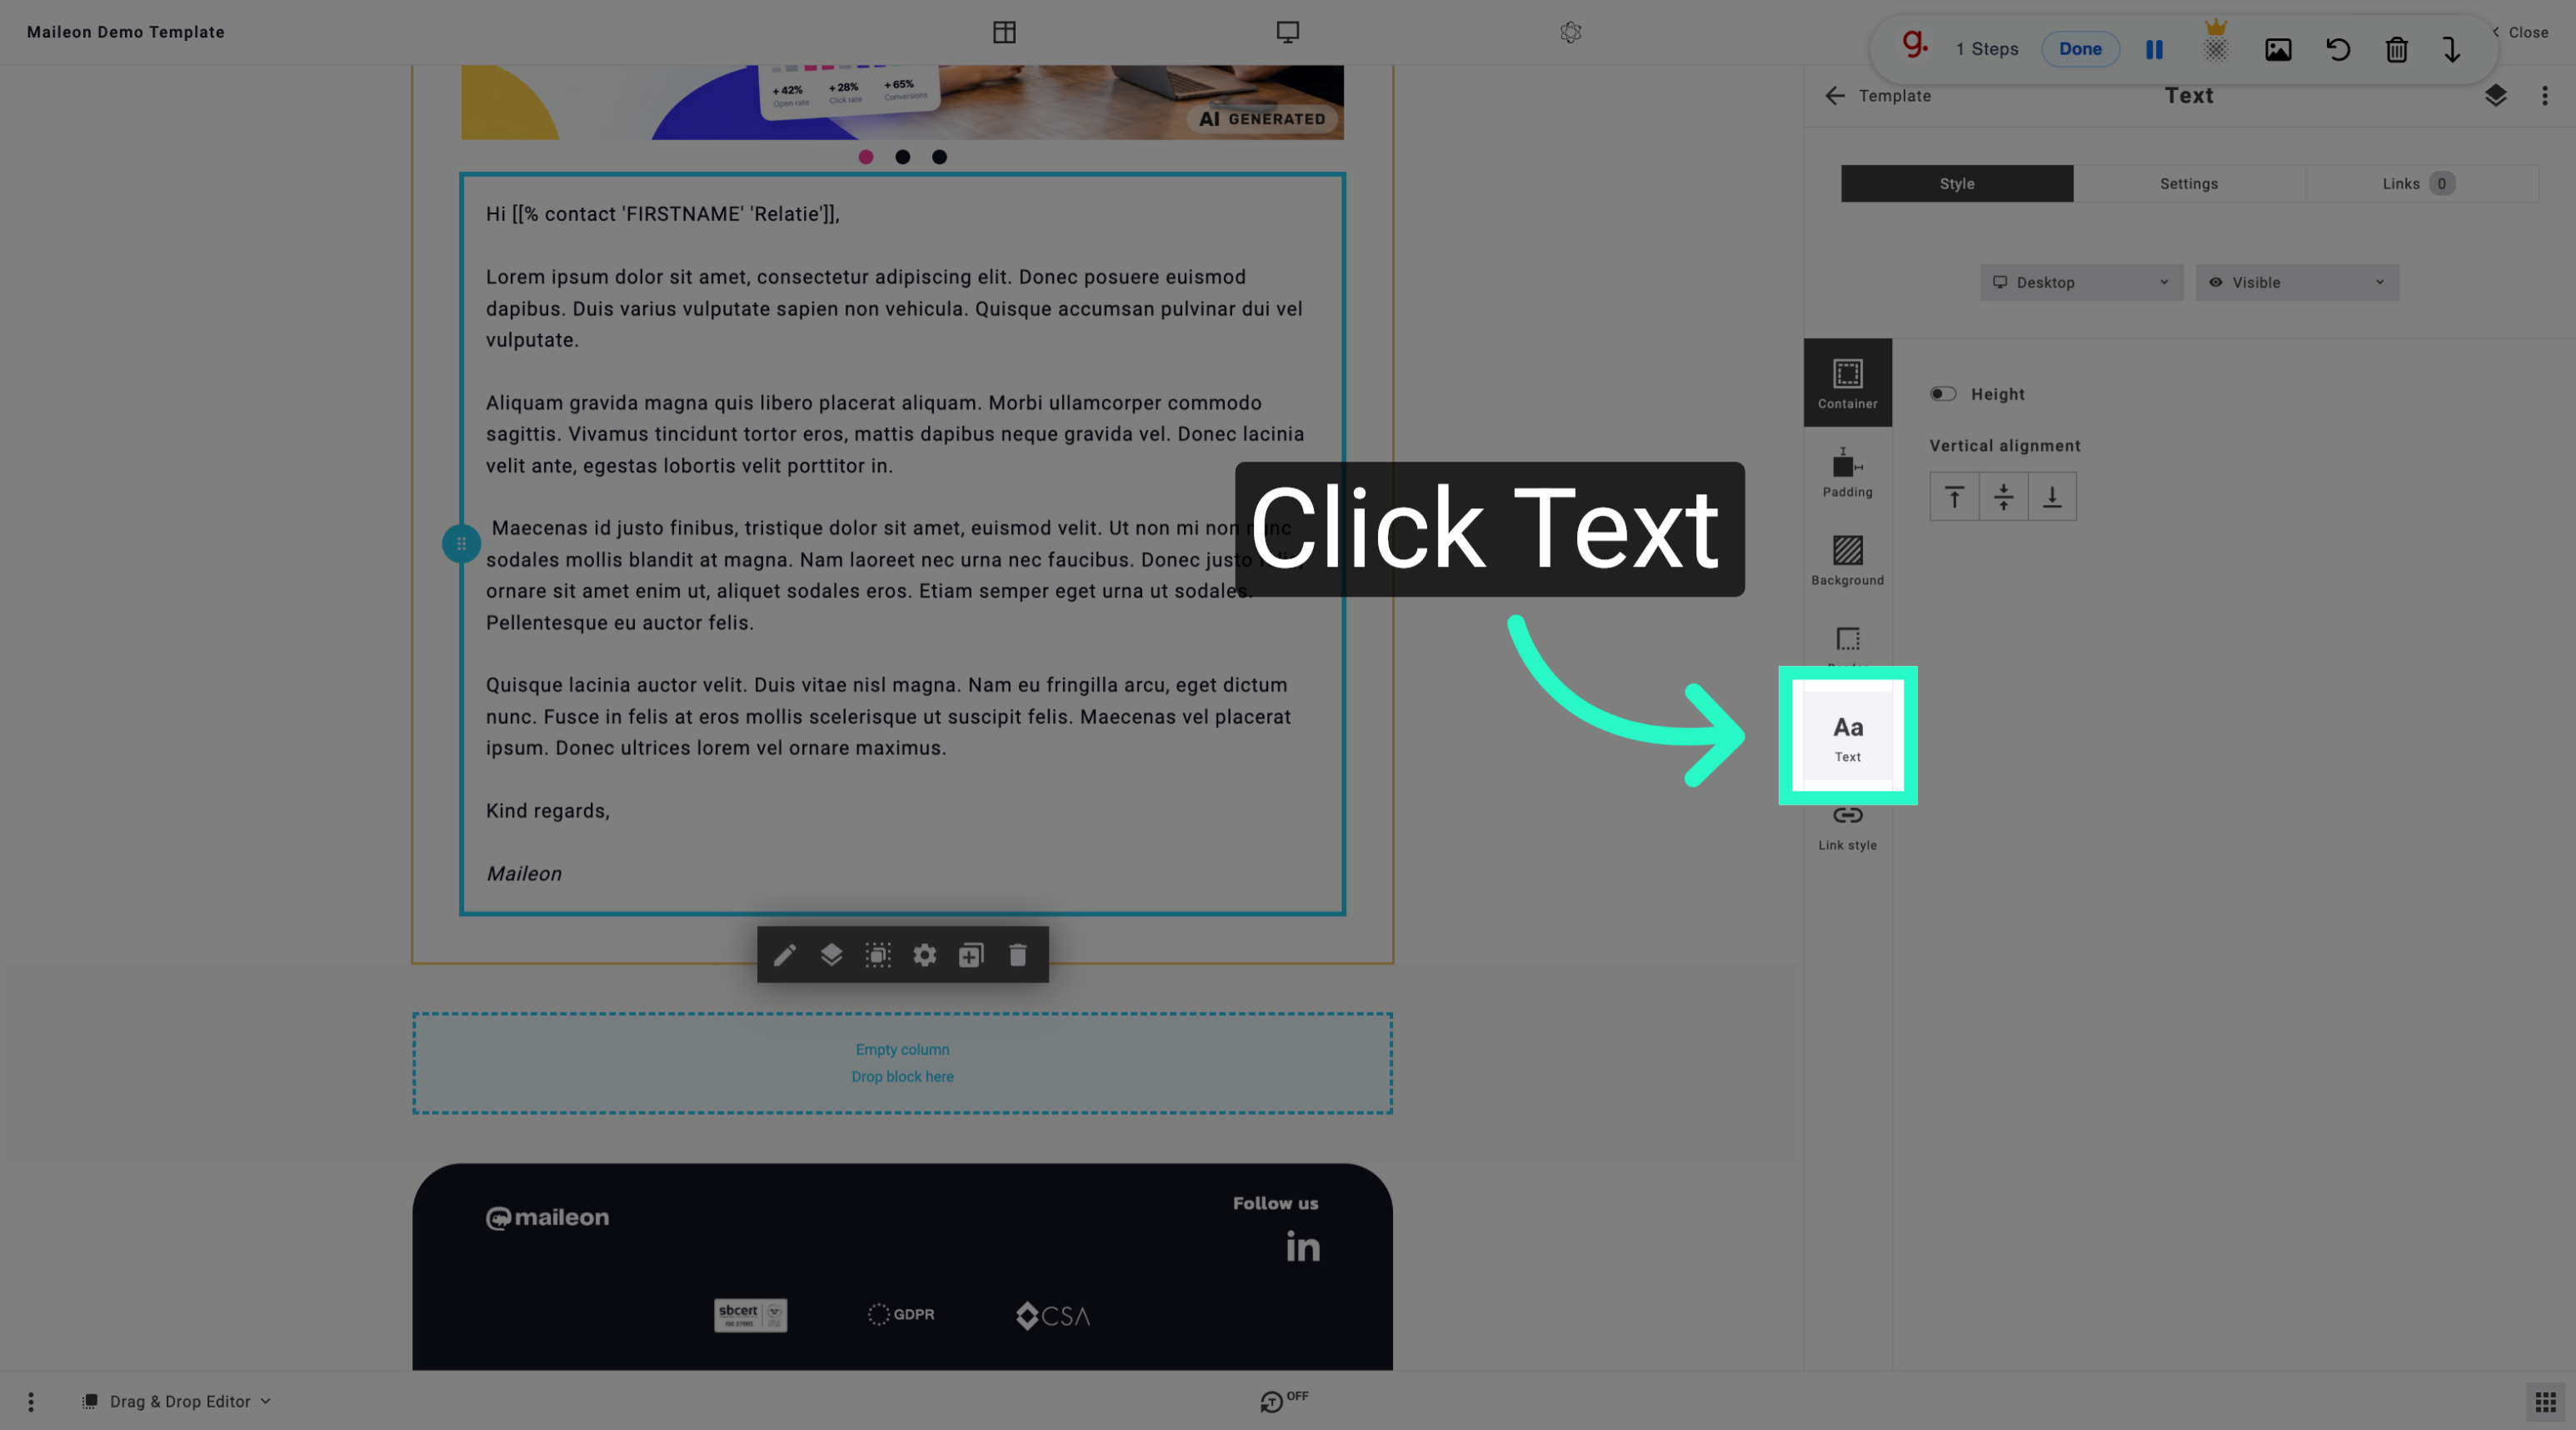
4. Access Line Height Settings
Open the line height settings to modify the spacing between lines in the text block.
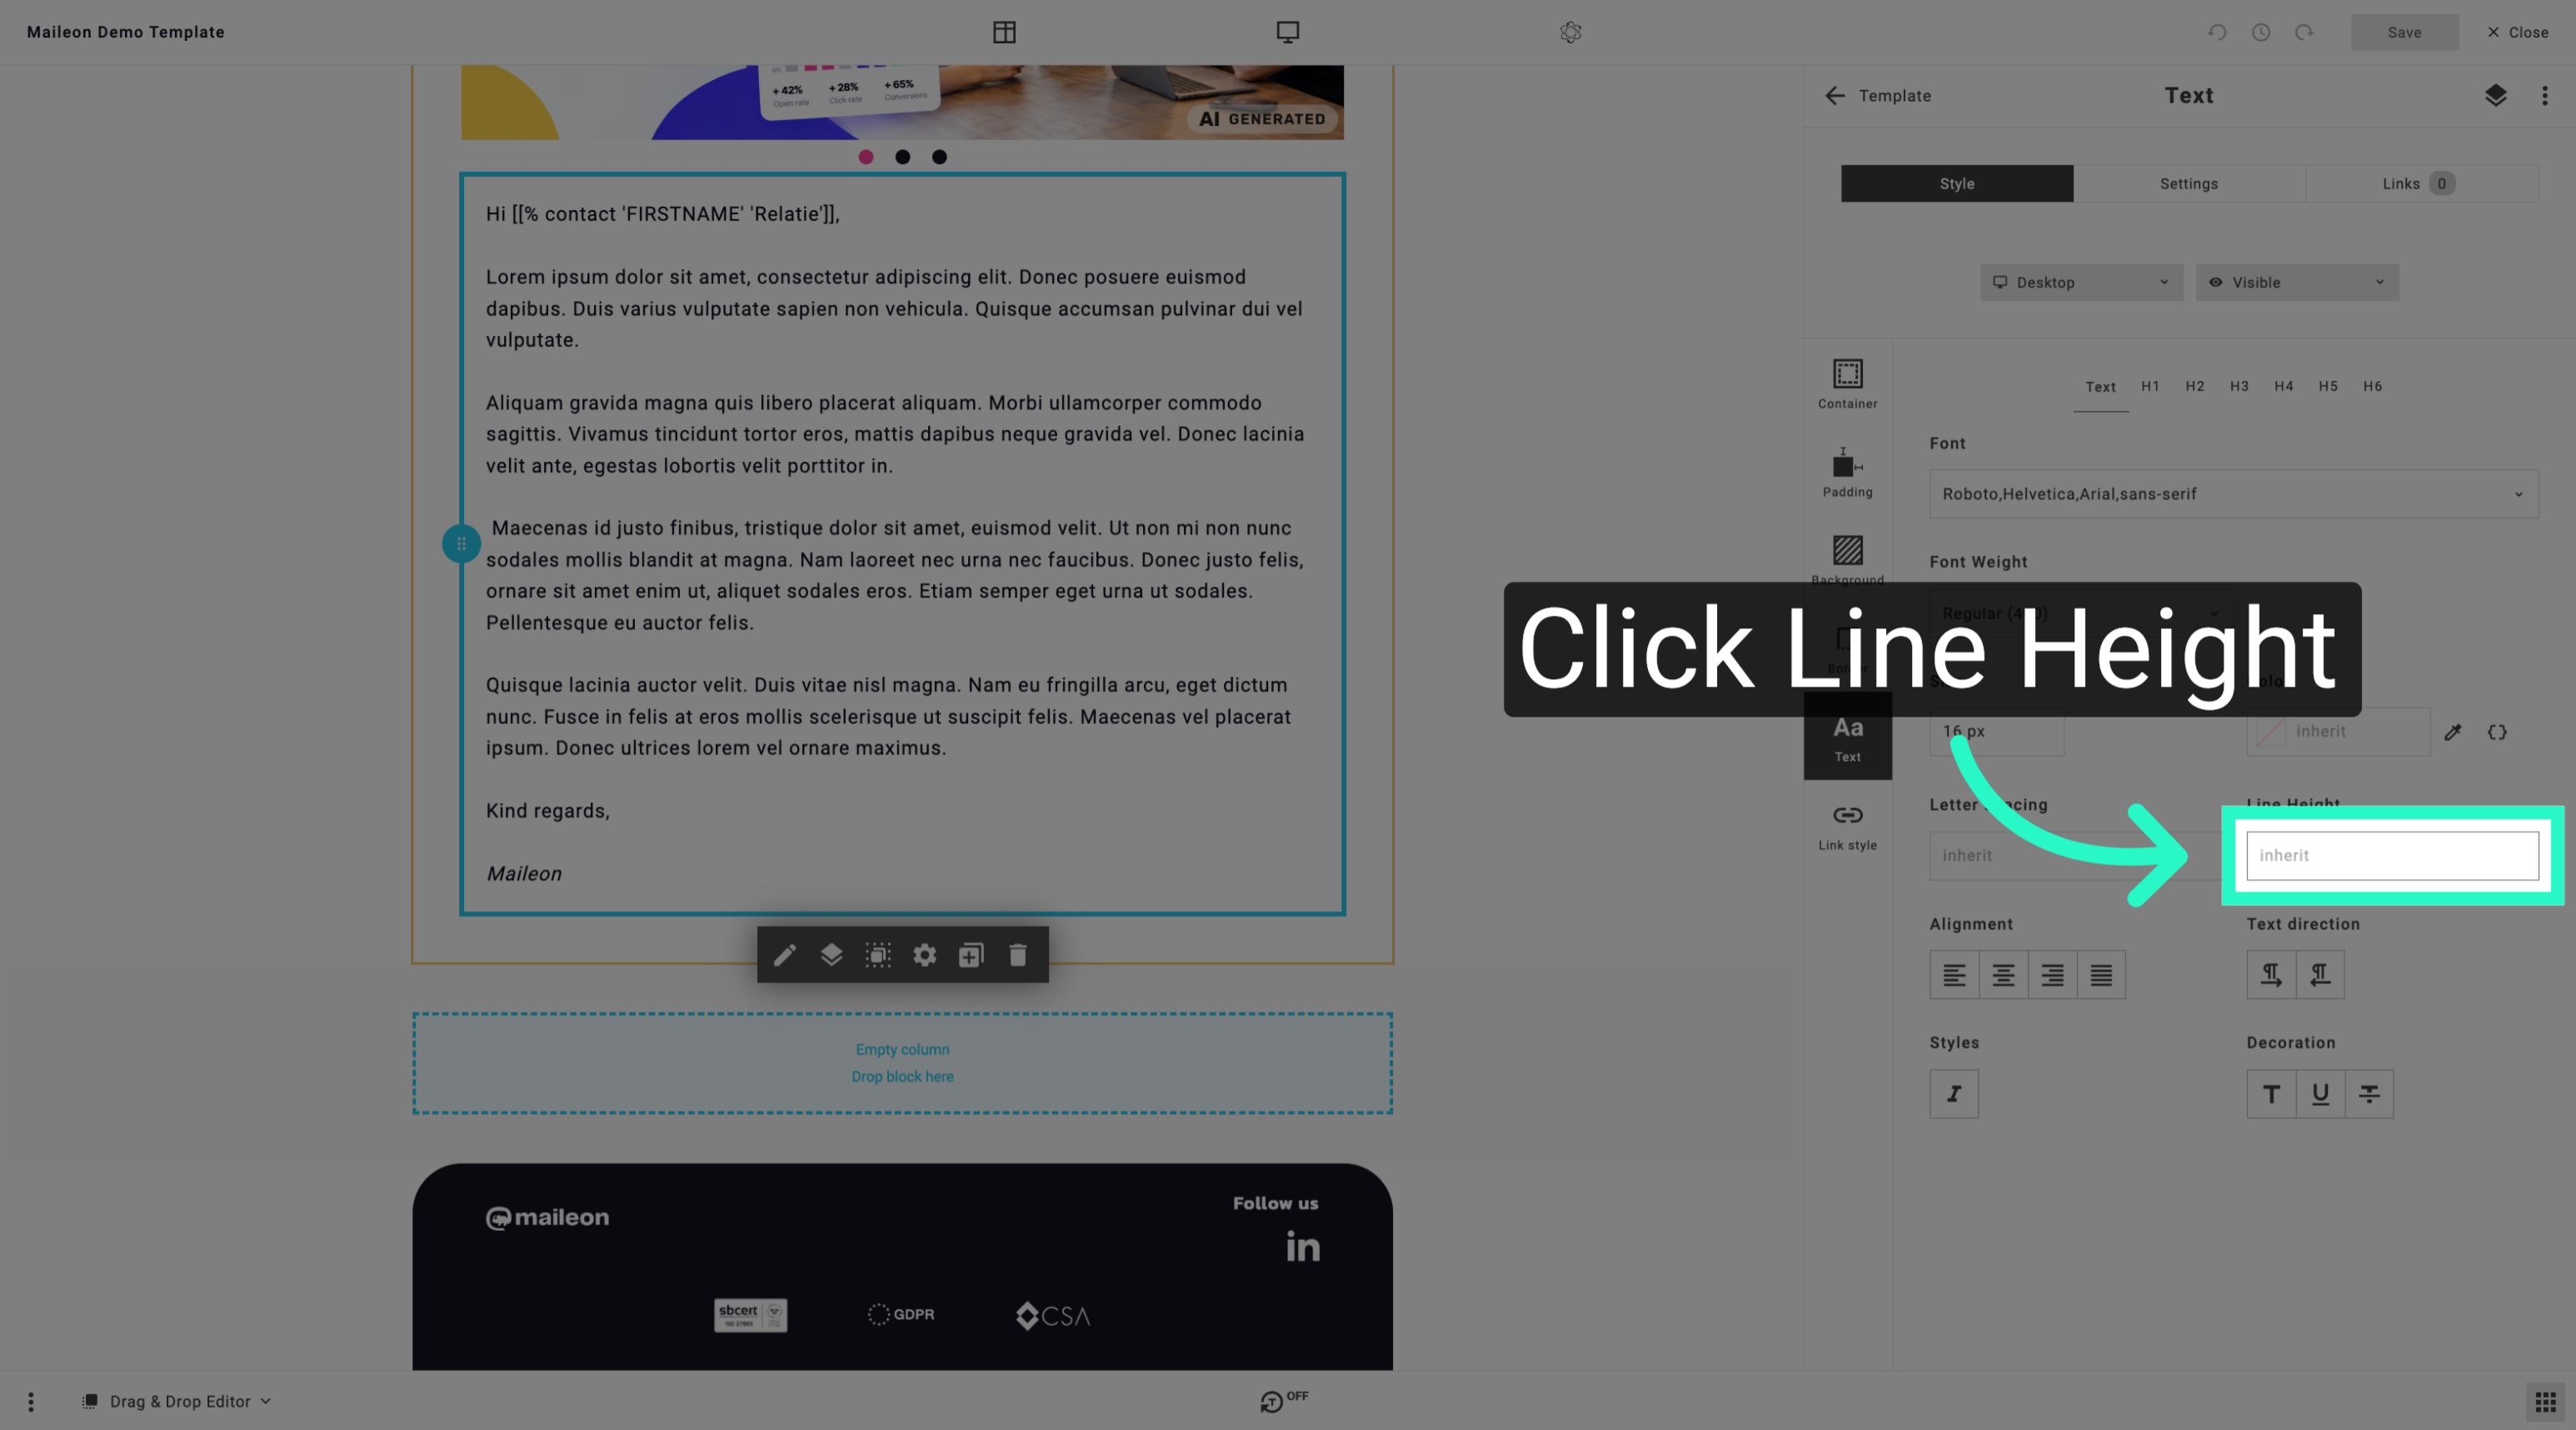
5. Select Predefined Line Height
Choose a predefined line height value to quickly apply standard spacing to your text.
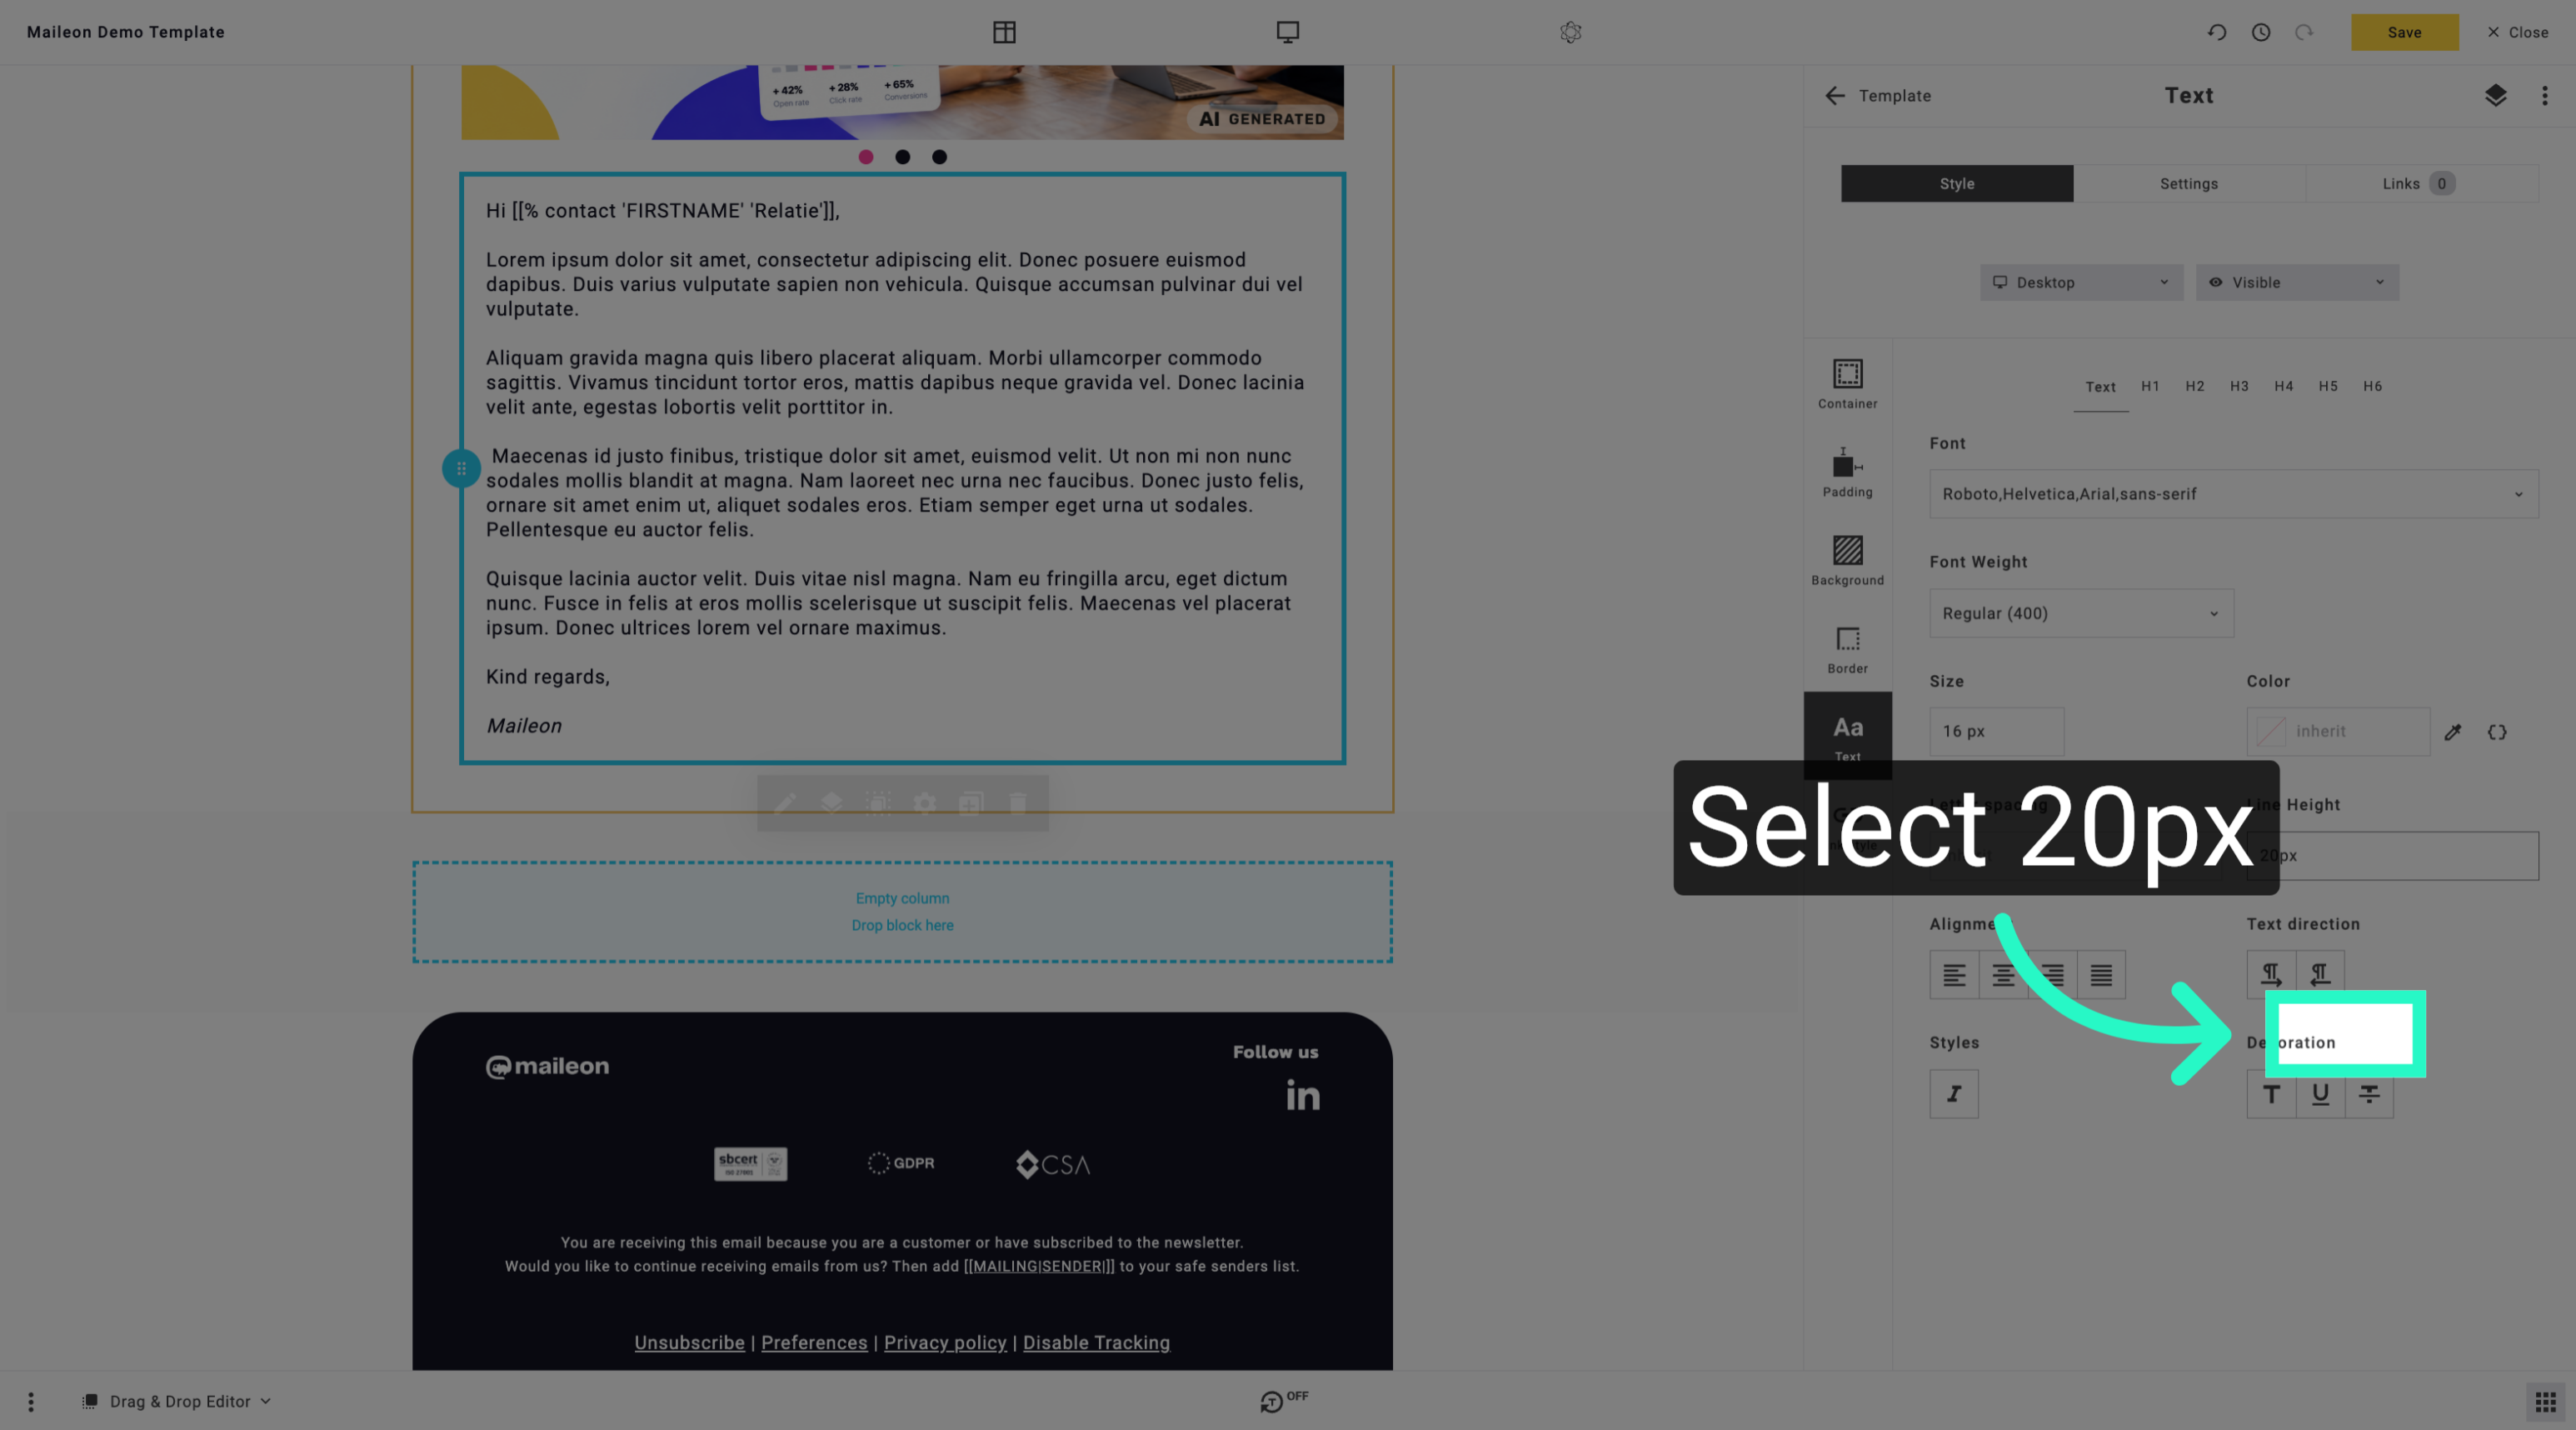
6. Reopen Line Height Settings
Return to the line height settings to enter a custom value for more precise control.
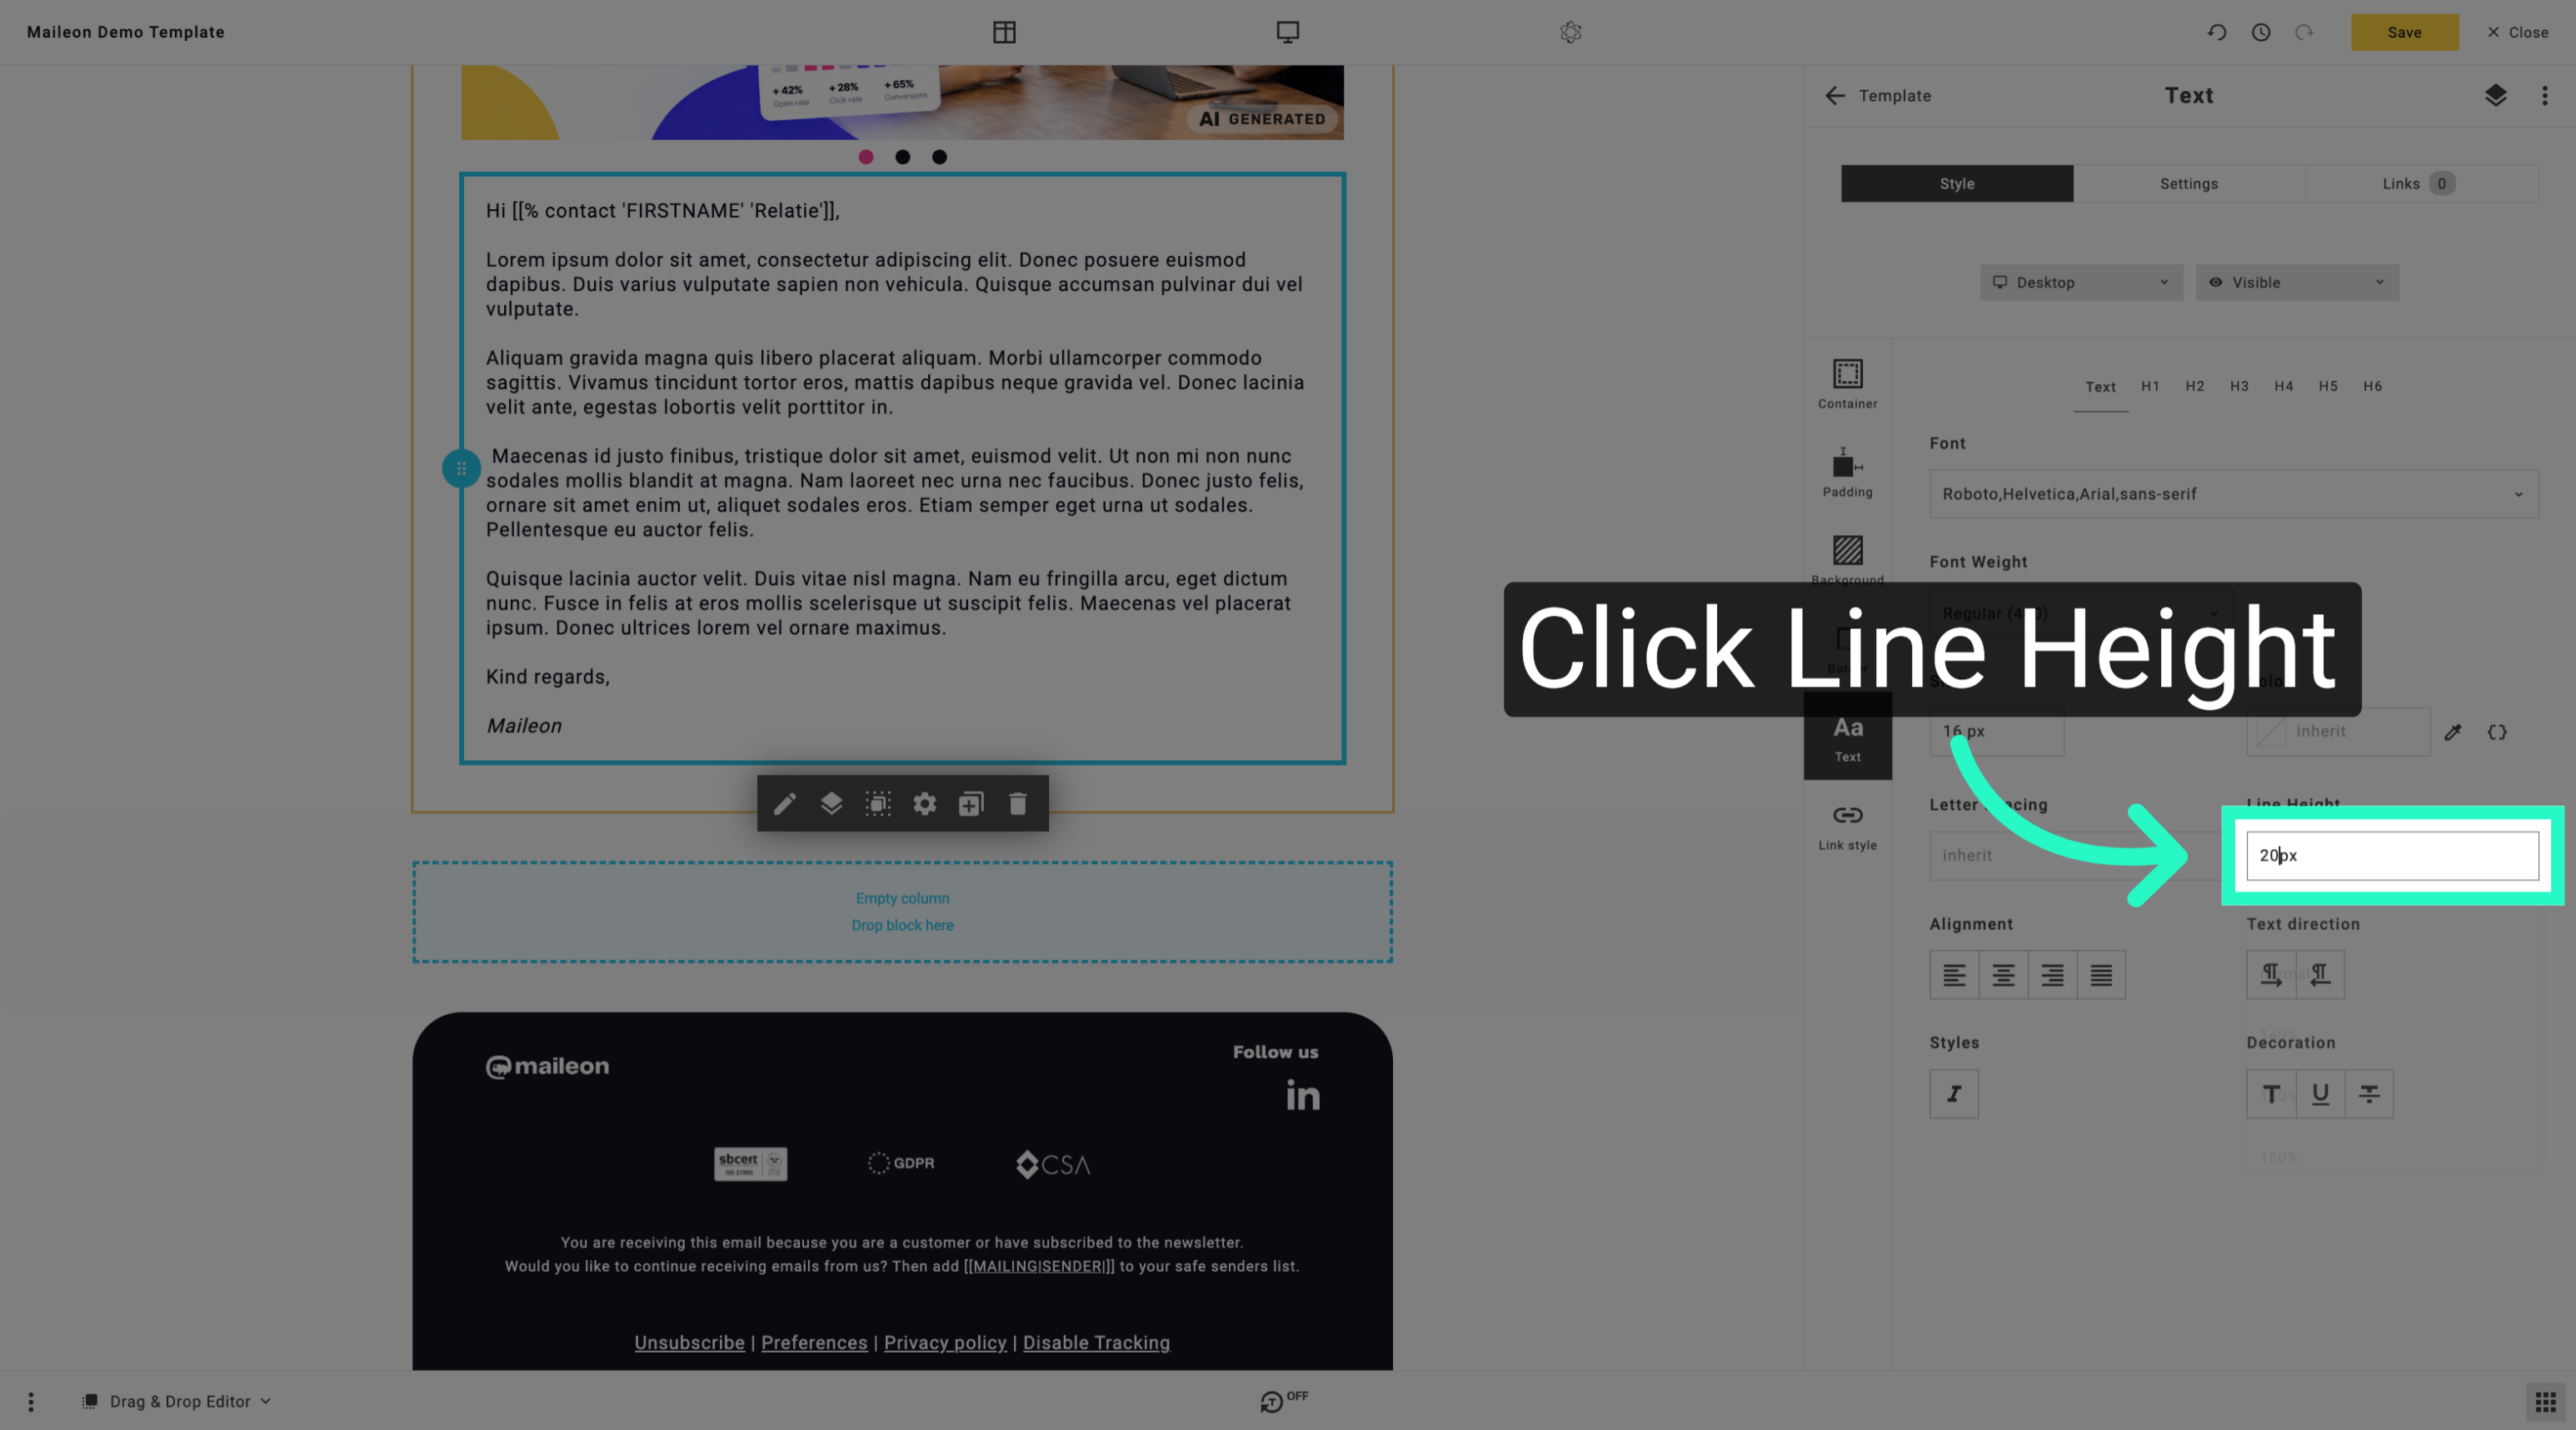
7. Enter Custom Line Height
Type a custom line height value to fine-tune the spacing between text lines for better readability.
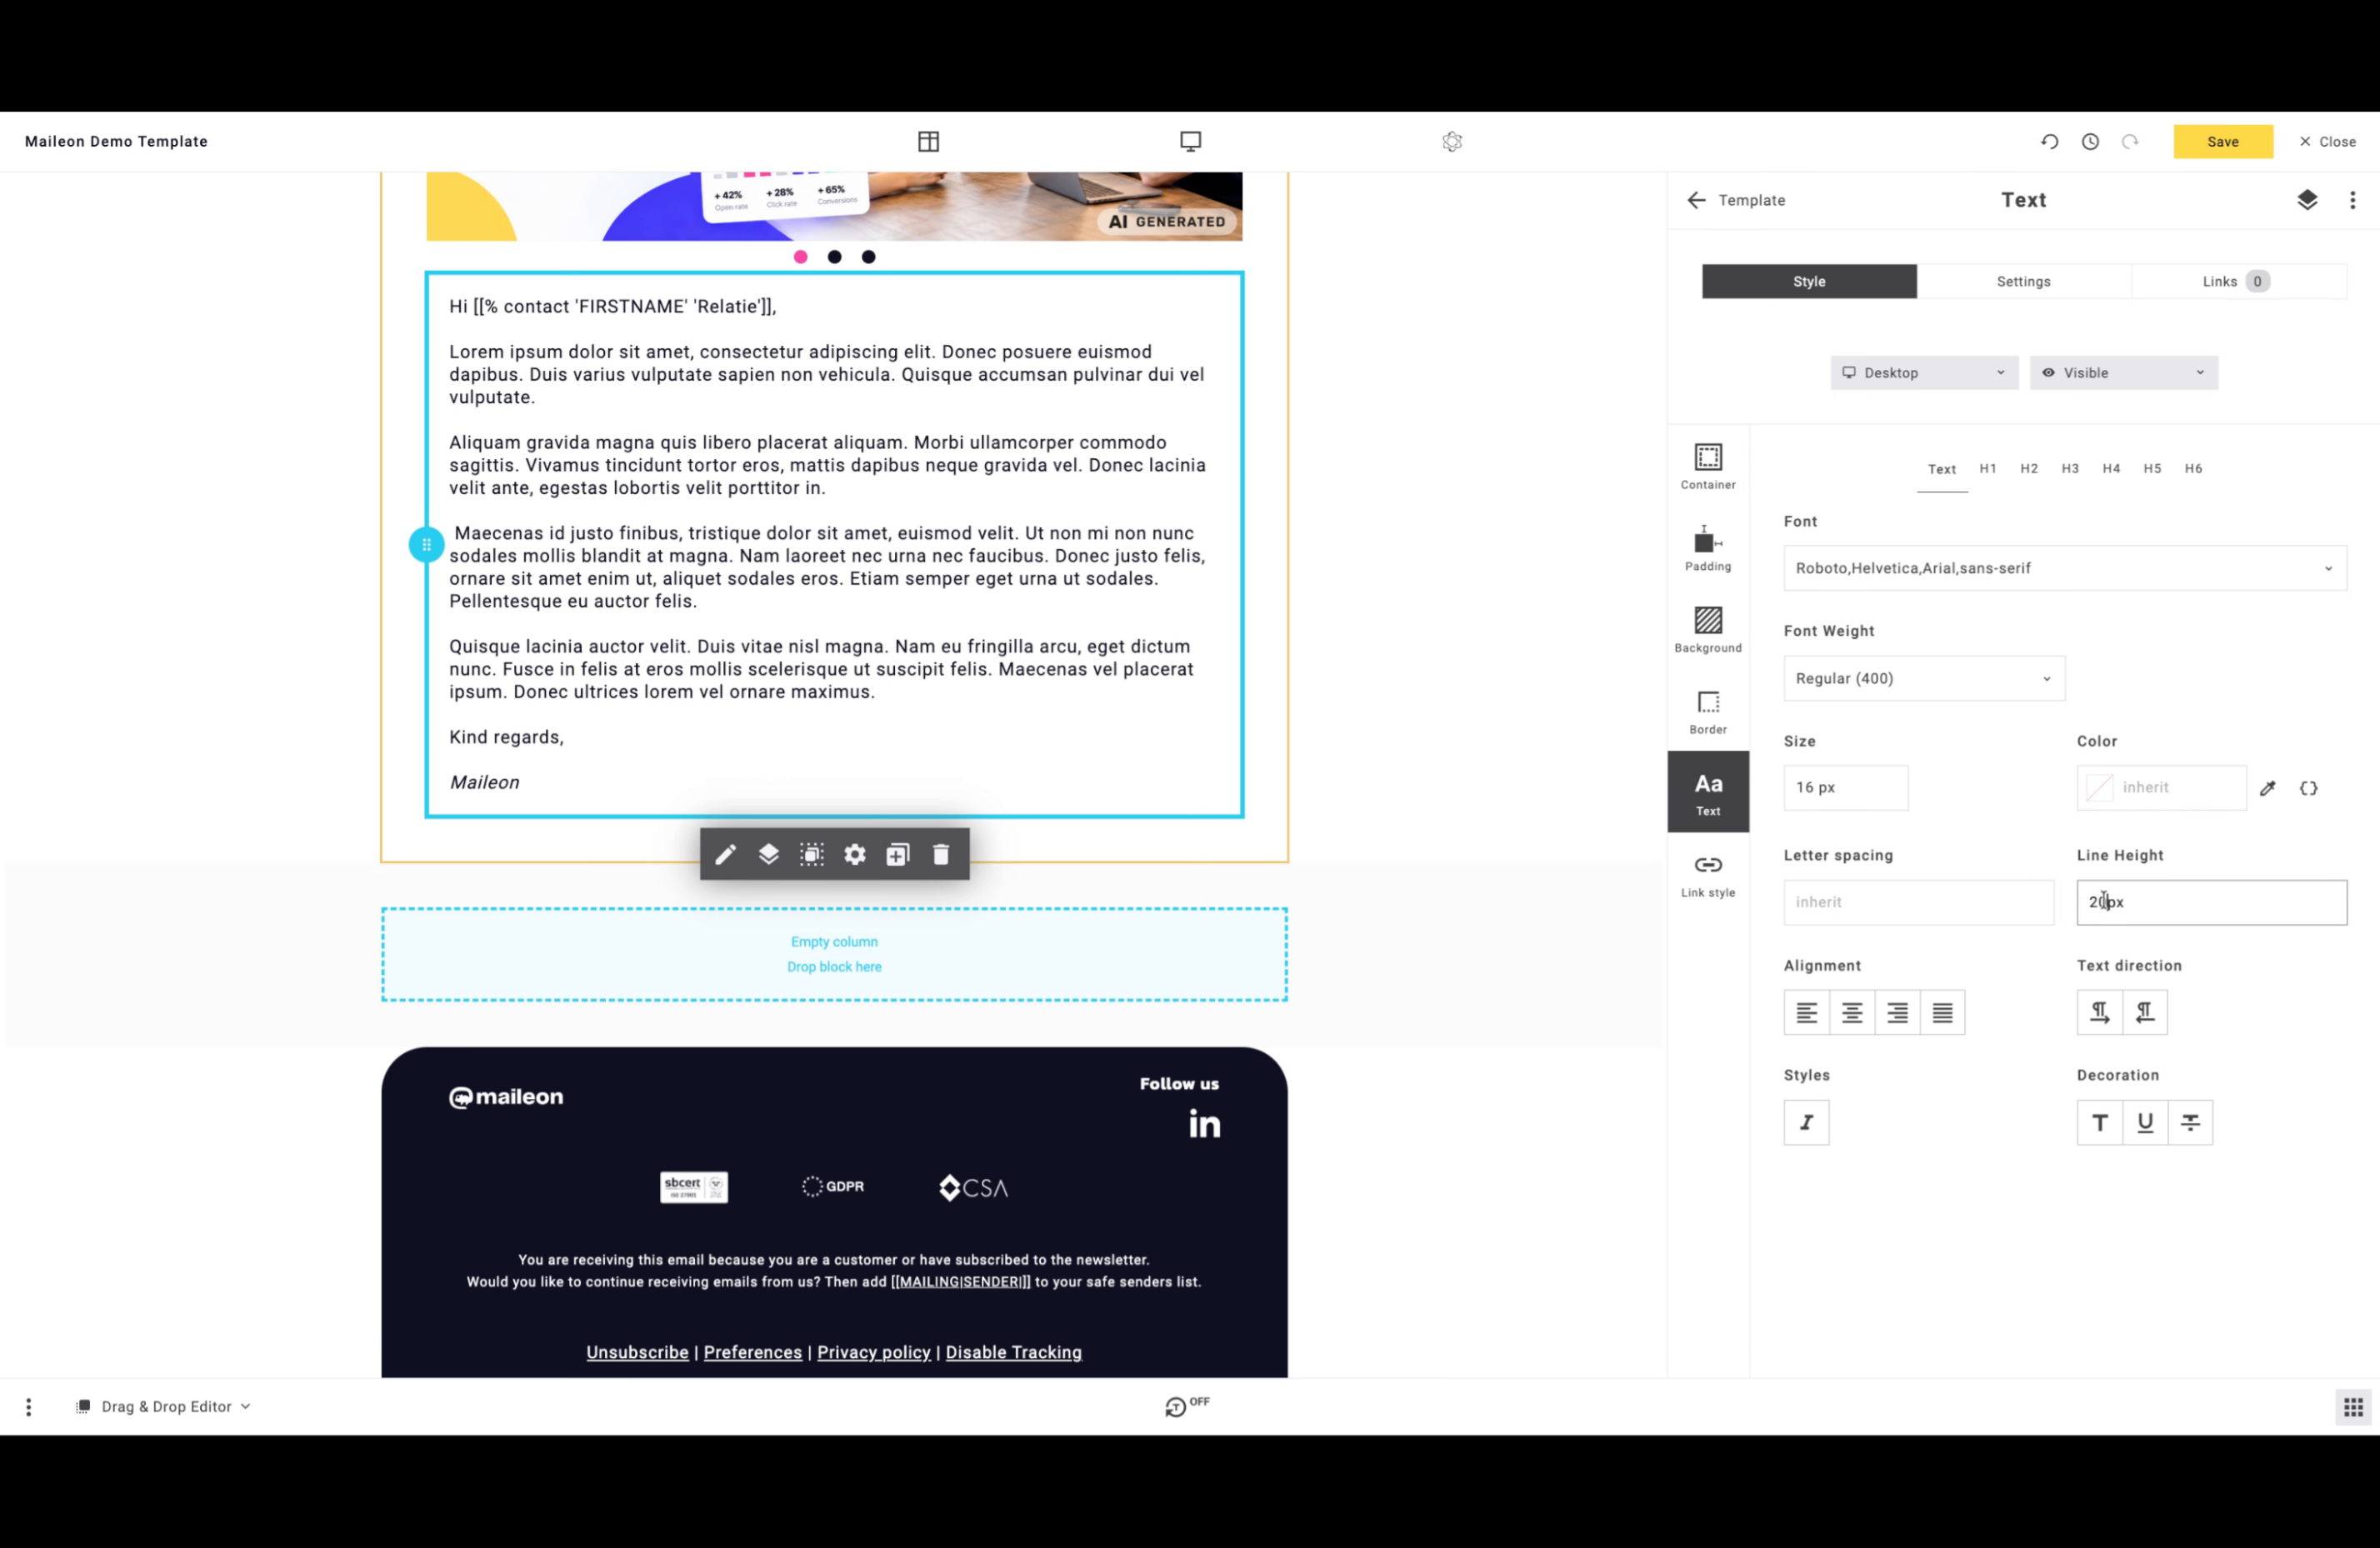
8. Adjust Line Height Further
Increase the line height value to enhance text spacing and improve visual clarity.
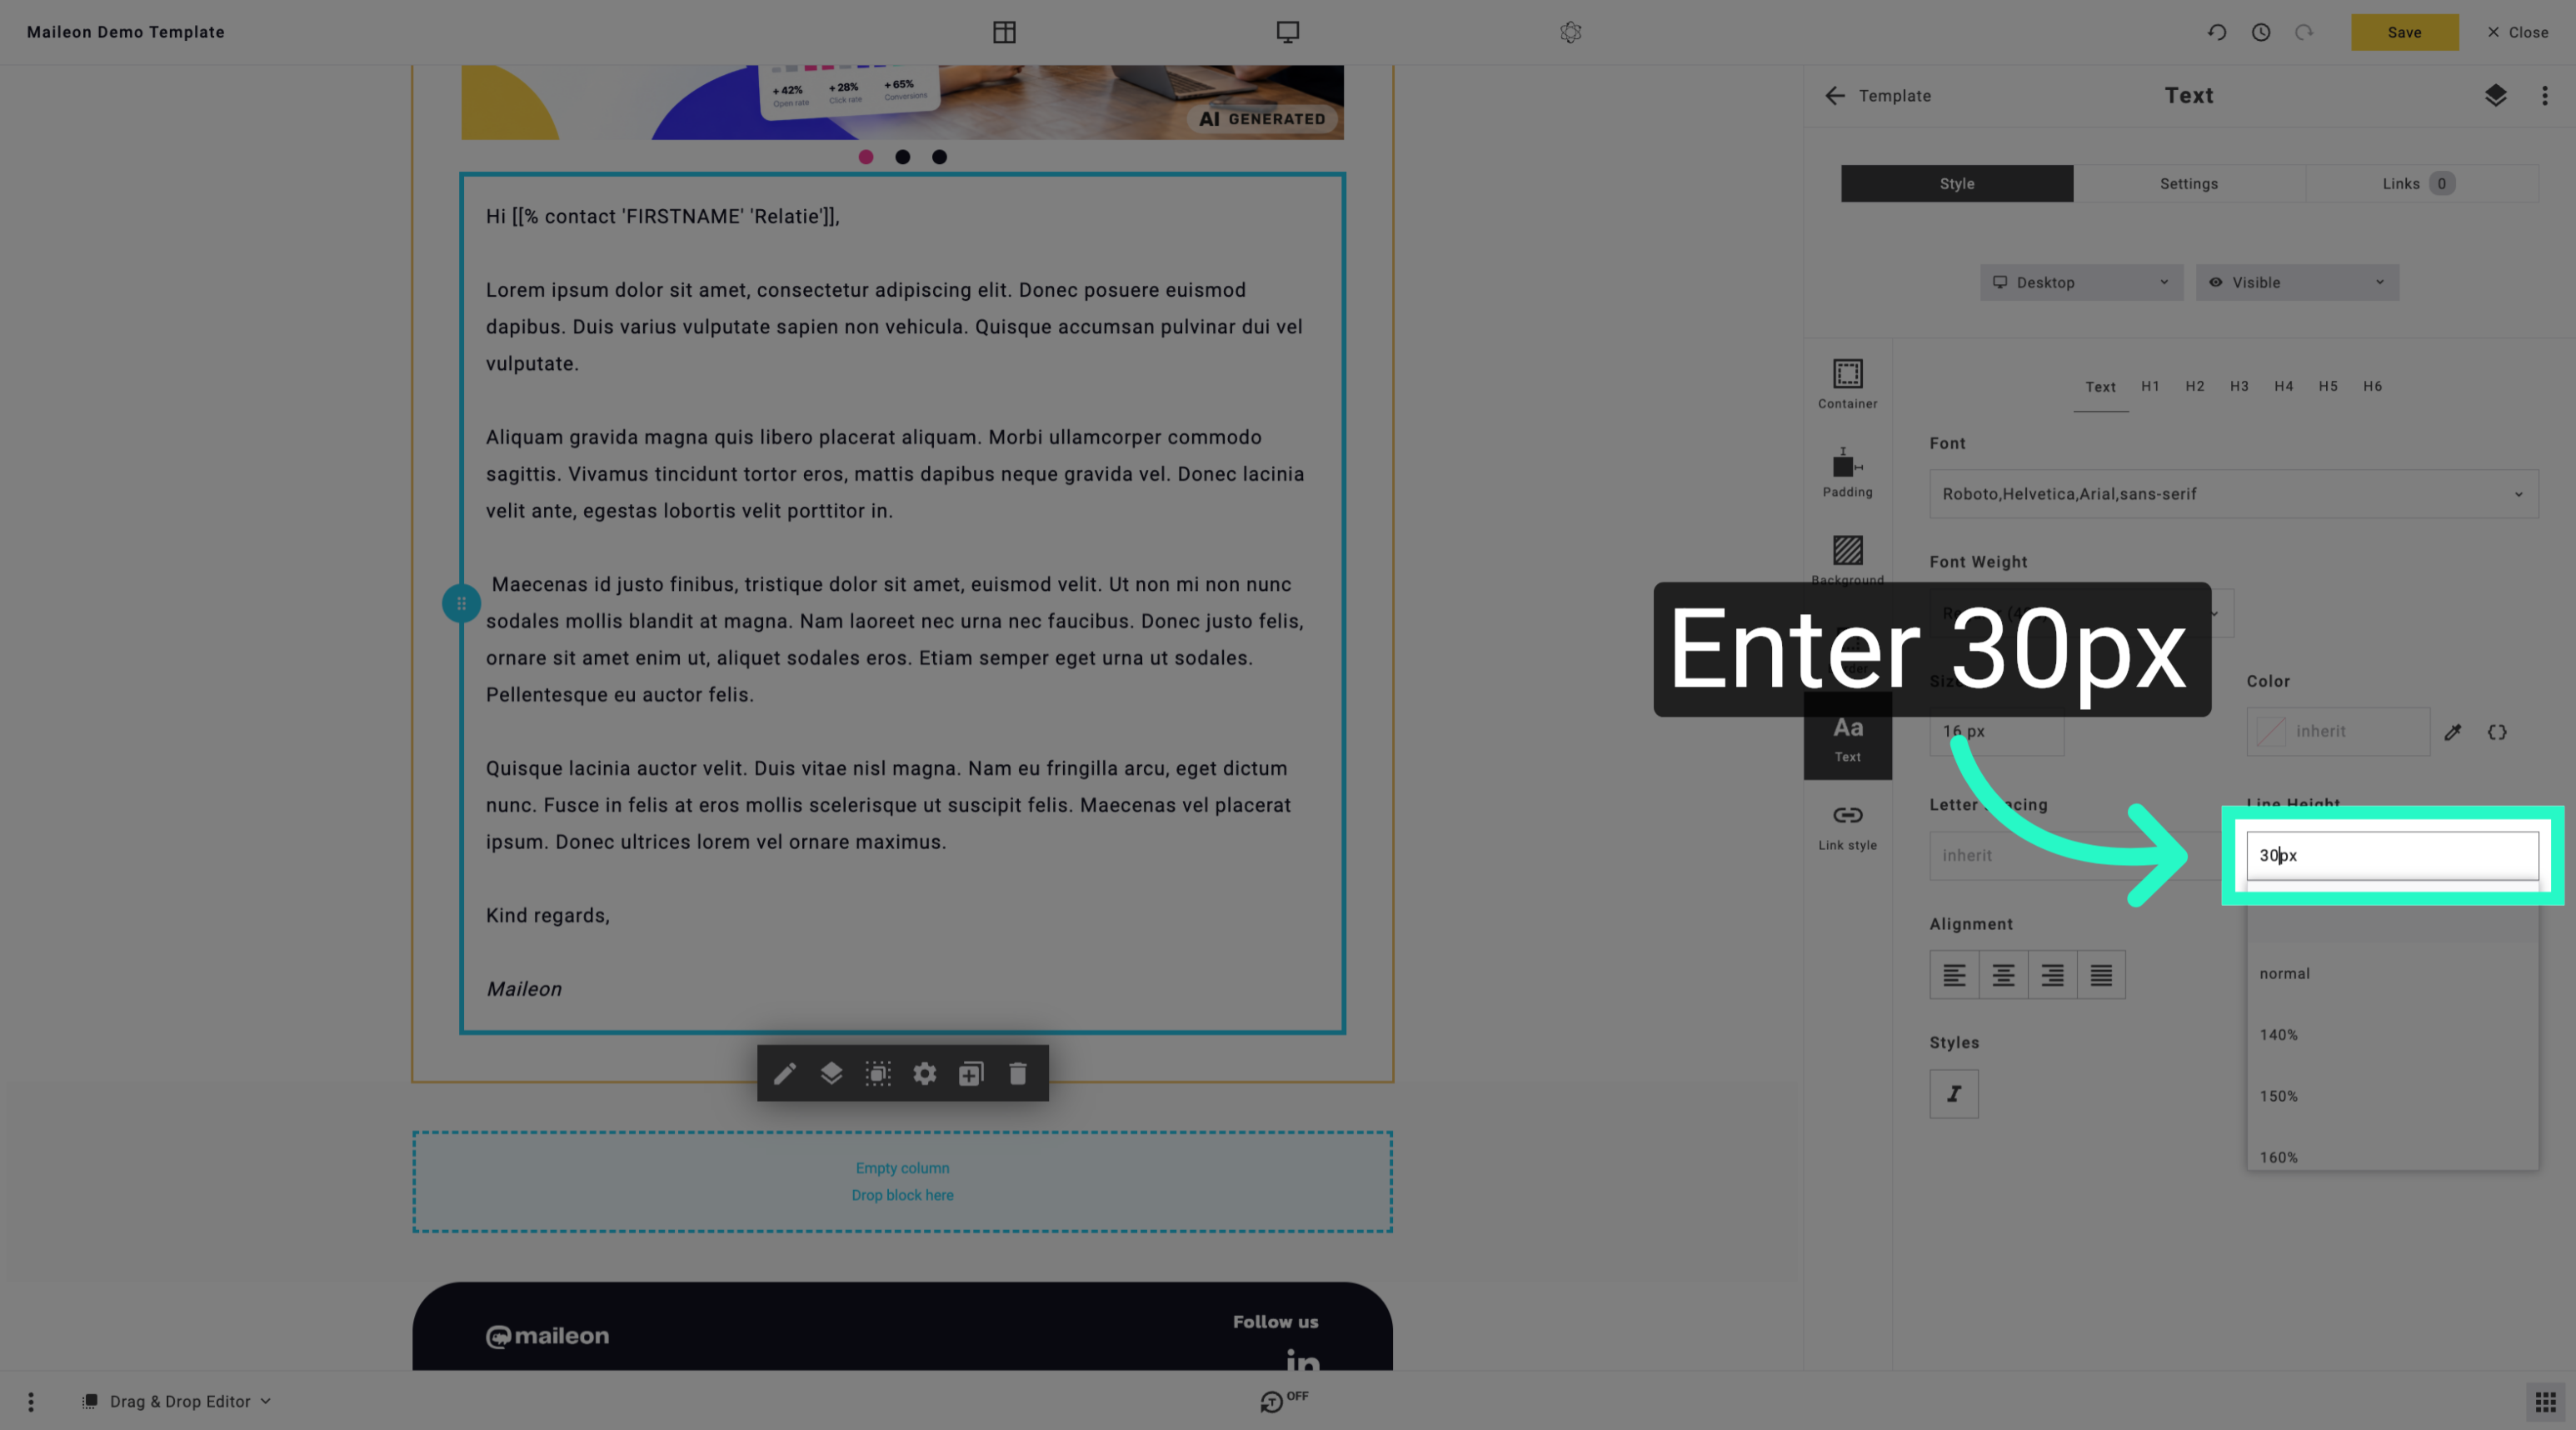
9. Set Line Height as Percentage
Specify the line height using a percentage to scale spacing relative to the font size.
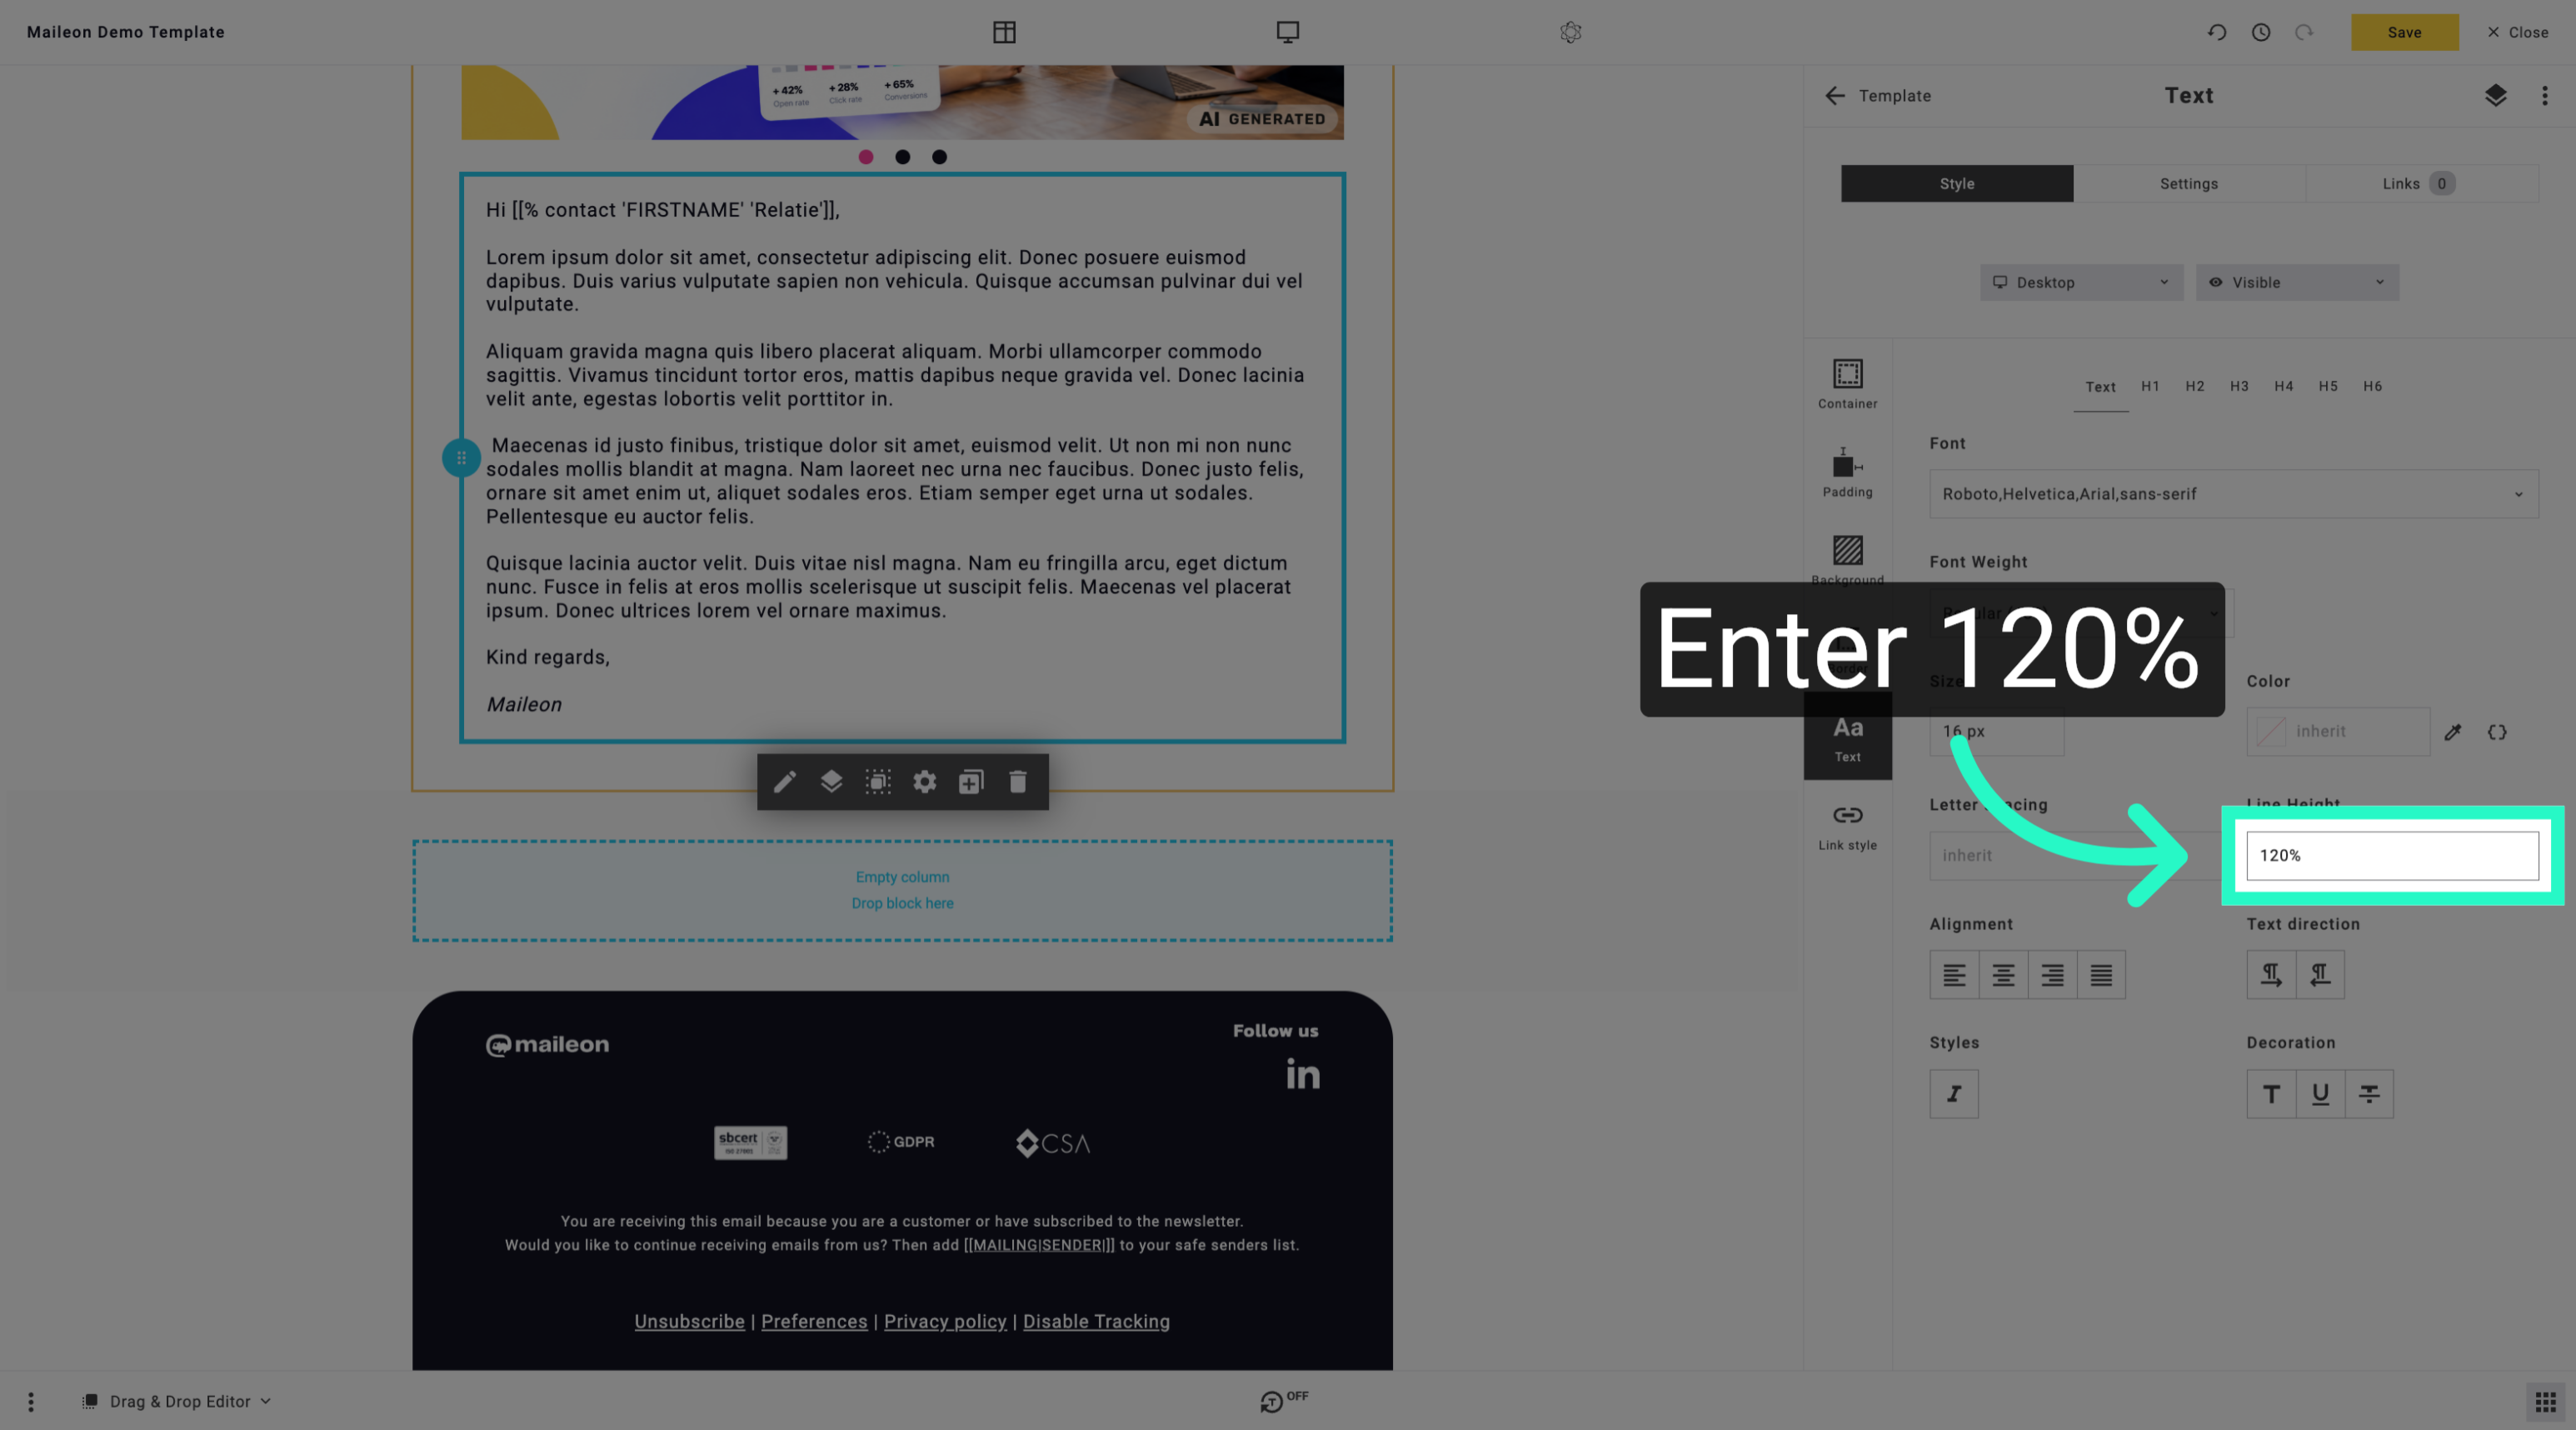
10. Modify Line Height Percentage
Adjust the percentage value to achieve the desired line spacing effect in your text block.
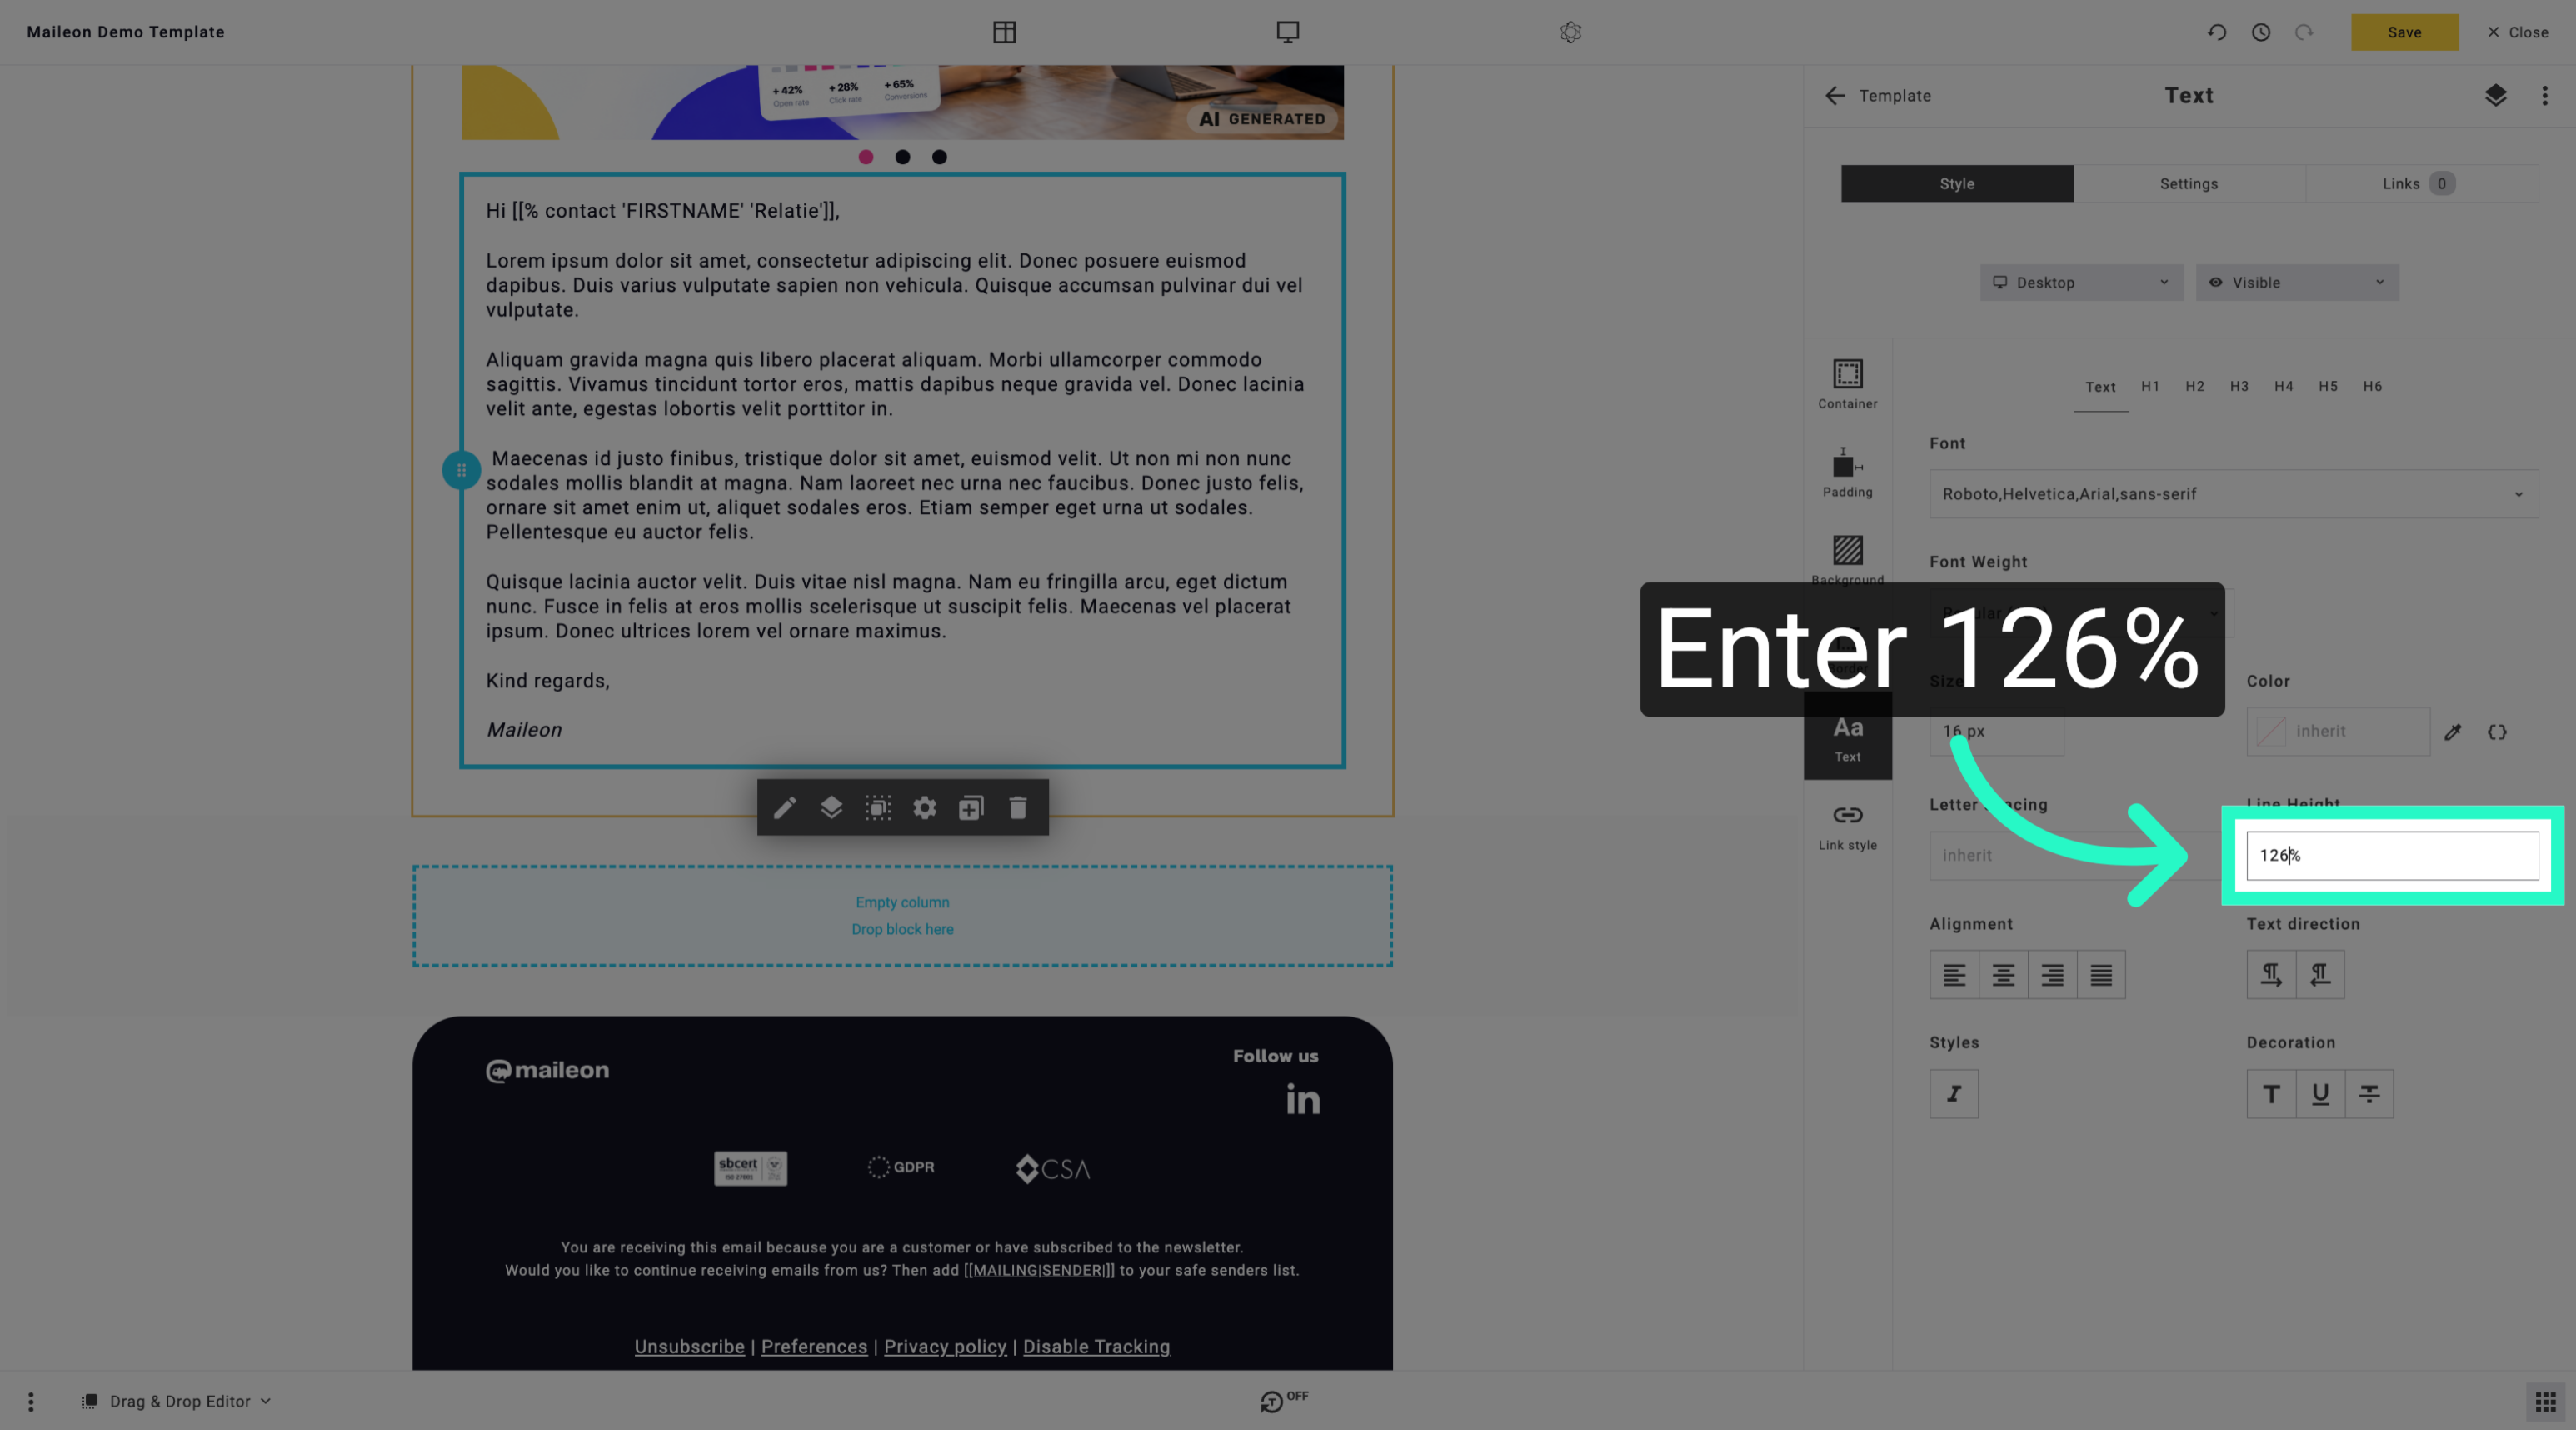
You have successfully customised the line height settings to control text spacing within your message. This ensures improved readability and a polished appearance for your content.