
This tutorial guides you through creating an automation flow in Maileon by uploading a template.
1. Introduction
You will learn how to select or upload a template and finalise the automation setup.
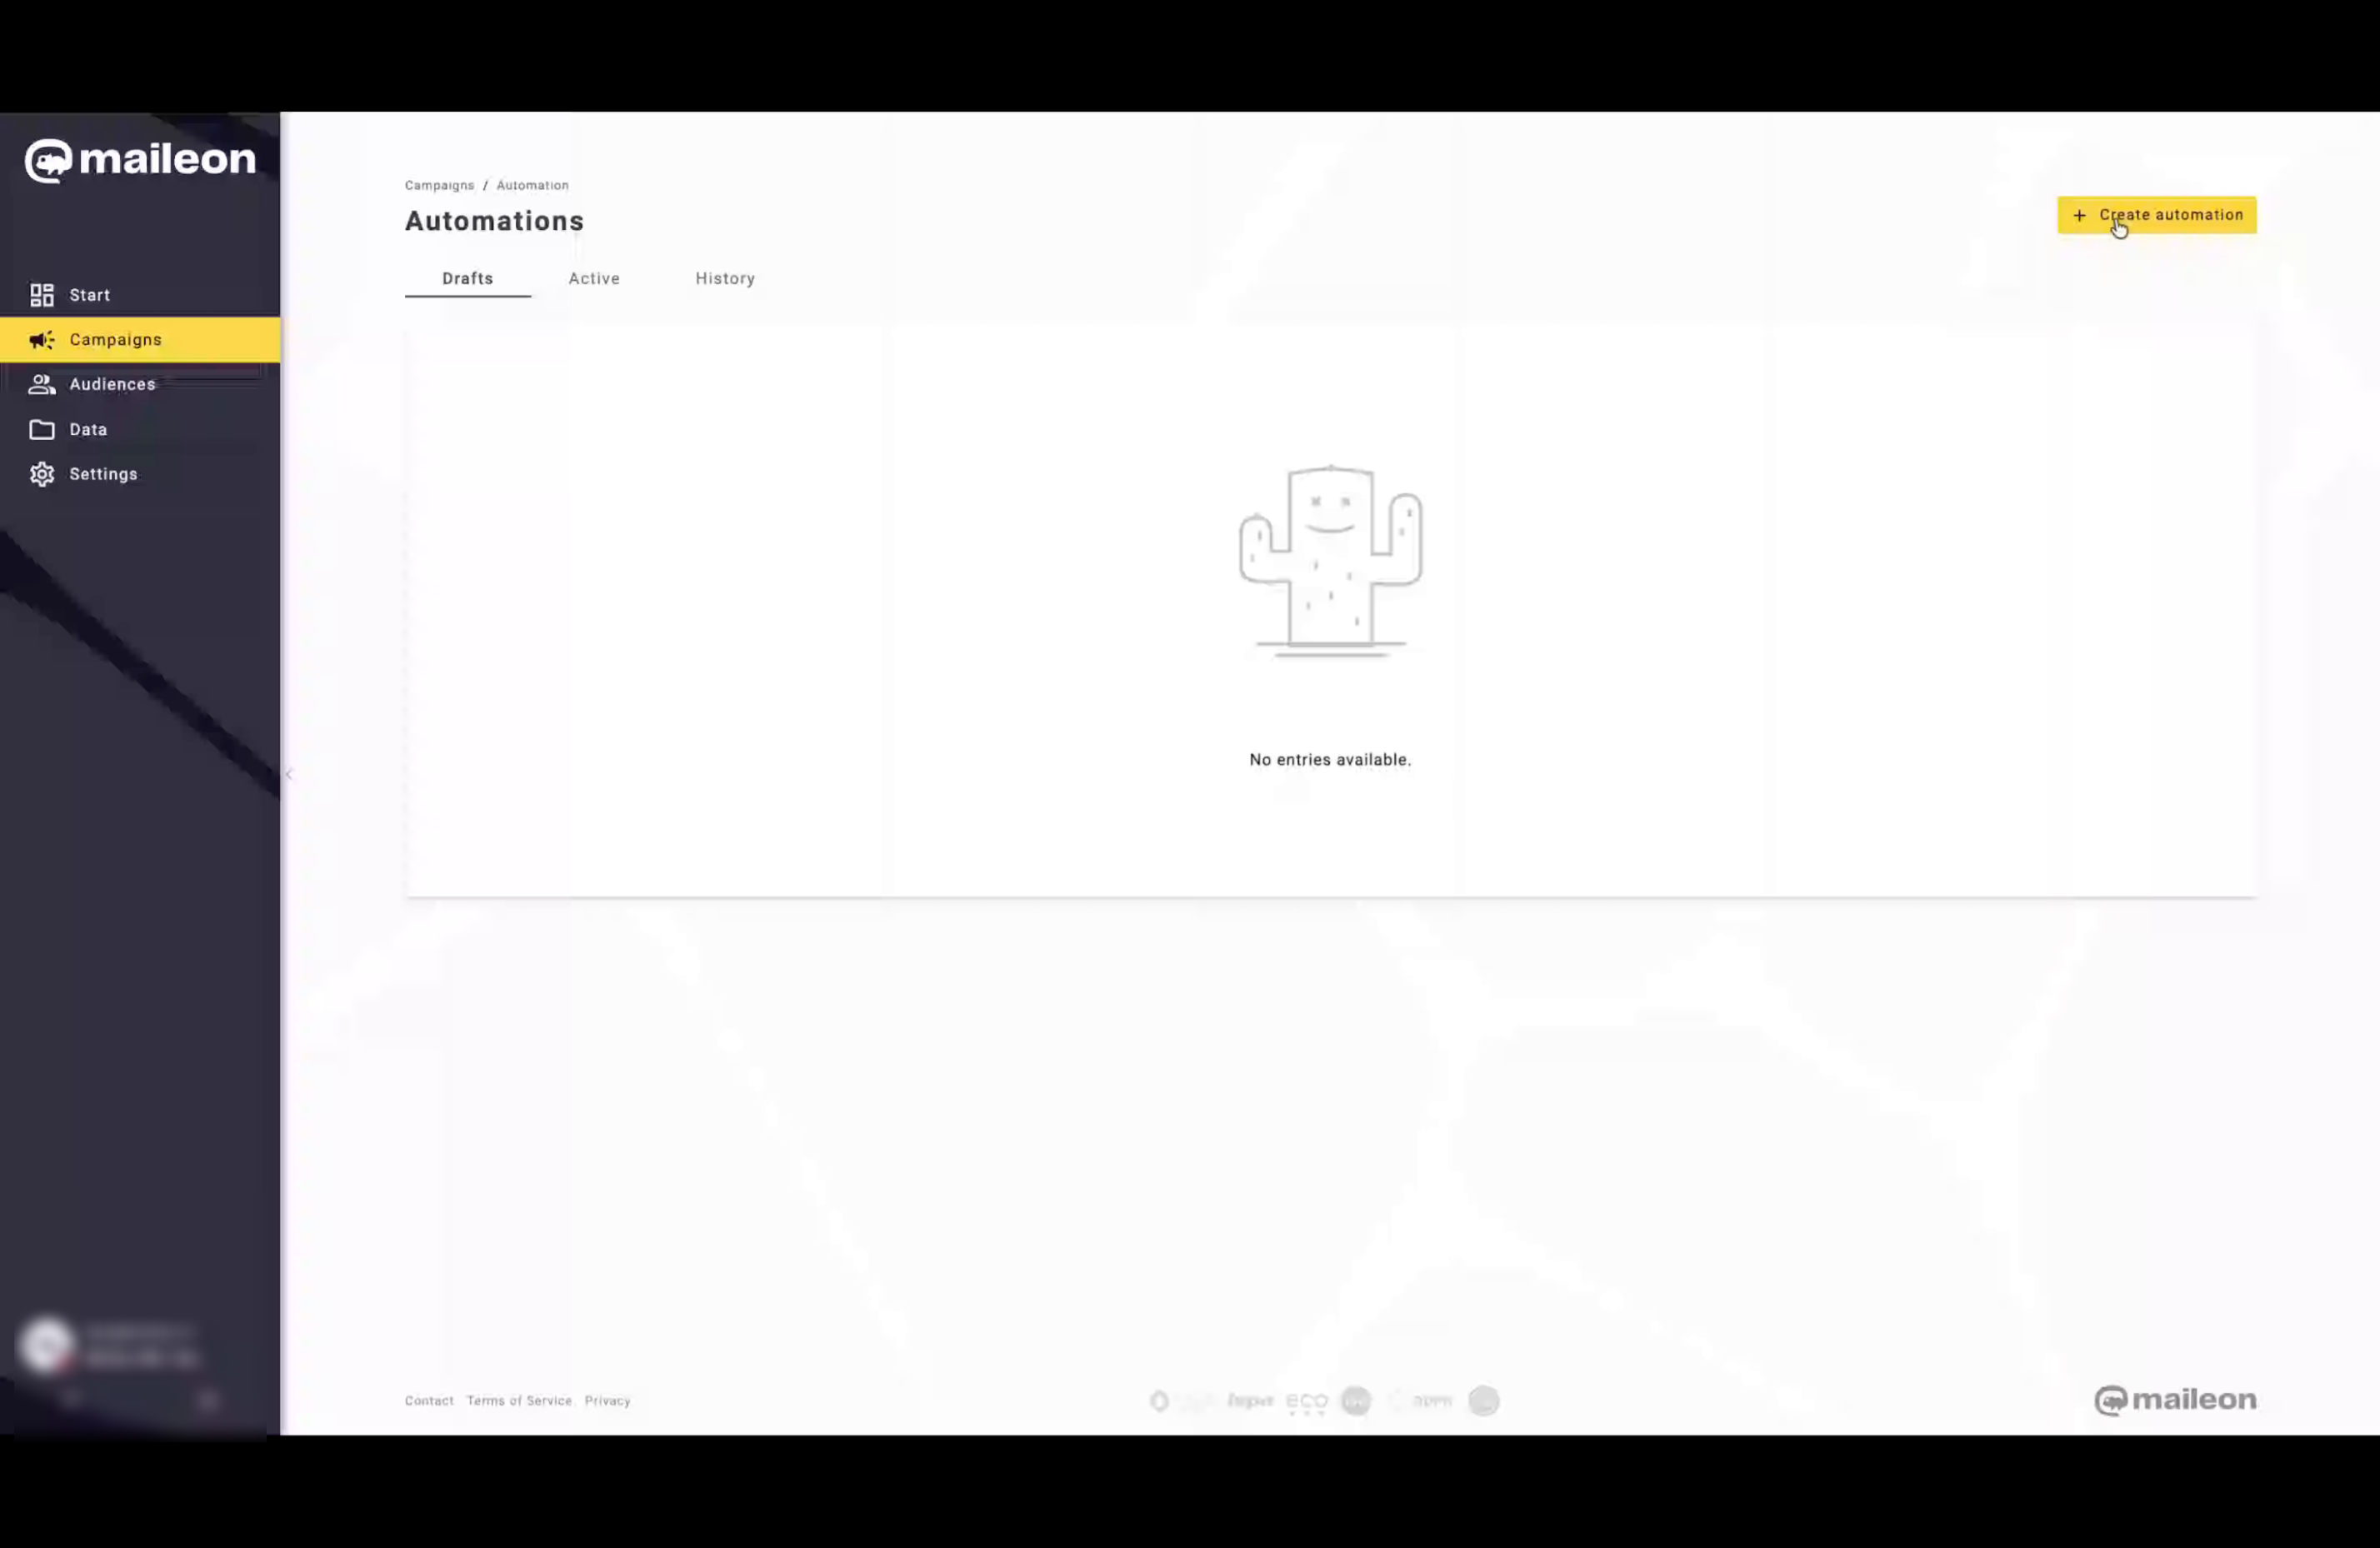
2. Access Automation Flow
Begin by opening the automation flow you want to configure within the Maileon platform.
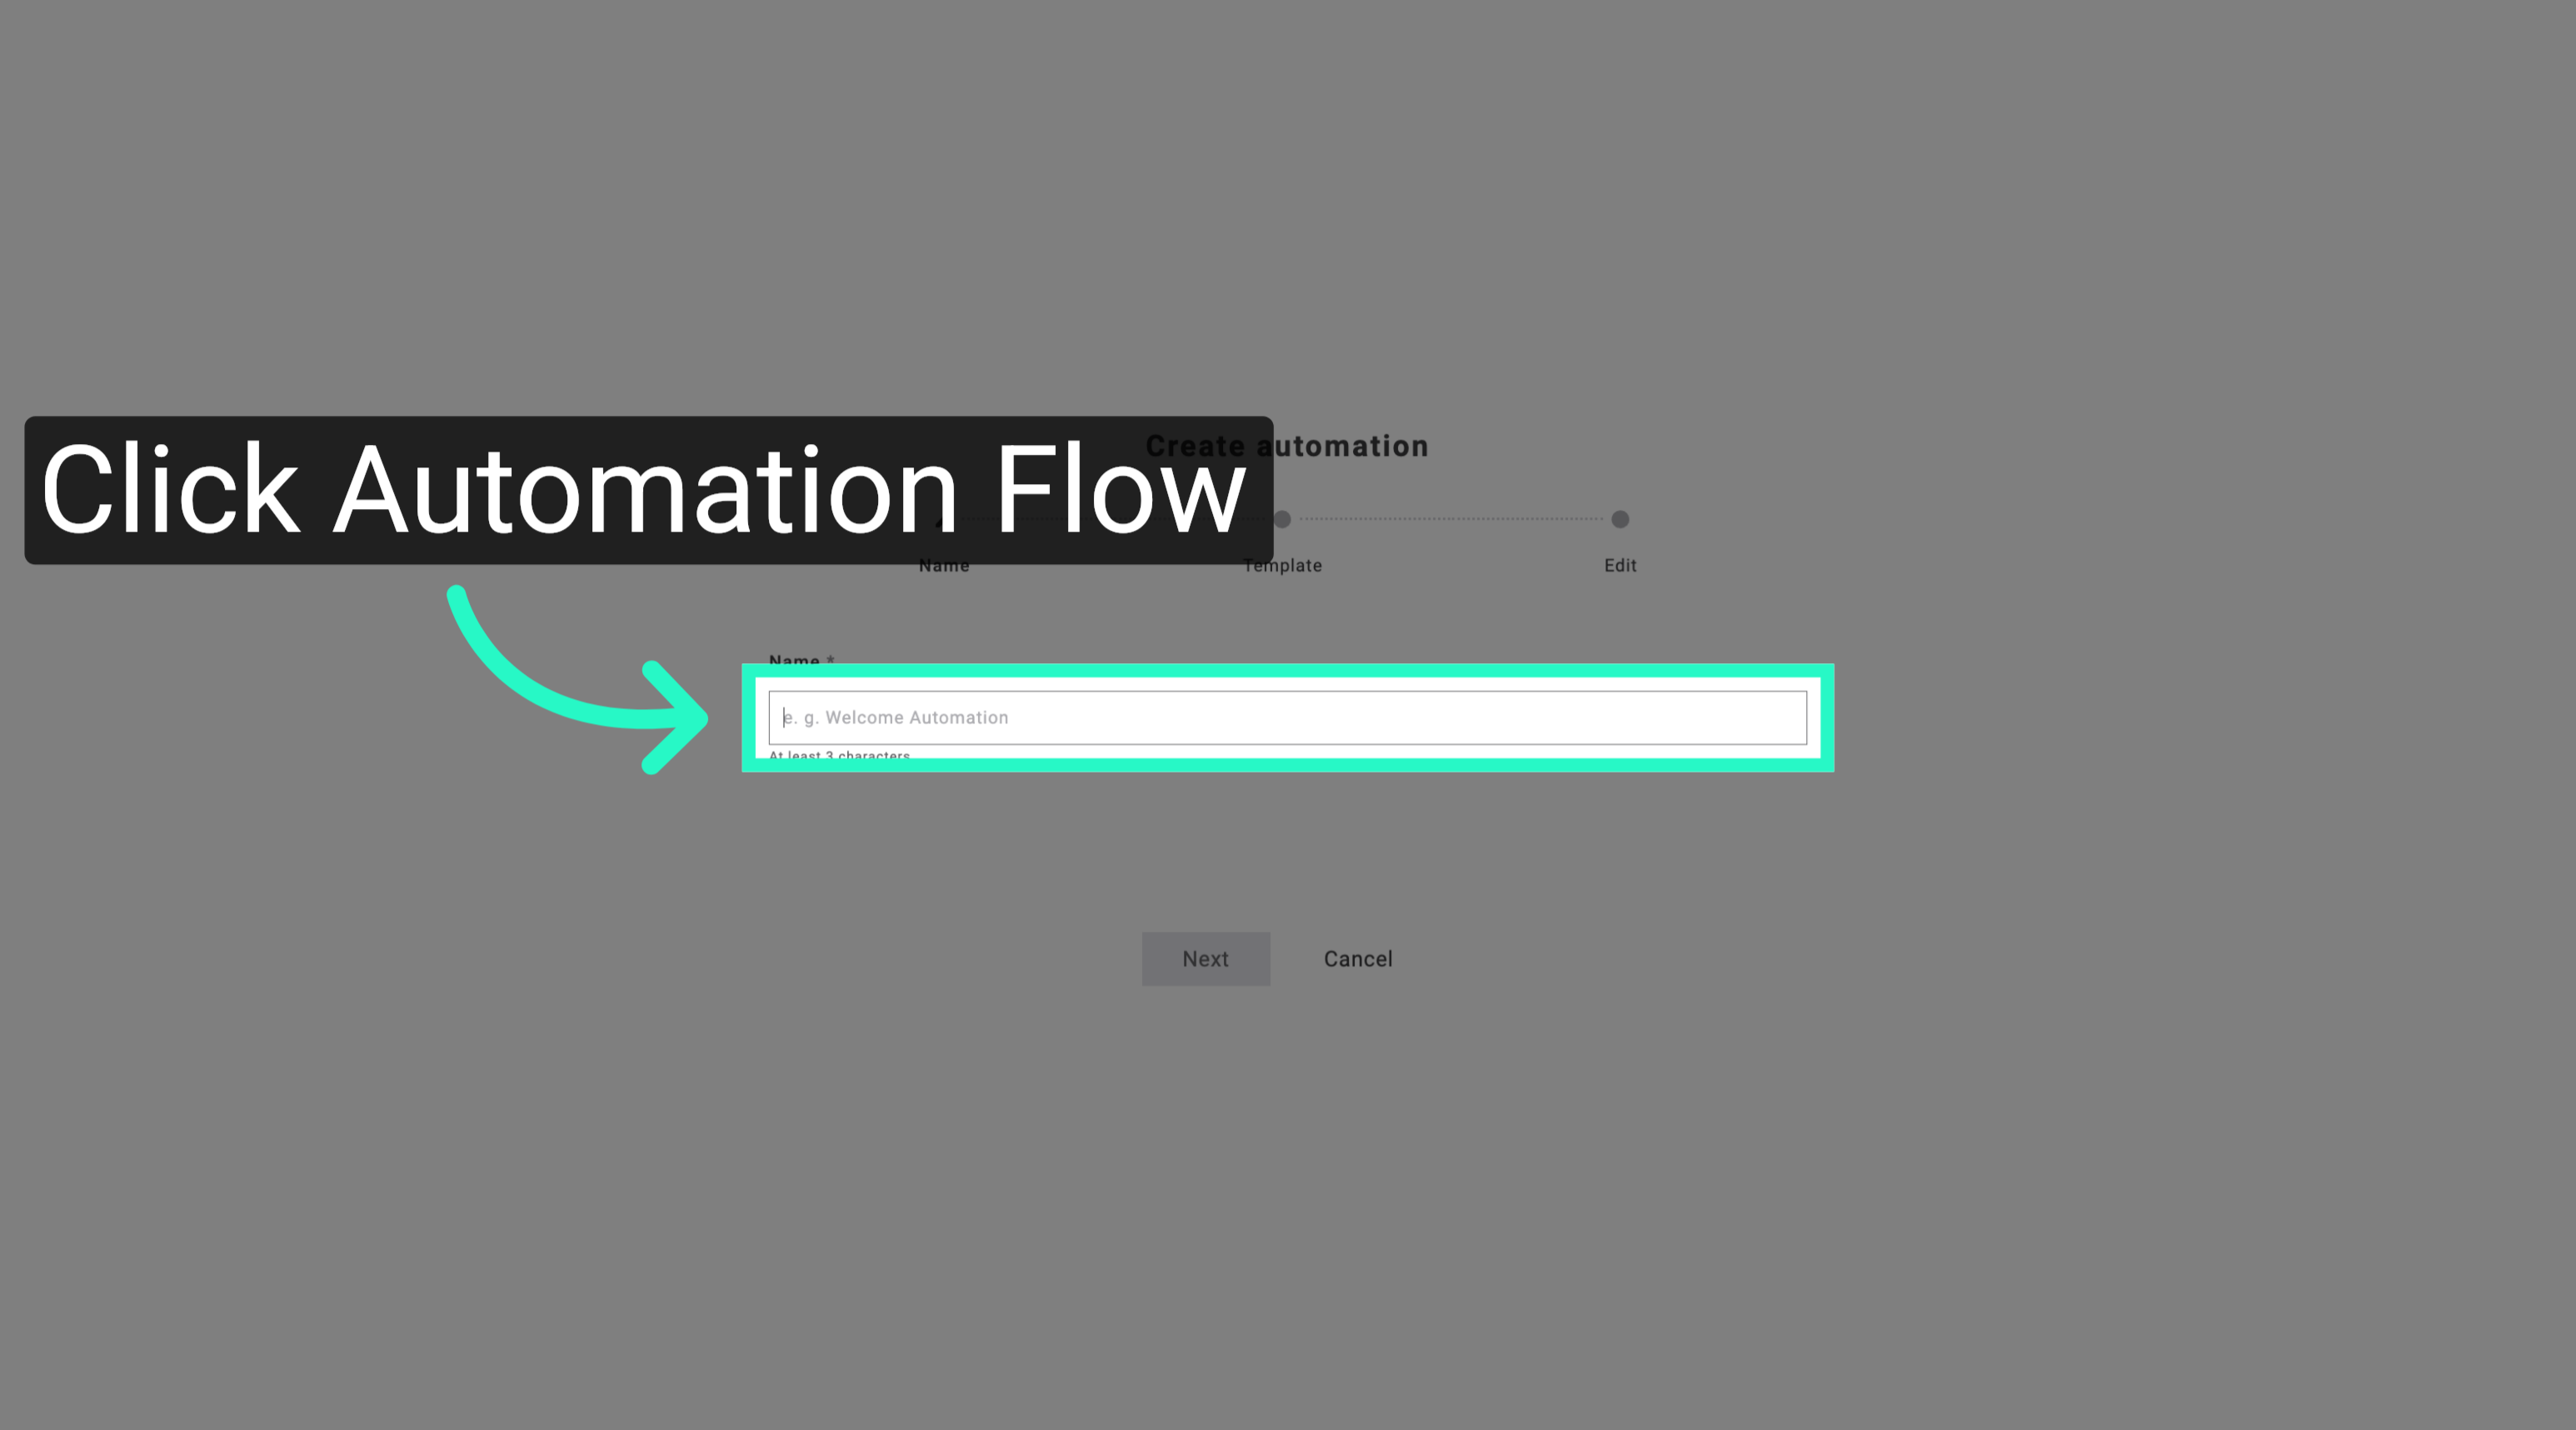
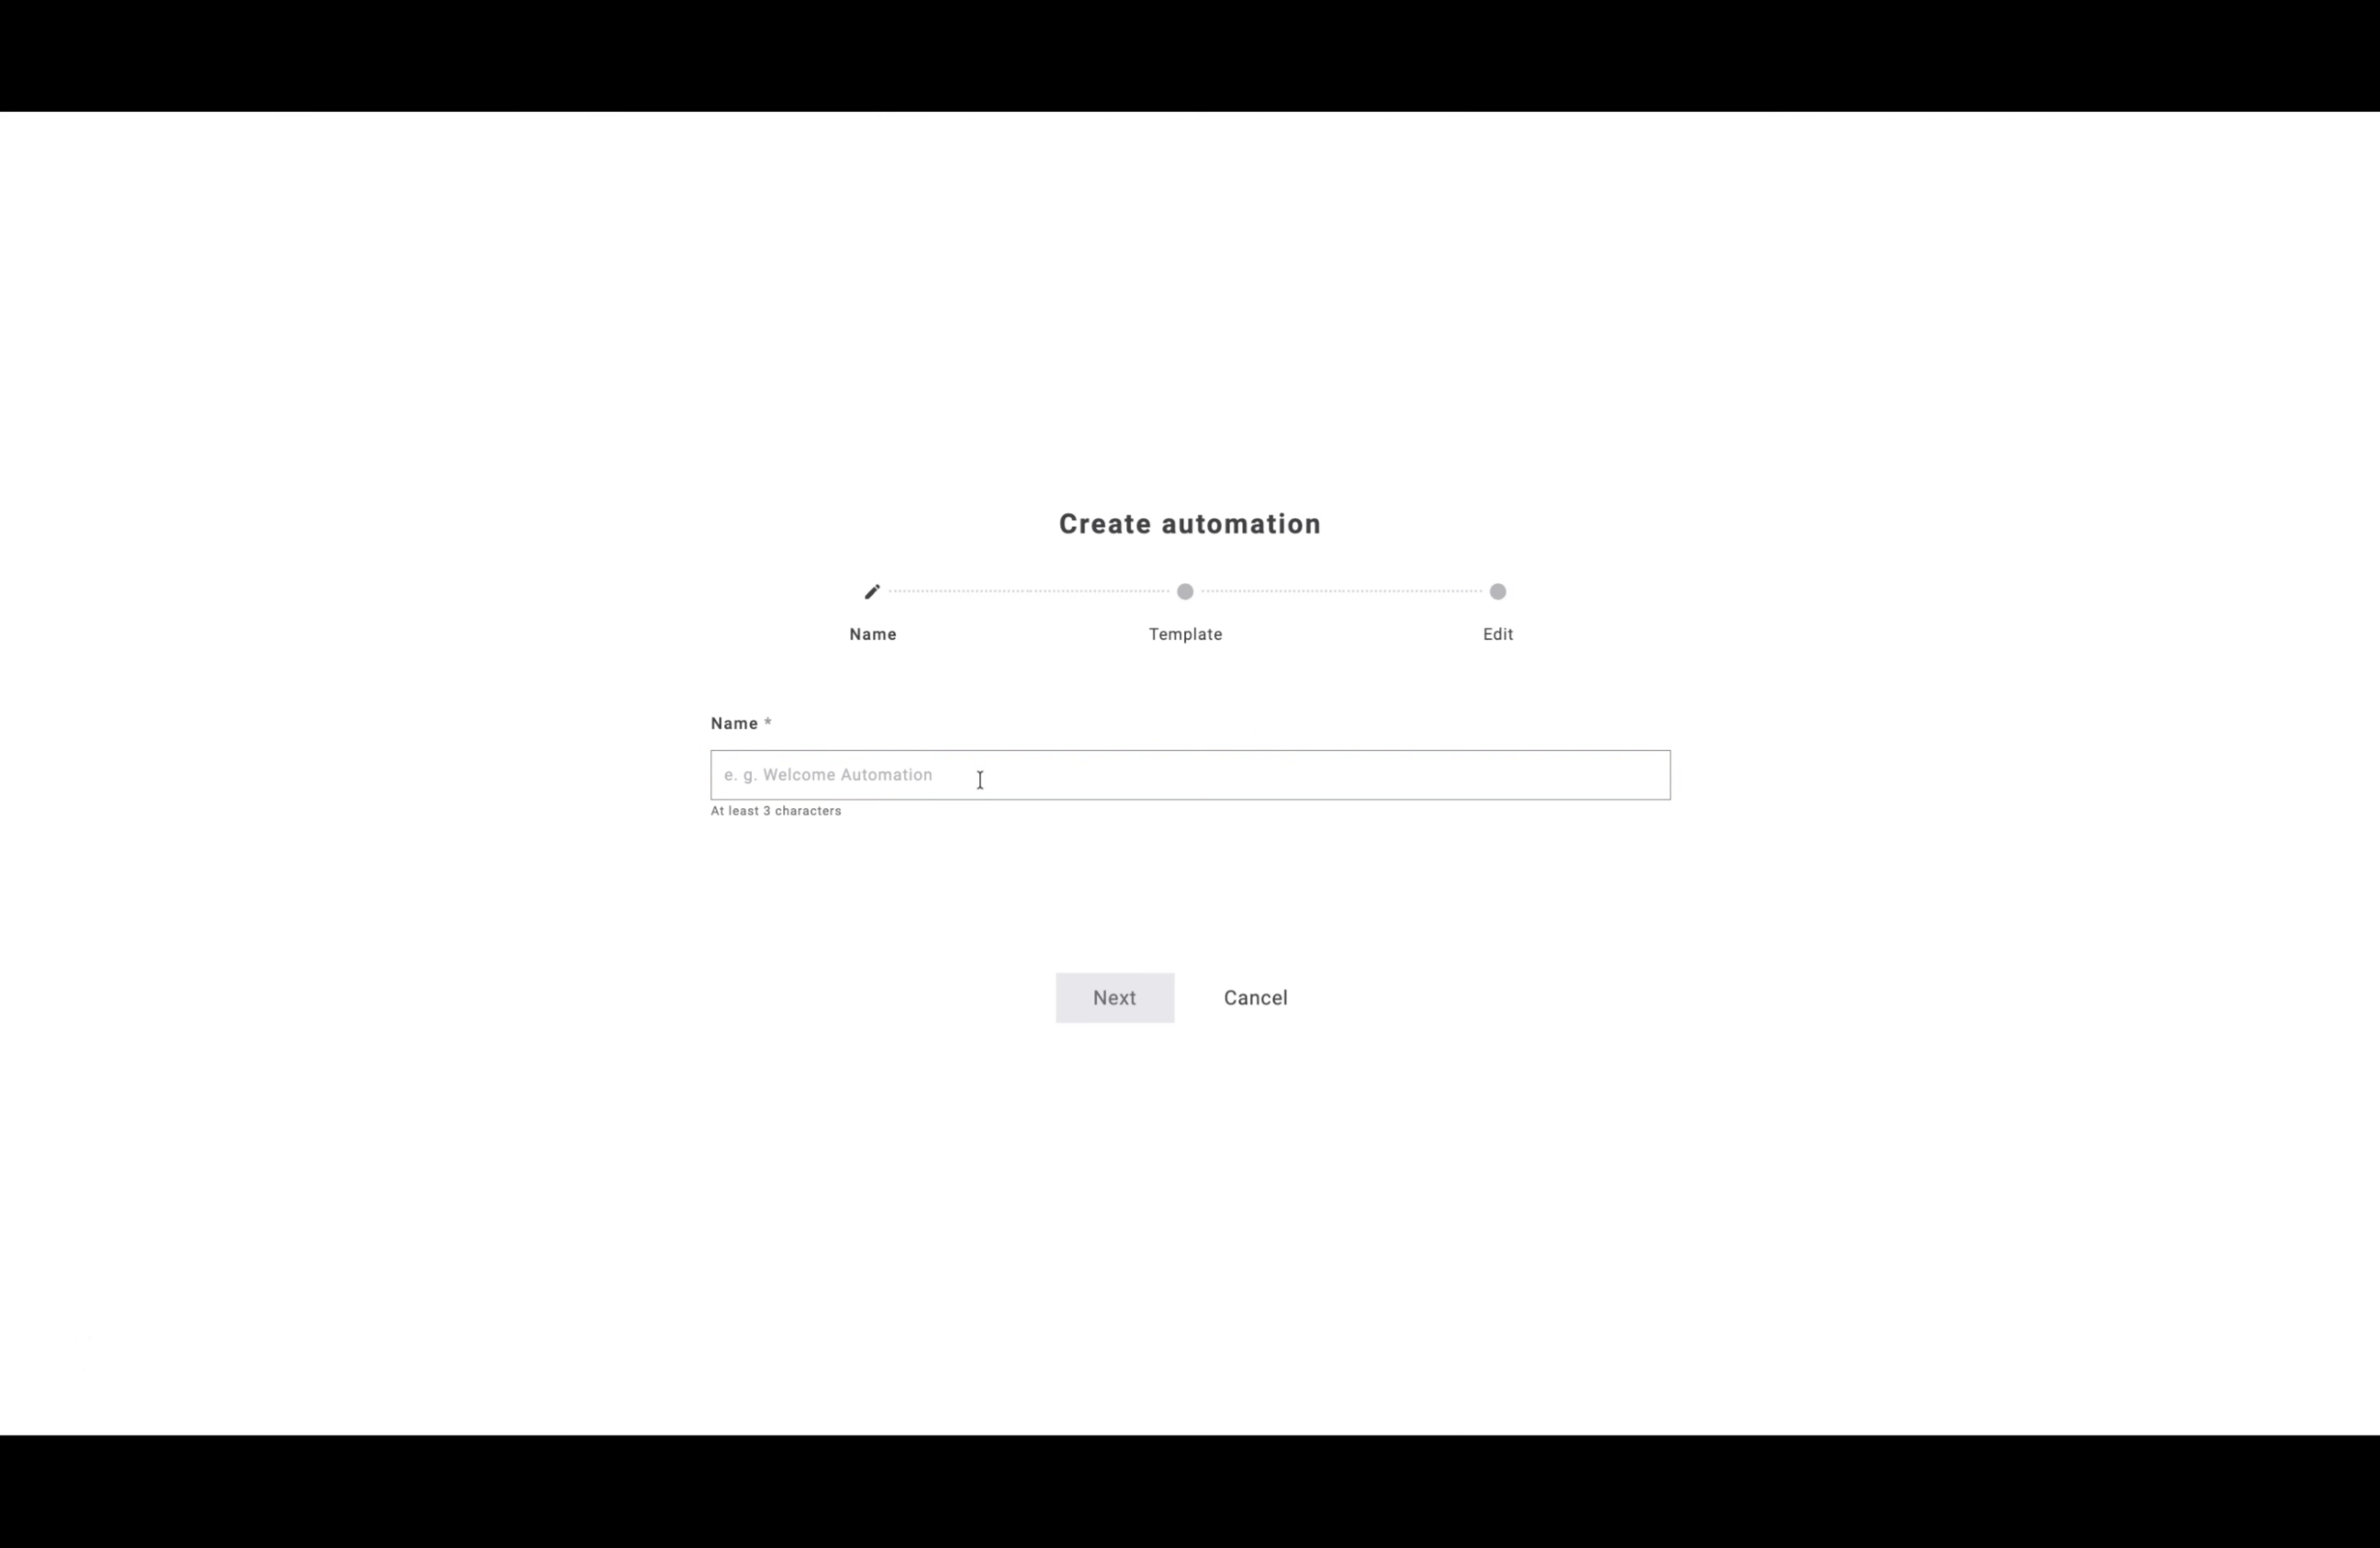
3. Name Your Automation Flow
Enter a descriptive name for your automation flow to easily identify it later in your account.
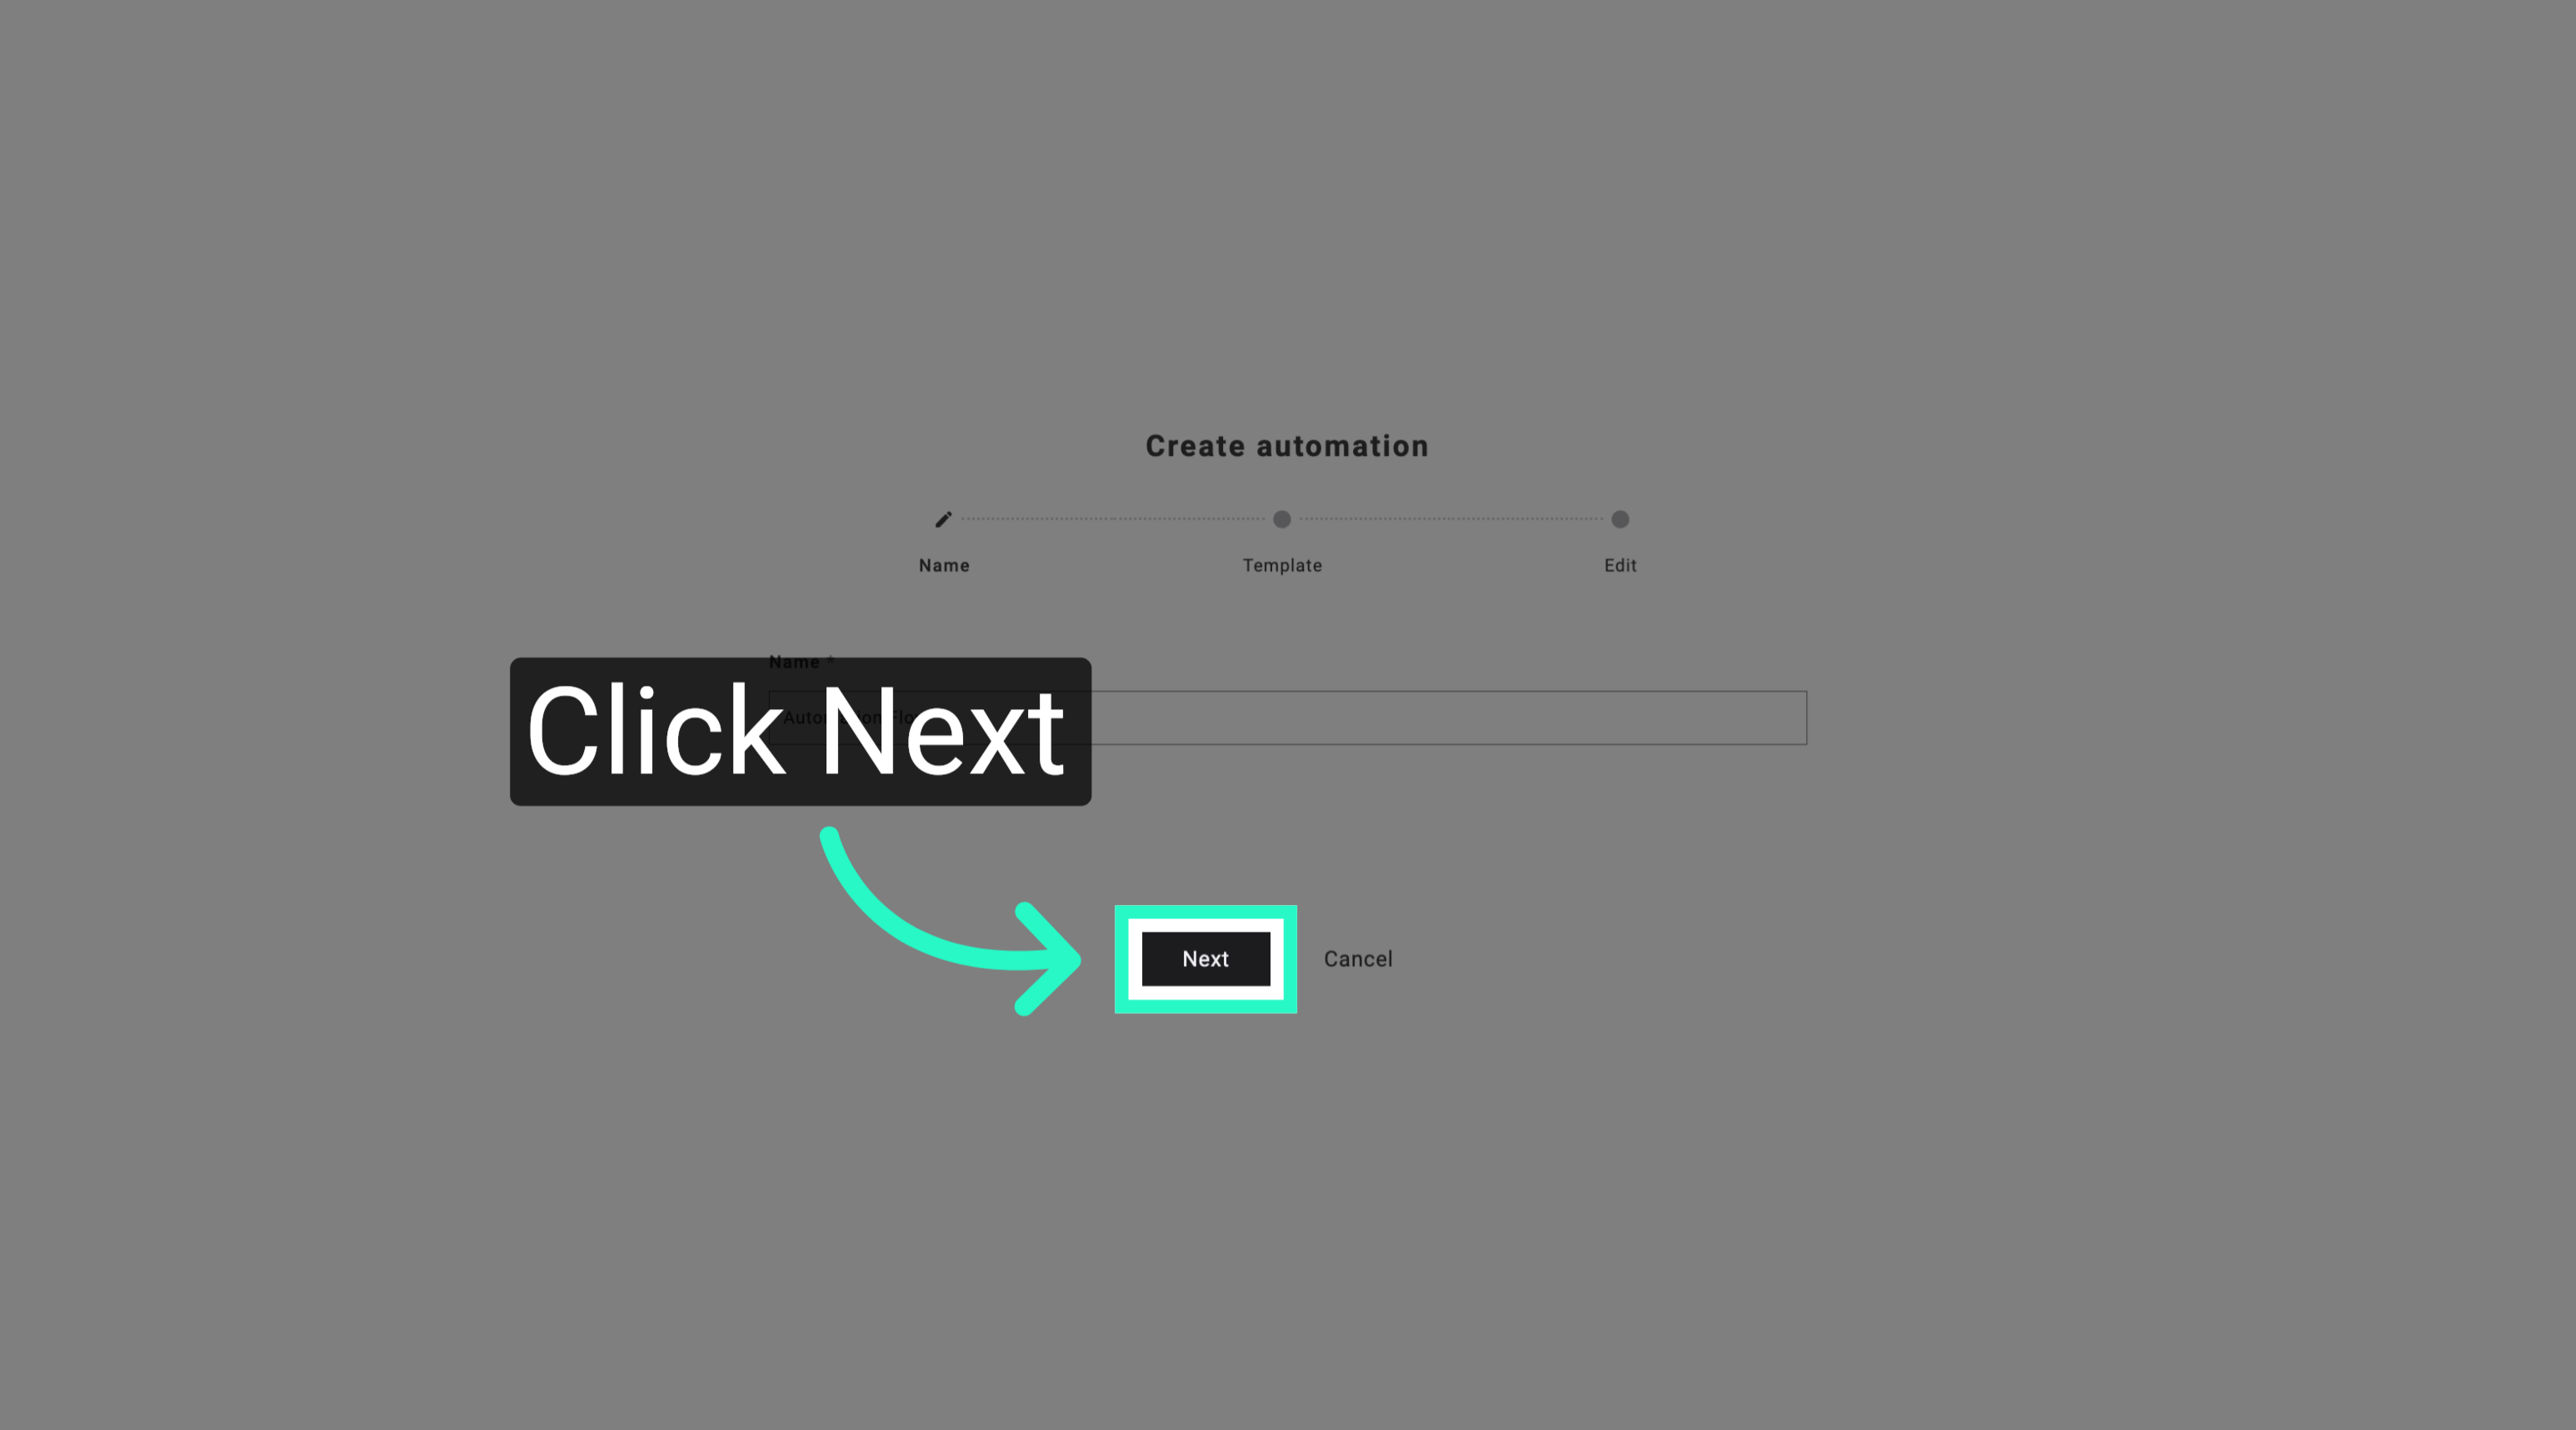
4. Proceed to Next Step
Click Next to continue setting up your automation after naming the flow.
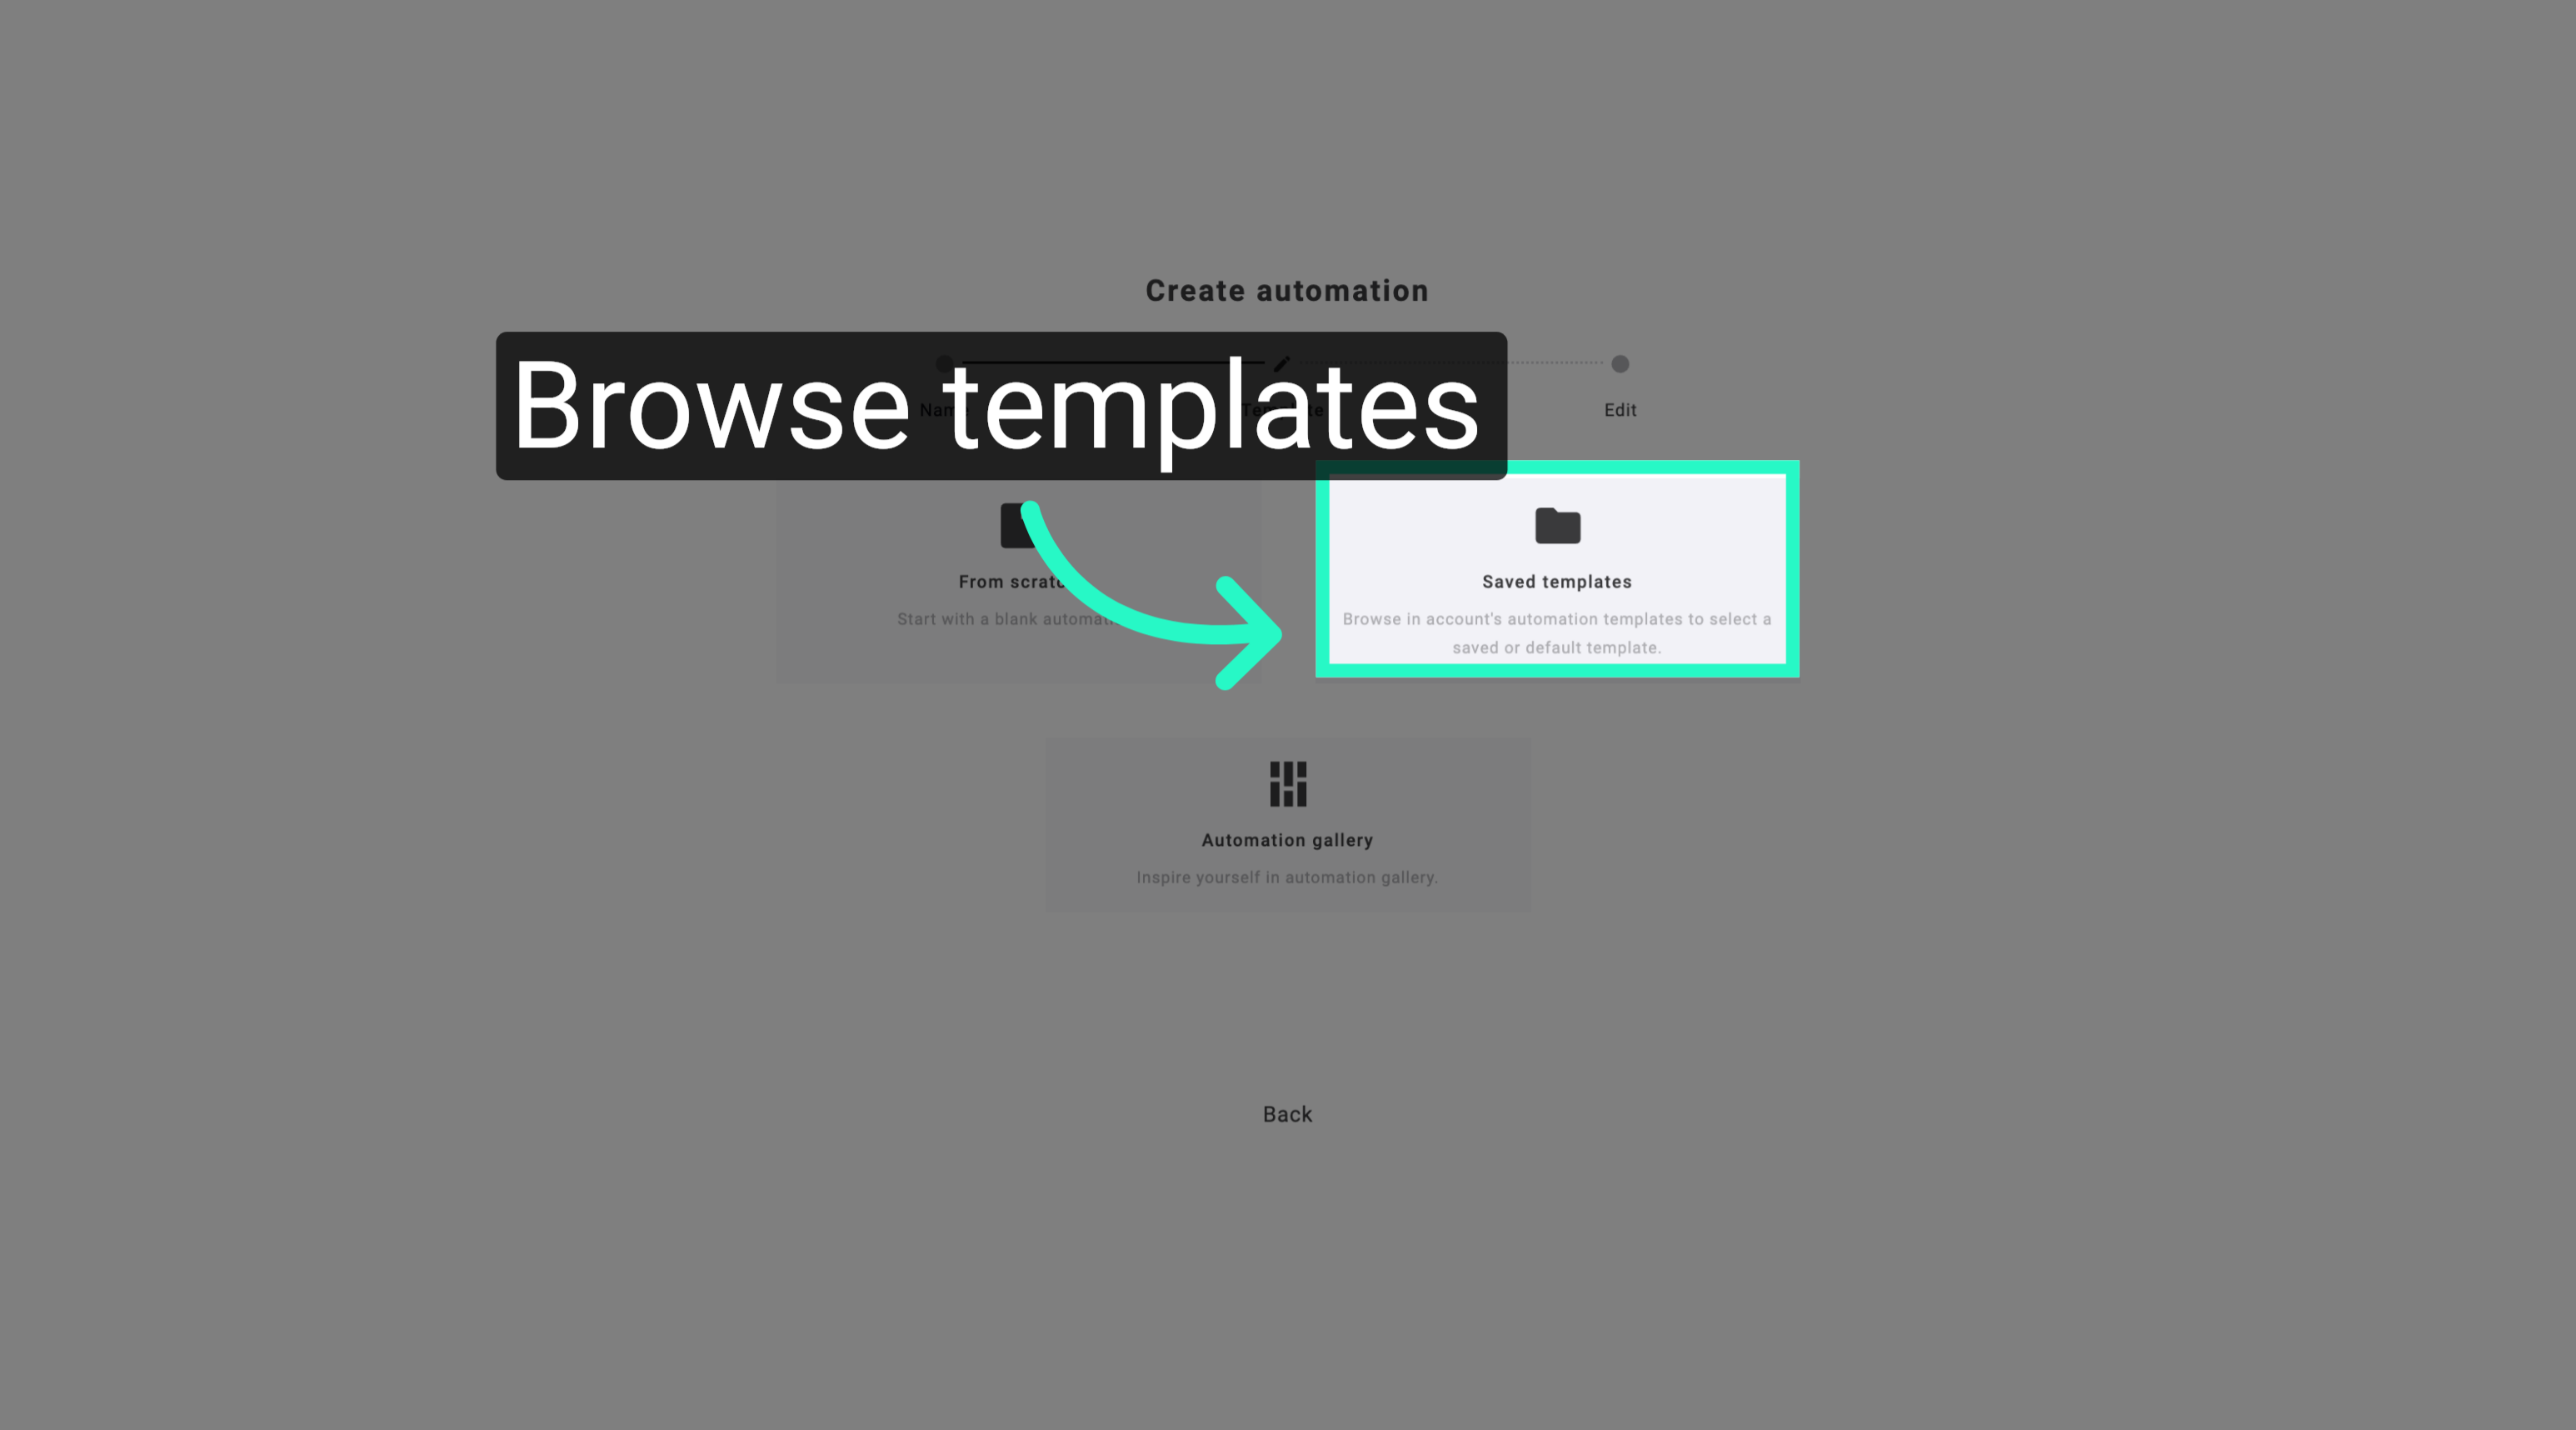
5. Browse Automation Templates
Open the template browser to select a saved or default automation template from your account.
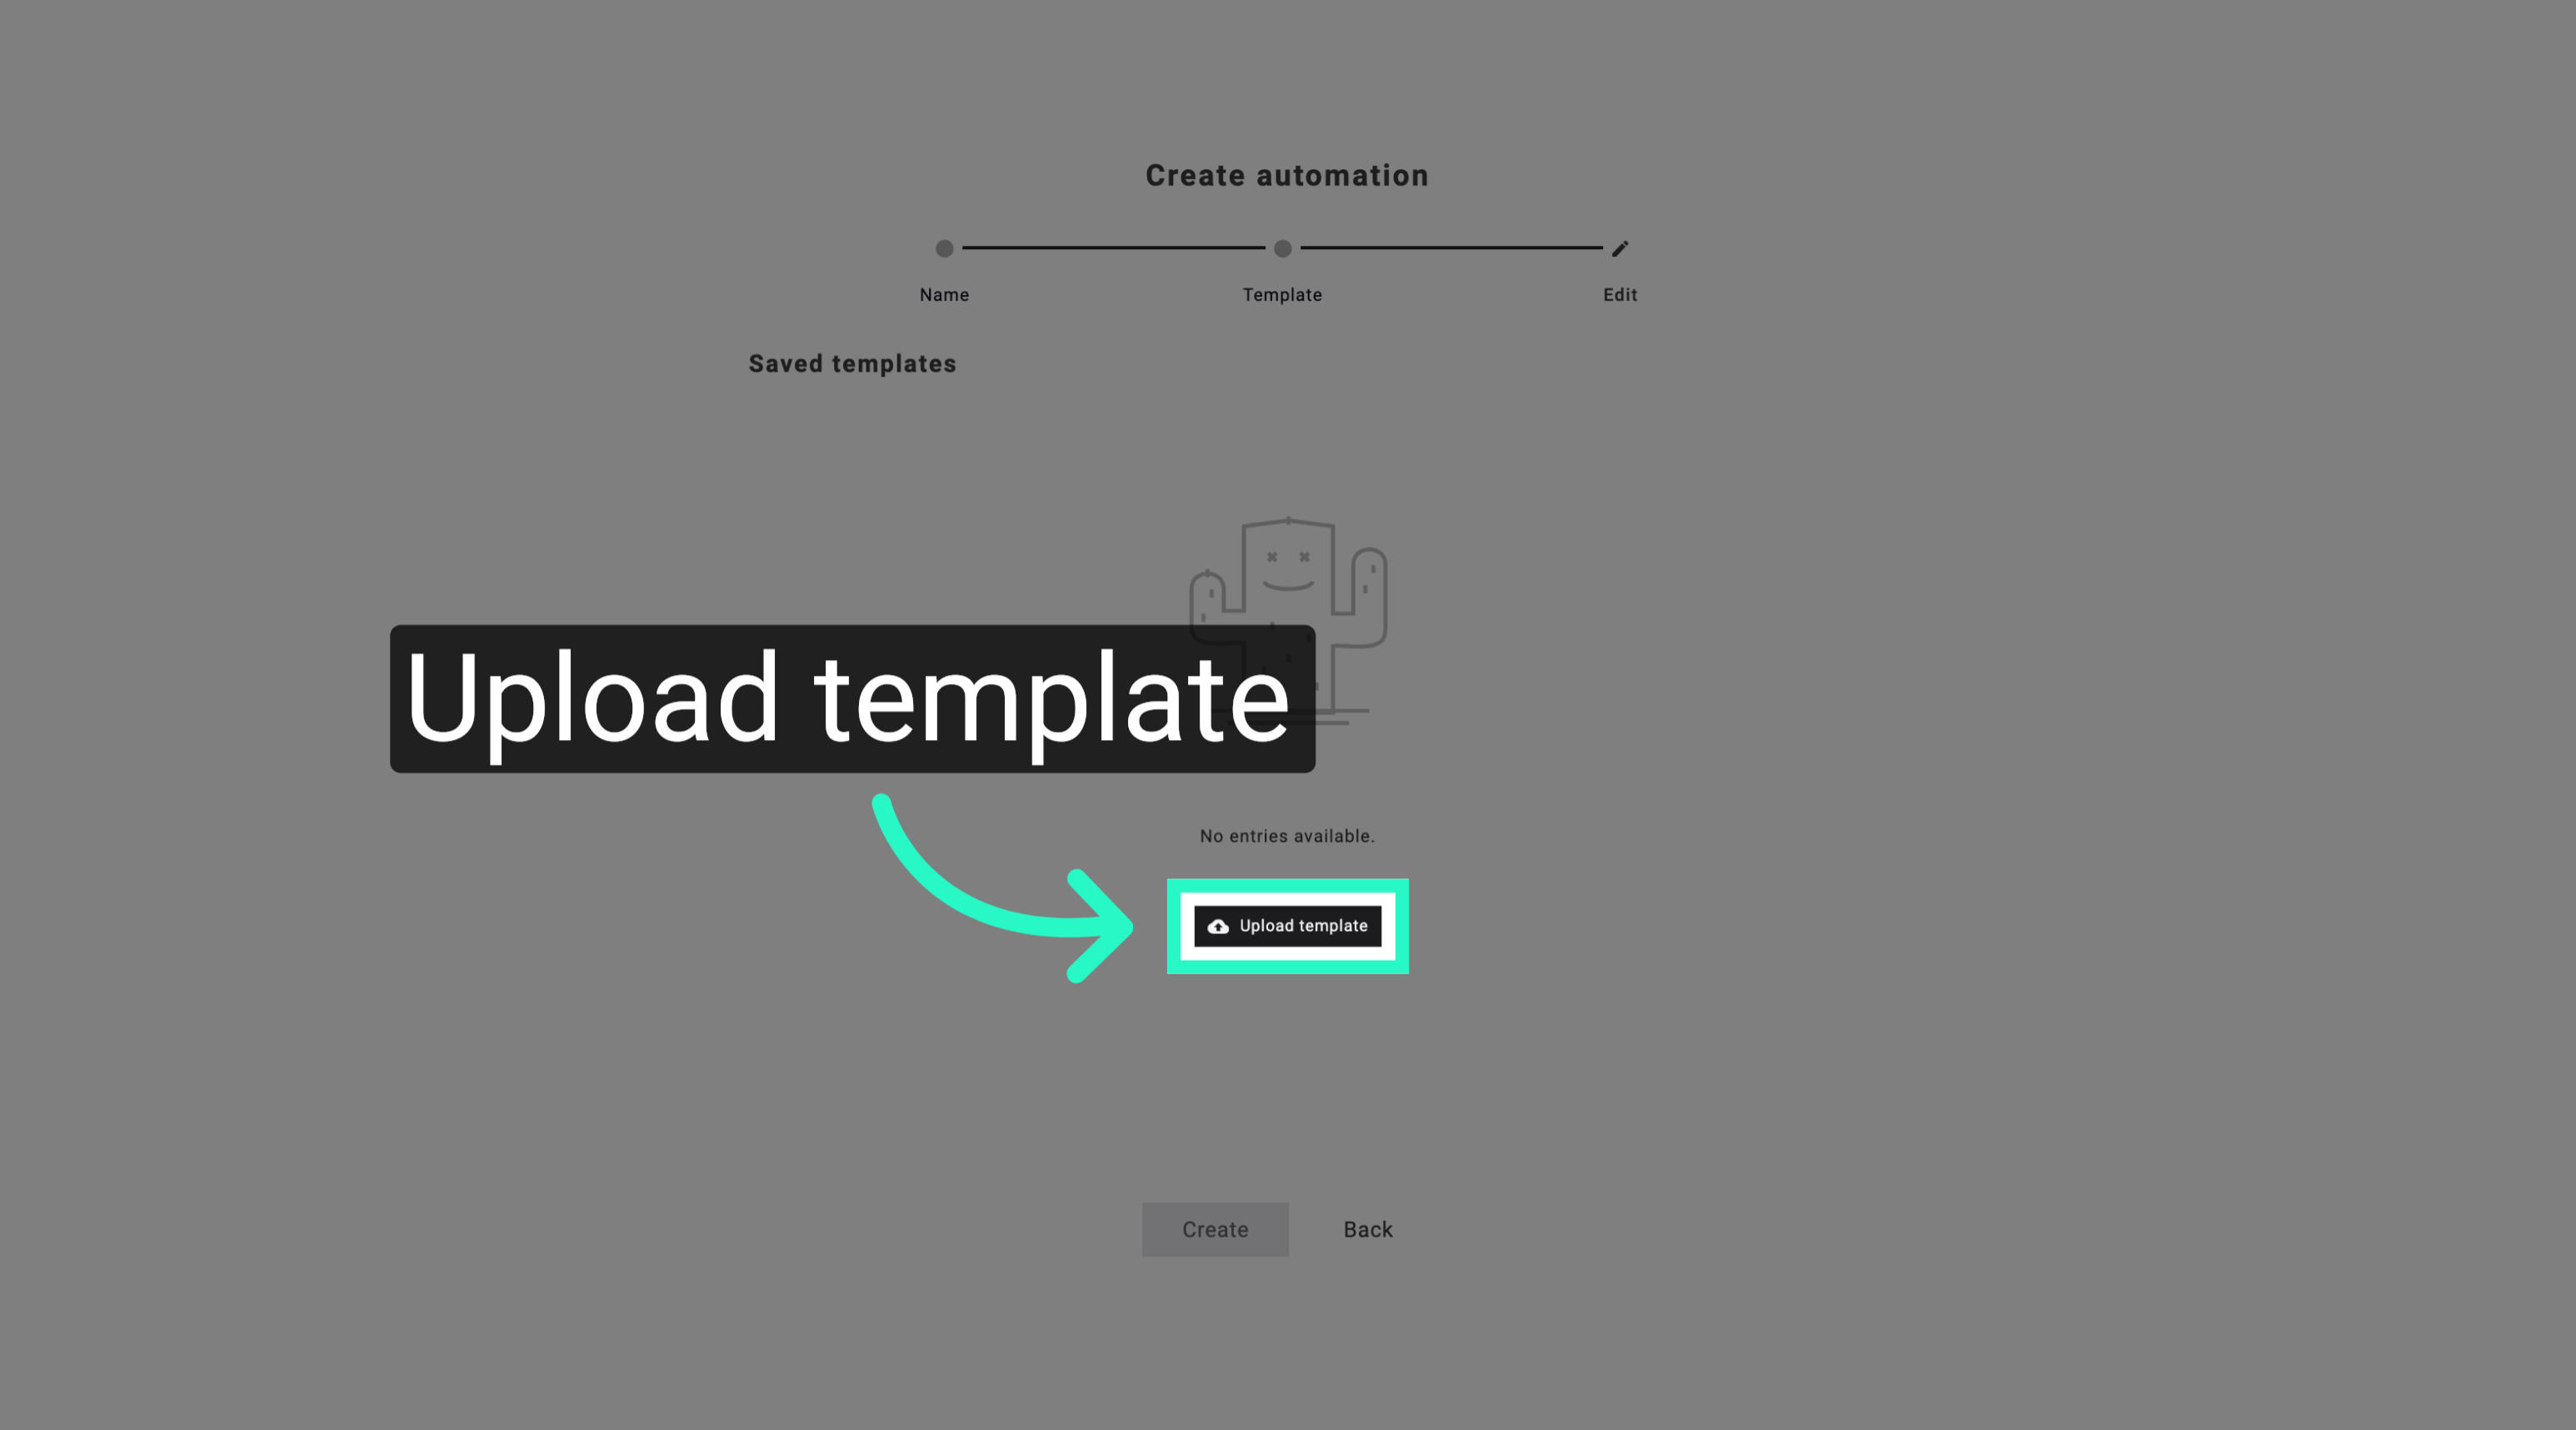
6. Upload New Template
Choose to upload a new automation template file to add it to your available templates.
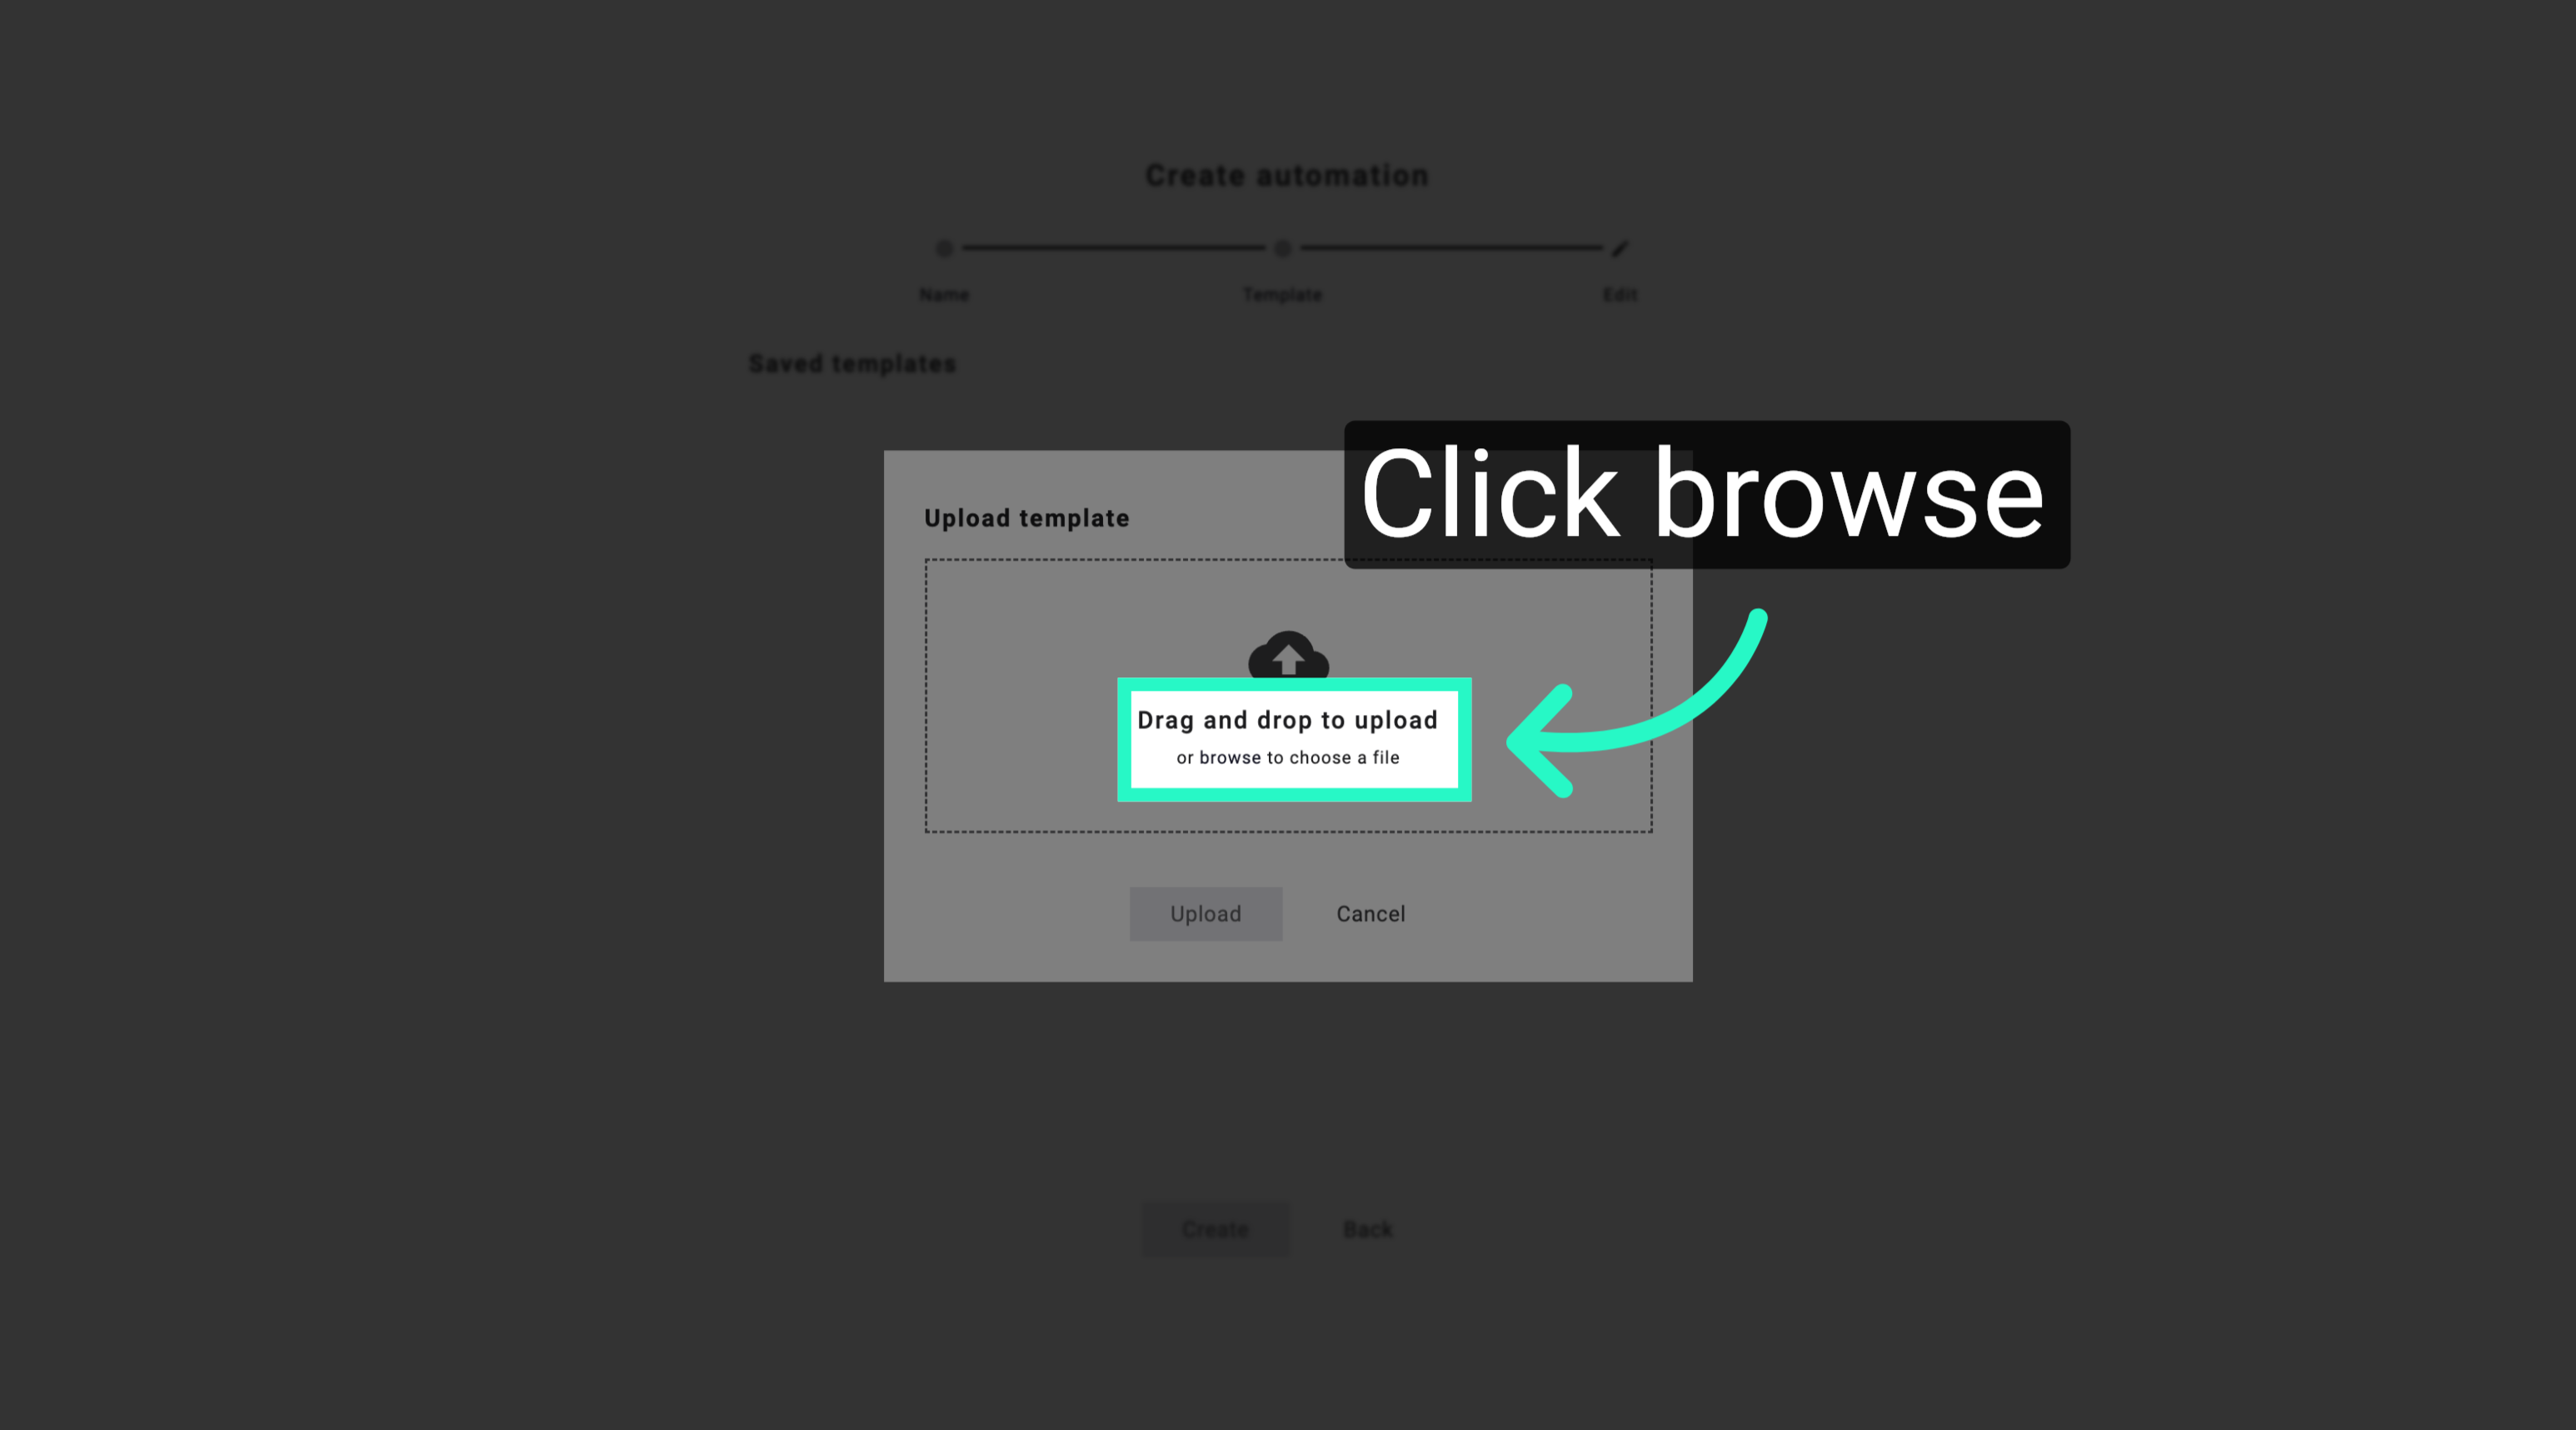
7. Select Template File
Click browse to locate the automation template file on your computer for uploading.
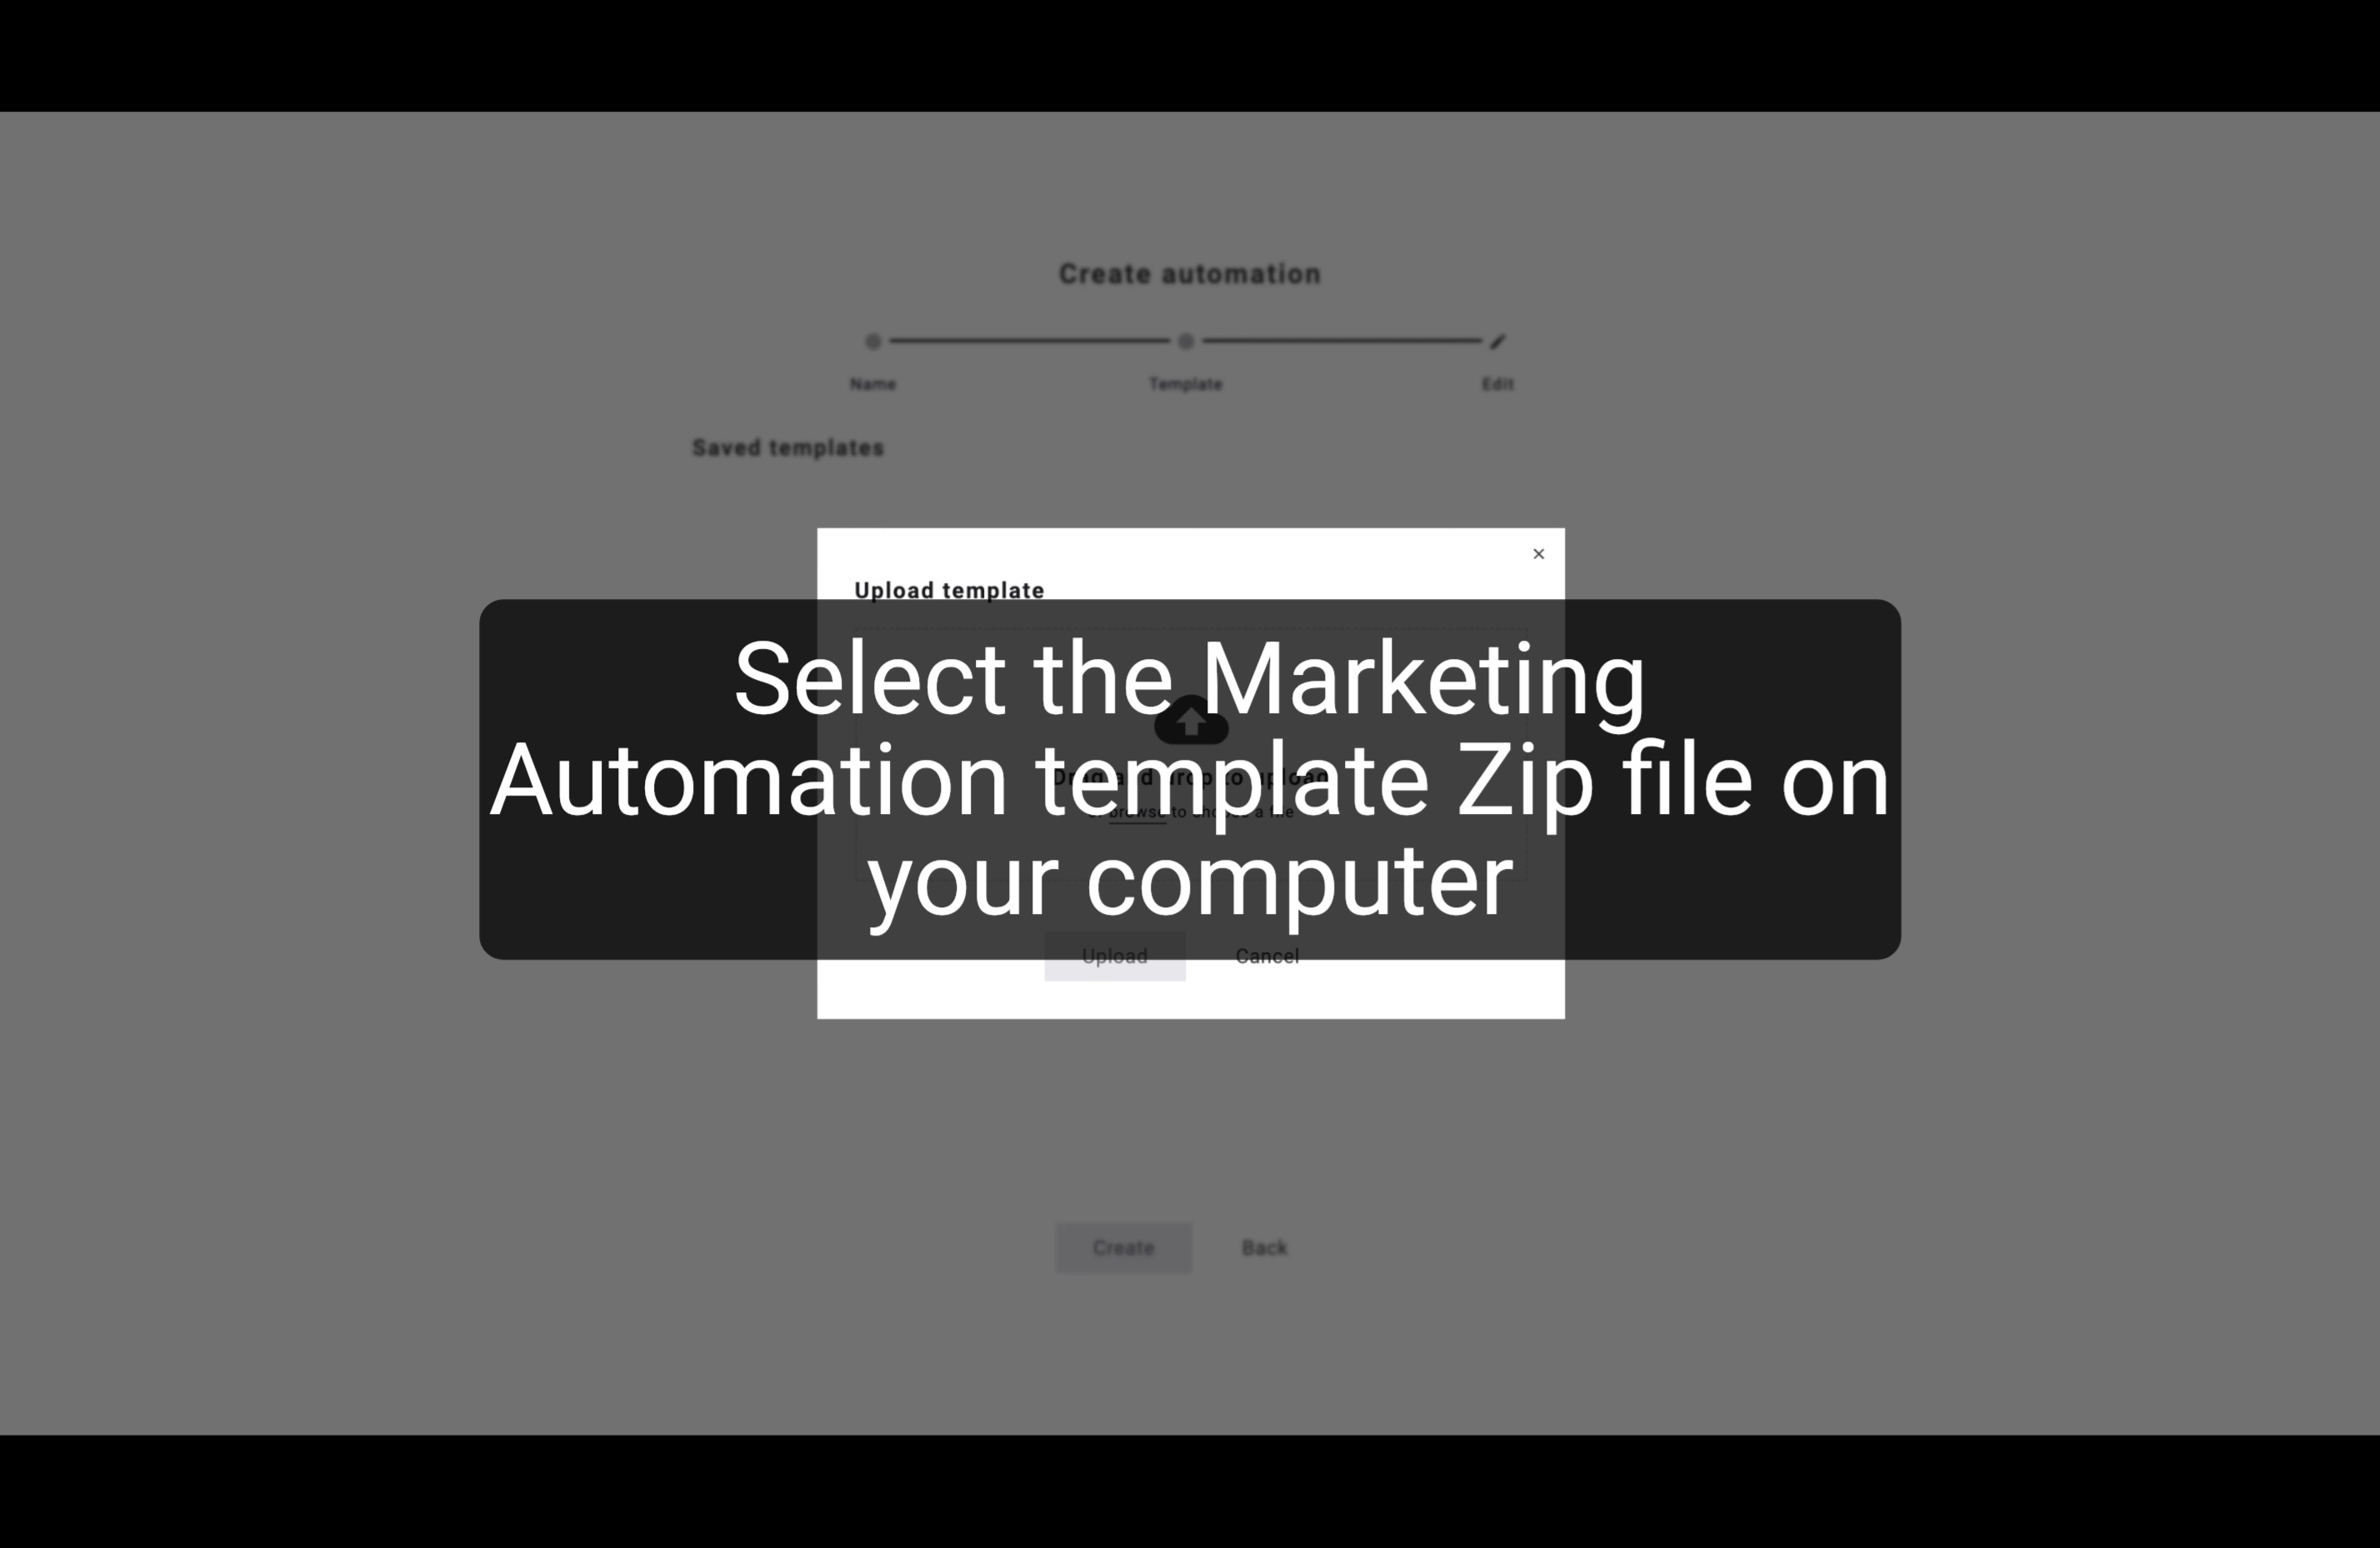
8. Specify Template File Path
Provide the file path of the automation template you want to upload to Maileon.
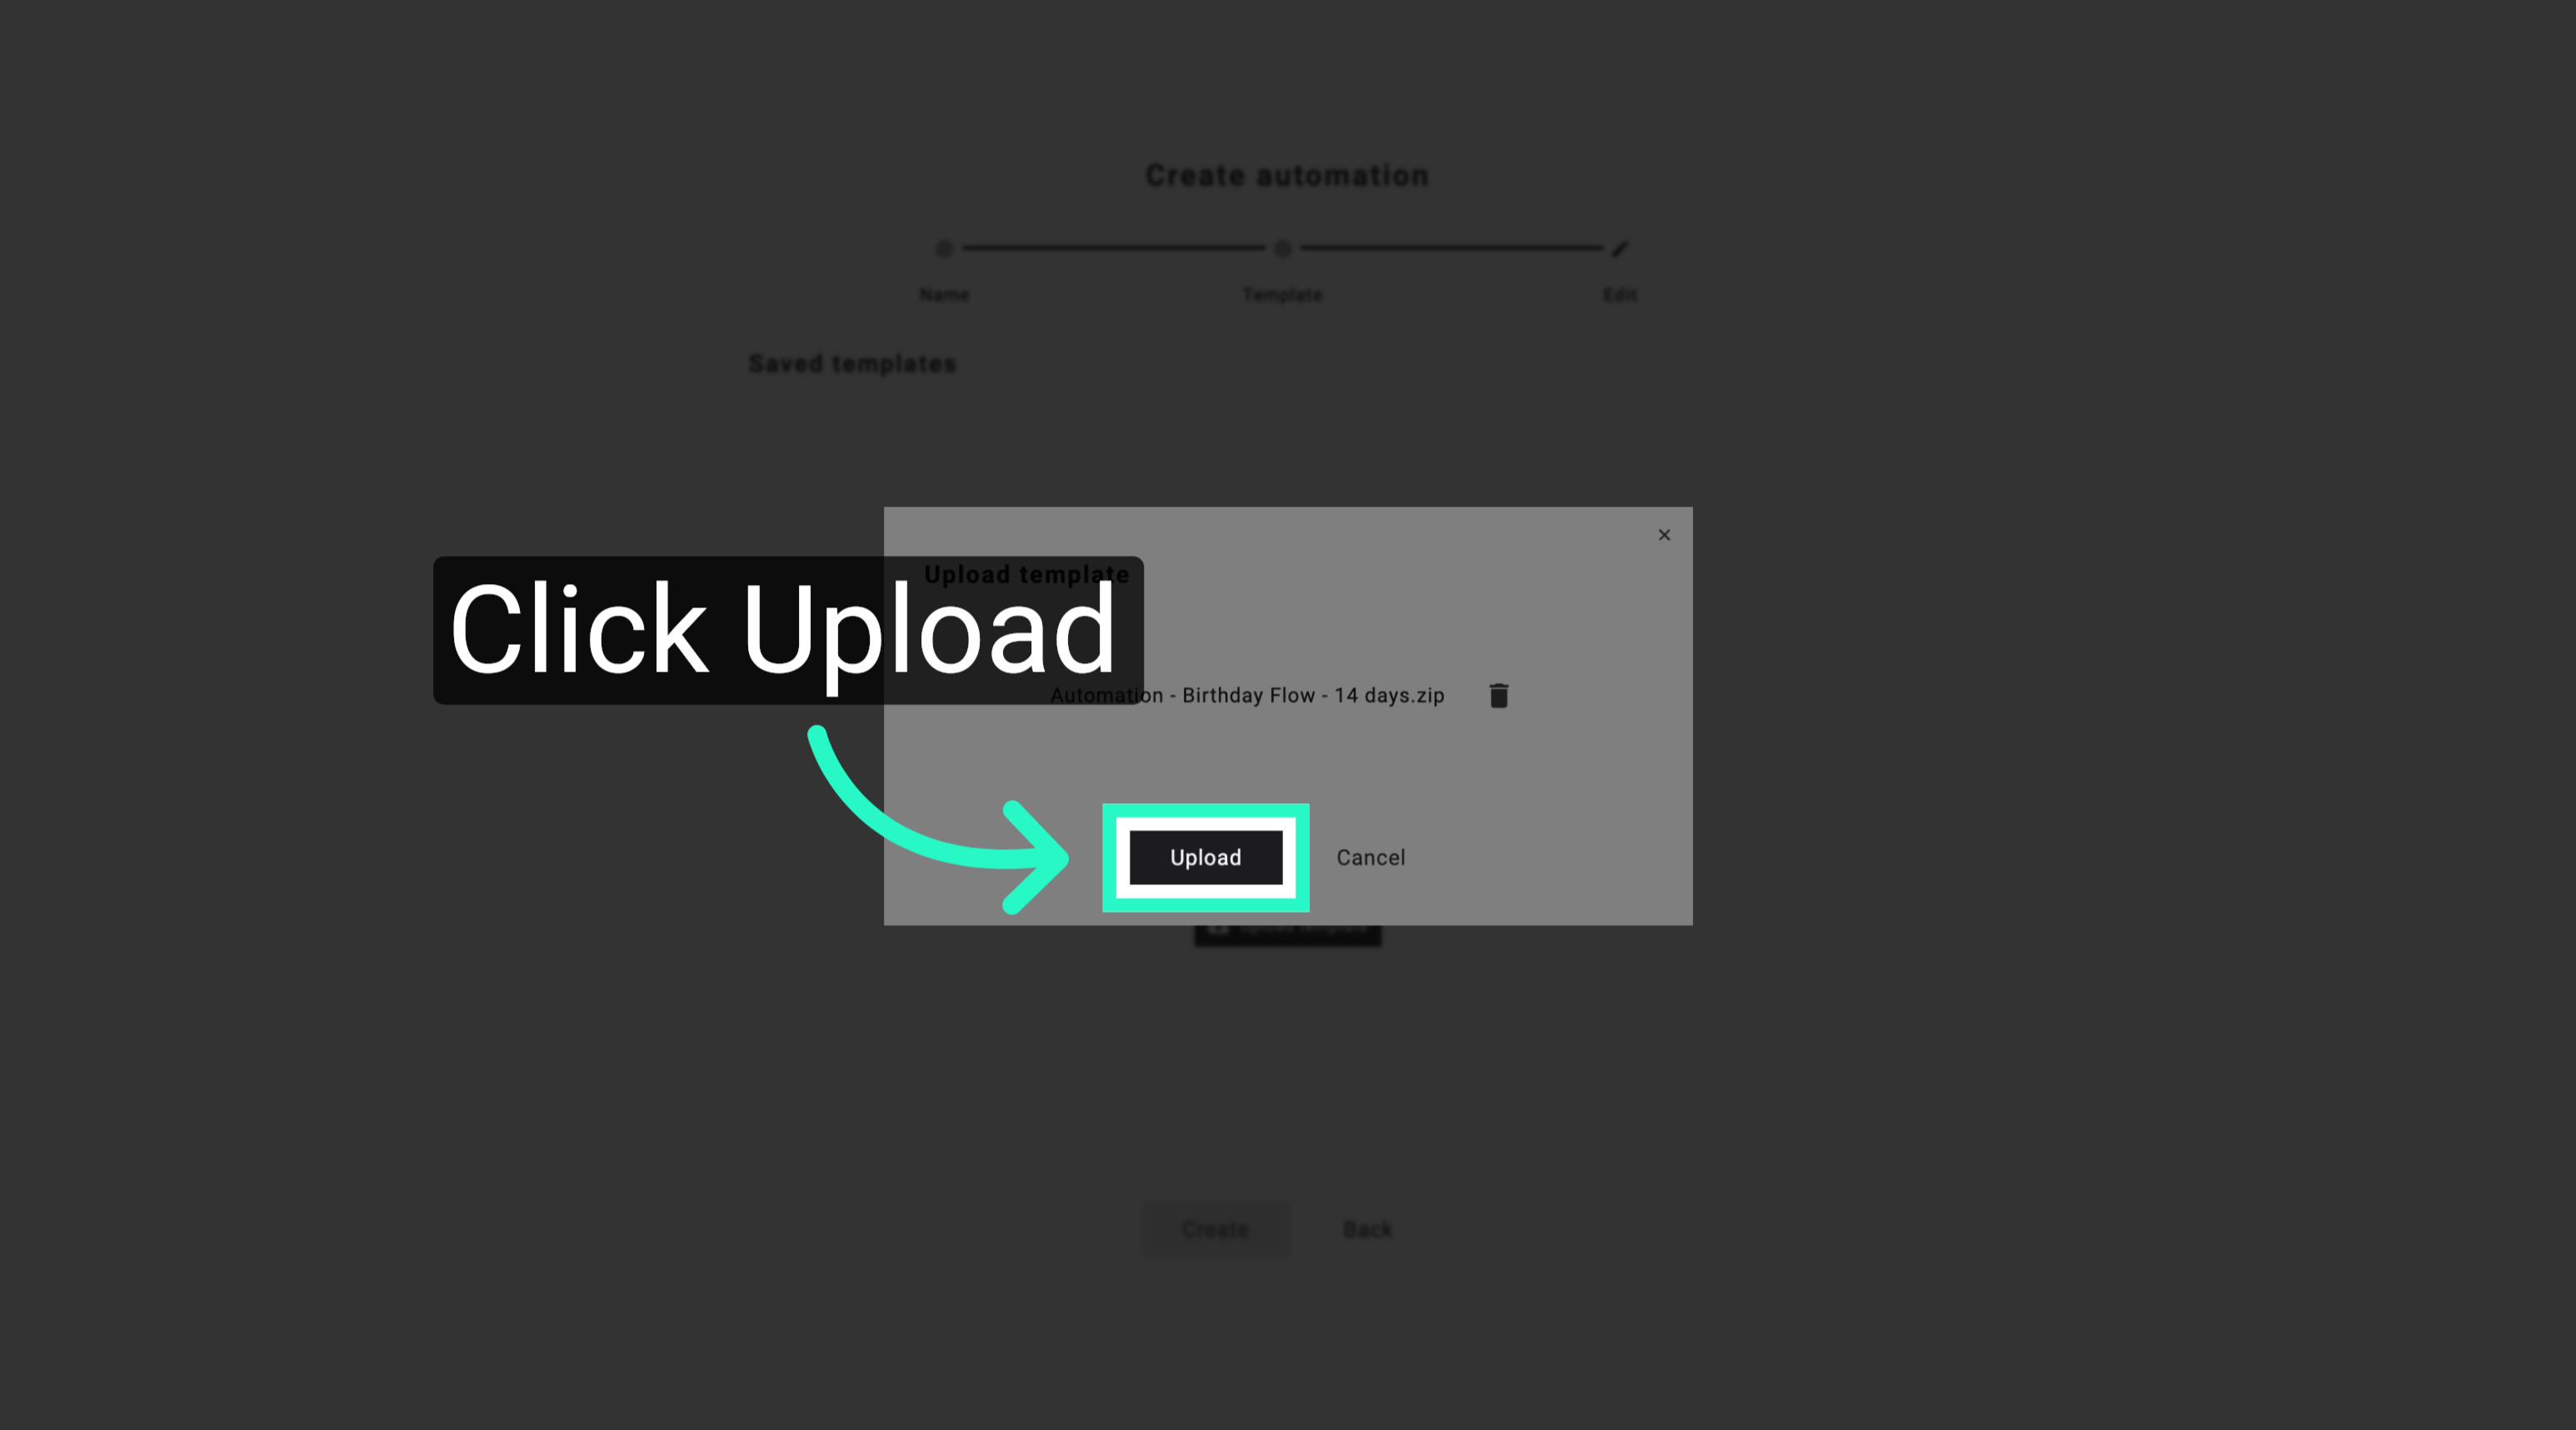
9. Upload Template File
Click Upload to add the selected automation template file to your Maileon account.
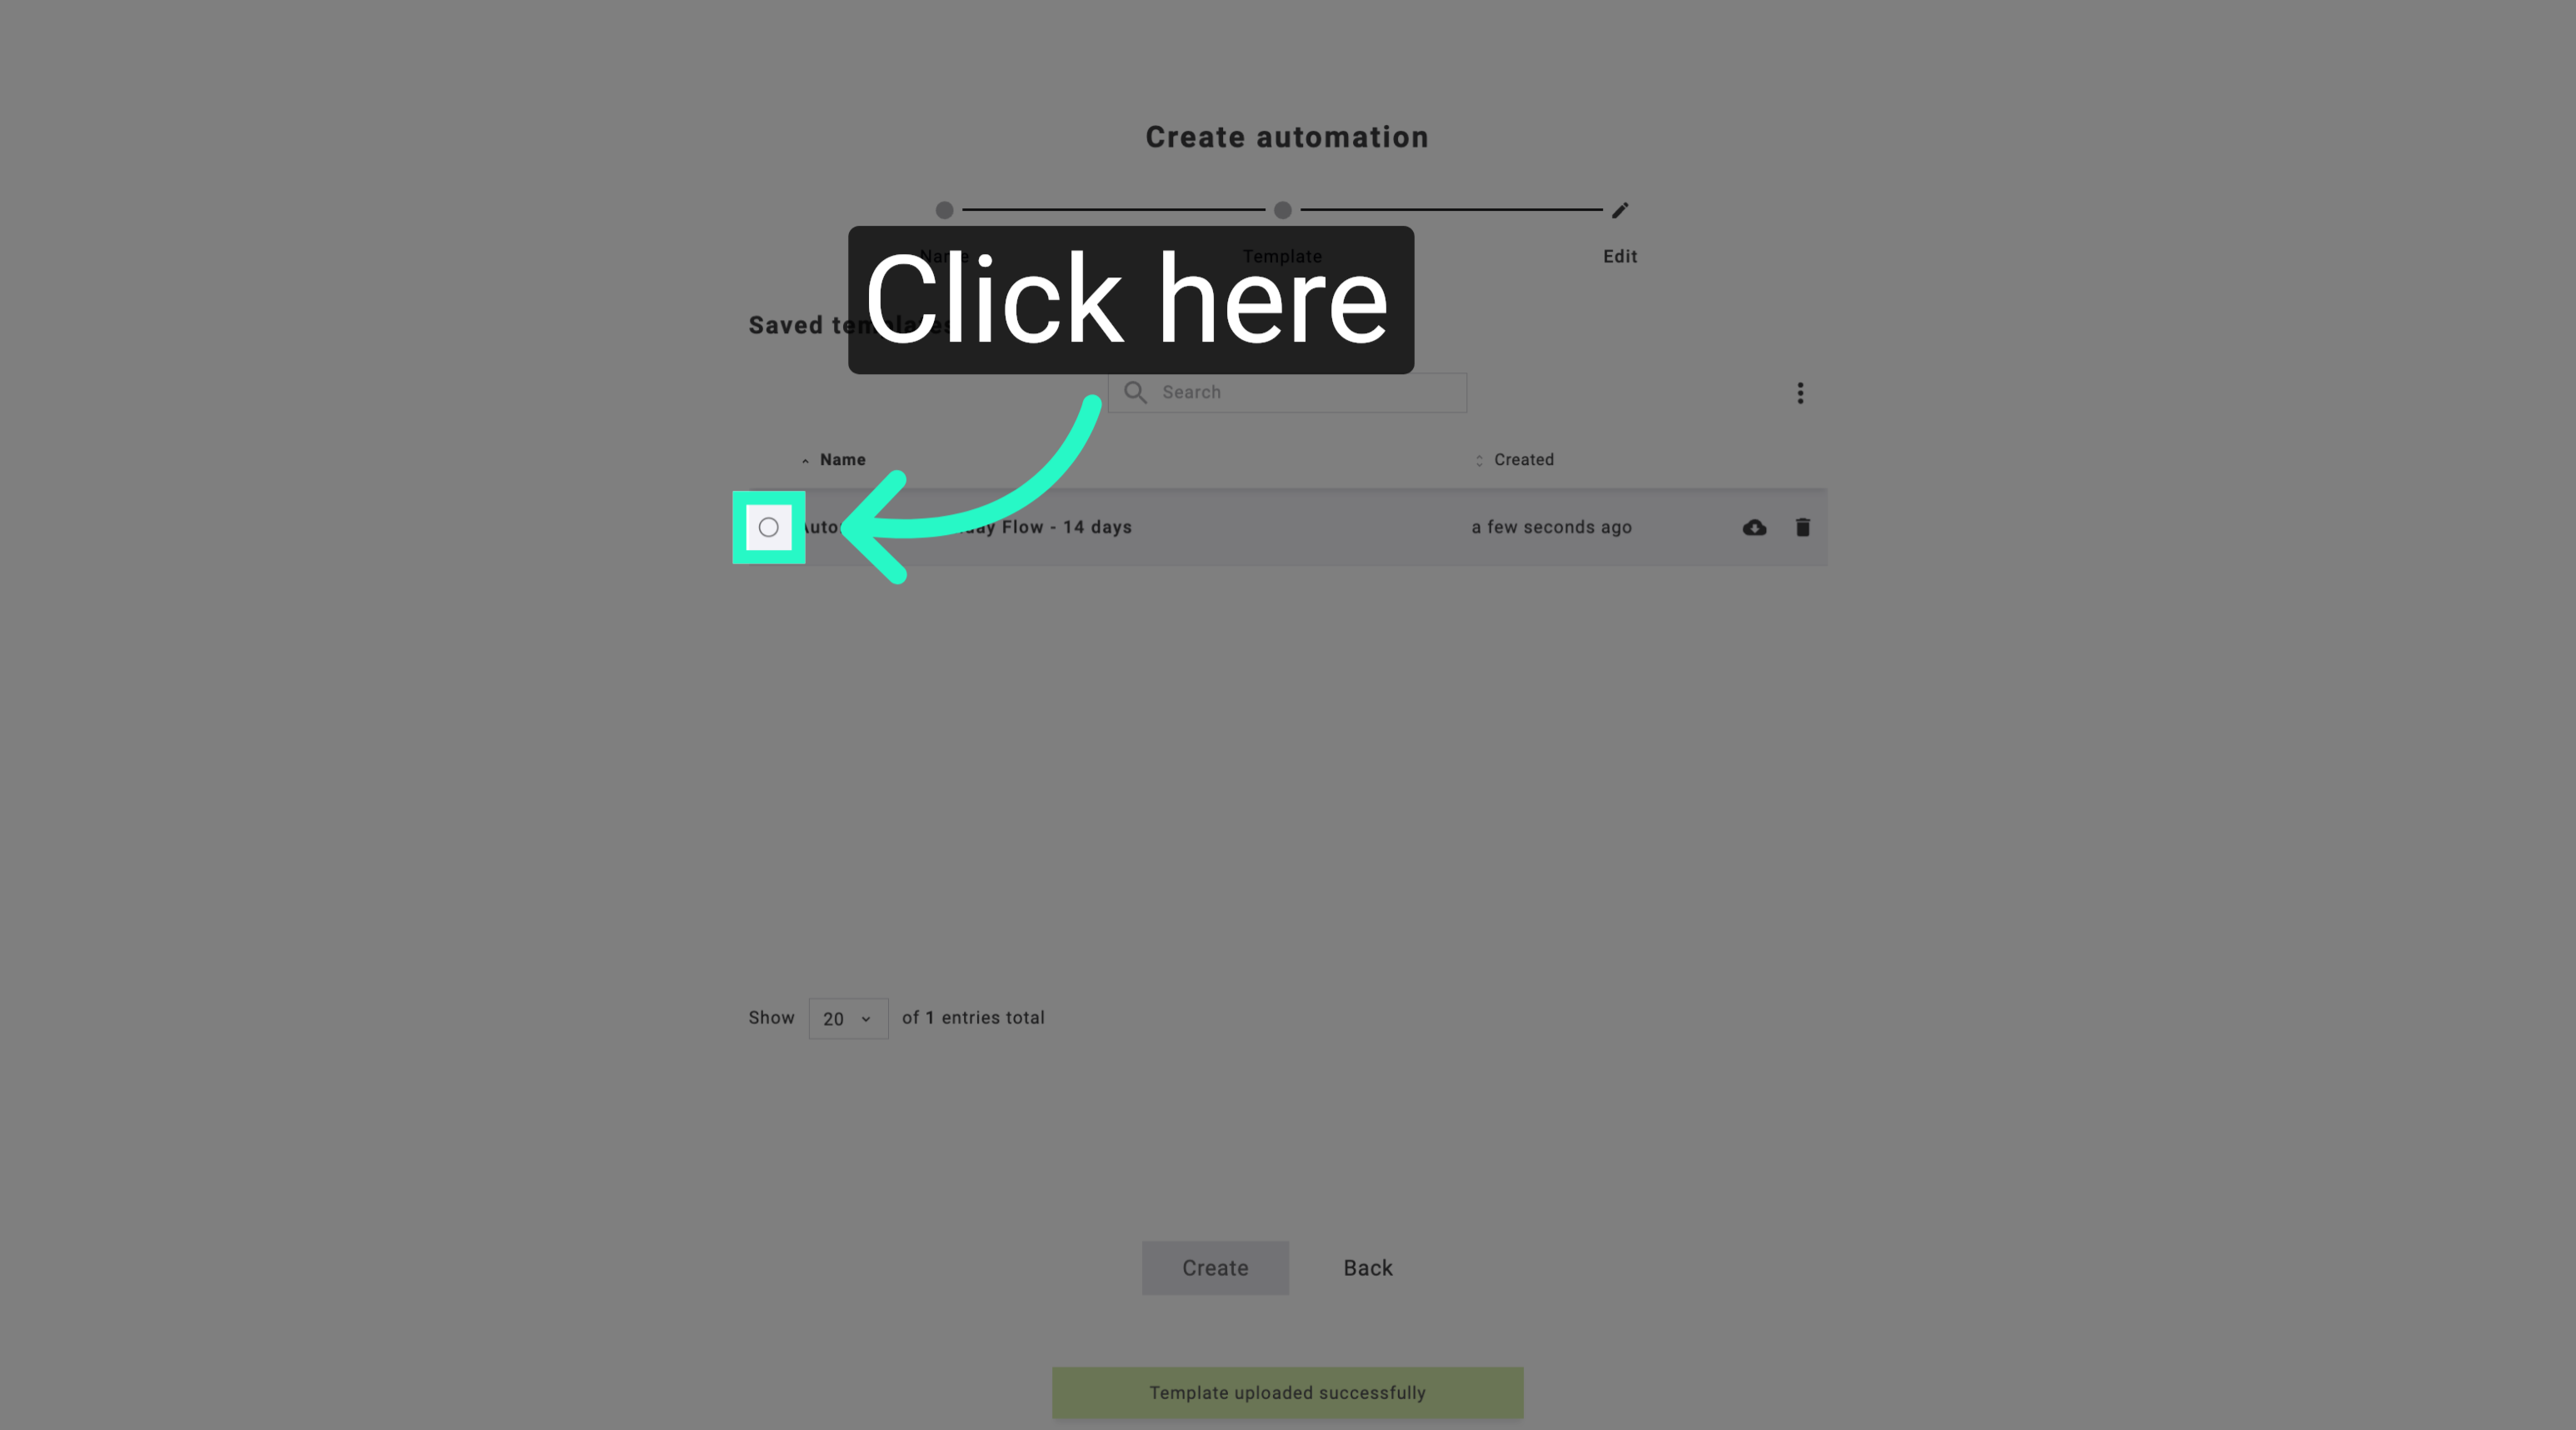
10. Open Template Selection
Access the template selection interface to review or modify your chosen automation template.
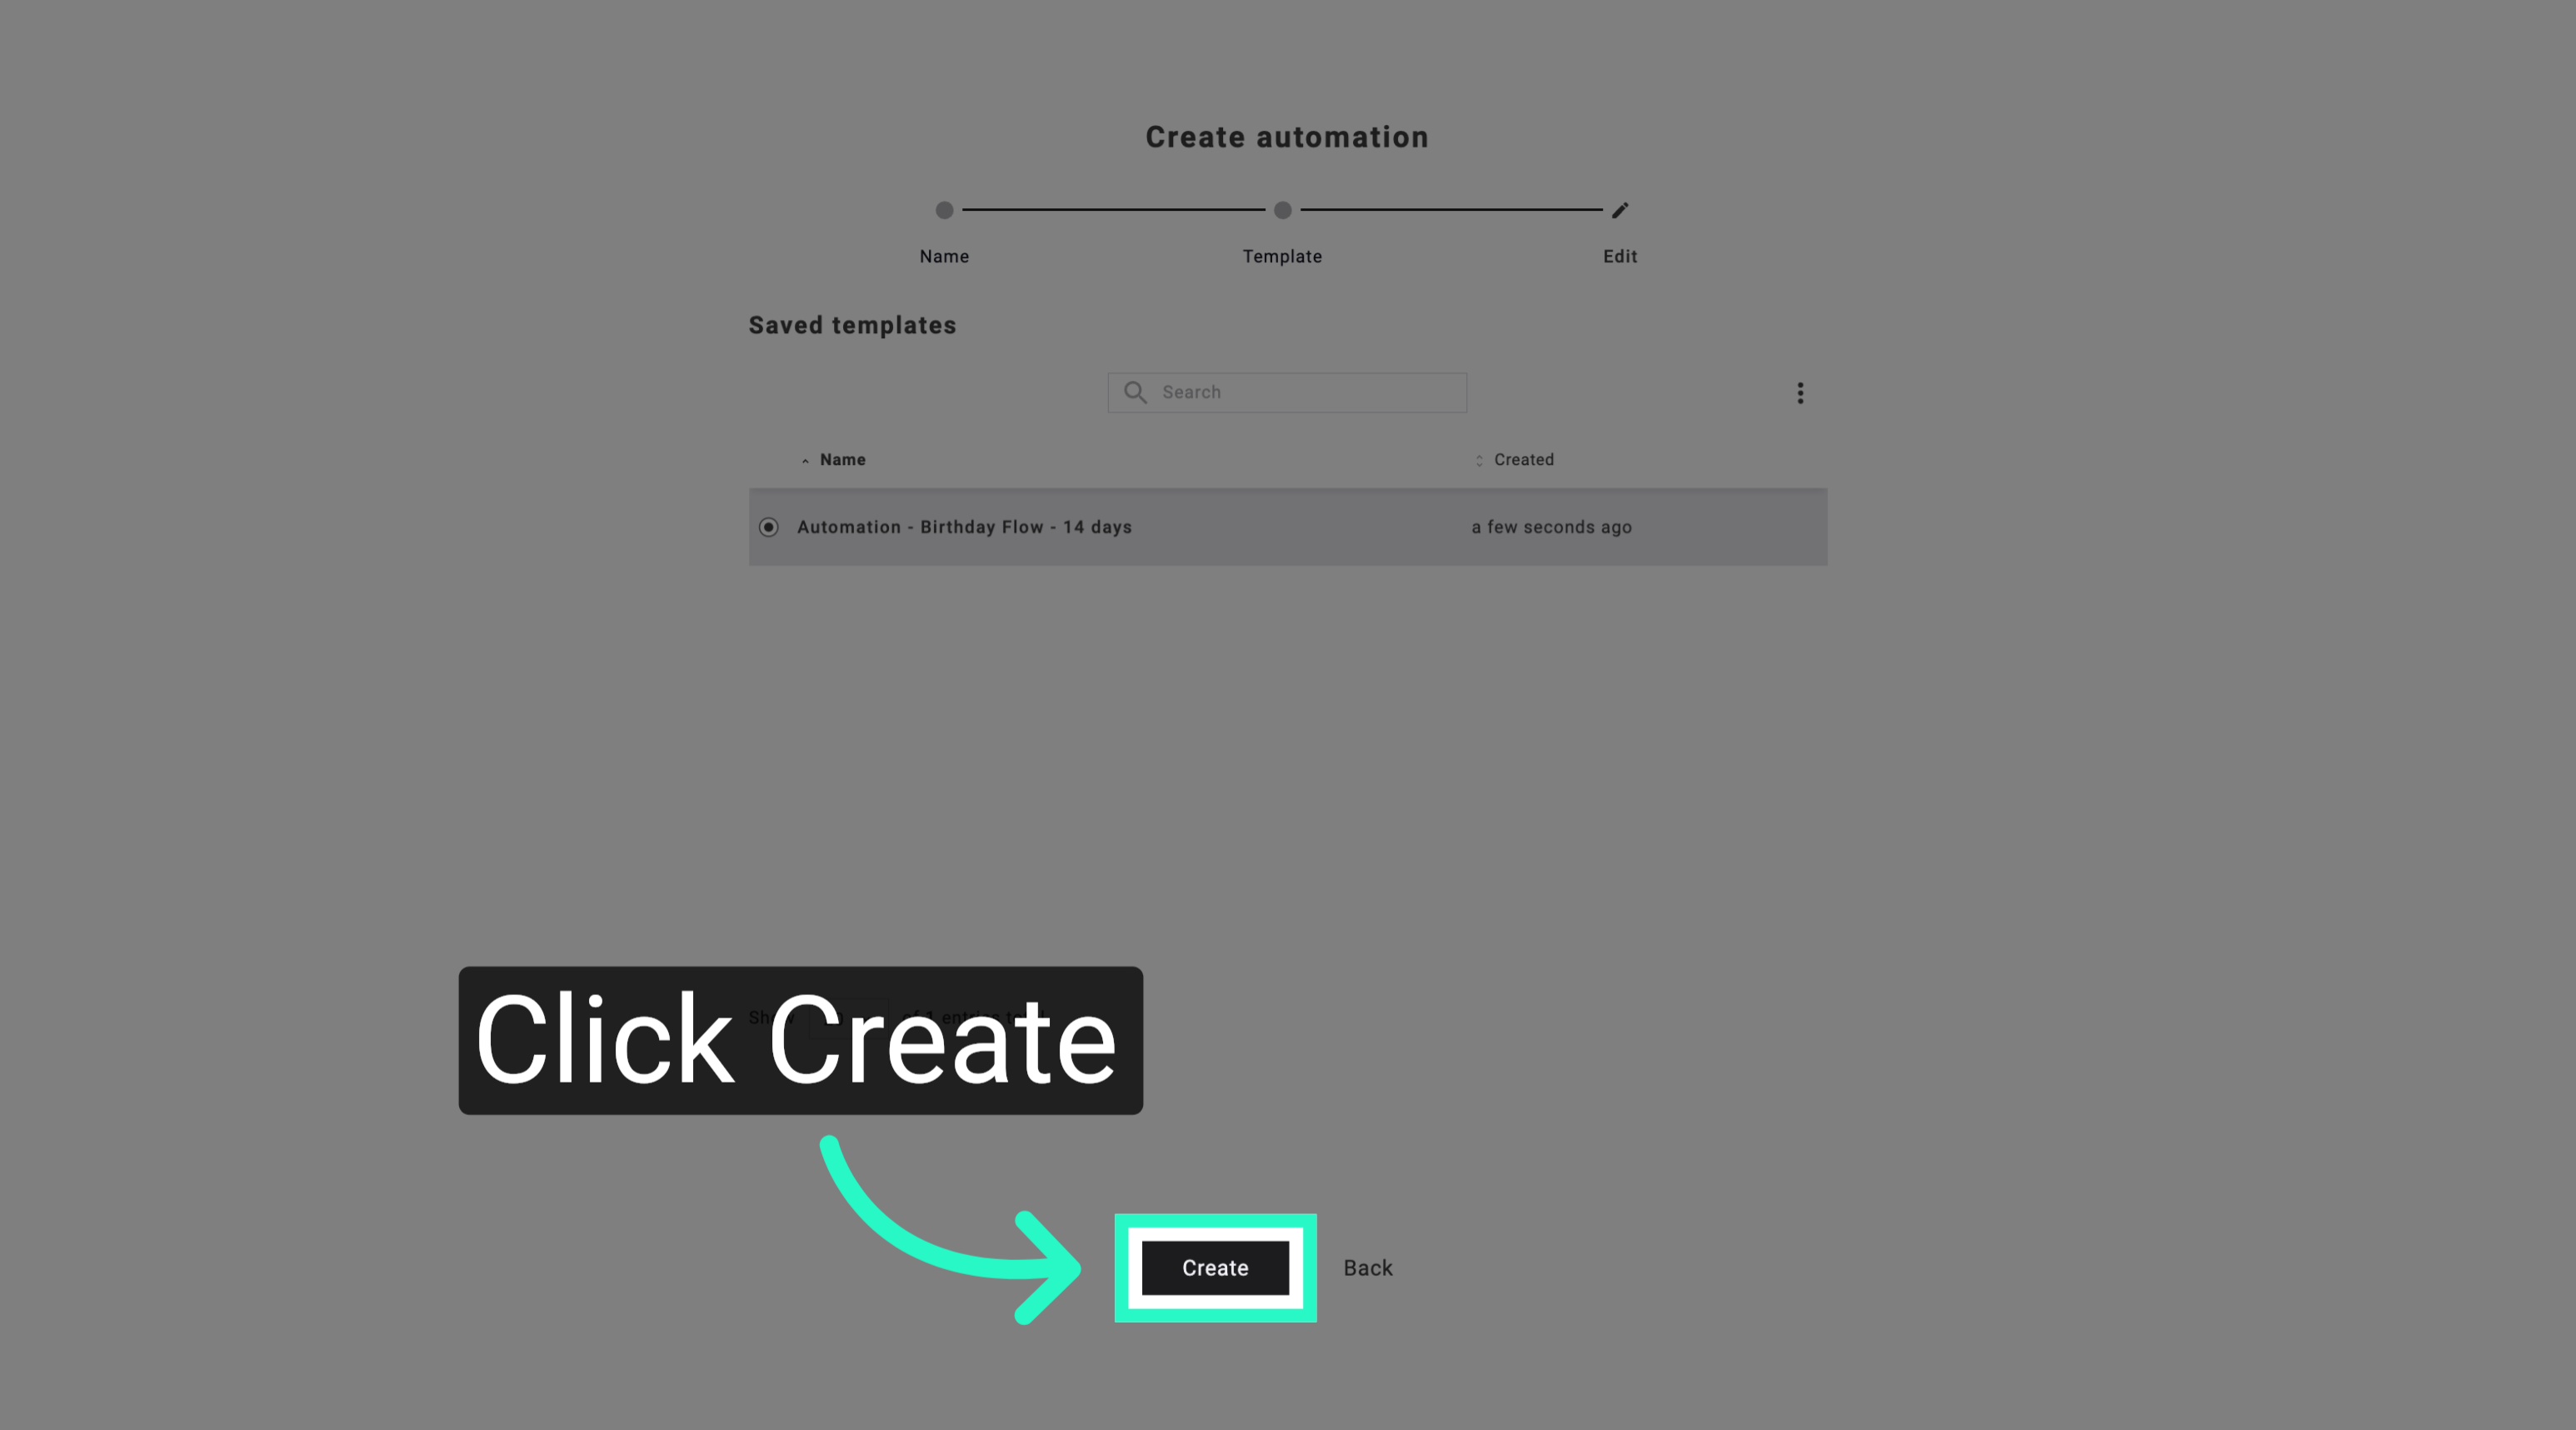
11. Create Automation Flow
Finalize the setup by creating the automation flow with the selected template in Maileon.
You have successfully created a new automation flow in Maileon by selecting or uploading a template. You can now manage and activate this flow to automate your email campaigns.