
This tutorial guides you through uploading and configuring images within the Maileon platform.
1. Introduction
You will learn how to add files, set alternative text, and link images to external URLs for your email campaigns.
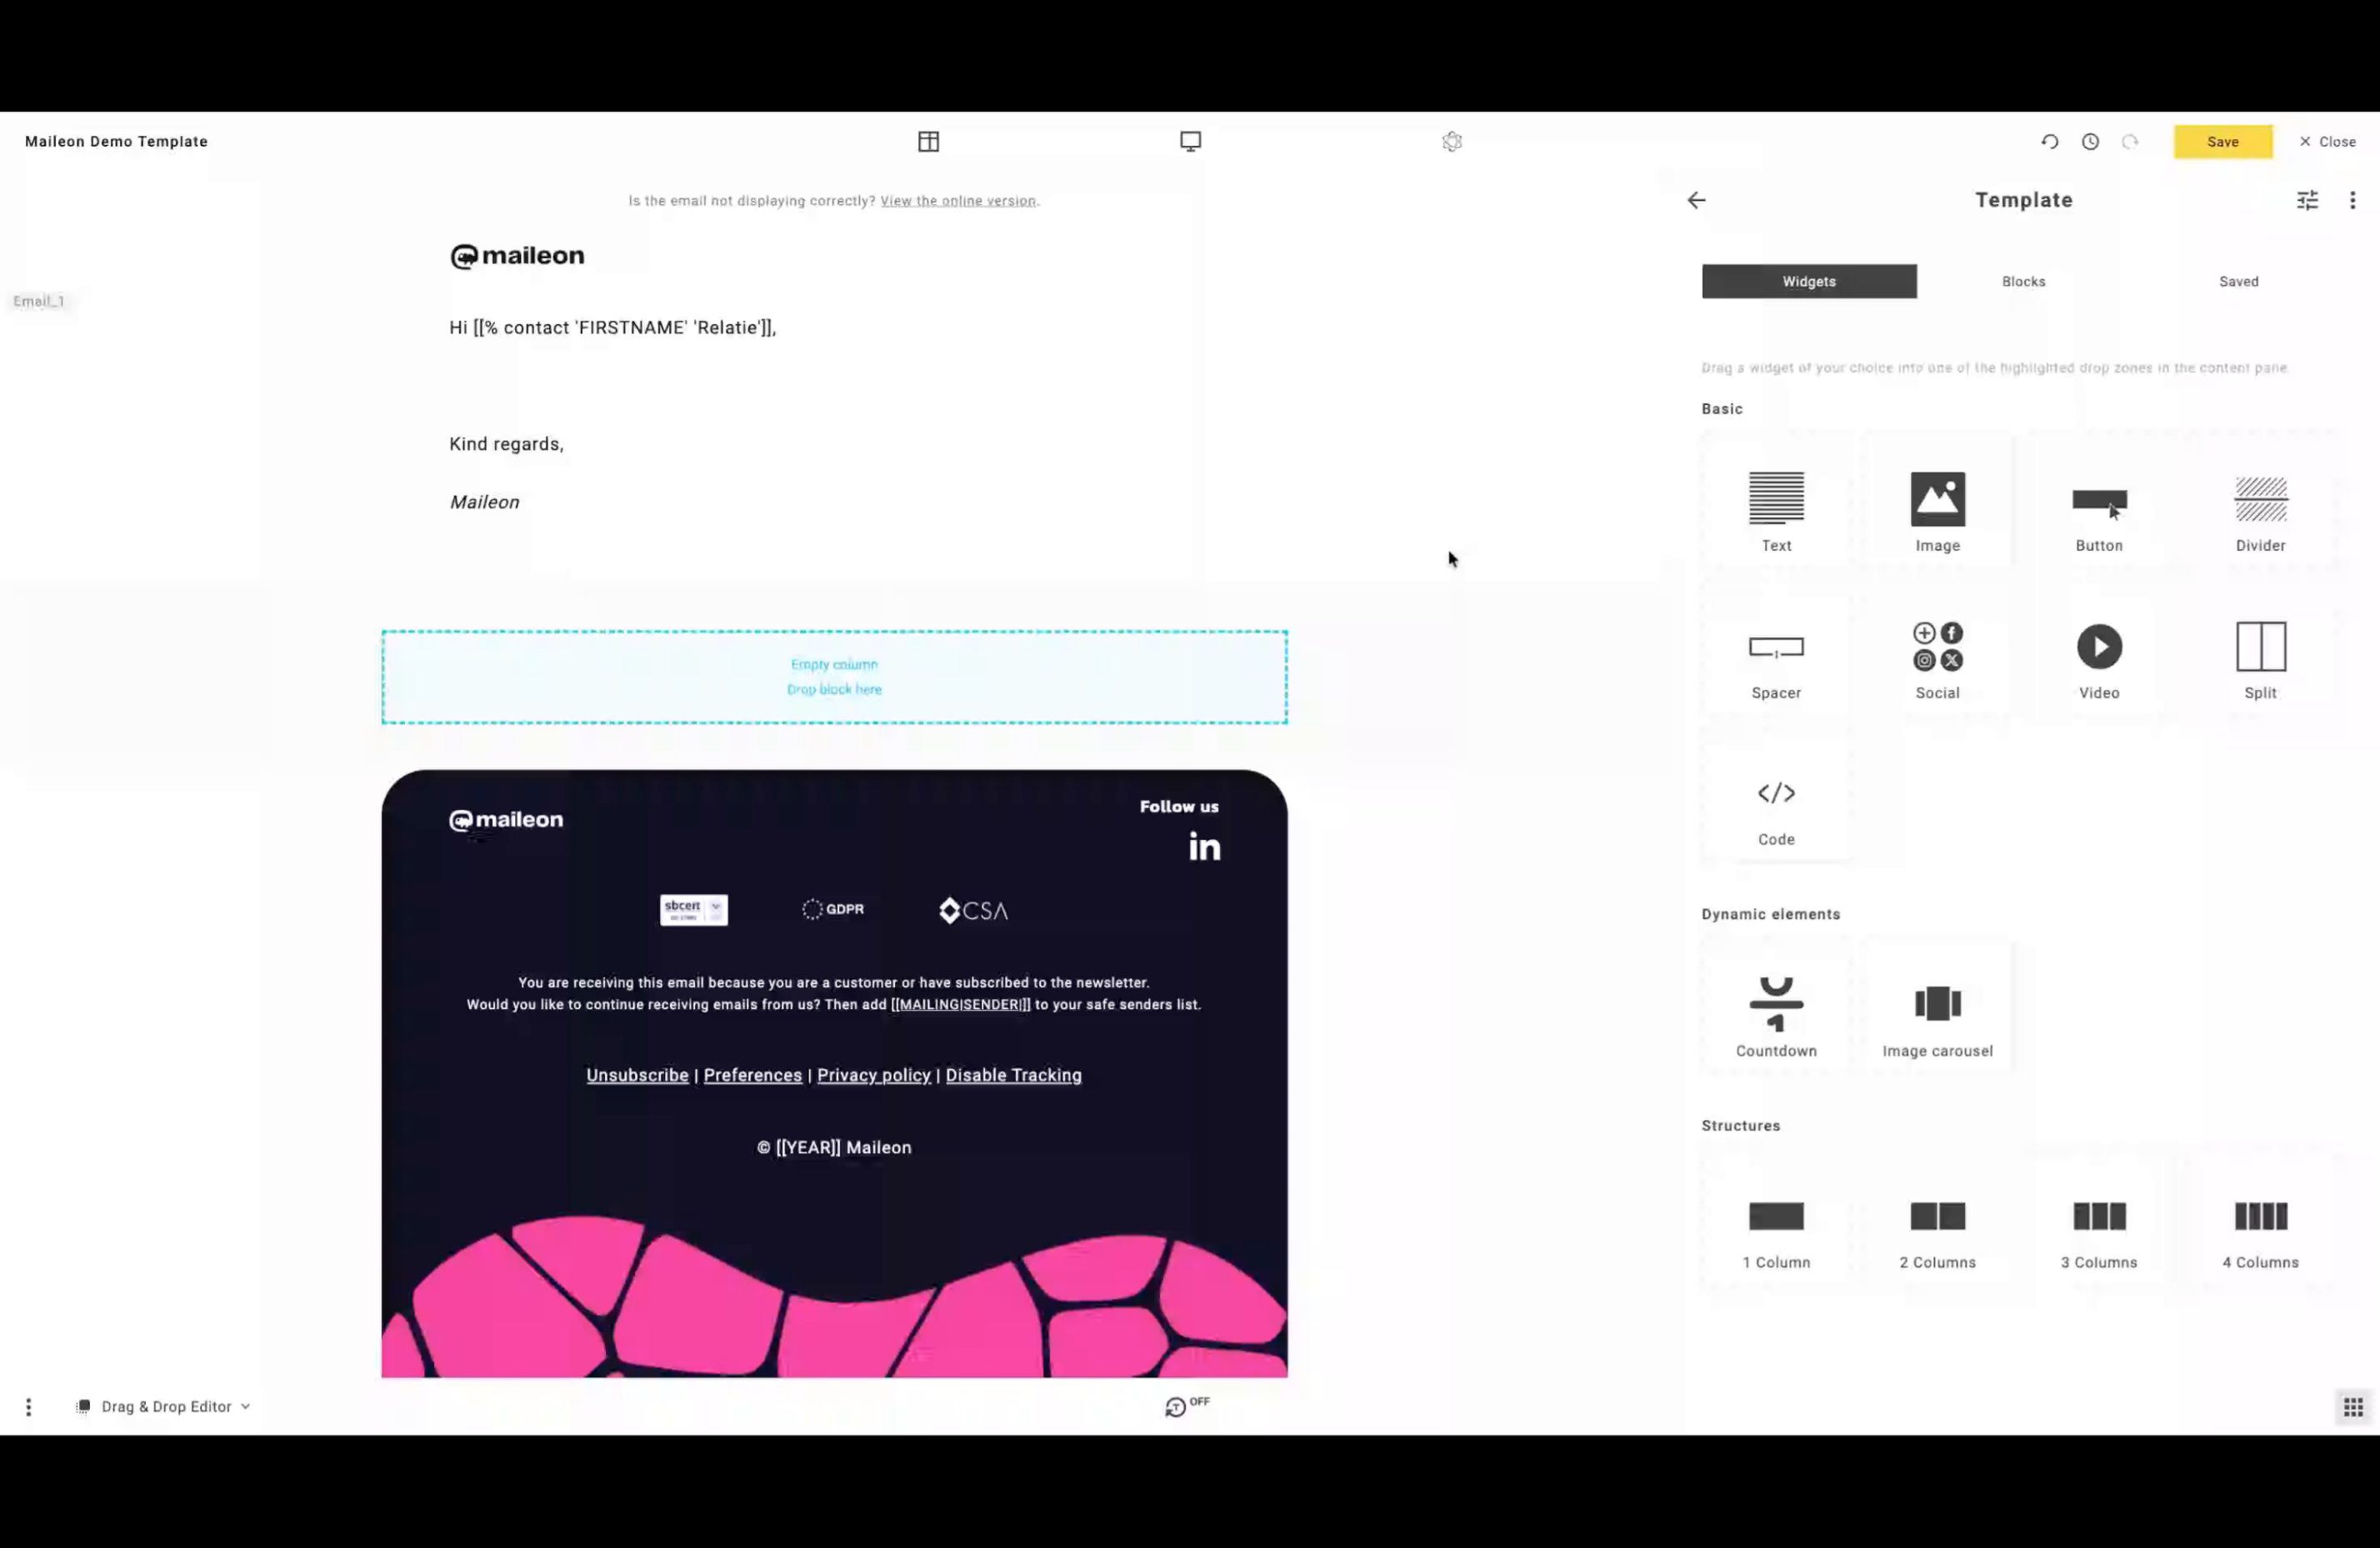
2. Open Maileon Dashboard
Open the Maileon dashboard to begin managing your email campaign content.
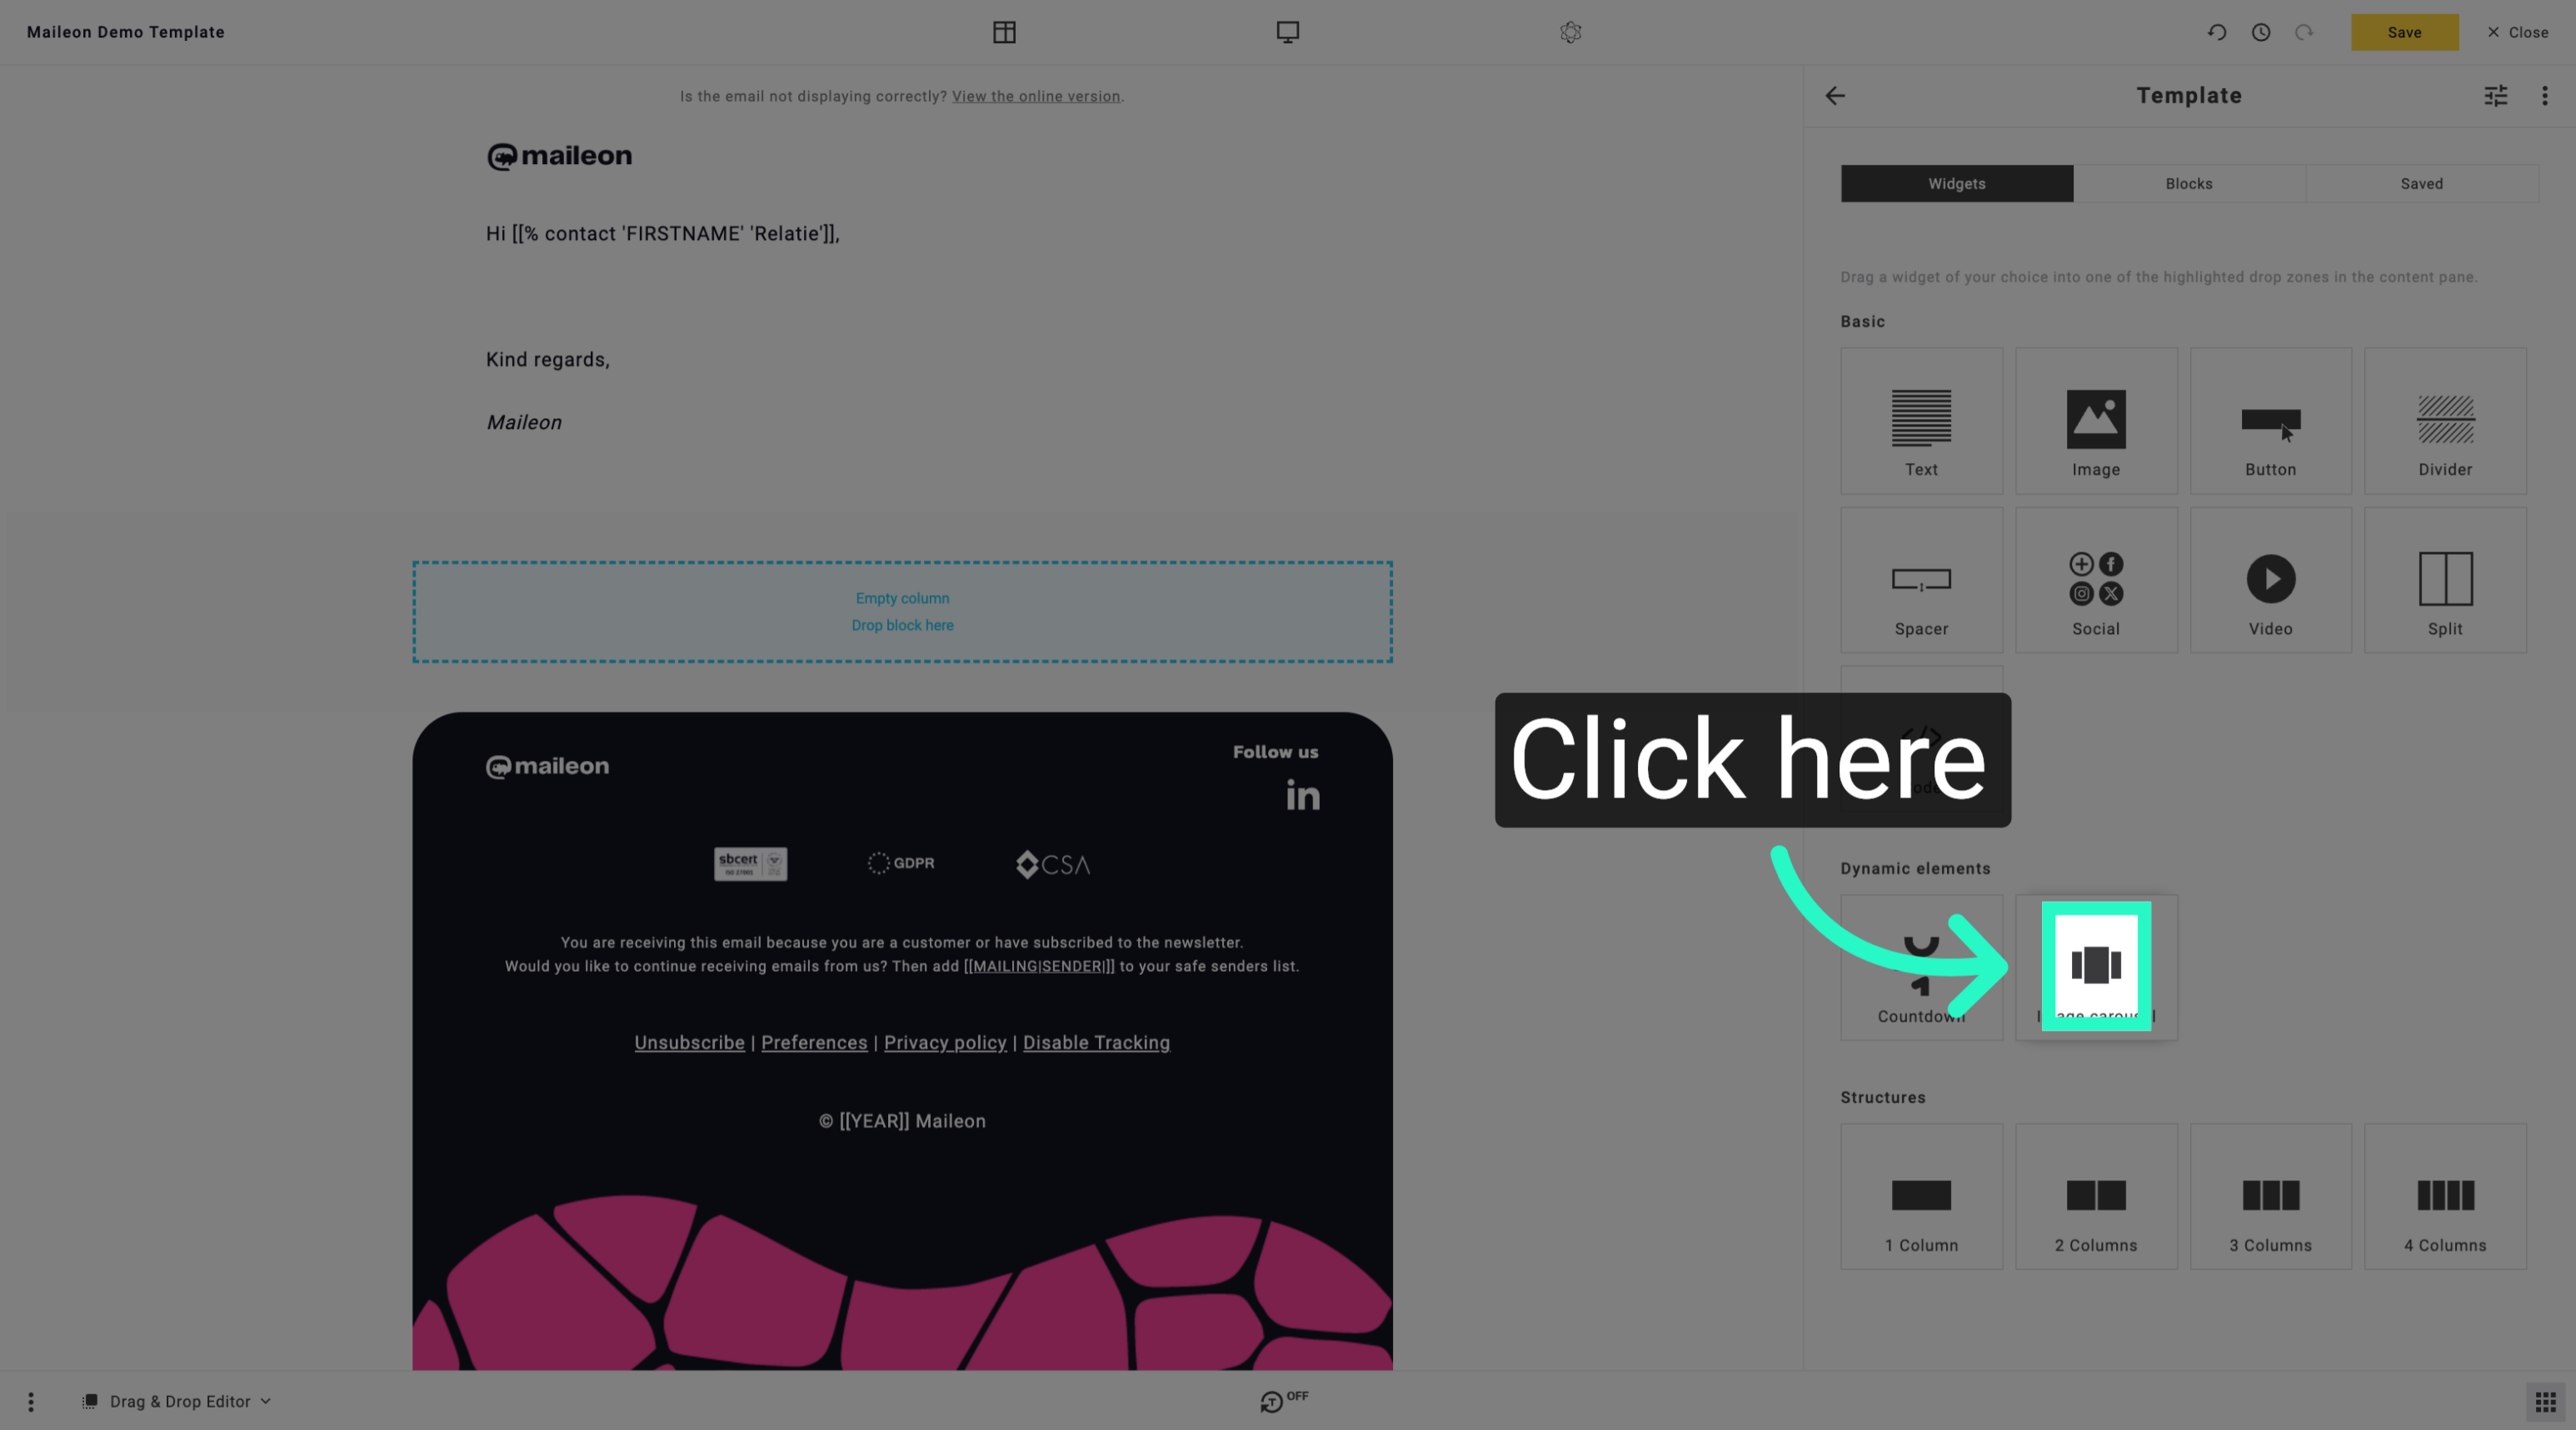
3. Access Content Management
Navigate to the content management section to prepare your email materials.
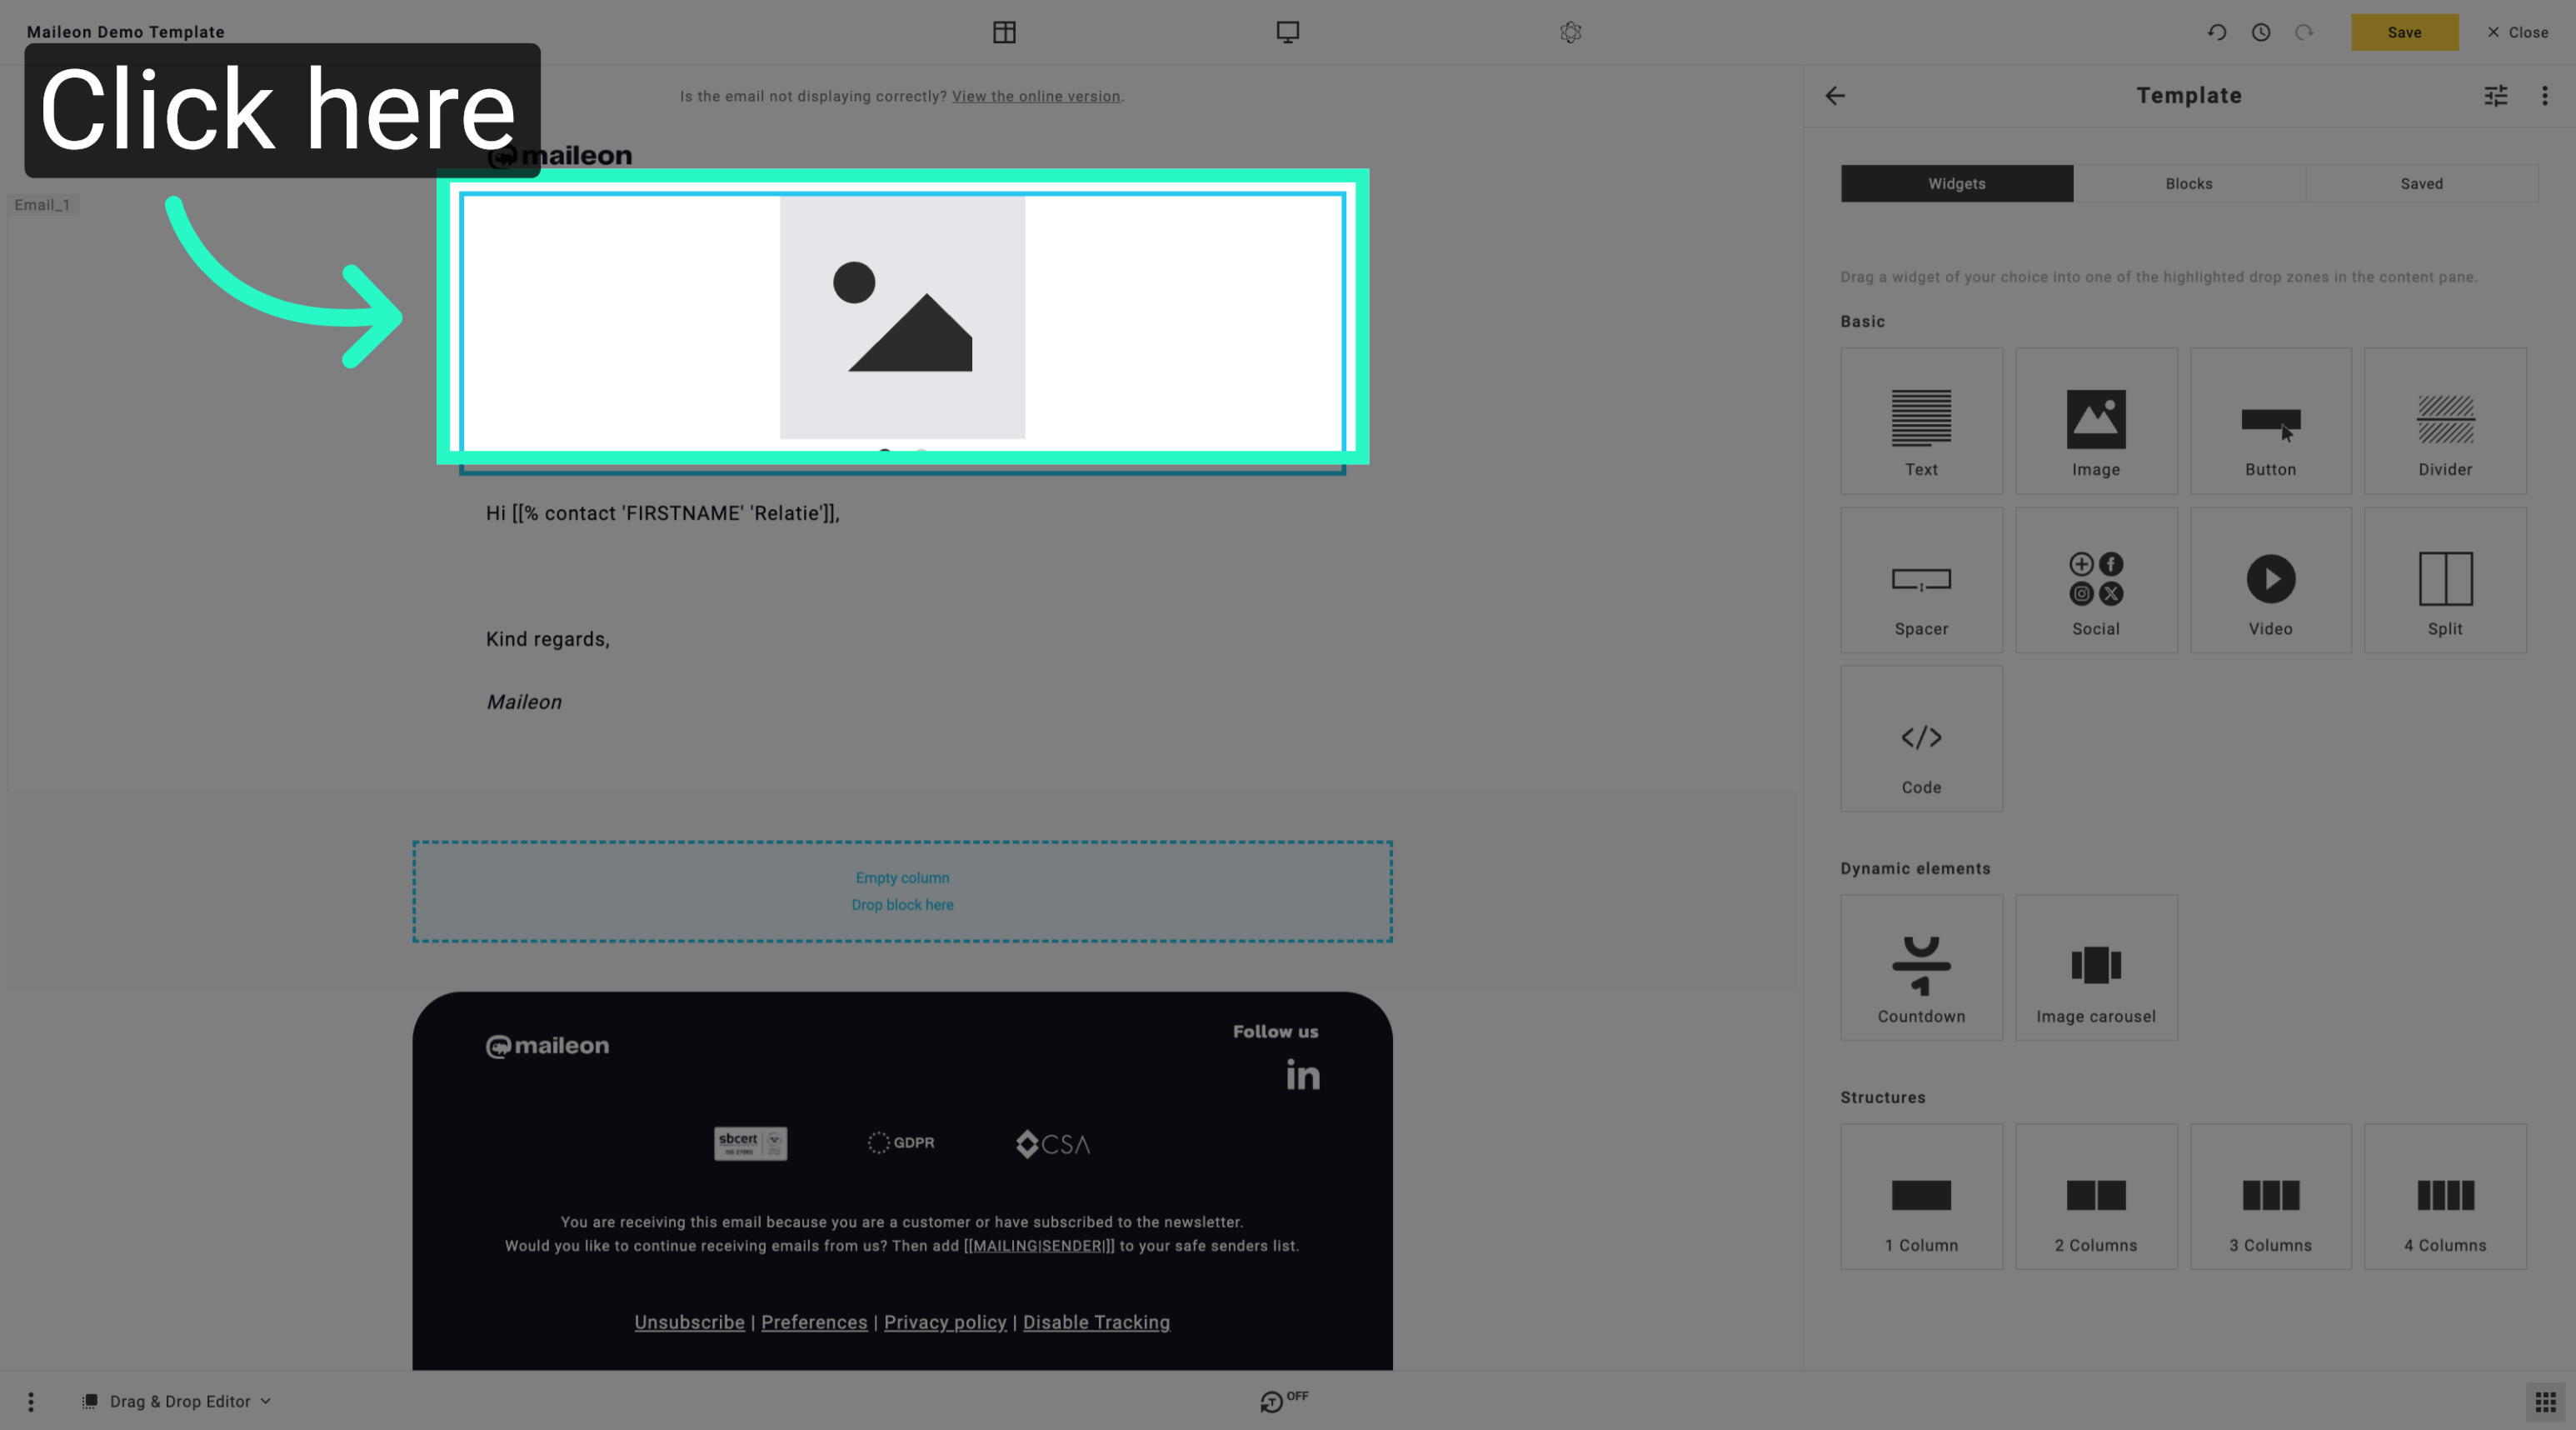
4. Open Content Editor
Open the content editor where you can upload and edit your campaign assets.
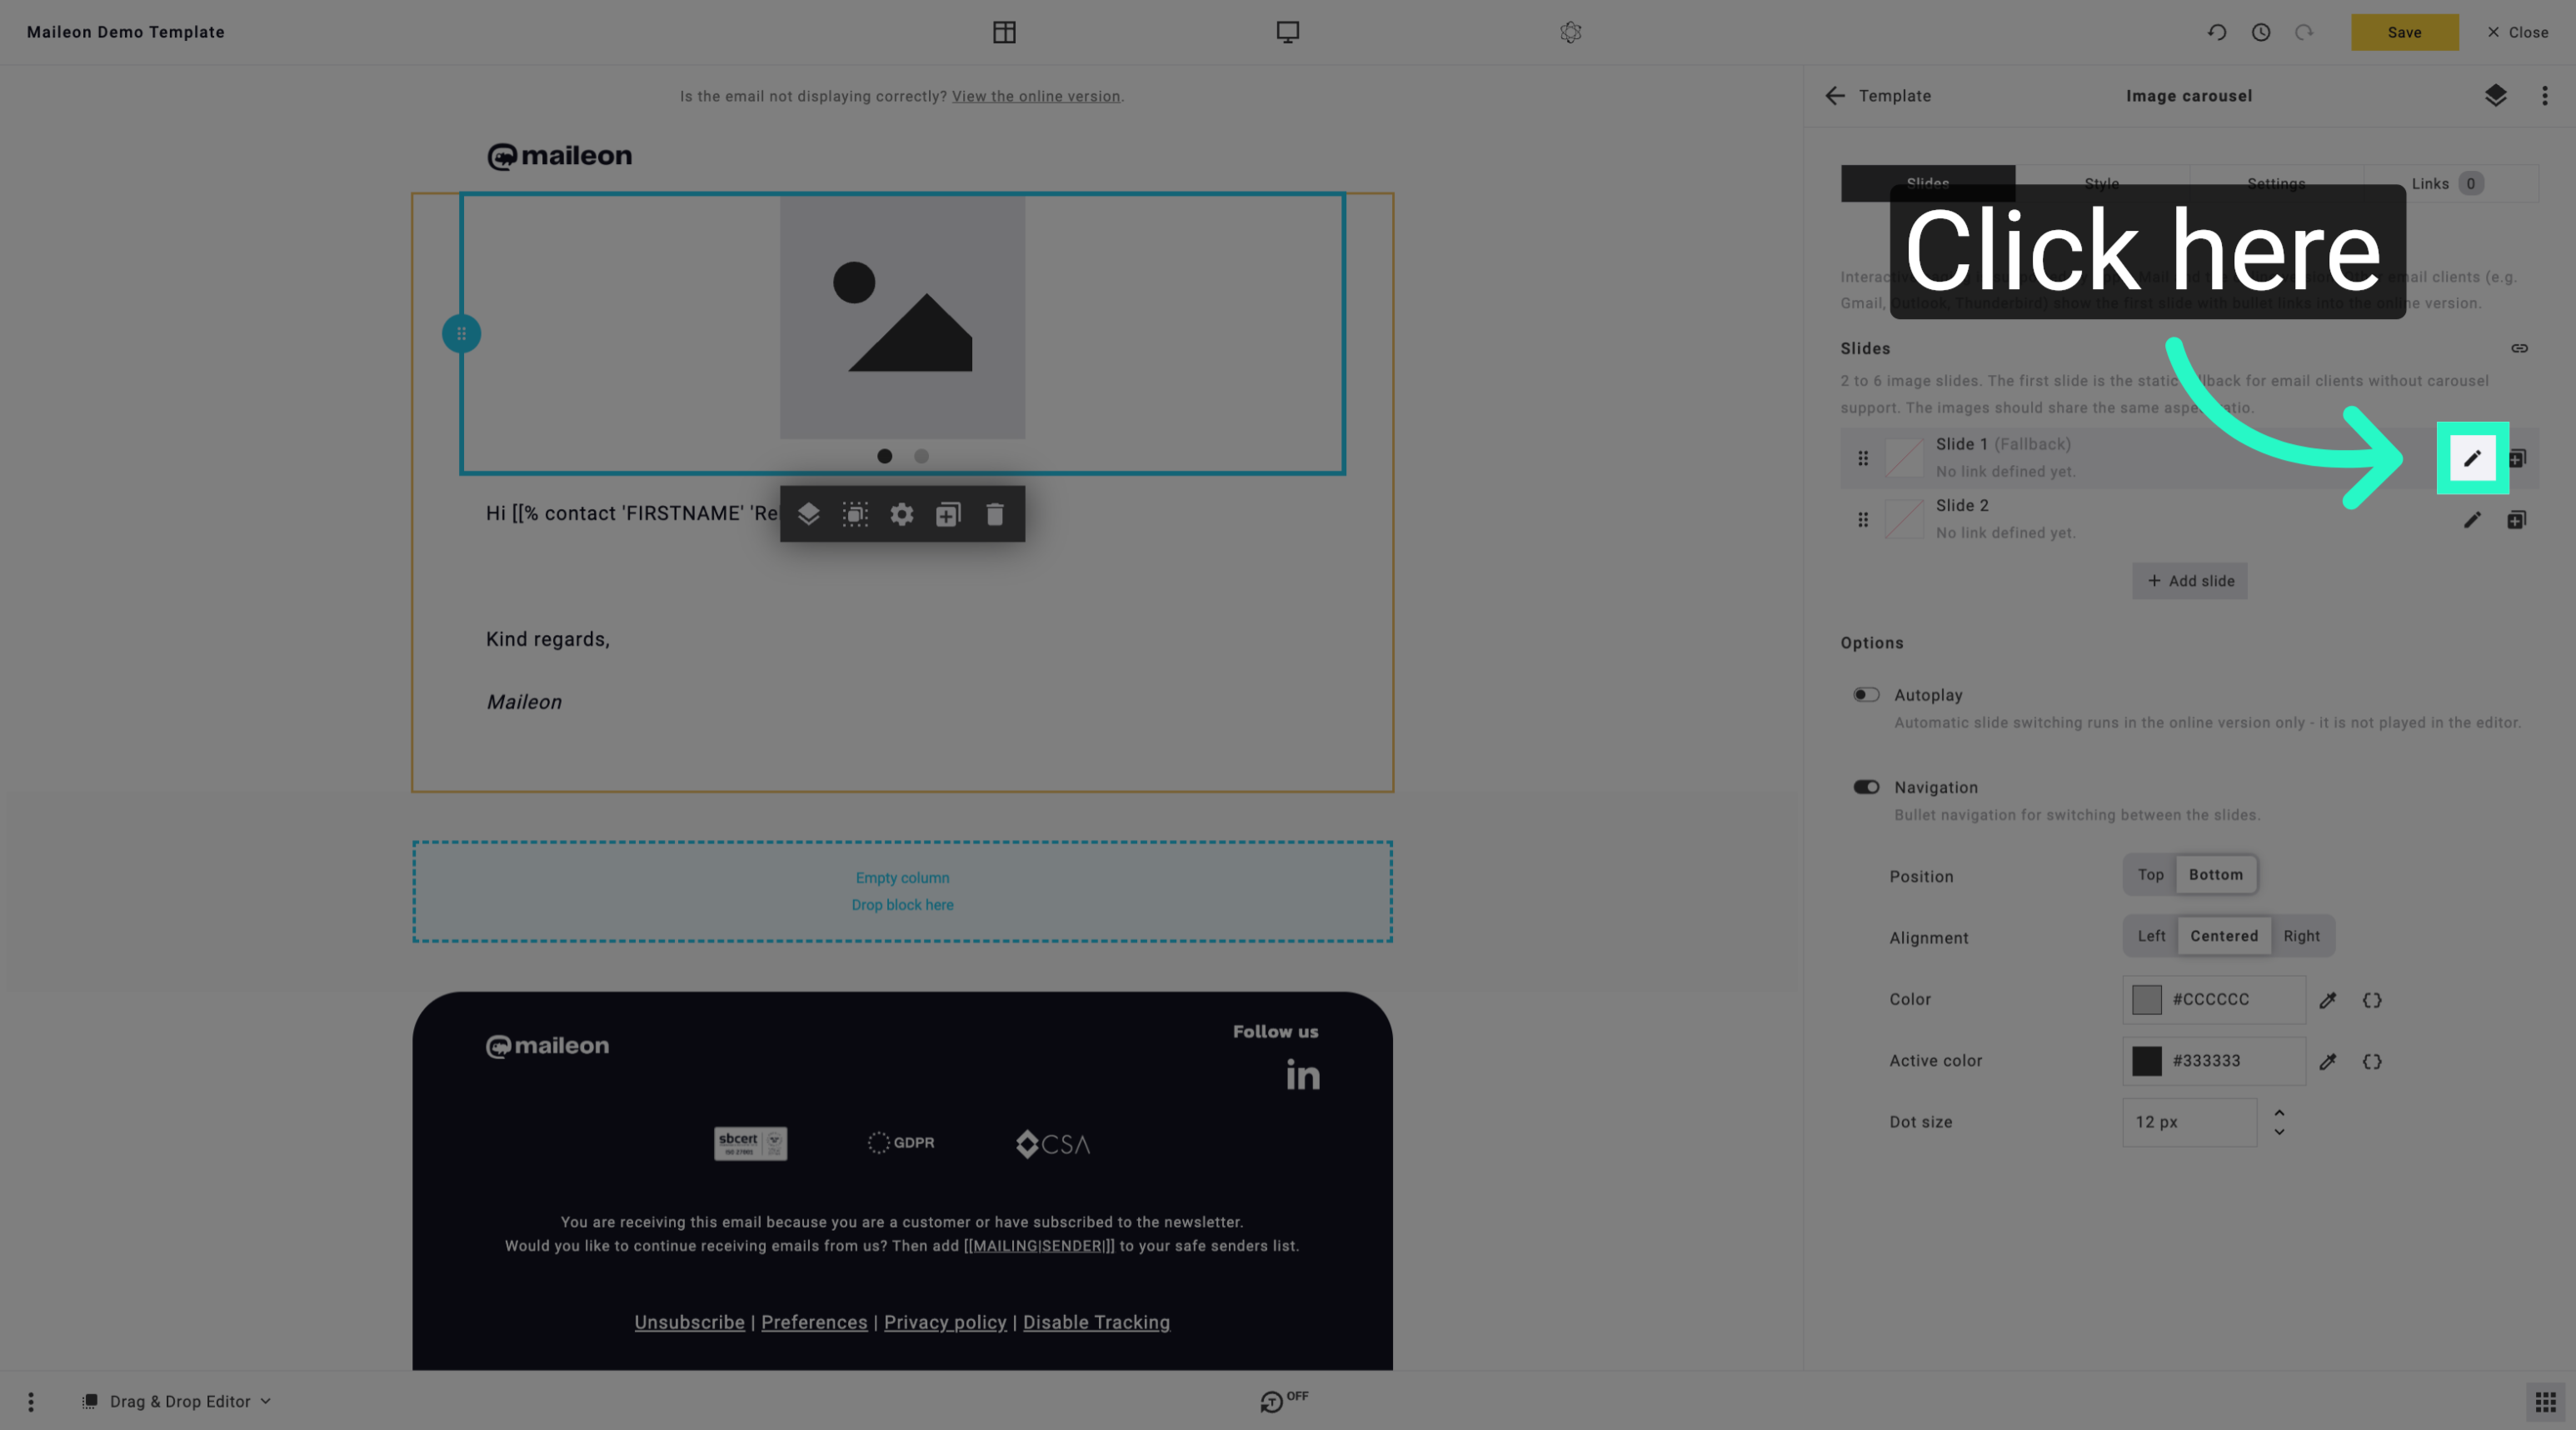
5. Prepare to Upload Files
Access the upload interface to add new images or files to your campaign content.
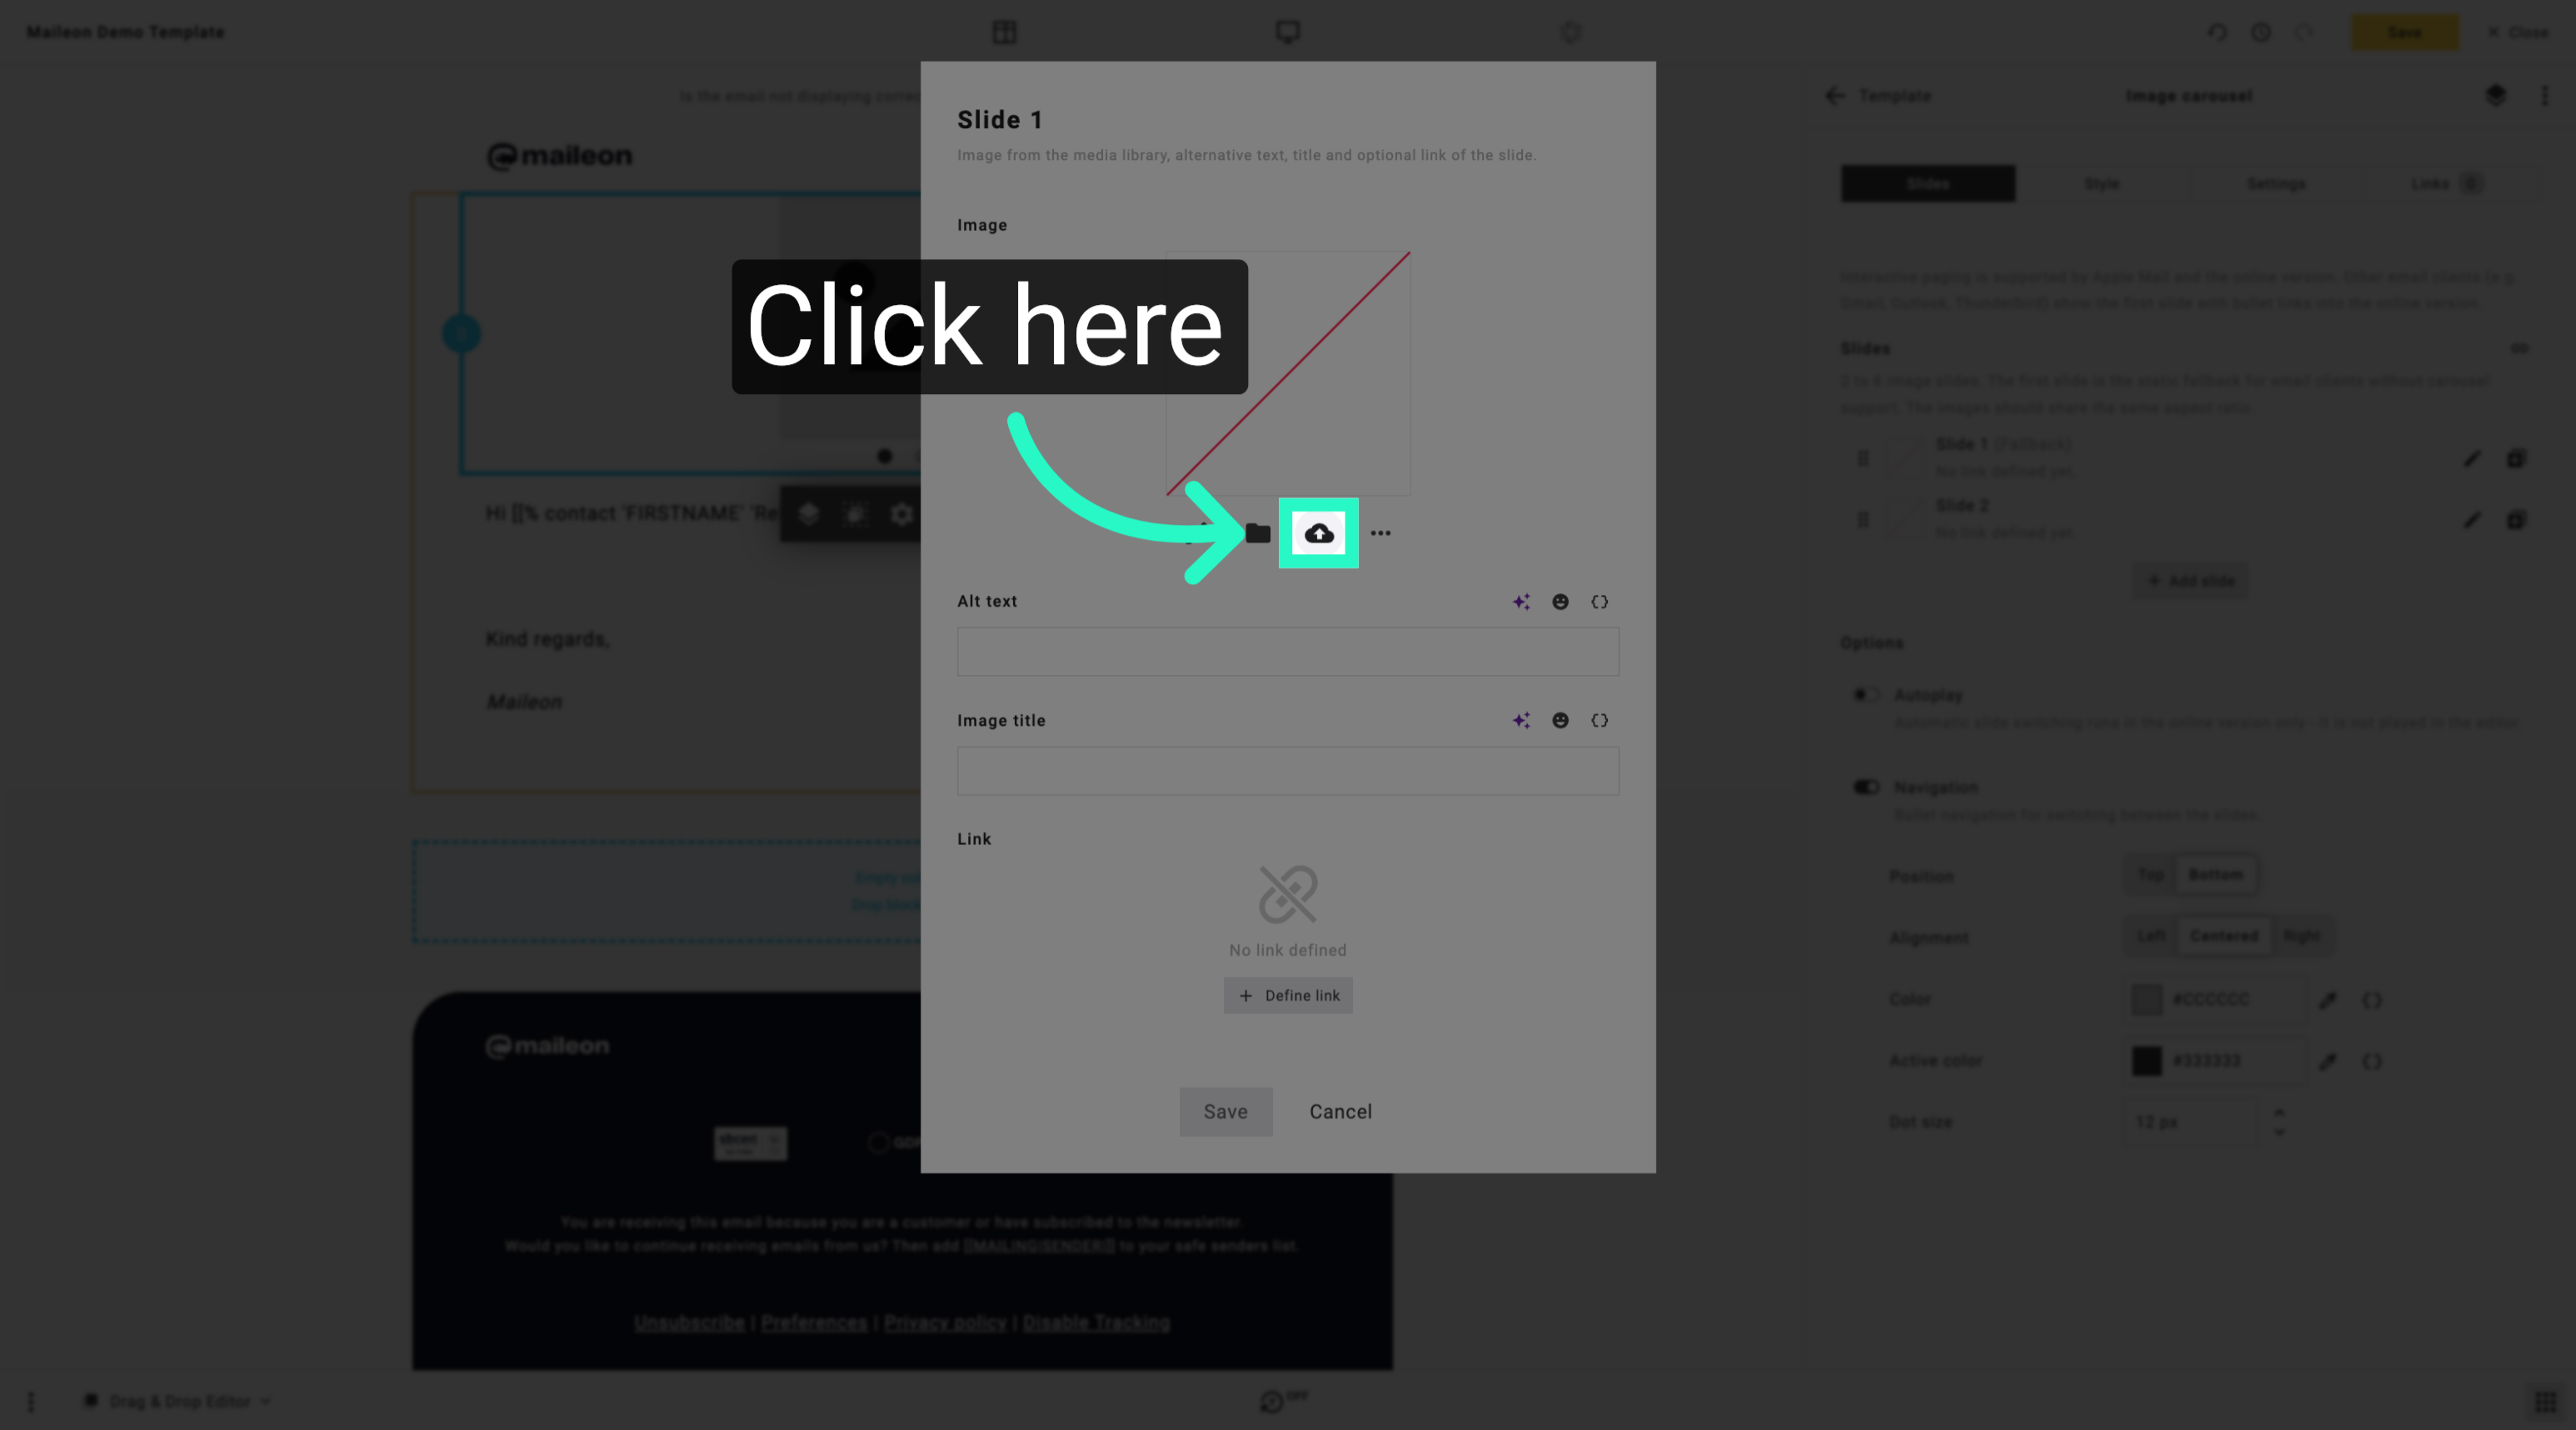
6. Open File Upload Dialog
Open the file upload dialog to select images or documents from your device.
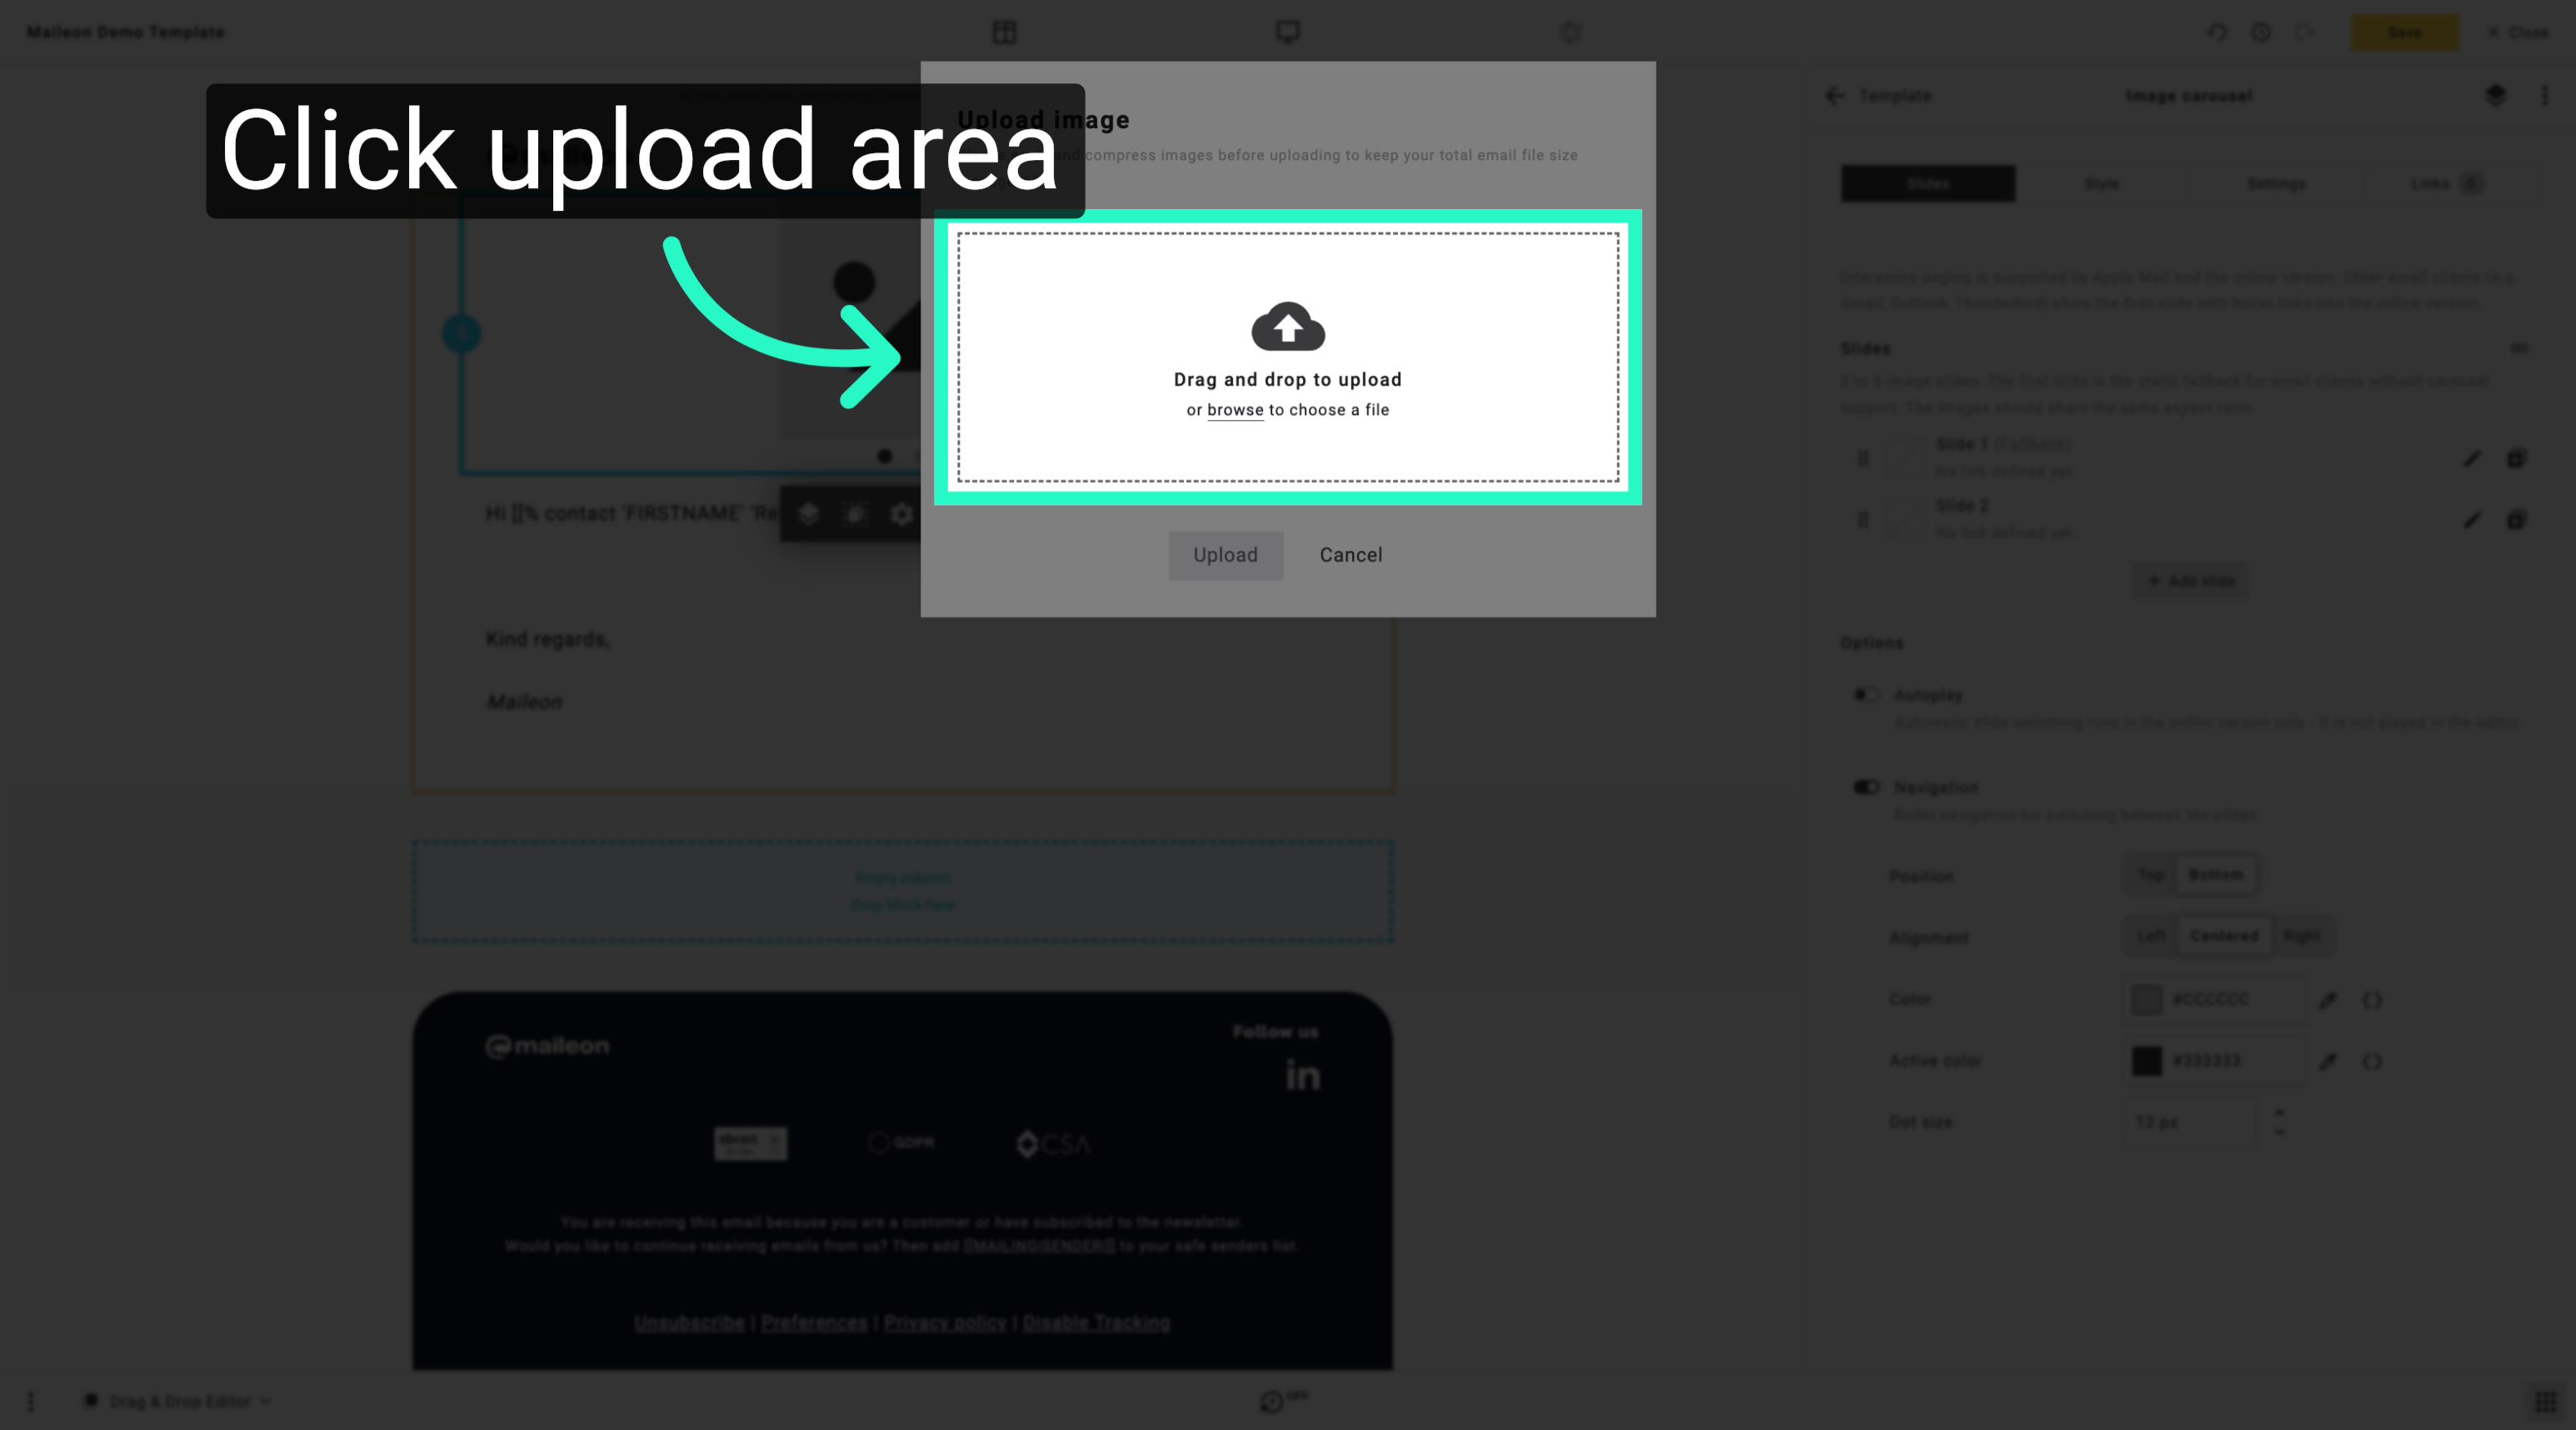
7. Select Image File
Choose the image file from your device to include it in your email campaign.
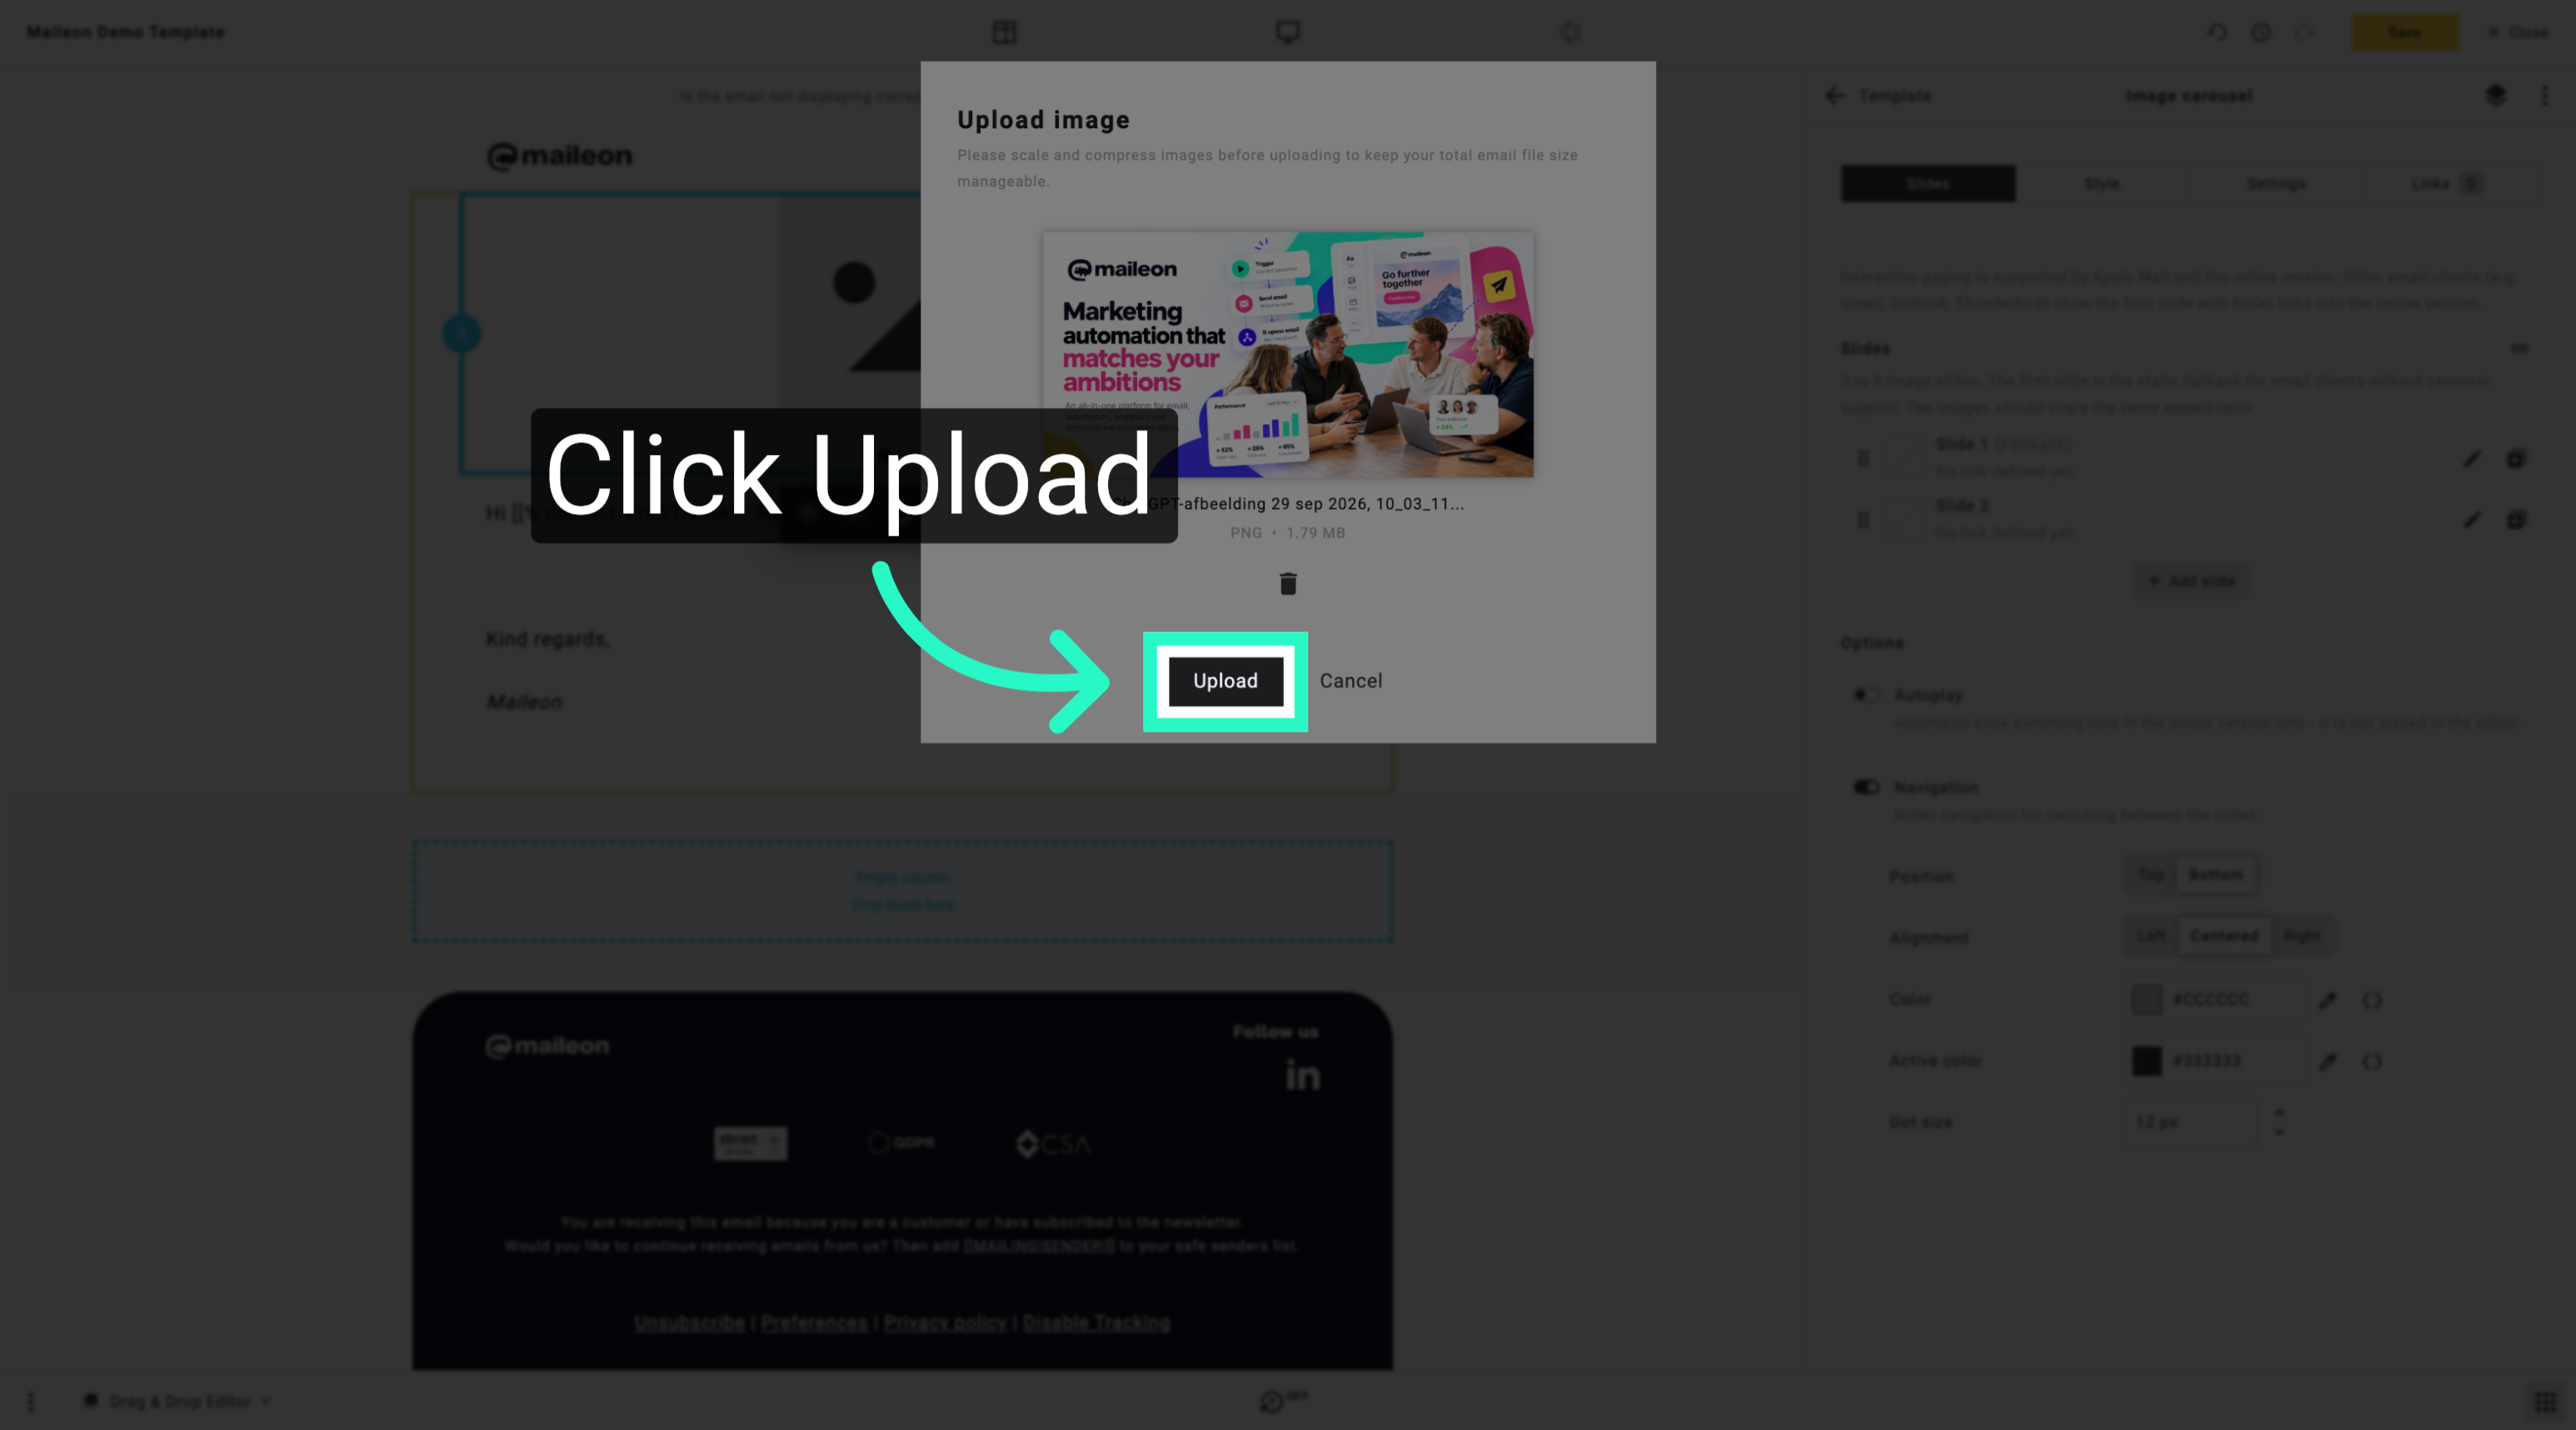
8. Start File Upload
Begin uploading the selected file to make it available for your campaign.
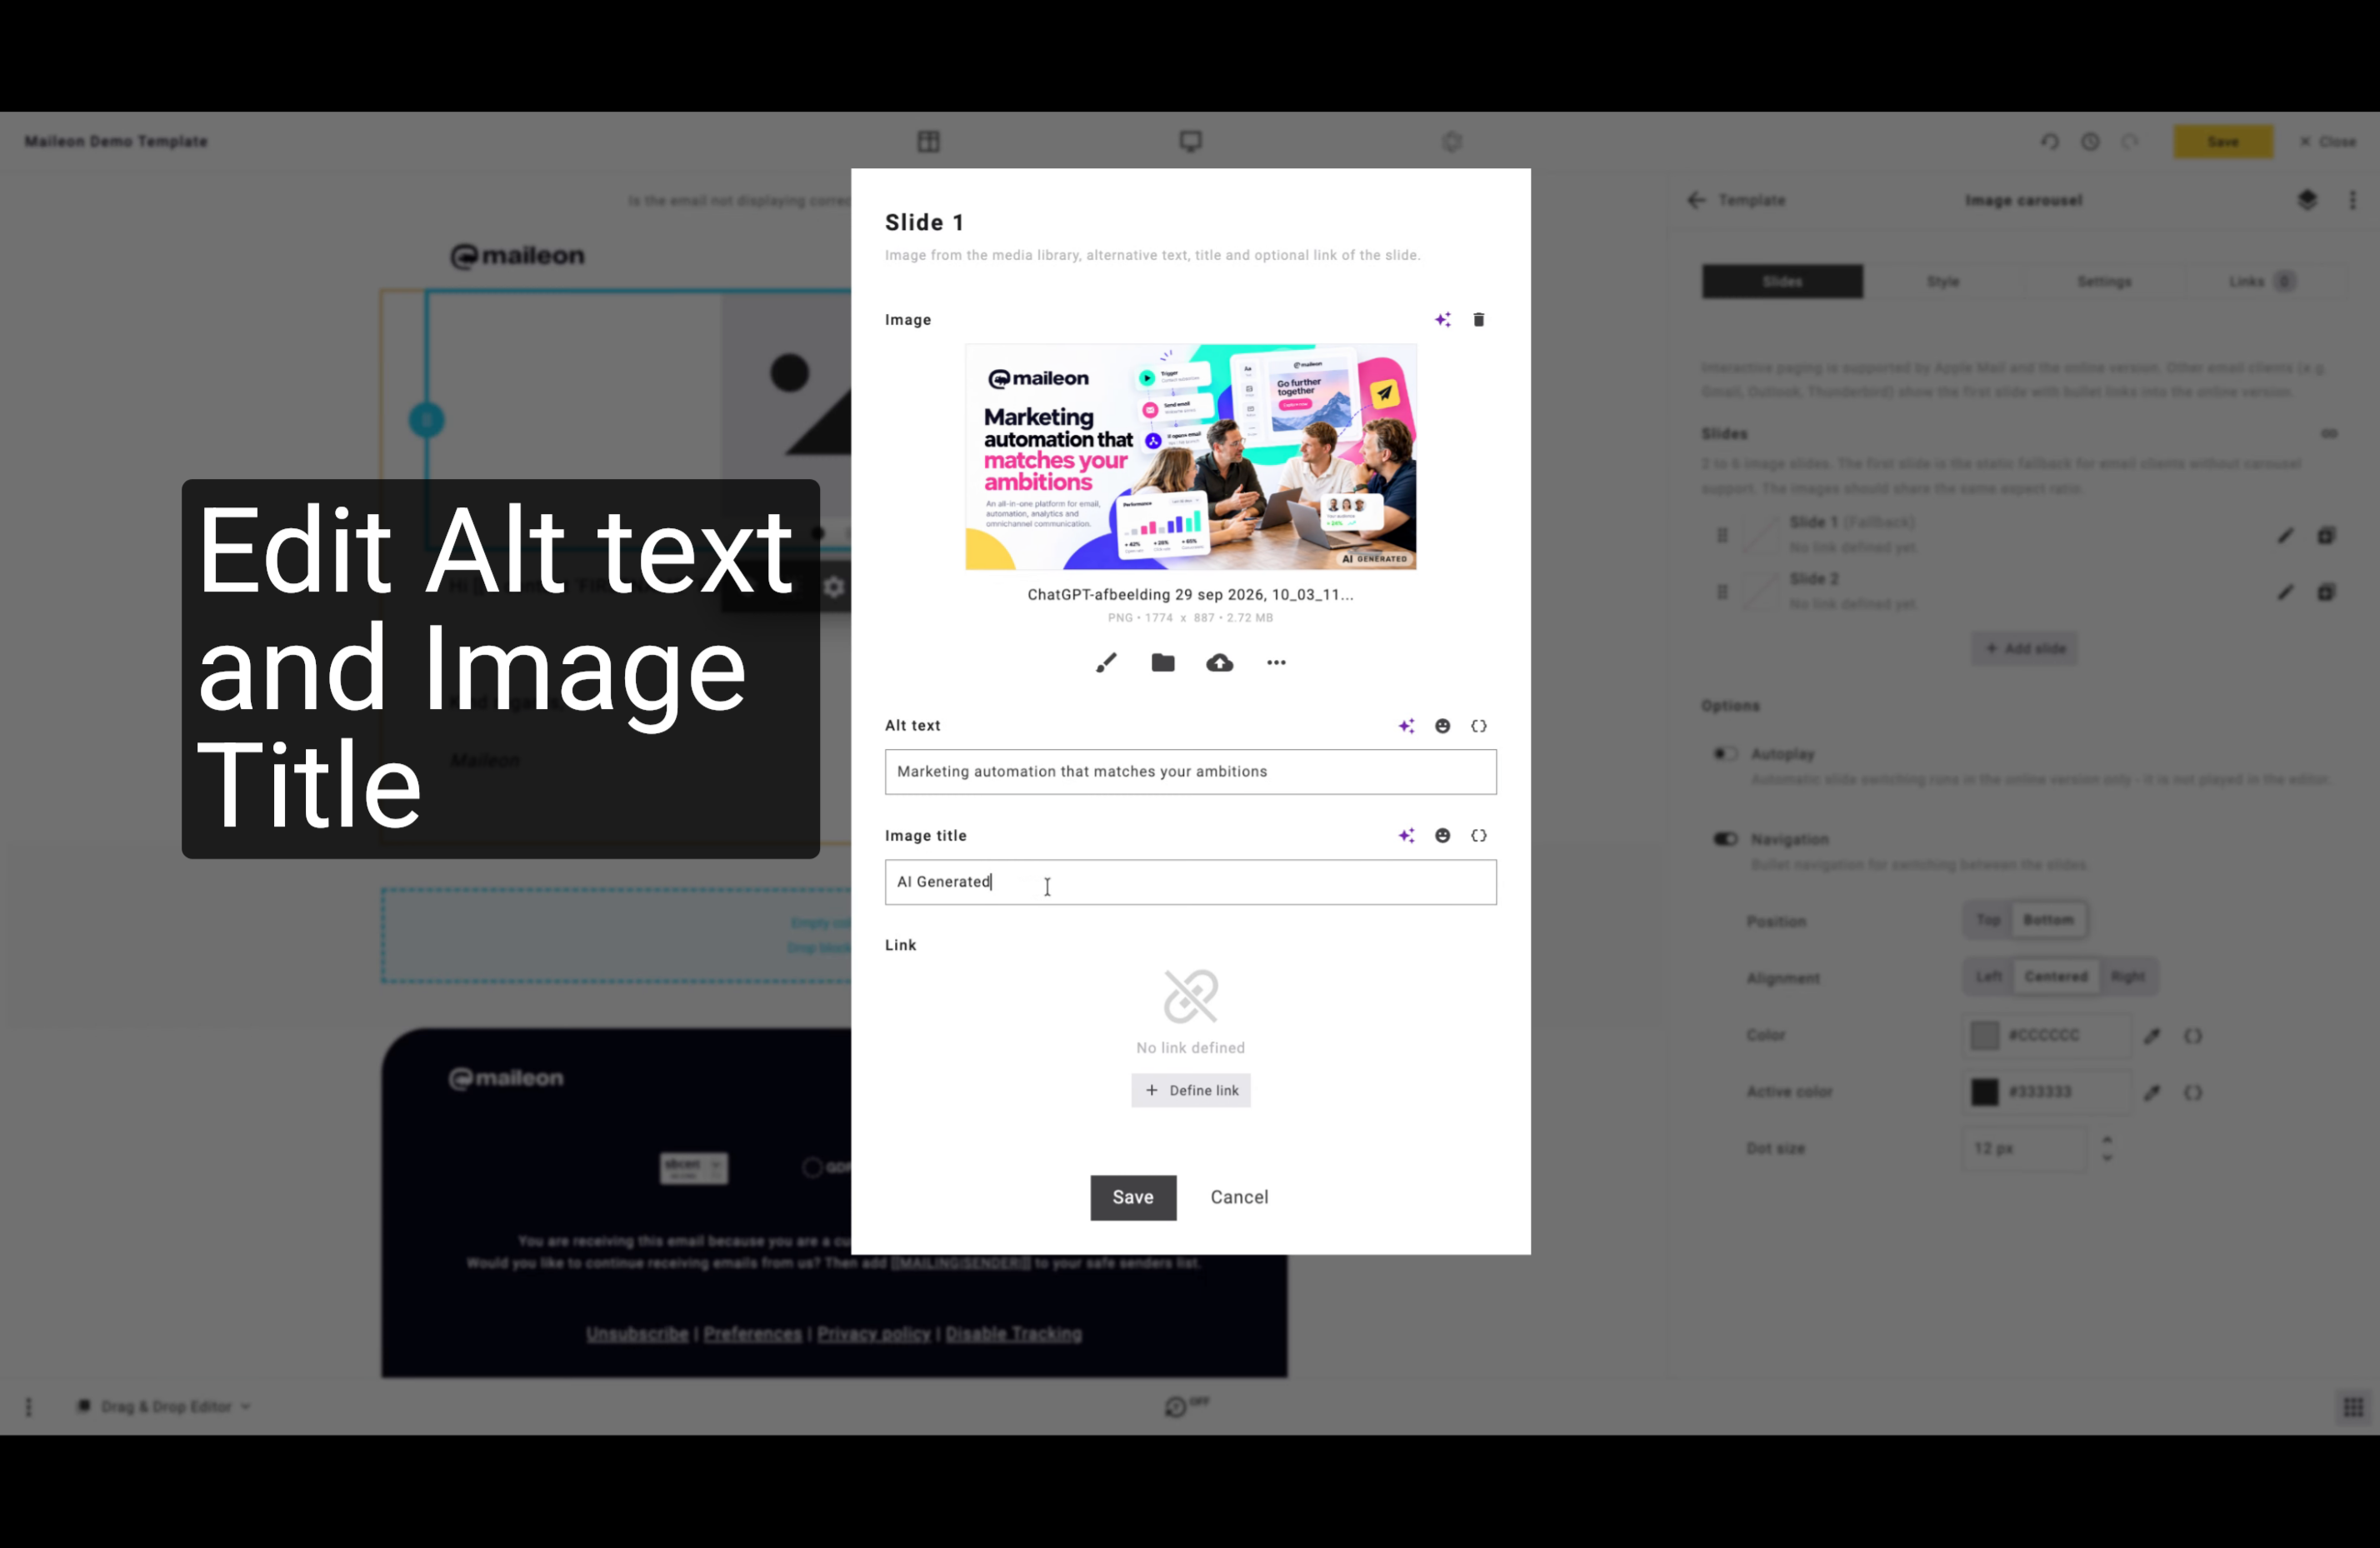
9. Enter Alt Text Description
Type a clear description of the image to enhance accessibility for recipients.
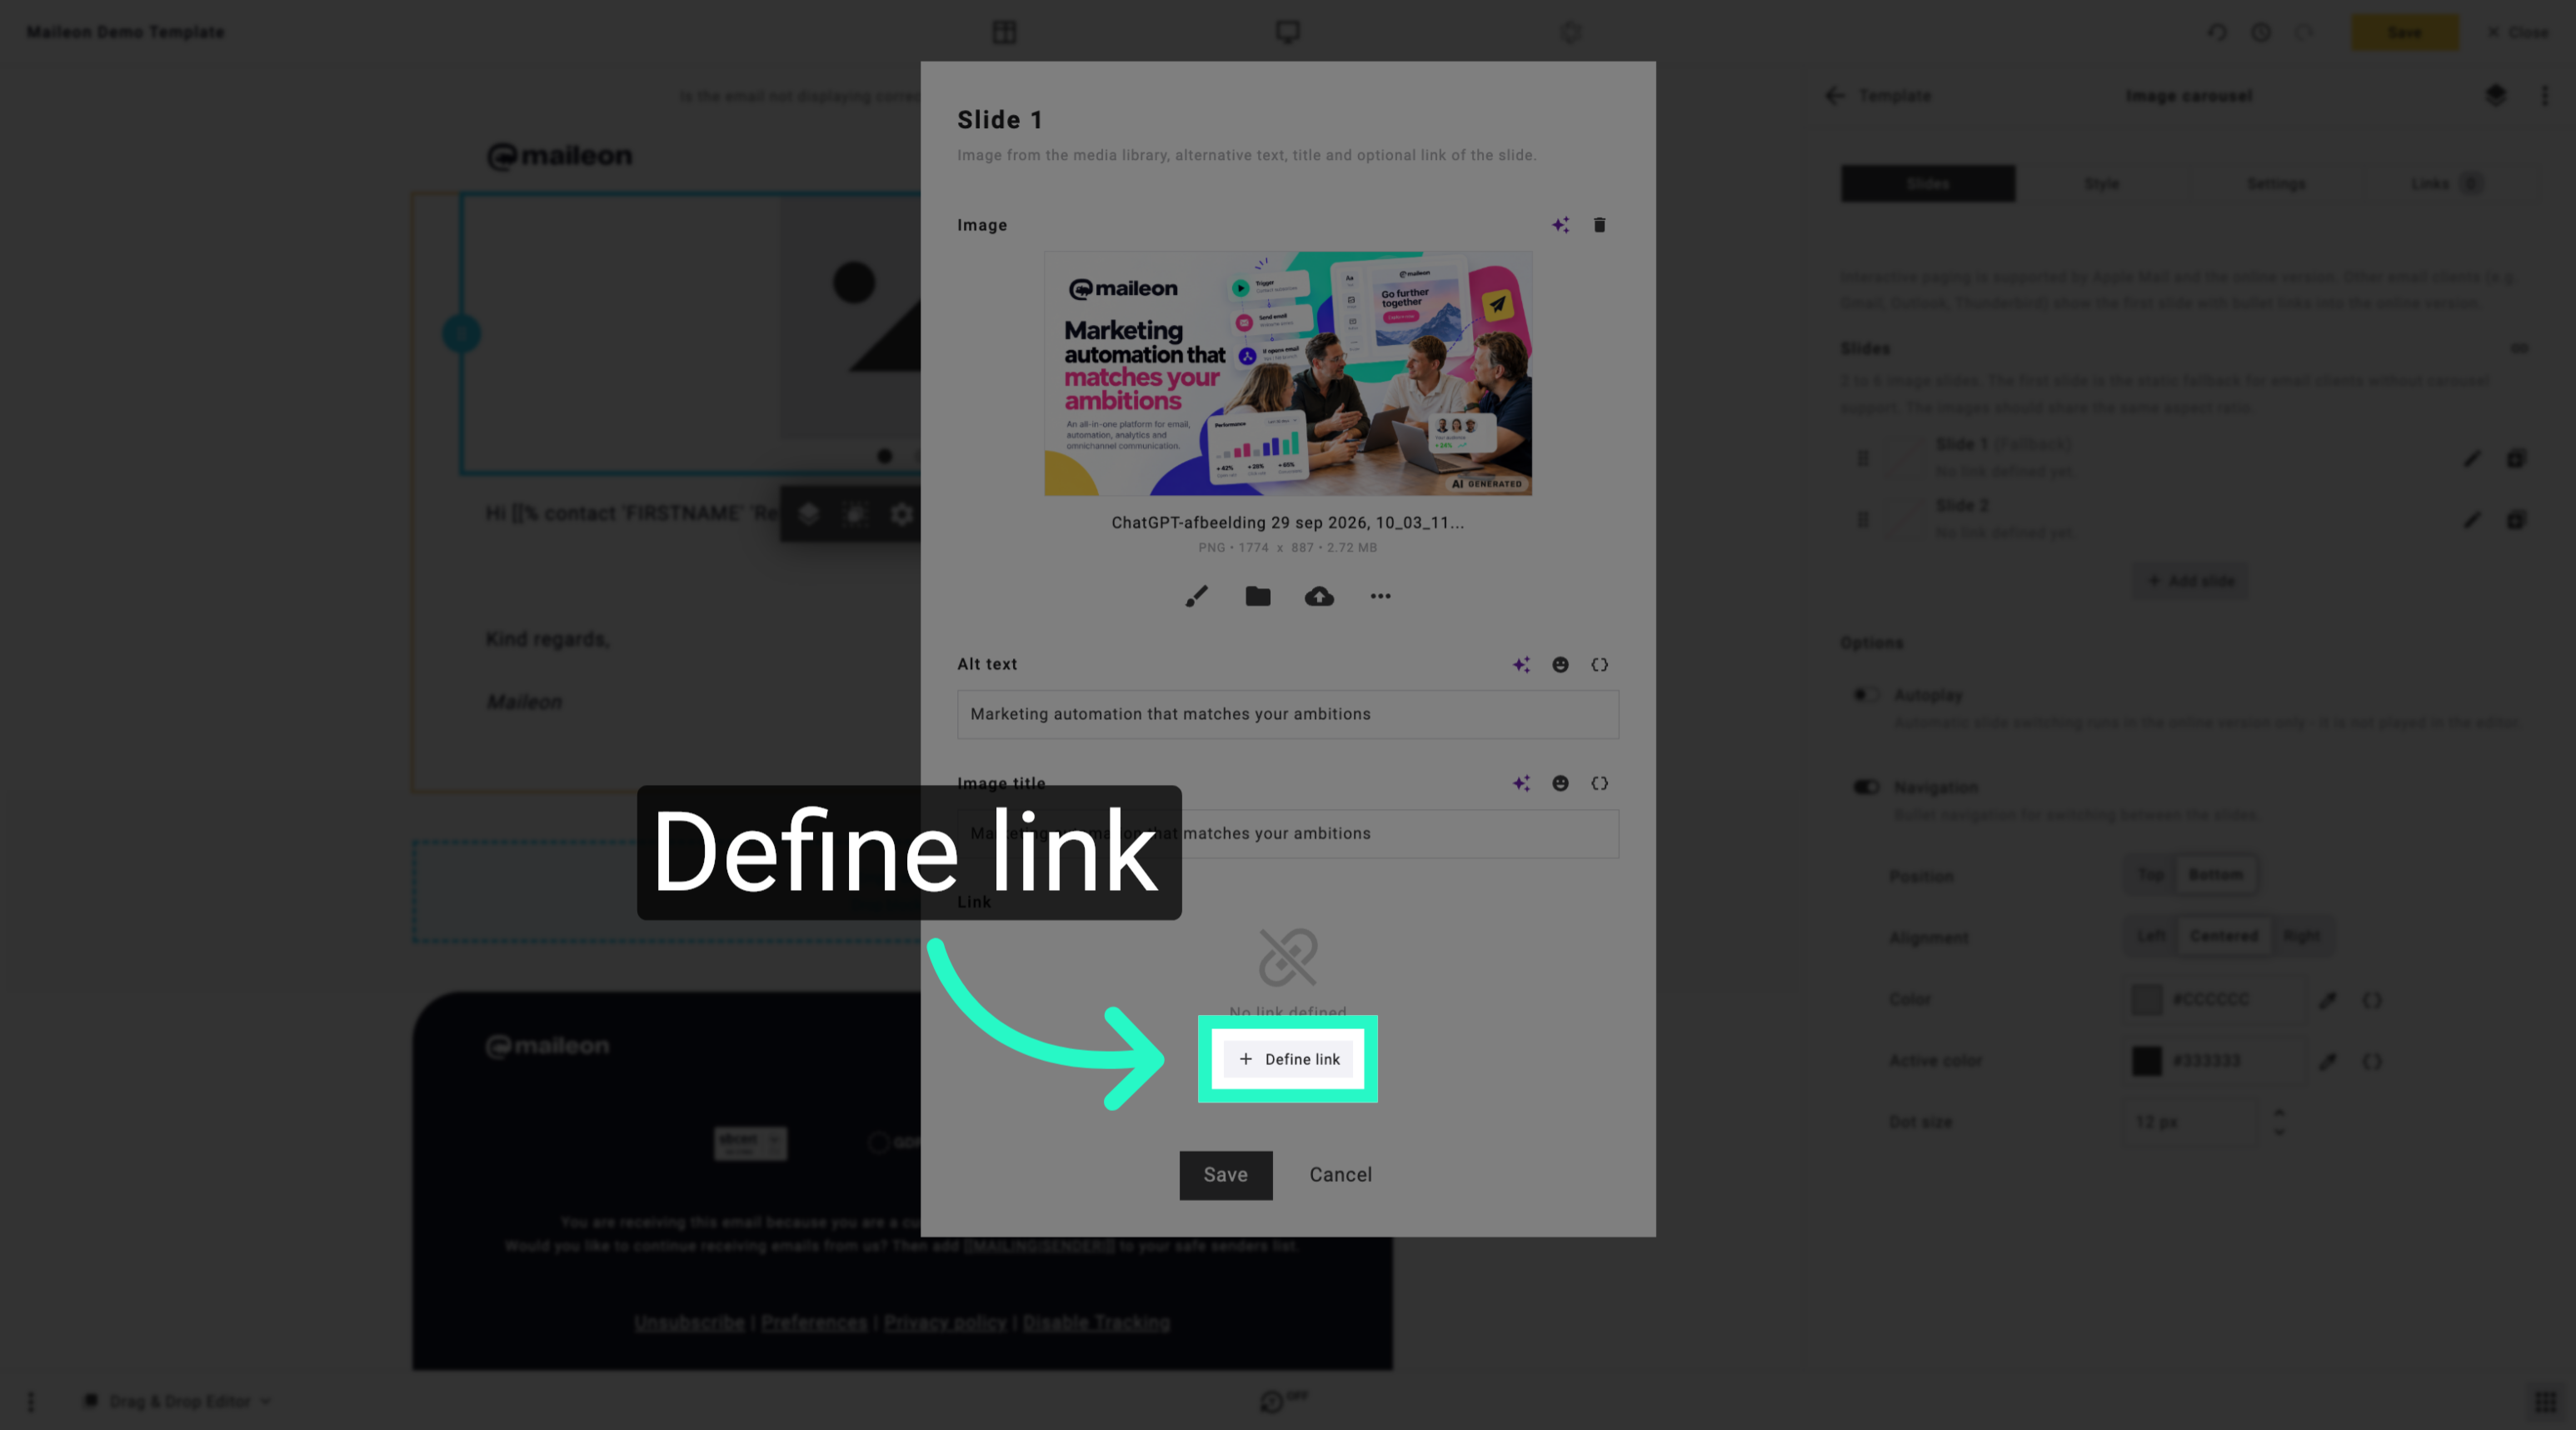
10. Define Link for Image
Set a hyperlink for the image to direct recipients to a relevant webpage.
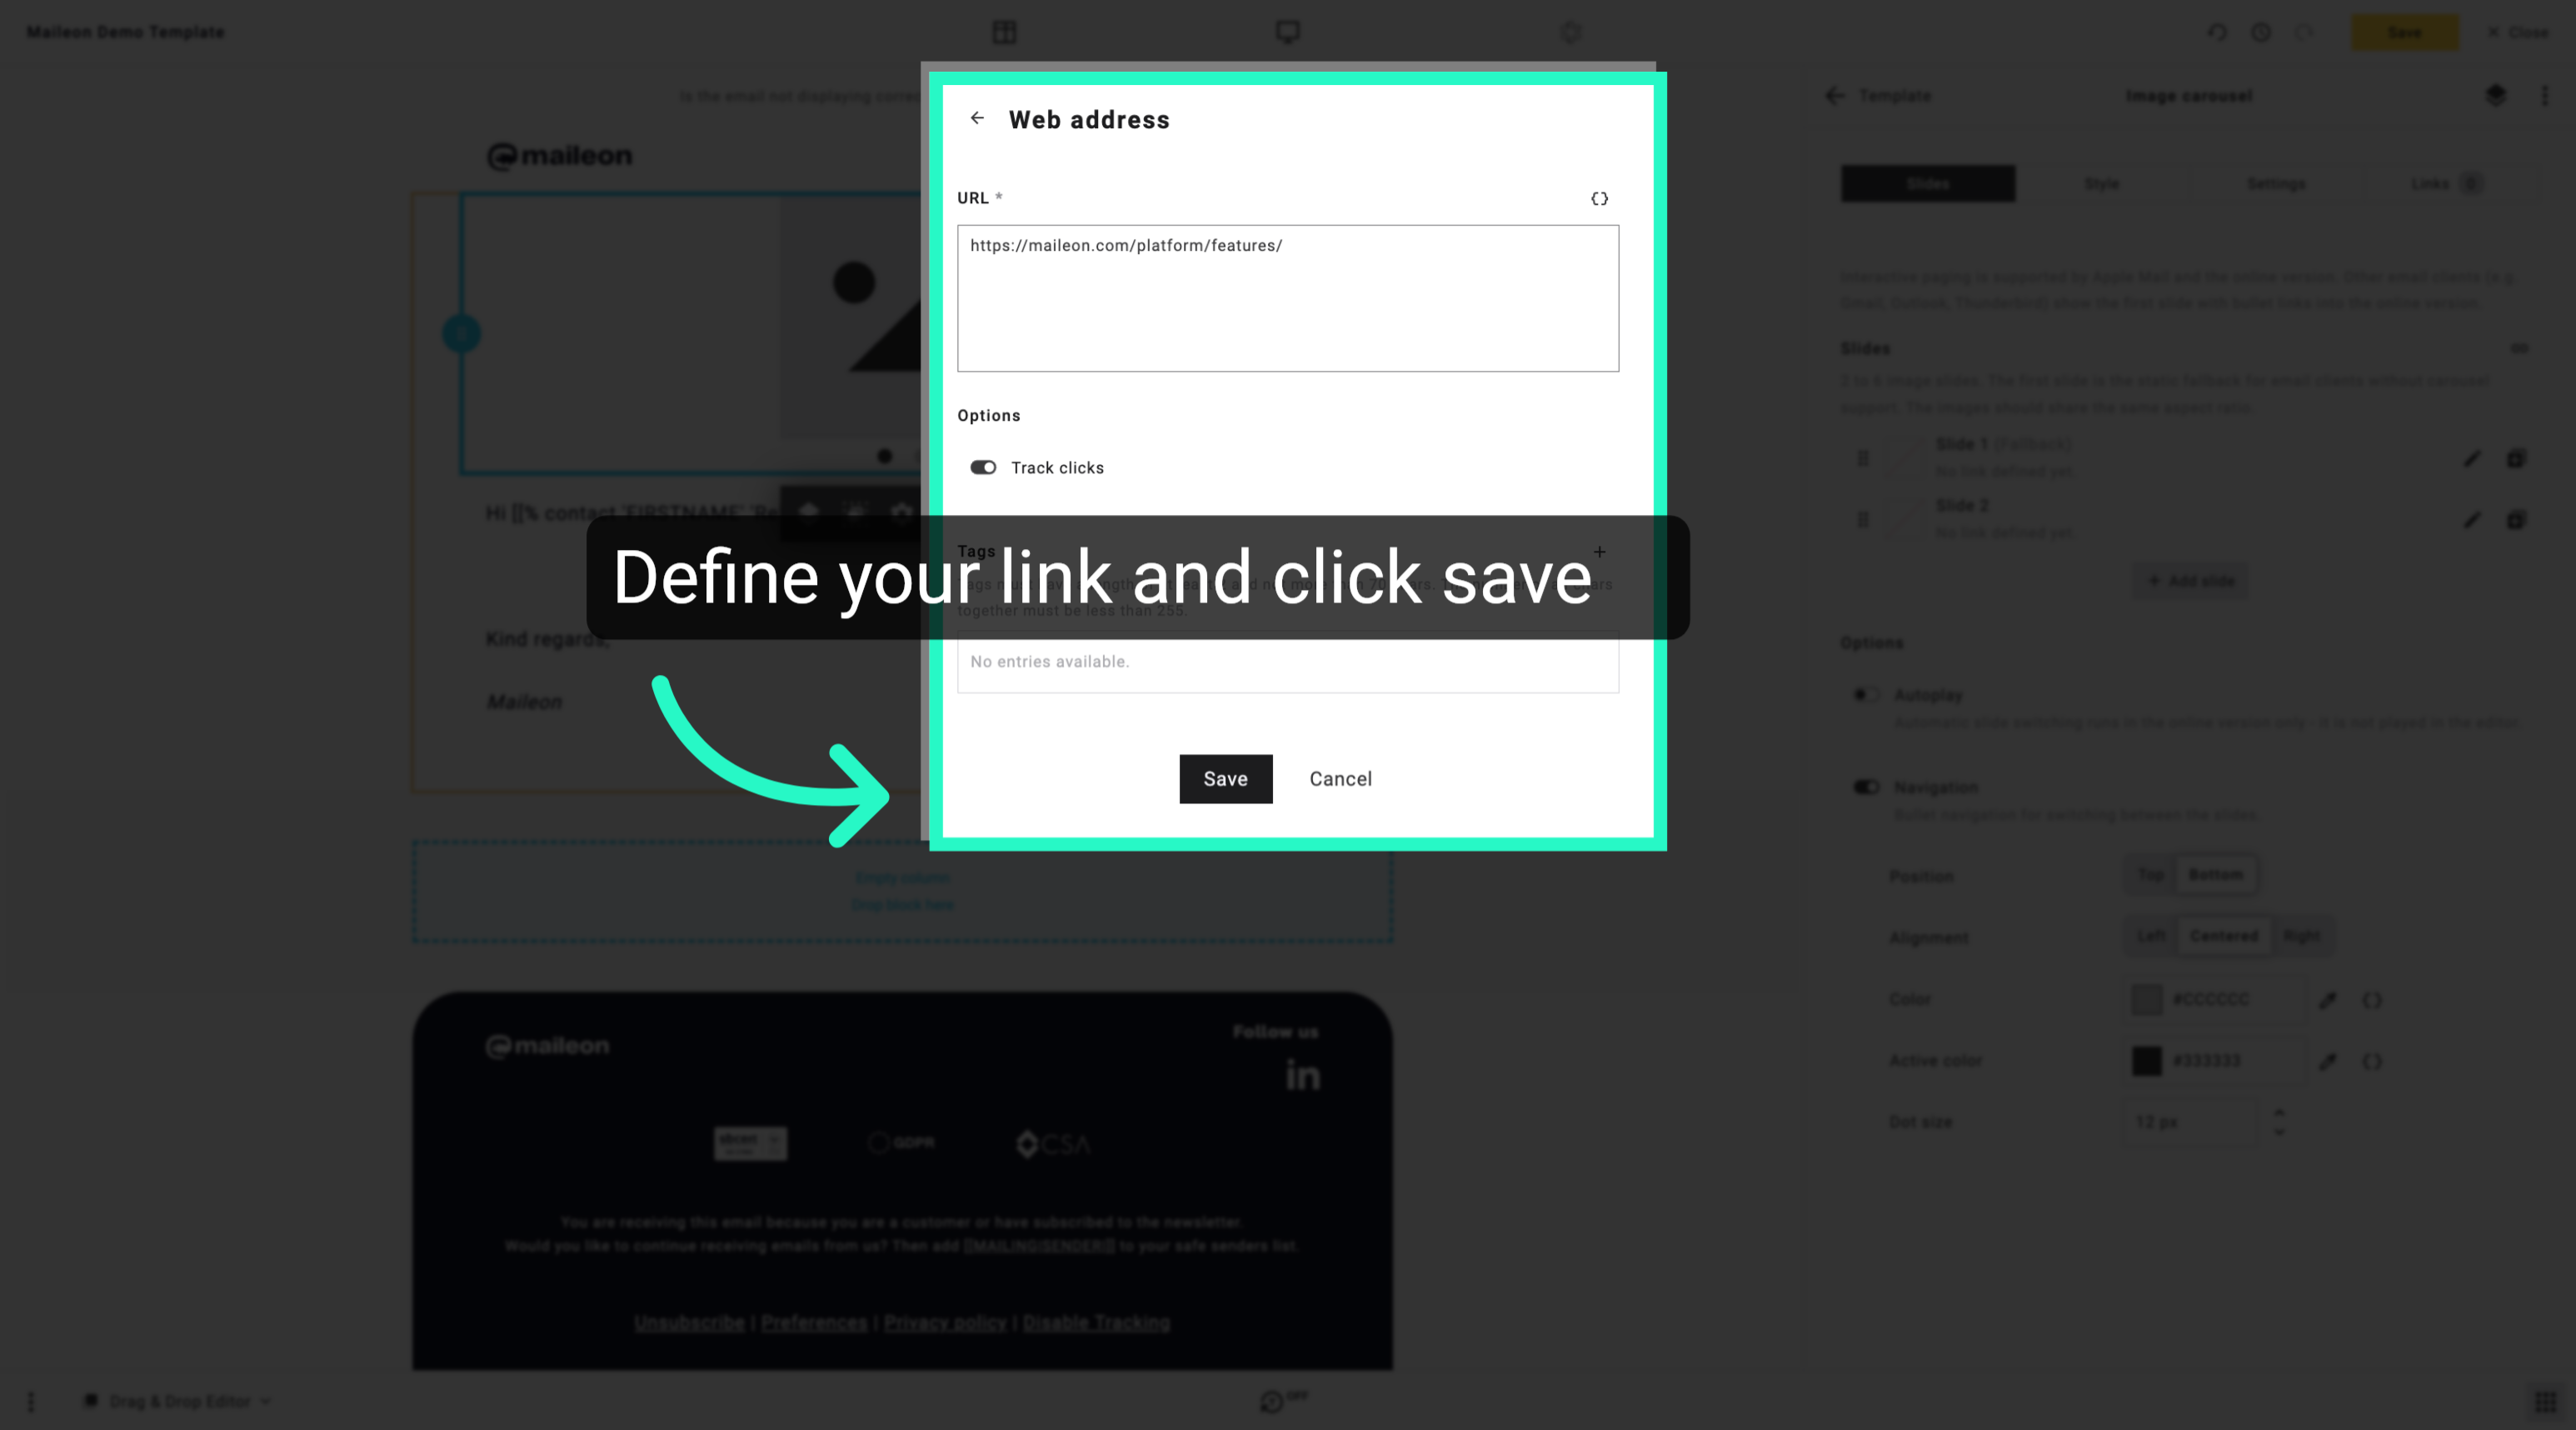
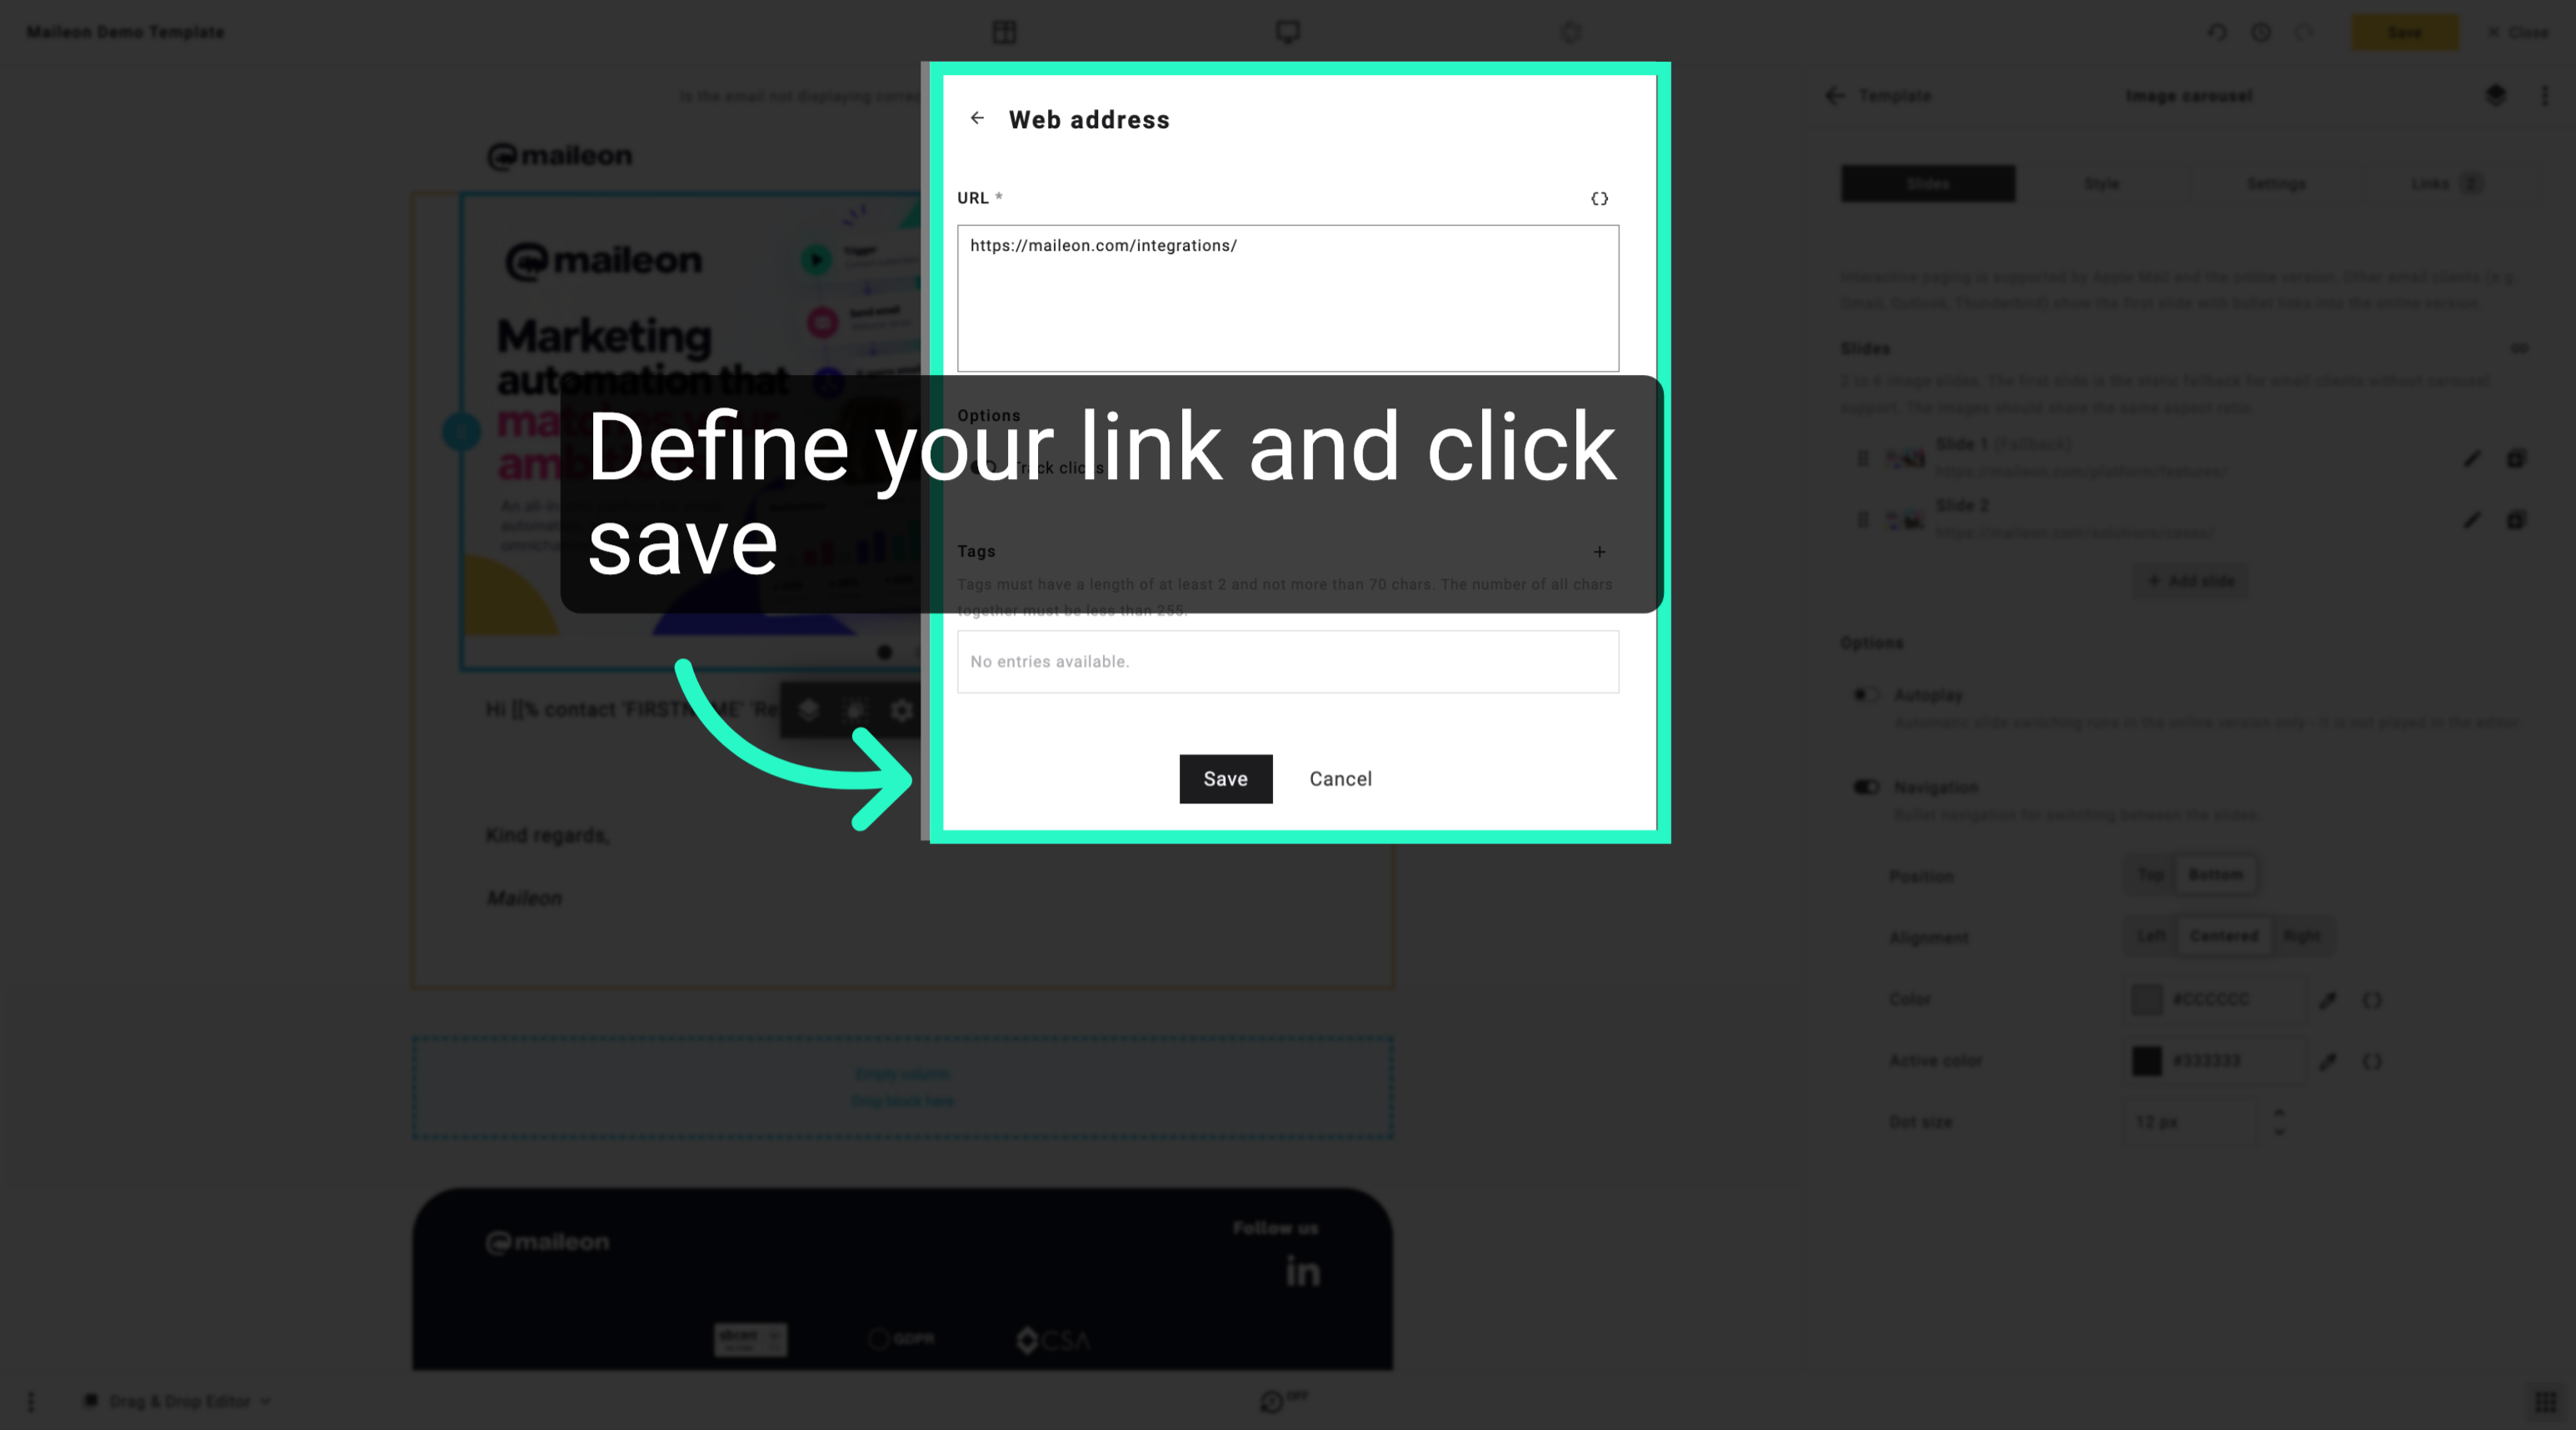
11. Define your link and click save
Save the link settings to apply the hyperlink to the image in your campaign.
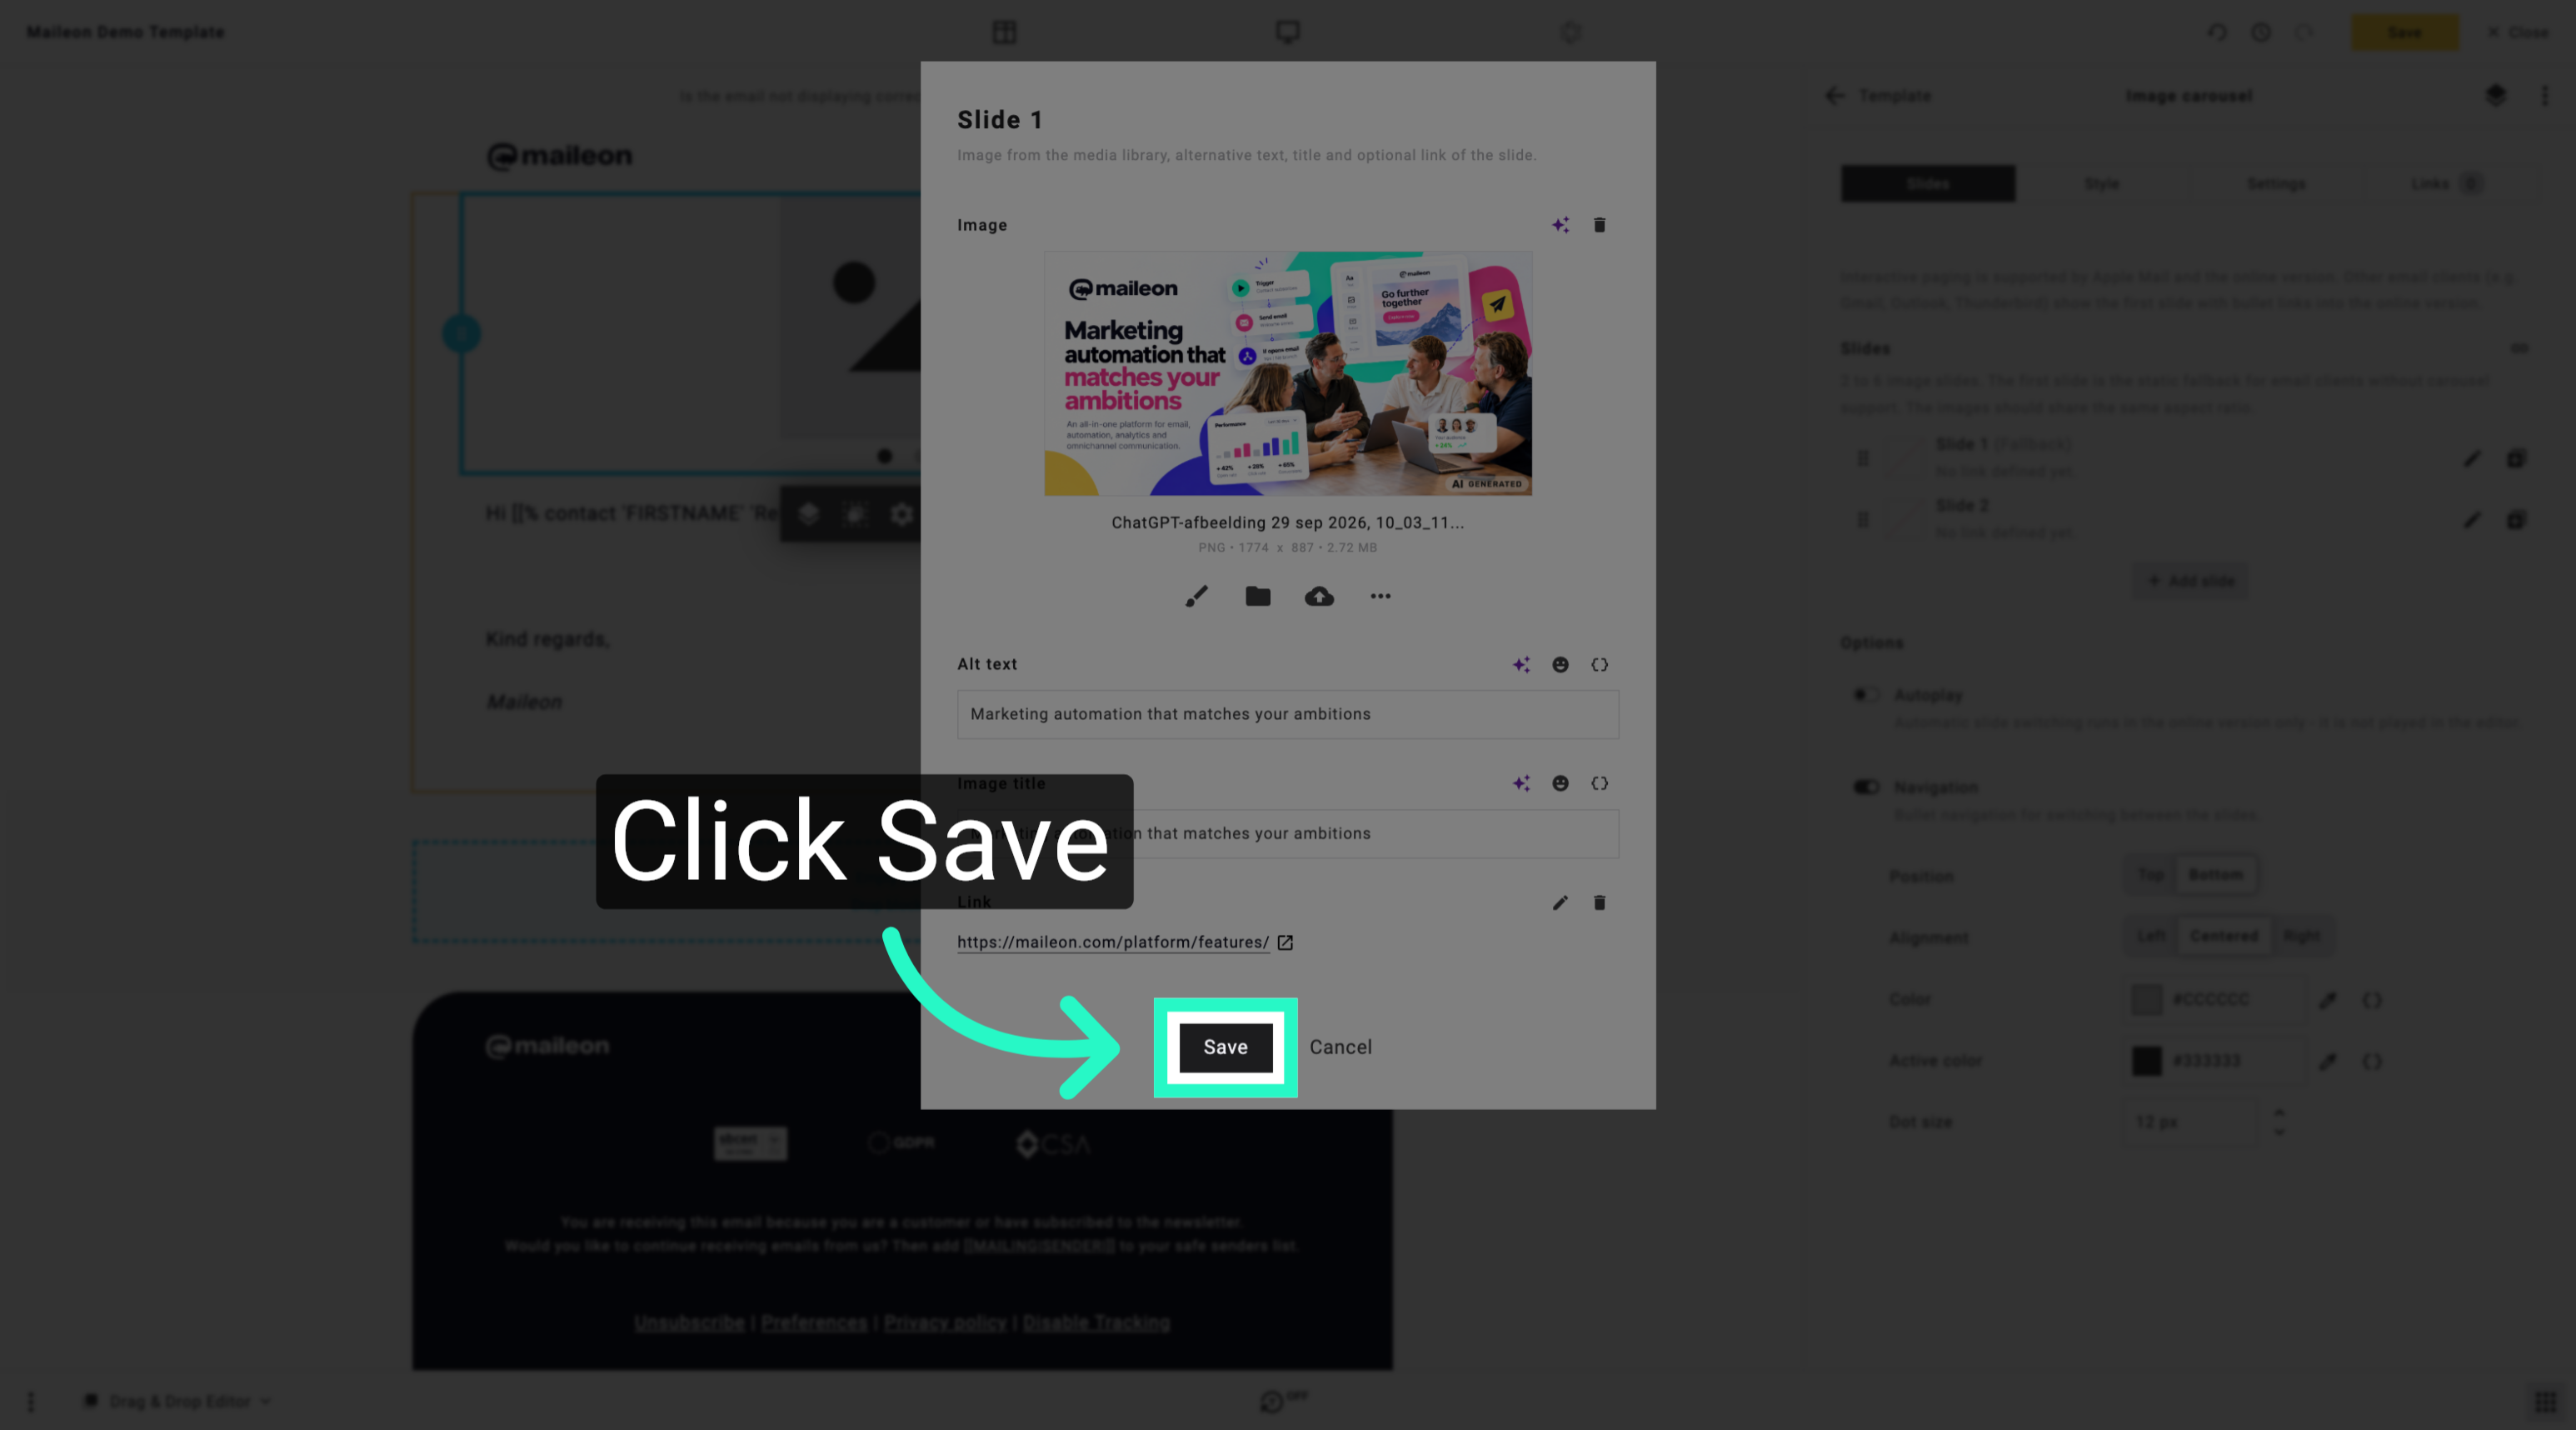
12. Save Image Configuration
Save all changes made to the image settings to finalise the upload process.
13. Return to Content List
Return to the content list to manage additional images or campaign materials.
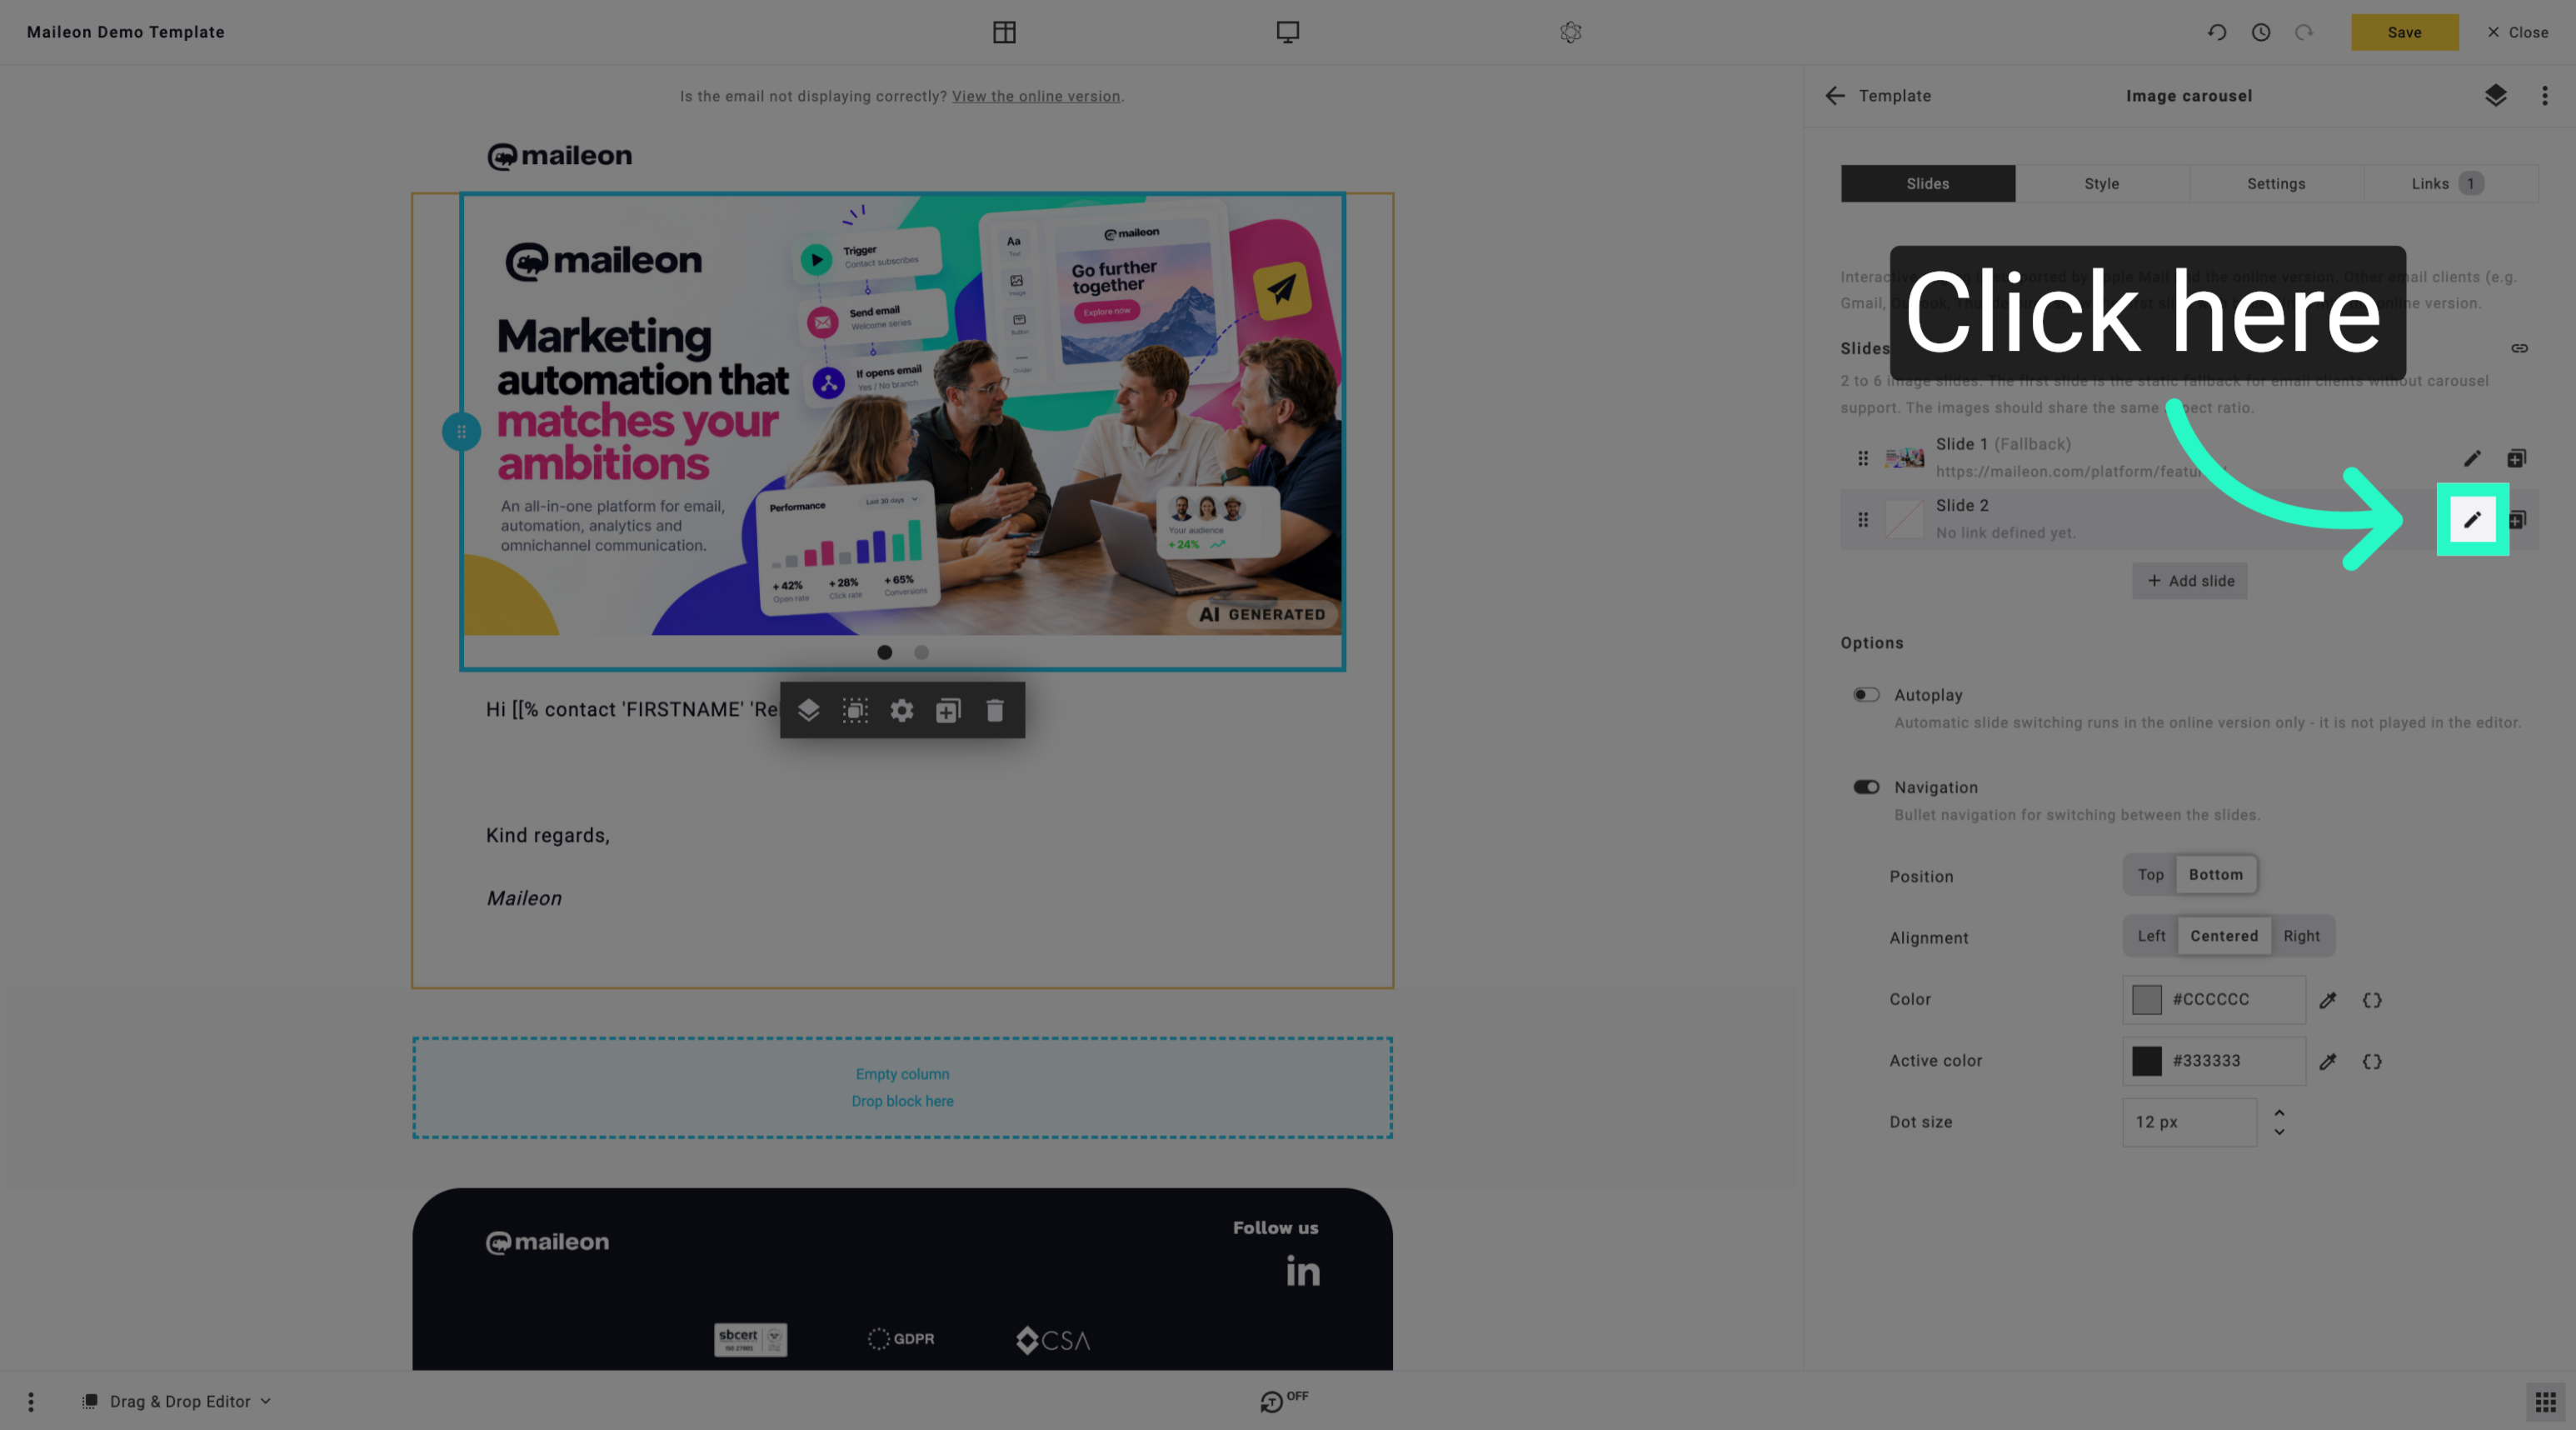
14. Open Image Upload Section
Access the image upload section to add another file to your campaign assets.
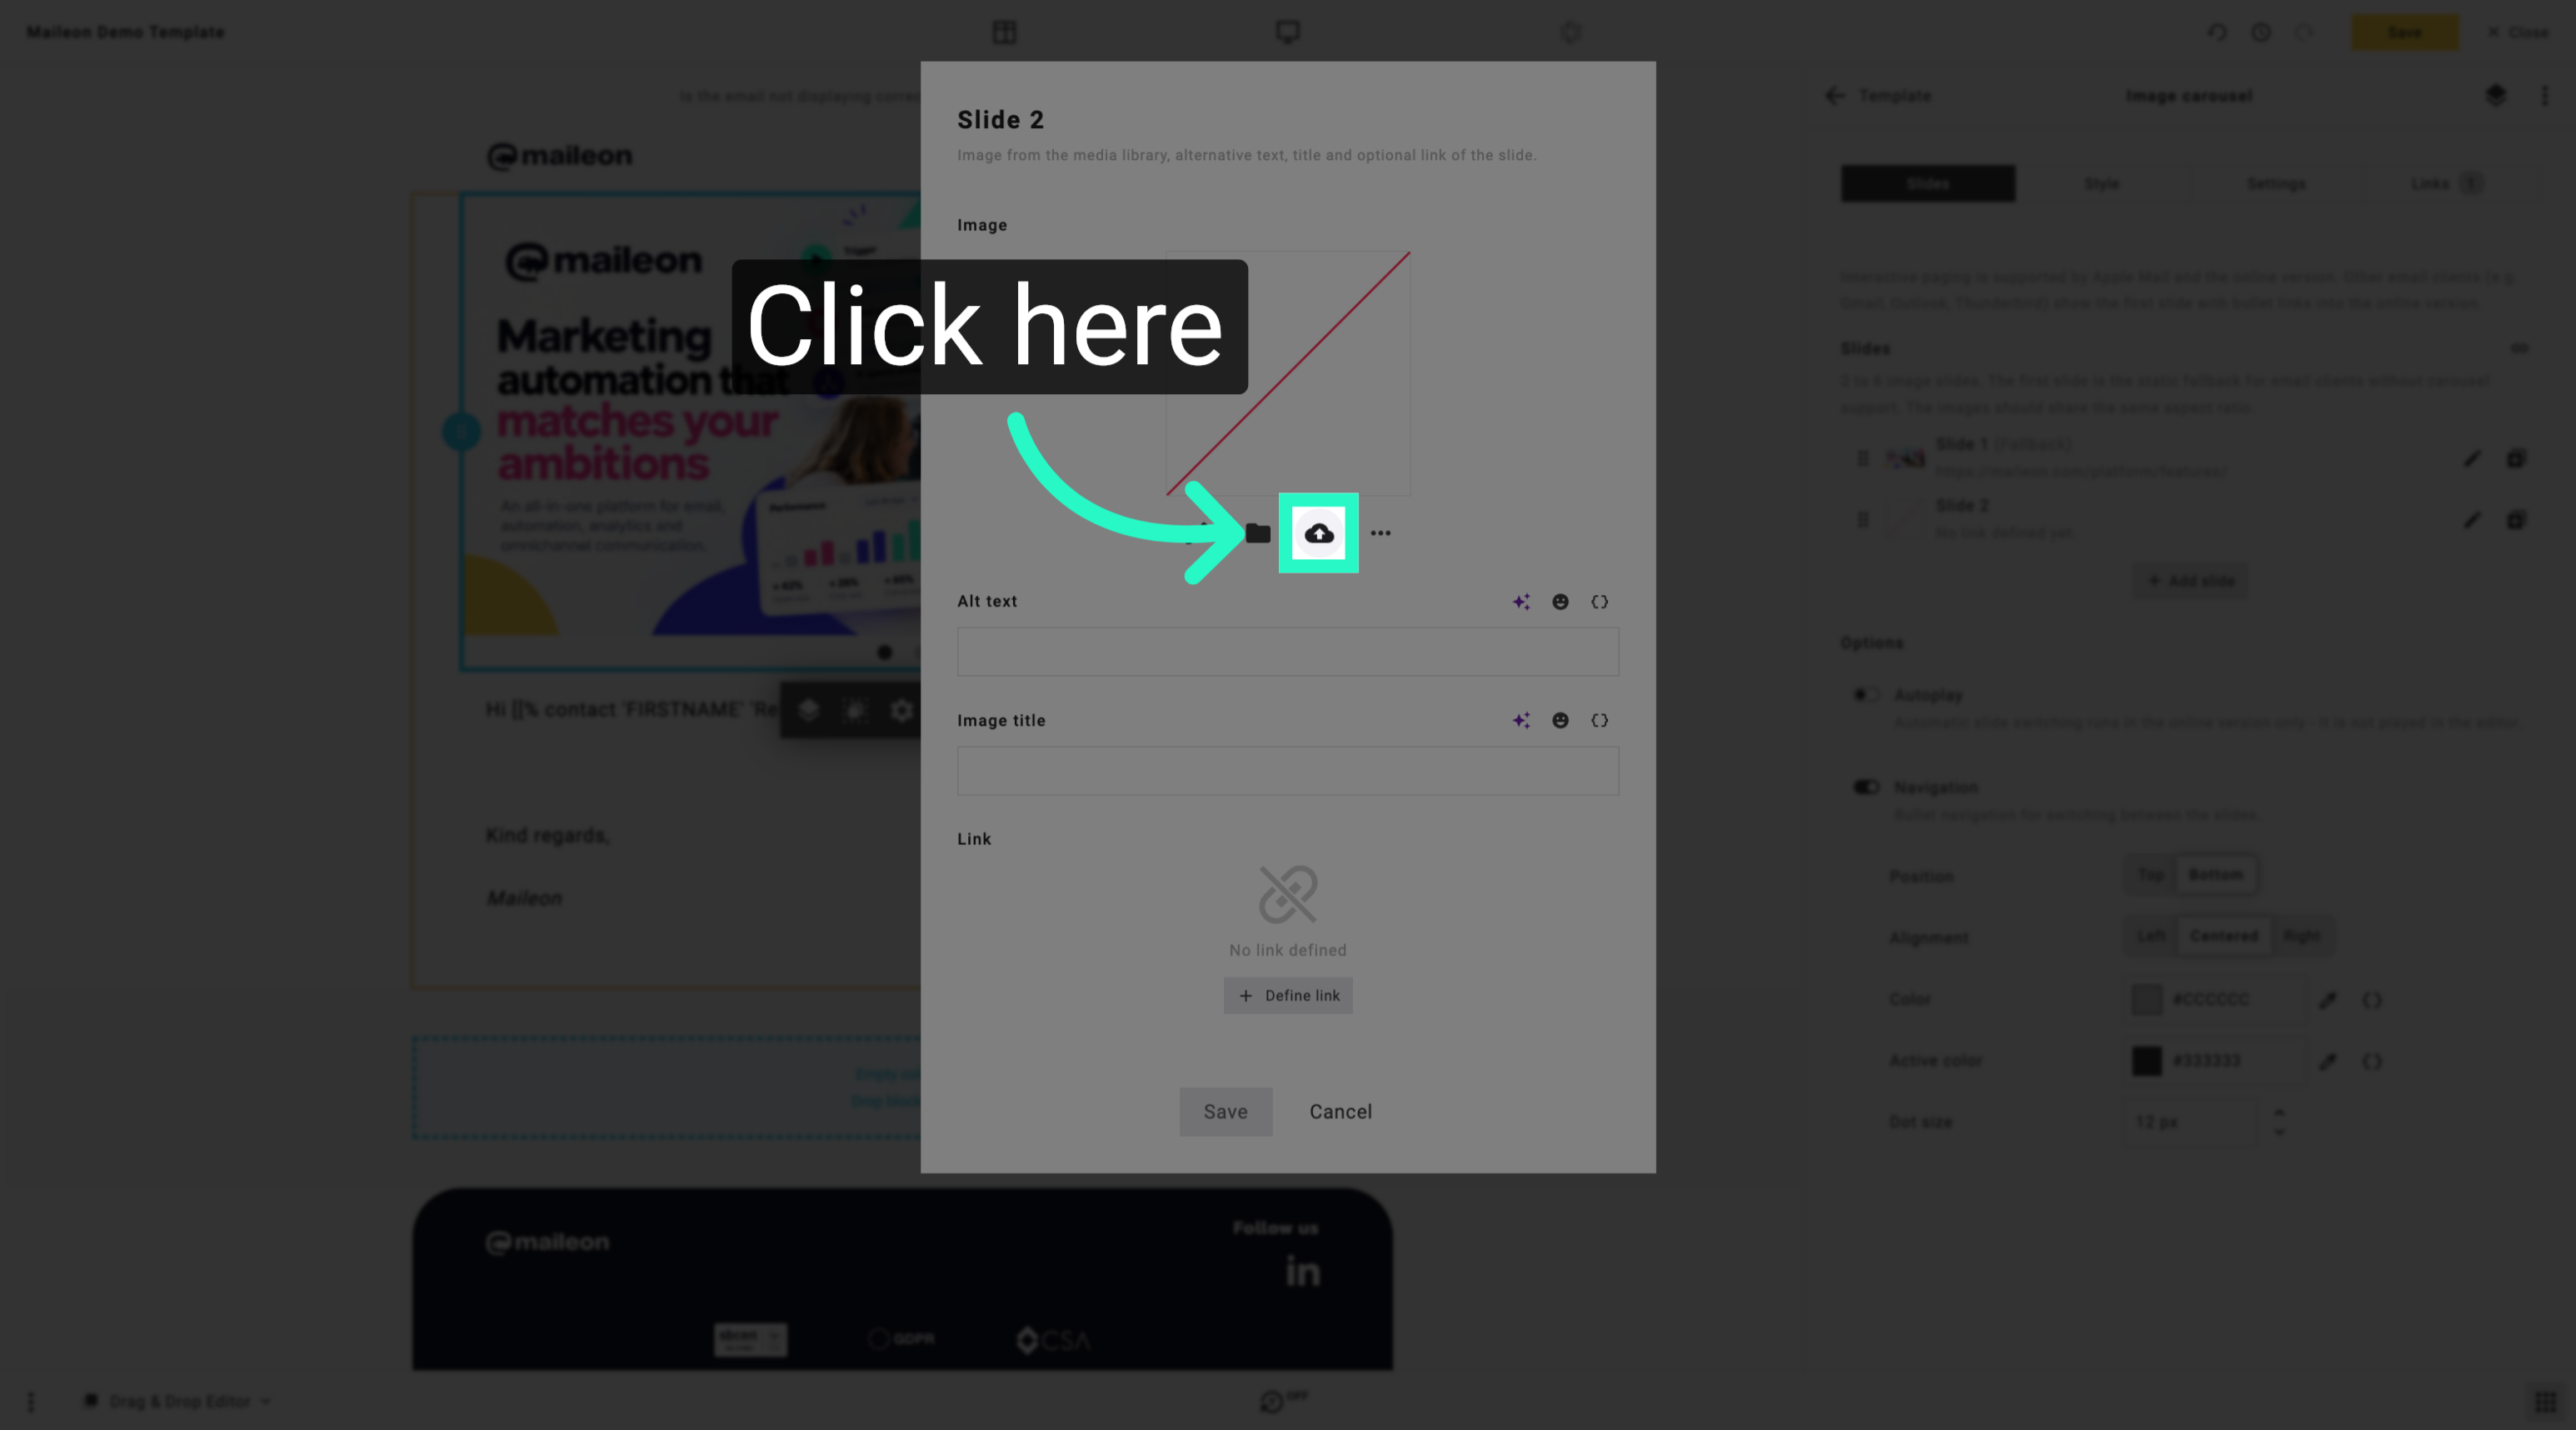
15. Open File Browser
Open the file browser to select a new image file from your device.
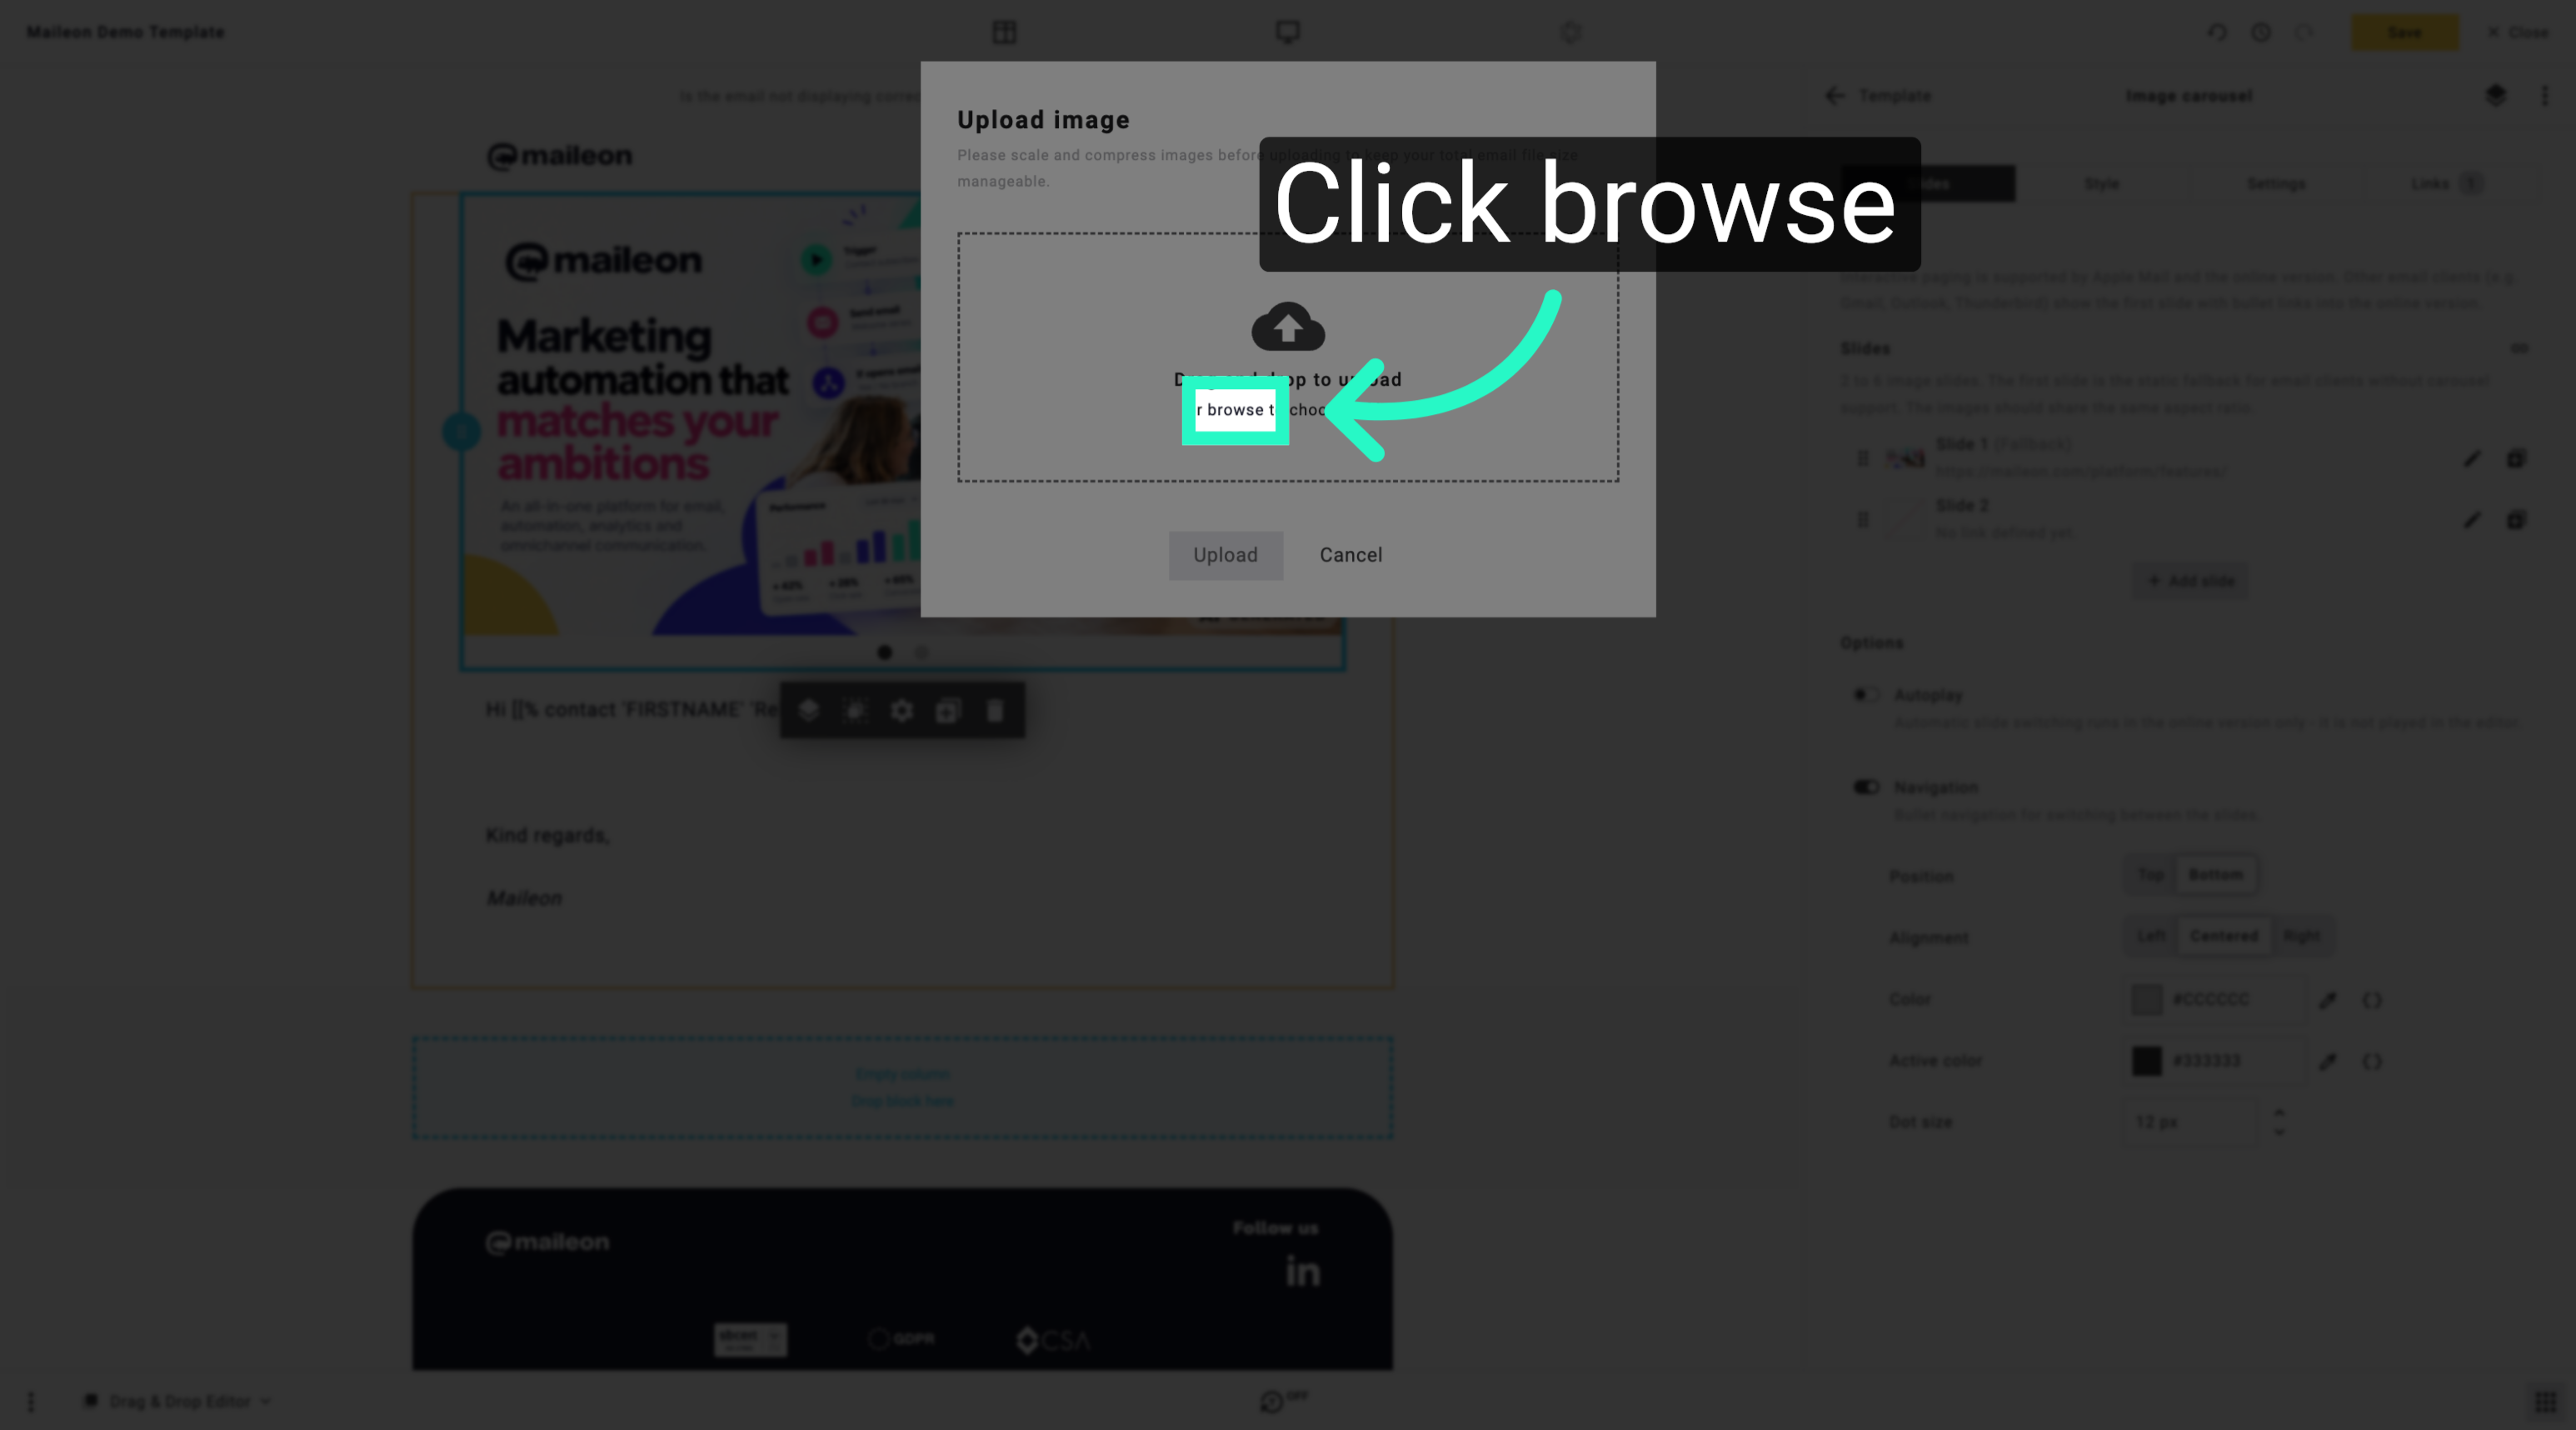
16. Select Second Image File
Choose the second image file to upload for your email campaign.
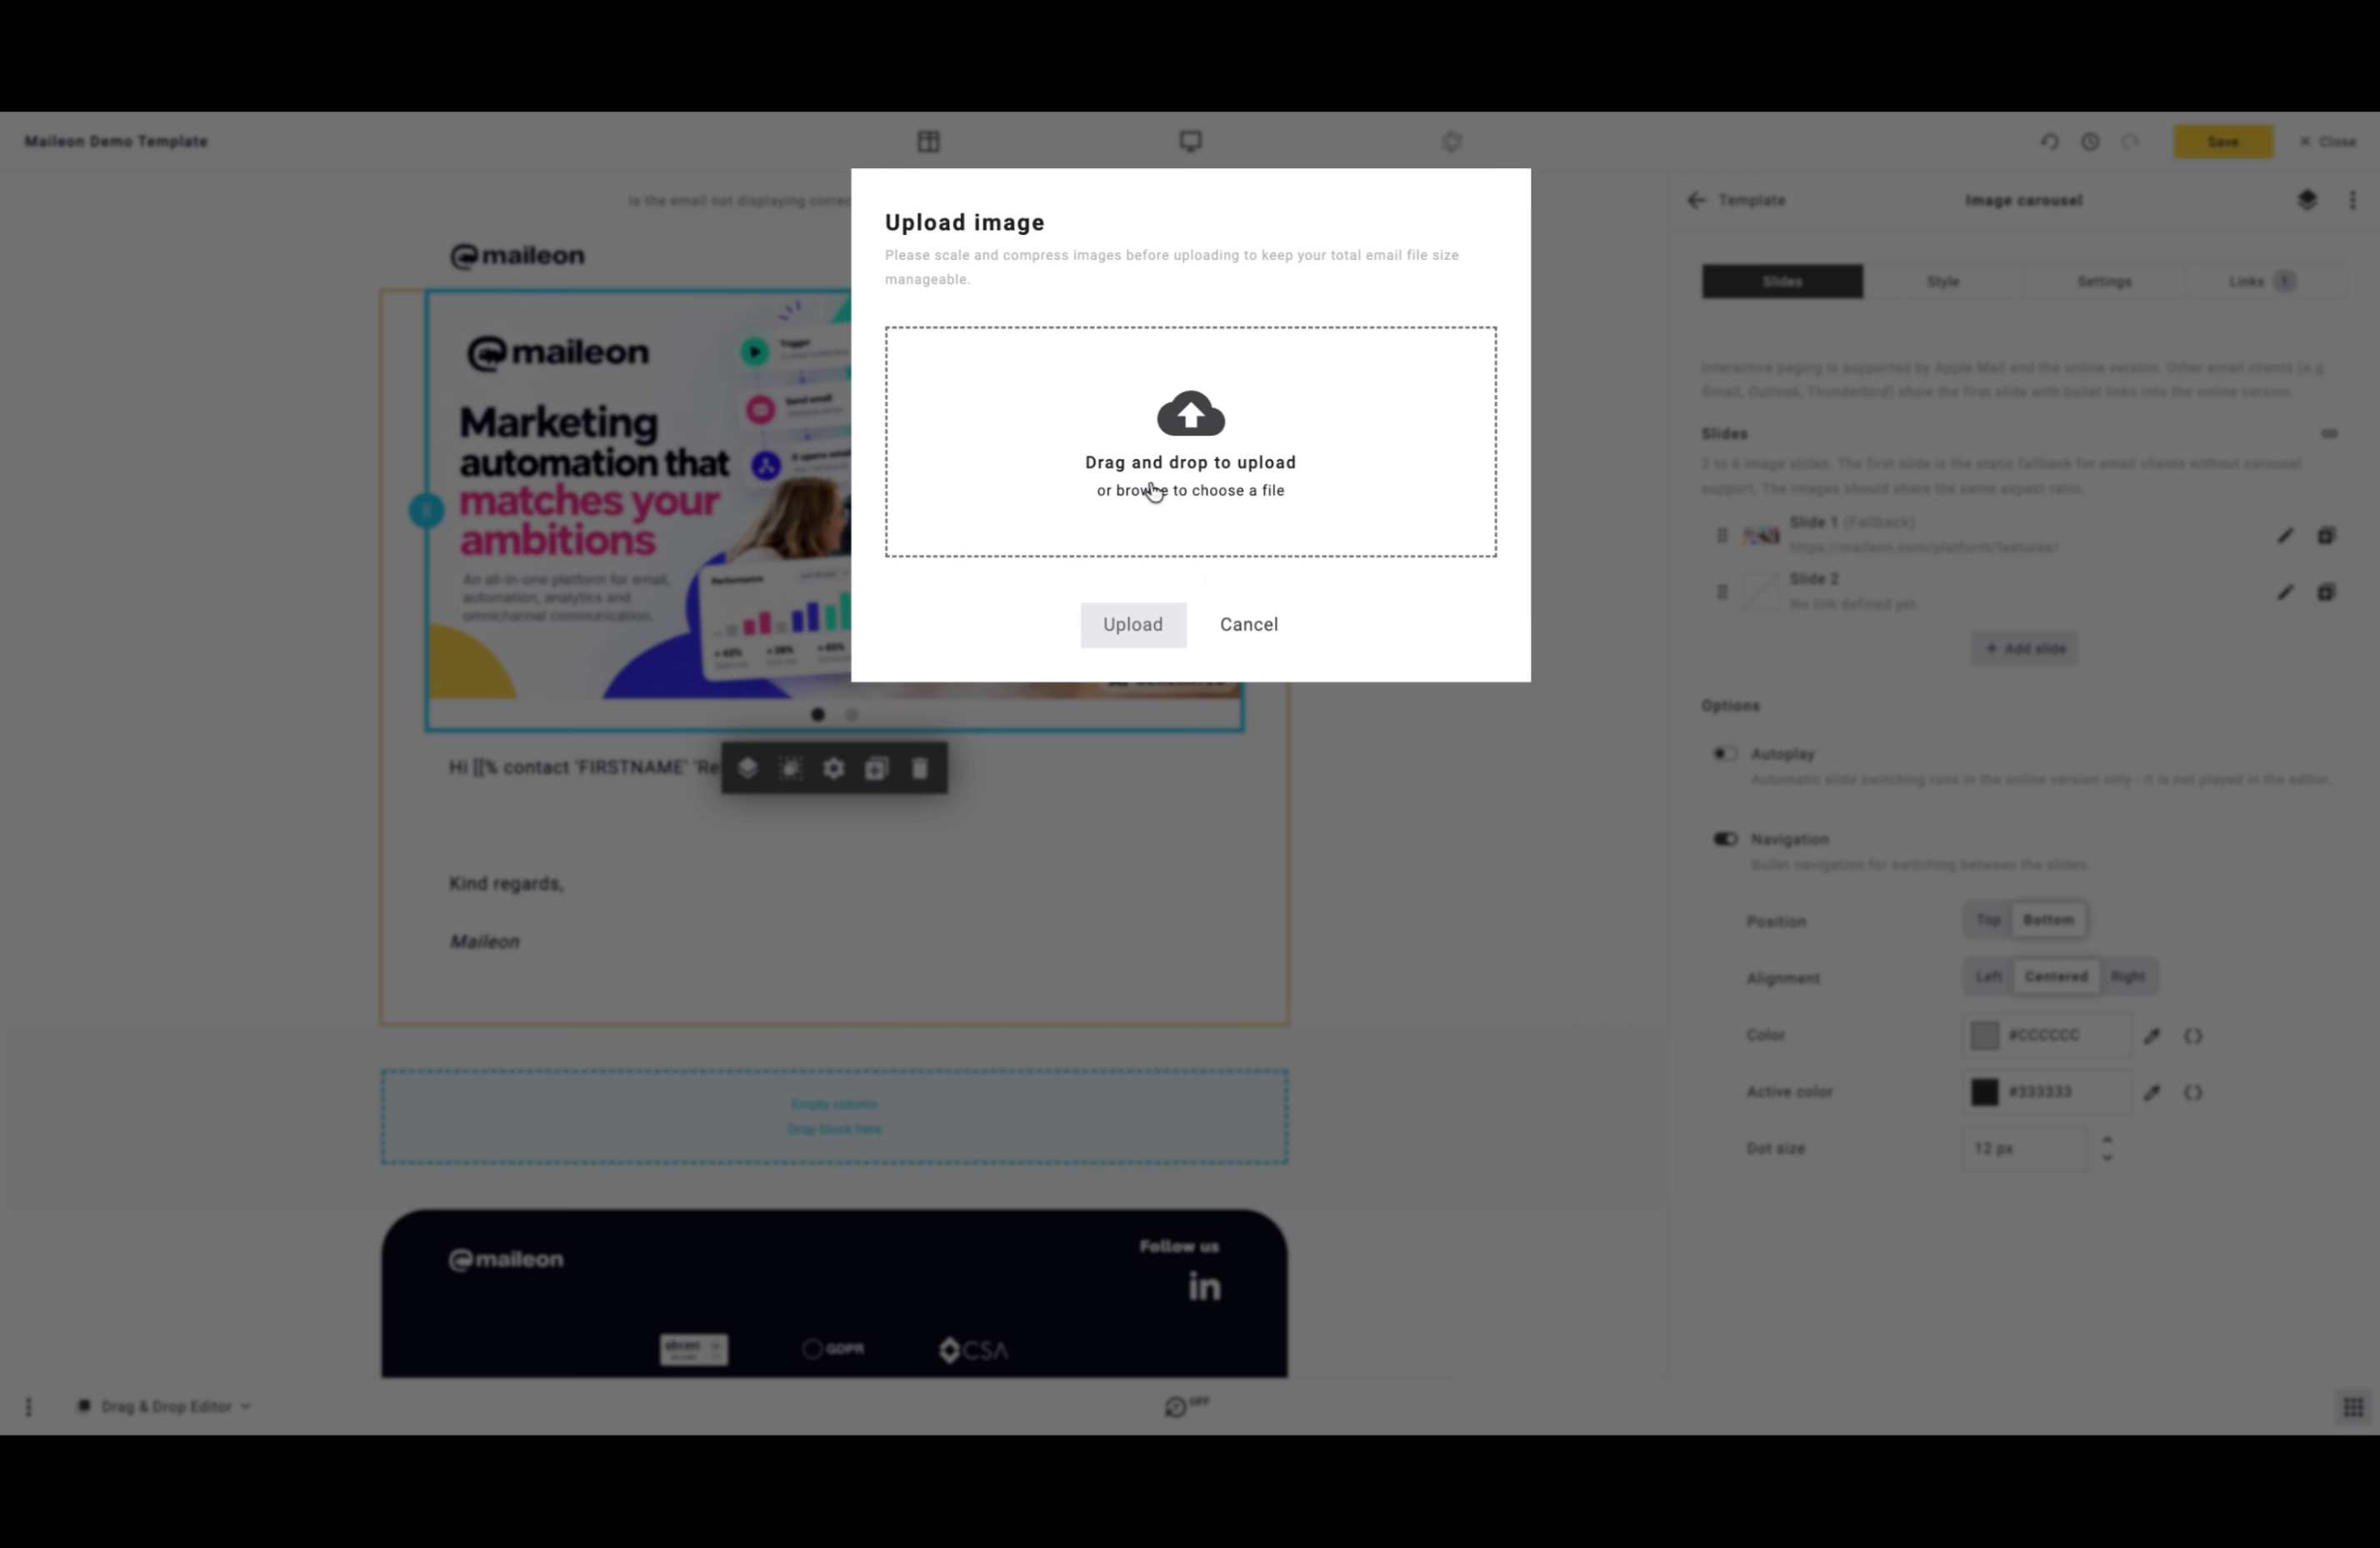
17. Upload Second Image
Start uploading the selected second image to include it in your campaign.
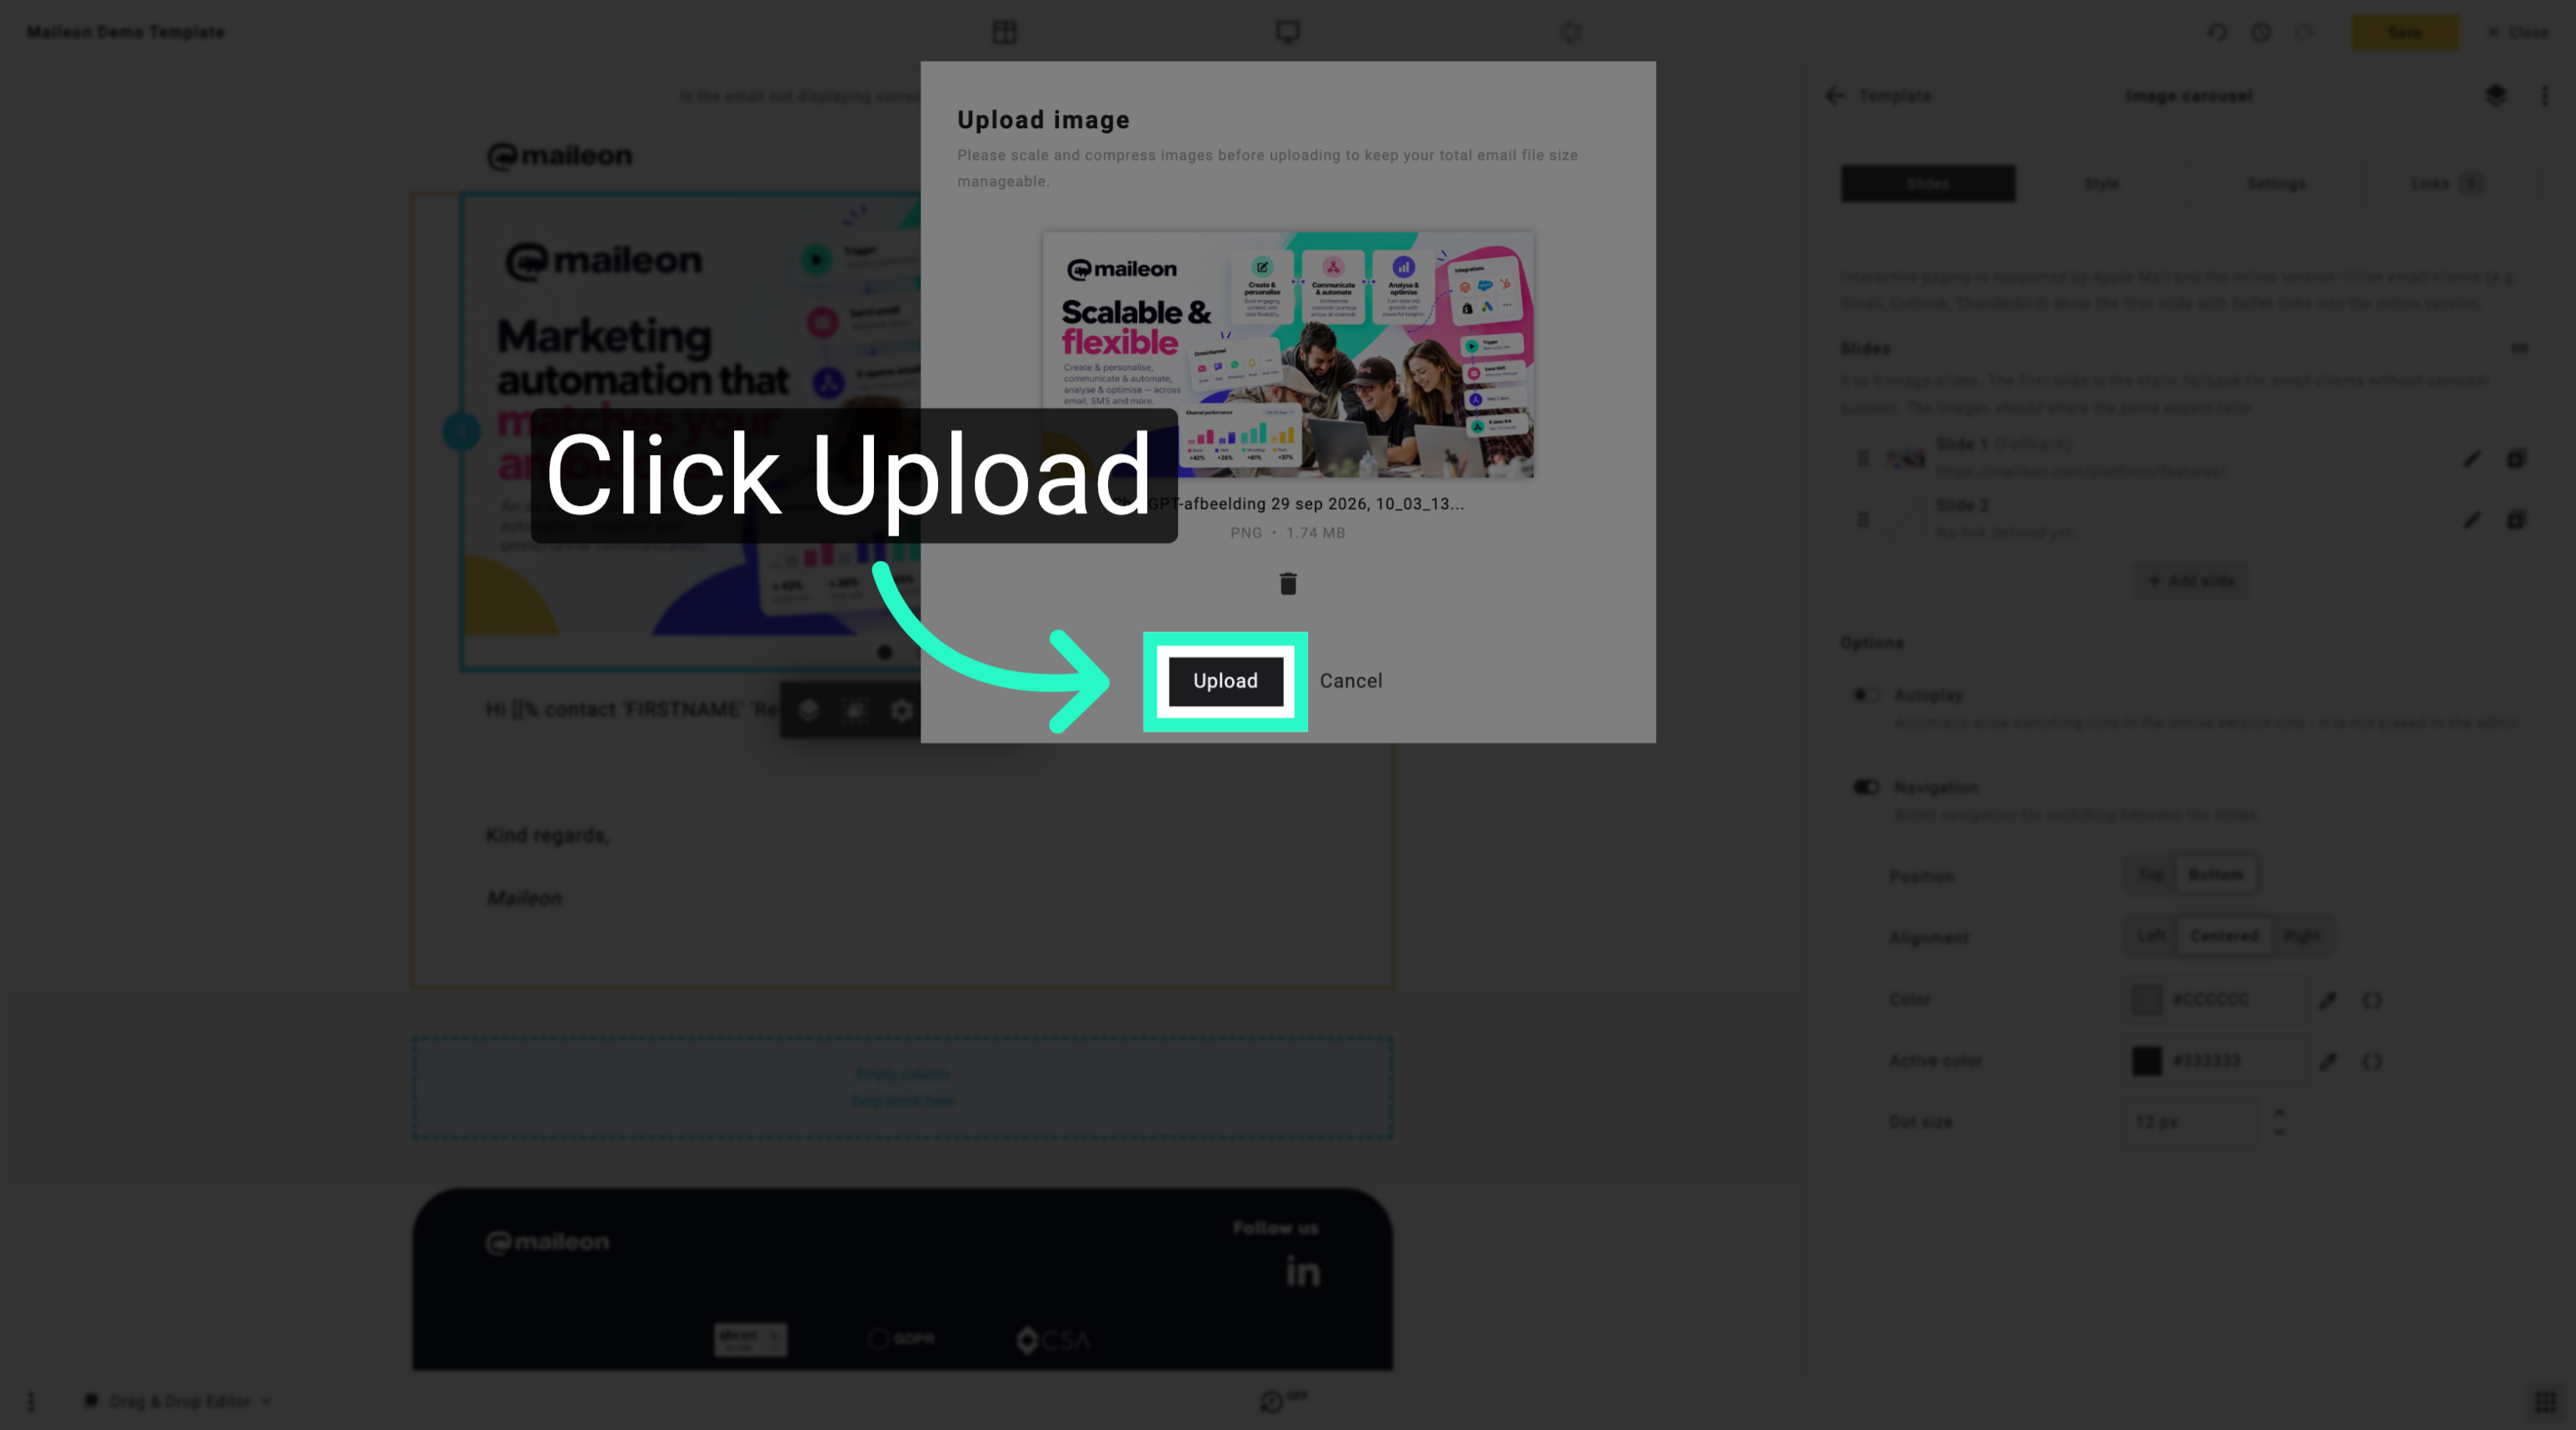
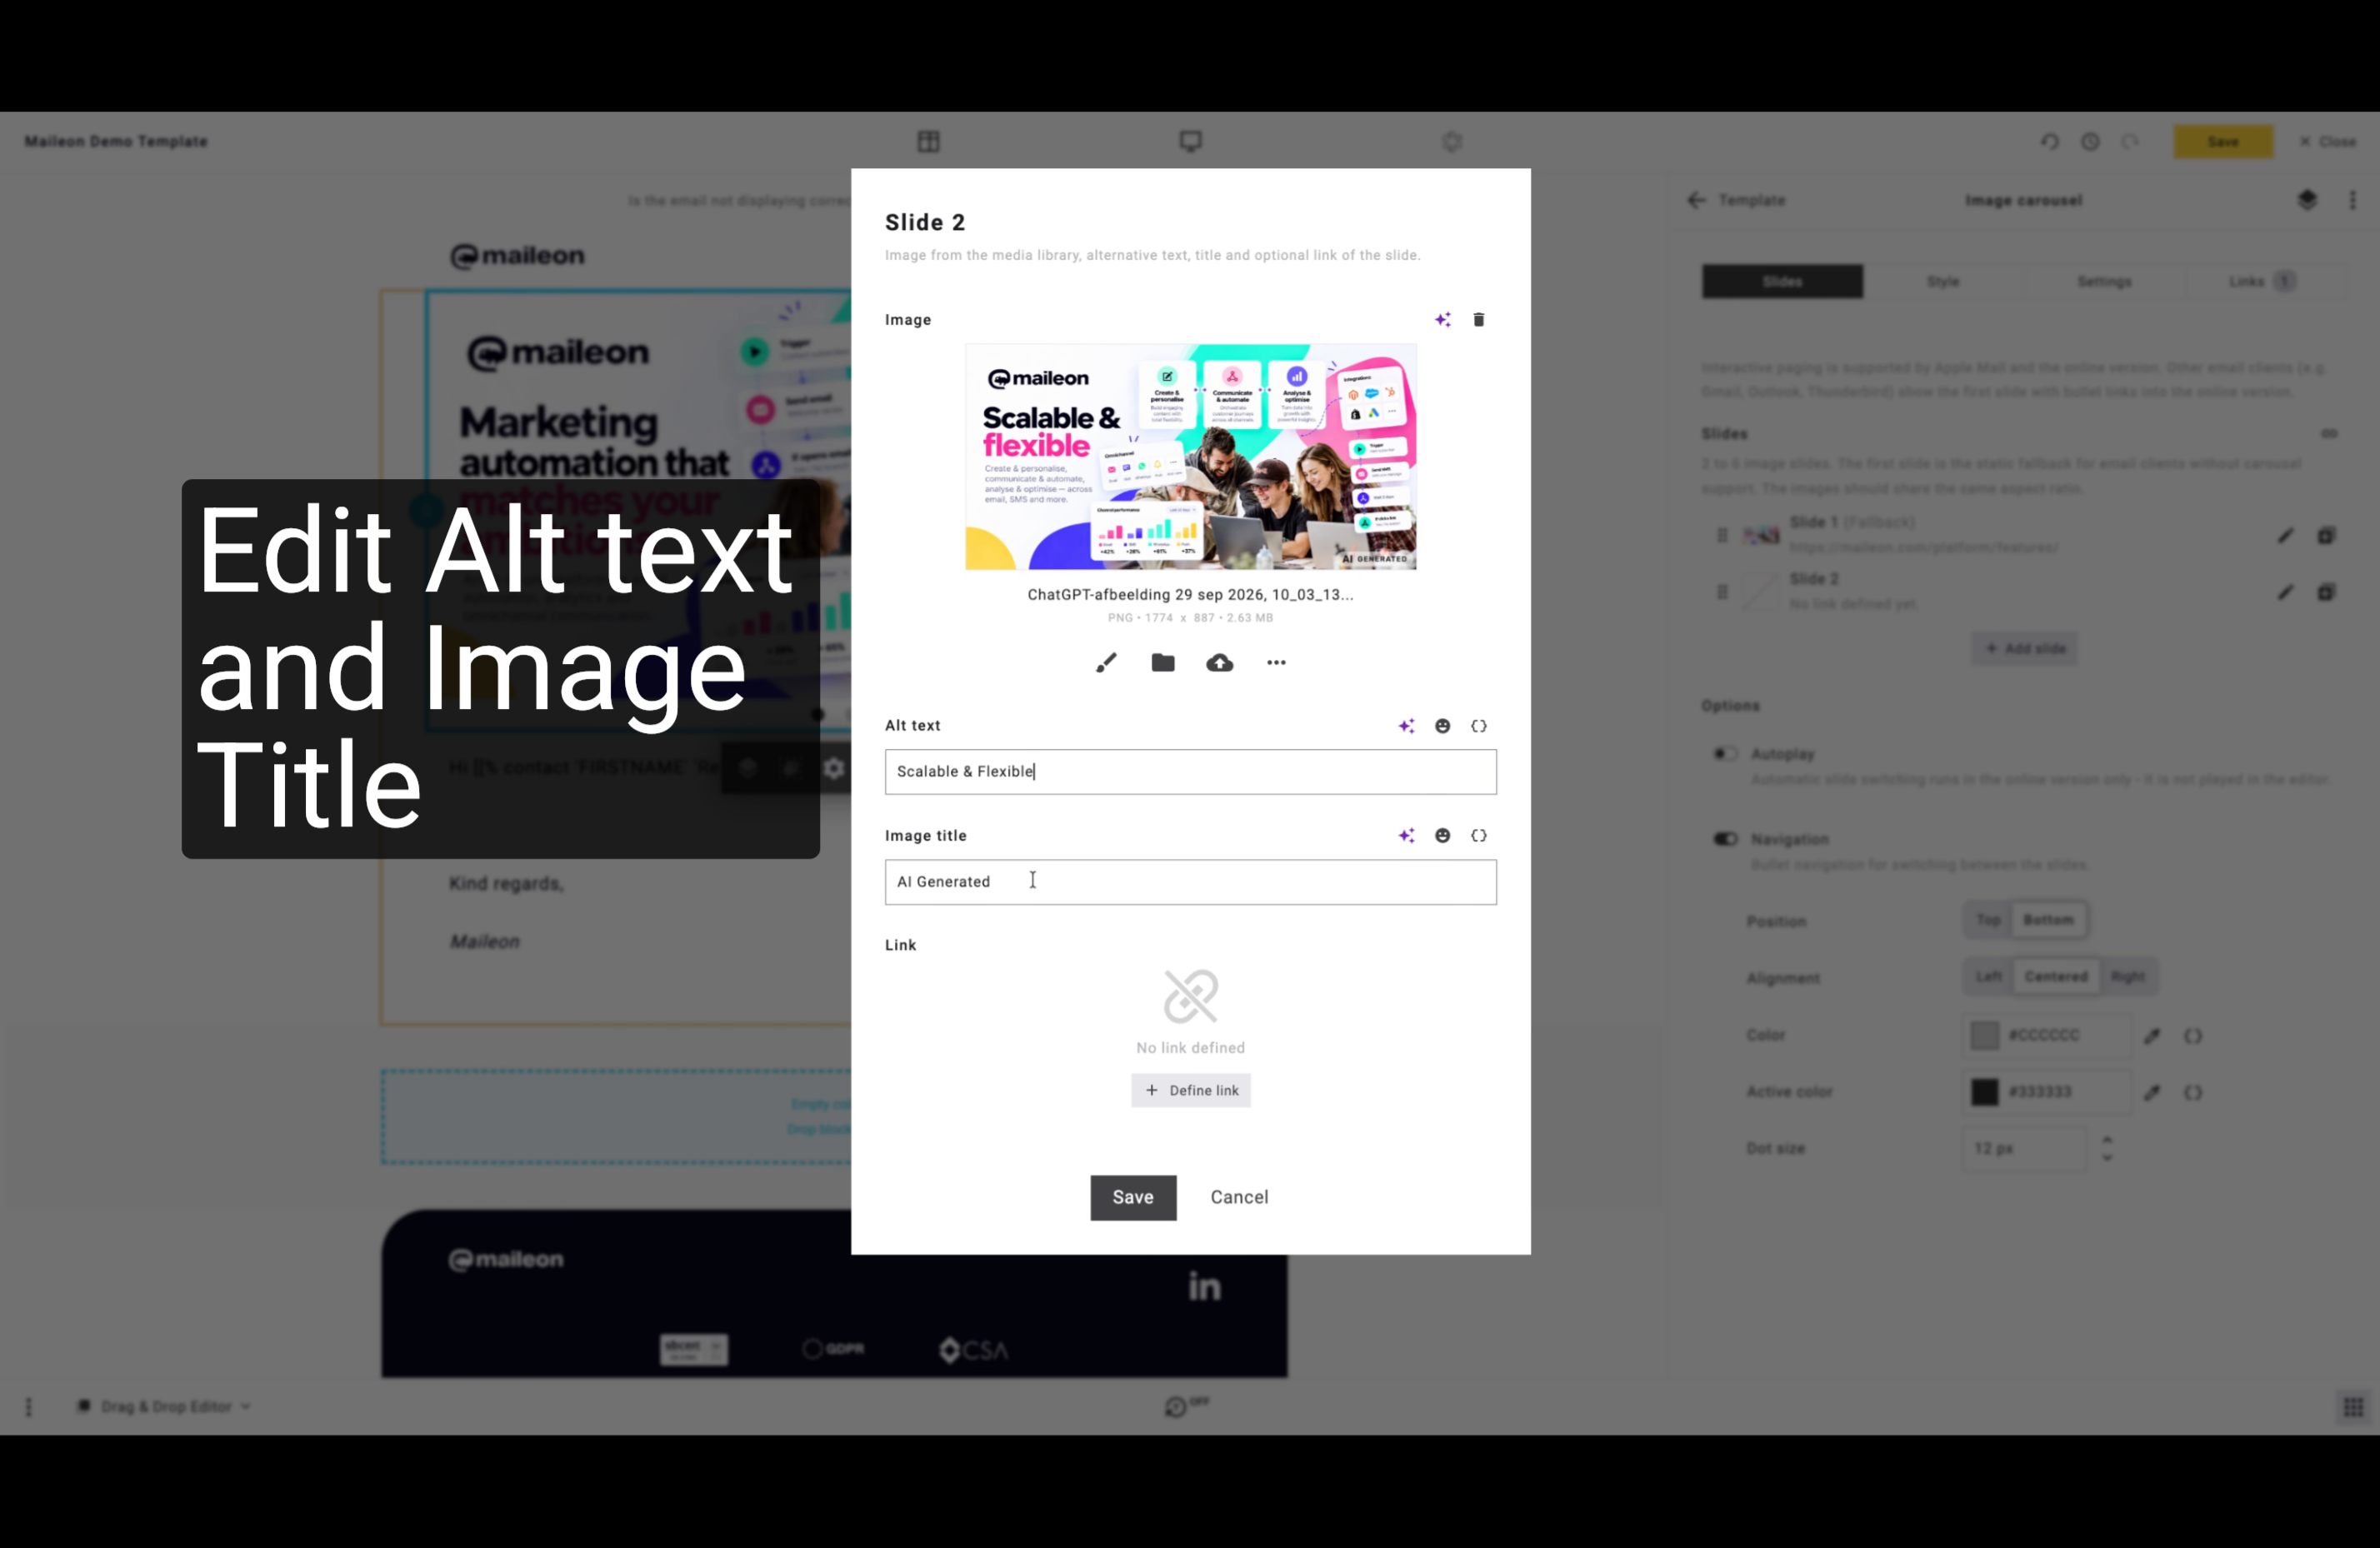
18. Edit Alt text and Image Title
Type a concise description to improve accessibility for the second image.
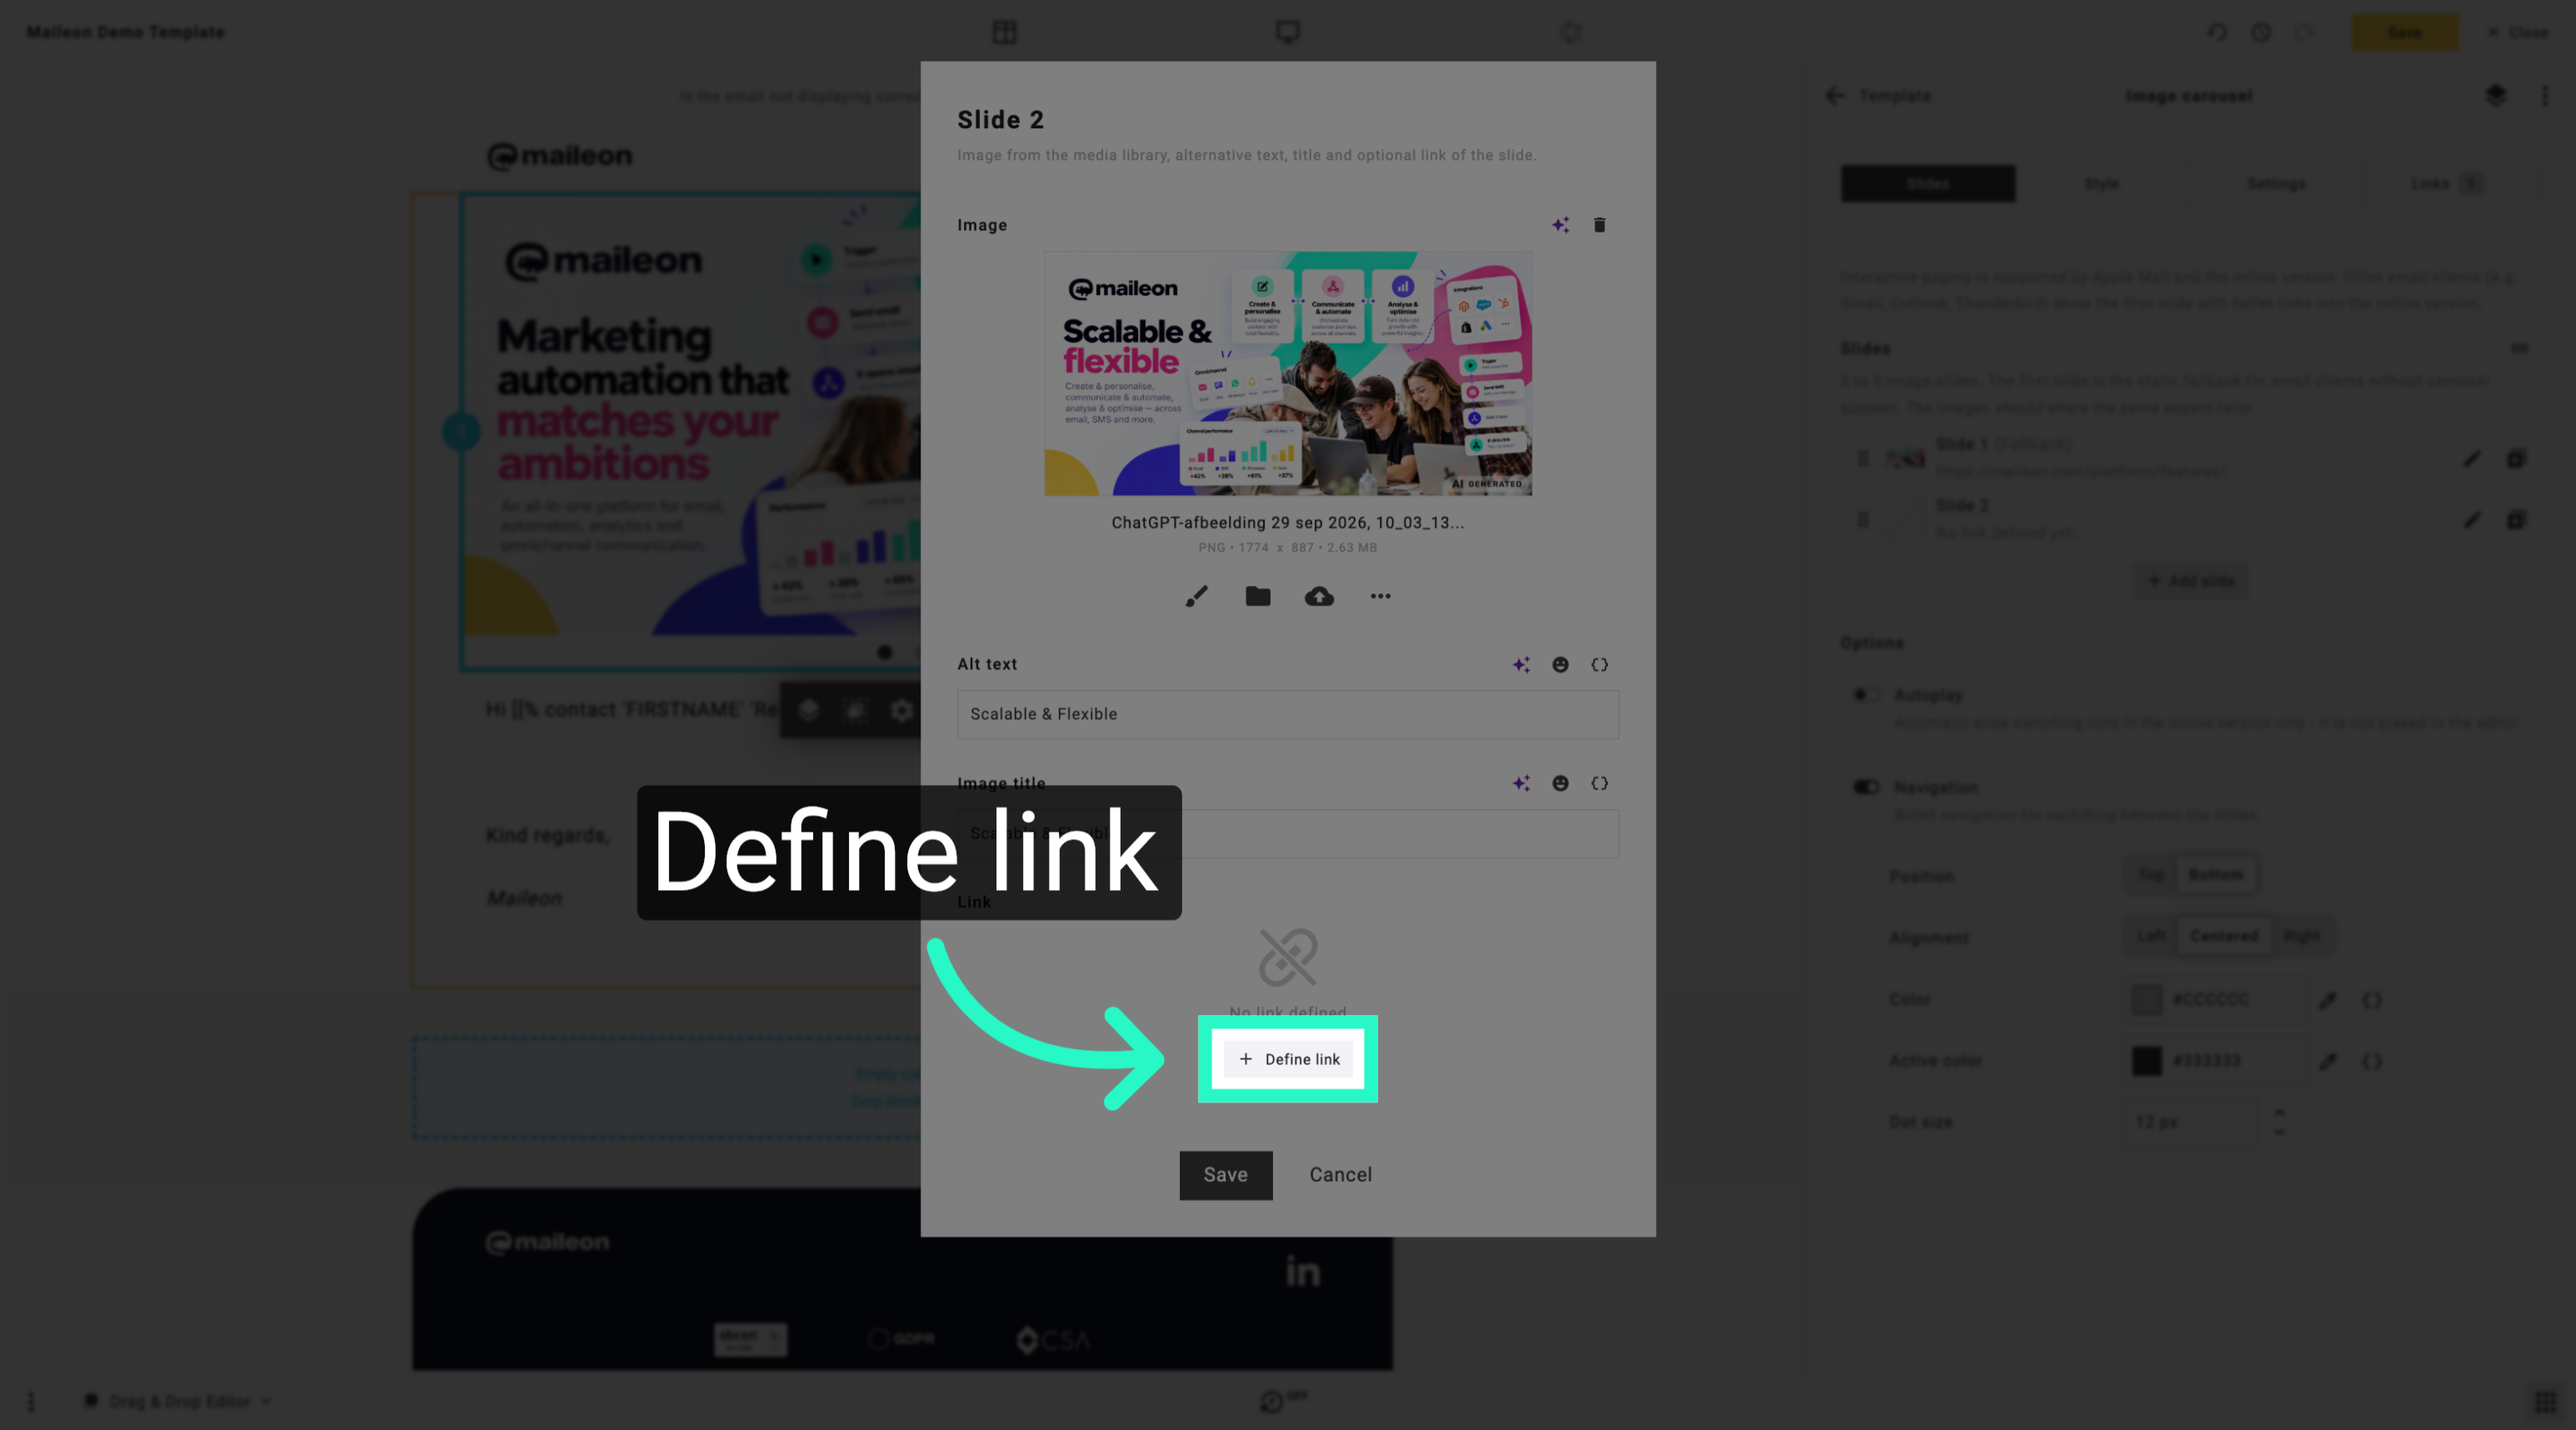
19. Define Link for Second Image
Set a hyperlink for the second image to direct users to a relevant webpage.
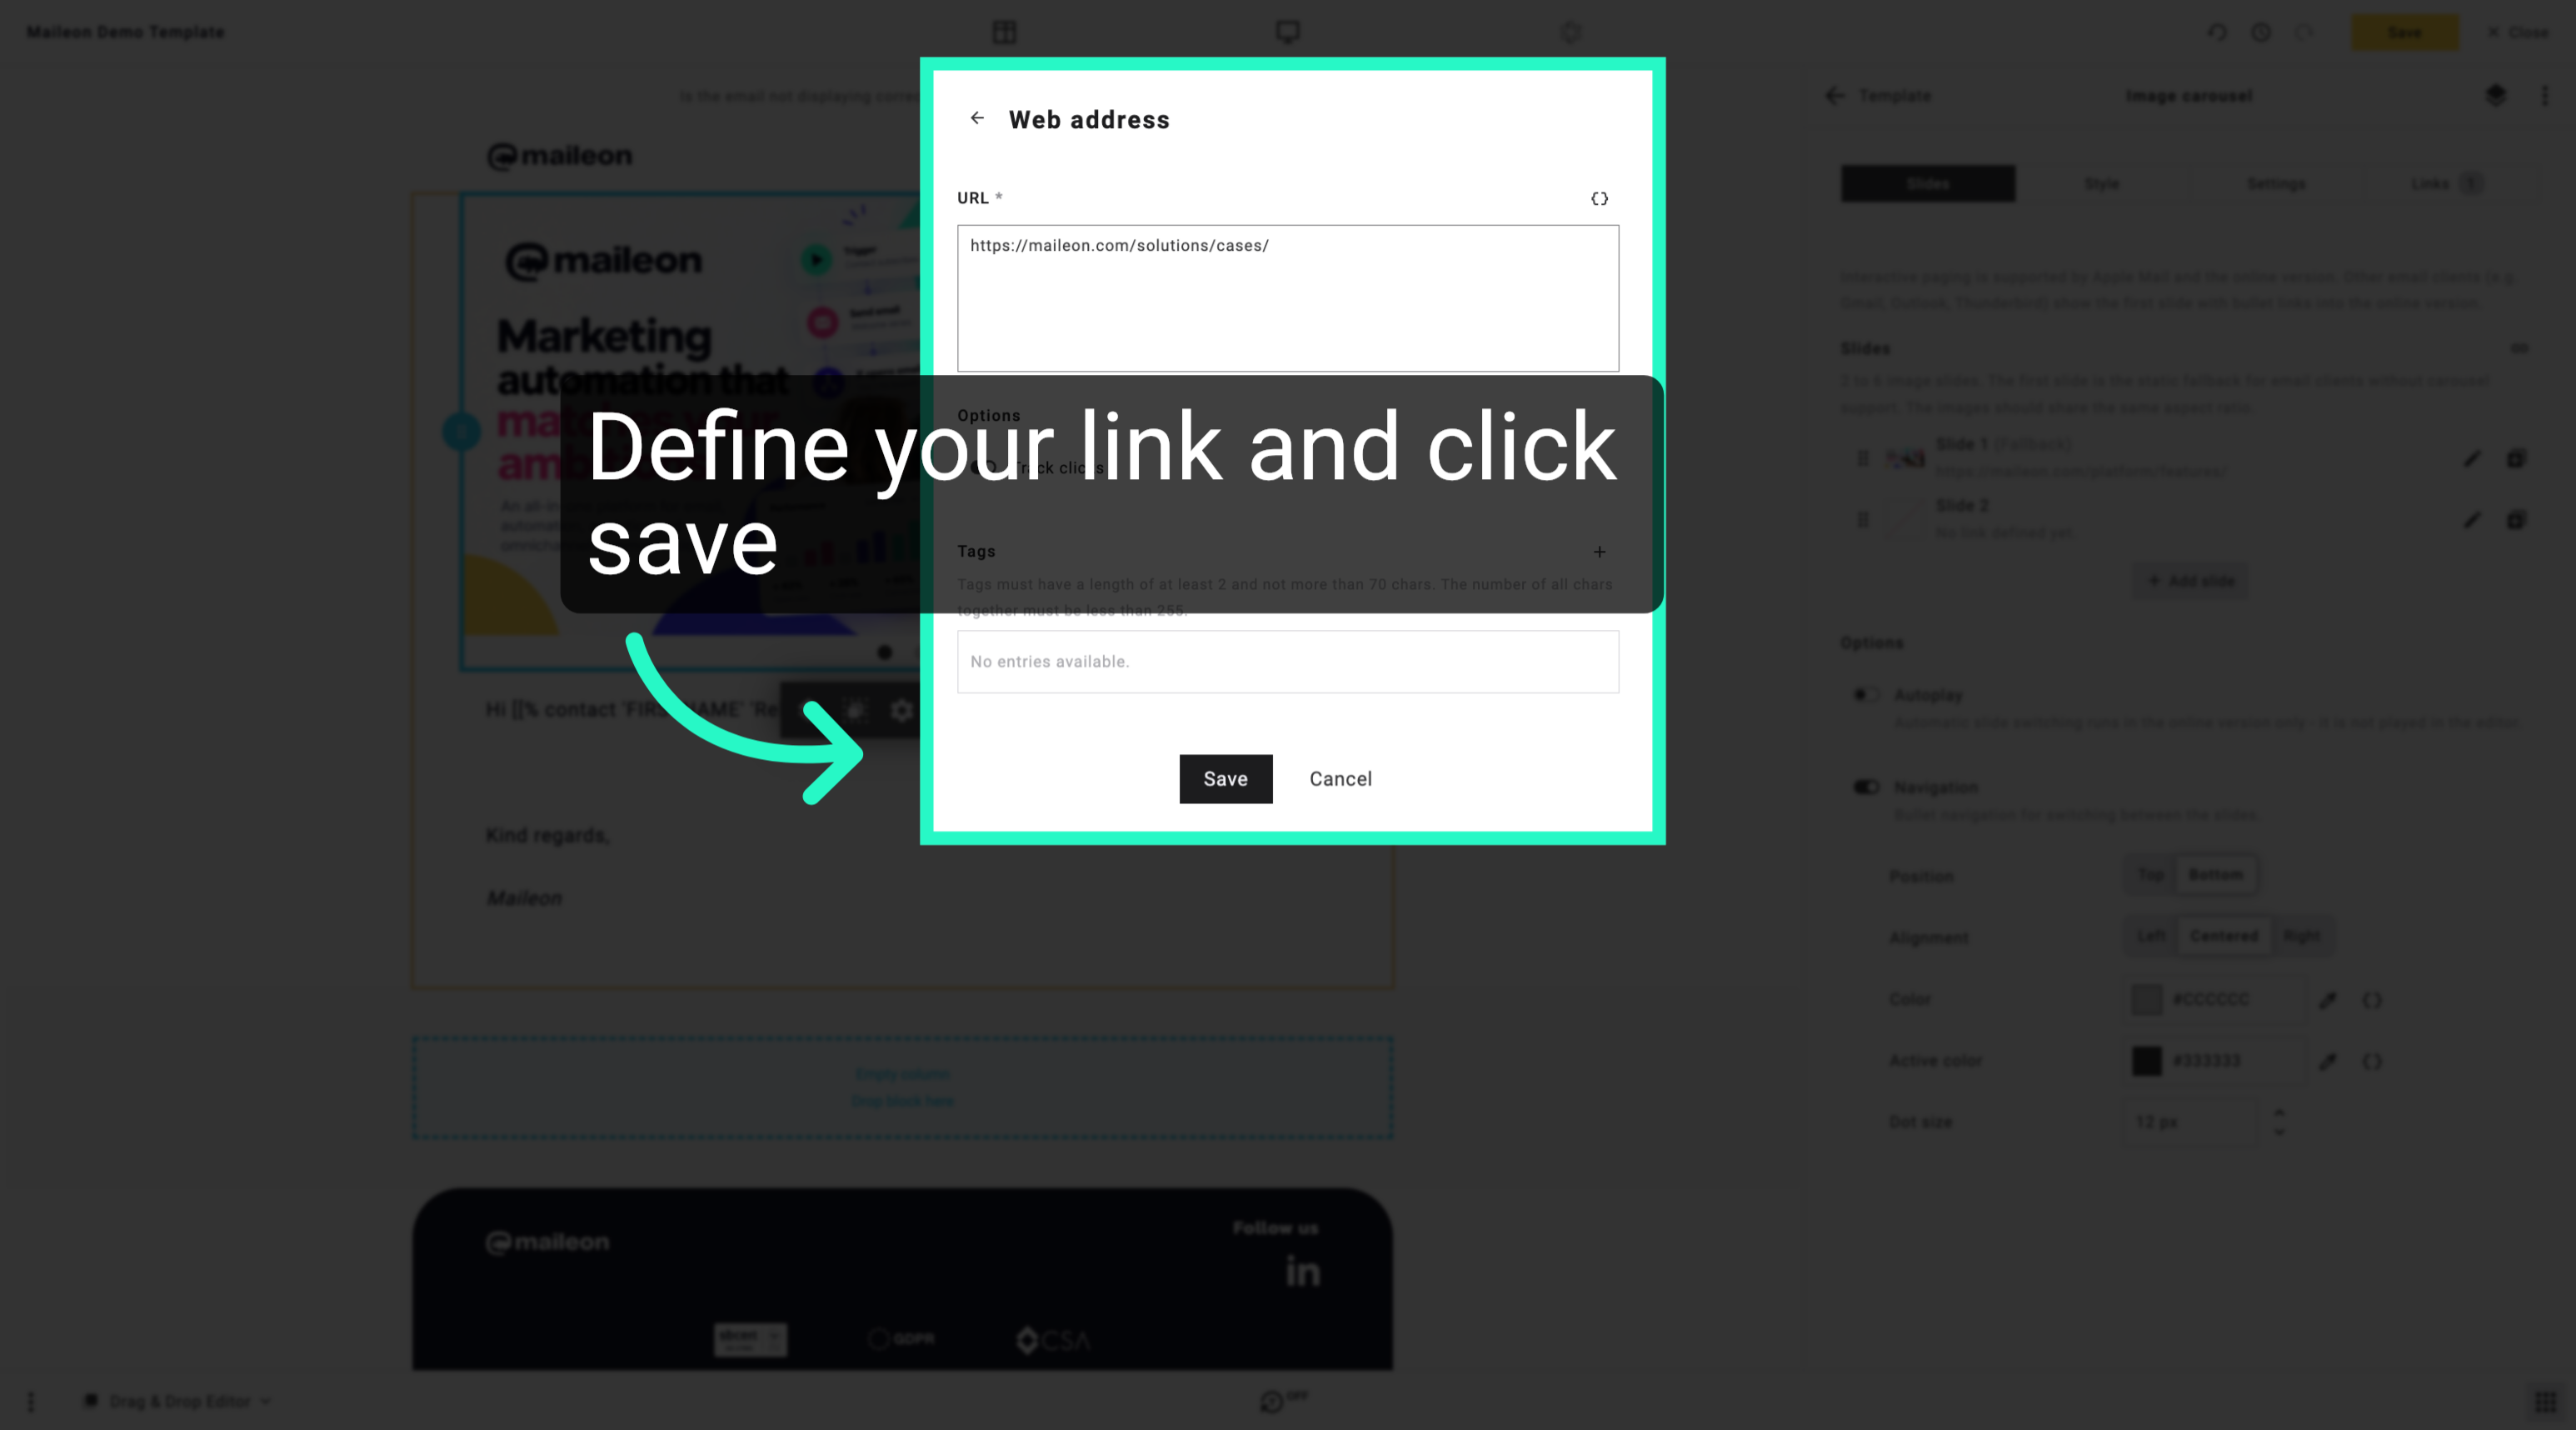
20. Define your link and click save
Save the hyperlink settings to apply the link to the second image.
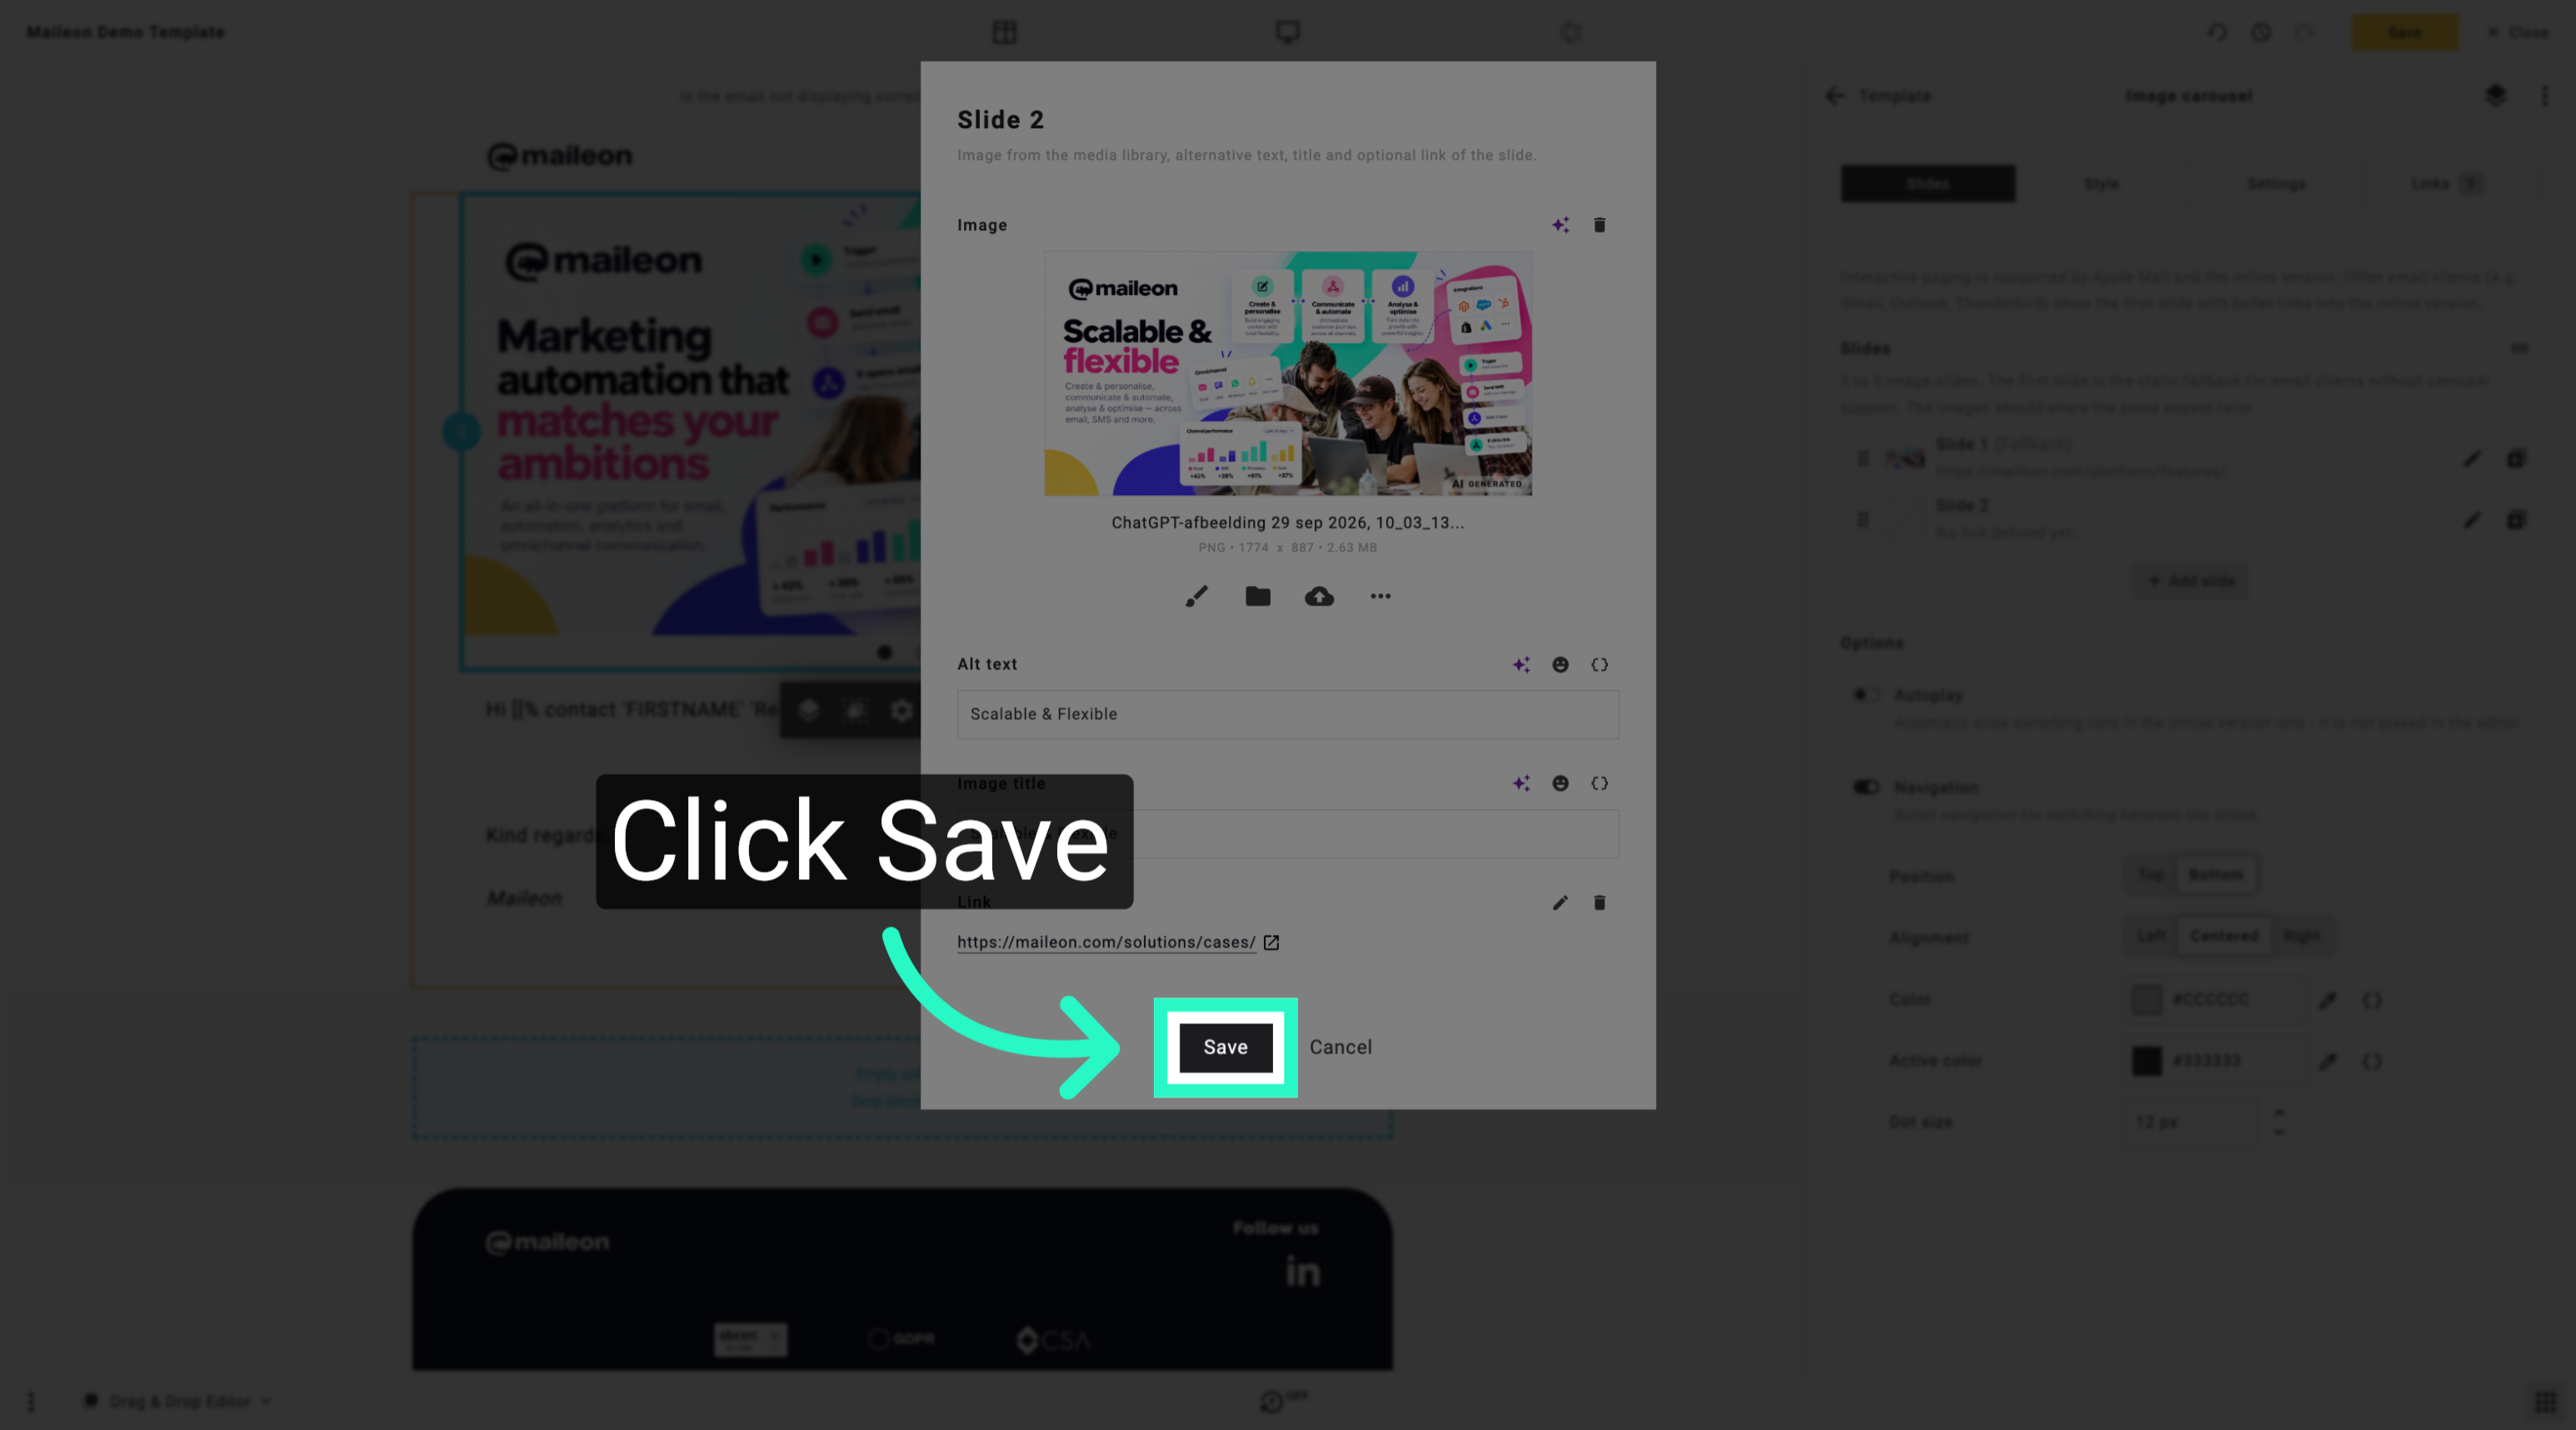
21. Save Image Settings
Save all changes to finalise the configuration of the second image.
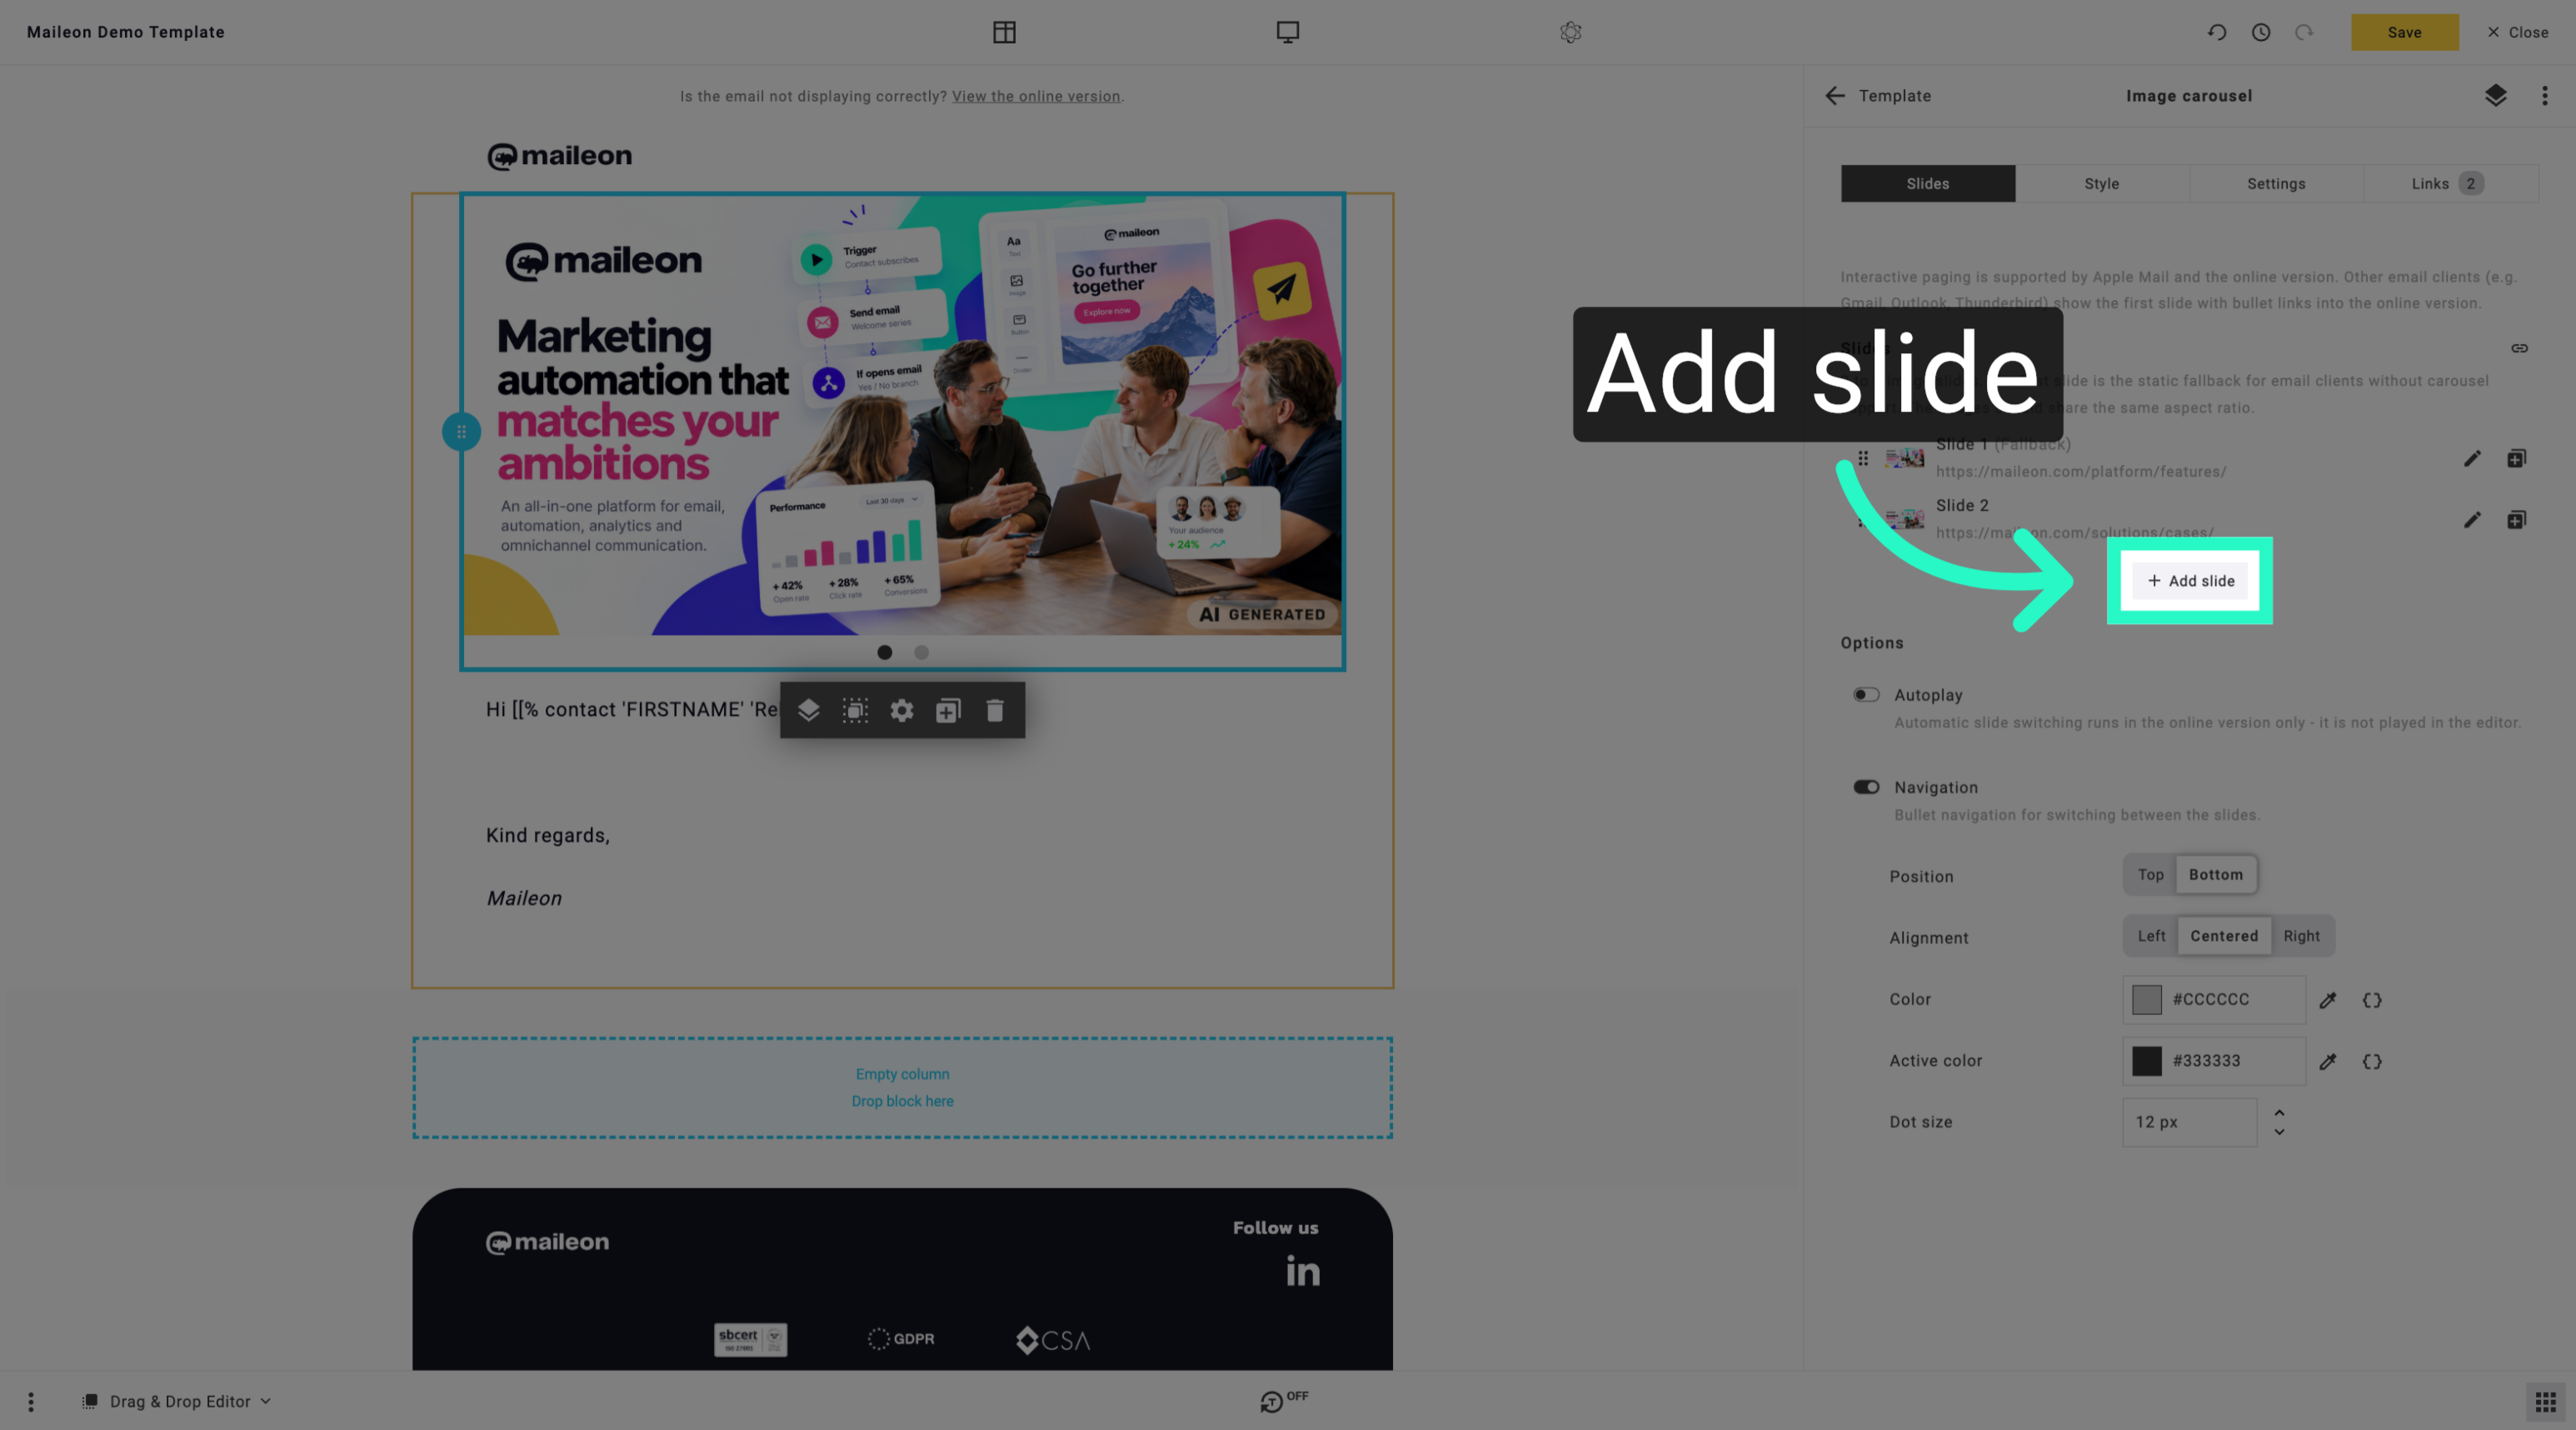
22. Add New Slide
Add a new slide to your campaign to include additional content or images.
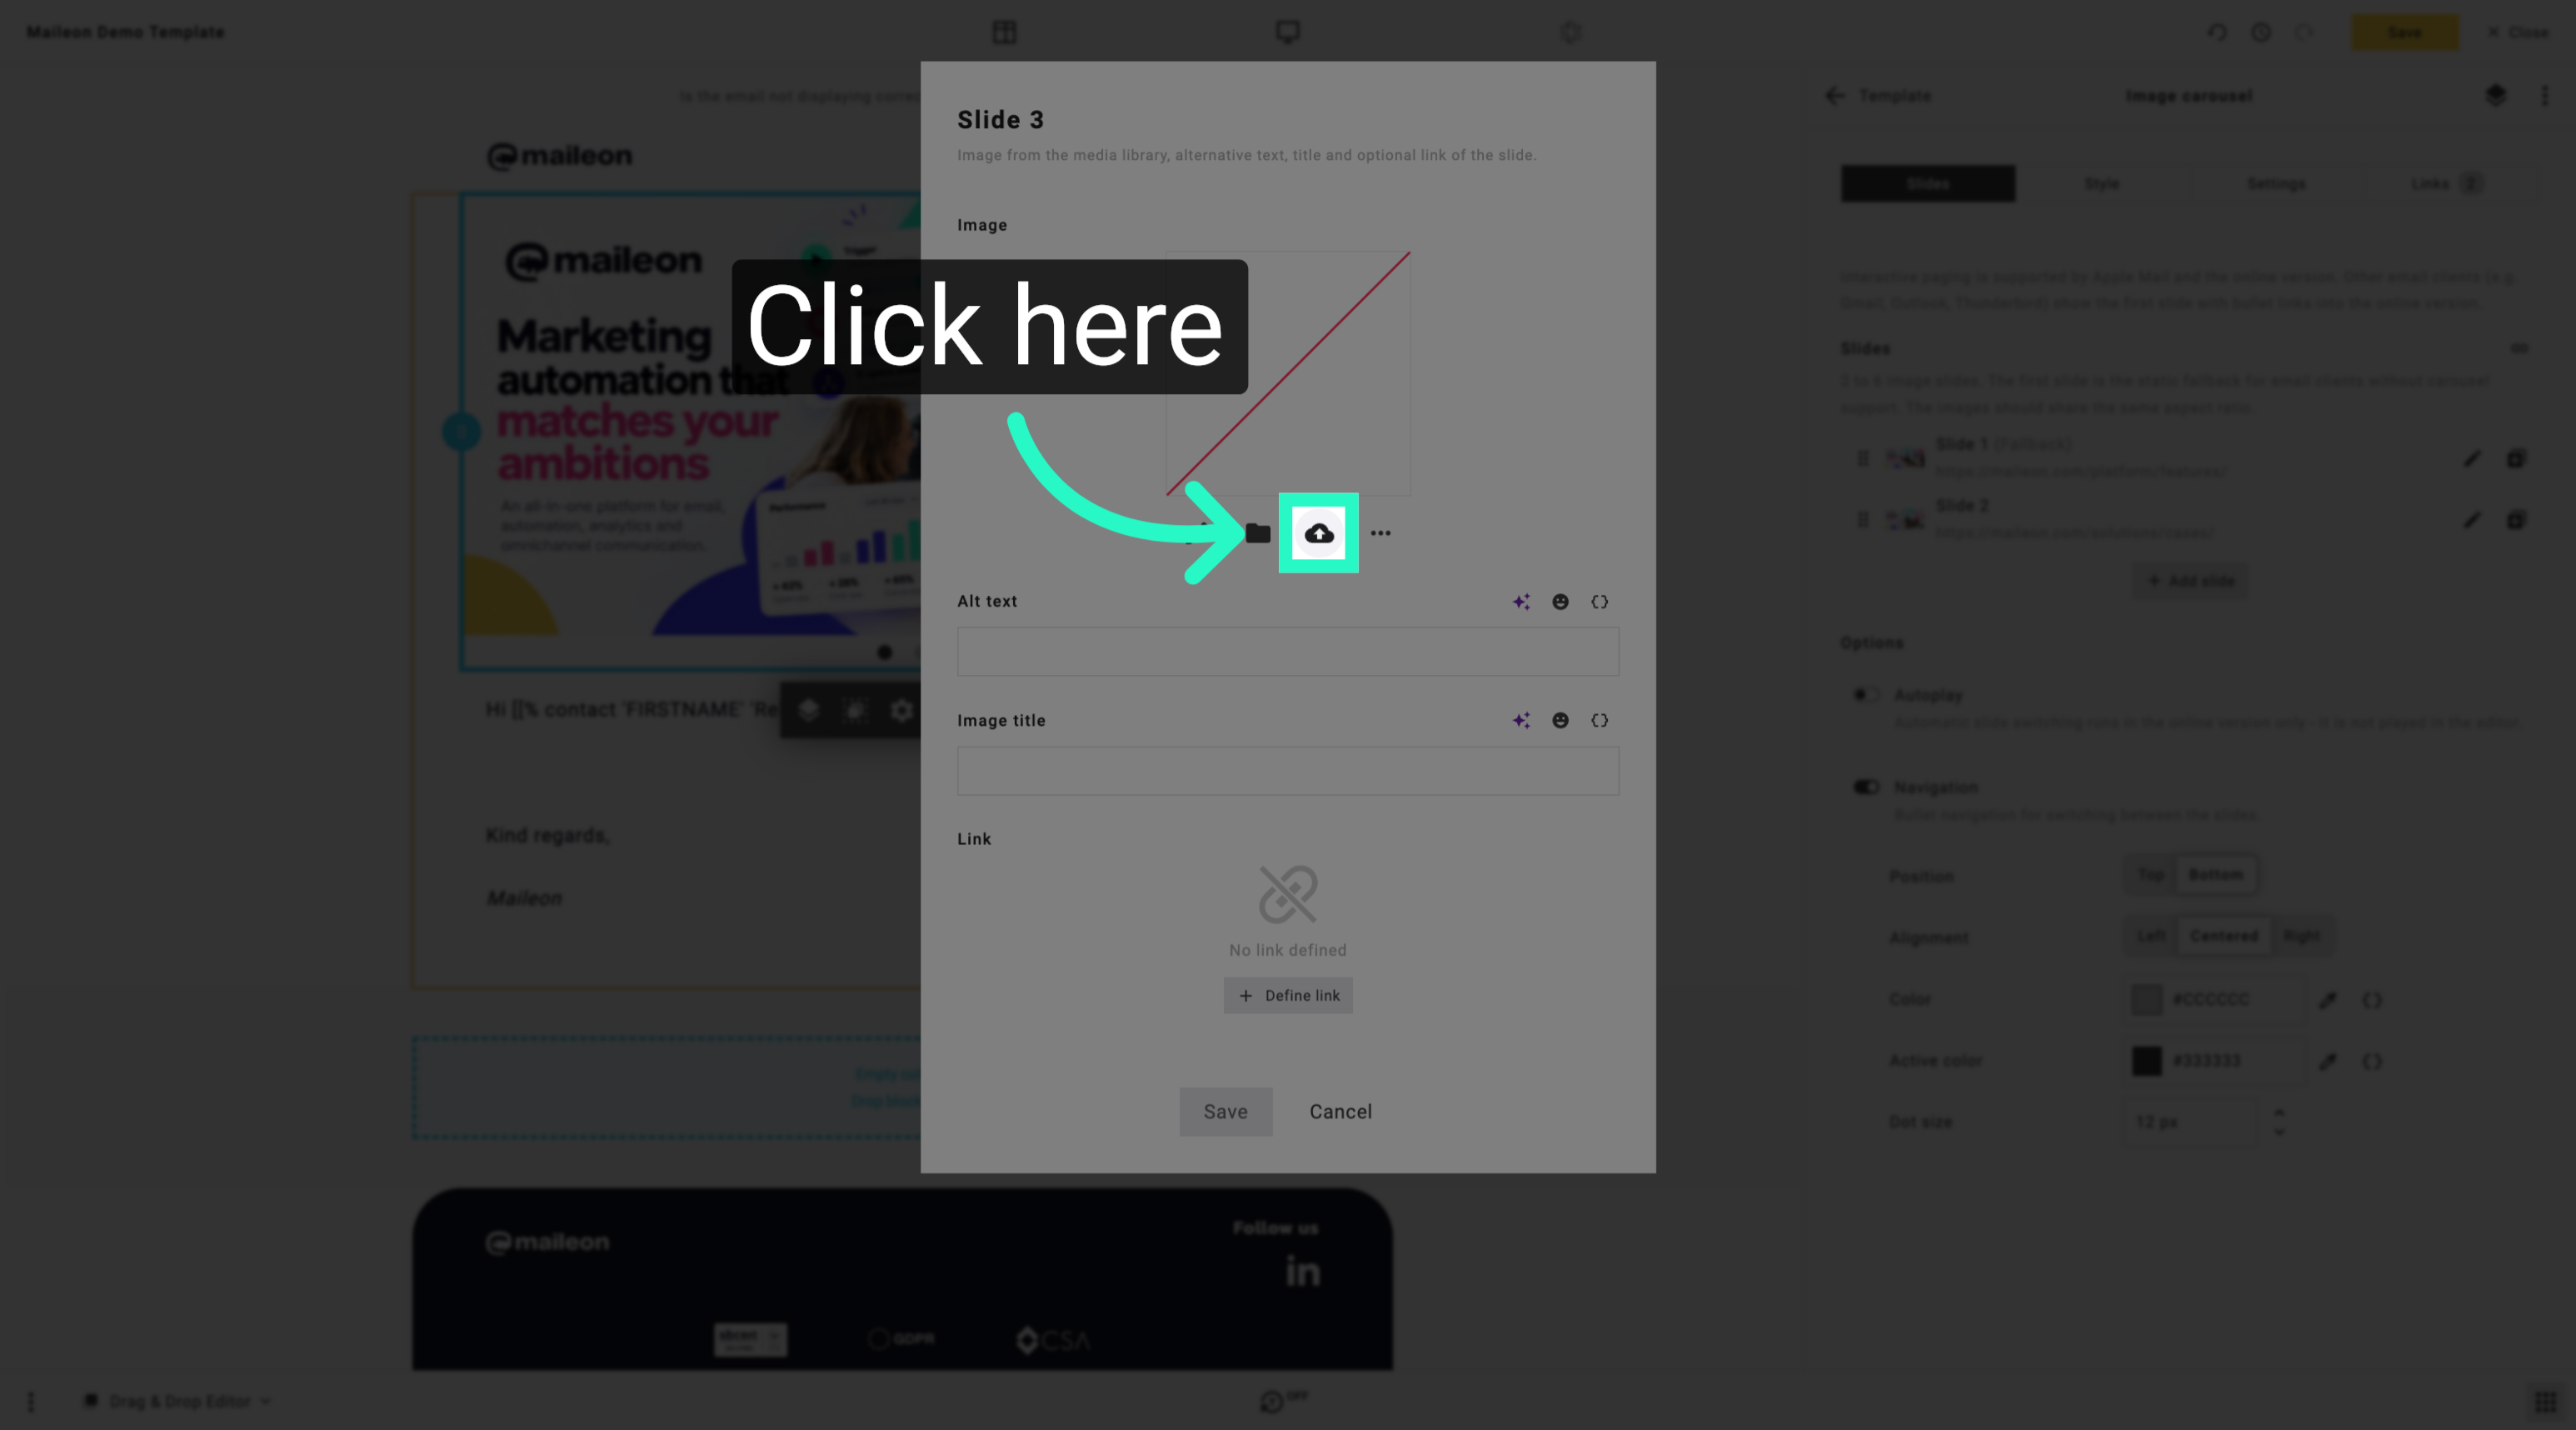
23. Open Slide Upload Section
Access the slide upload area to add new images or files to the slide.
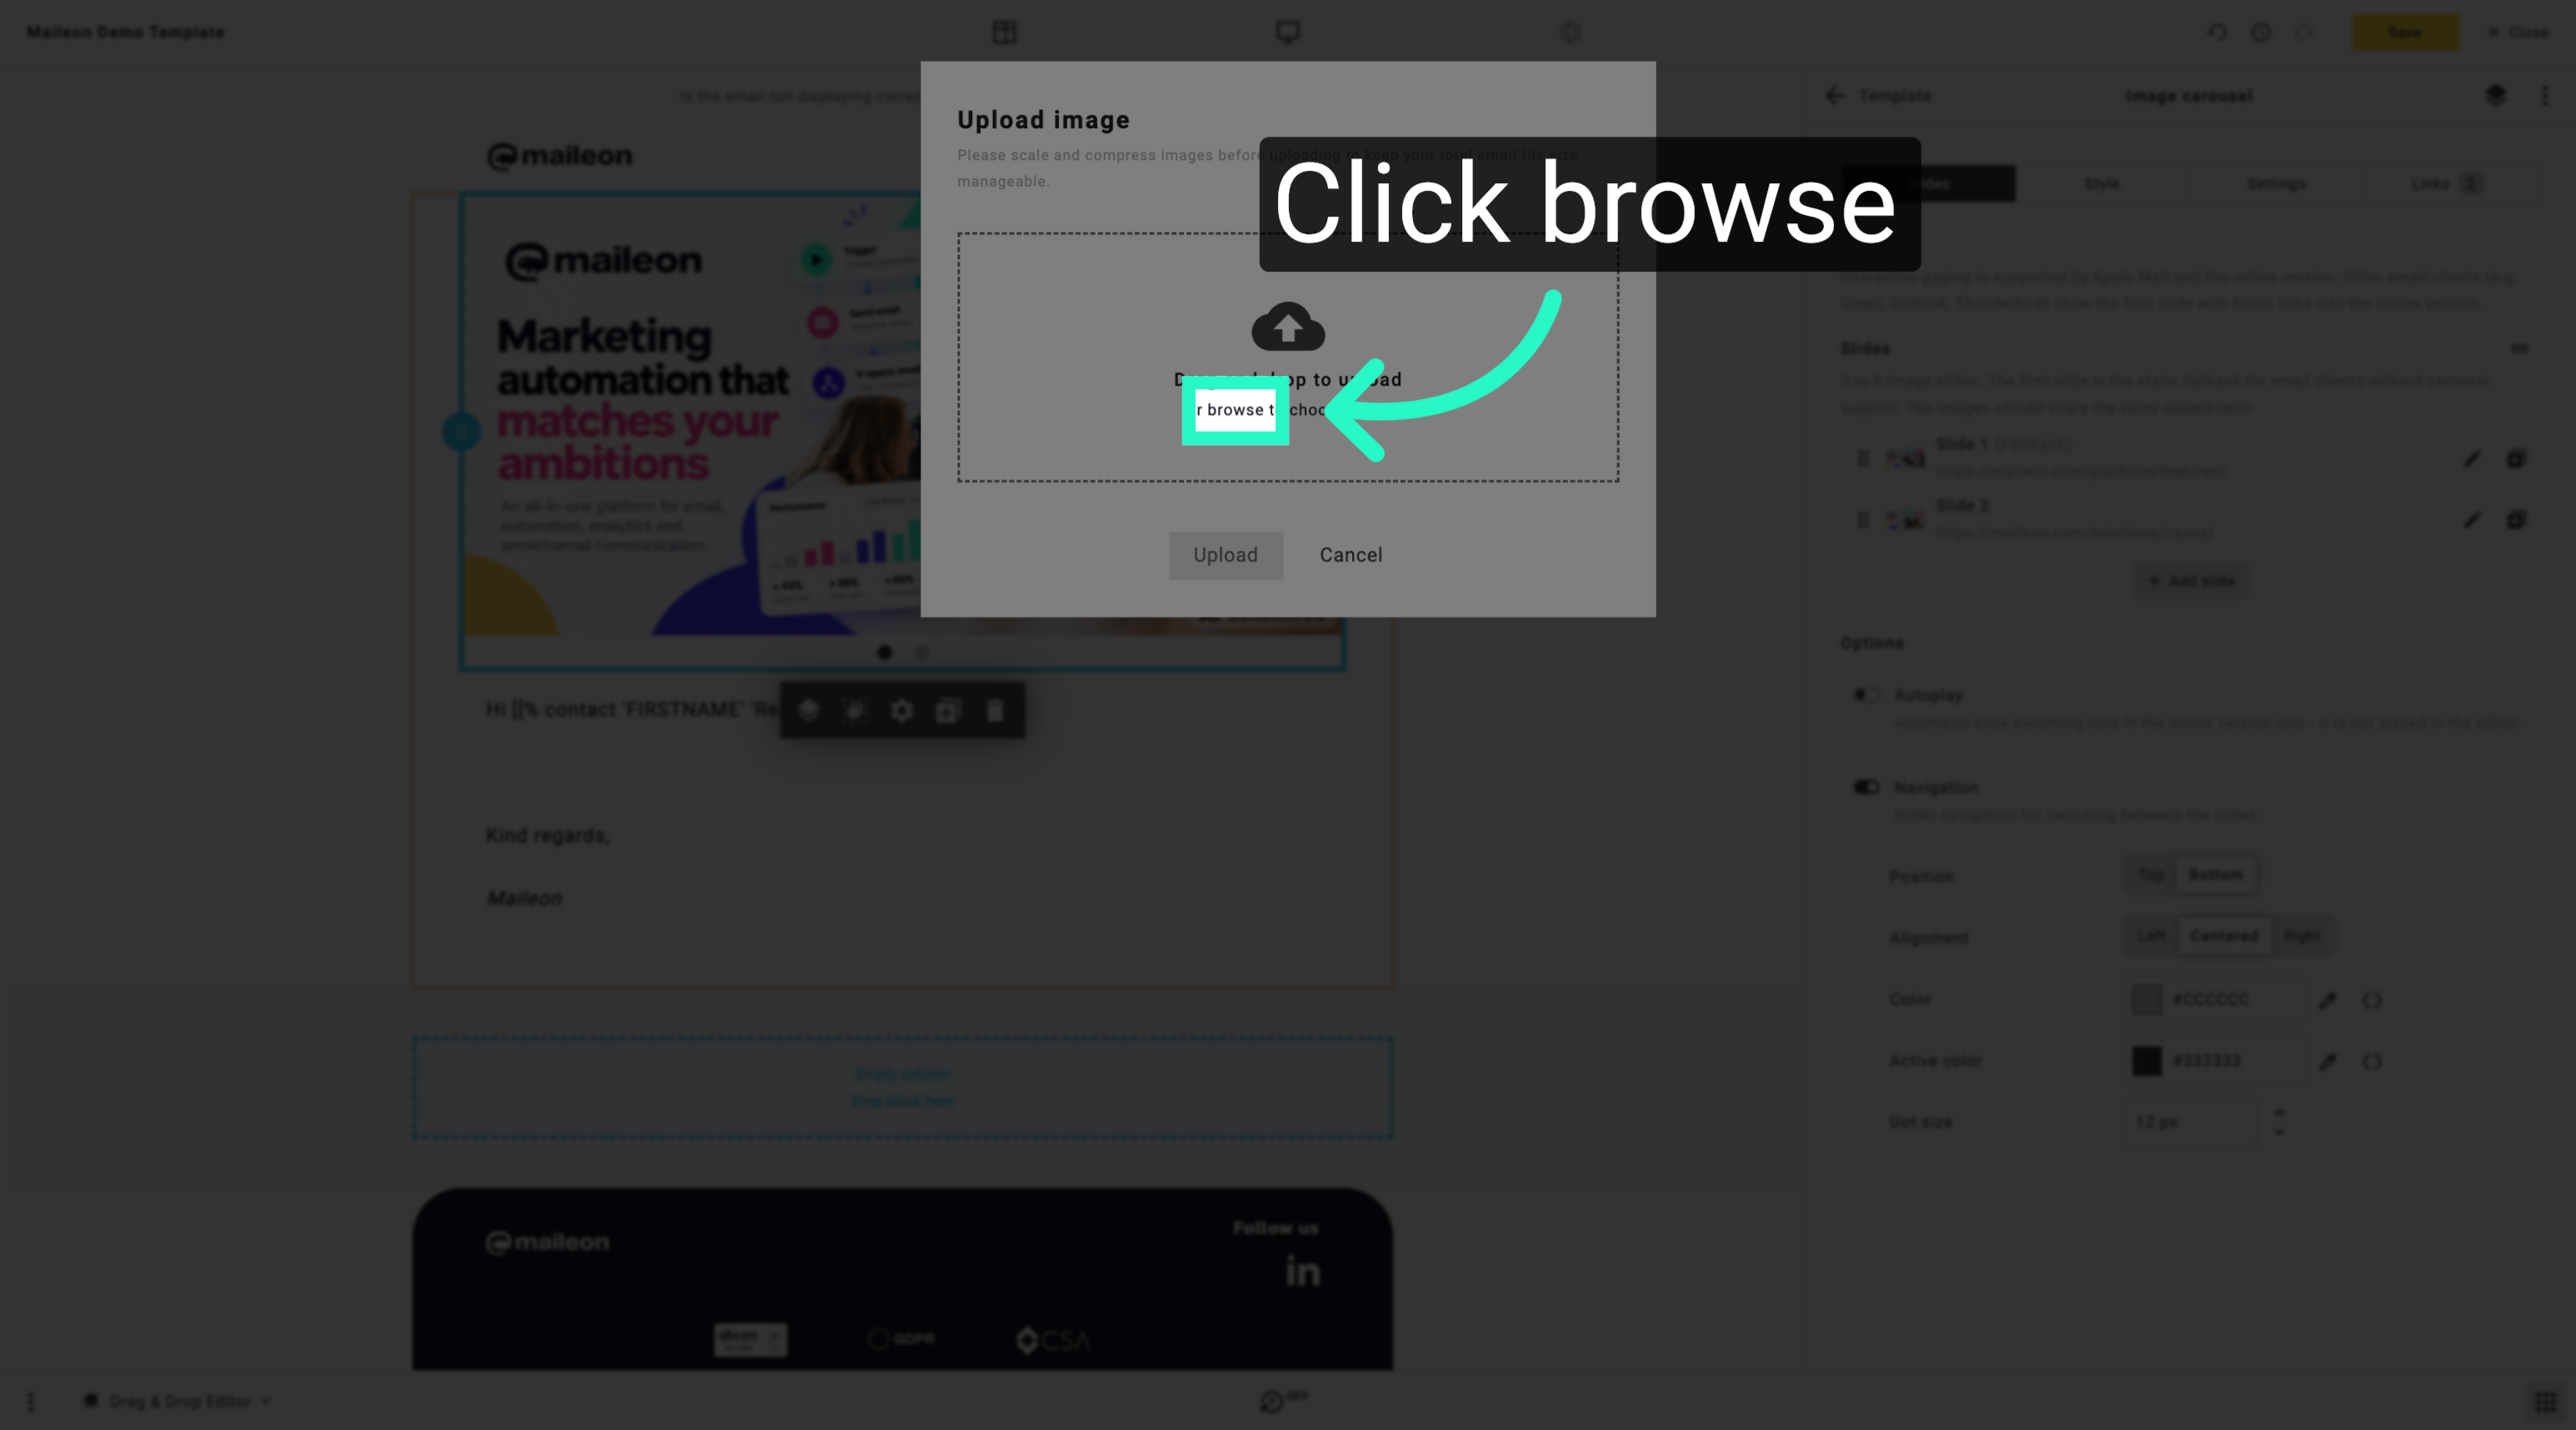
24. Open File Browser
Open the file browser to select an image file for the new slide.
25. Select Slide Image
Choose the image file to upload for the new slide in your campaign.
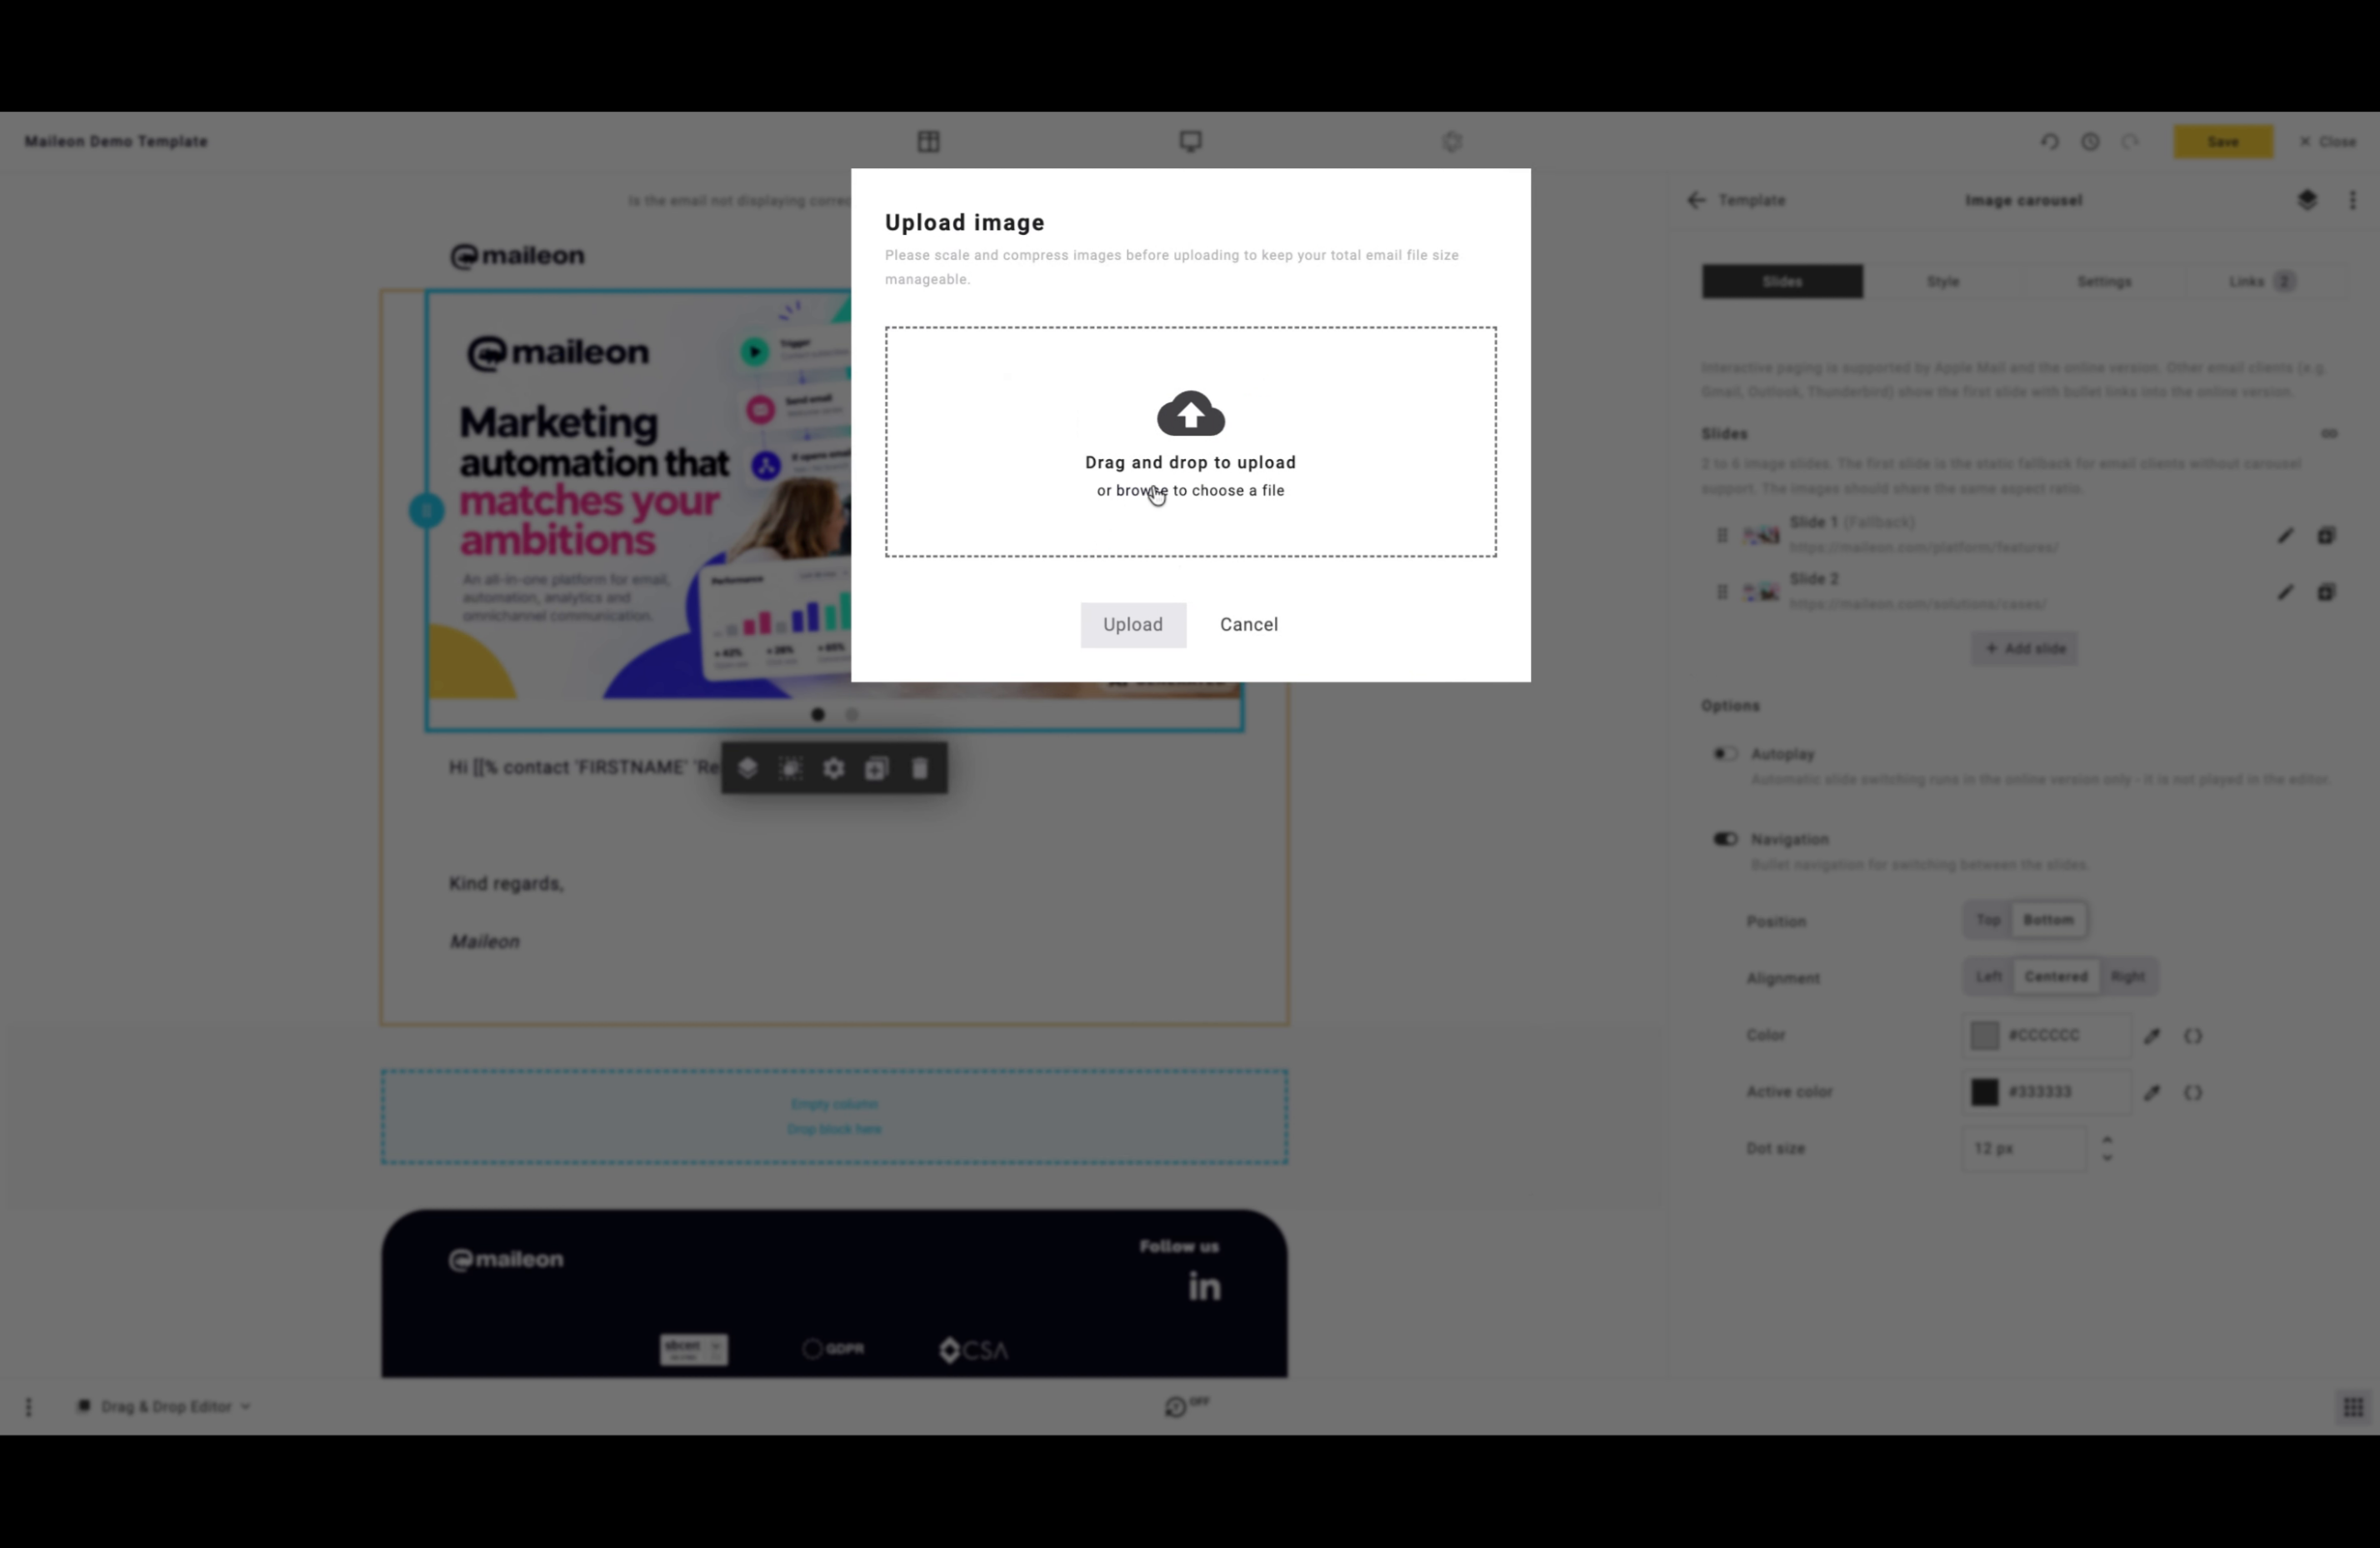
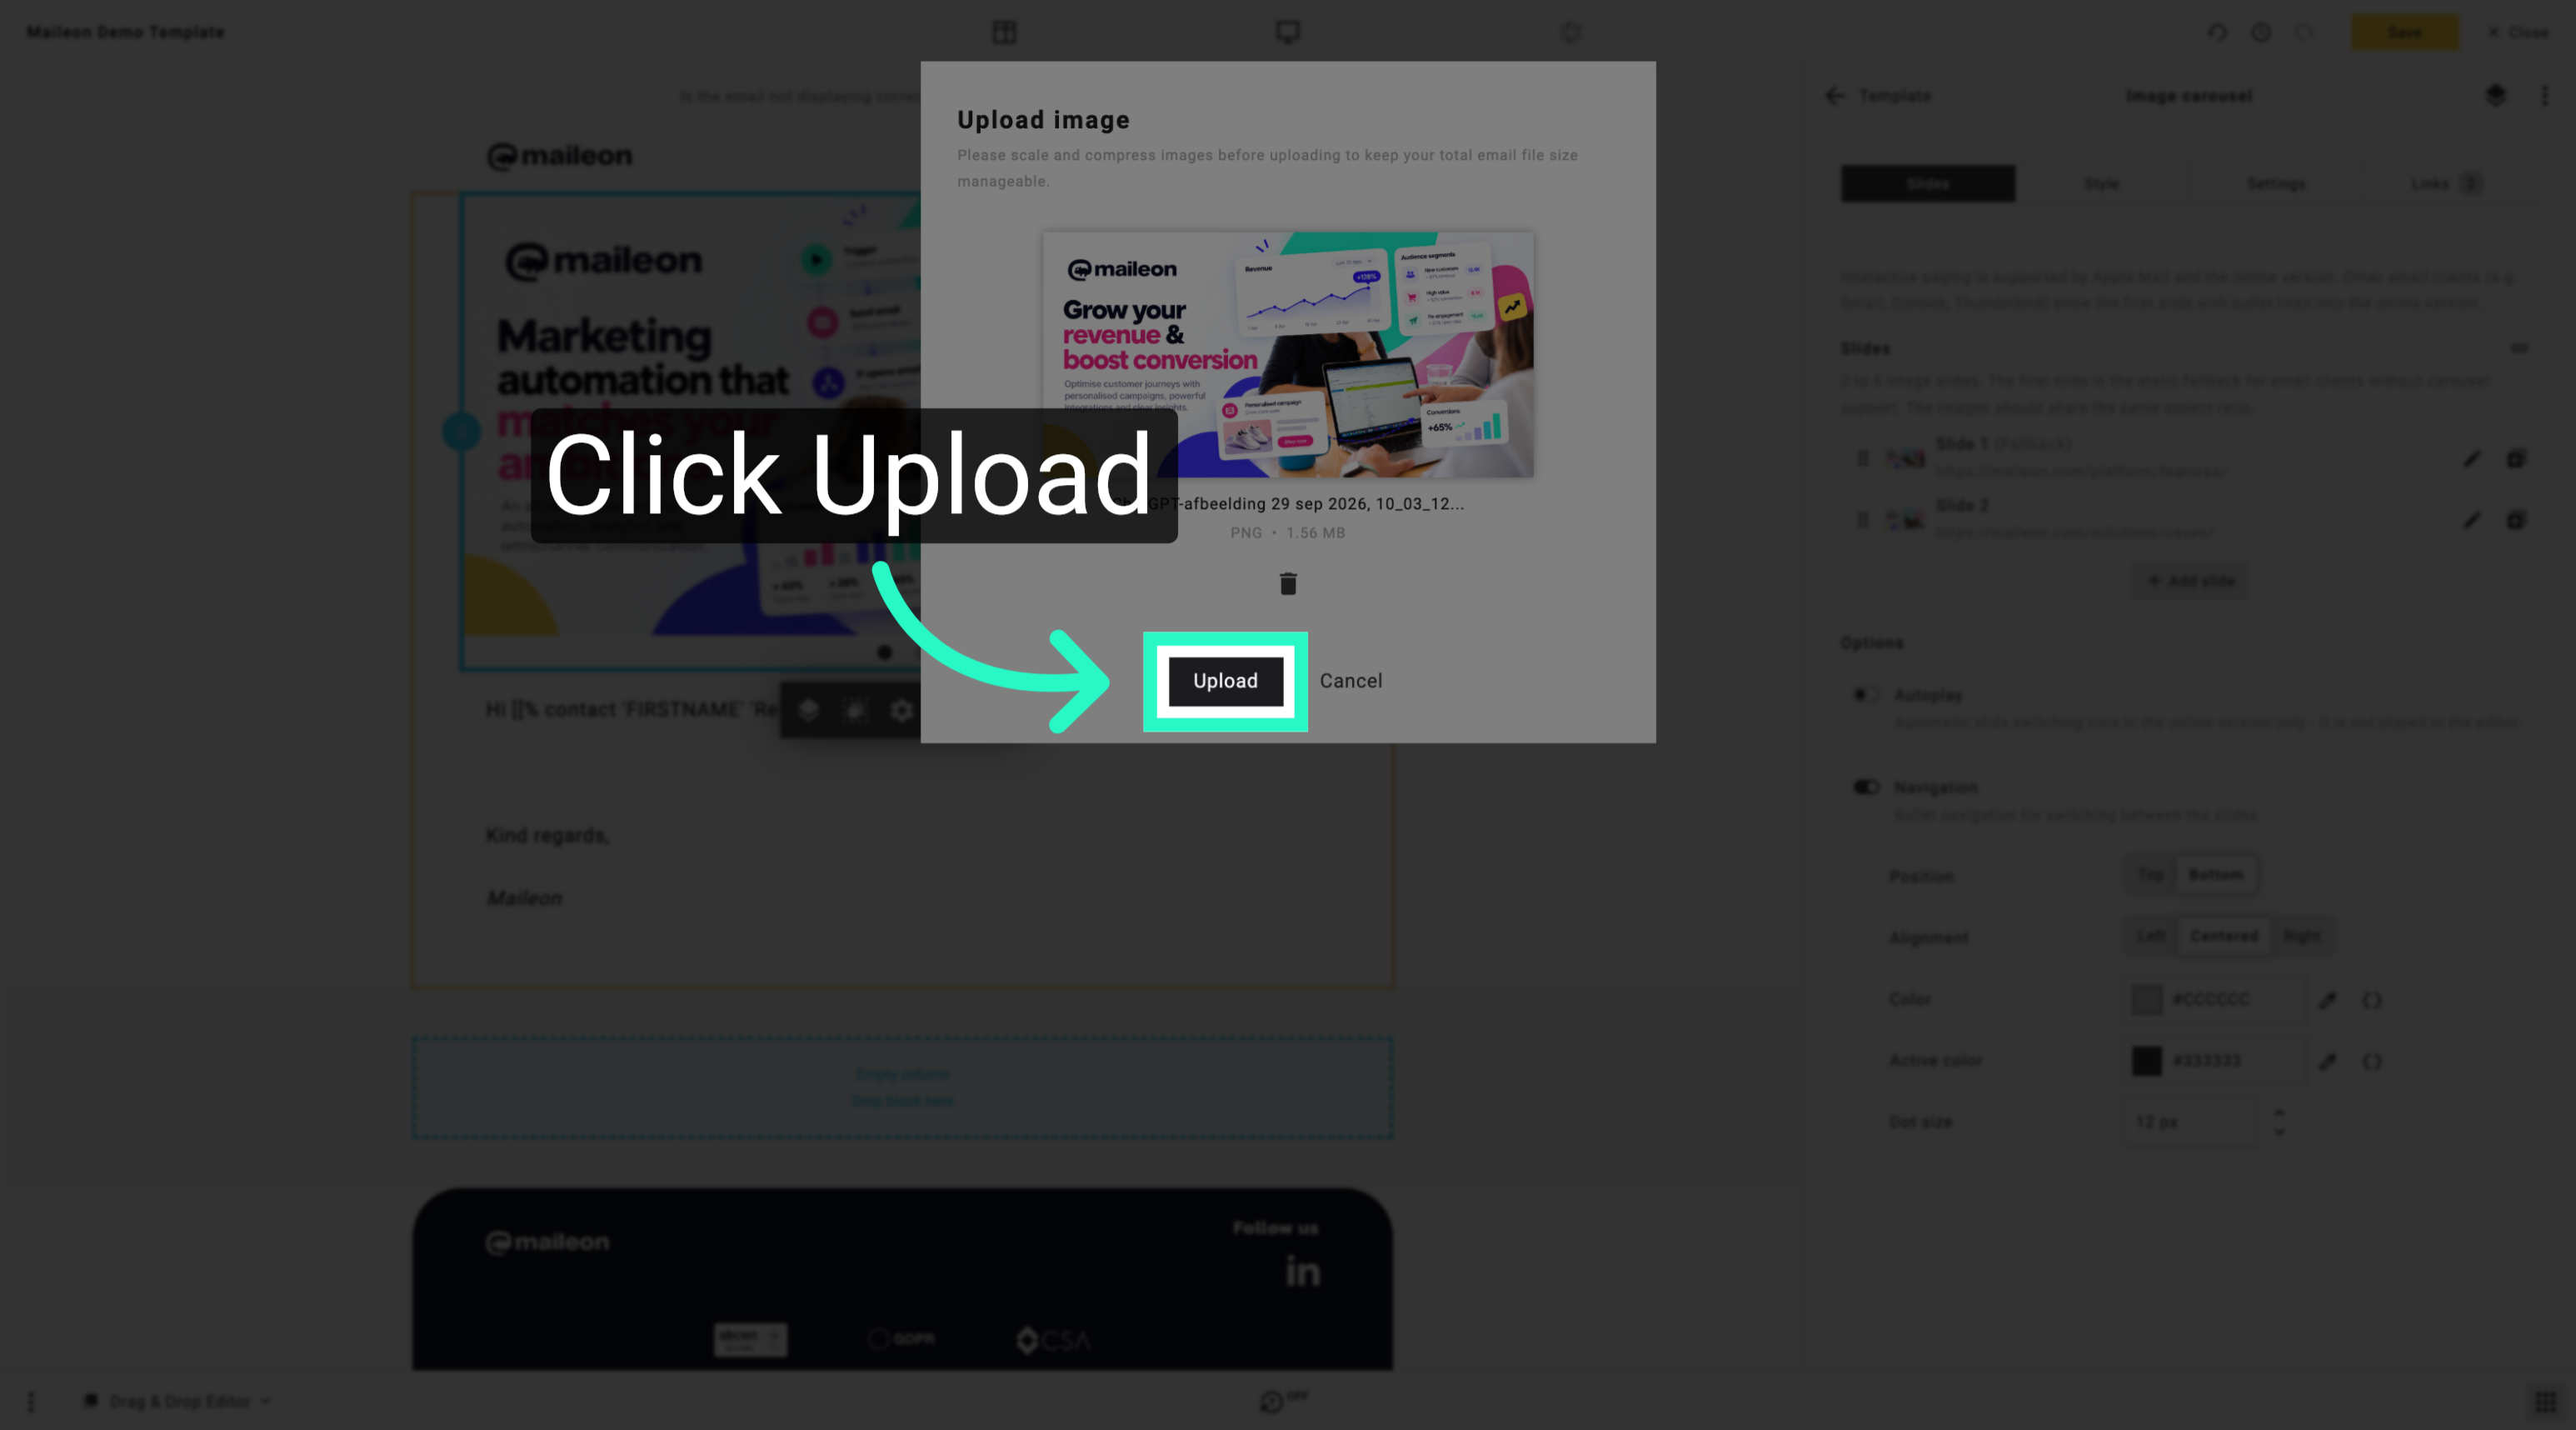
26. Upload Slide Image
Start uploading the selected image to include it in the new slide.
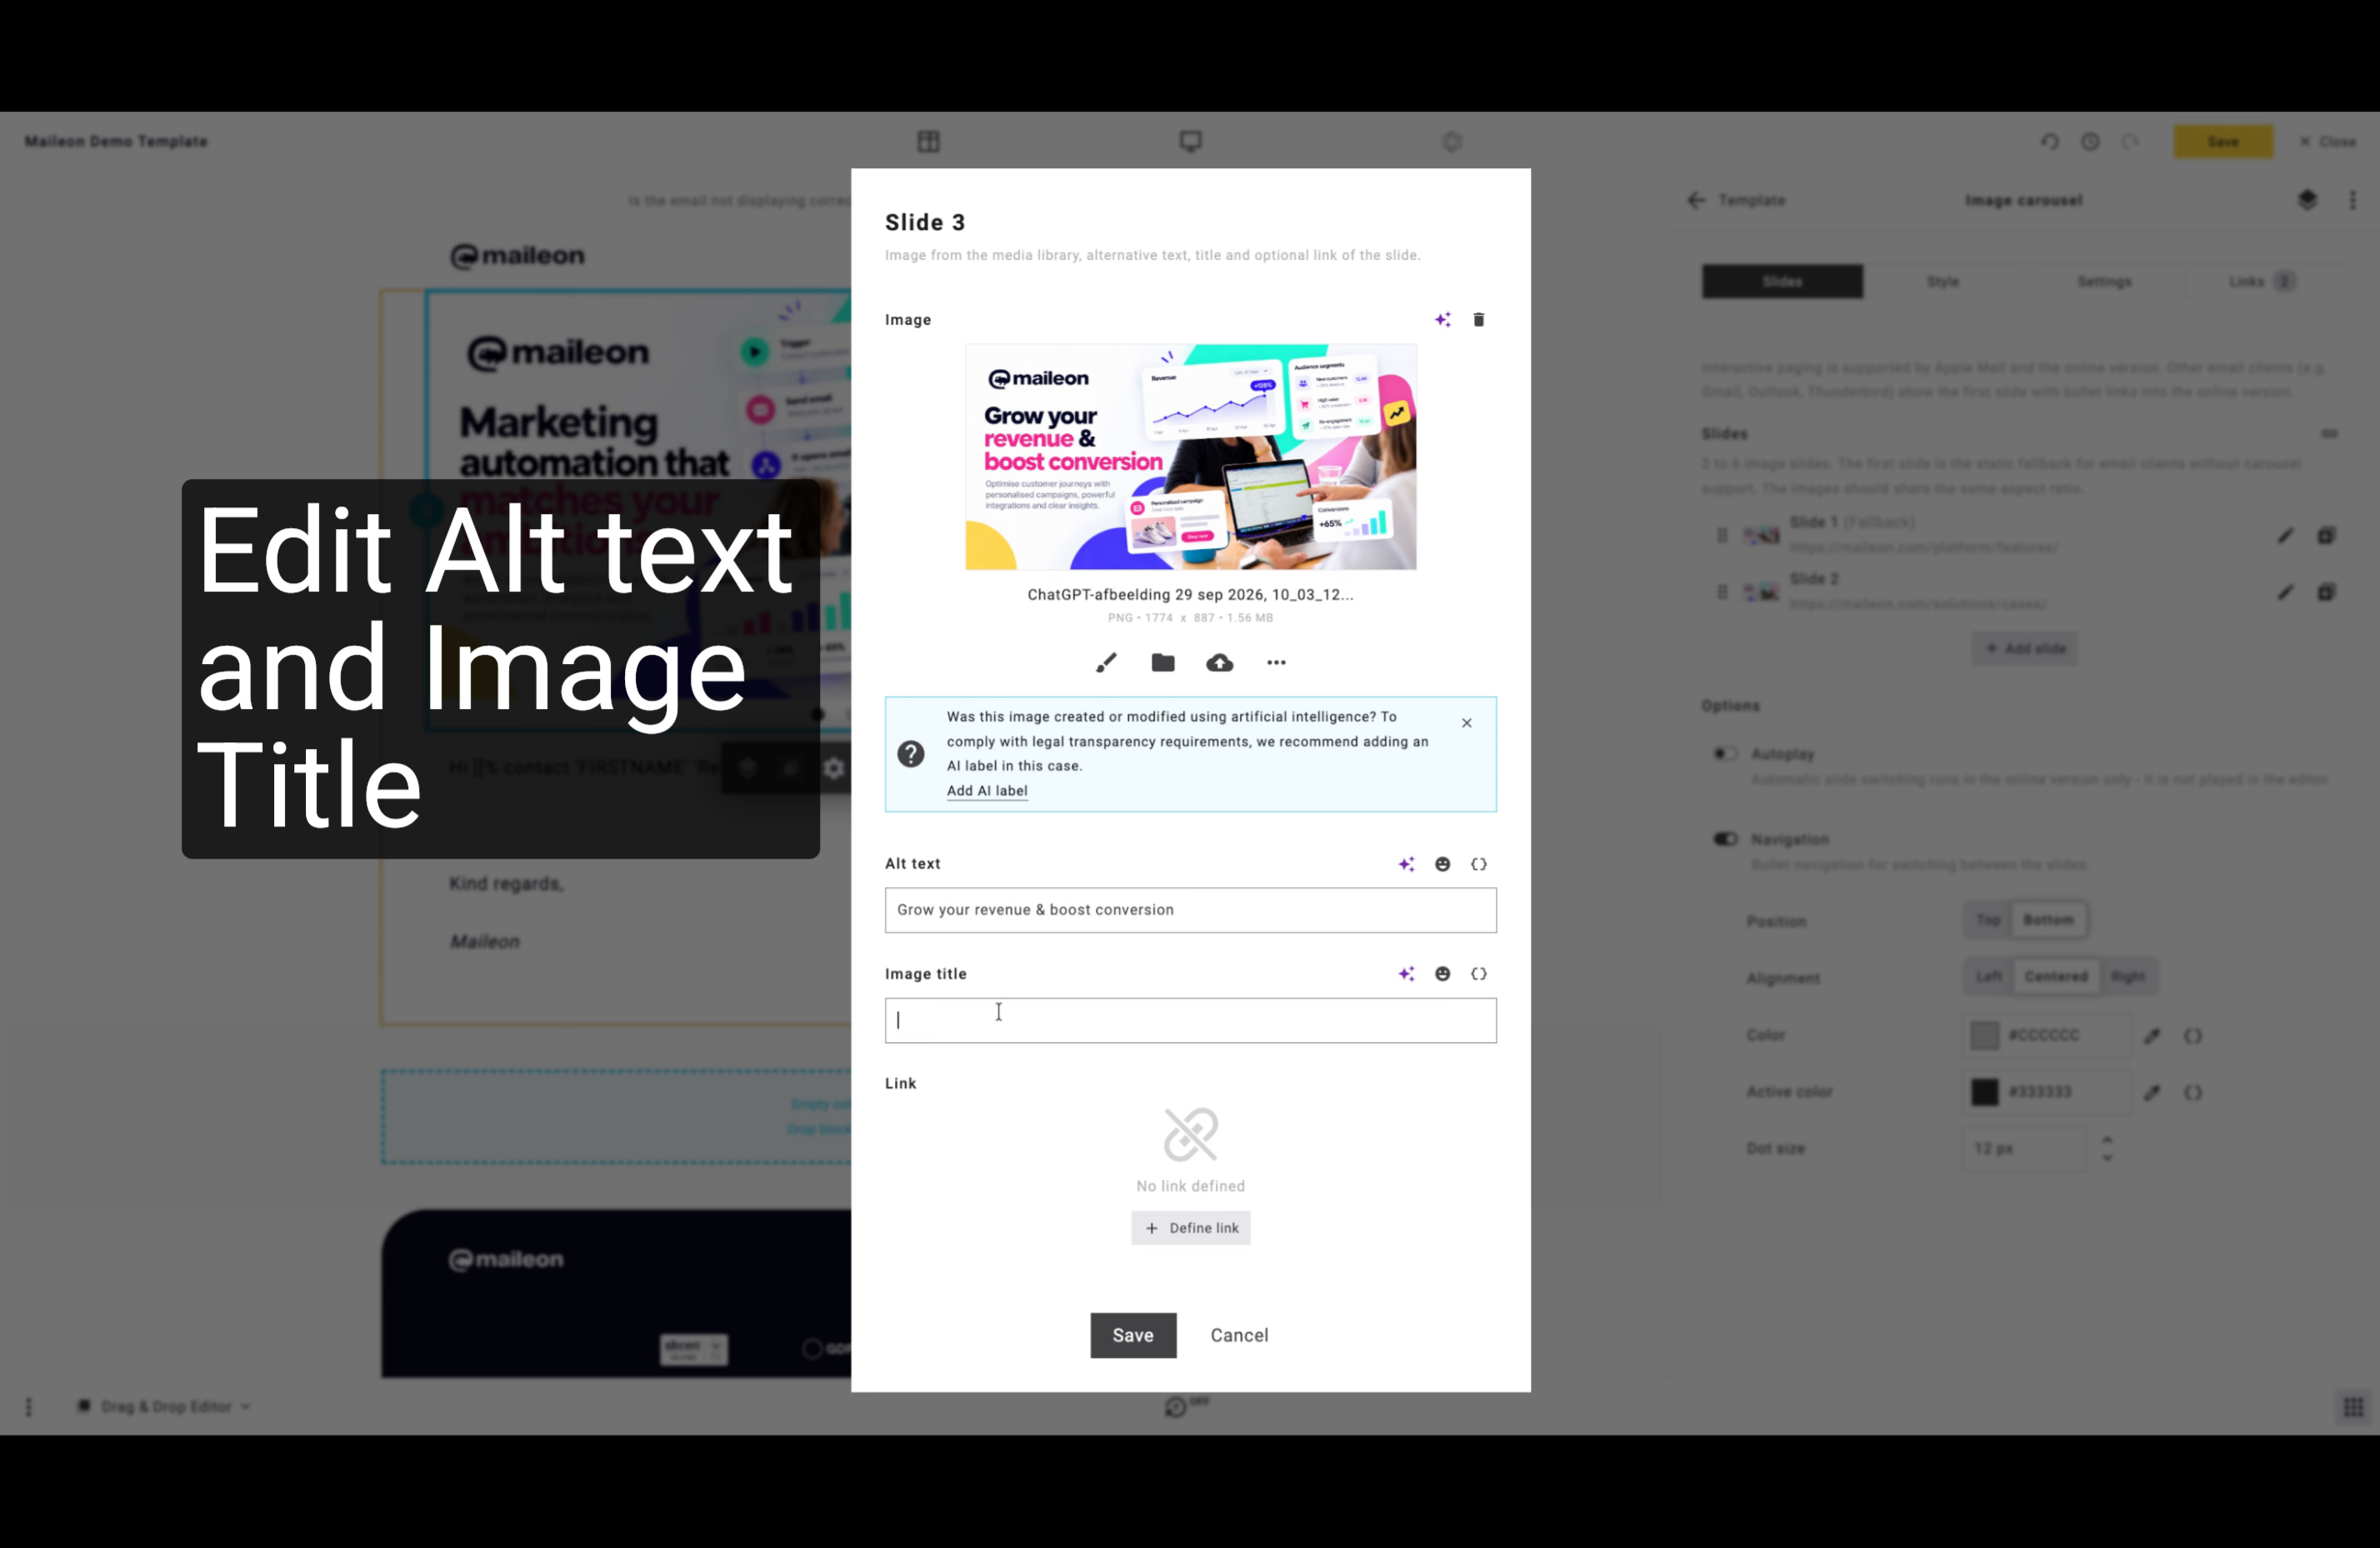
27. Enter Alt Text Description
Type a clear description to improve accessibility for the slide image.
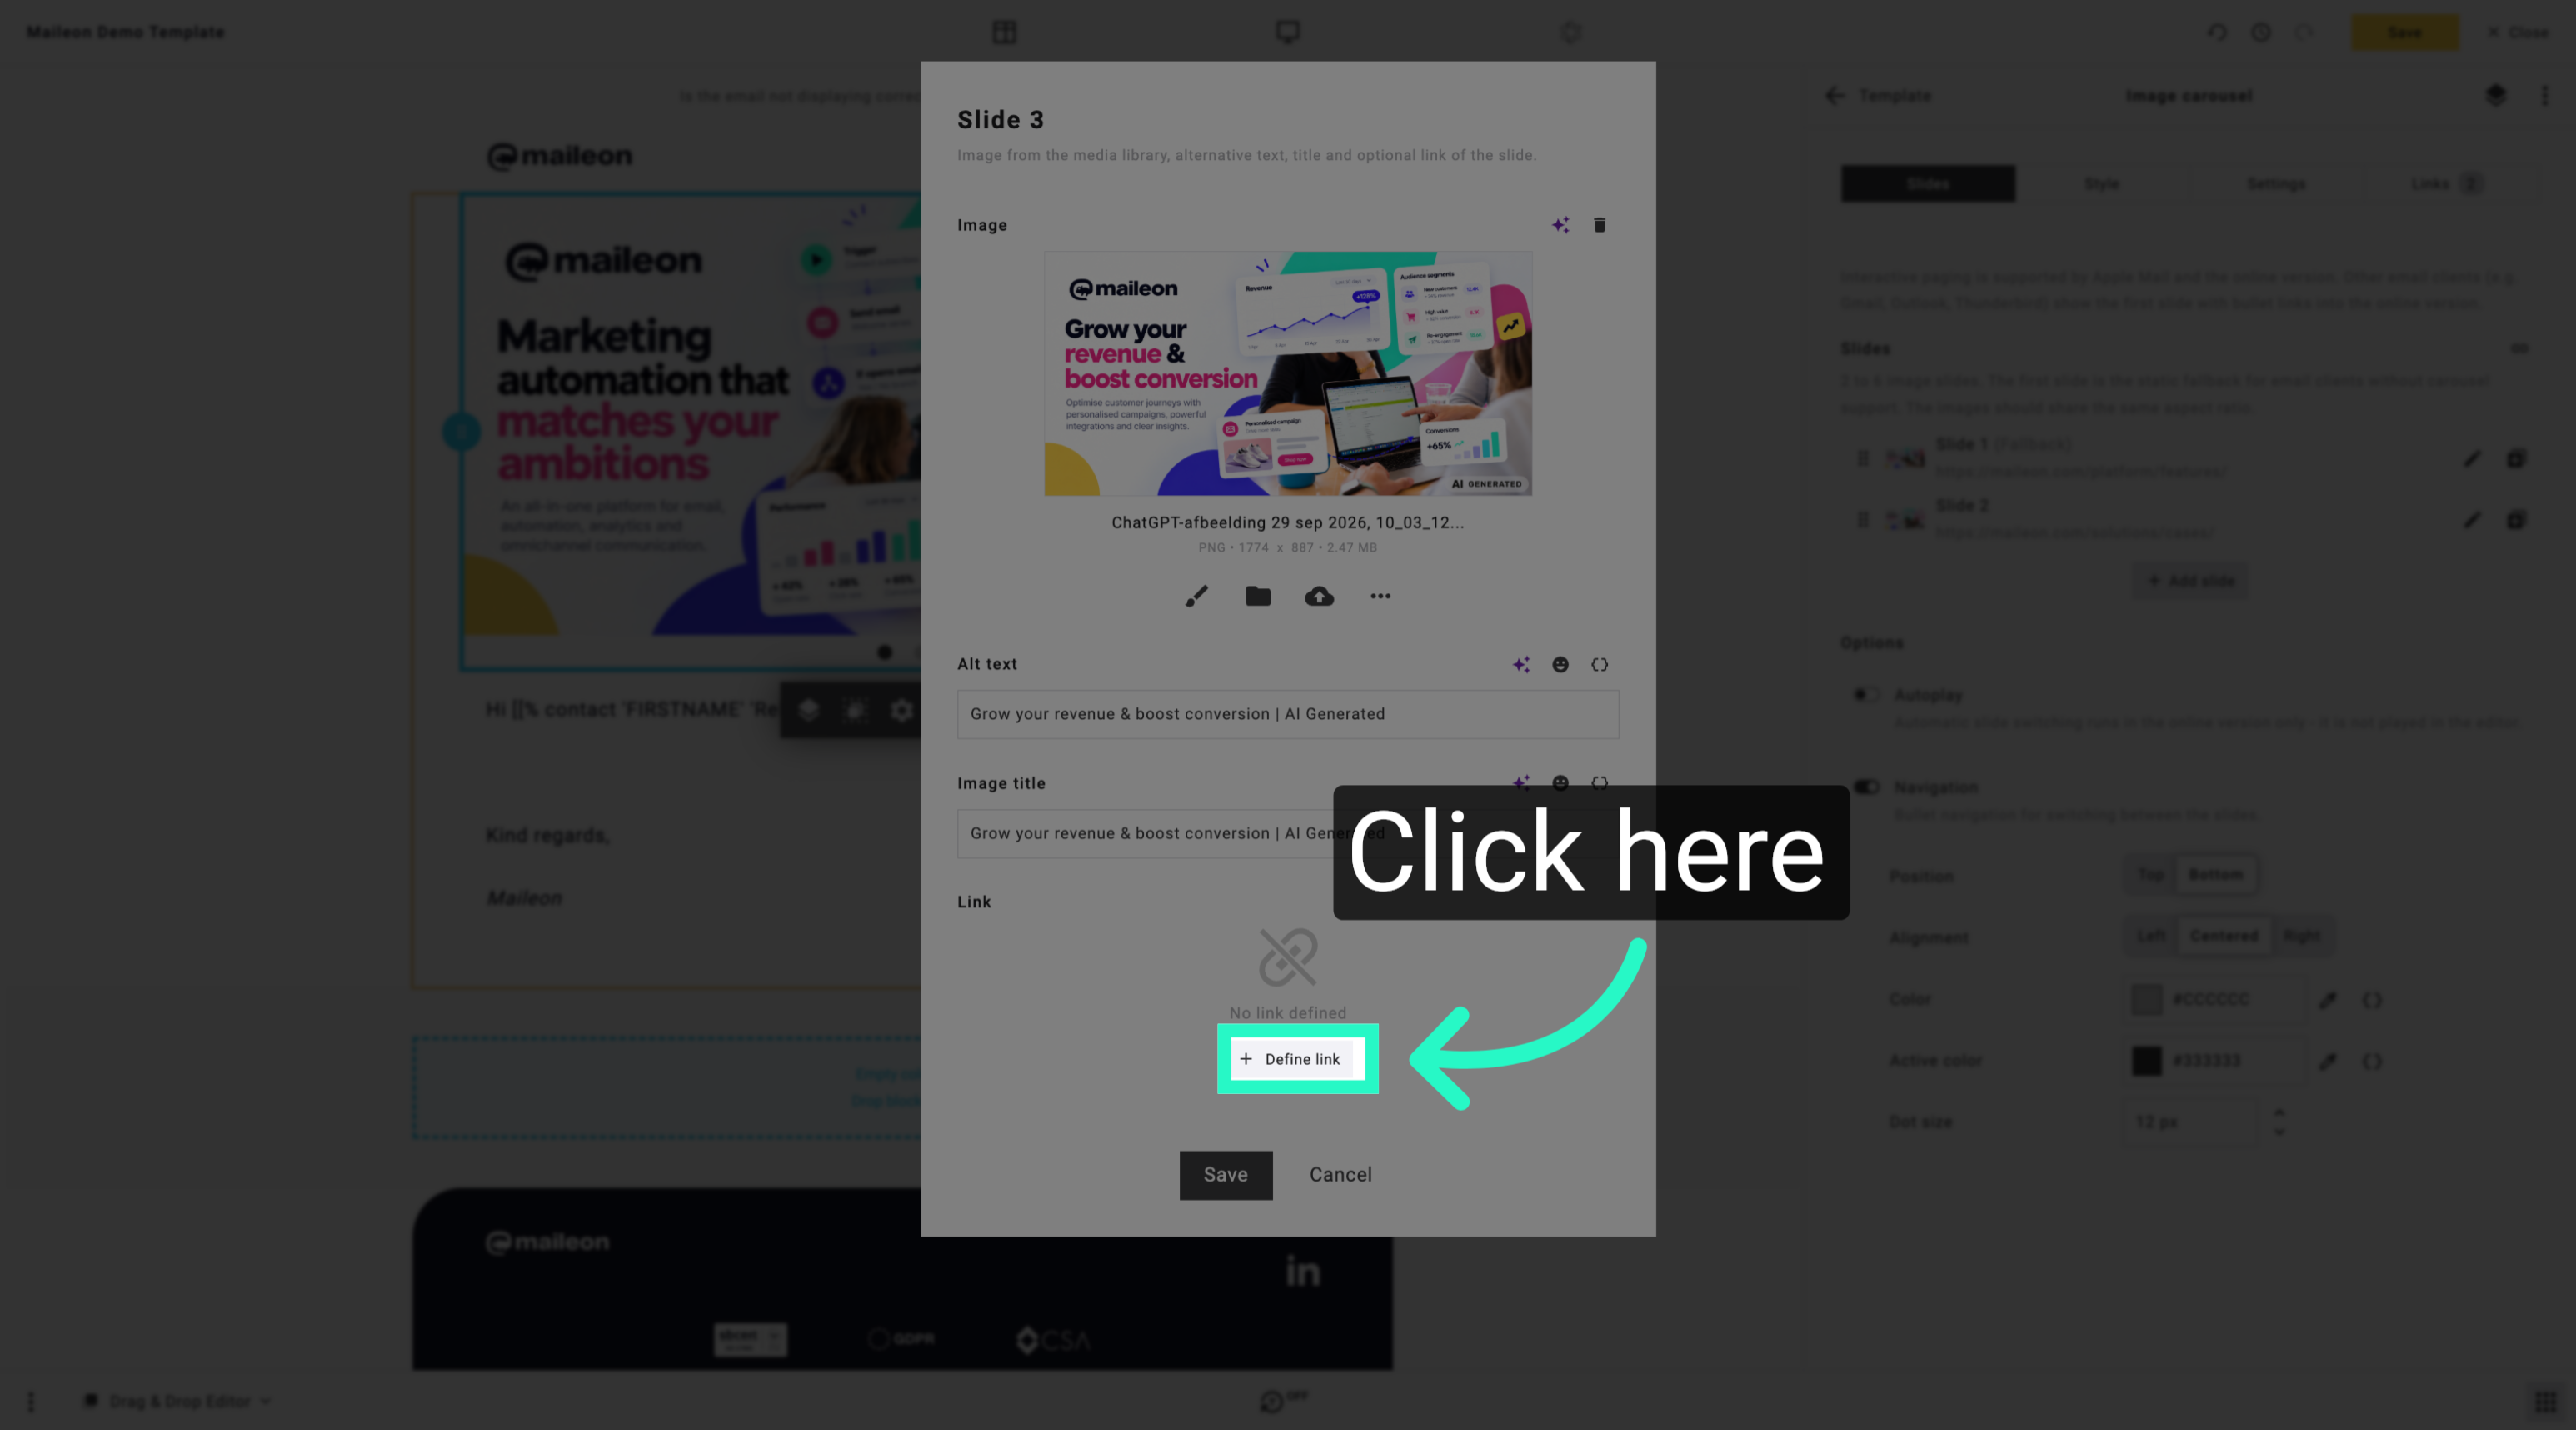
28. Open Link Settings
Access the link settings to add a hyperlink to the slide image.
29. Define your link and click save
Save the hyperlink settings to apply the link to the slide image.
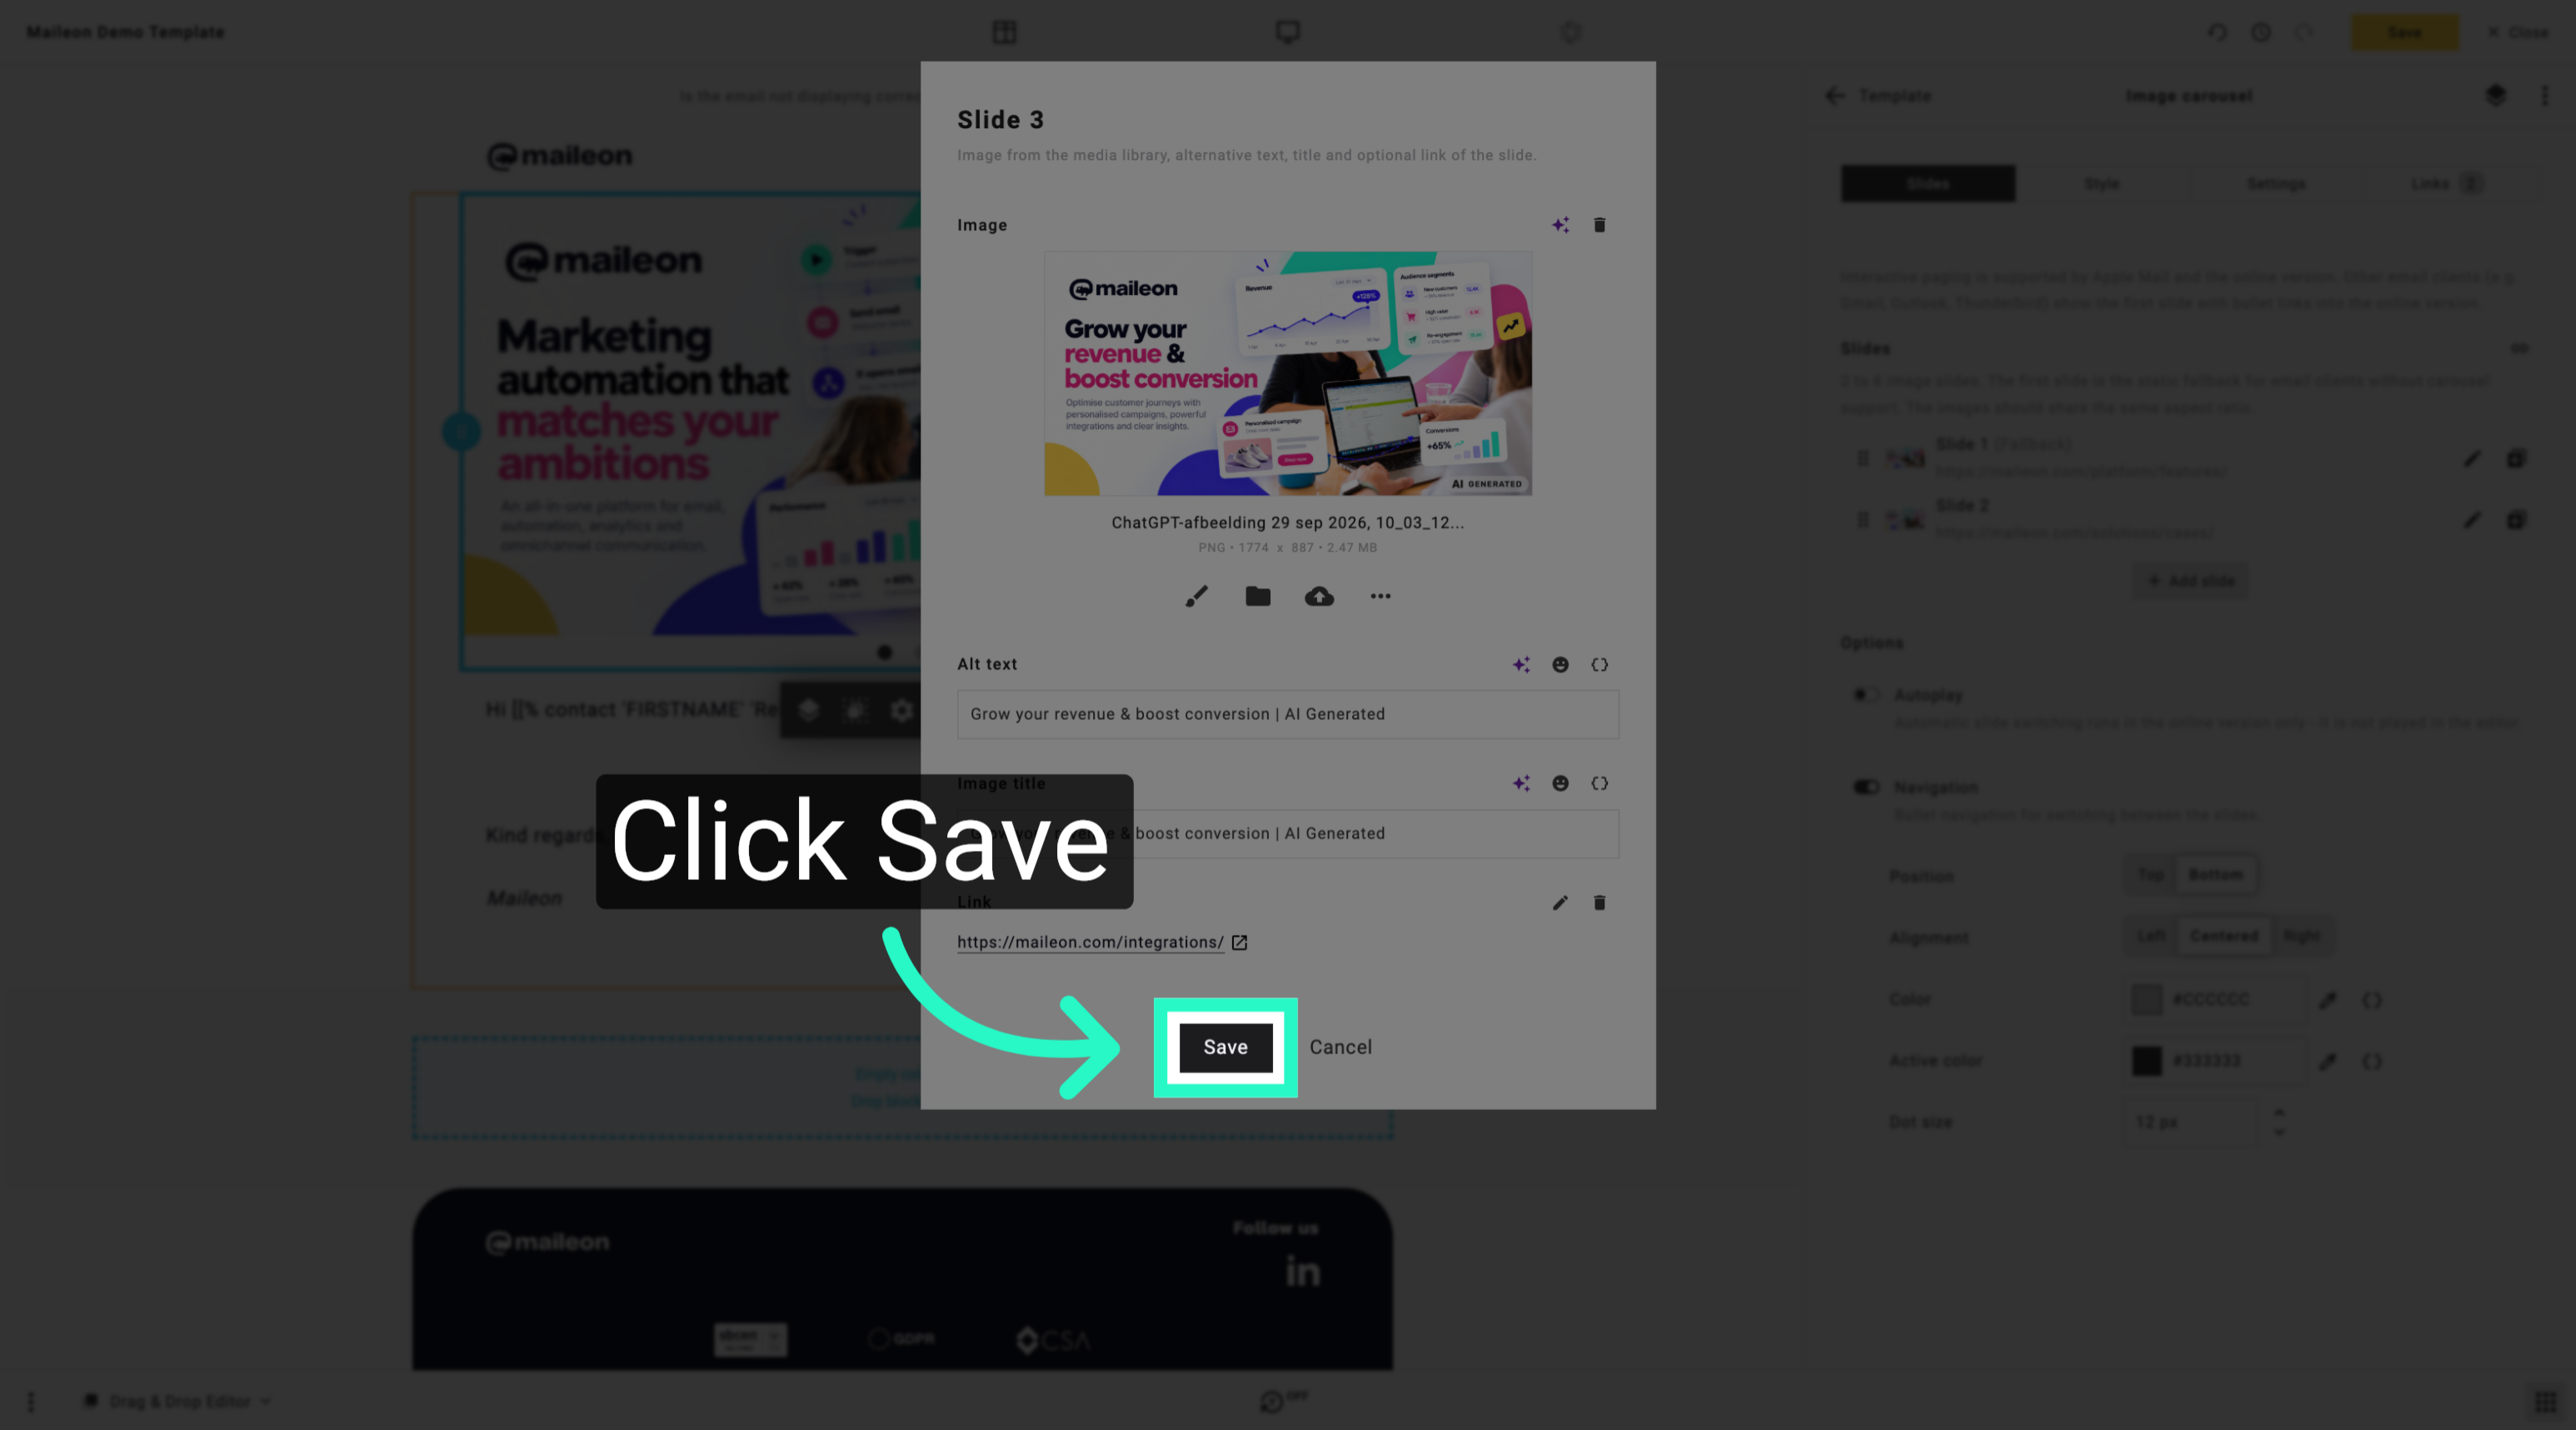
30. Save Slide Configuration
Save all changes to finalise the slide image and link settings.
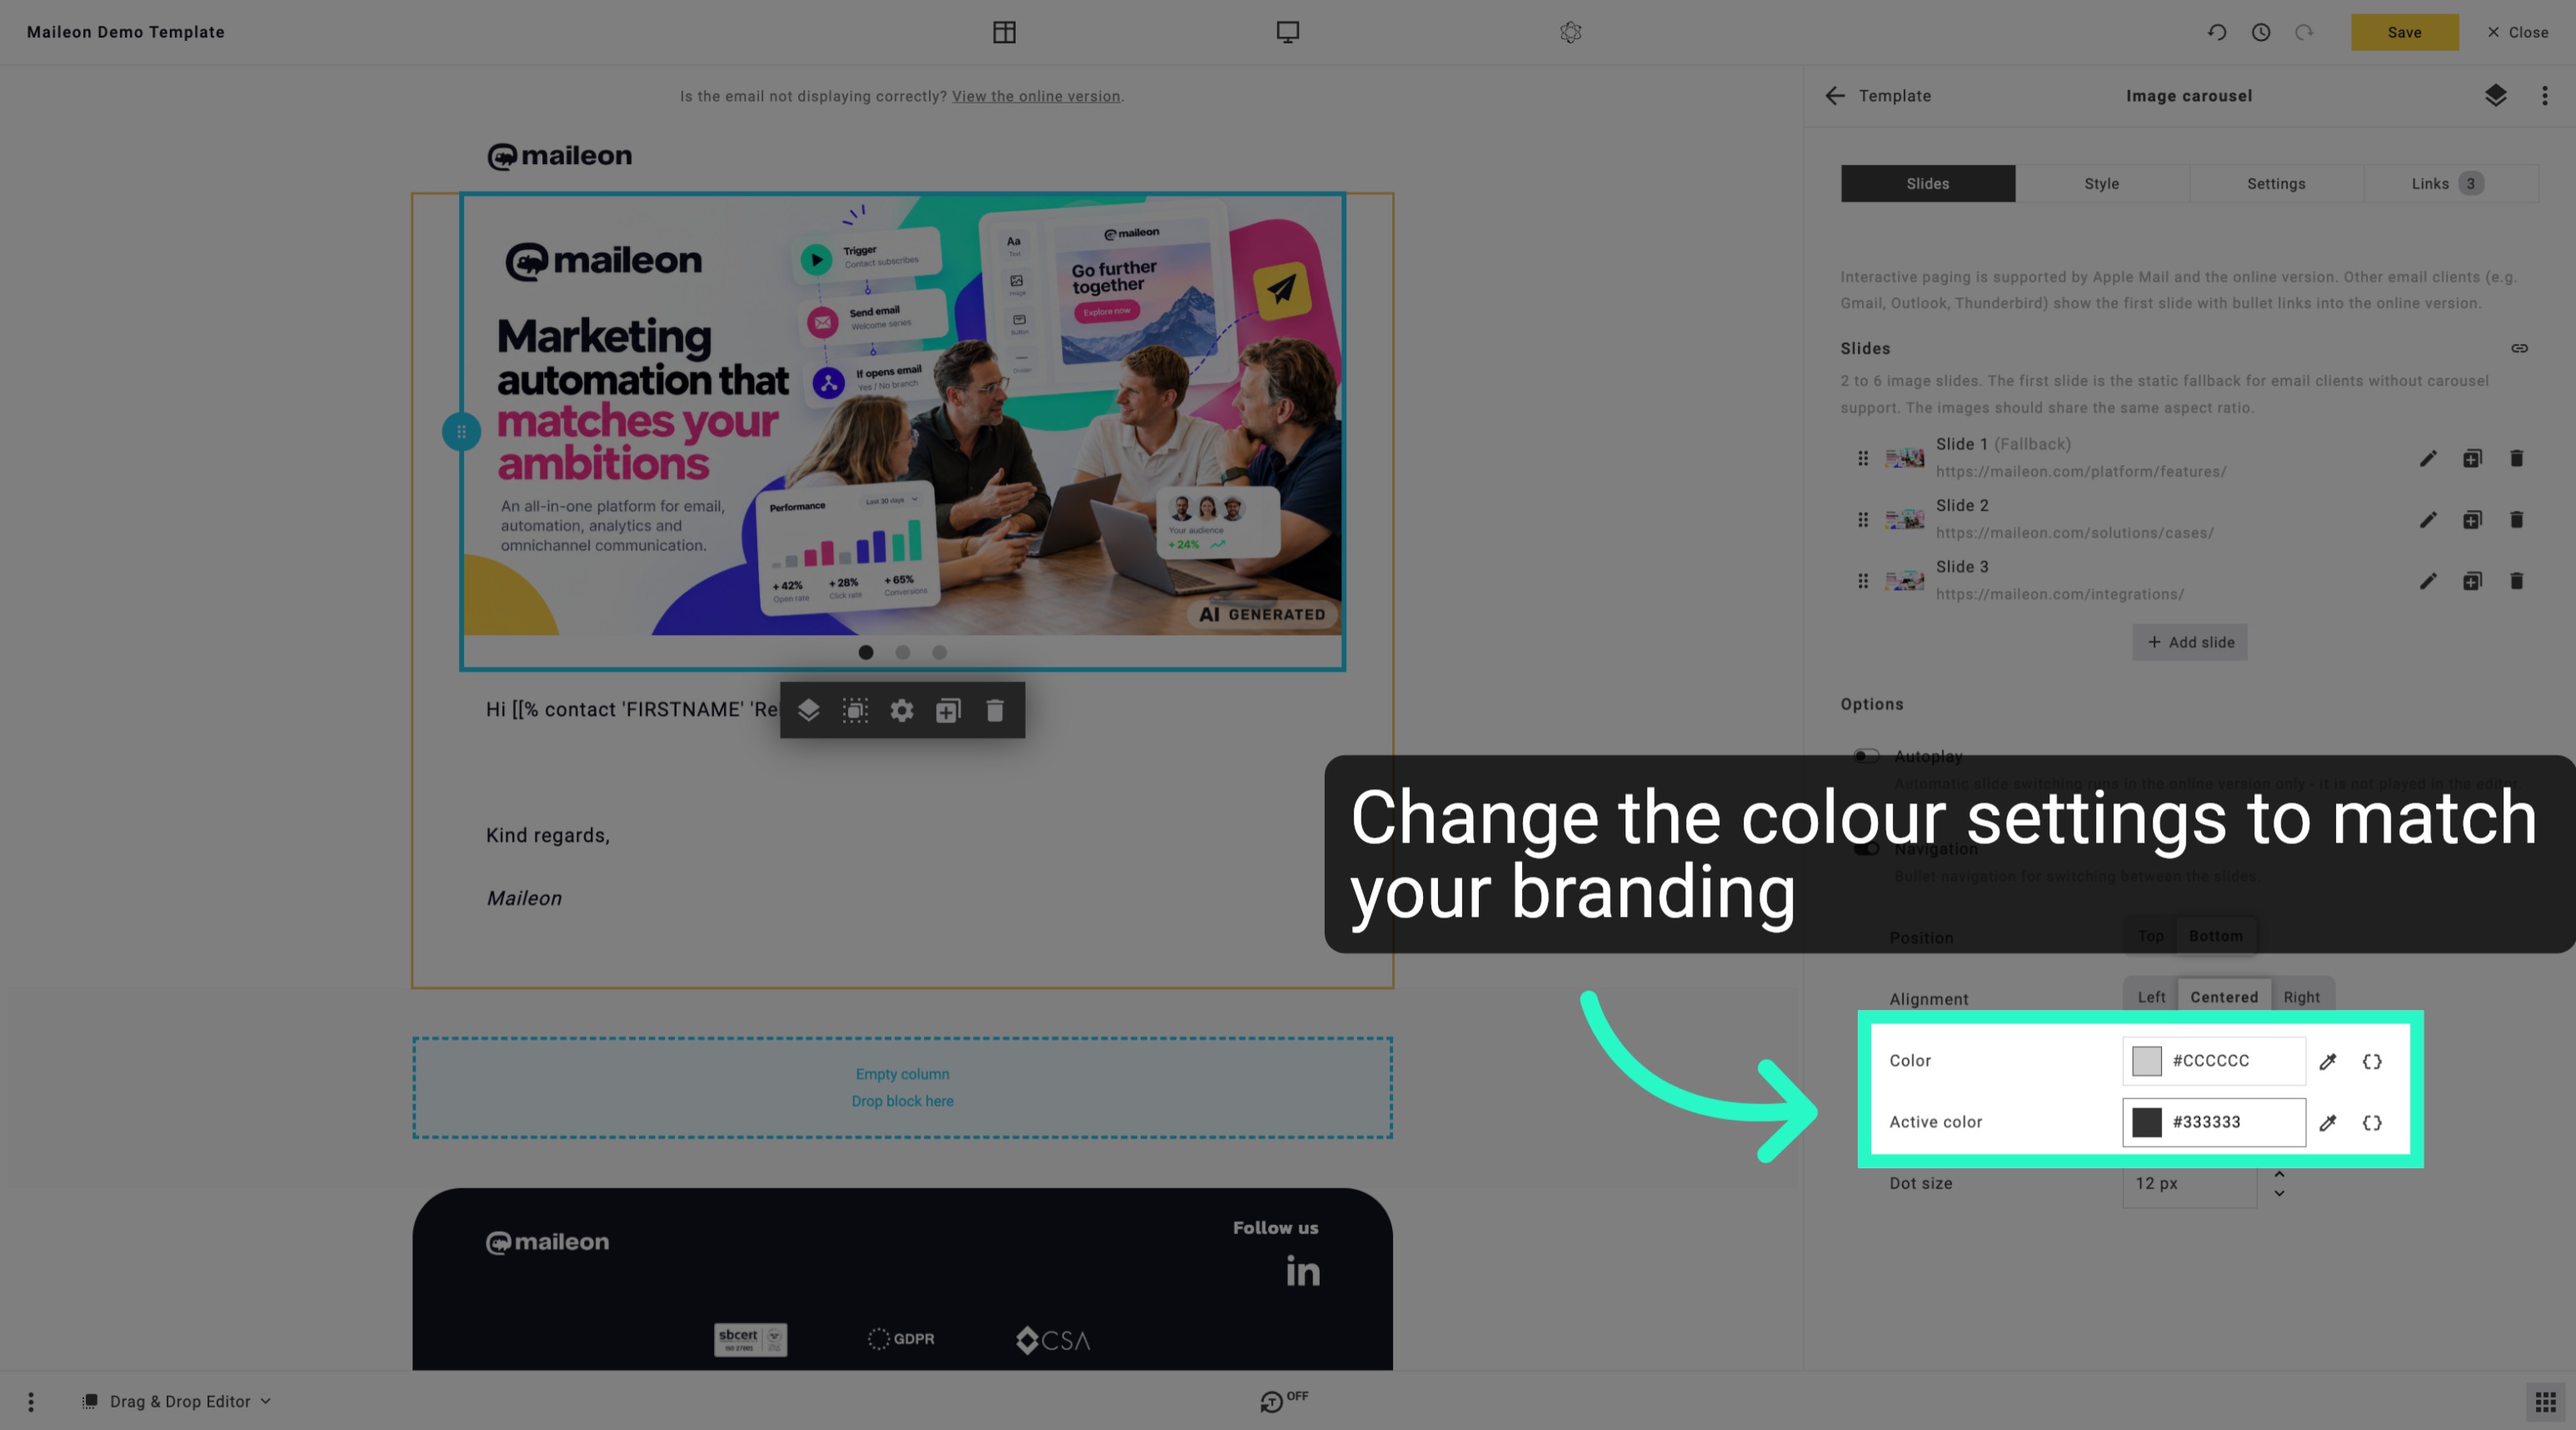
31. Open Colour Picker
Open the colour picker to customise the colour settings for your campaign.
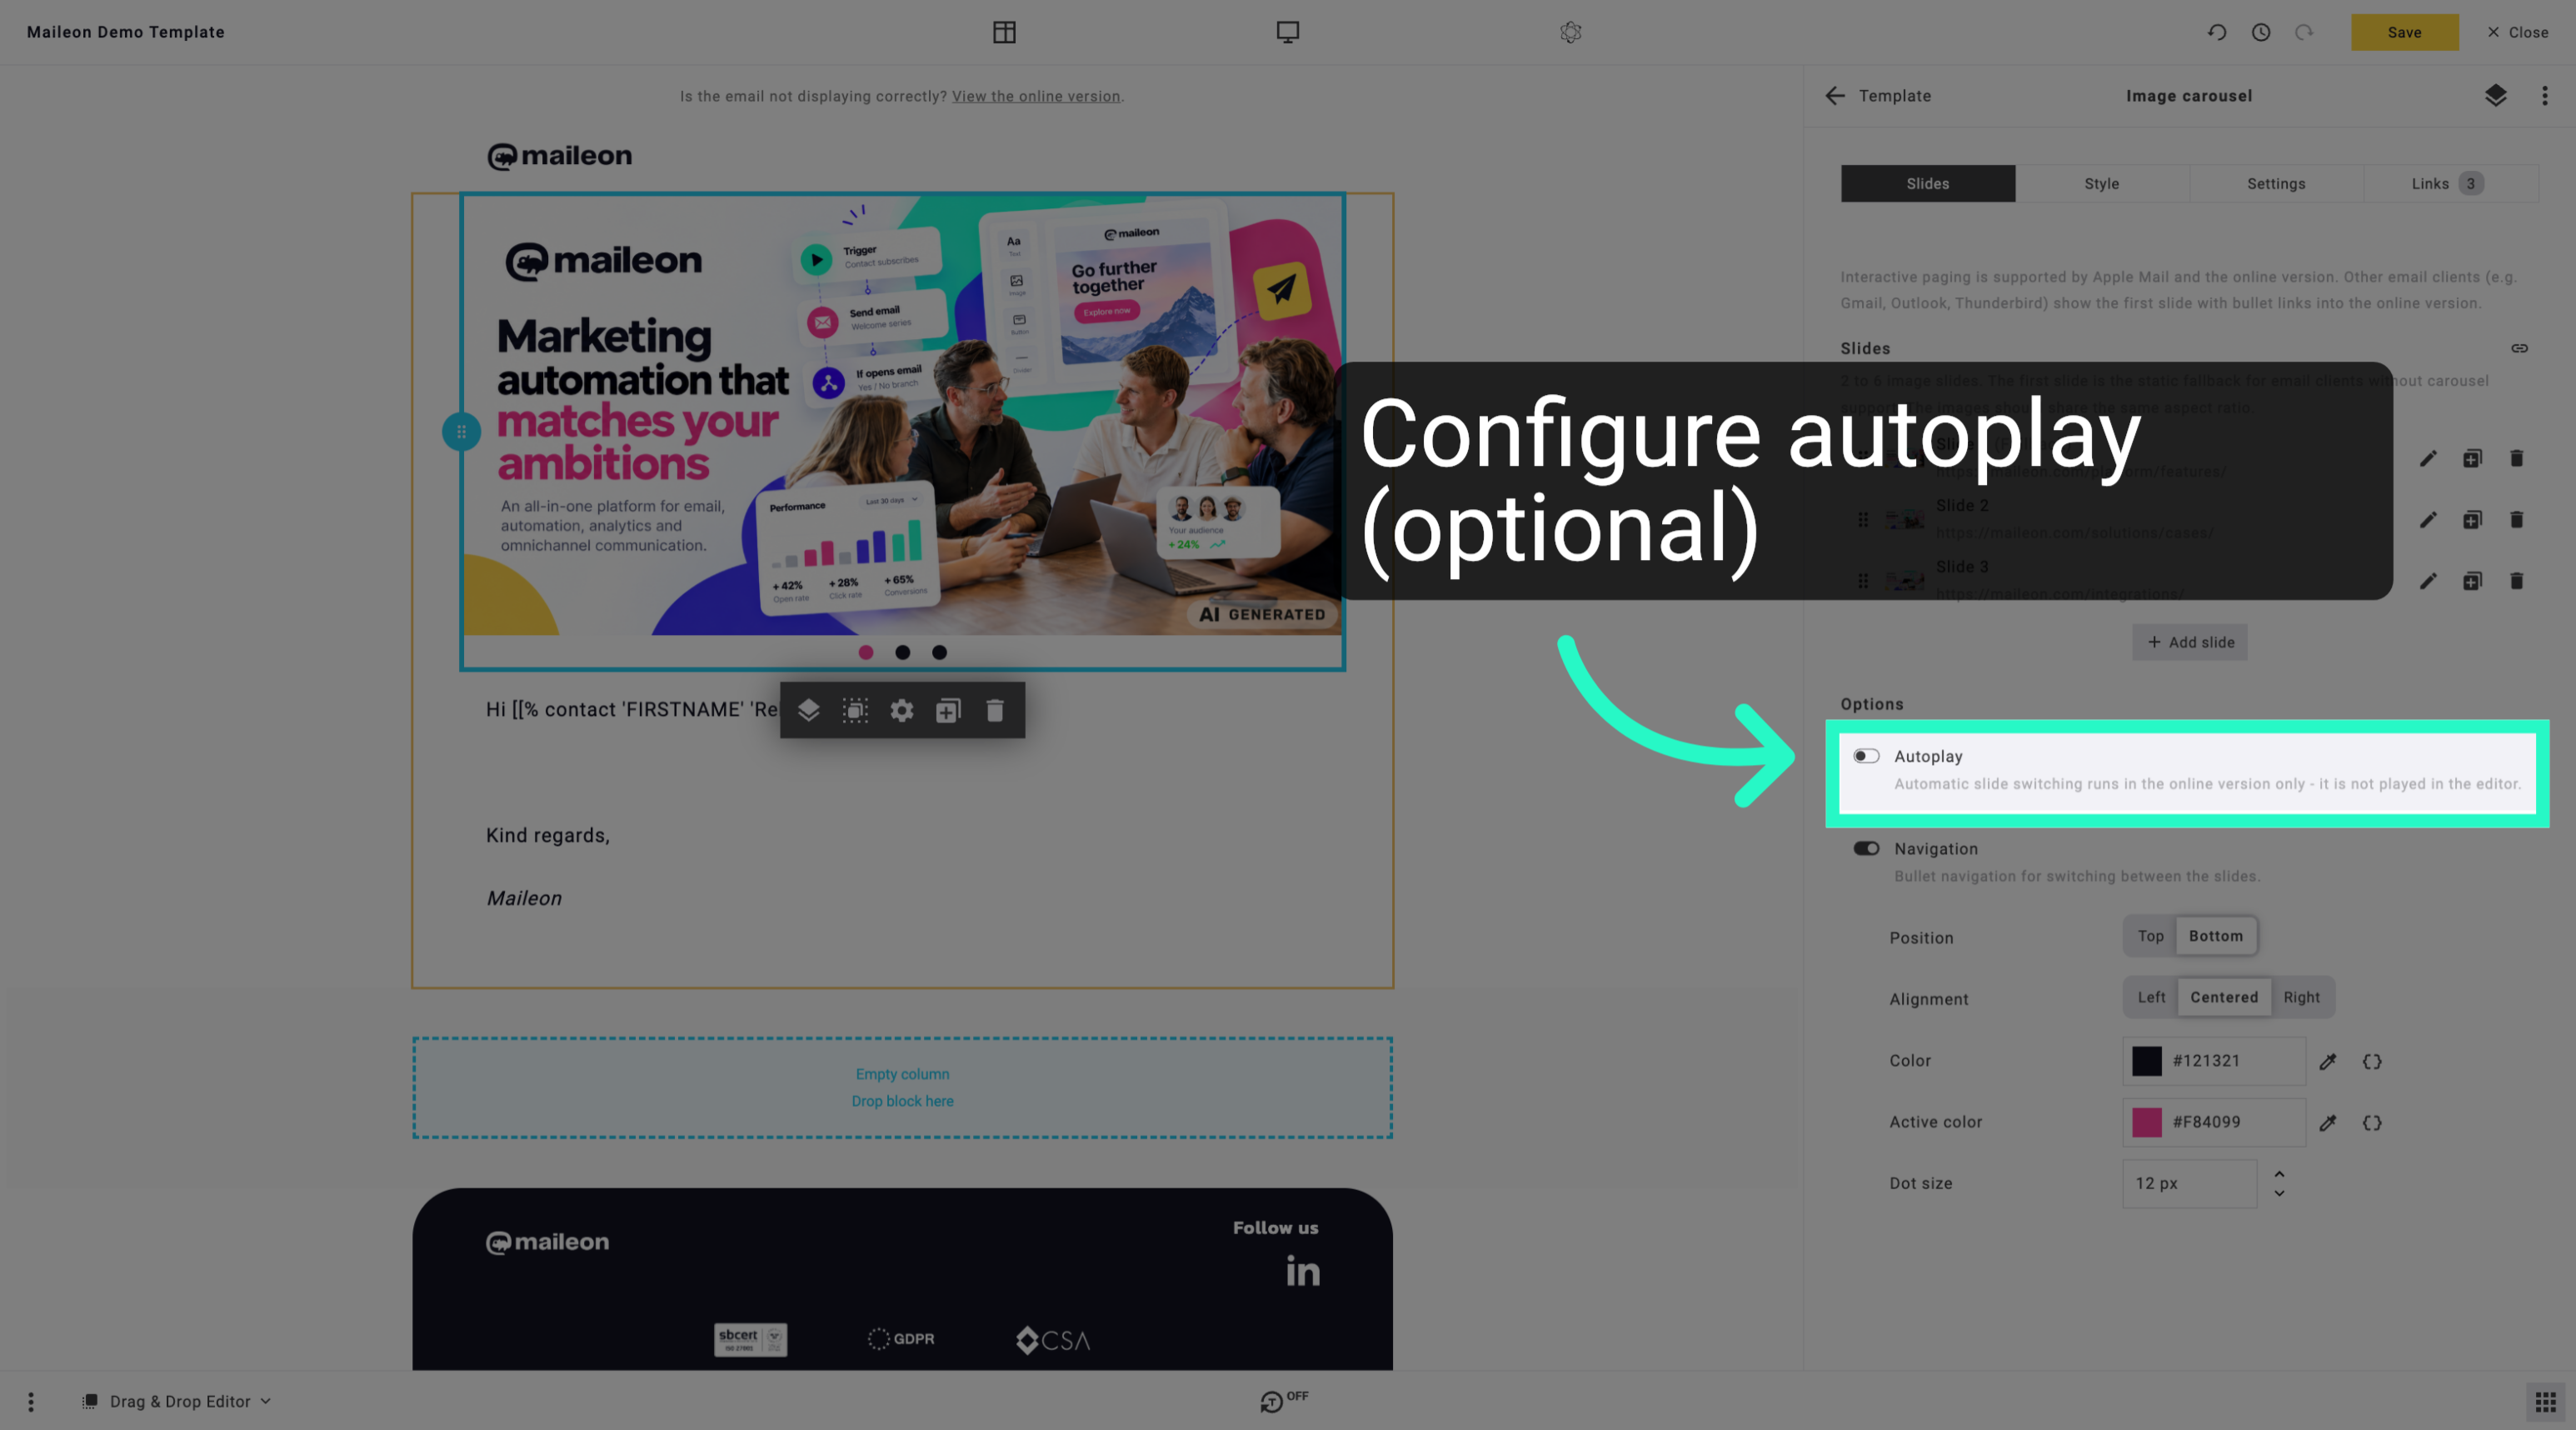
32. Configure autoplay (optional)
Return to the main campaign settings to continue configuring your email.
33. Save Campaign Settings
Save all campaign settings to ensure your changes are applied correctly.
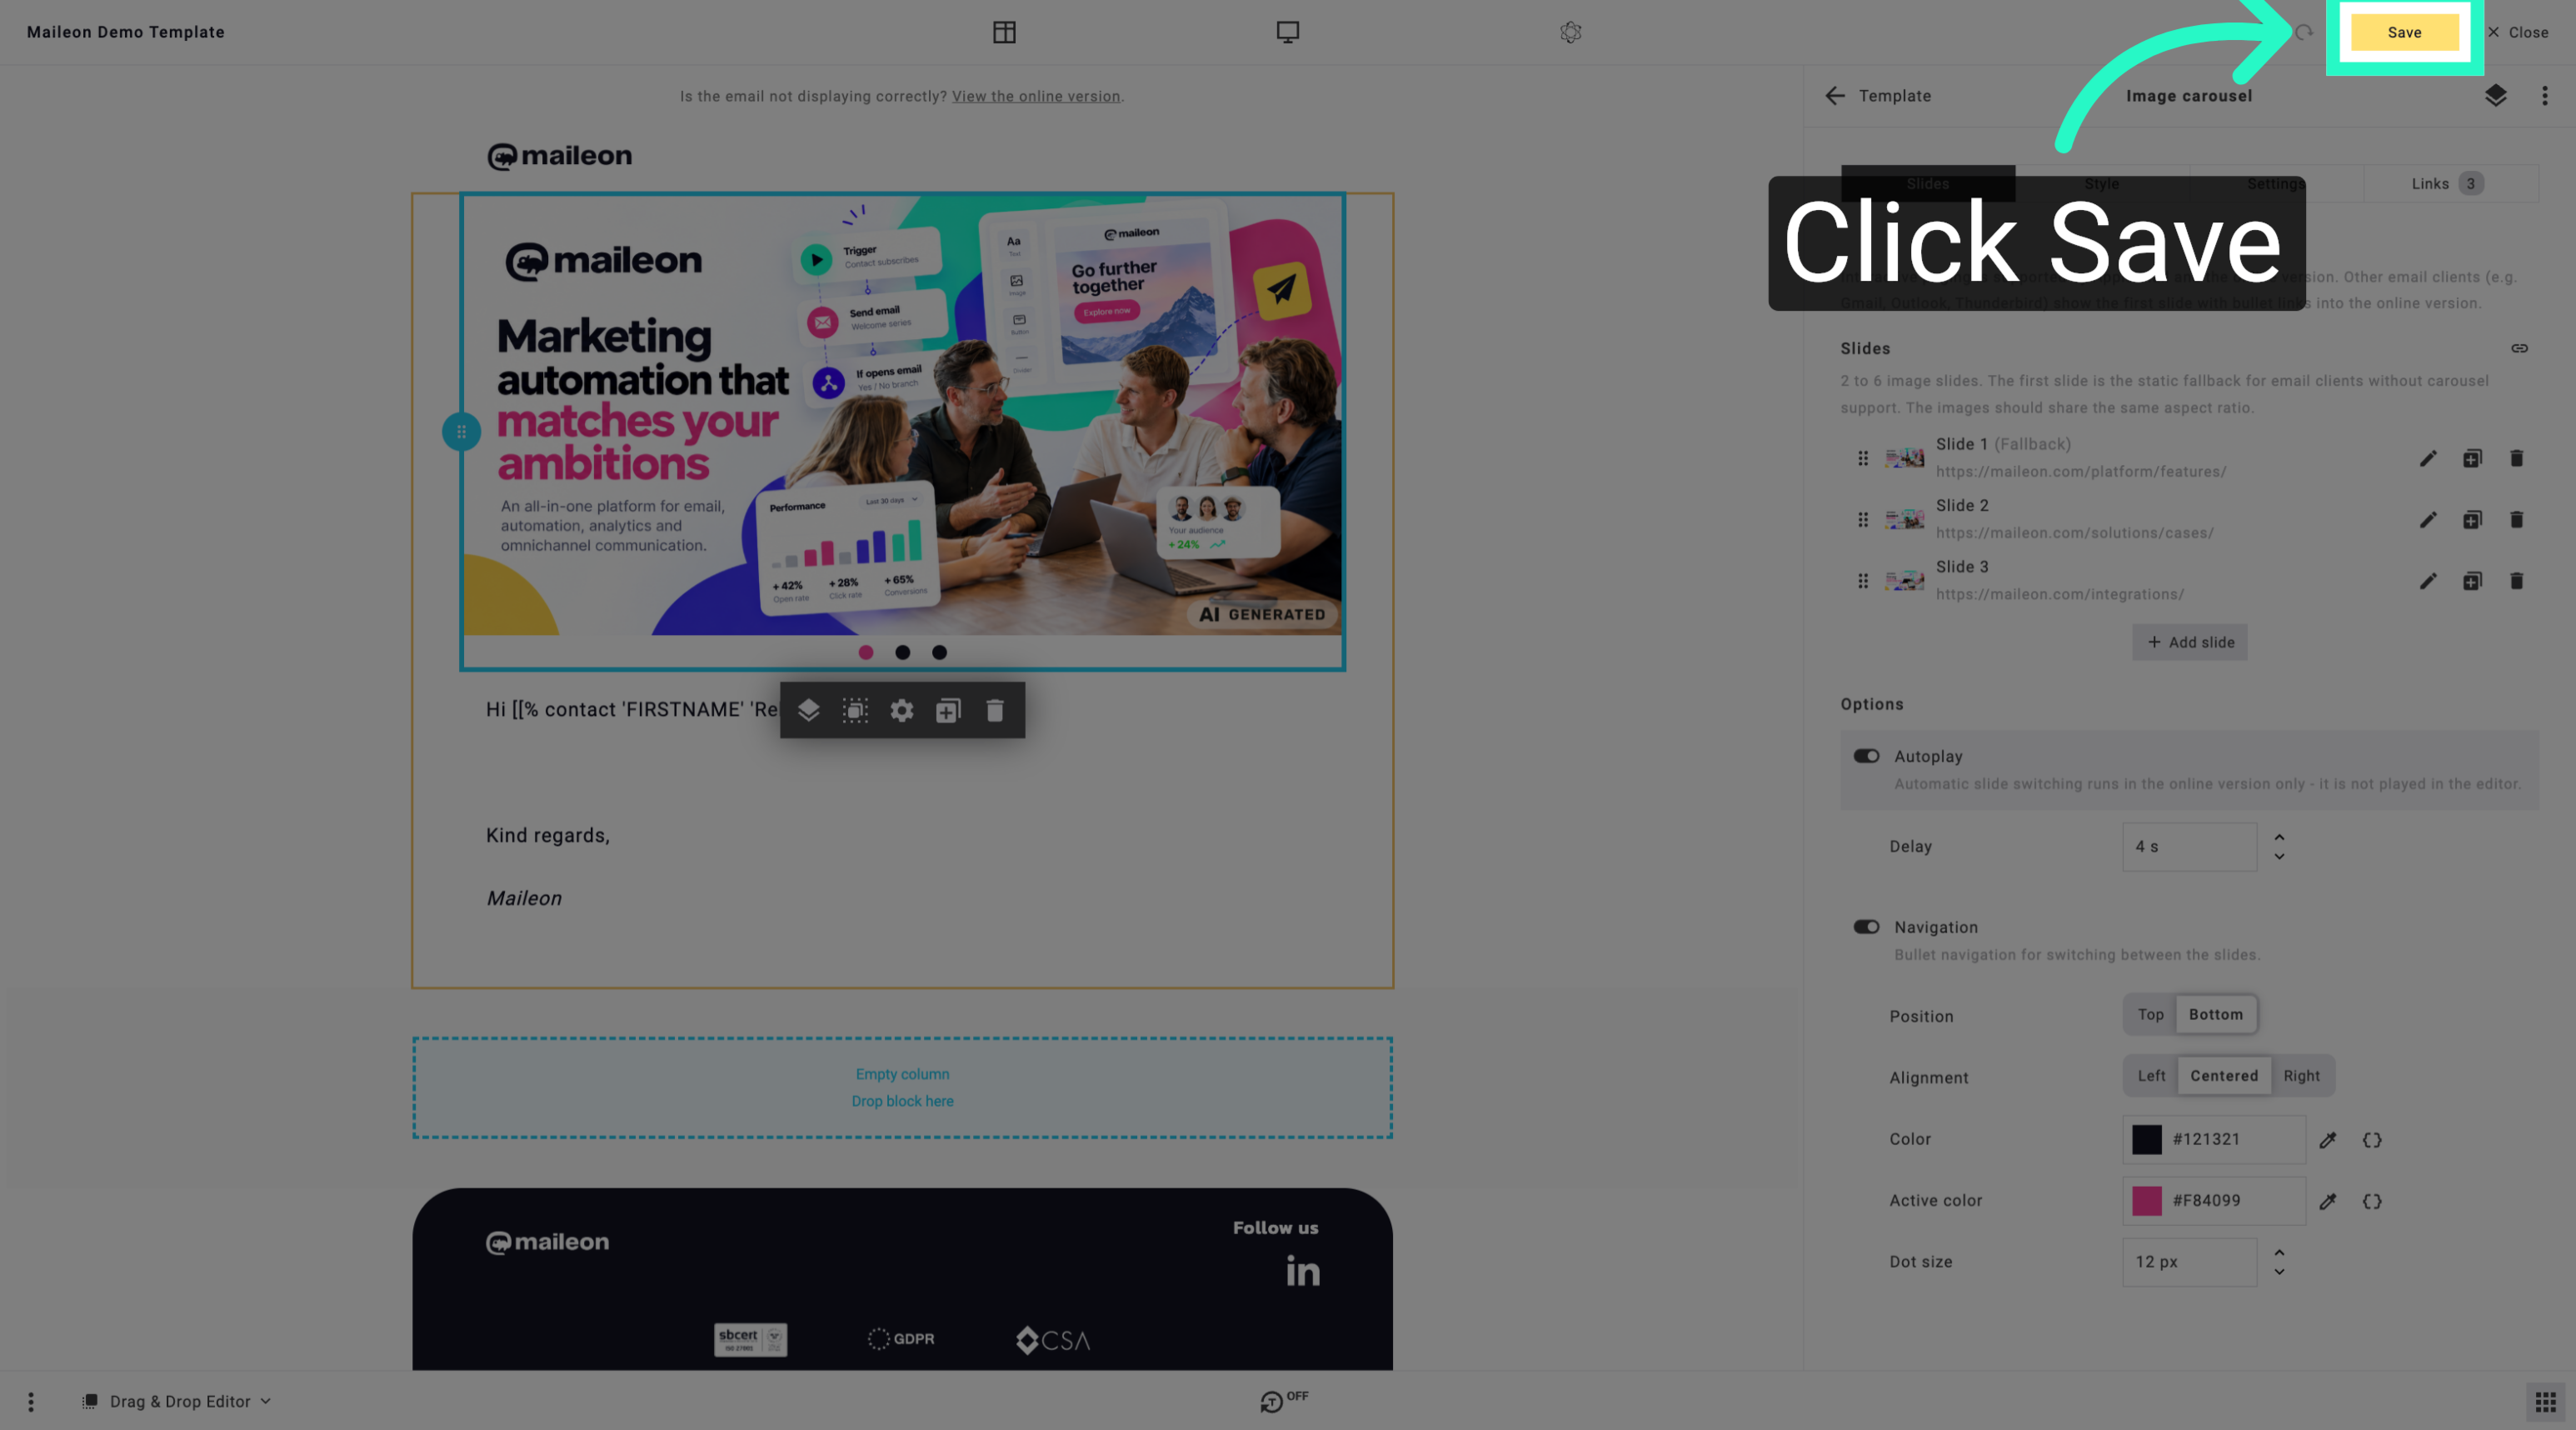
34. Open Additional Options
Access additional options to further customise your campaign settings.
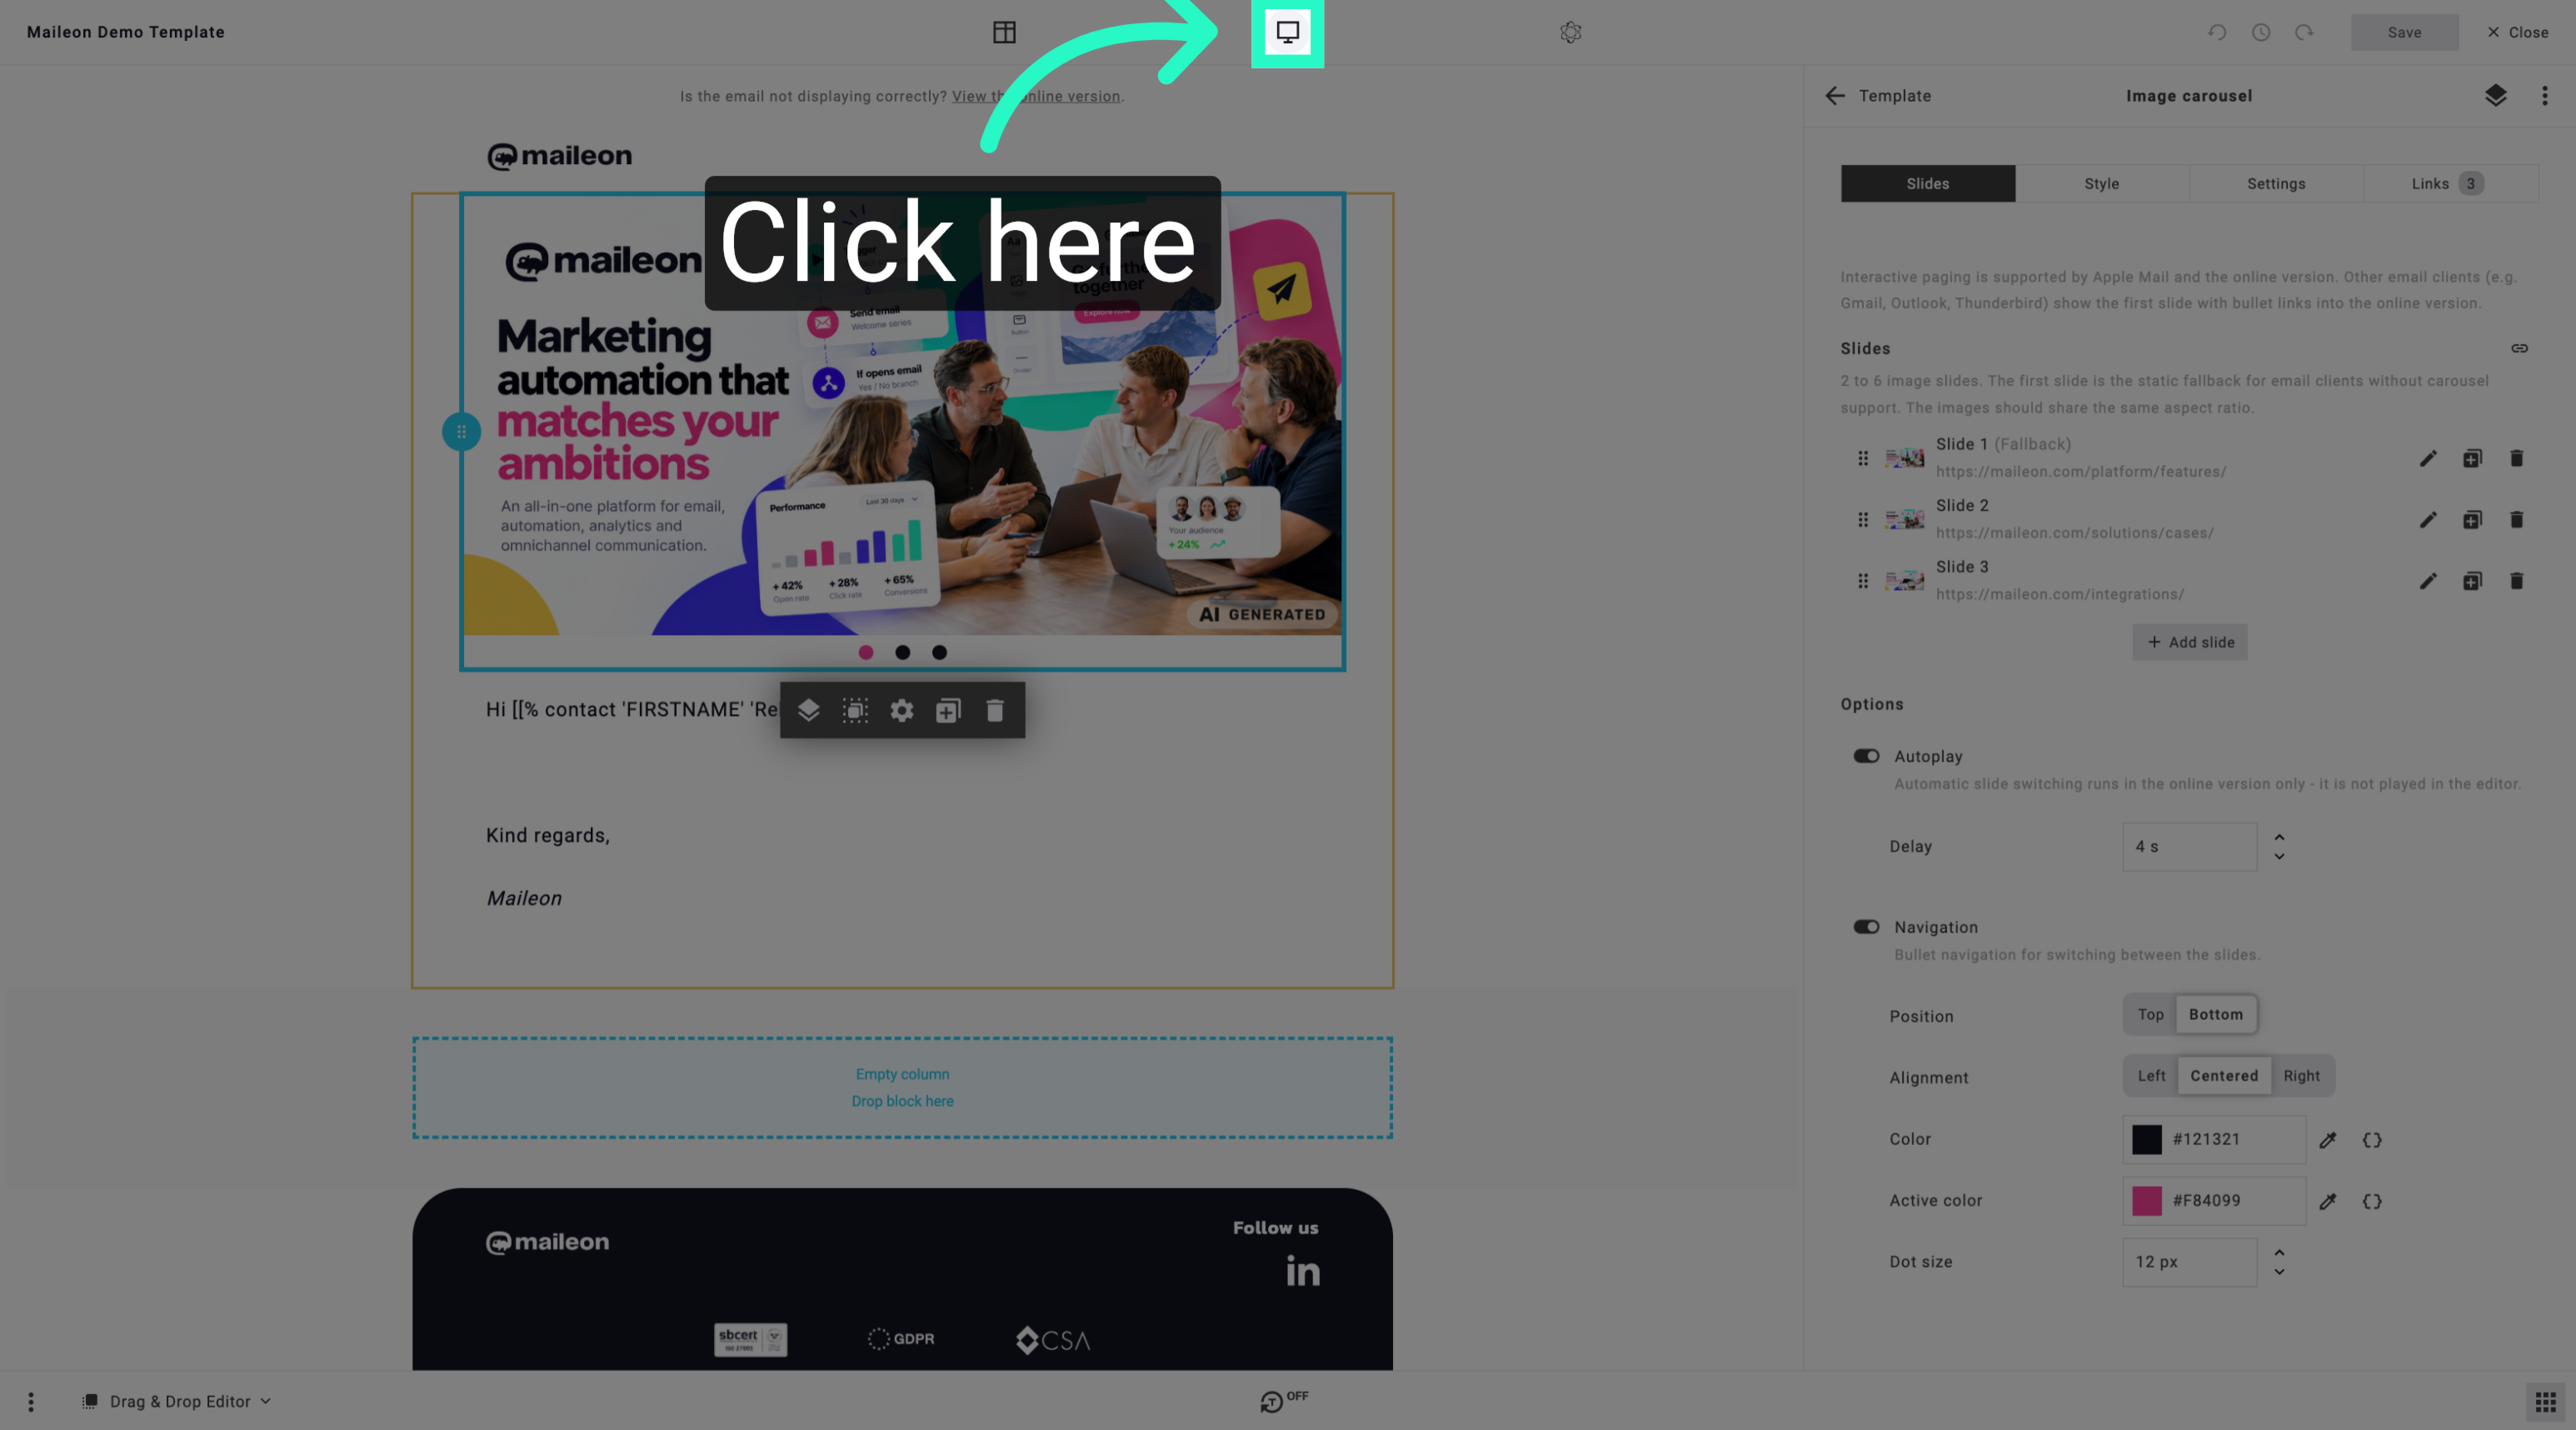
35. Enter Option Value
Enter the required value to configure the selected campaign option.
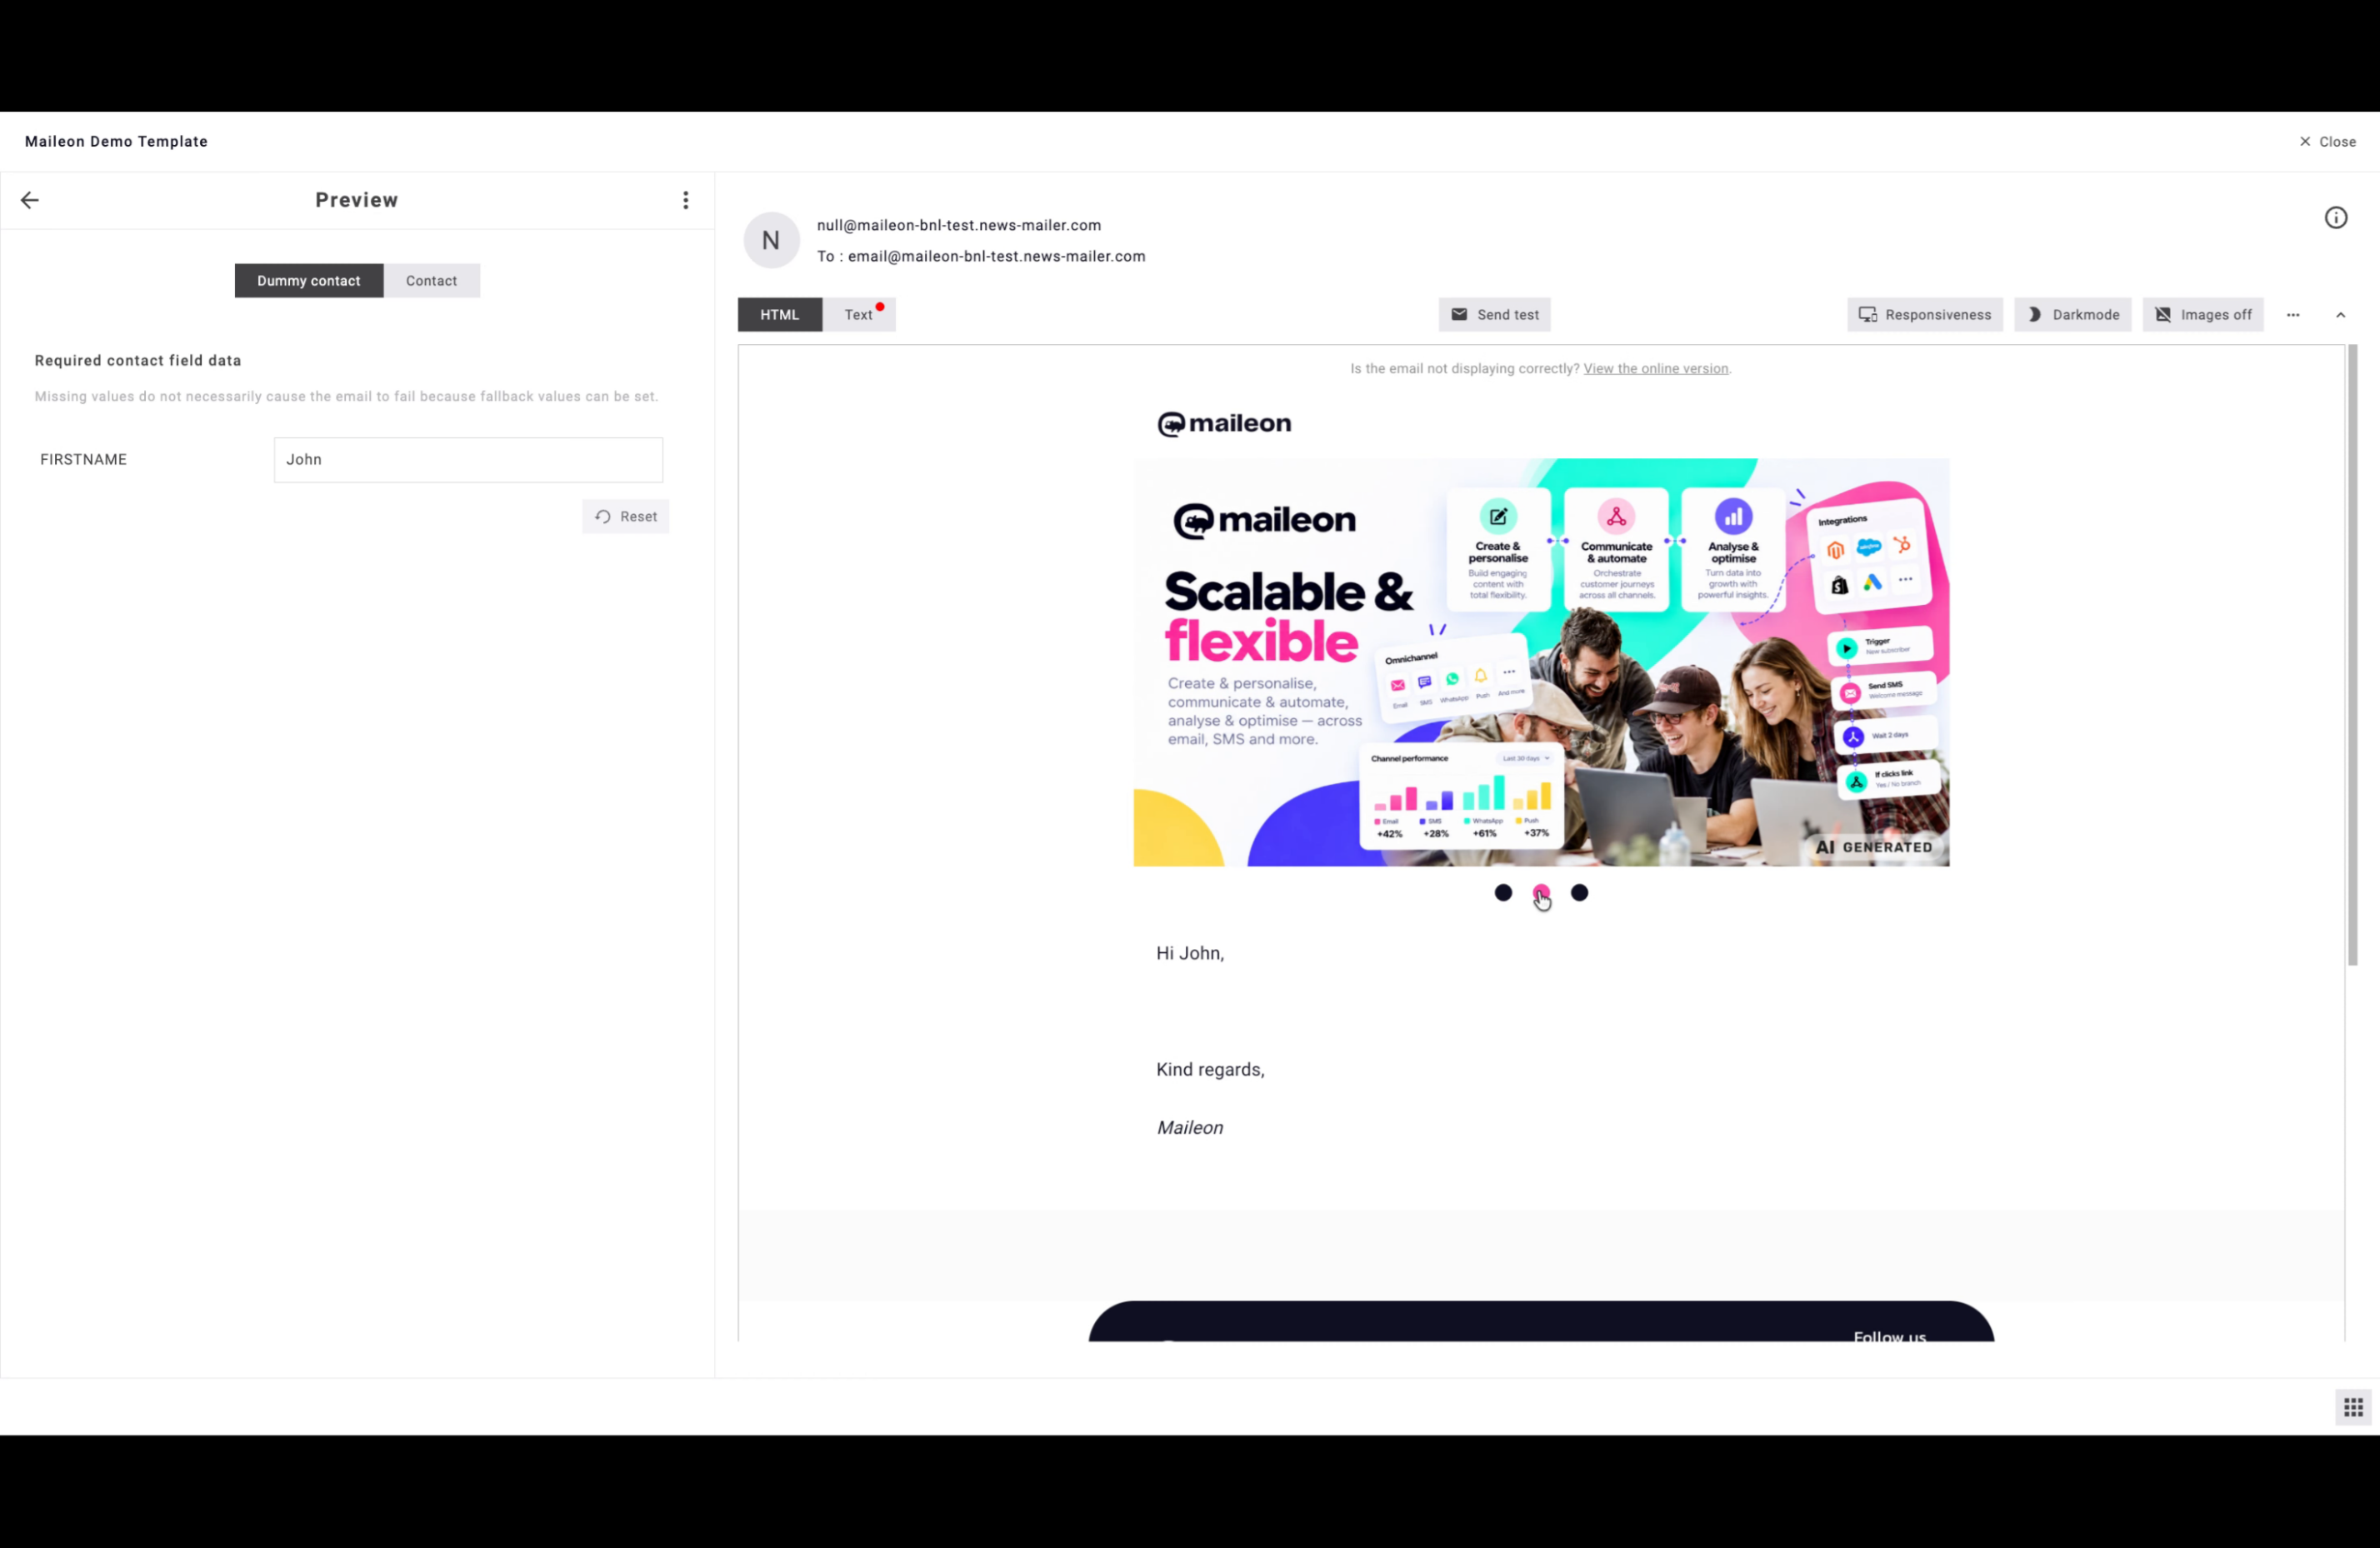
36. Enter Final Option Value
Enter the final value needed to complete your campaign configuration.
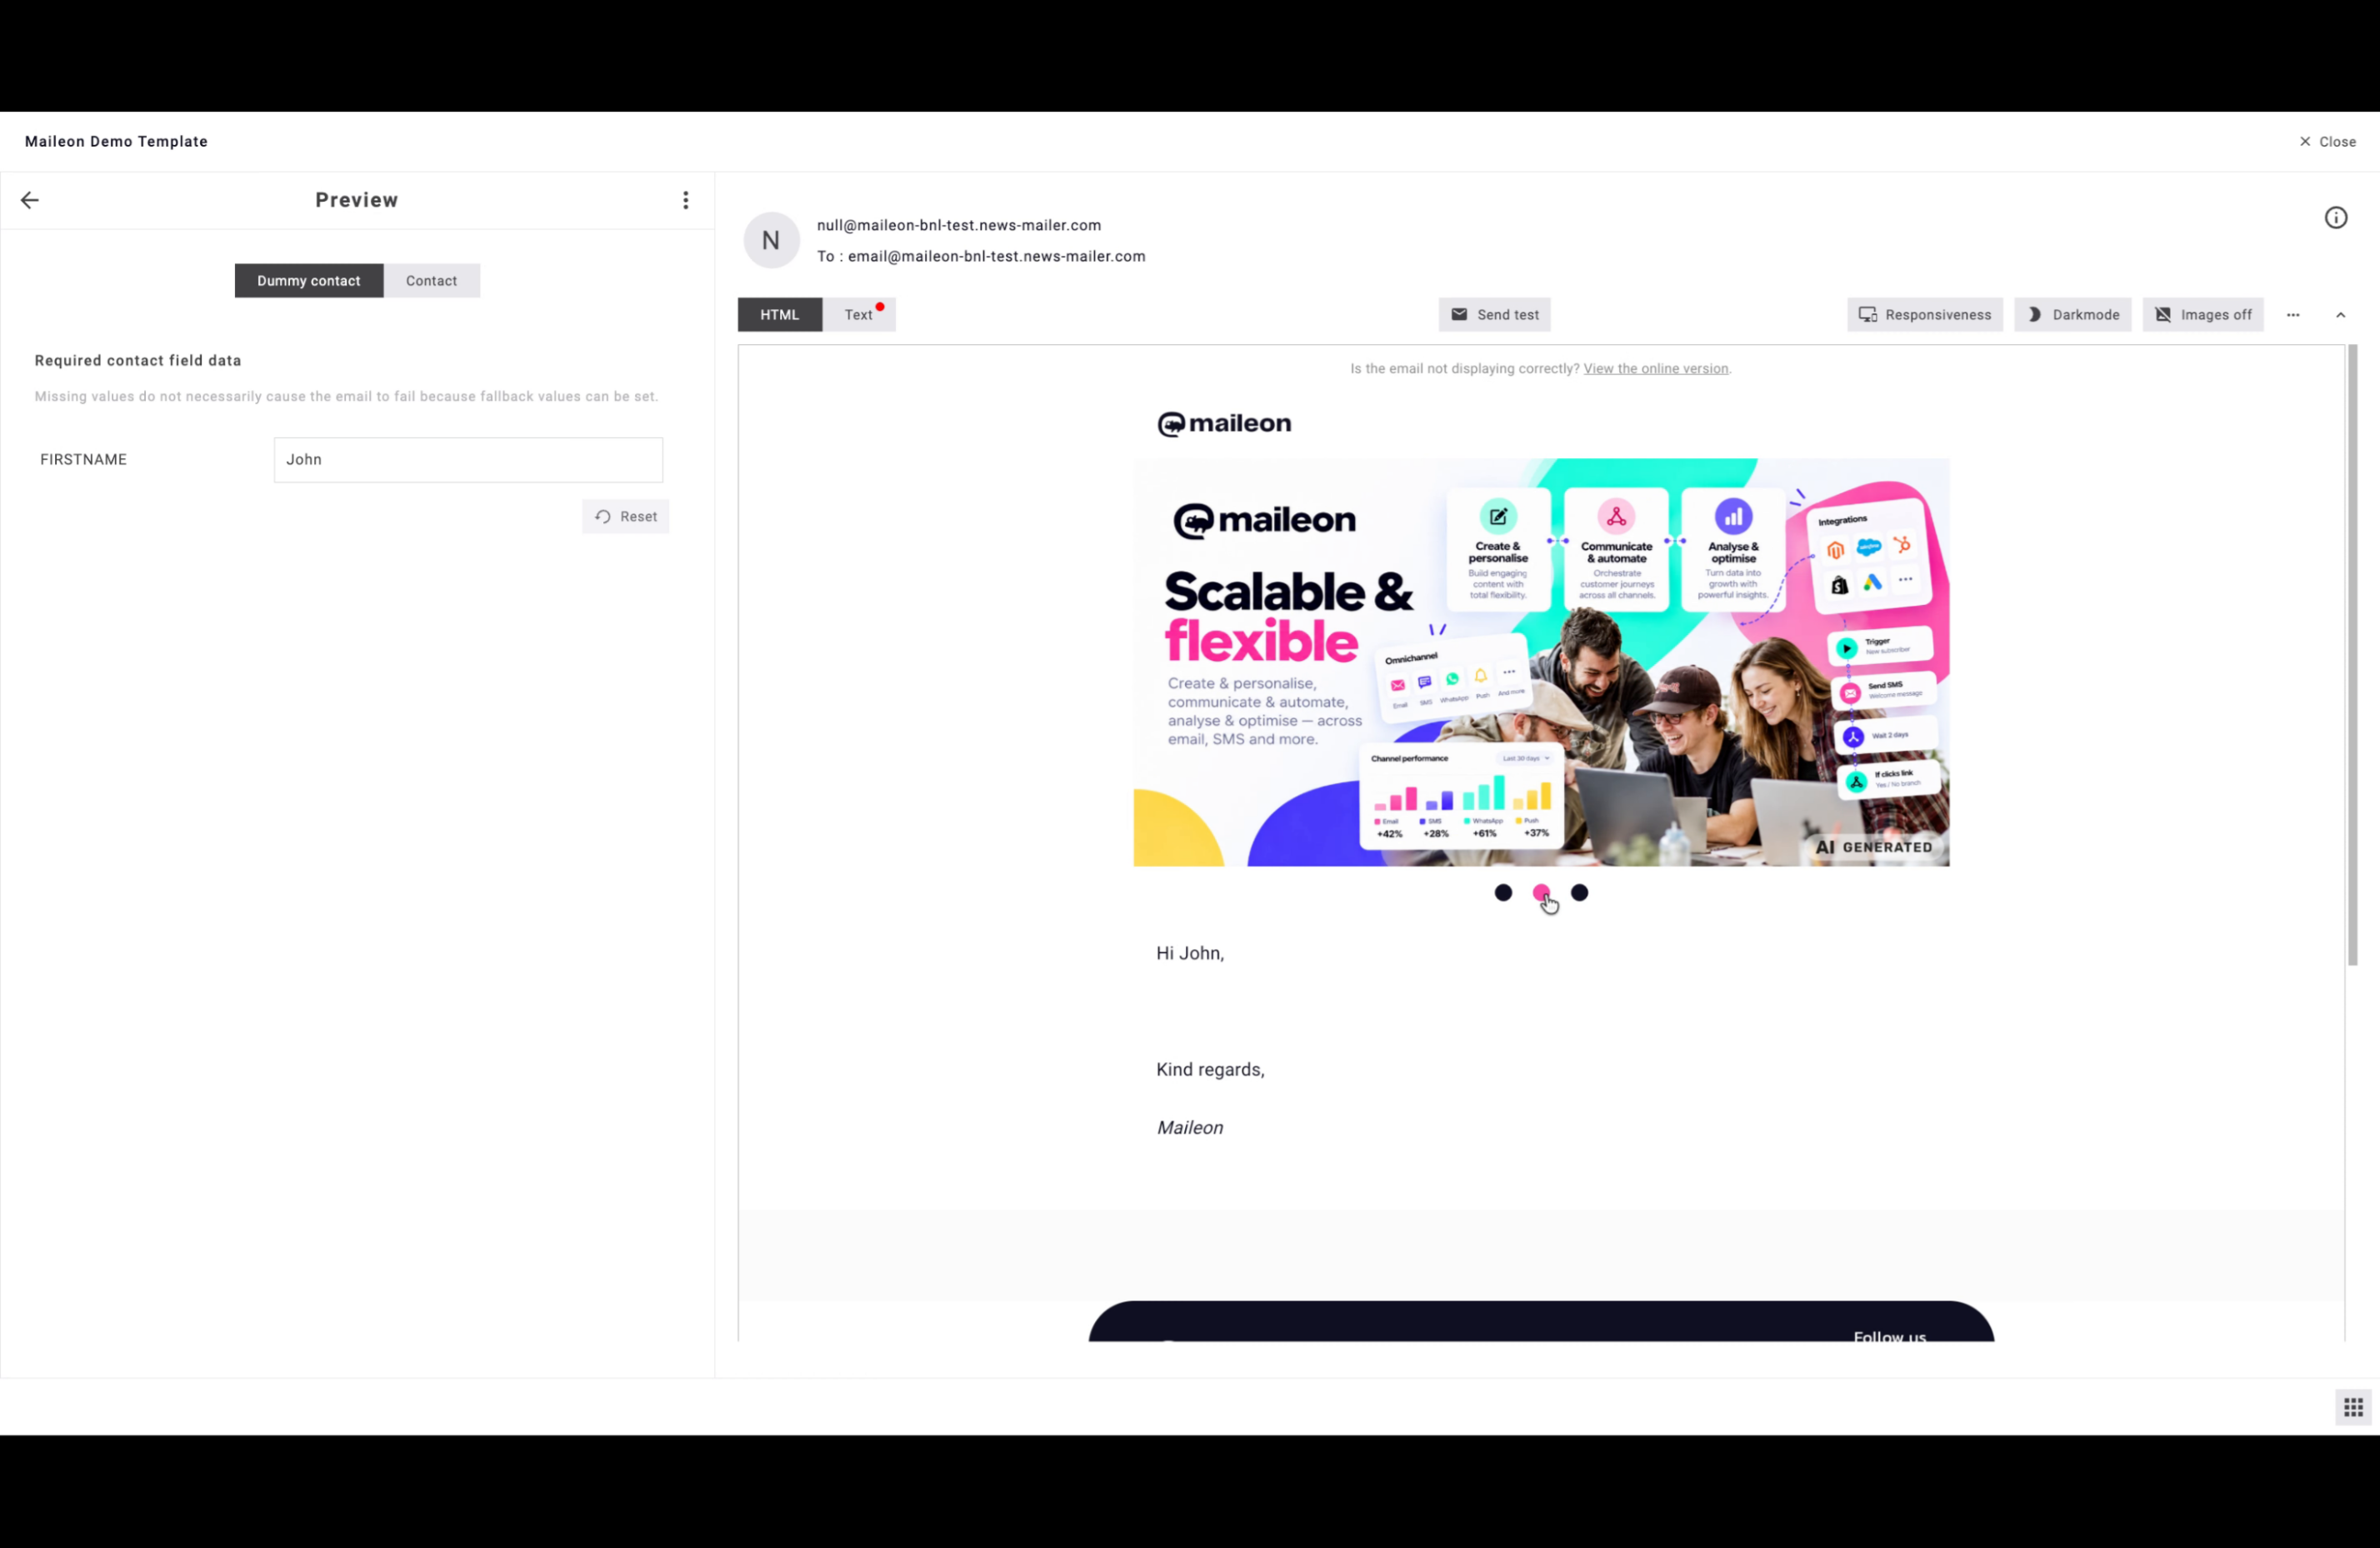
Verify that all images and links are correctly uploaded and configured in your campaign. Proceed to test your email to ensure all elements display and function as expected.