
This tutorial guides you through configuring user permissions within Maileon.
1. Introduction
You will learn how to access user settings, create a user and assign appropriate roles.
2. Access Maileon Settings
Click the Settings option to open the configuration menu in Maileon.
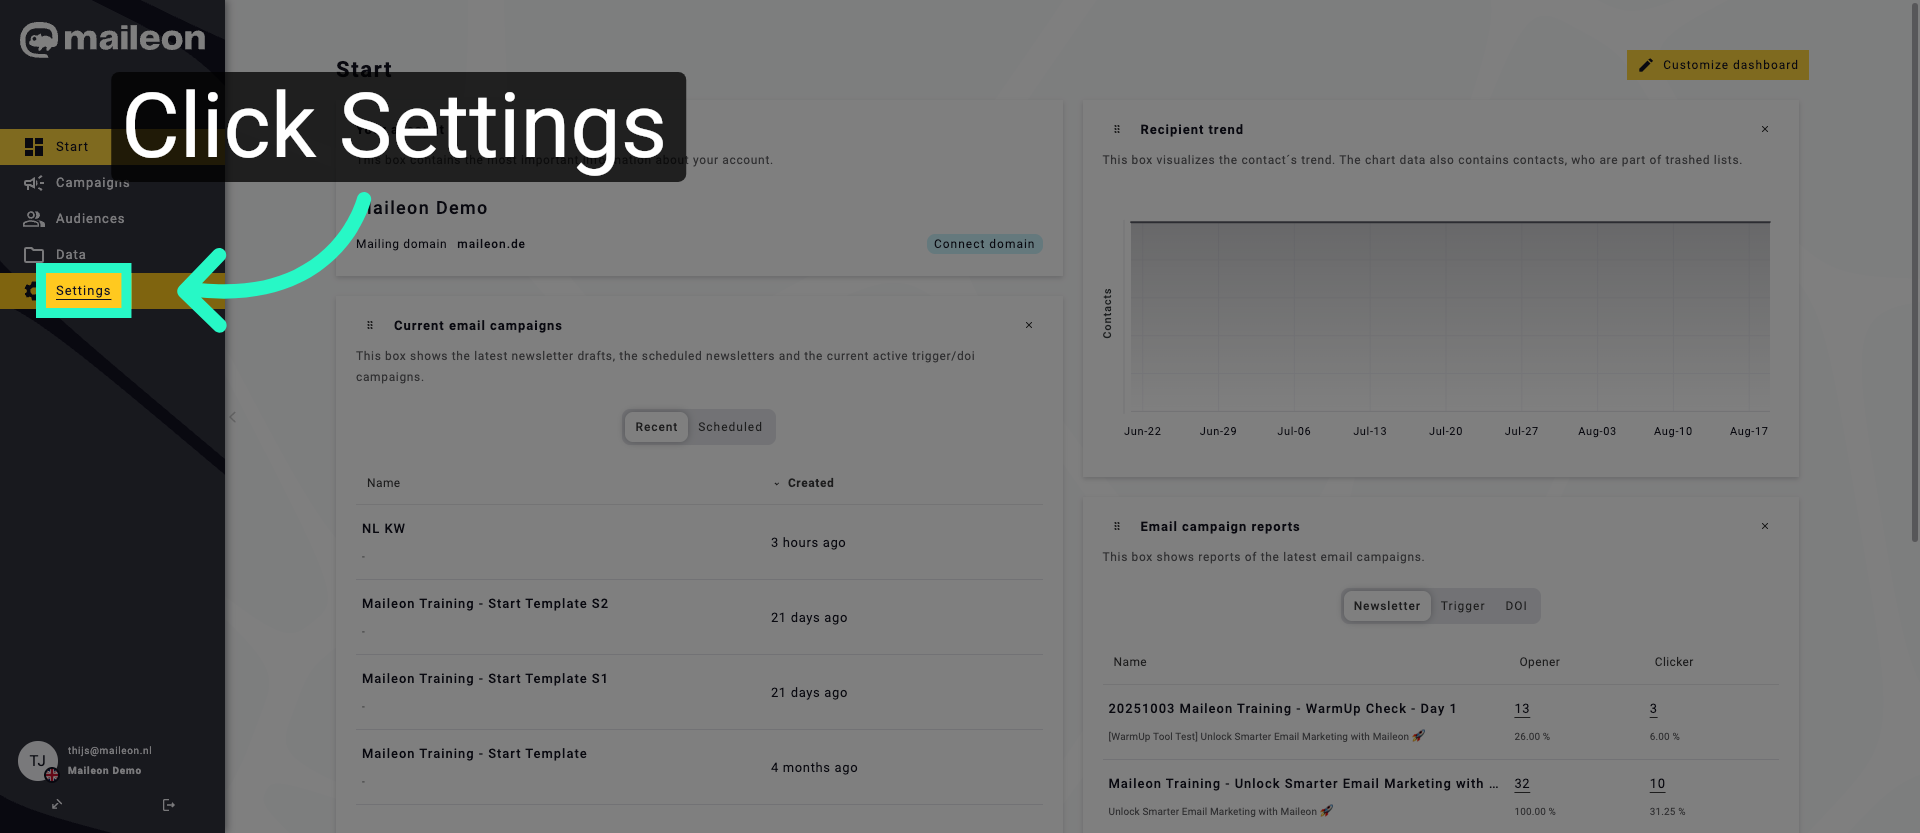
3. Open User Management
Click the Users tab to view and manage user accounts within Maileon.
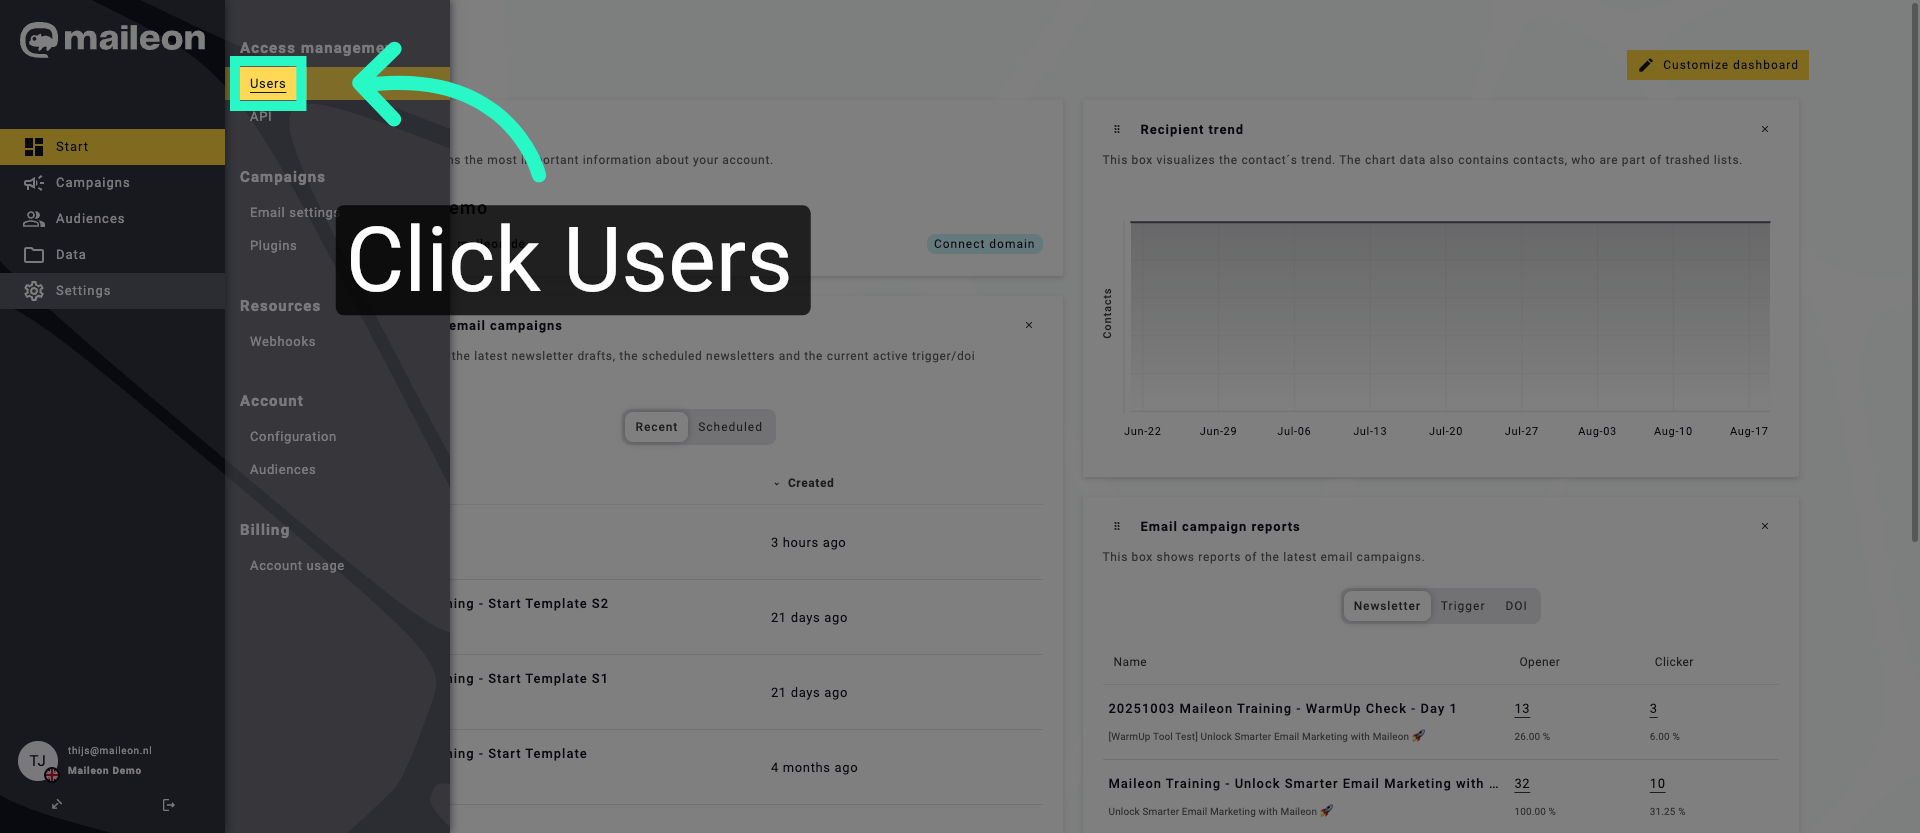
4. Select User Entry
Click the user entry to begin editing the user's details and permissions.
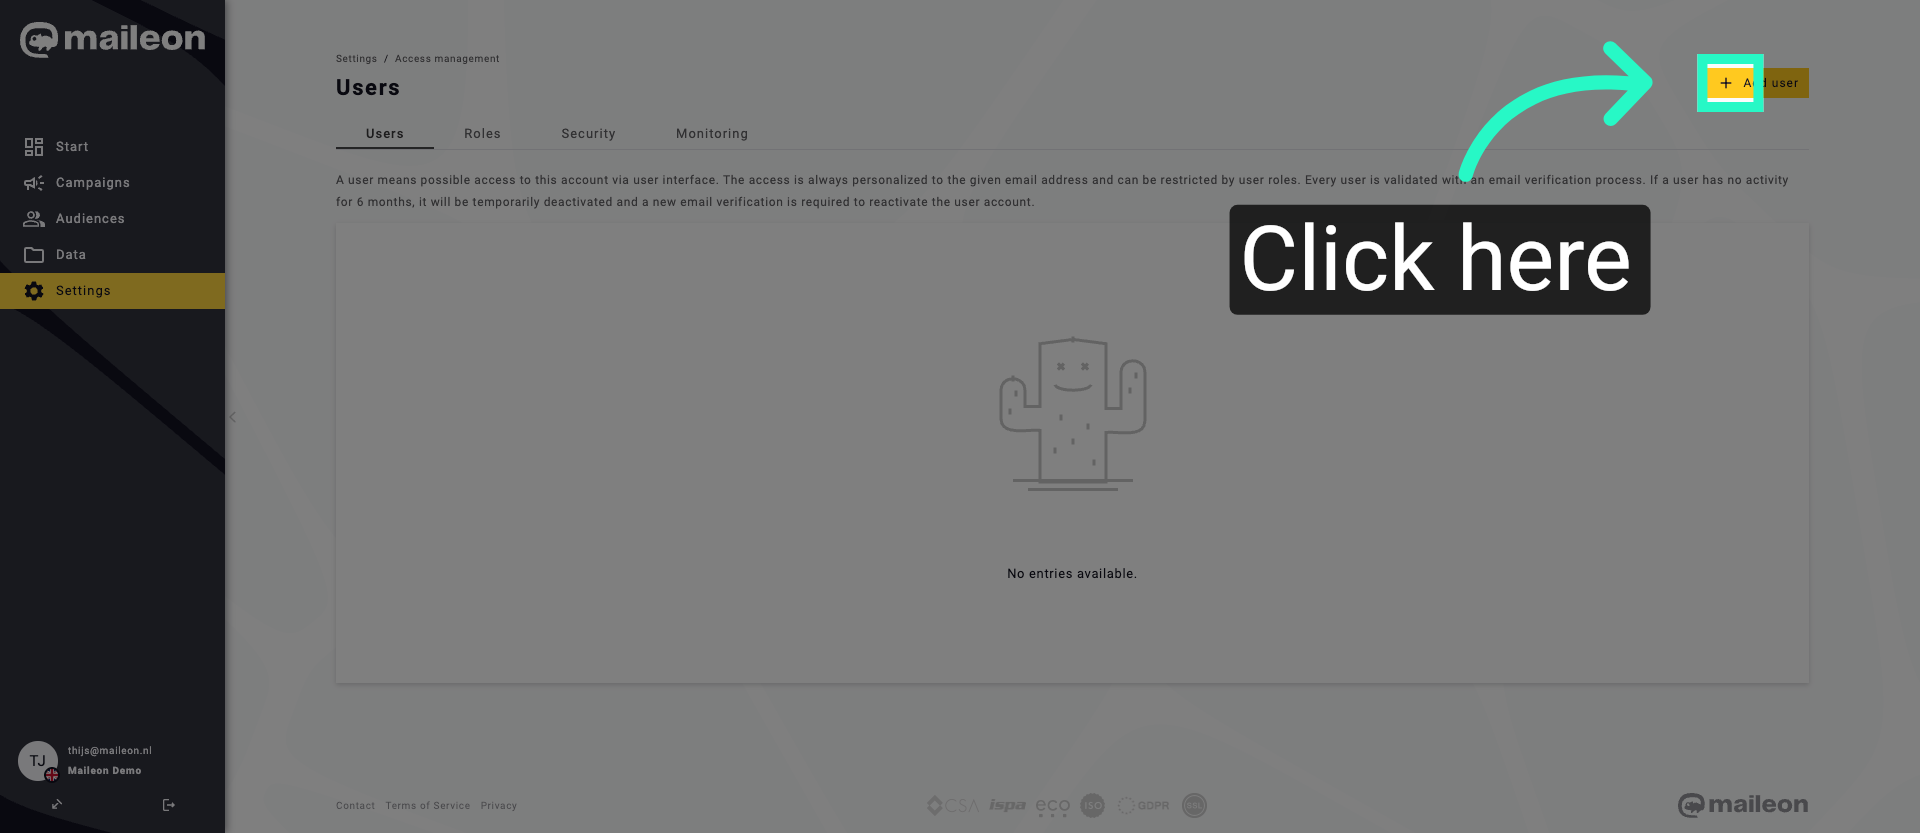
5. Access Email Field
Click the Email address field to view or modify the user's email information.
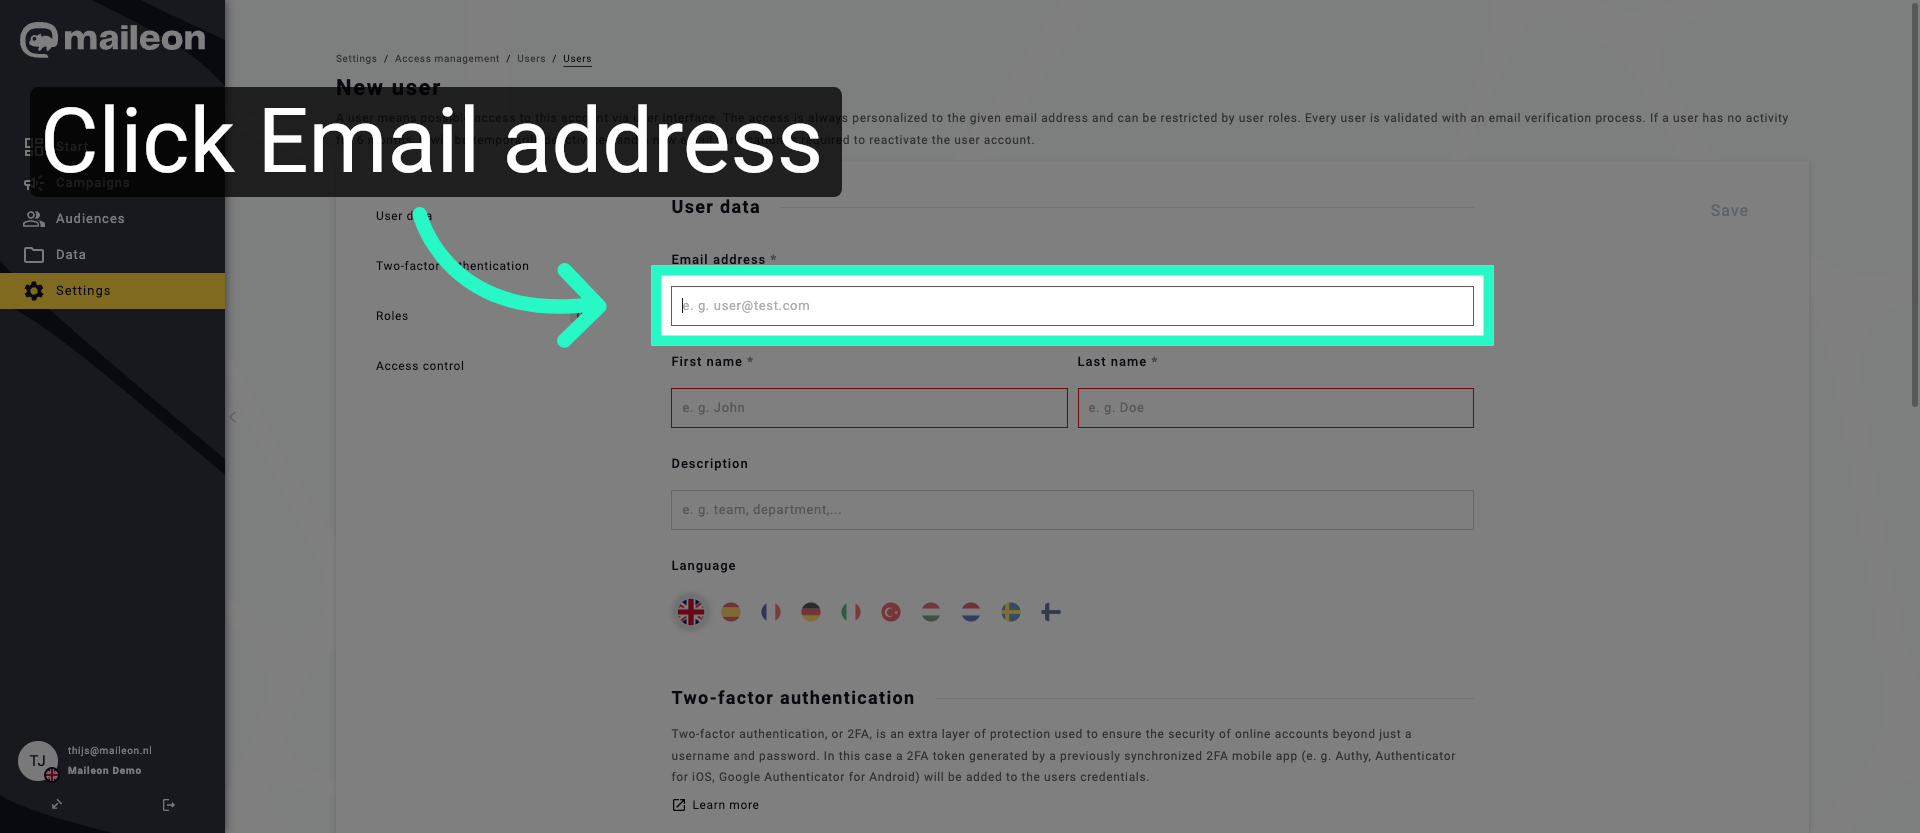
6. Enter User Email
Enter your email address in the email field to update the user's contact information.
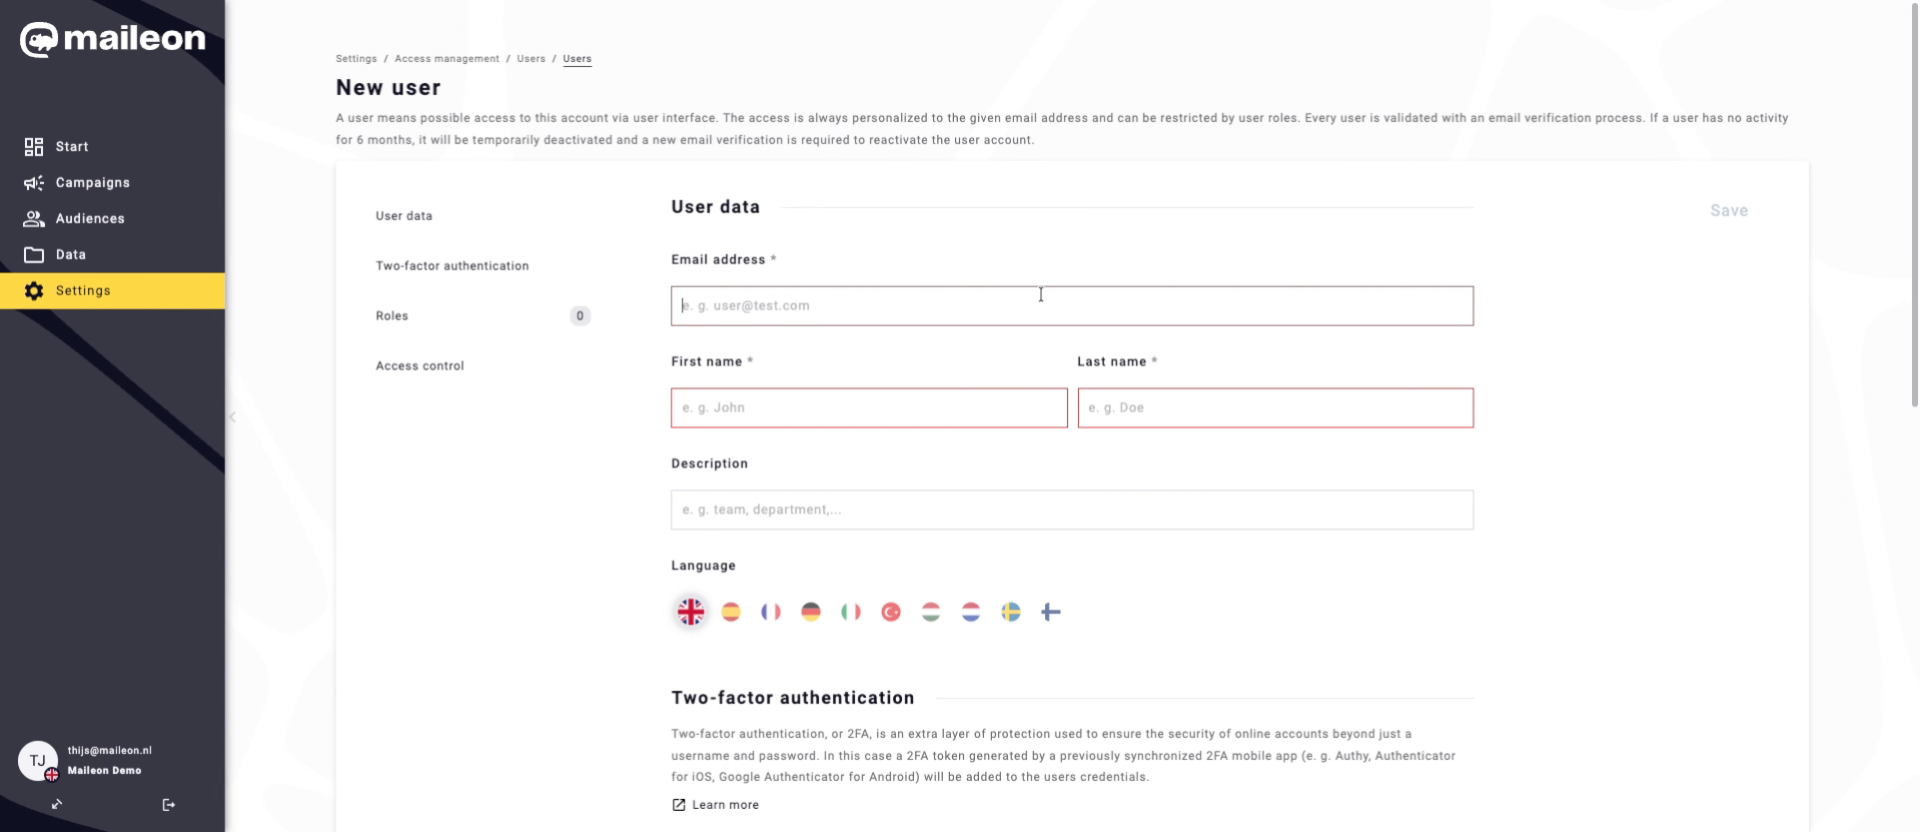
7. Enter User Name
Enter the user's name in the designated field to identify the account.
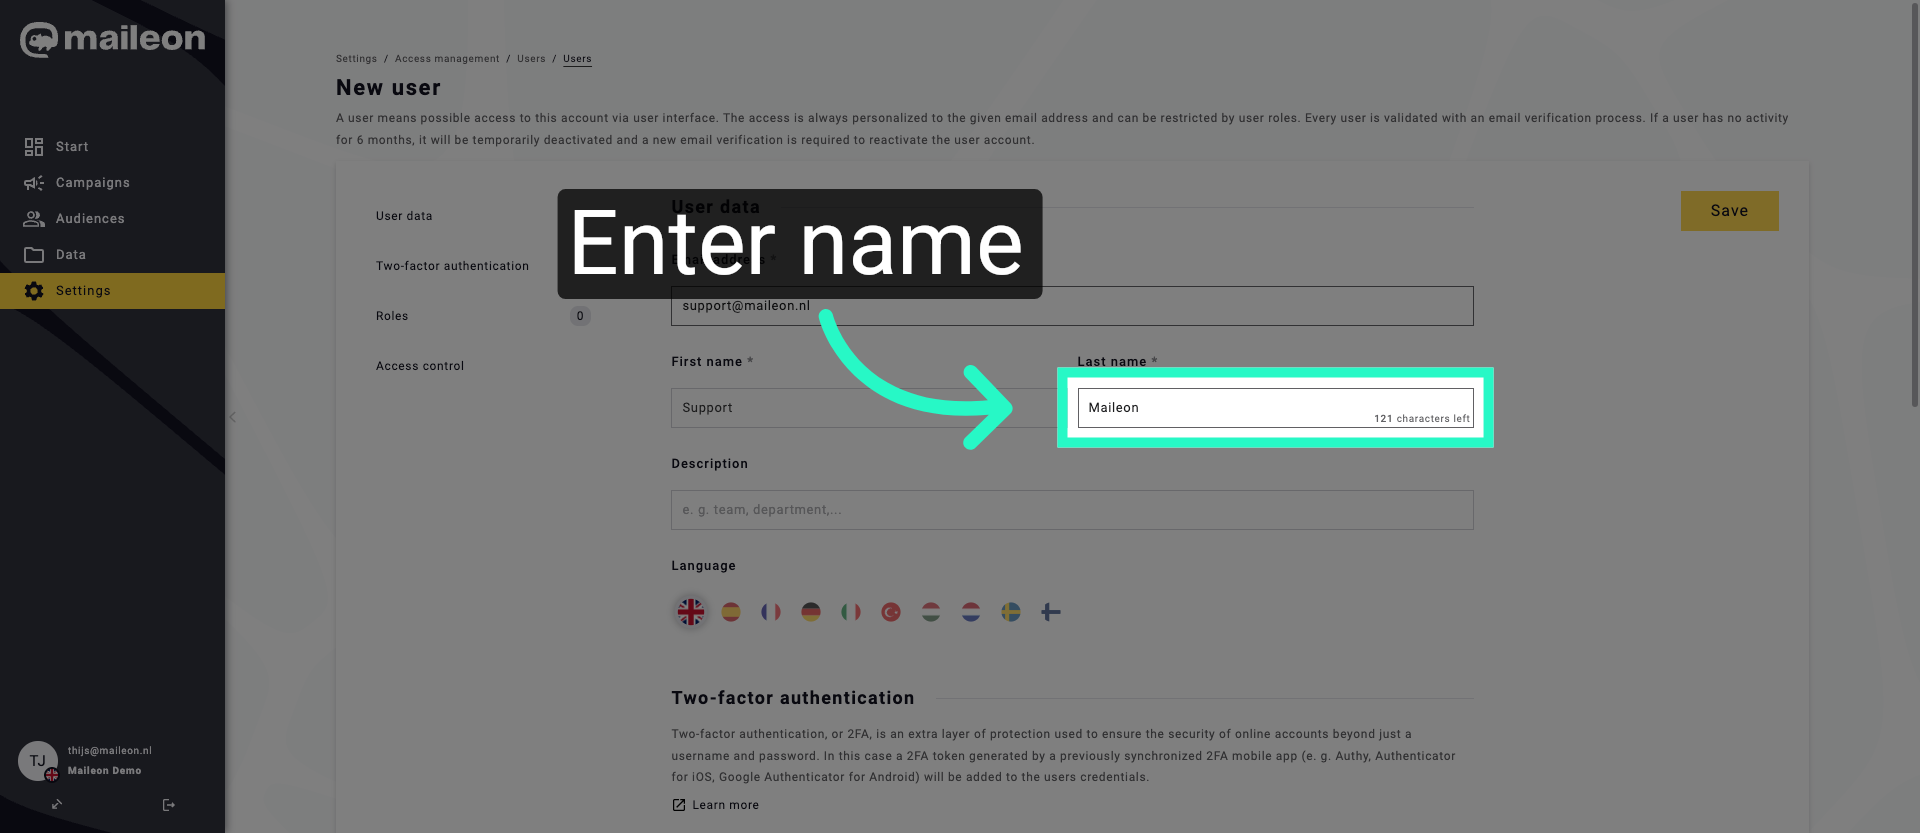
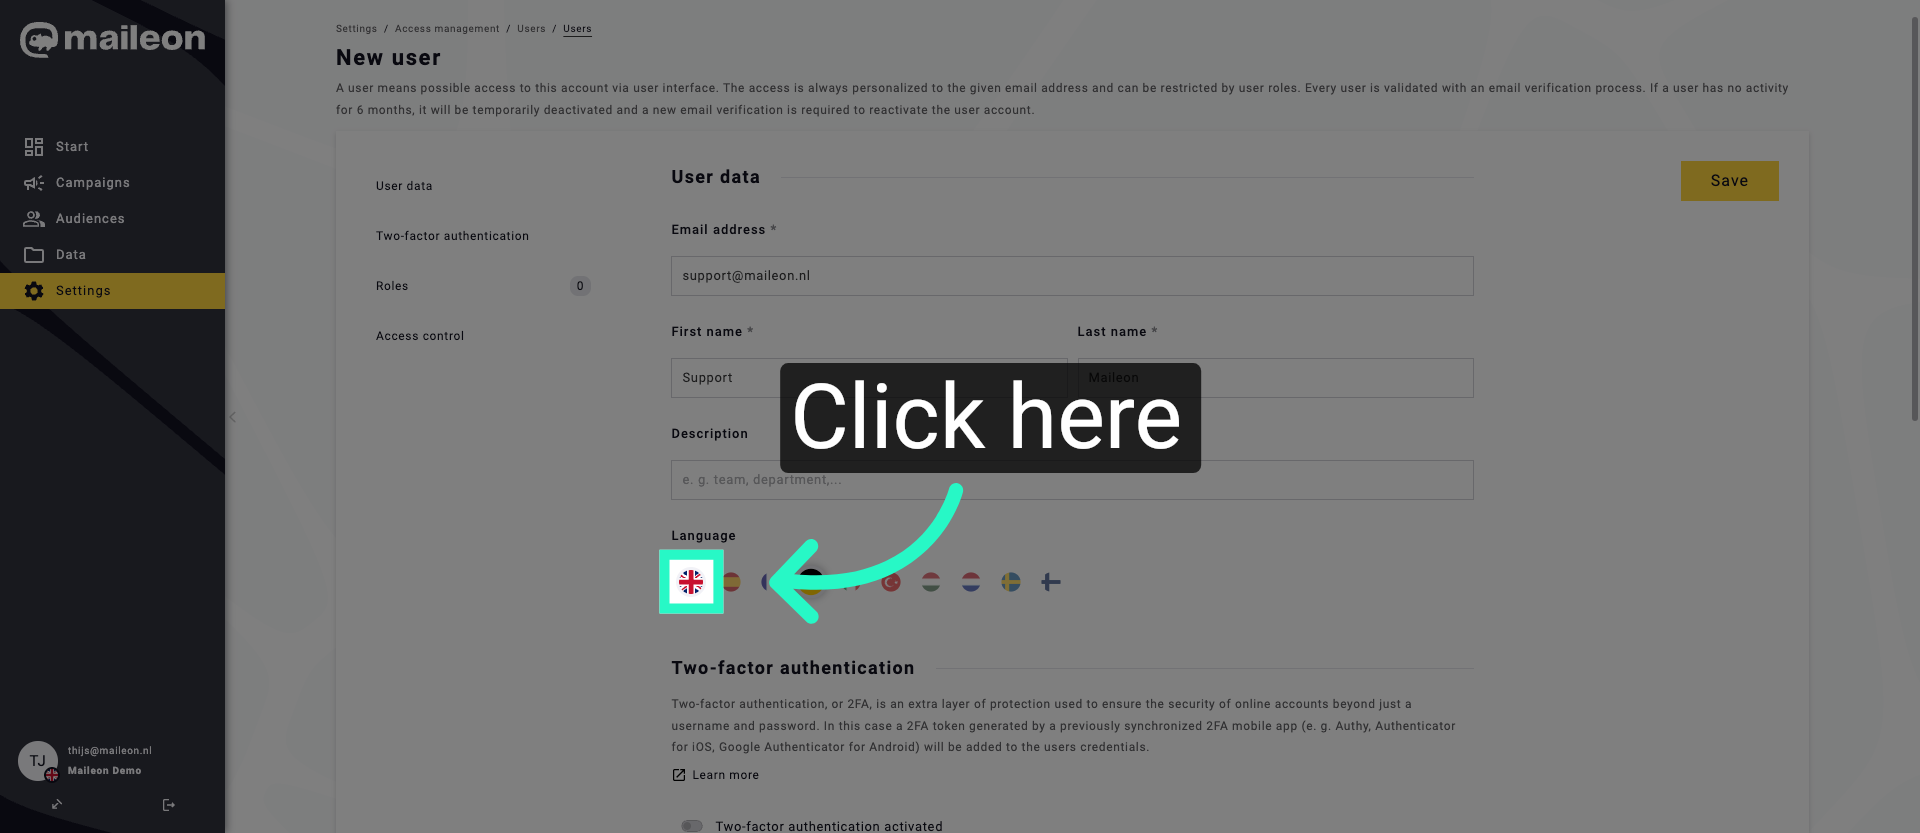
8. Open Role Options
Click here to access the list of available user roles for assignment.
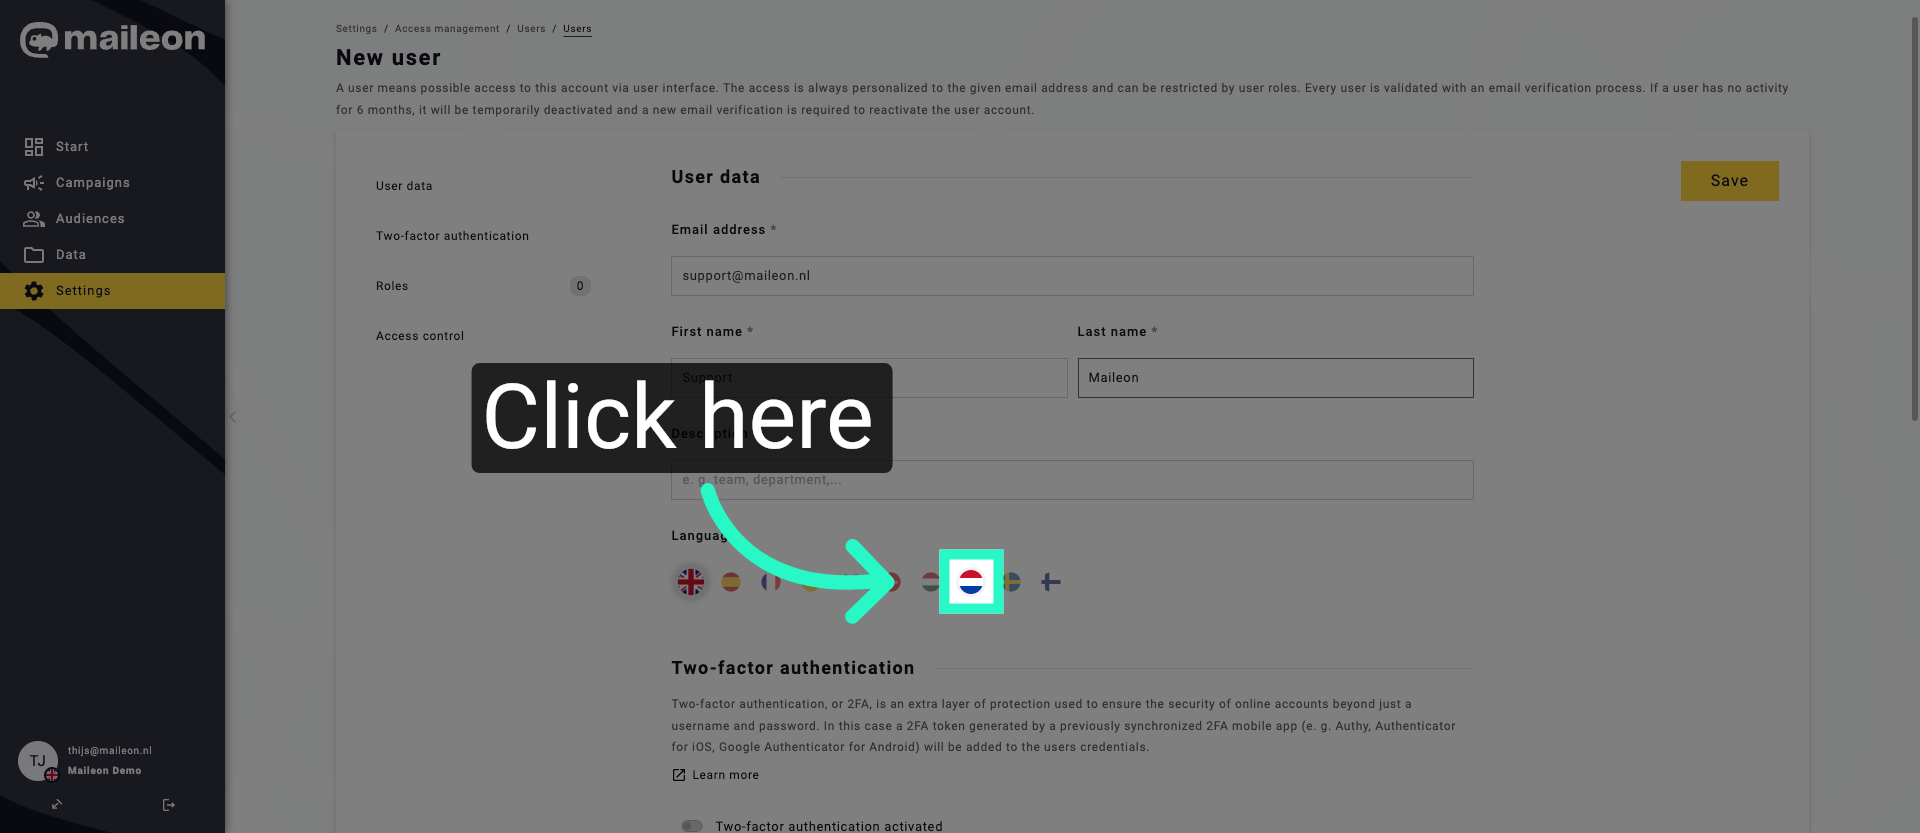
9. Expand Role Selection
Click here to expand the role selection menu and view all role options.
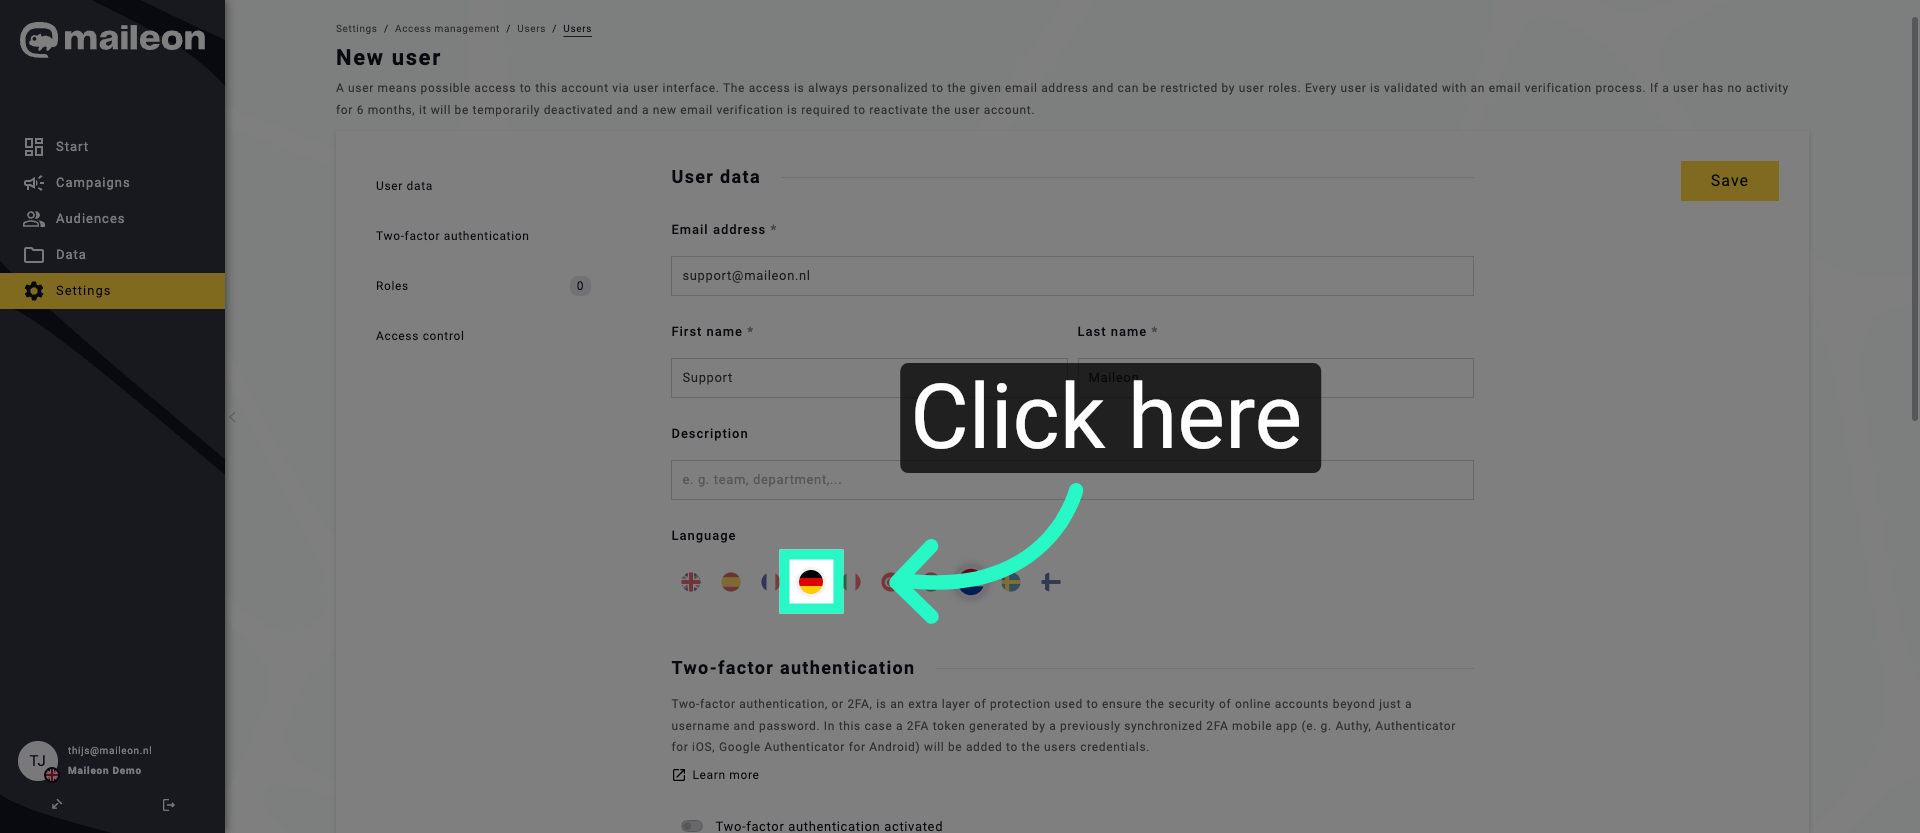
10. Choose Role Category
Click here to select the category of roles applicable to the user.
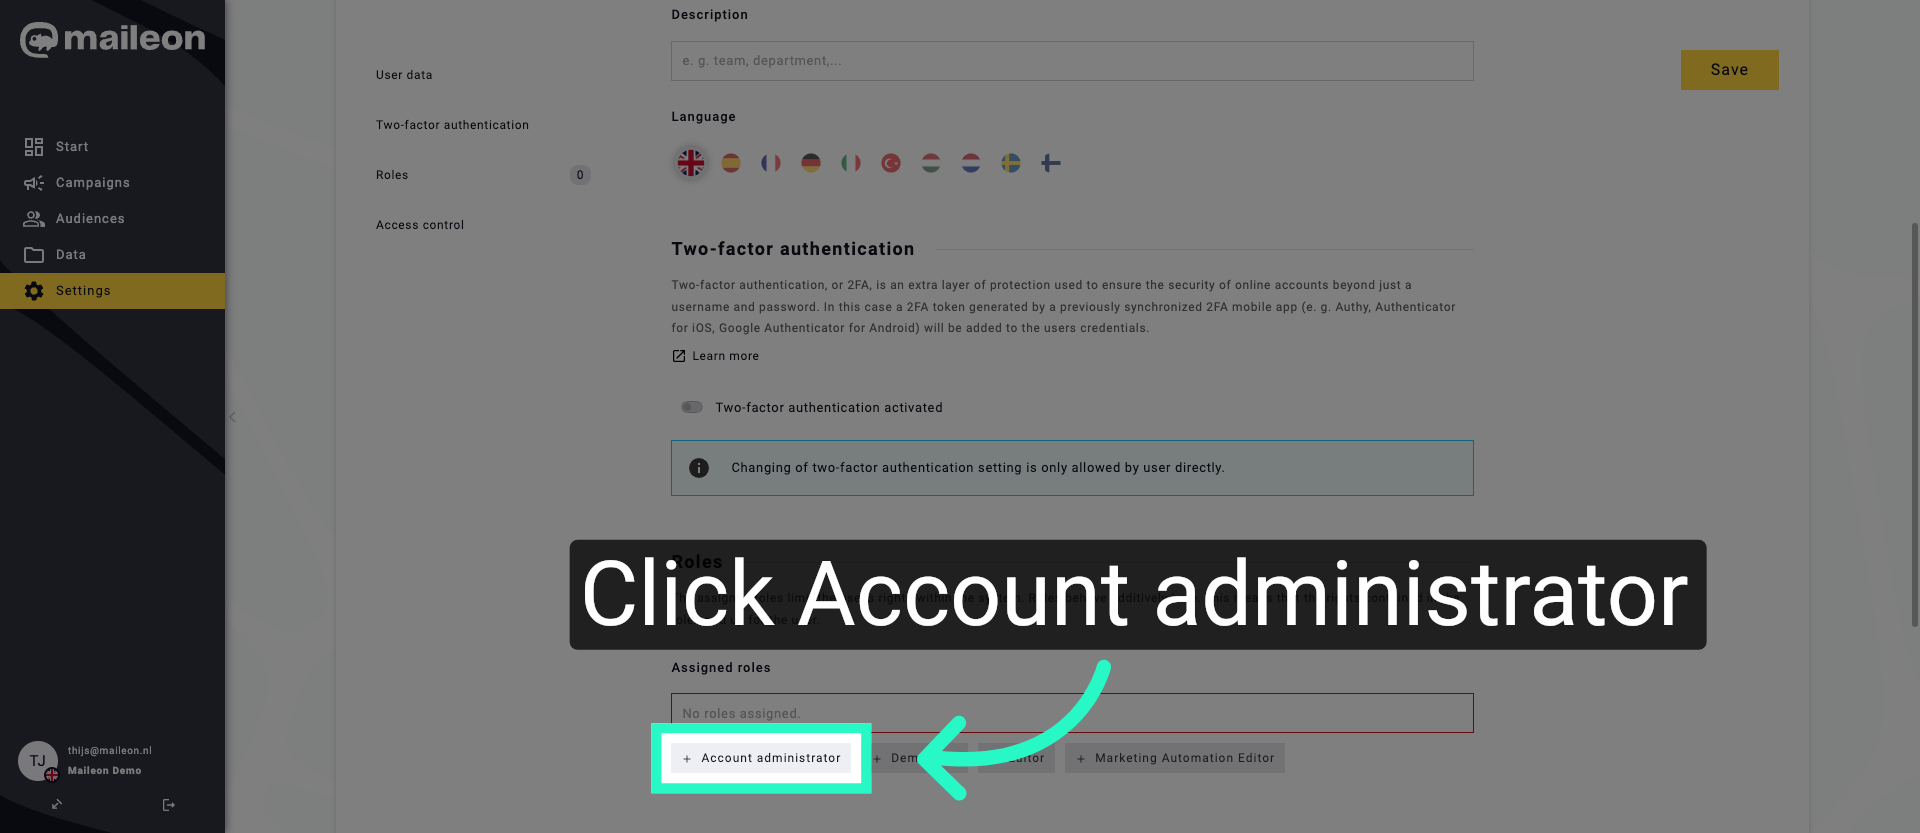
11. Assign Account Administrator Role
Click Account administrator to grant the user full administrative permissions.
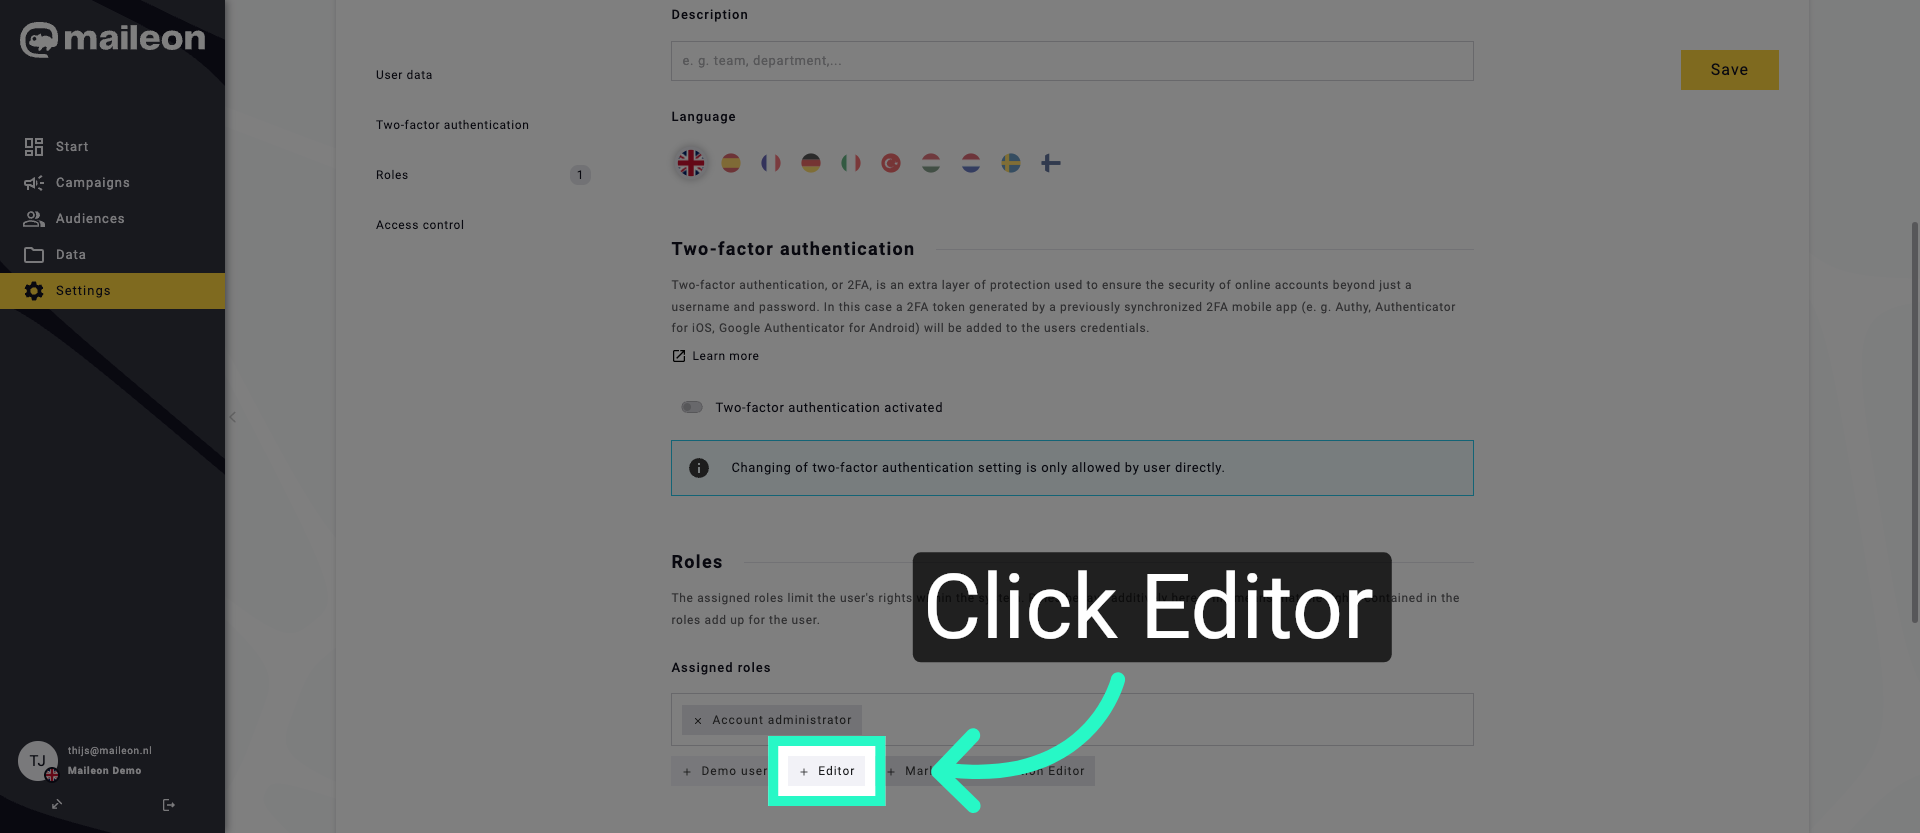
12. Assign Editor Role
Click Editor to assign editing permissions to the user account.
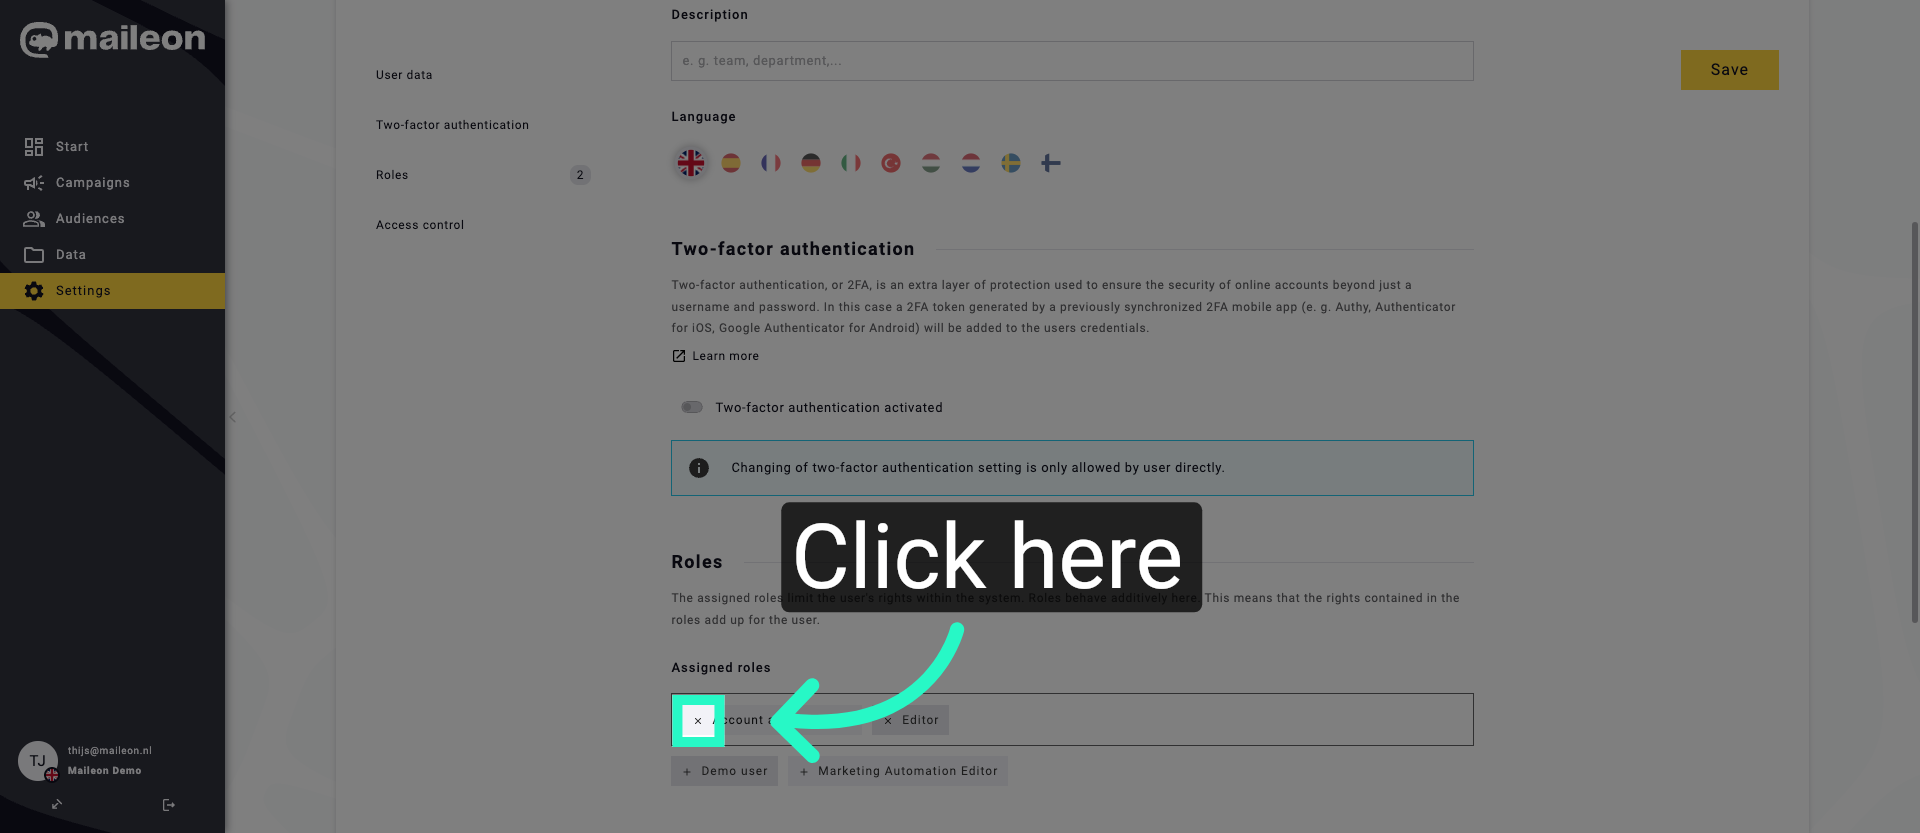
13. Confirm Role Selection
Click here to confirm the selected roles and prepare to save changes.
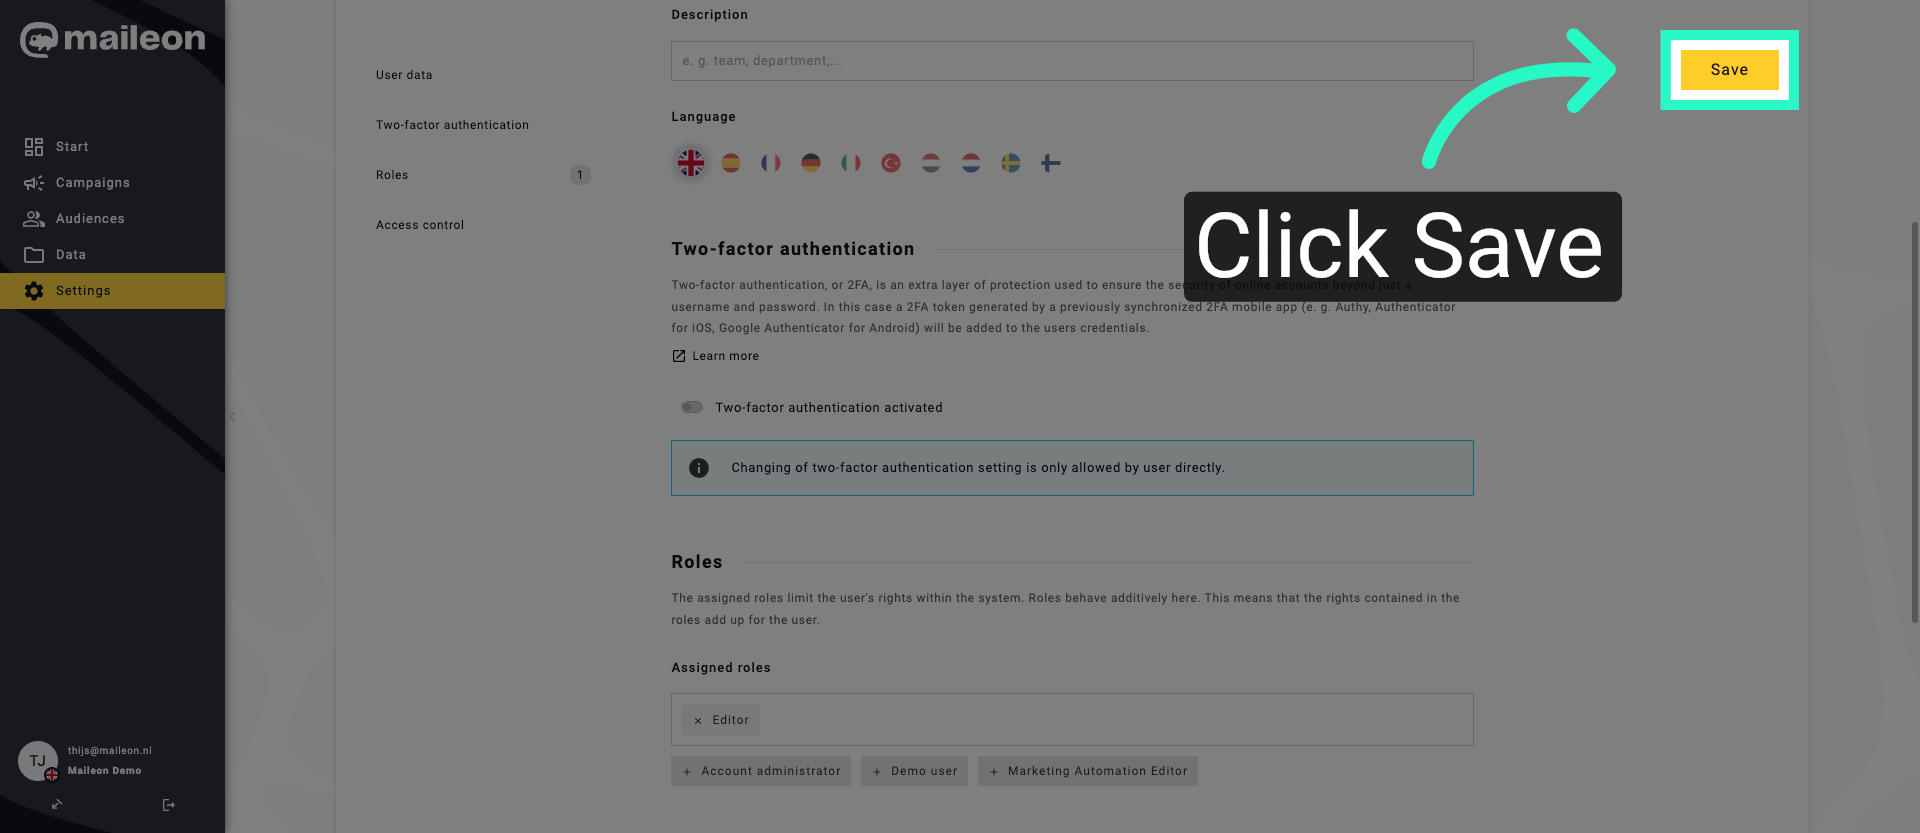
14. Save User Settings
Click the Save button to apply all changes to the user's permissions and details.
You have successfully configured user permissions in Maileon by updating user details and assigning appropriate roles. You can now manage user access effectively within the platform.