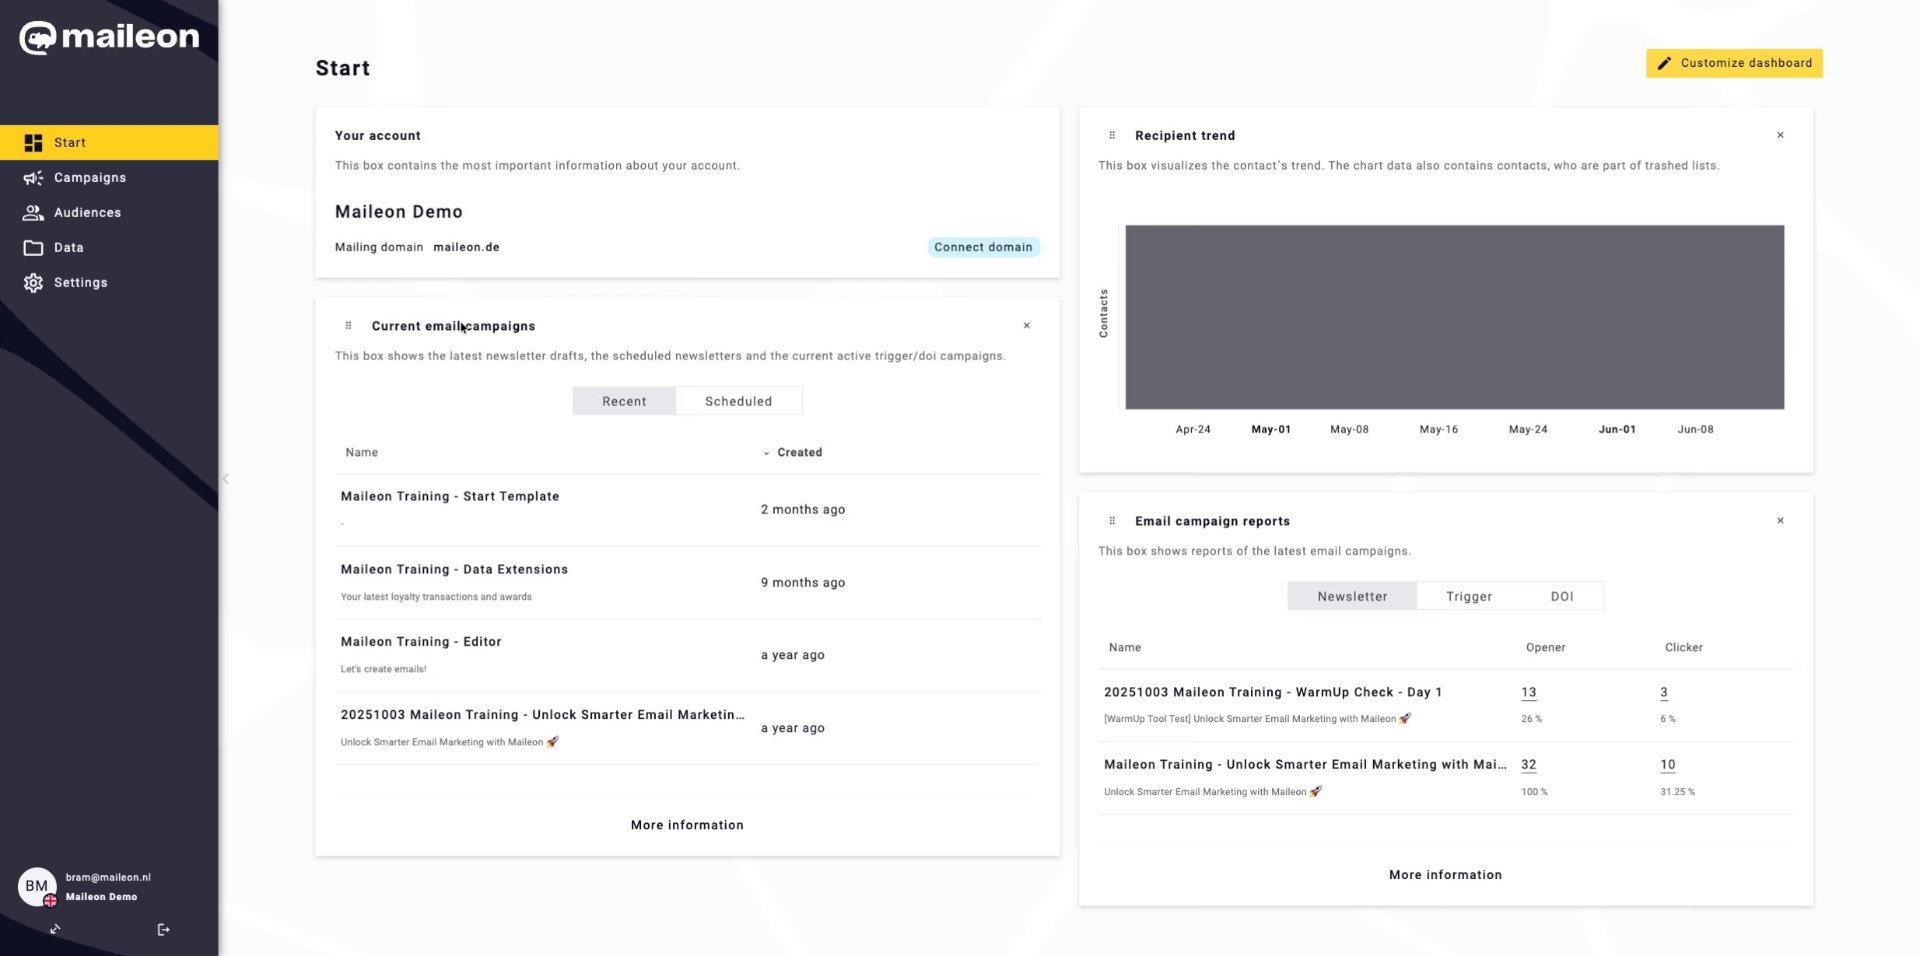
This tutorial explains how to configure contact permission levels within Maileon.
⚠️ Read carefully, this process is difficult to reverse and could do harm to you database
Go to maileon-benelux-maileon-de.maileon.com
1. Introduction
You will learn to create and manage contact jobs to control permissions effectively.
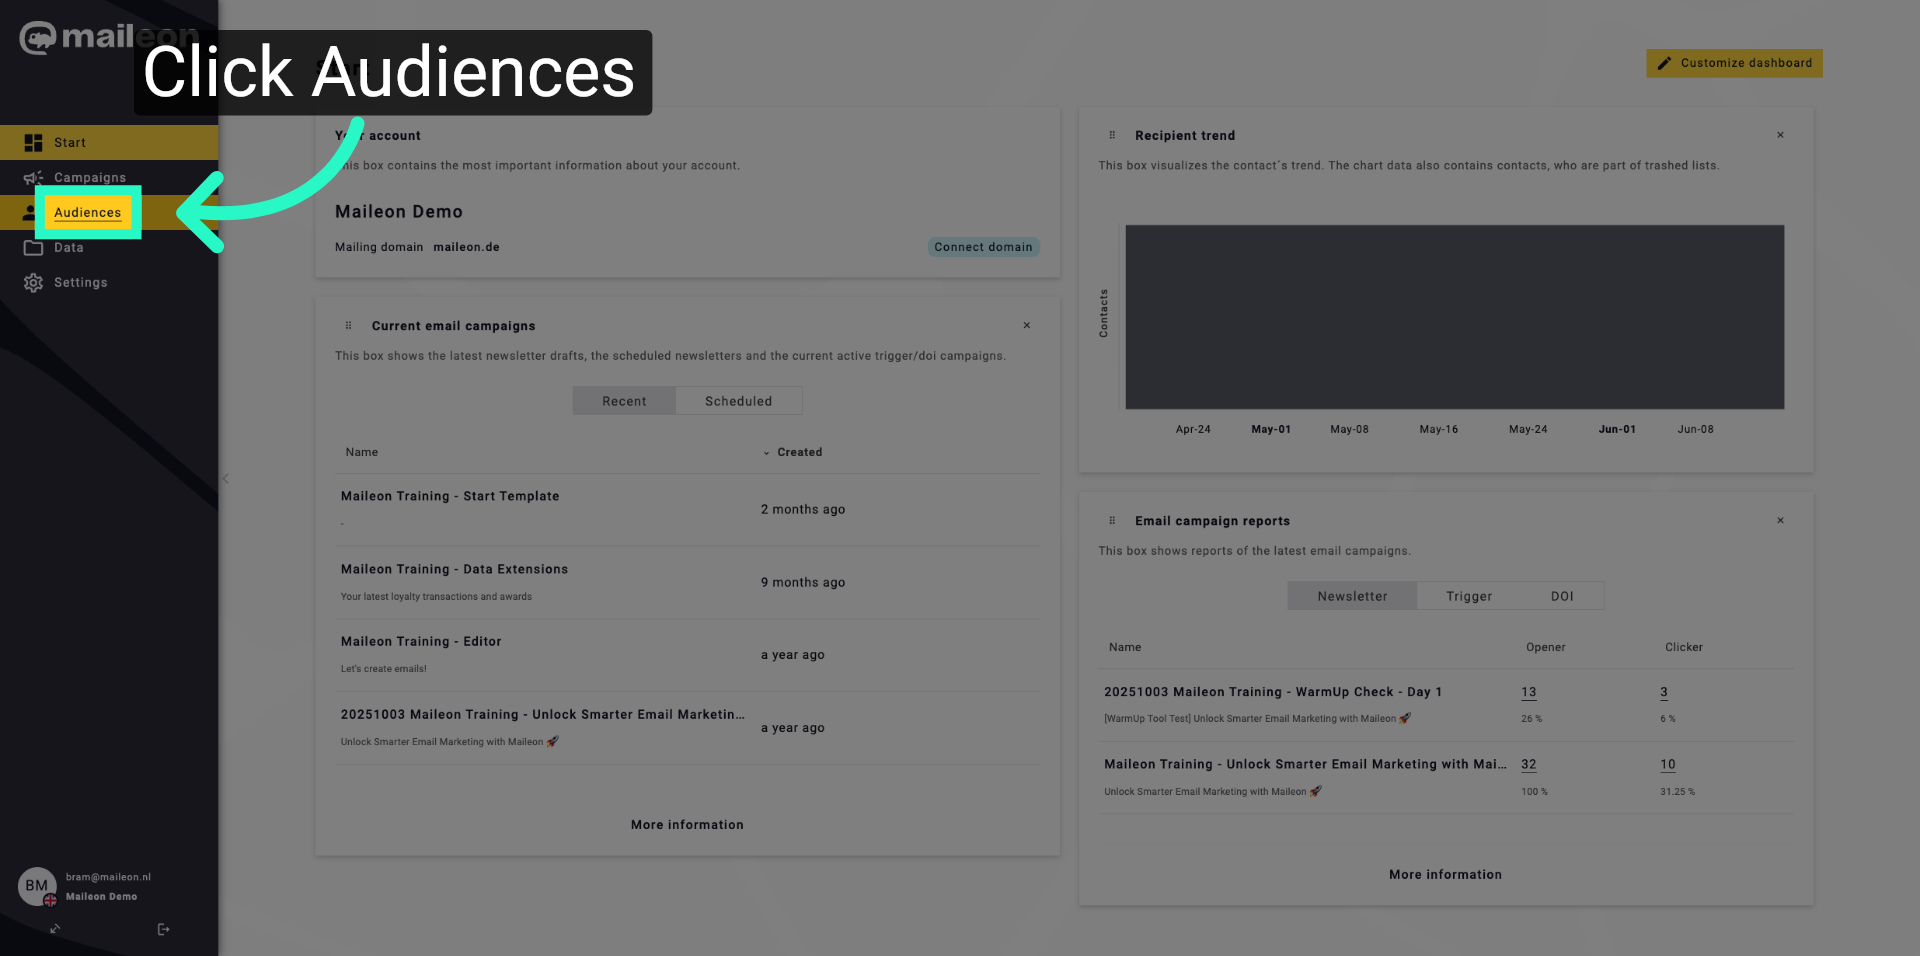
2. Access Audiences Section
Click "Audiences" to open the audience management area where you can manage contact groups and jobs.
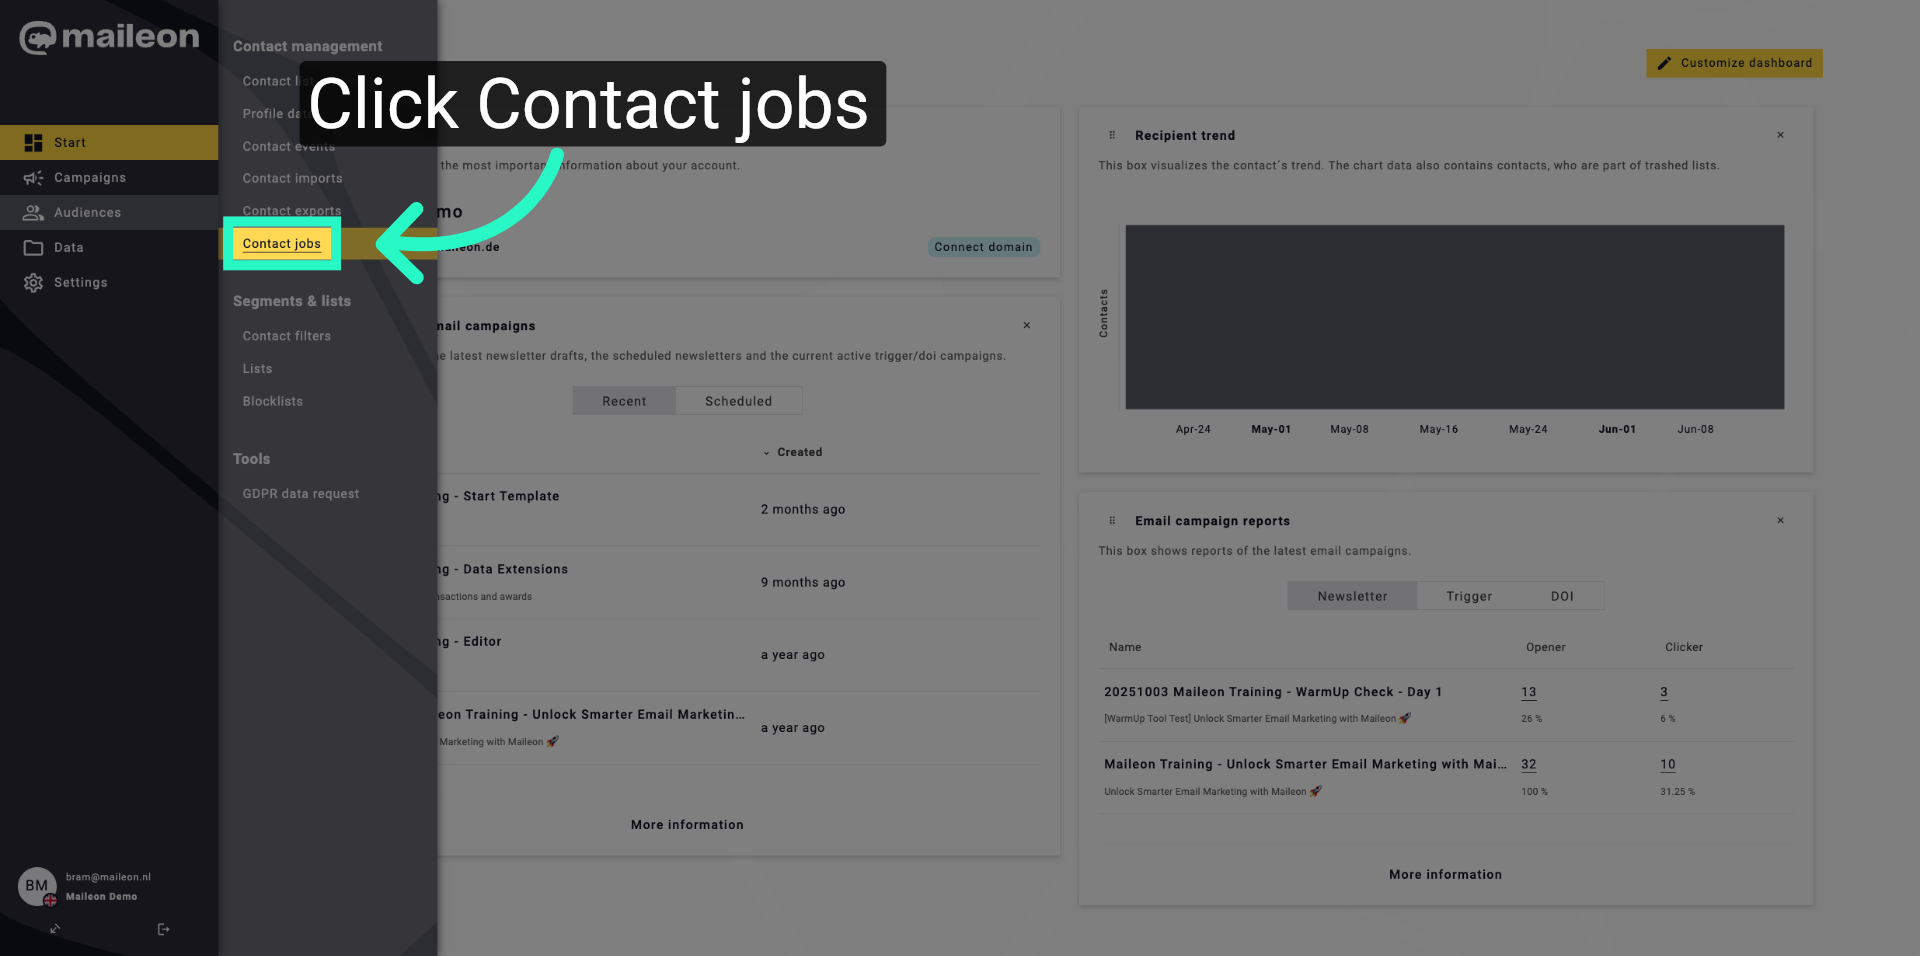
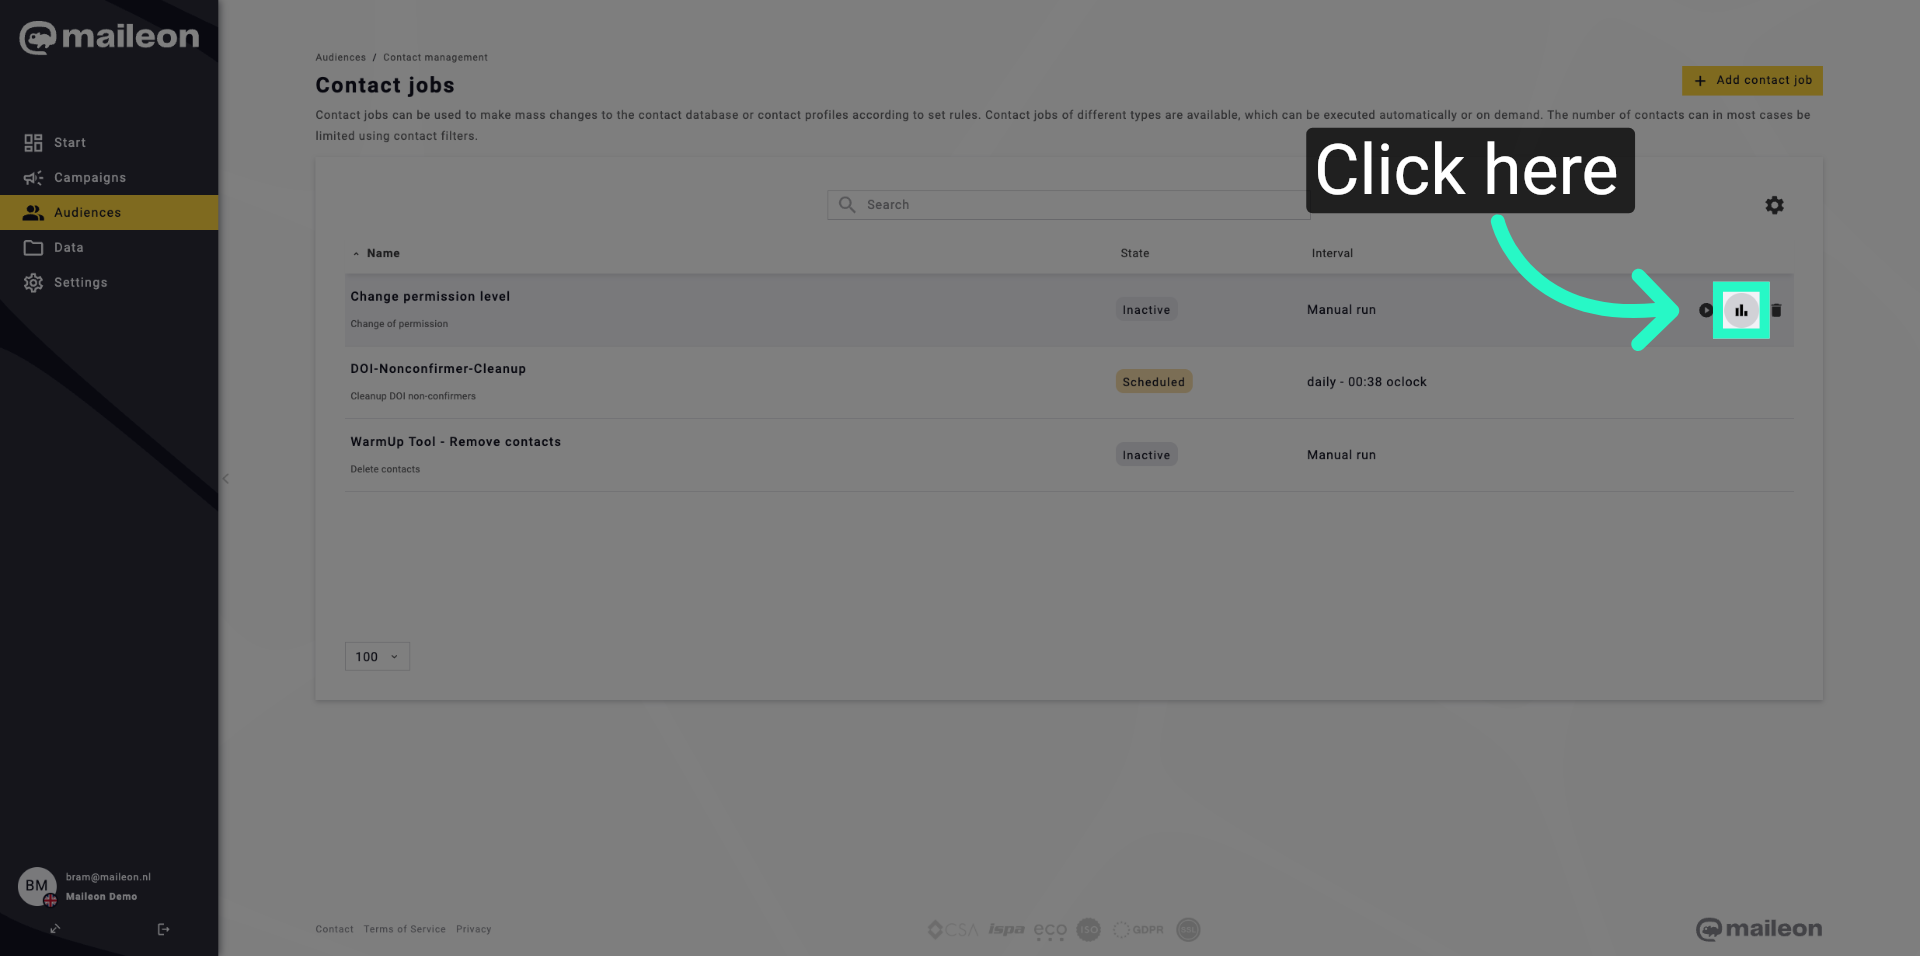
3. Open Contact Jobs
Click "Contact jobs" to view and manage existing contact permission jobs within Maileon.
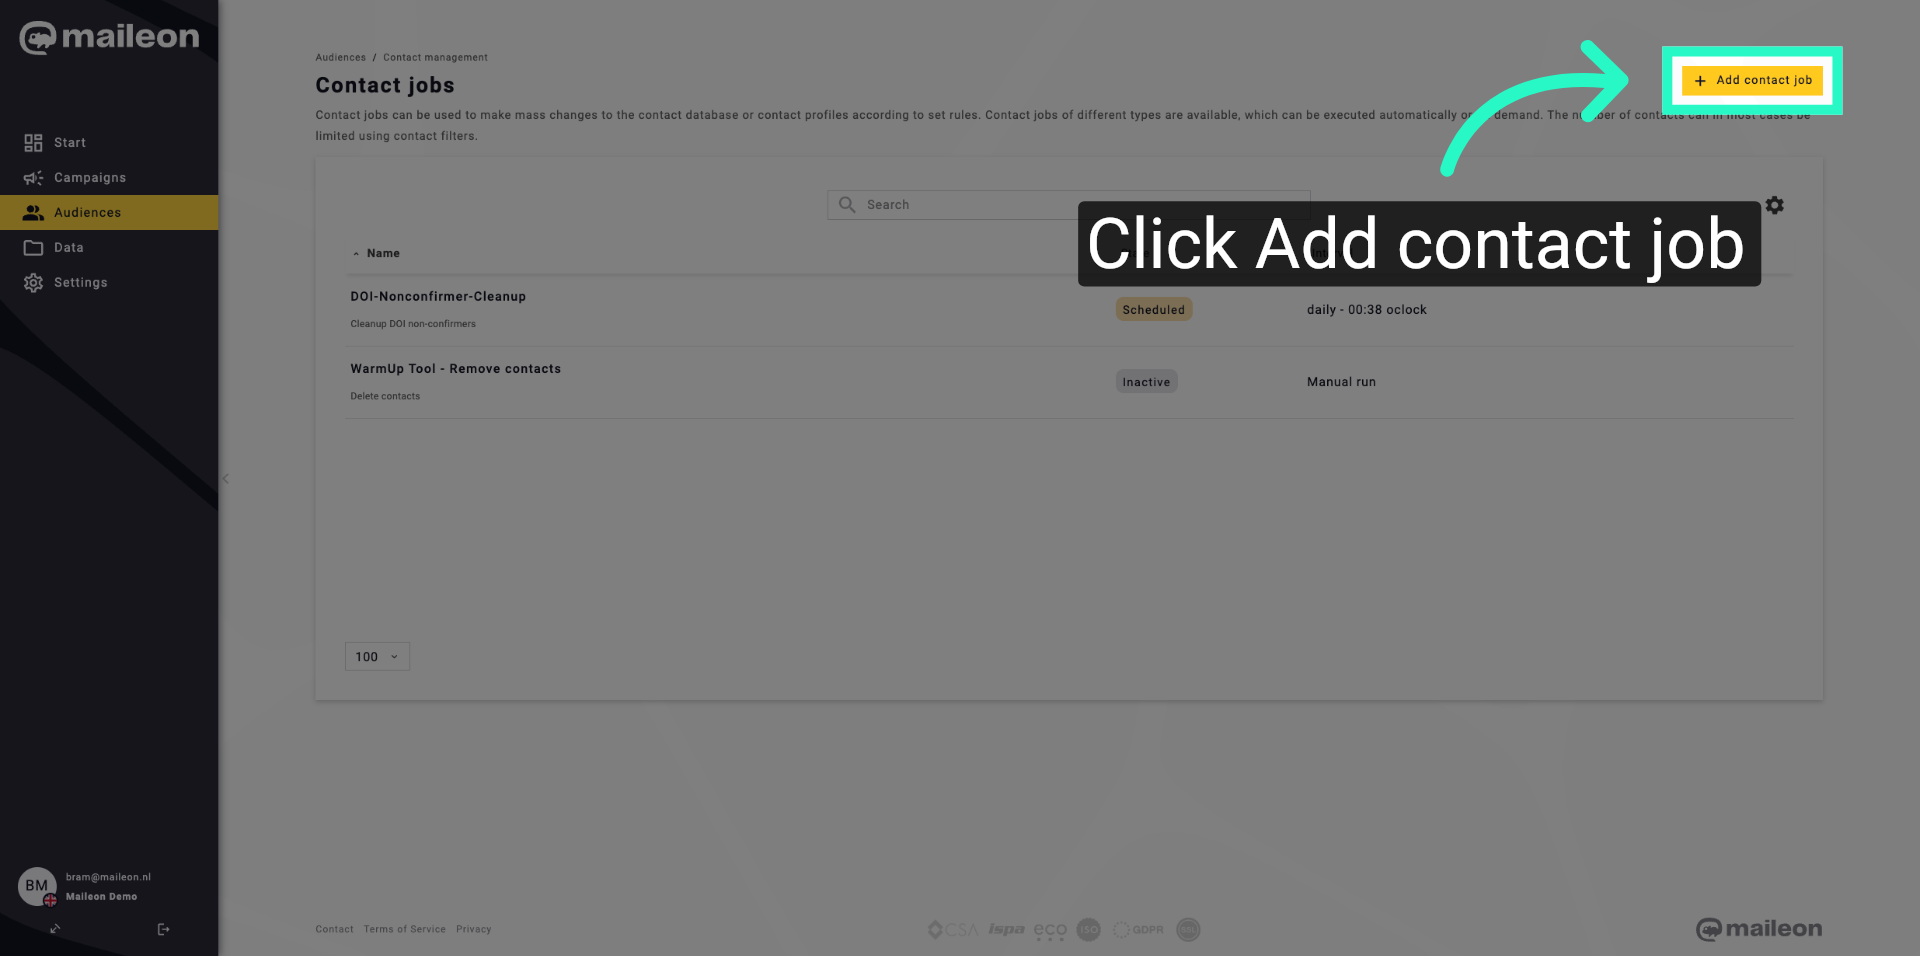
4. Add New Contact Job
Click "Add contact job" to start creating a new job for managing contact permissions.
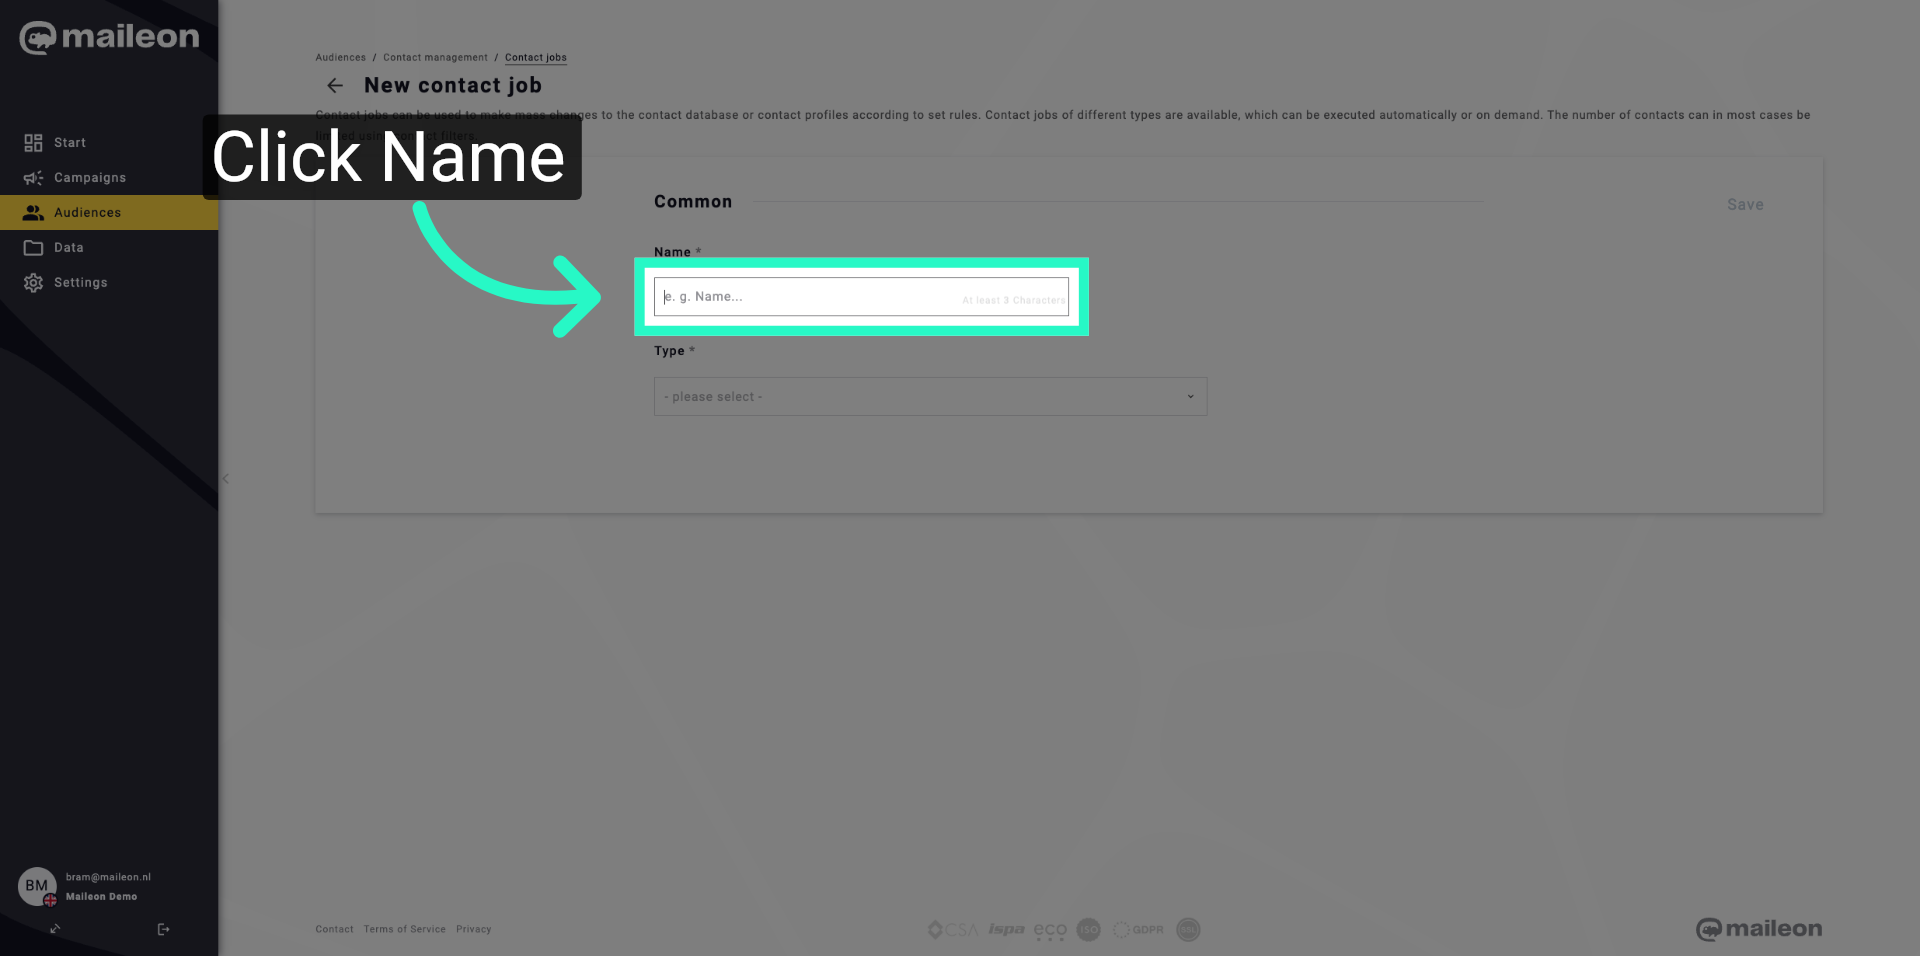
5. Select Name Field
Click "Name" to specify the name field for the new contact job you are creating.
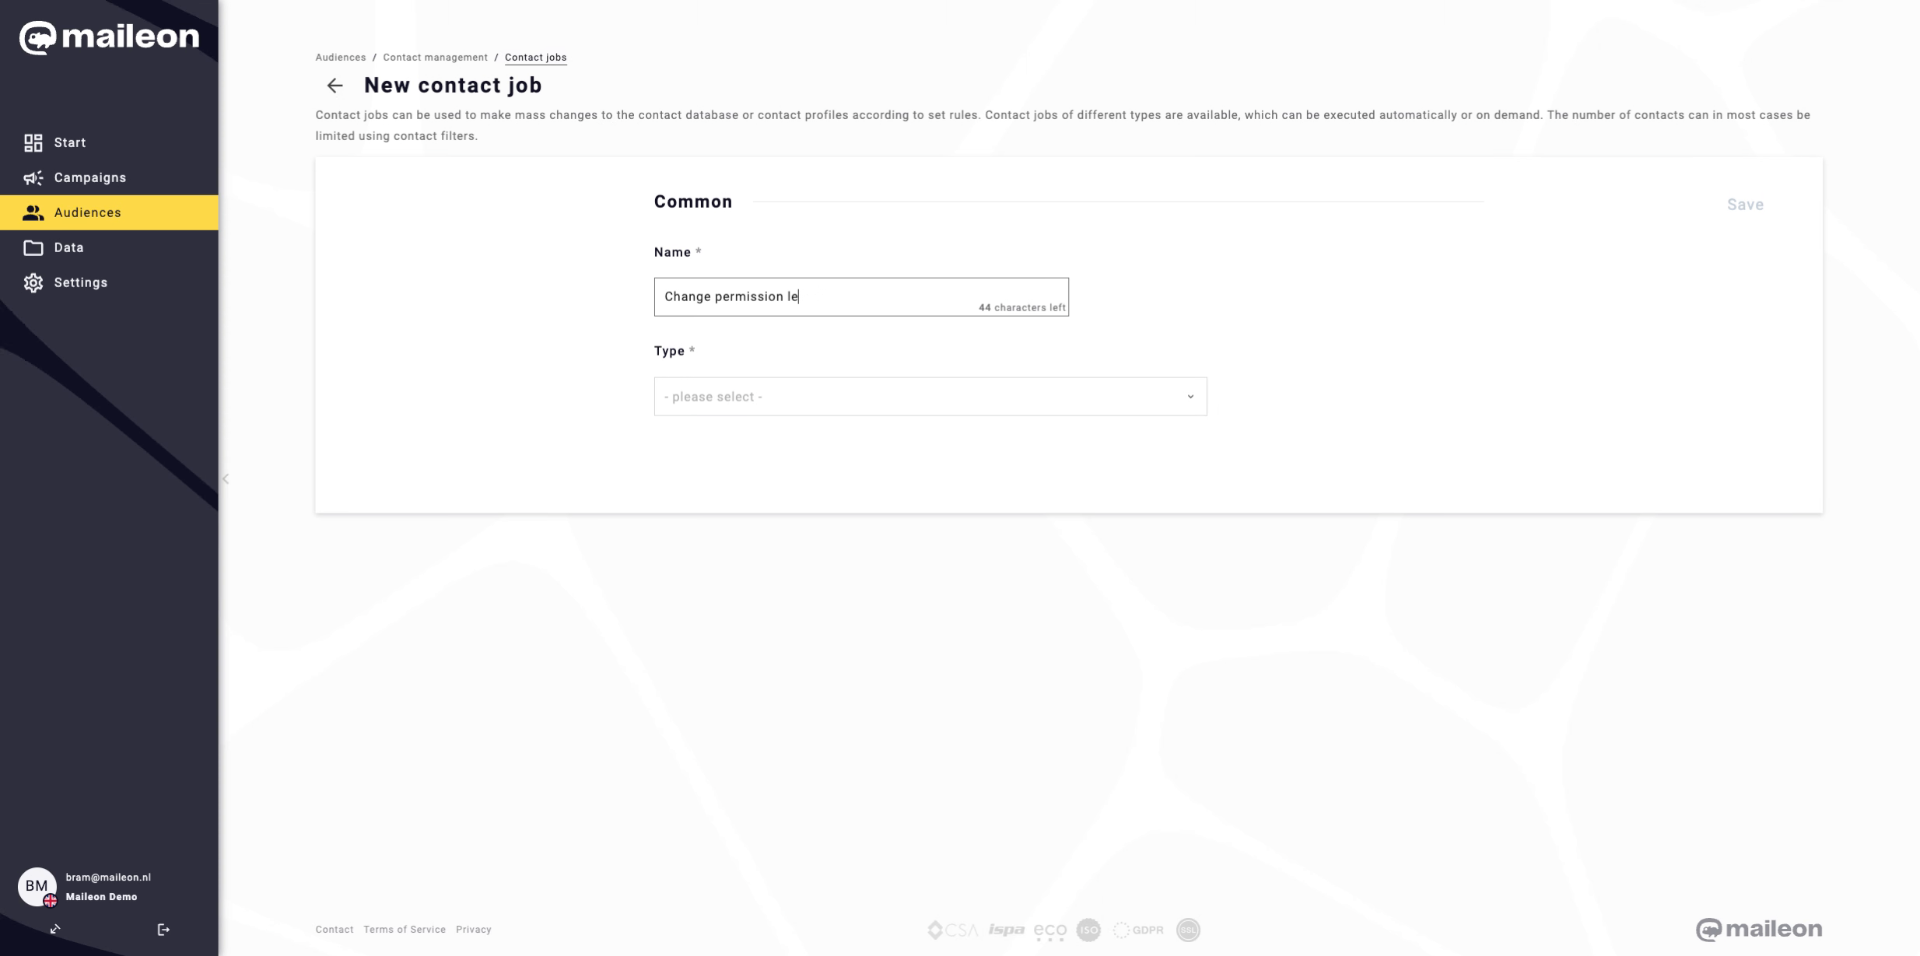
6. Enter Permission Level Name
Fill in the field with "Change permission level" to name the contact job appropriately.
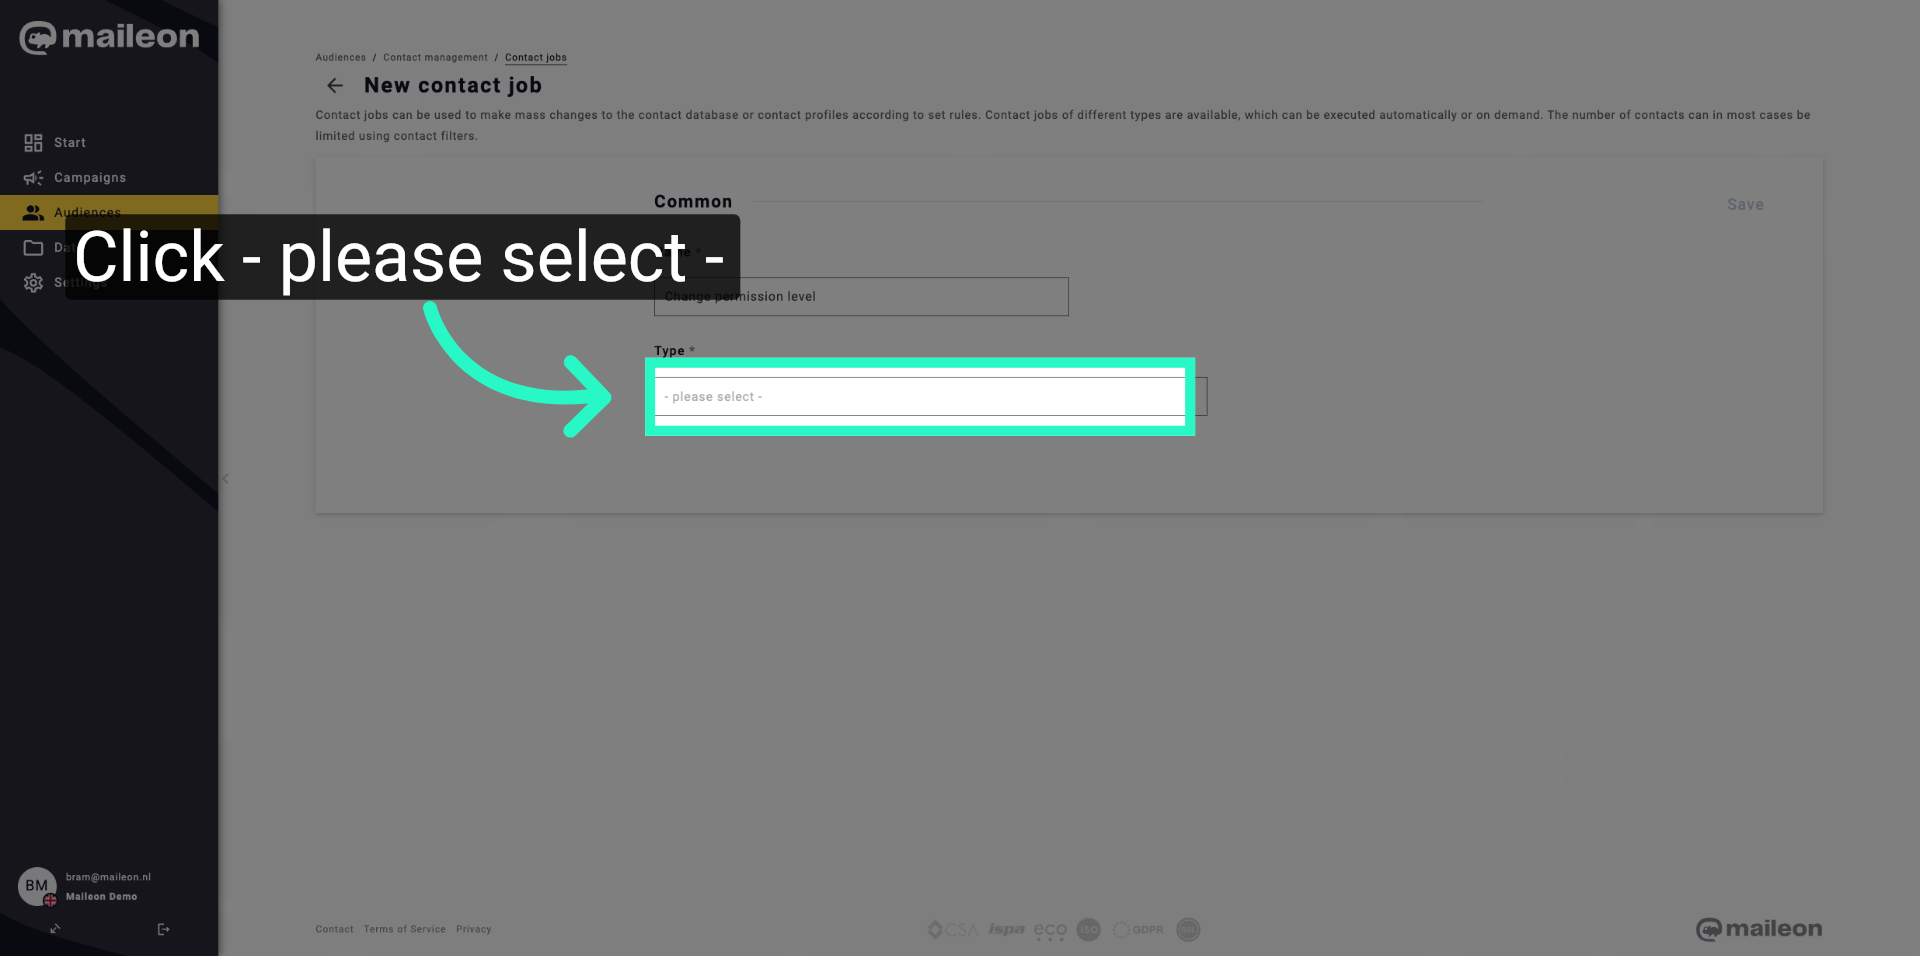
7. Open Selection Menu
Click "- please select -" to open the dropdown menu for choosing the permission change type.
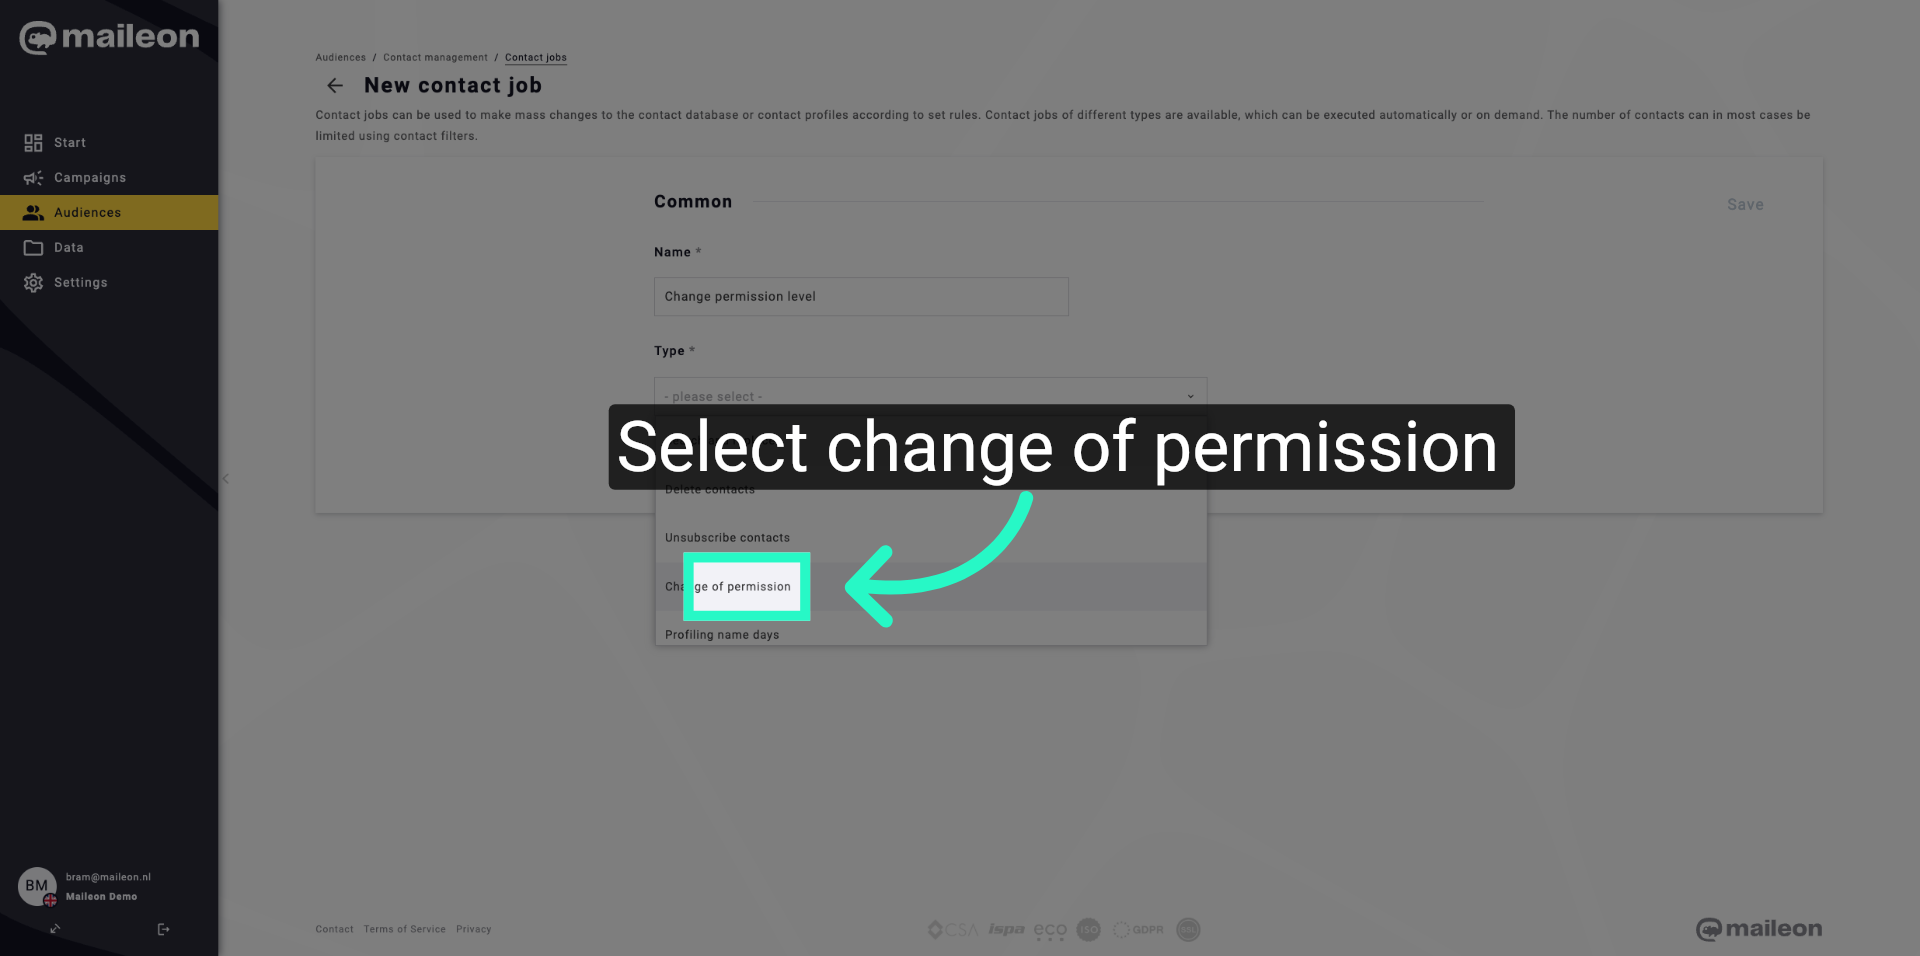
8. Choose Permission Change Type
Click "Change of permission" to specify the type of contact job you want to configure.
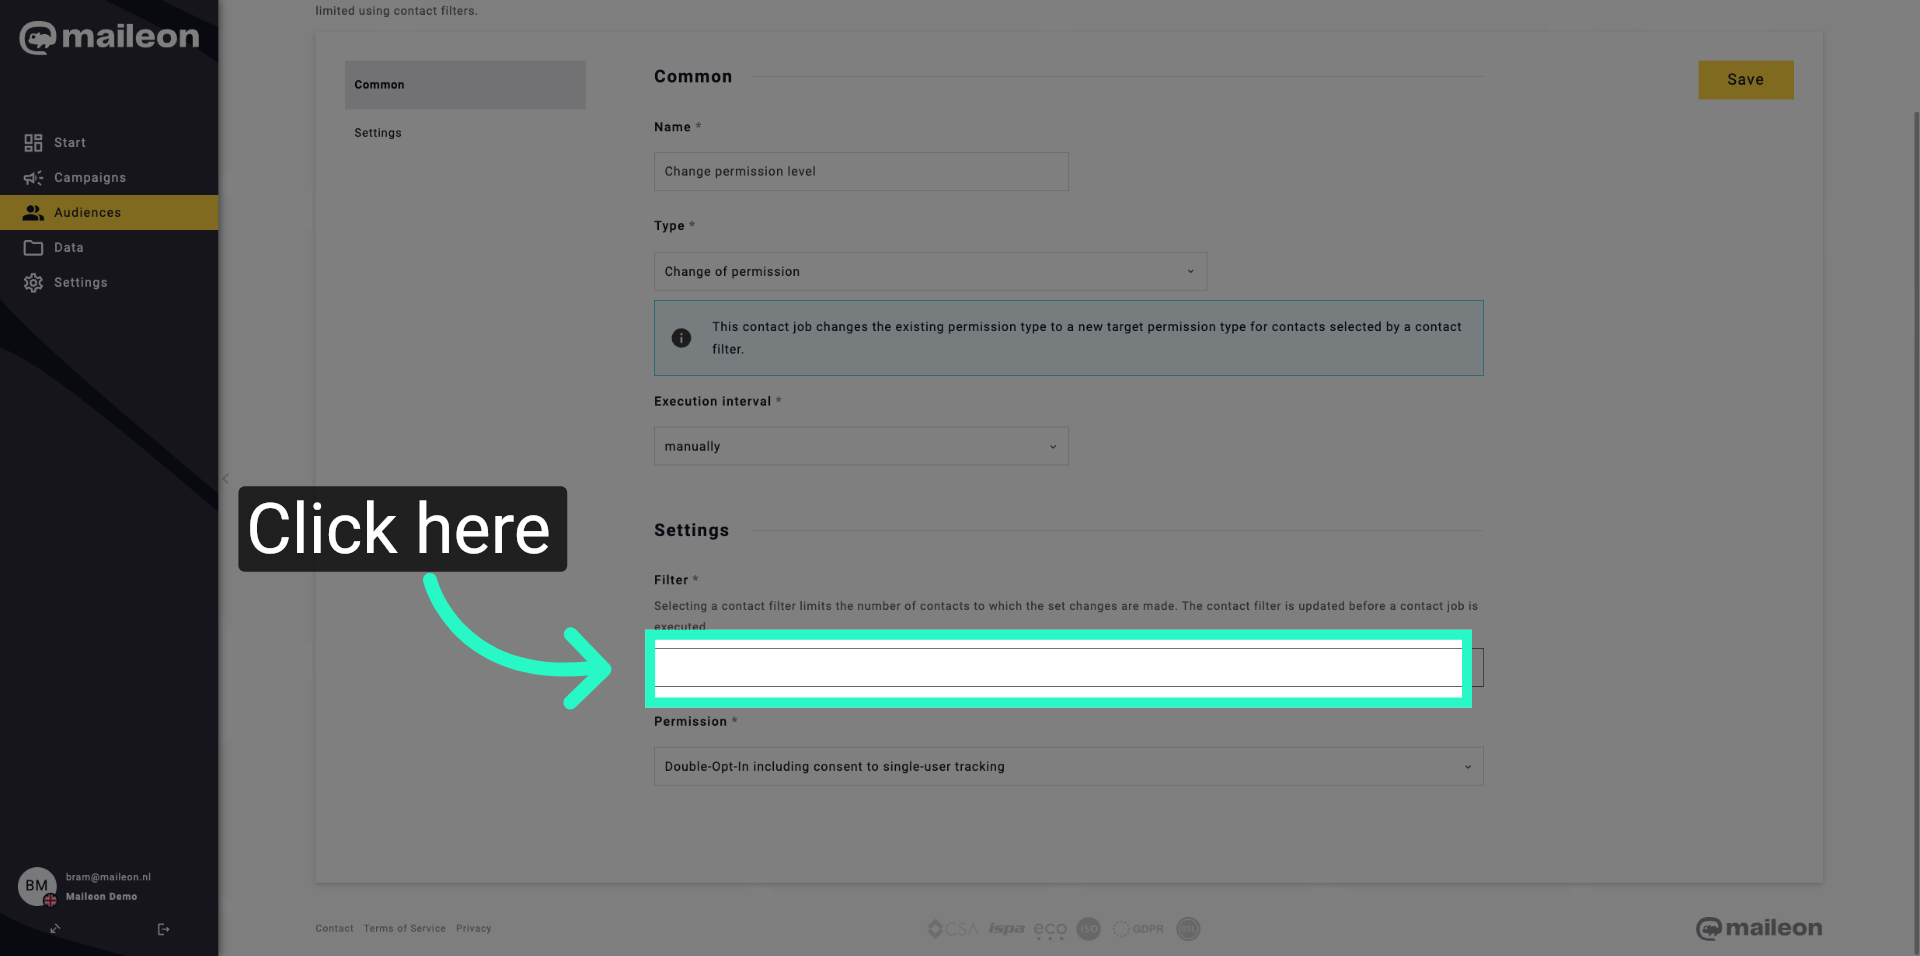
9. Proceed to Next Step
Click here to continue to the next configuration step in setting up the contact job.
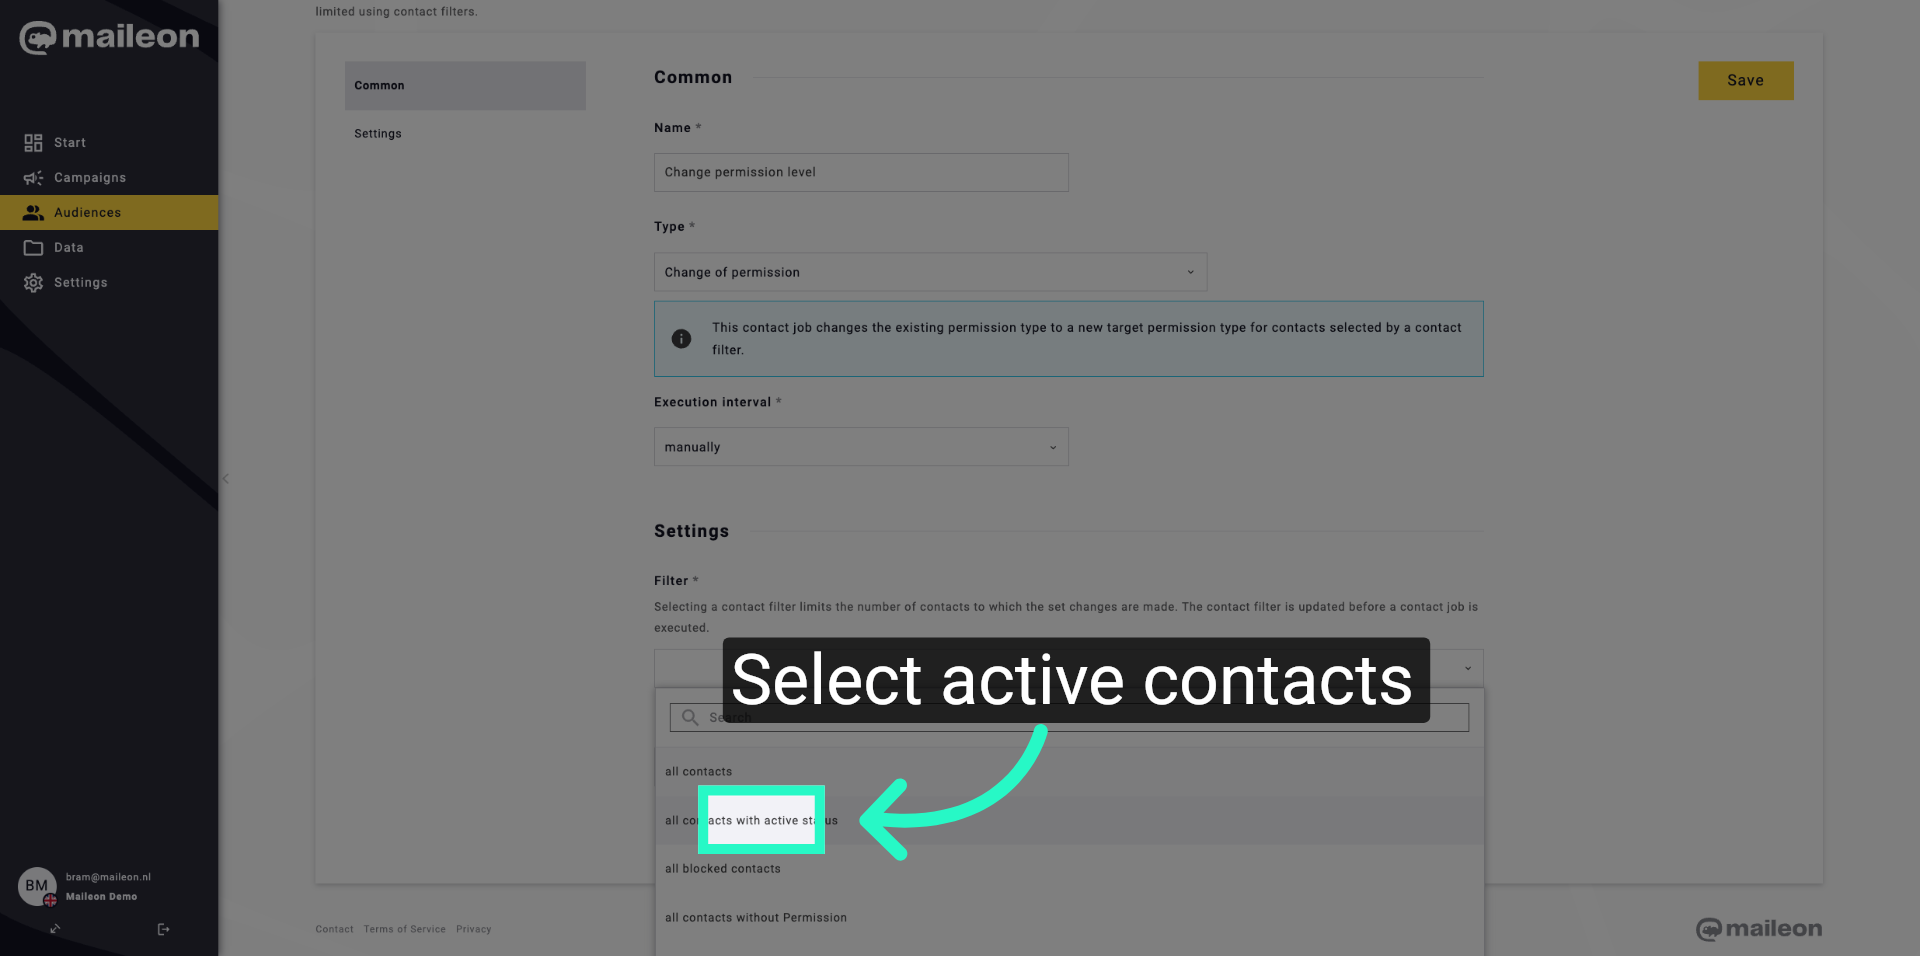
10. Select Active Contacts
Click "all contacts with active status" to apply the job to all contacts currently active in your database.
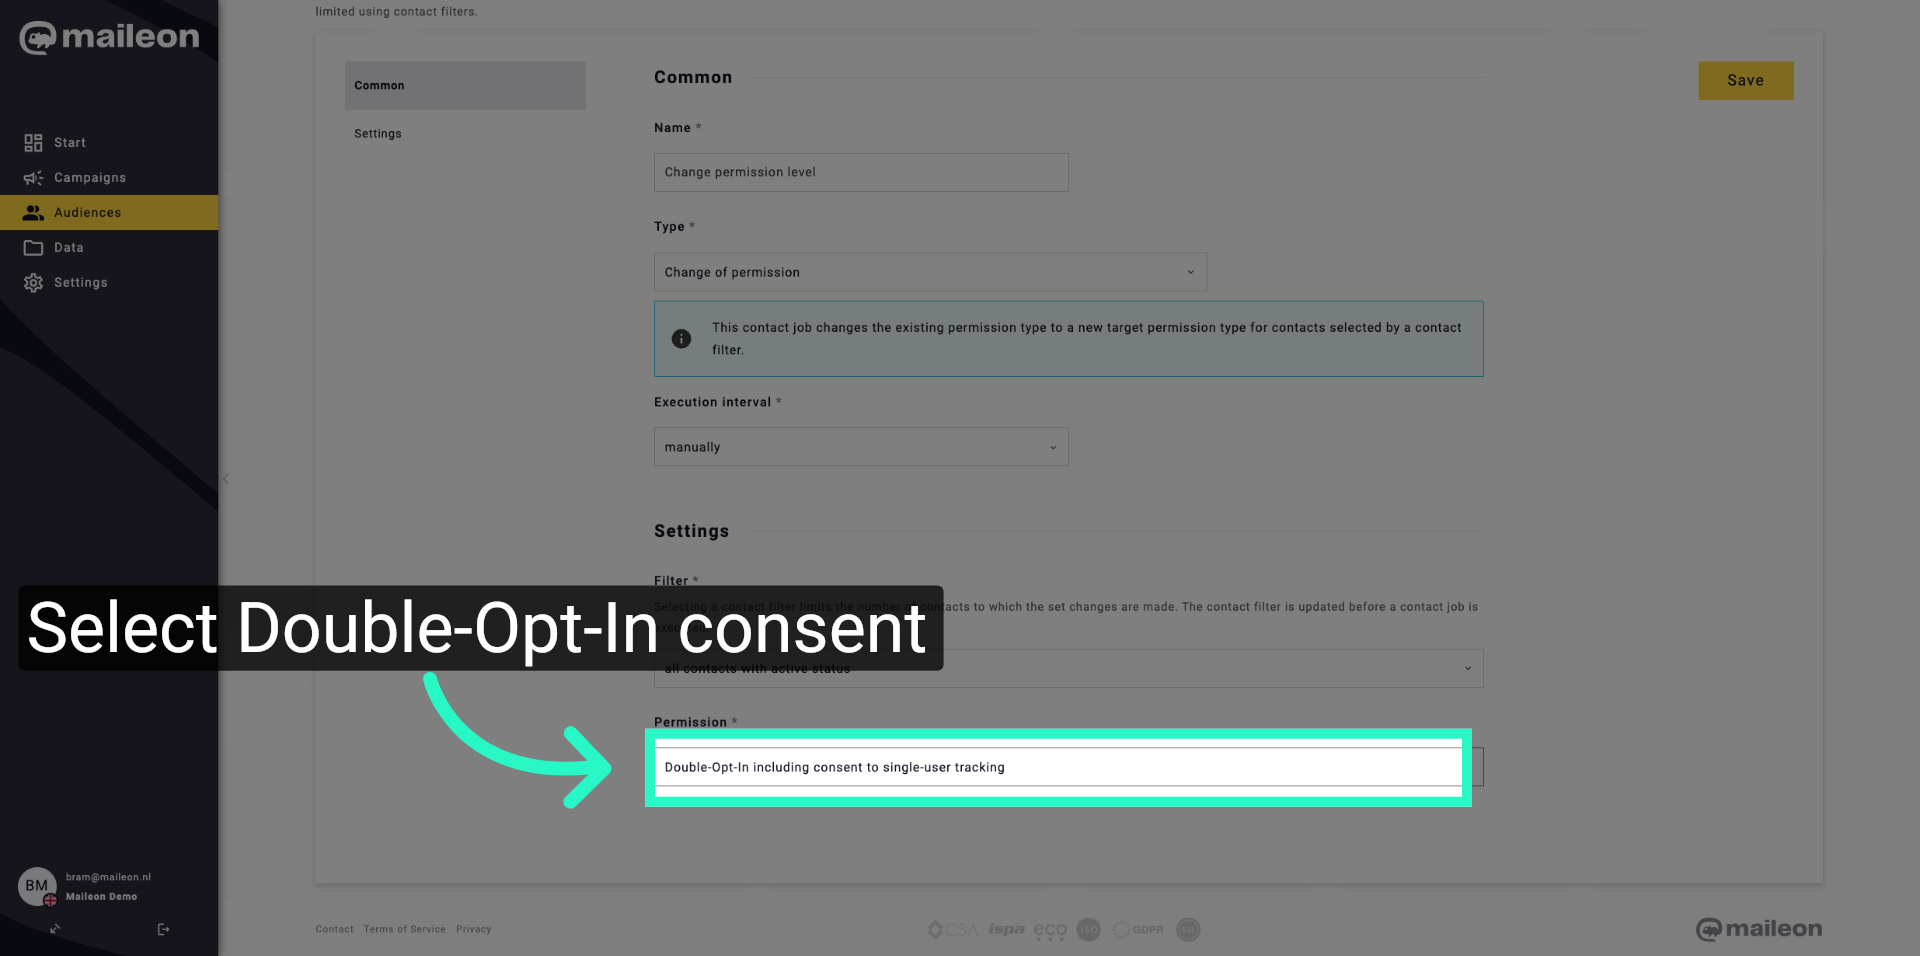
11. Choose Double-Opt-In With Consent
Click "Double-Opt-In including consent to single-user tracking" to set the permission level accordingly.
12. Choose Double-Opt-In Without Consent
Click "Double-Opt-In without consent to single-user tracking" to configure the permission level without tracking consent.

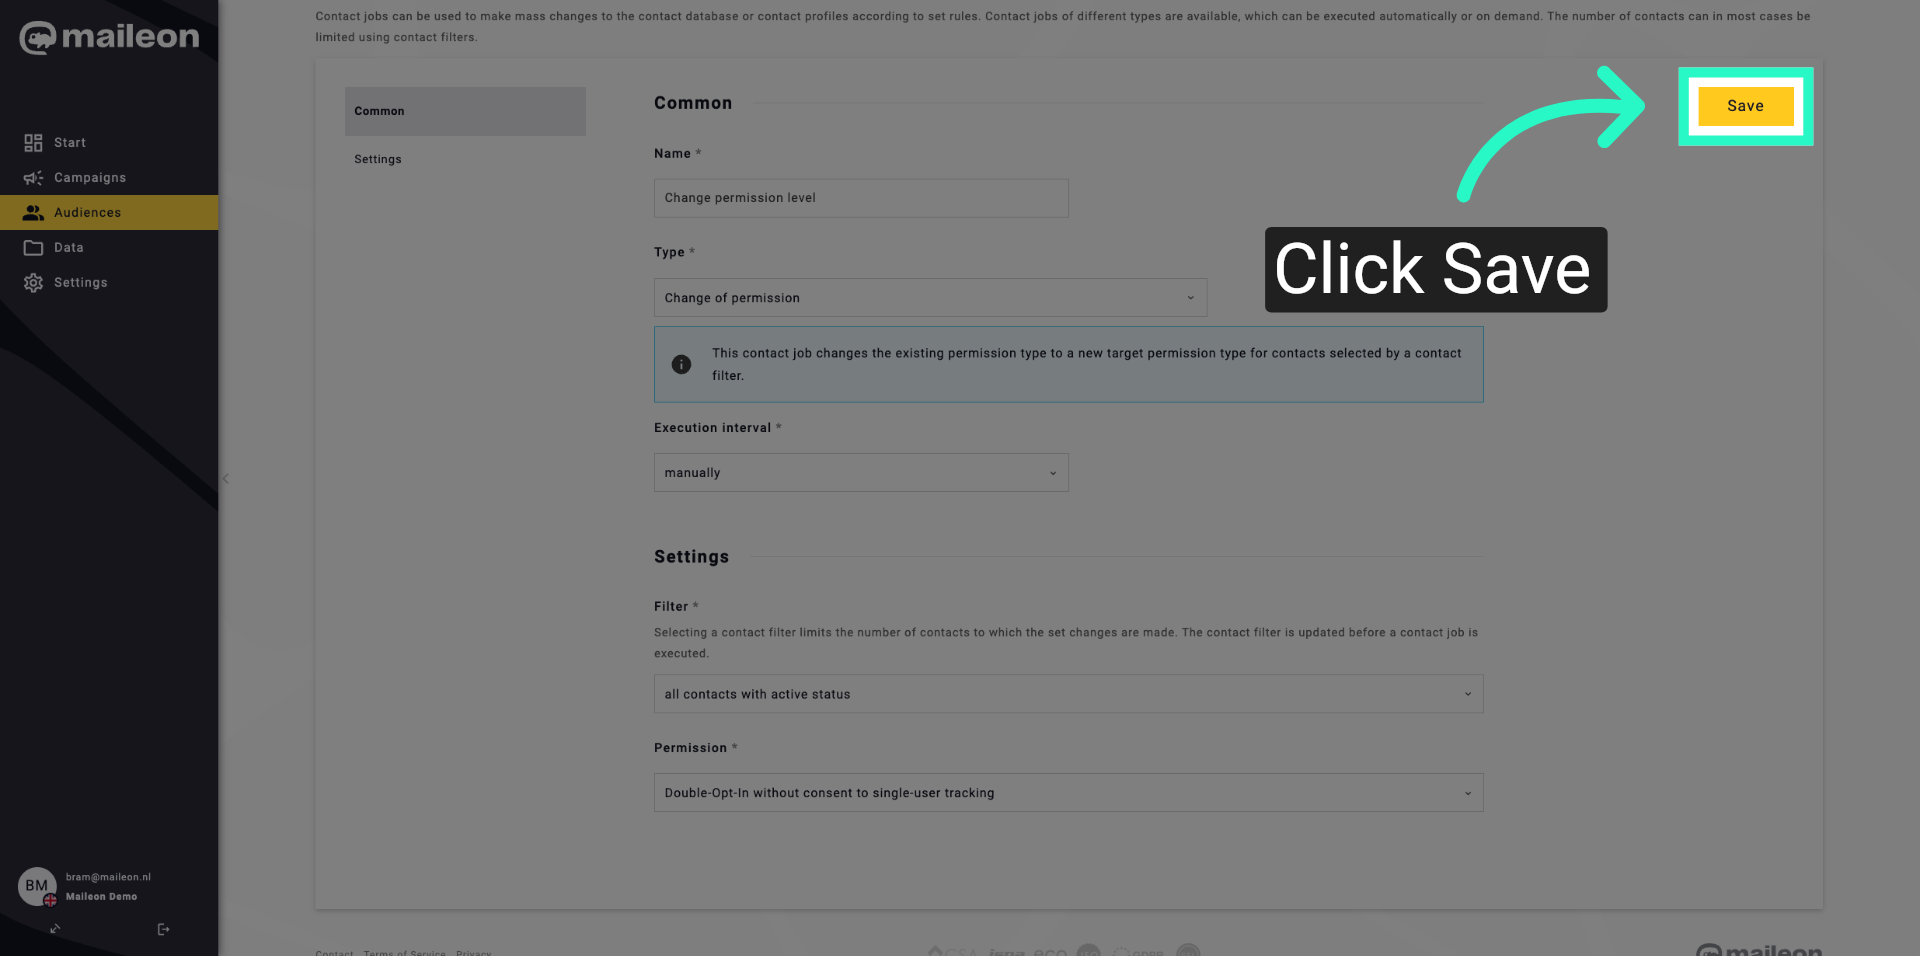
13. Save Contact Job
Click "Save" to store the new contact job and apply the configured permission settings.
14. Continue Configuration
Click here to proceed with the confirmation and finalisation of the contact job setup.

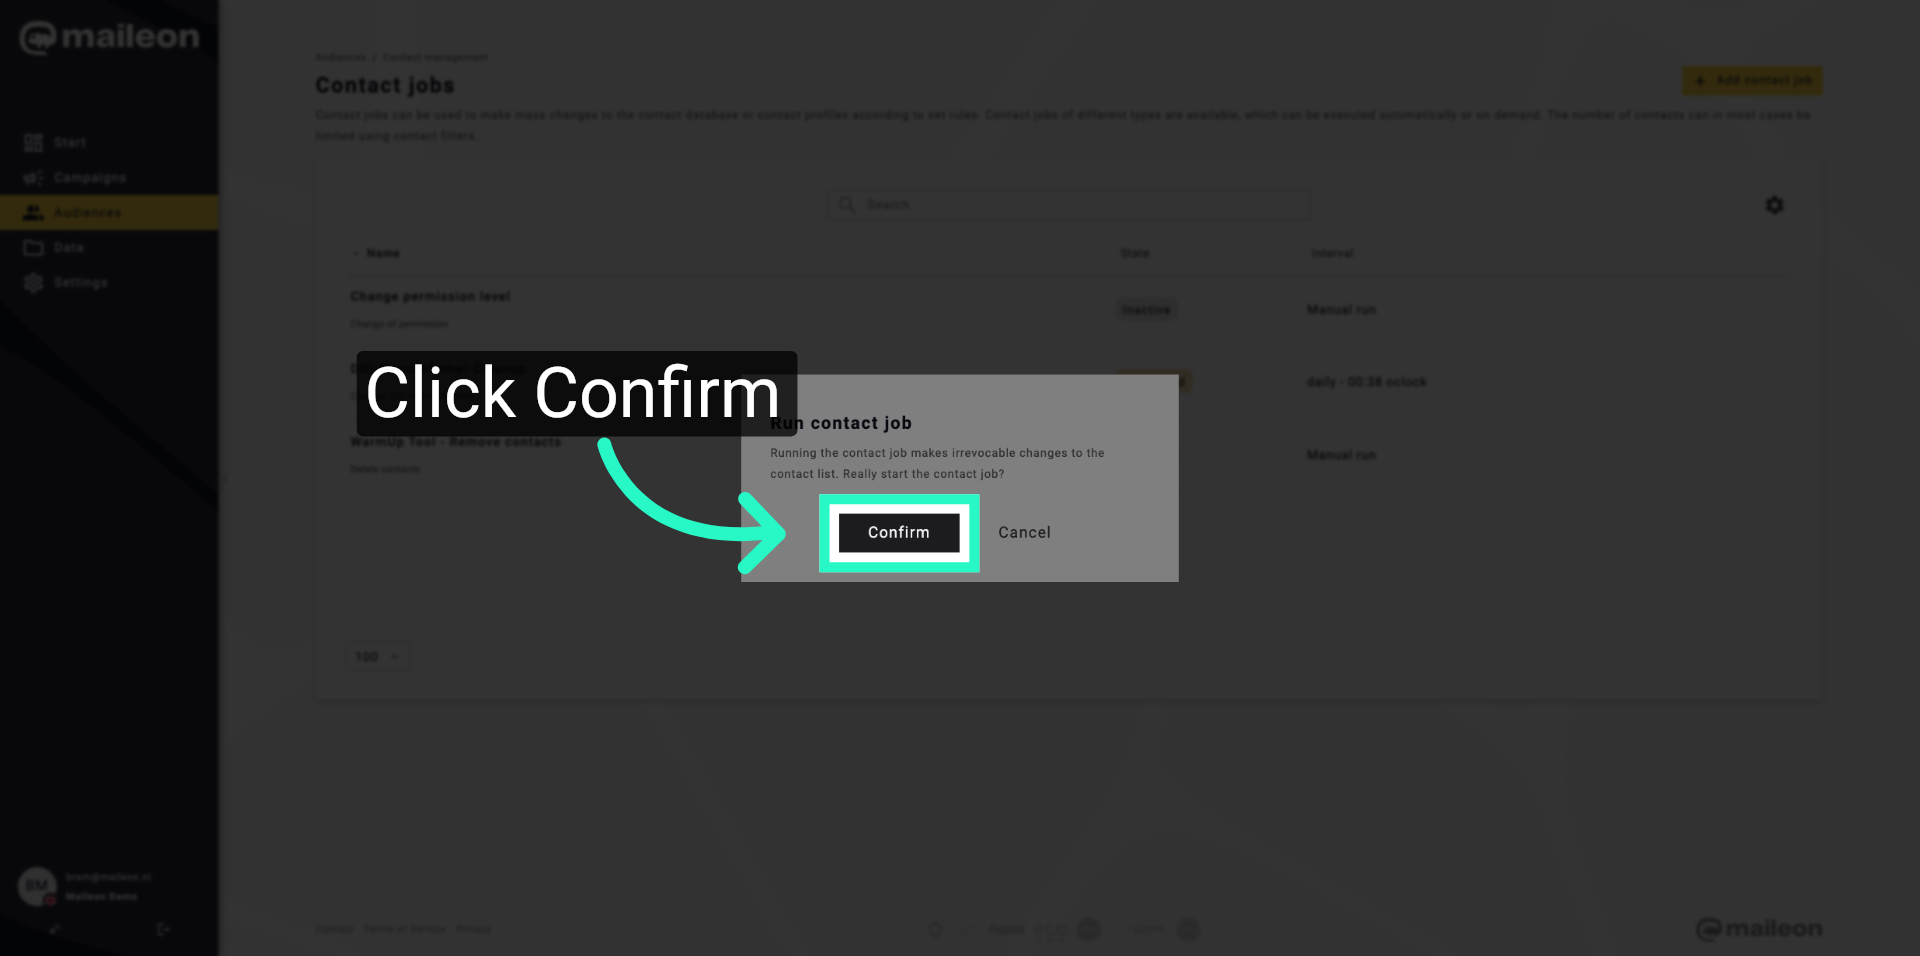
15. Confirm Contact Job
Click "Confirm" to finalise and activate the contact job with the specified permission changes.
16. Advance to Next Step
Click here to move forward in the contact job management process.
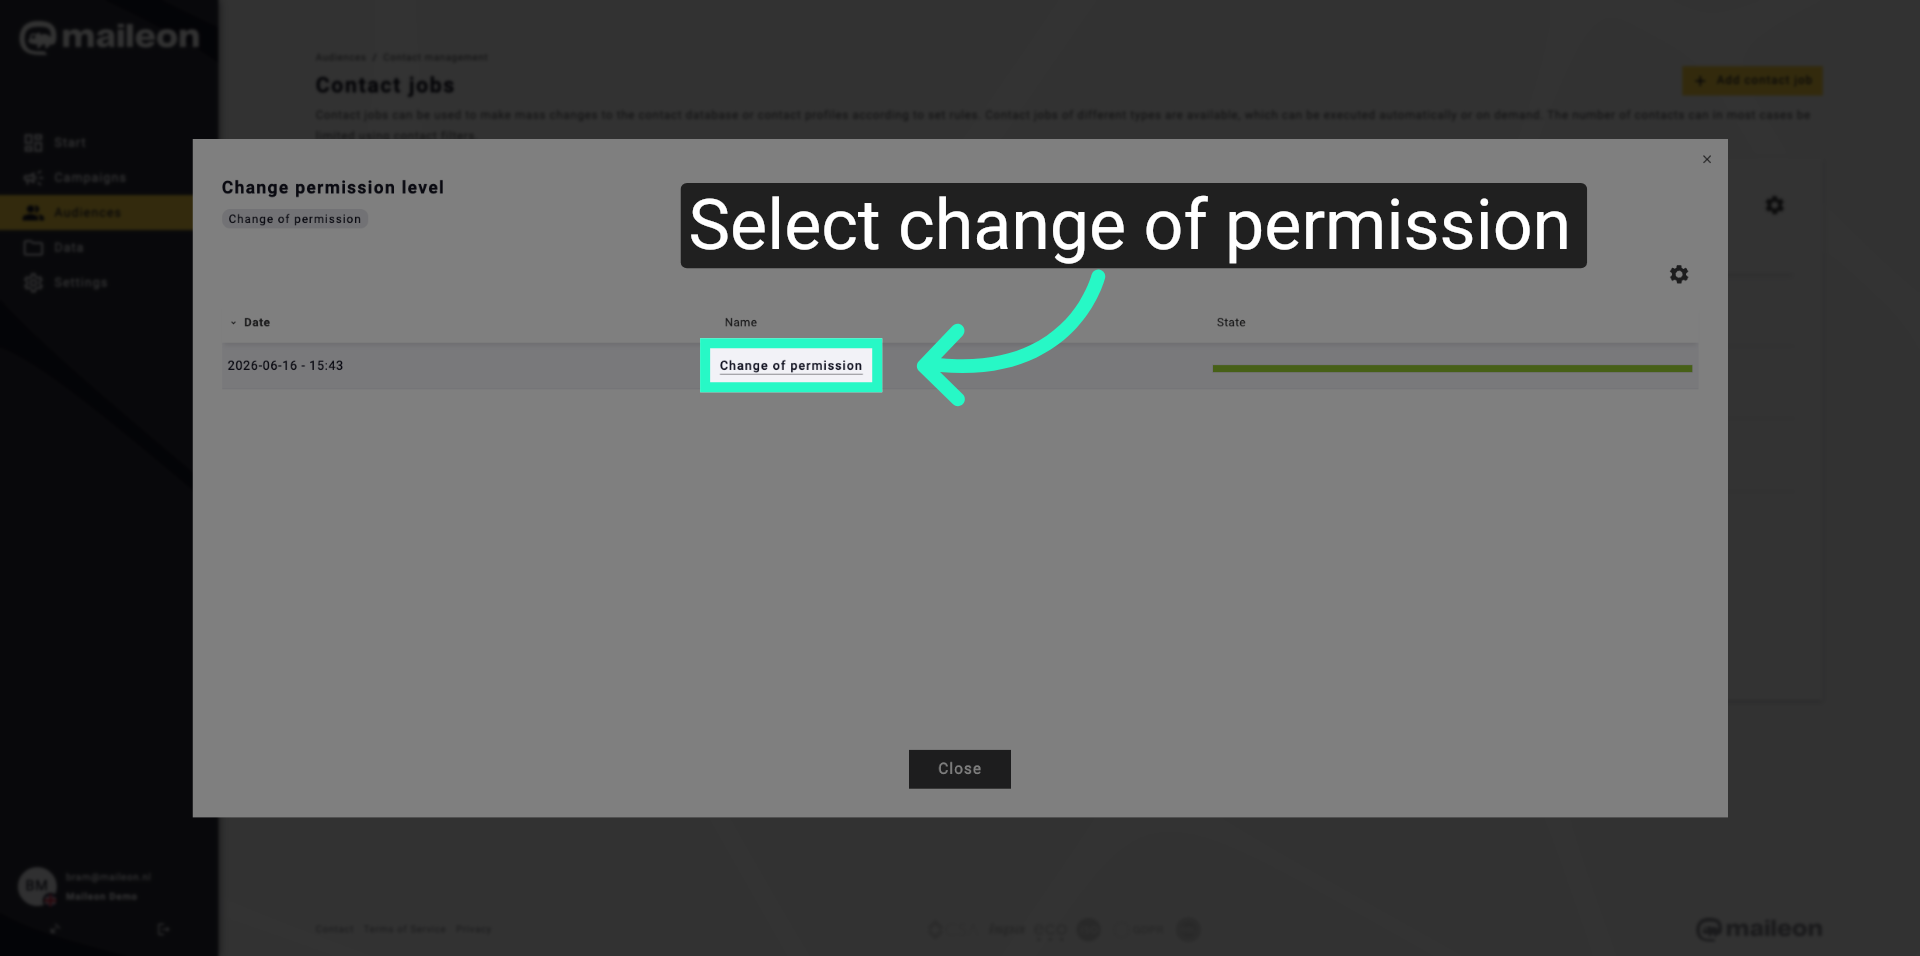
17. Reopen Permission Change
Click "Change of permission" to revisit or adjust the permission change settings if needed.
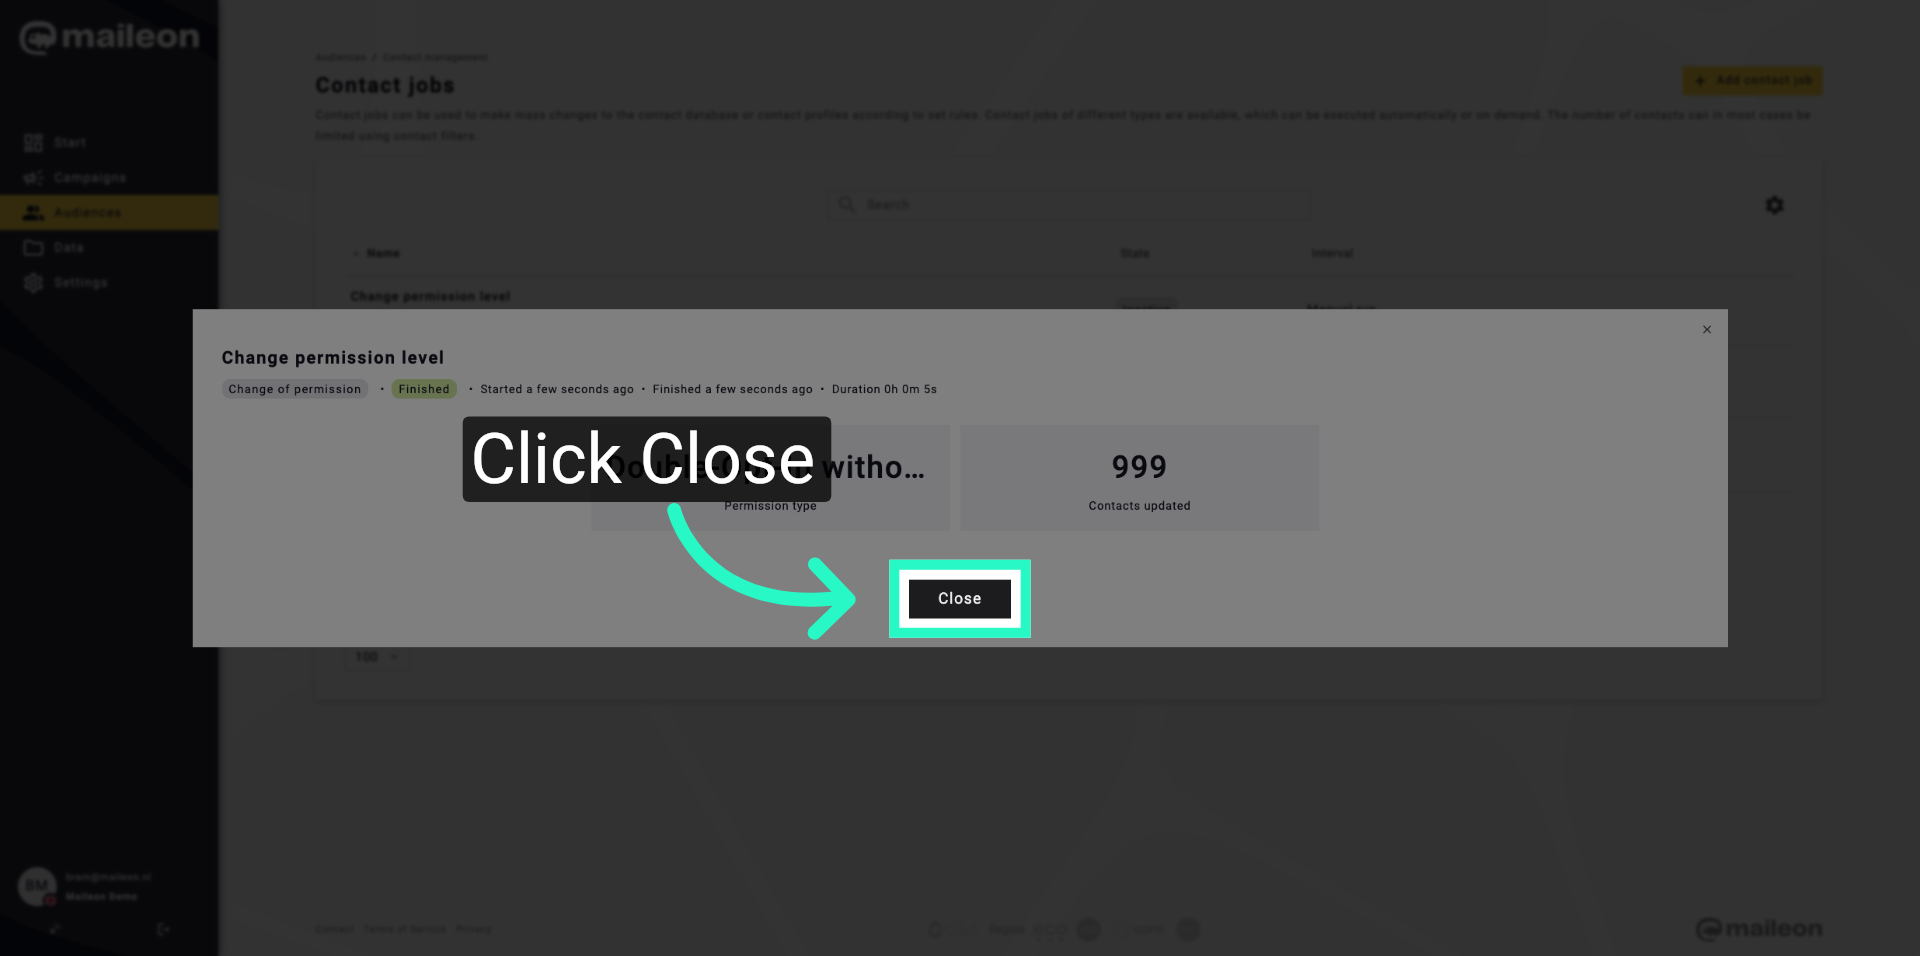
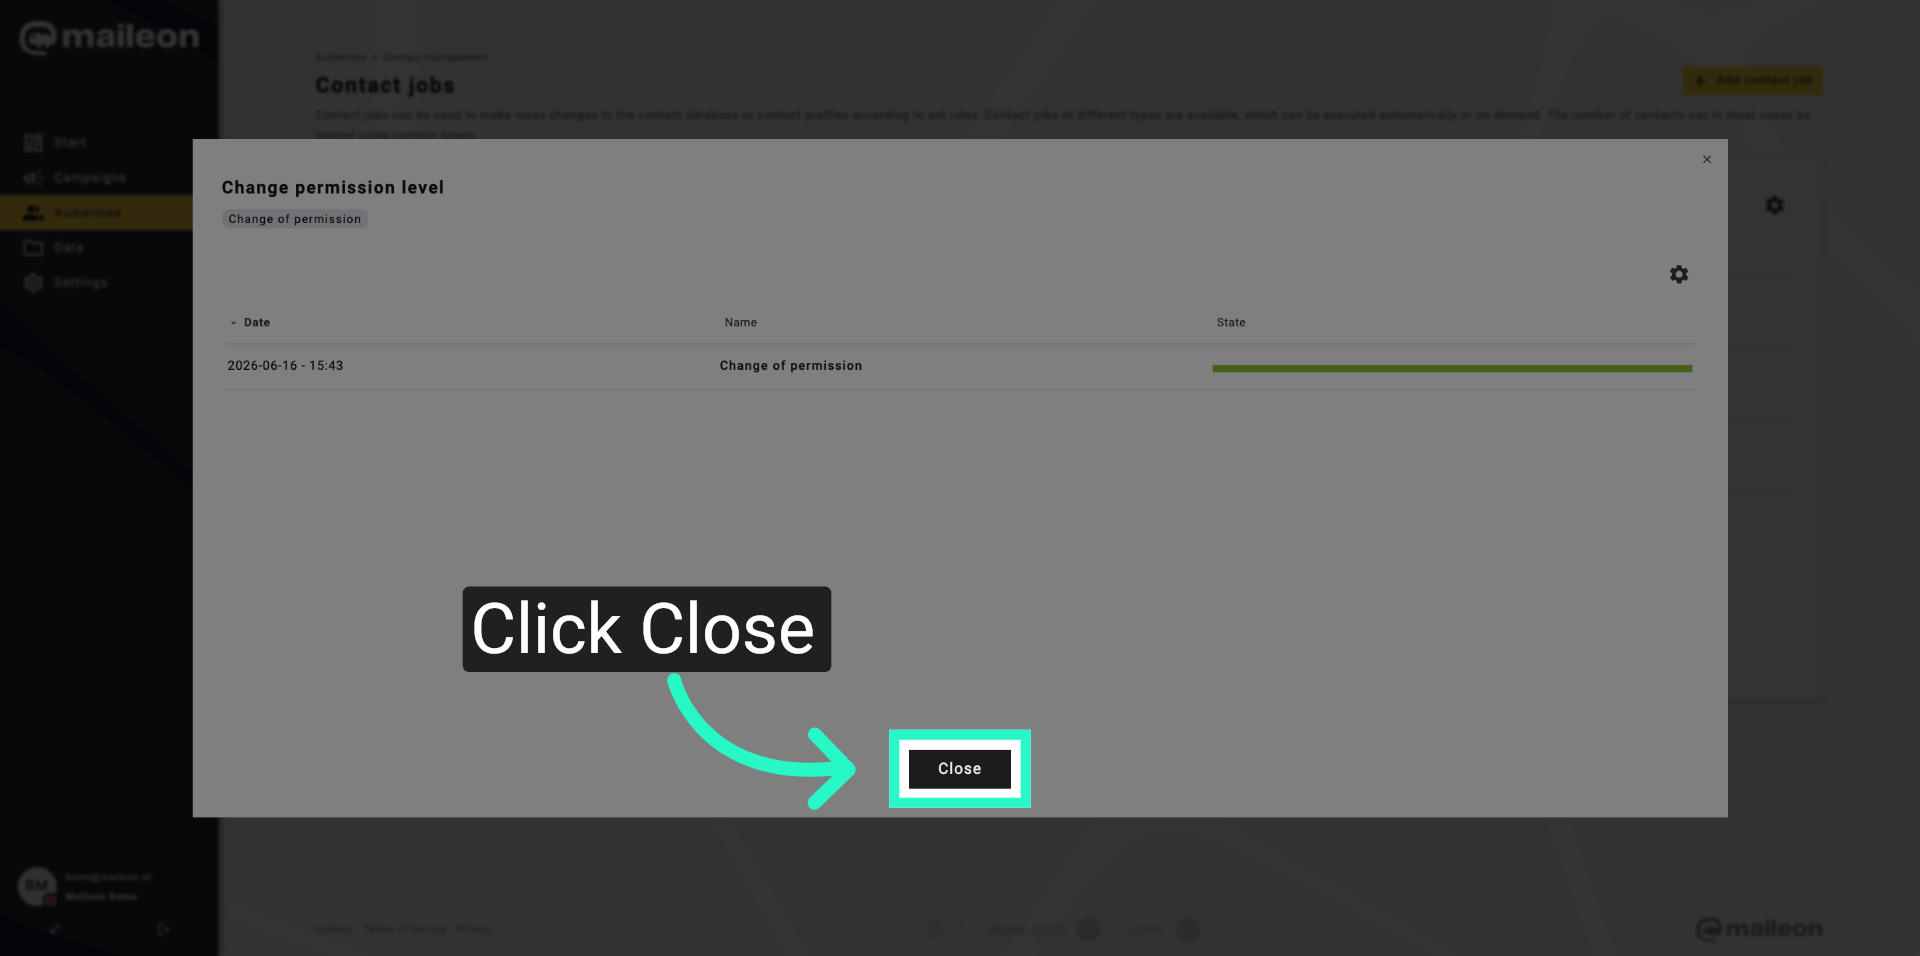
18. Close Configuration Window
Click "Close" to exit the contact job configuration window after completing your changes.
19. Exit Contact Jobs
Click "Close" to leave the contact jobs section and return to the main Maileon interface.
You have successfully configured a contact job to manage permission levels in Maileon. Verify the job is active and correctly applied to your contacts to ensure proper permission management.