Check permission levels documentation for more information about what level of permission enables tracking of opens & clicks
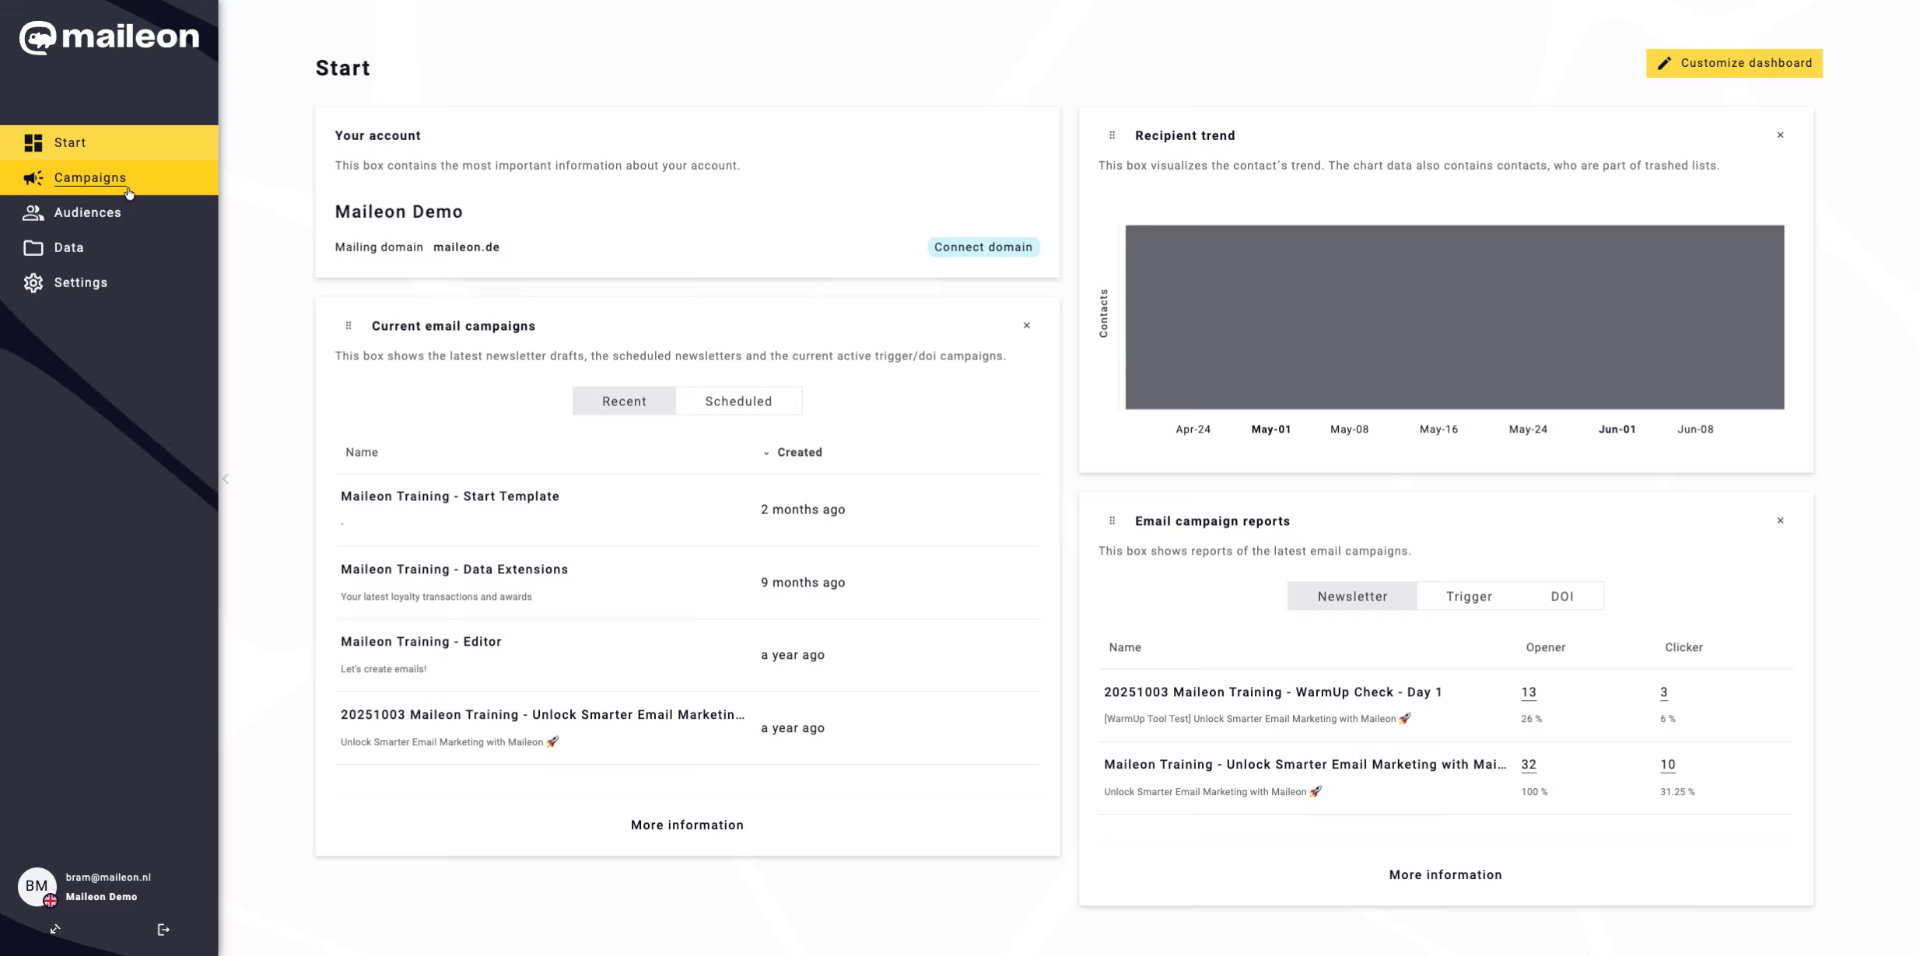
This tutorial guides you through configuring tracking and analytics settings in Maileon to optimise your email campaigns.
Go to maileon-benelux-maileon-de.maileon.com
1. Introduction
You will learn how to adjust default values and save your preferences effectively.
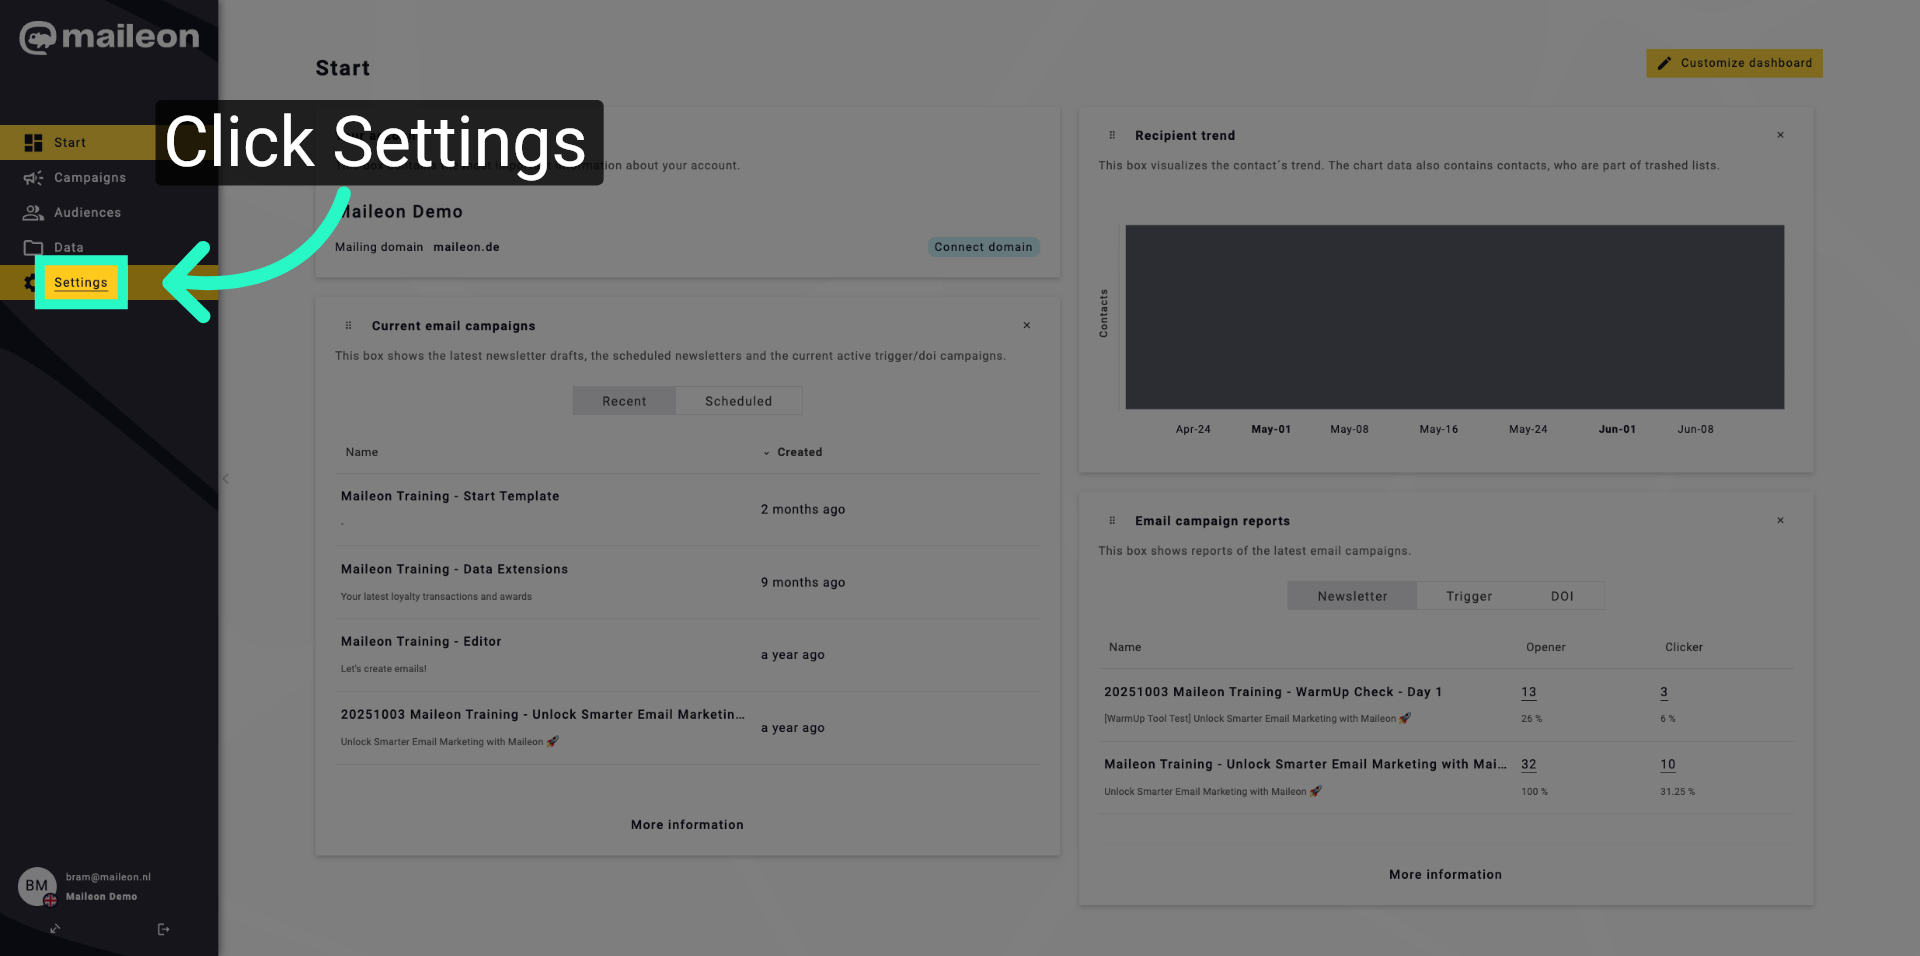
2. Access Maileon Settings
Click "Settings" to open the main configuration menu in Maileon.
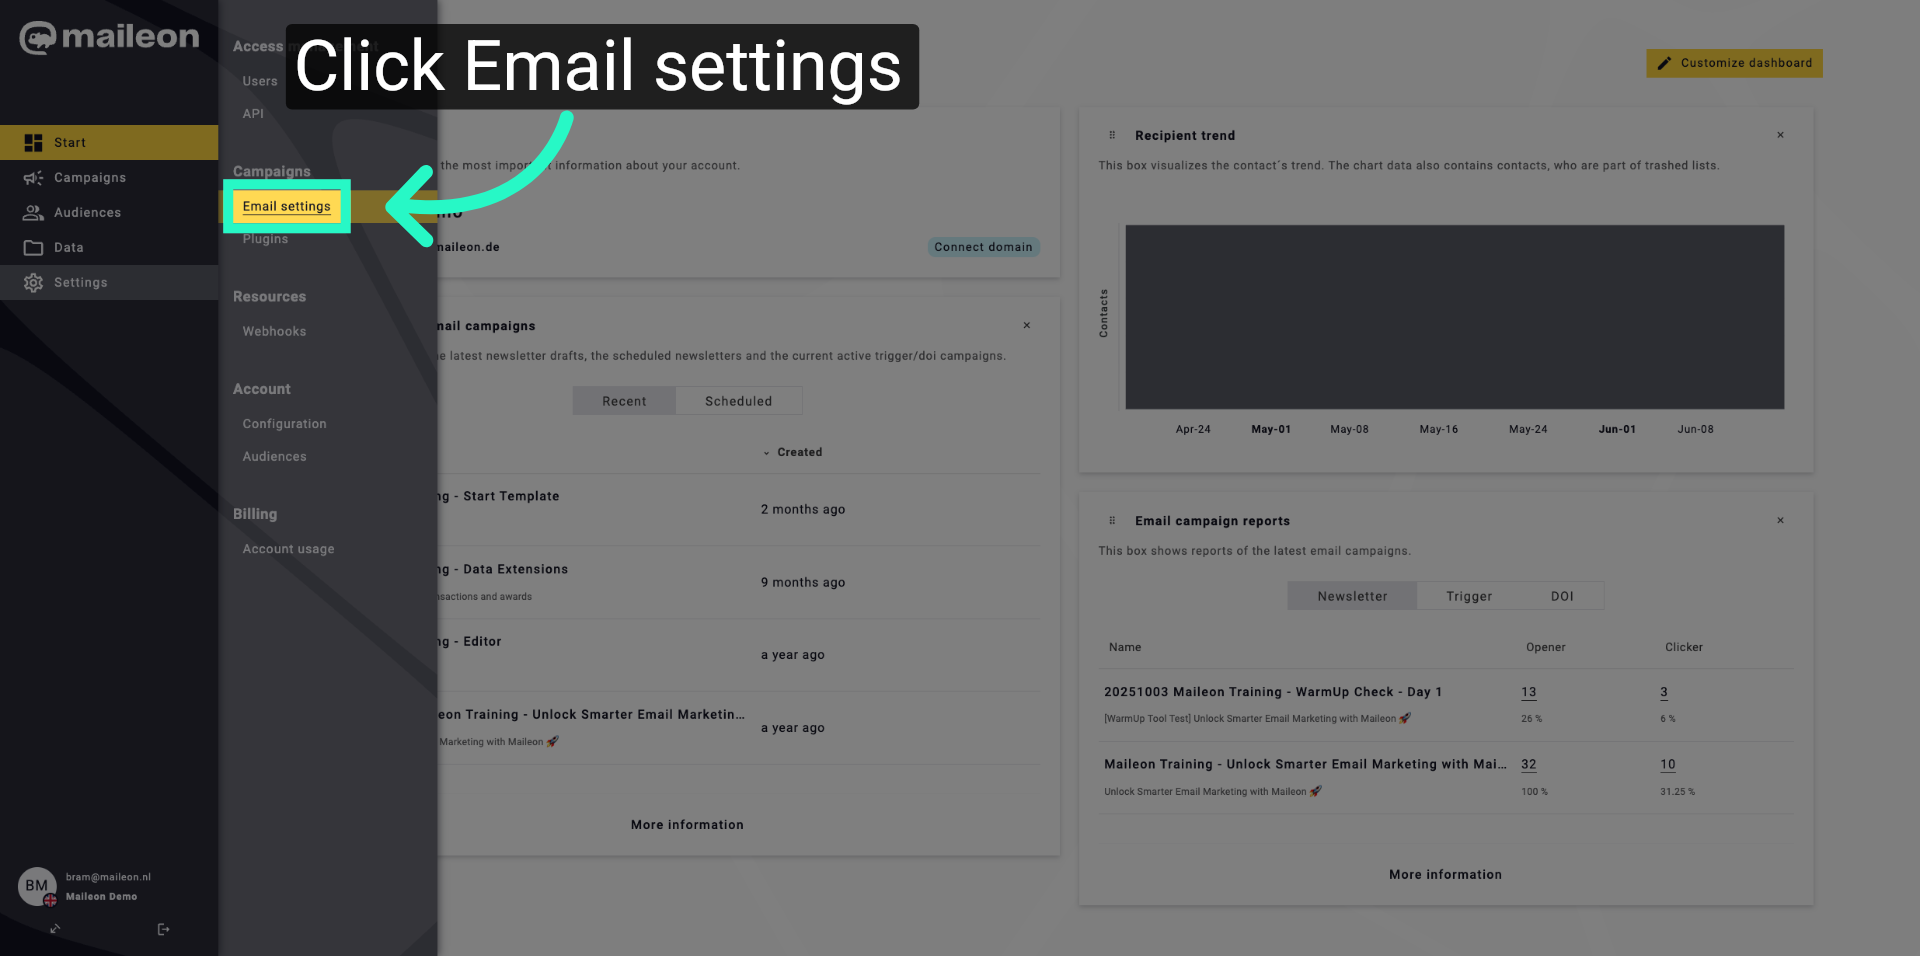
3. Open Email Settings
Click "Email settings" to access the email configuration options.
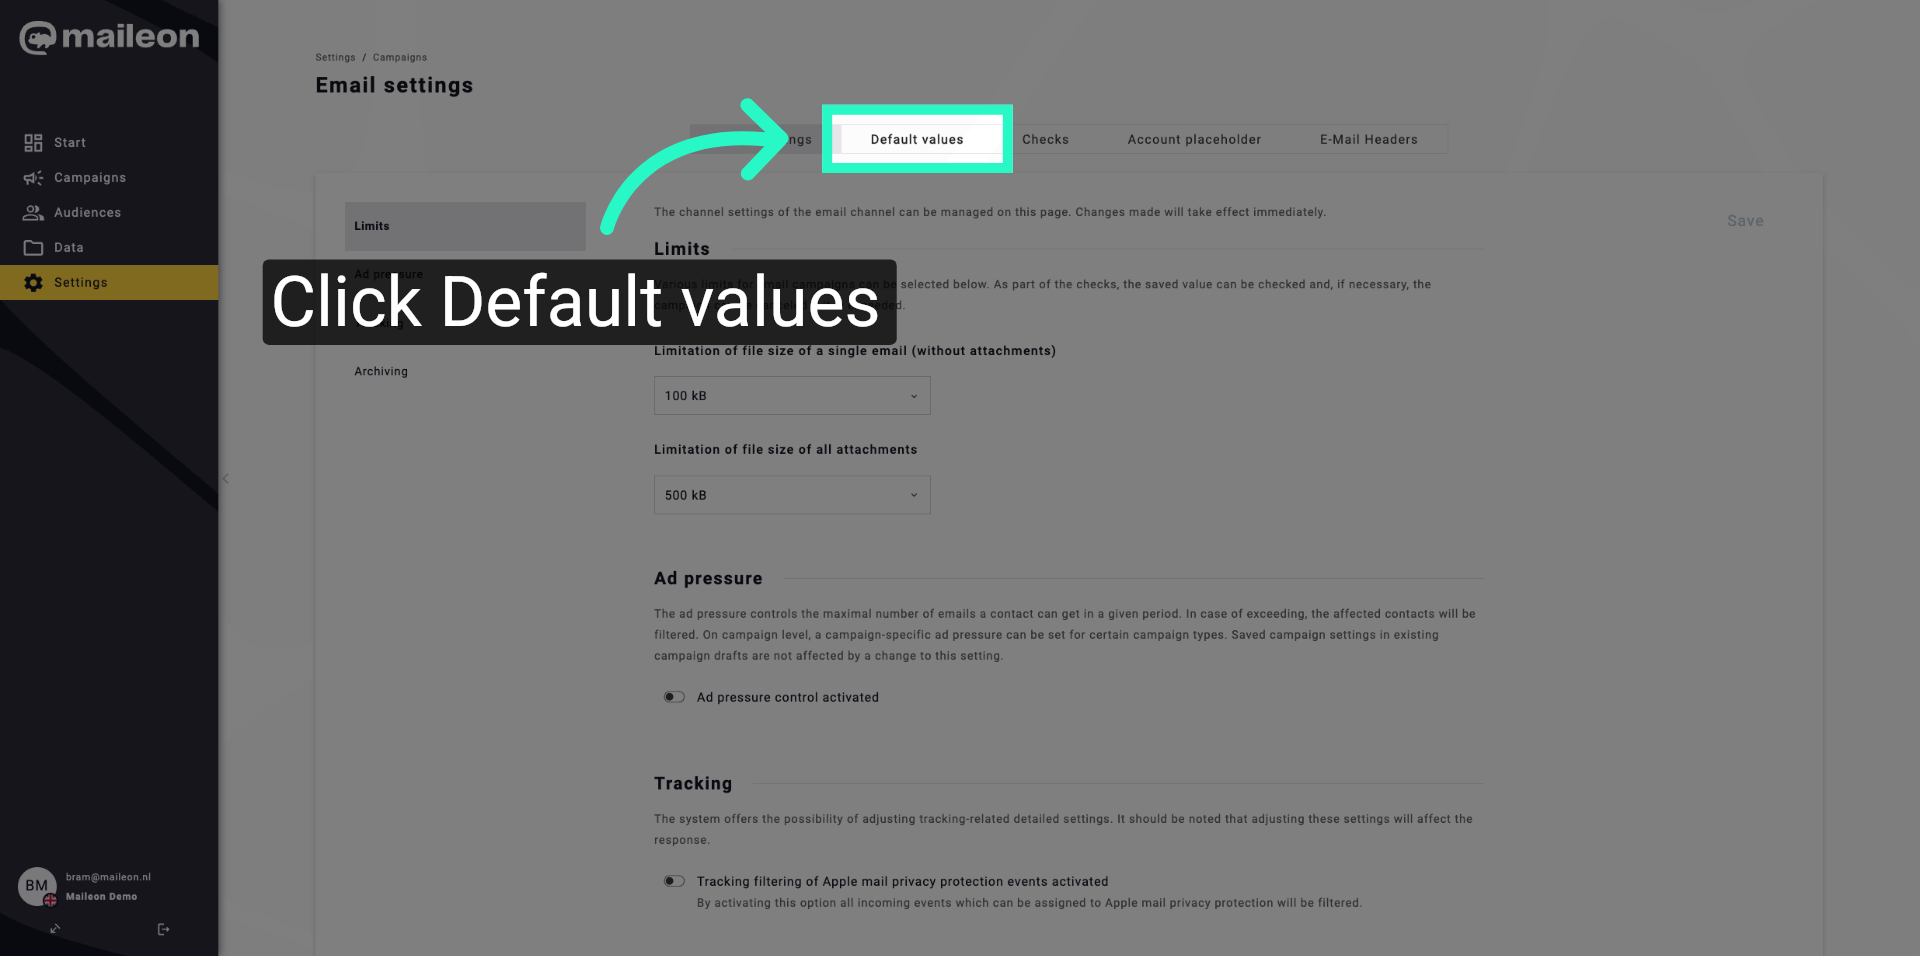
4. Navigate To Default Values
Click "Default values" to view and modify the default email parameters.
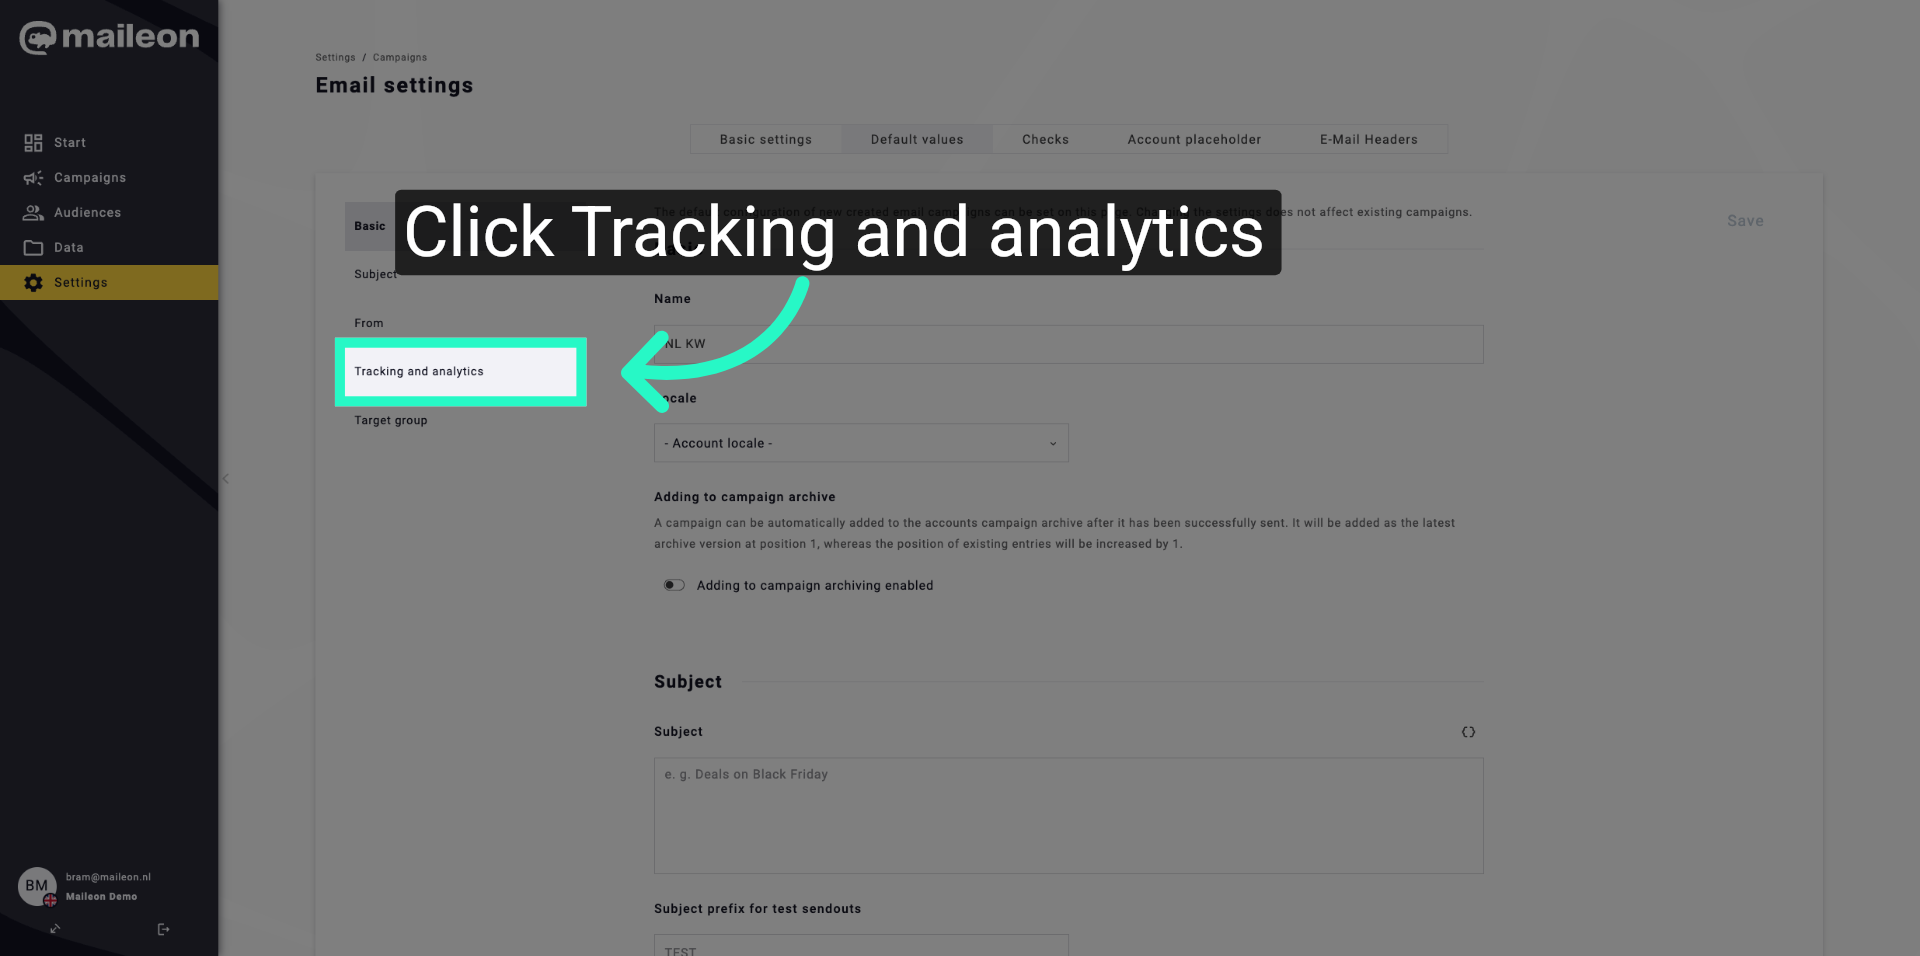
5. Select Tracking And Analytics
Click "Tracking and analytics" to configure tracking preferences for your campaigns.
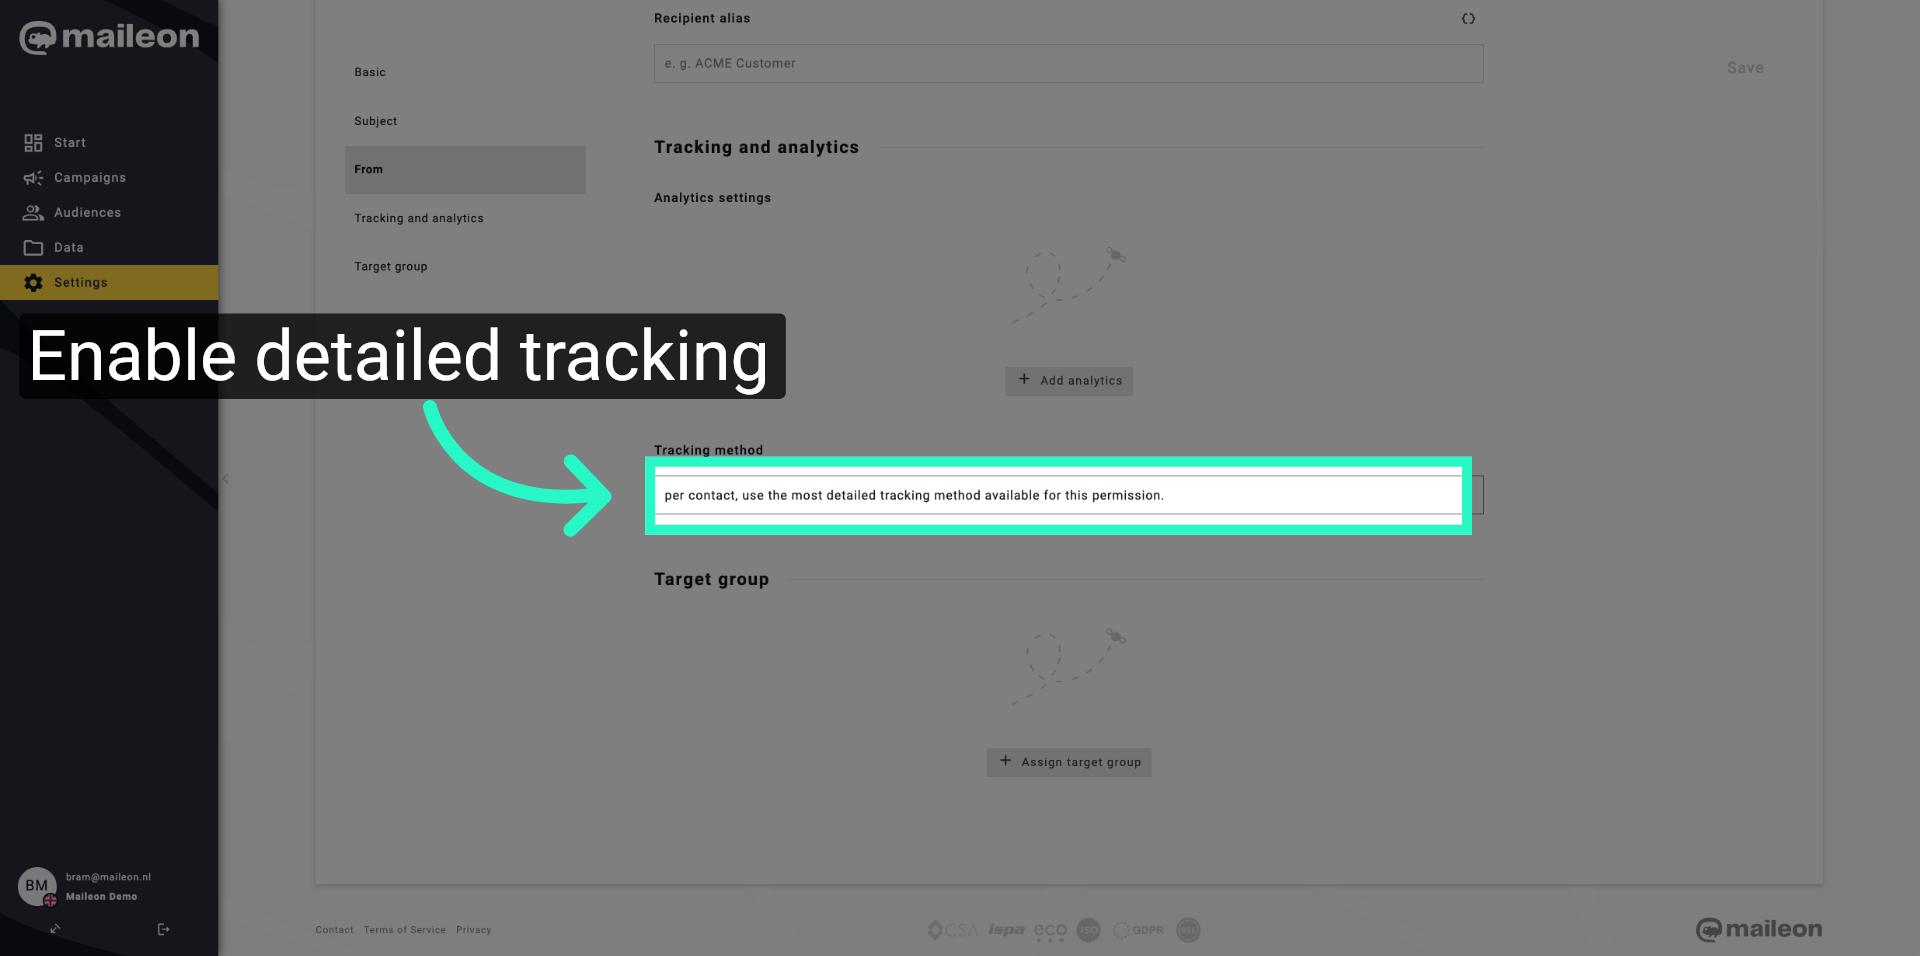
6. Enable Detailed Tracking Method
Click "per contact, use the most detailed tracking method available for this permission." to apply the highest level of tracking detail per contact.
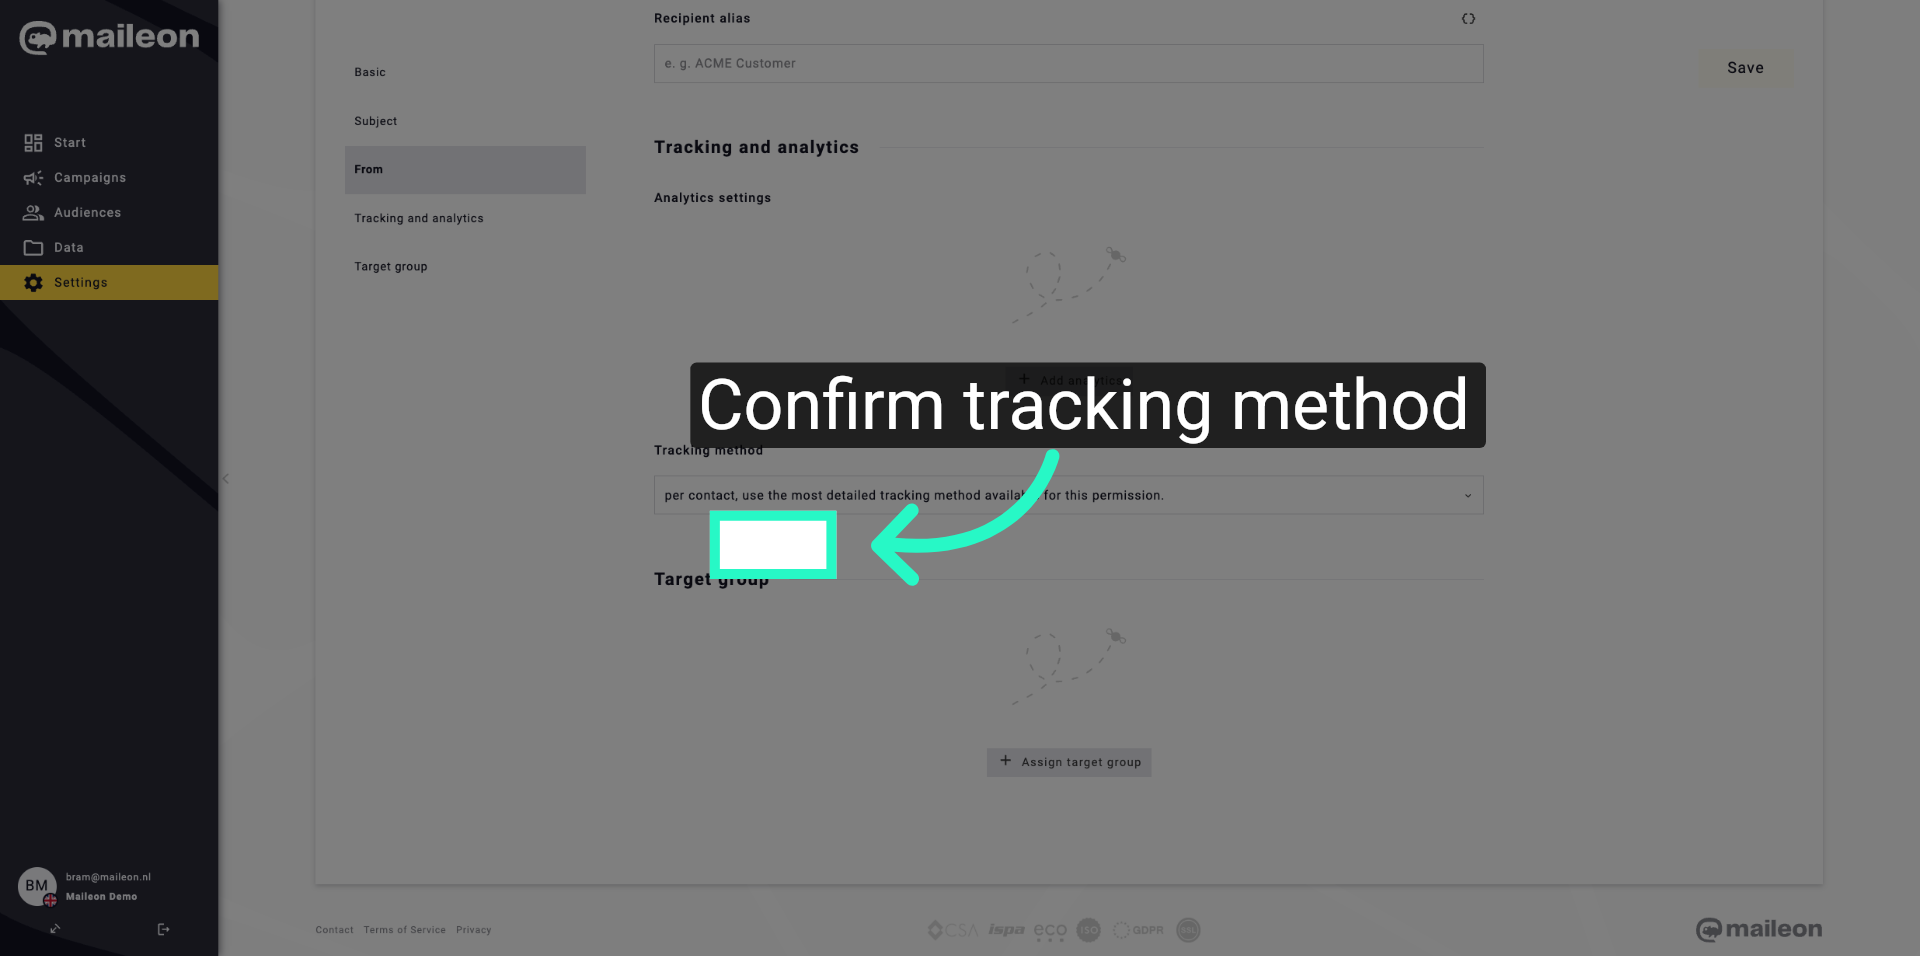
7. Confirm Tracking Method Selection
Click "per contact, use the most detailed tracking method available for this permission." again to confirm your selection.
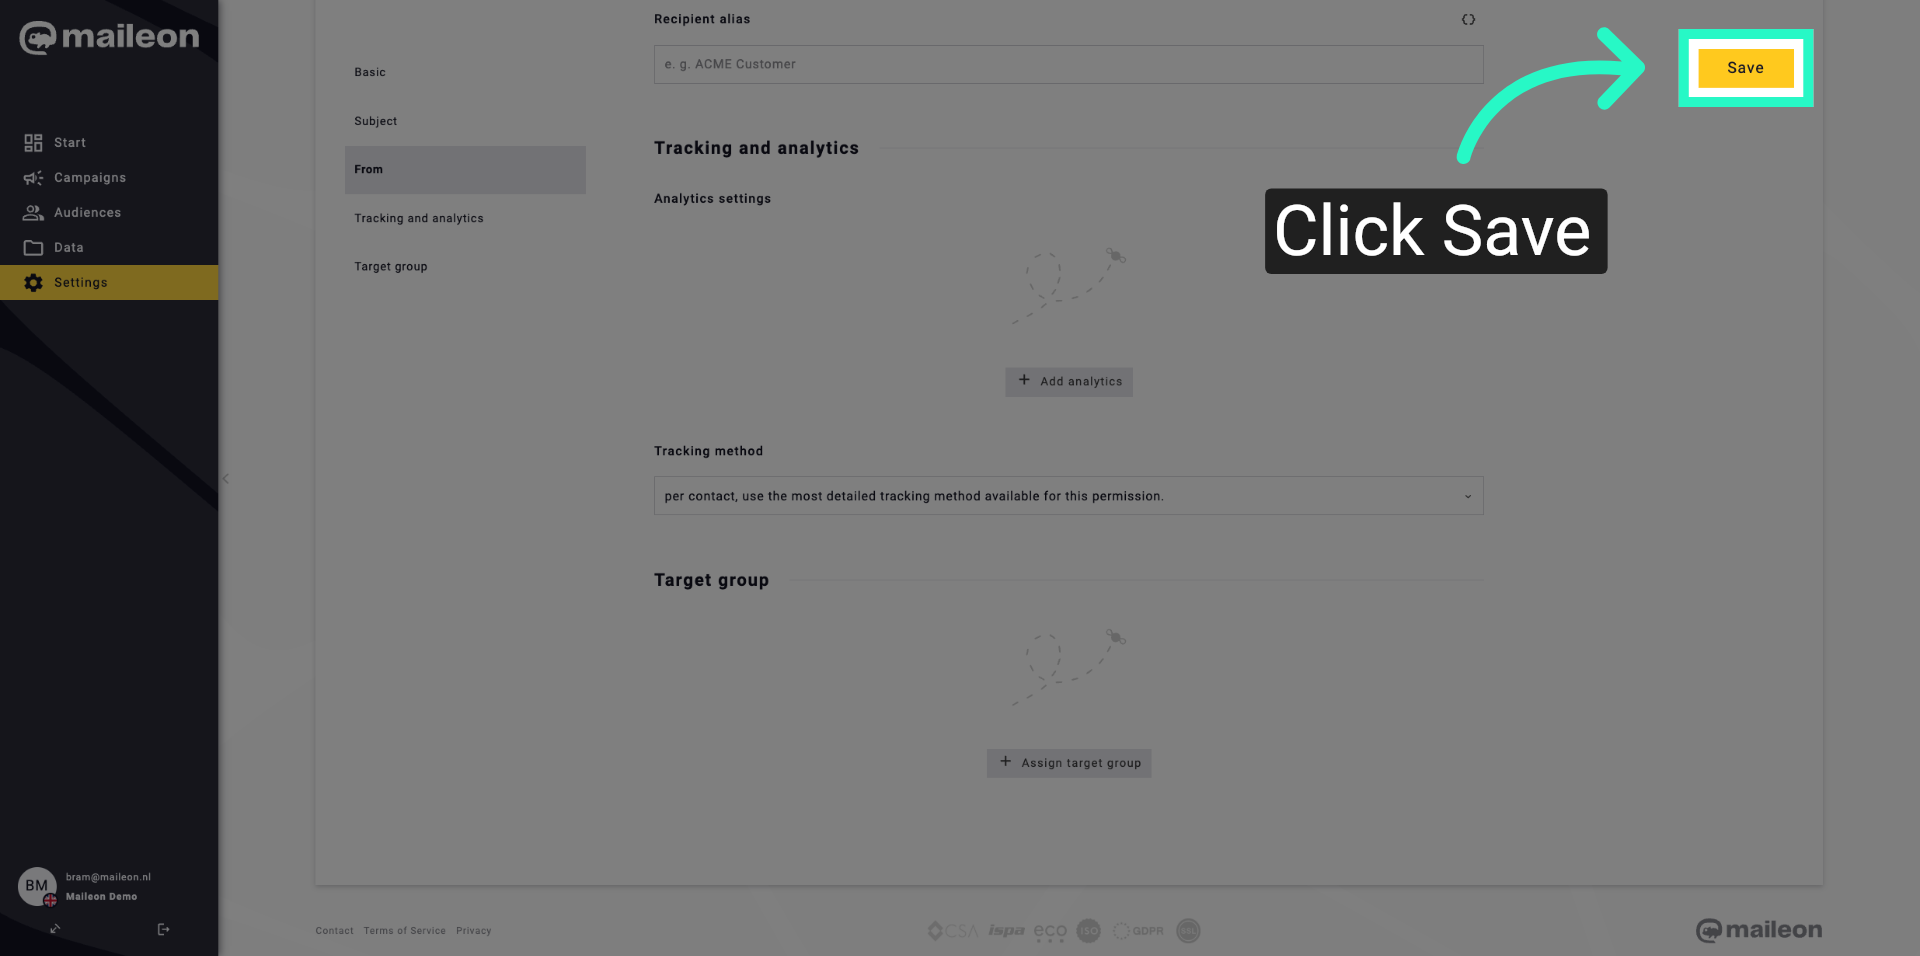
8. Save Tracking Settings
Click "Save" to store your tracking and analytics configuration changes.
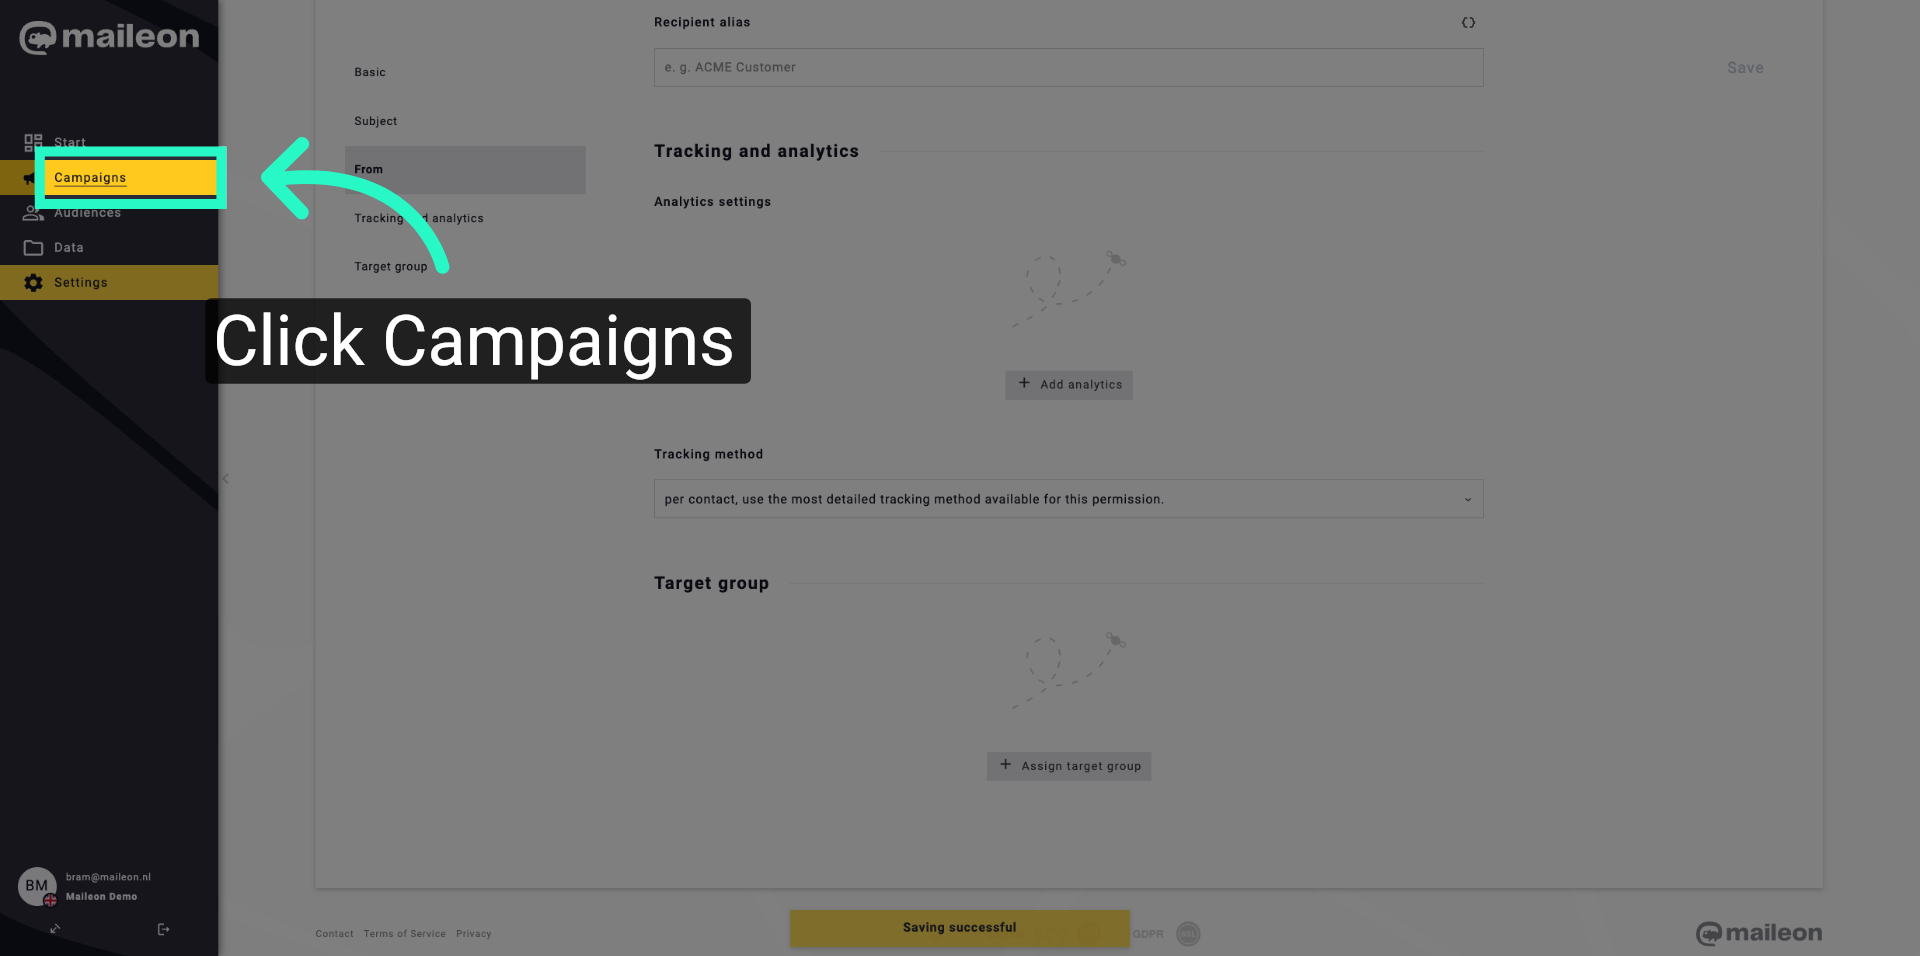
9. Access Campaigns Section
Click "Campaigns" to manage your email campaigns within Maileon.
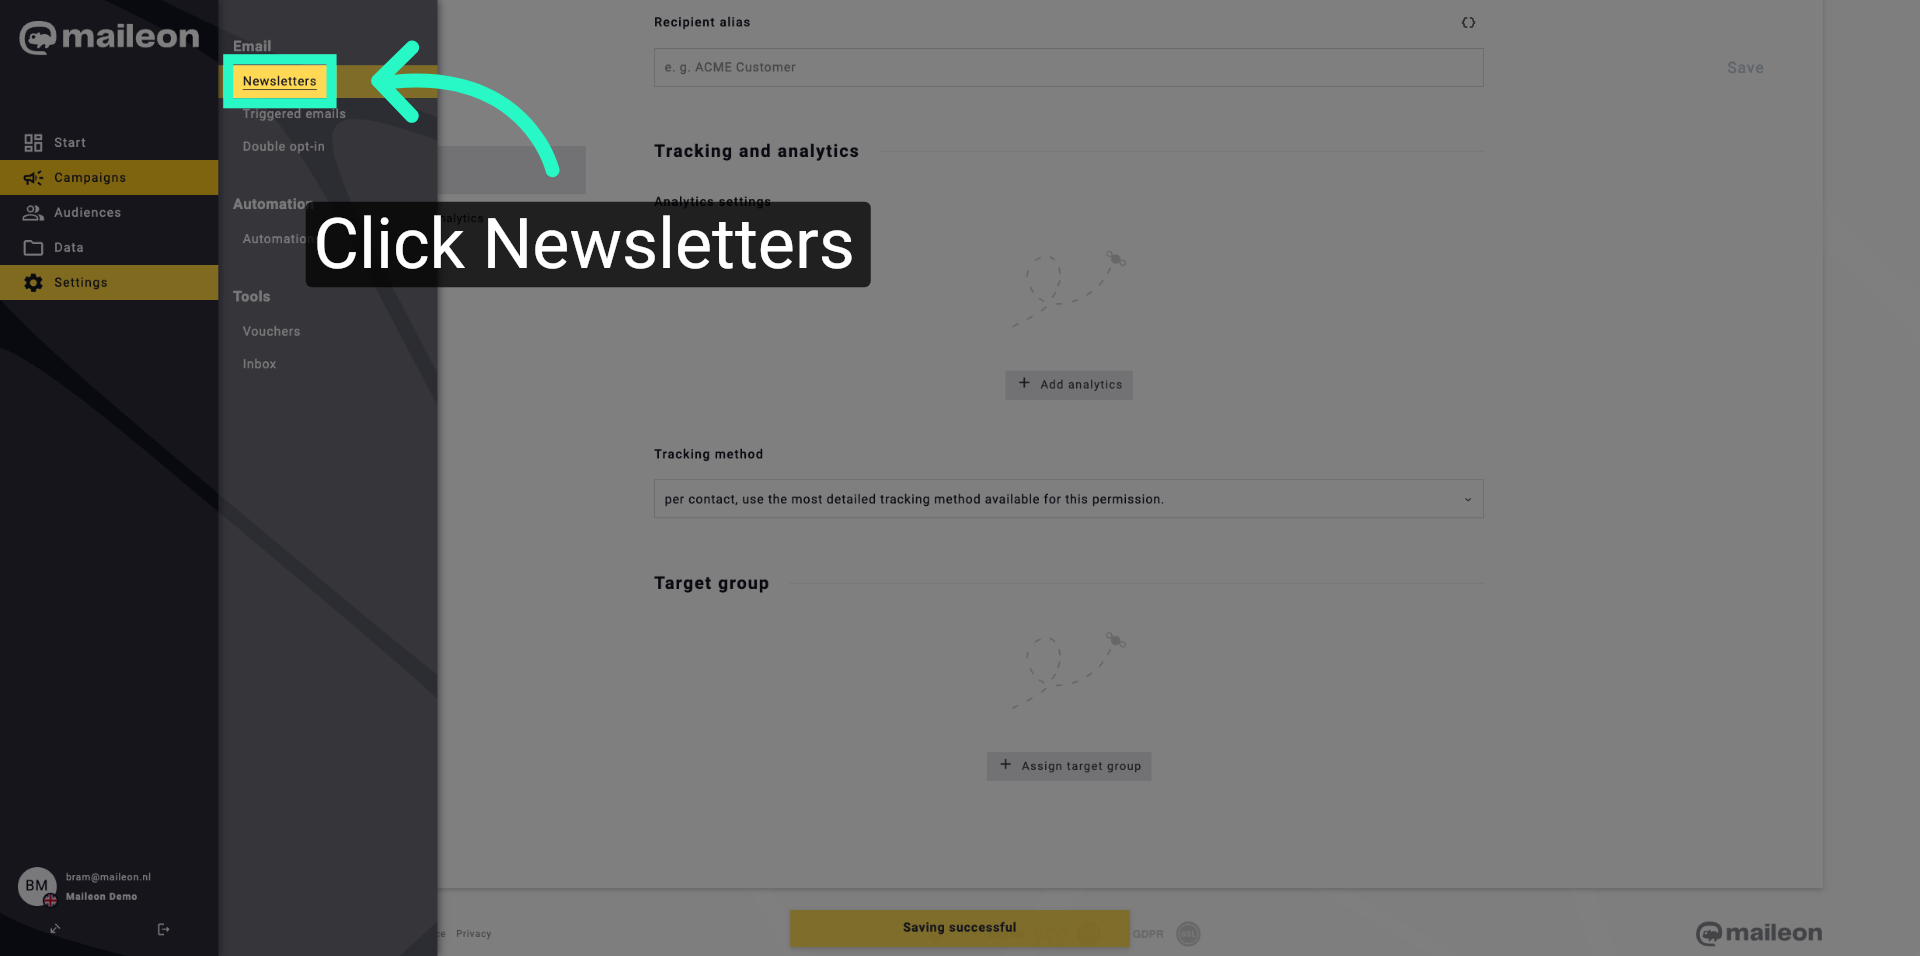
10. Open Newsletters Tab
Click "Newsletters" to view and edit your newsletter templates.
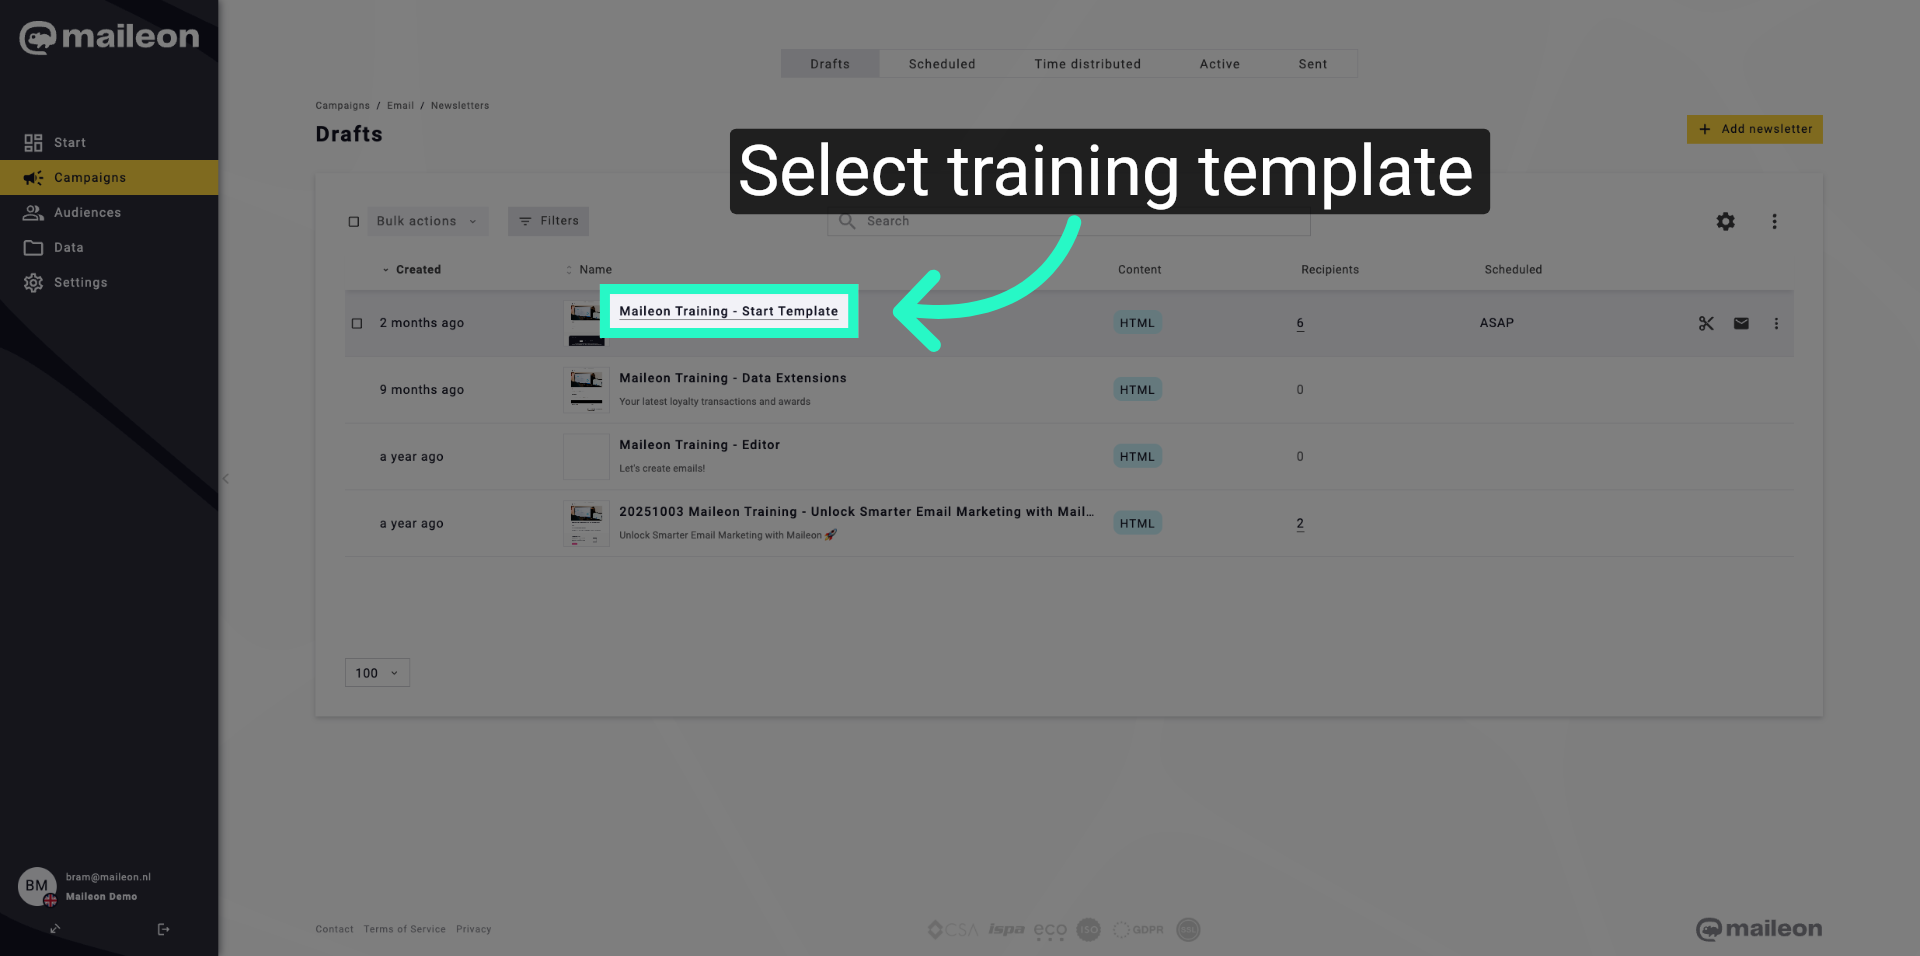
11. Select Training Template
Click "Maileon Training - Start Template" to open the training newsletter template.
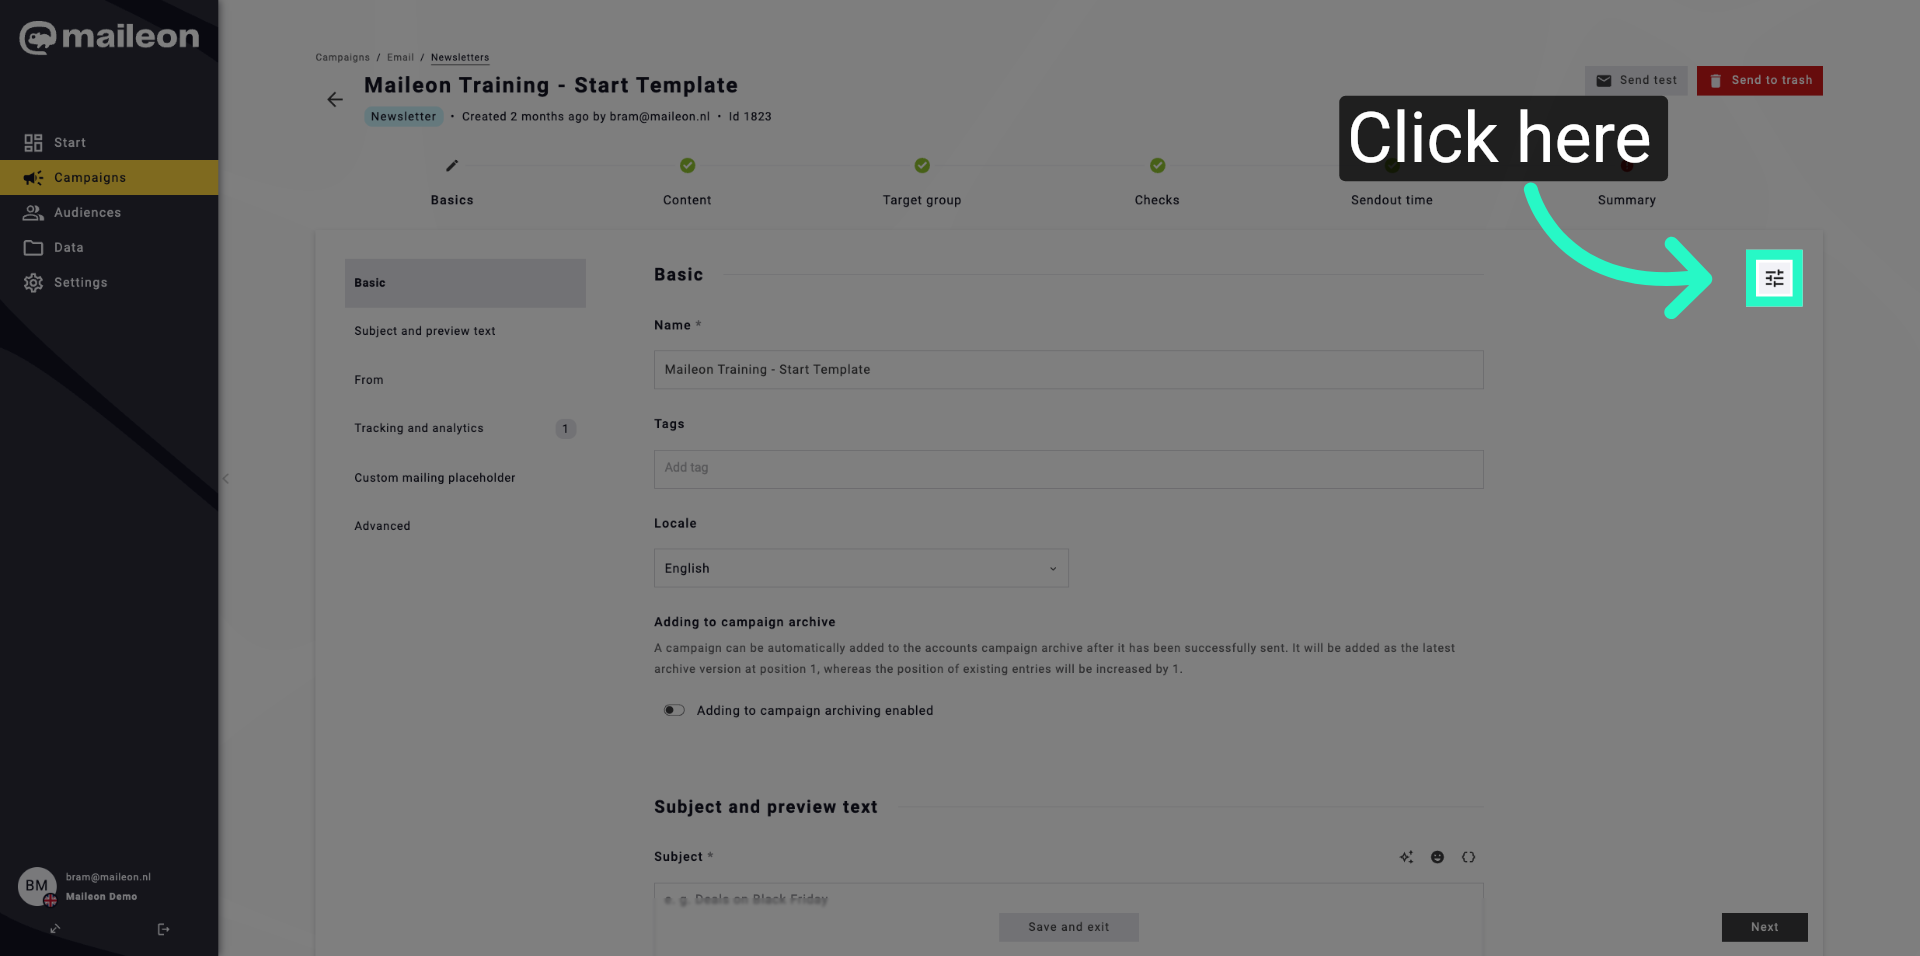
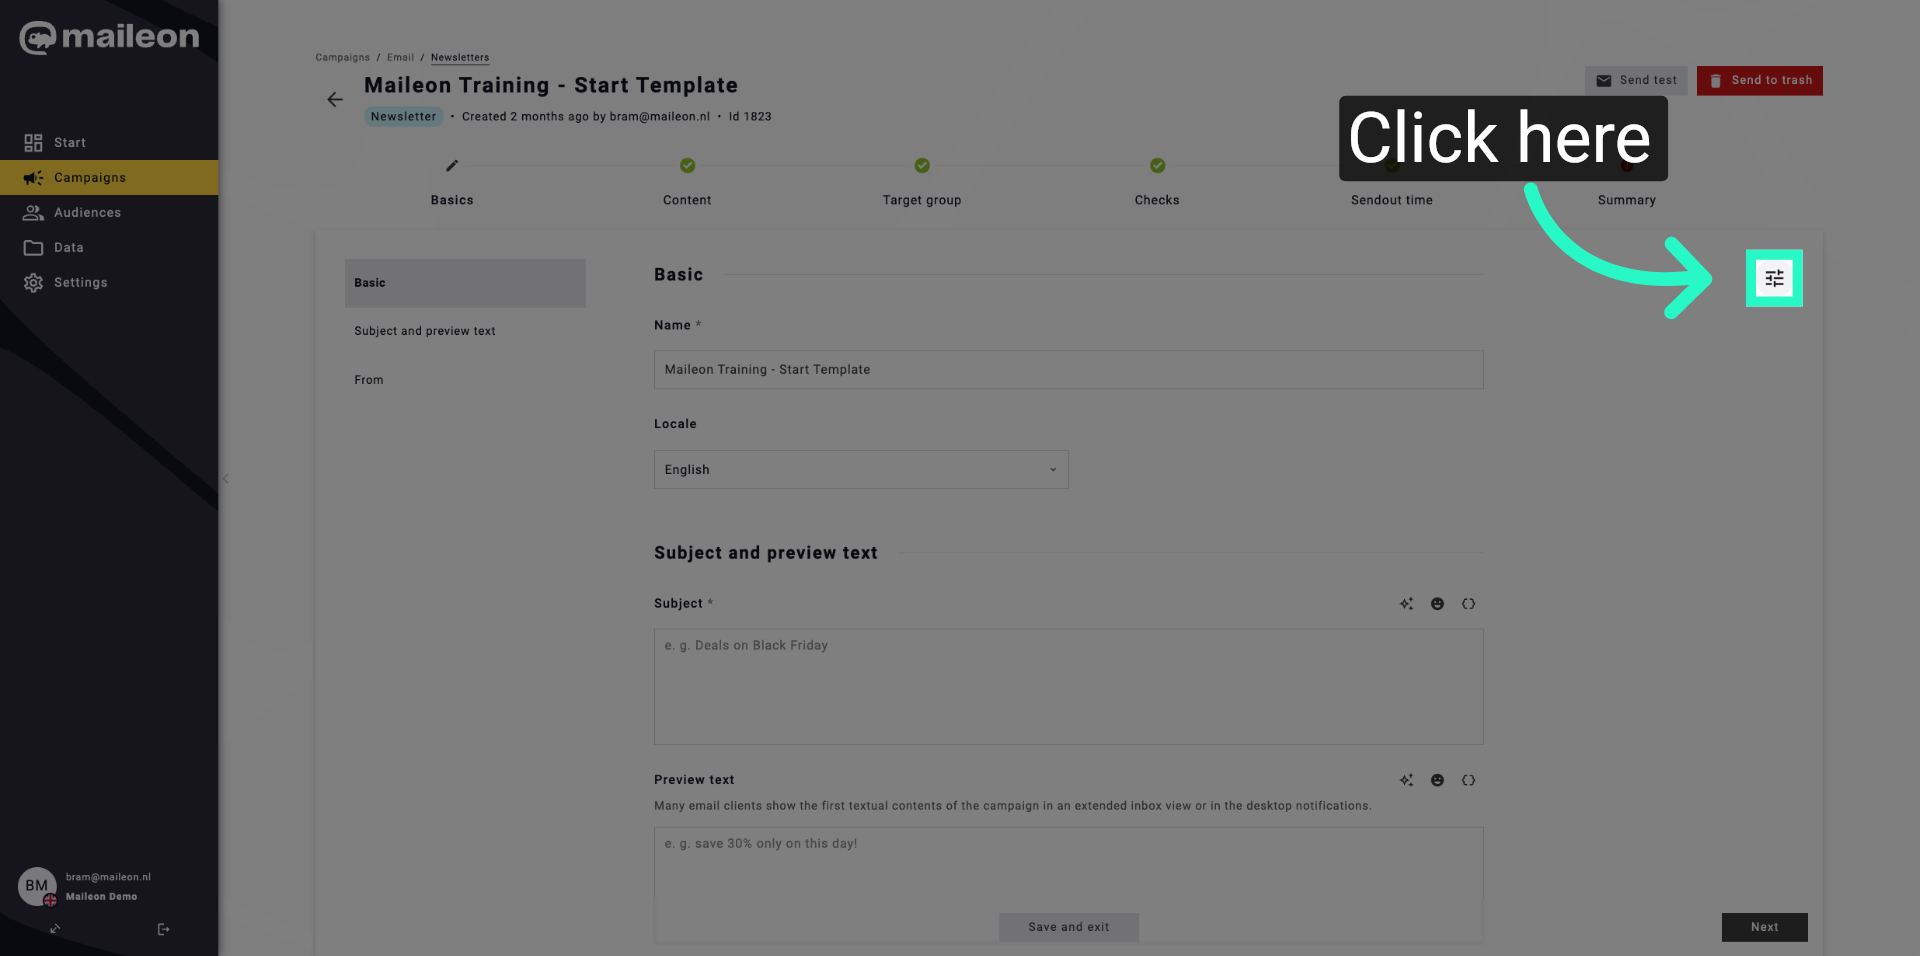
12. Open Template Editor
Click here to access the newsletter template editor.
13. Access Additional Options
Click here to reveal more options within the template editor.
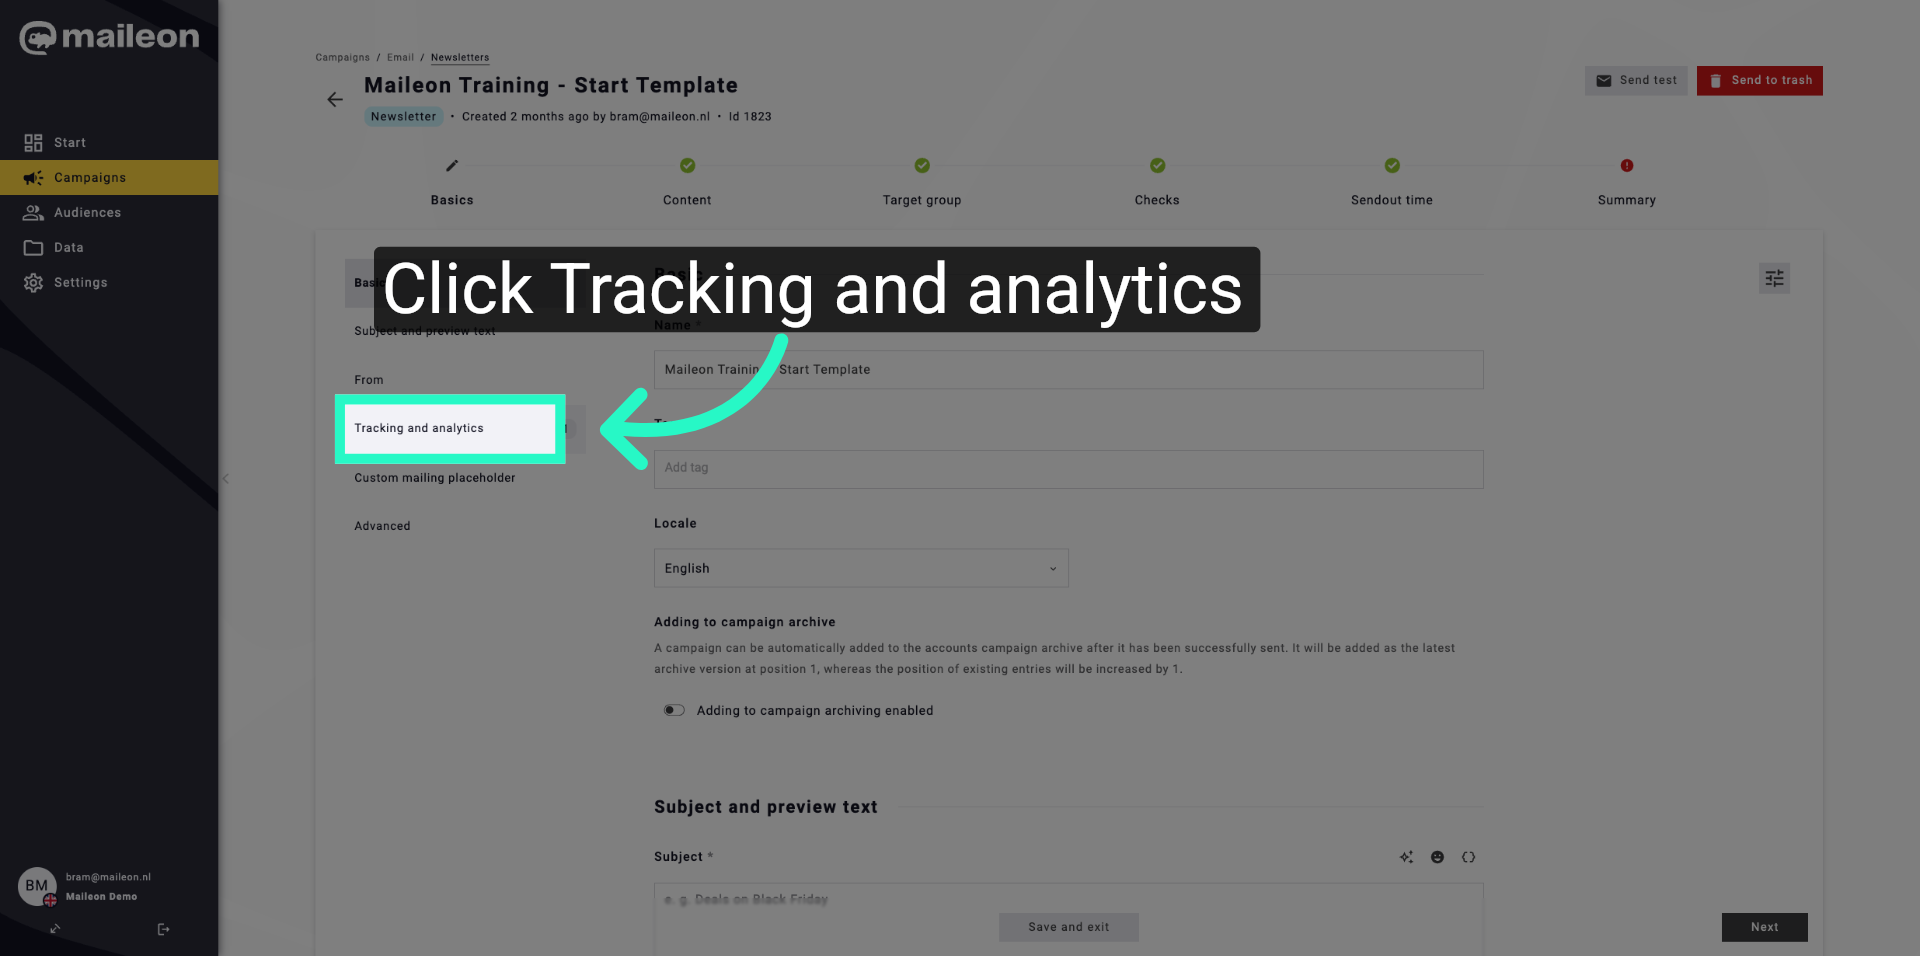
14. Return To Tracking Settings
Click "Tracking and analytics" to revisit the tracking configuration within the template settings.
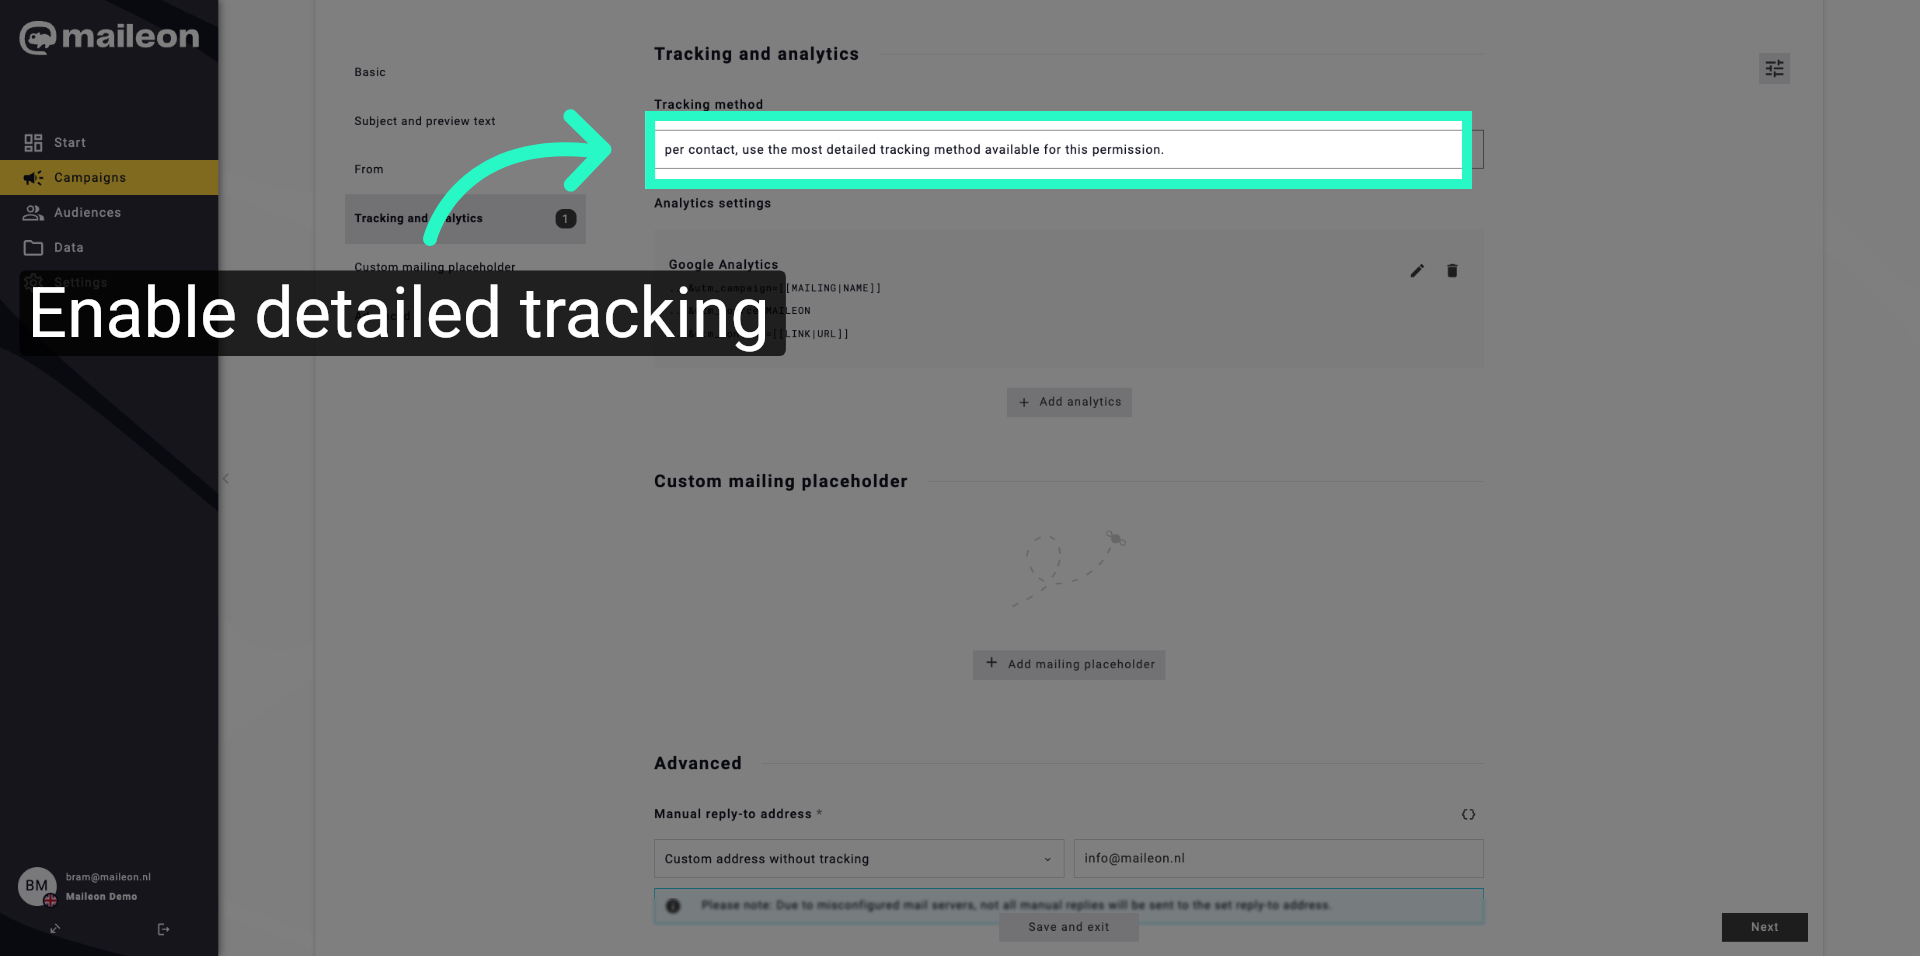
15. Reapply Detailed Tracking
Click "per contact, use the most detailed tracking method available for this permission." to ensure detailed tracking is enabled.
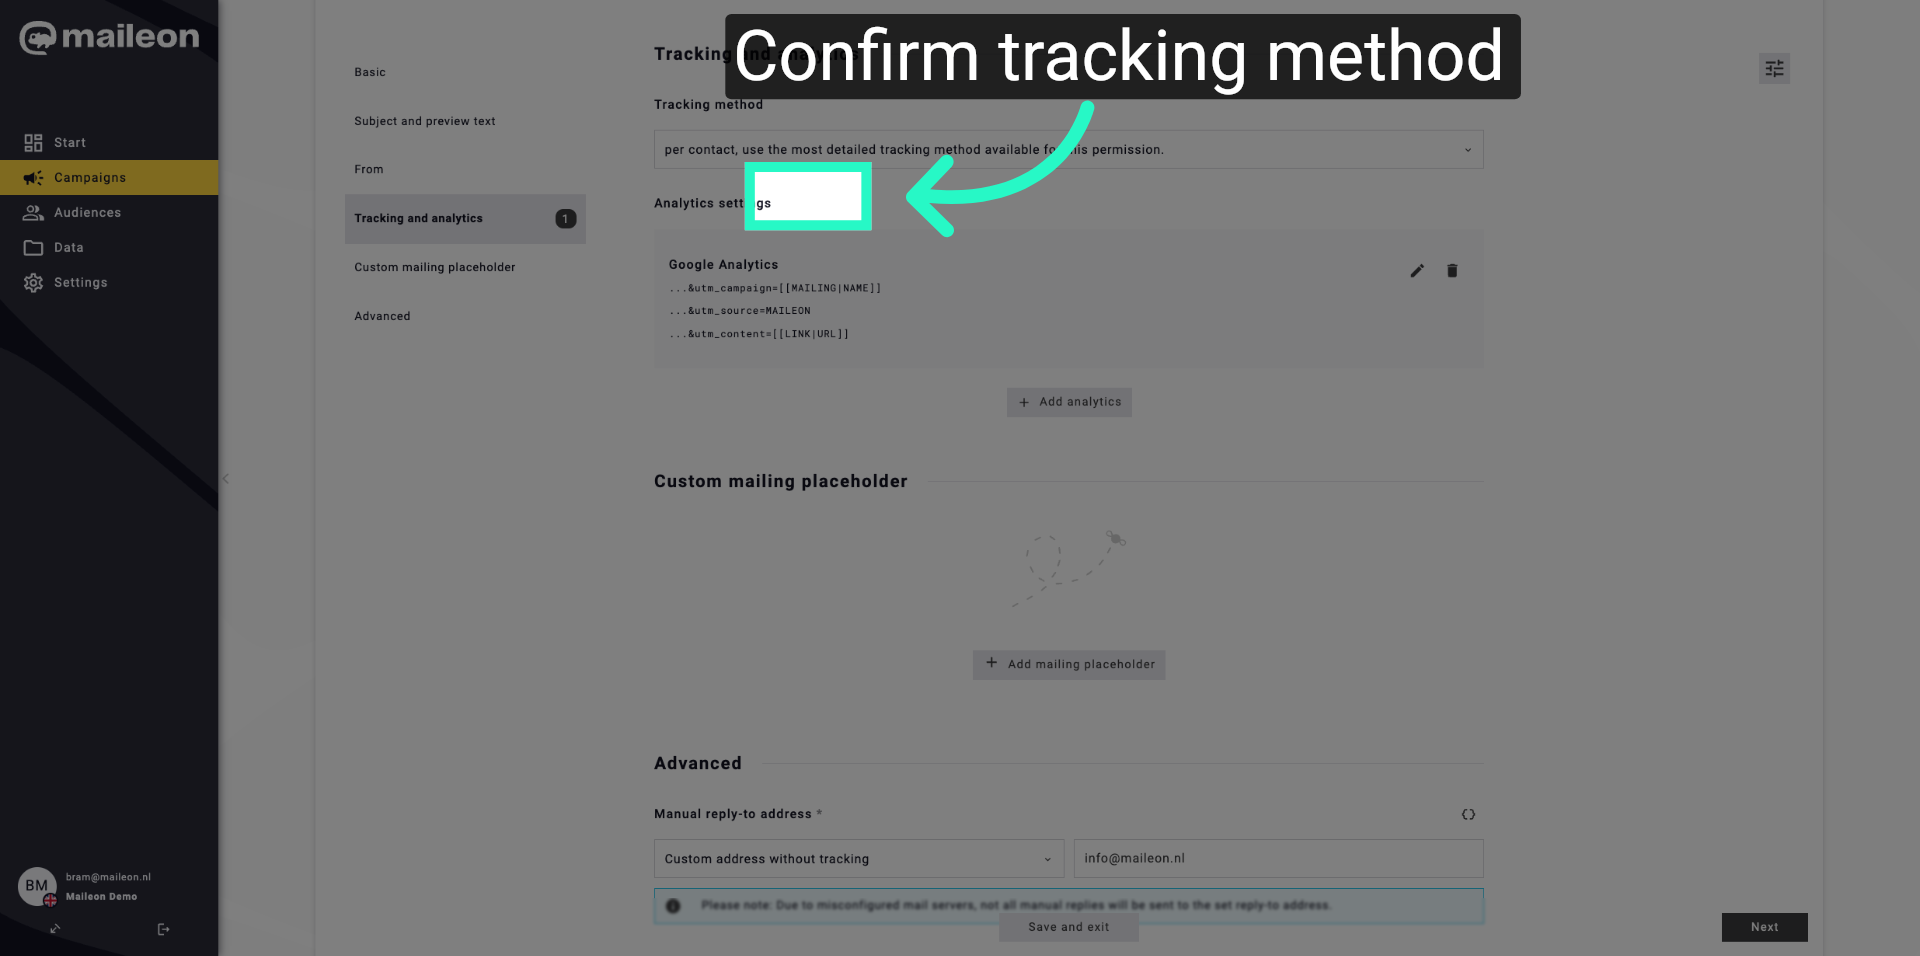
16. Confirm Tracking Method Again
Click "per contact, use the most detailed tracking method available for this permission." once more to confirm the setting.
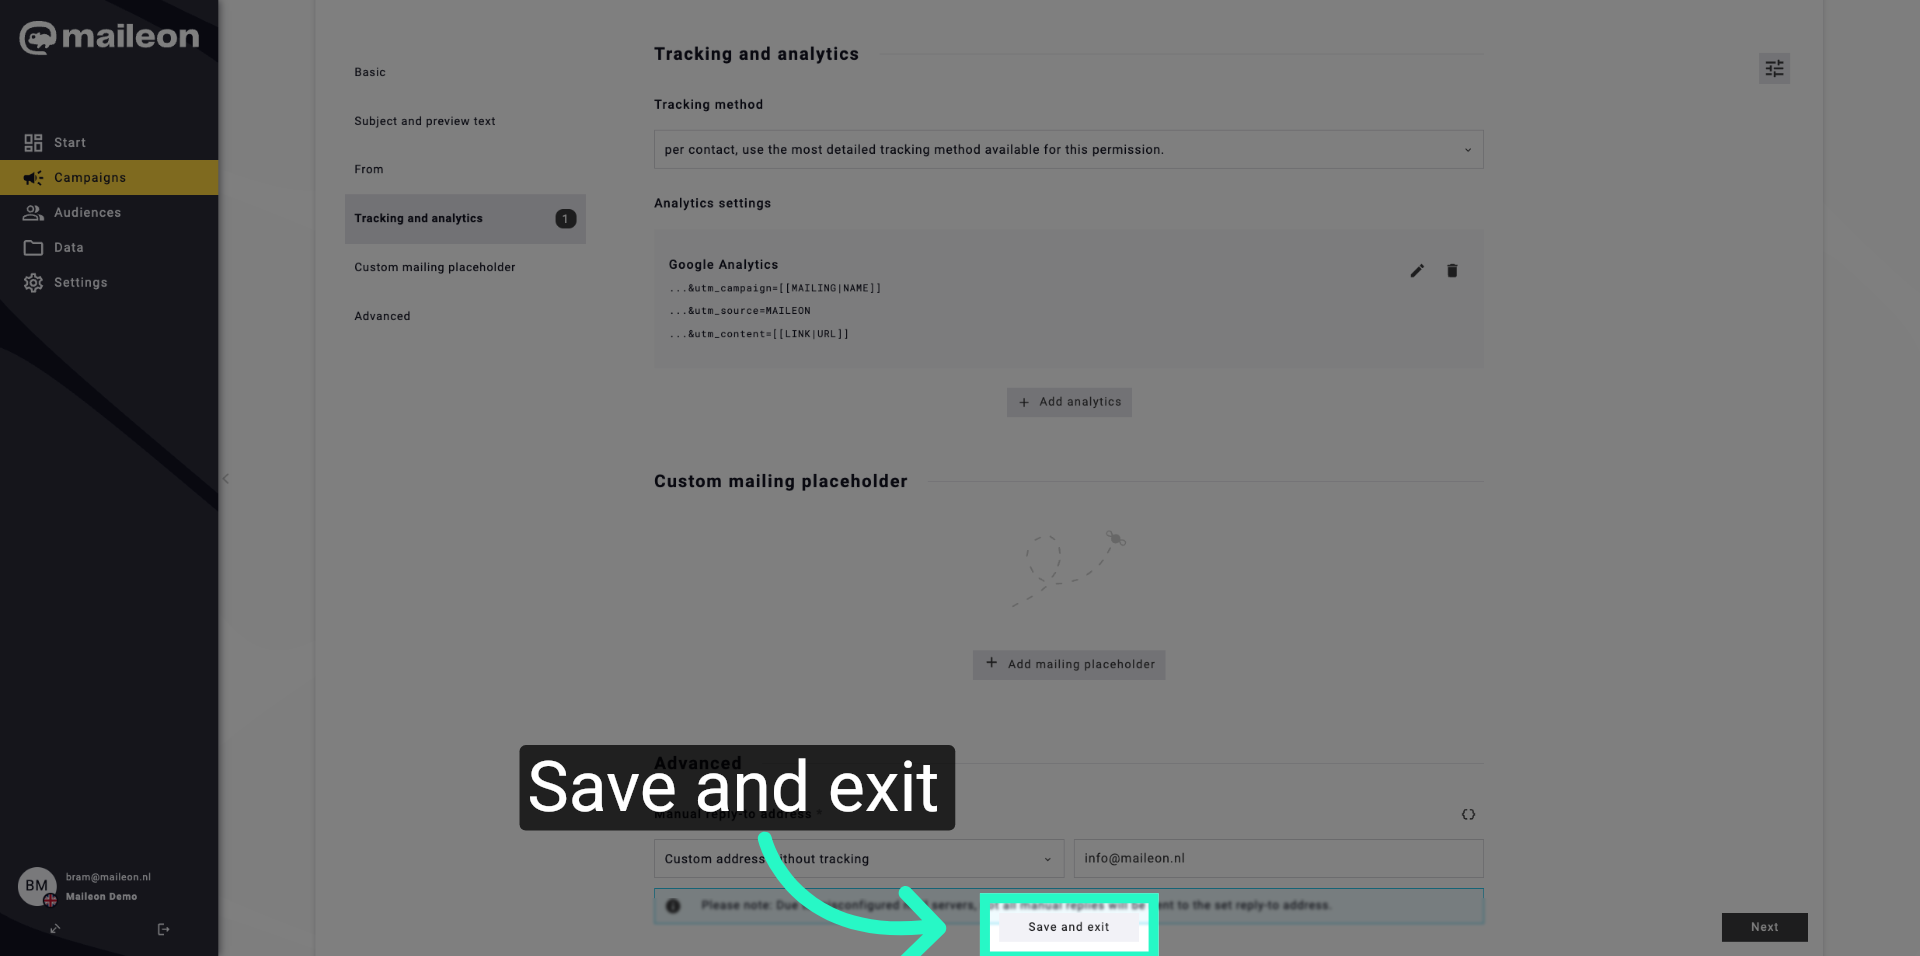
17. Save And Exit Settings
Click "Save and exit" to finalise your tracking and analytics settings and return to the main interface.
You have successfully configured detailed tracking and analytics settings in Maileon and saved your preferences. You can now manage your campaigns with enhanced tracking capabilities for better insights.