Configure Double Opt-In Campaigns In Maileon
This tutorial explains how to configure double opt-in campaigns within Maileon to ensure compliant subscriber confirmation.
Go to maileon-benelux-maileon-de.maileon.com
1. Introduction - how to get permission for tracking of opens & clicks in a Double Opt-In Email
You will learn to enable personalisation, select confirmation processes, and save your settings effectively.
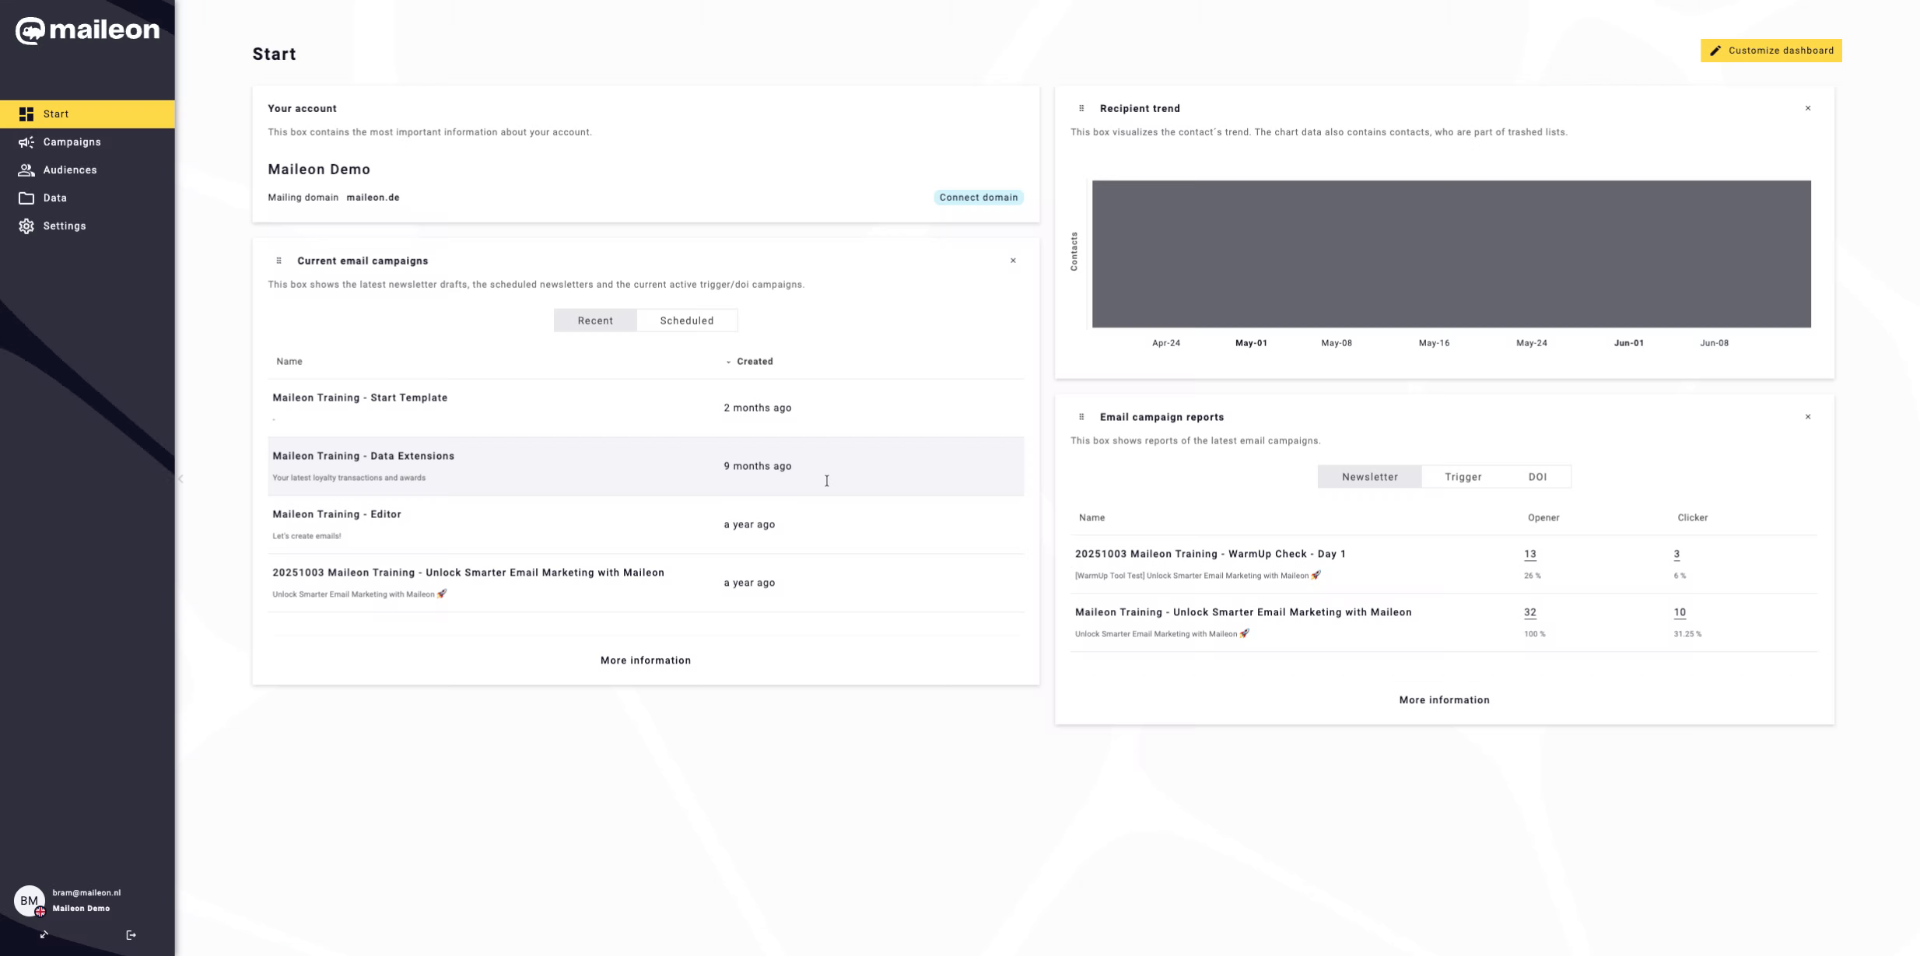
2. Access Campaigns Section
Click the Campaigns section to begin managing your email campaigns within Maileon.
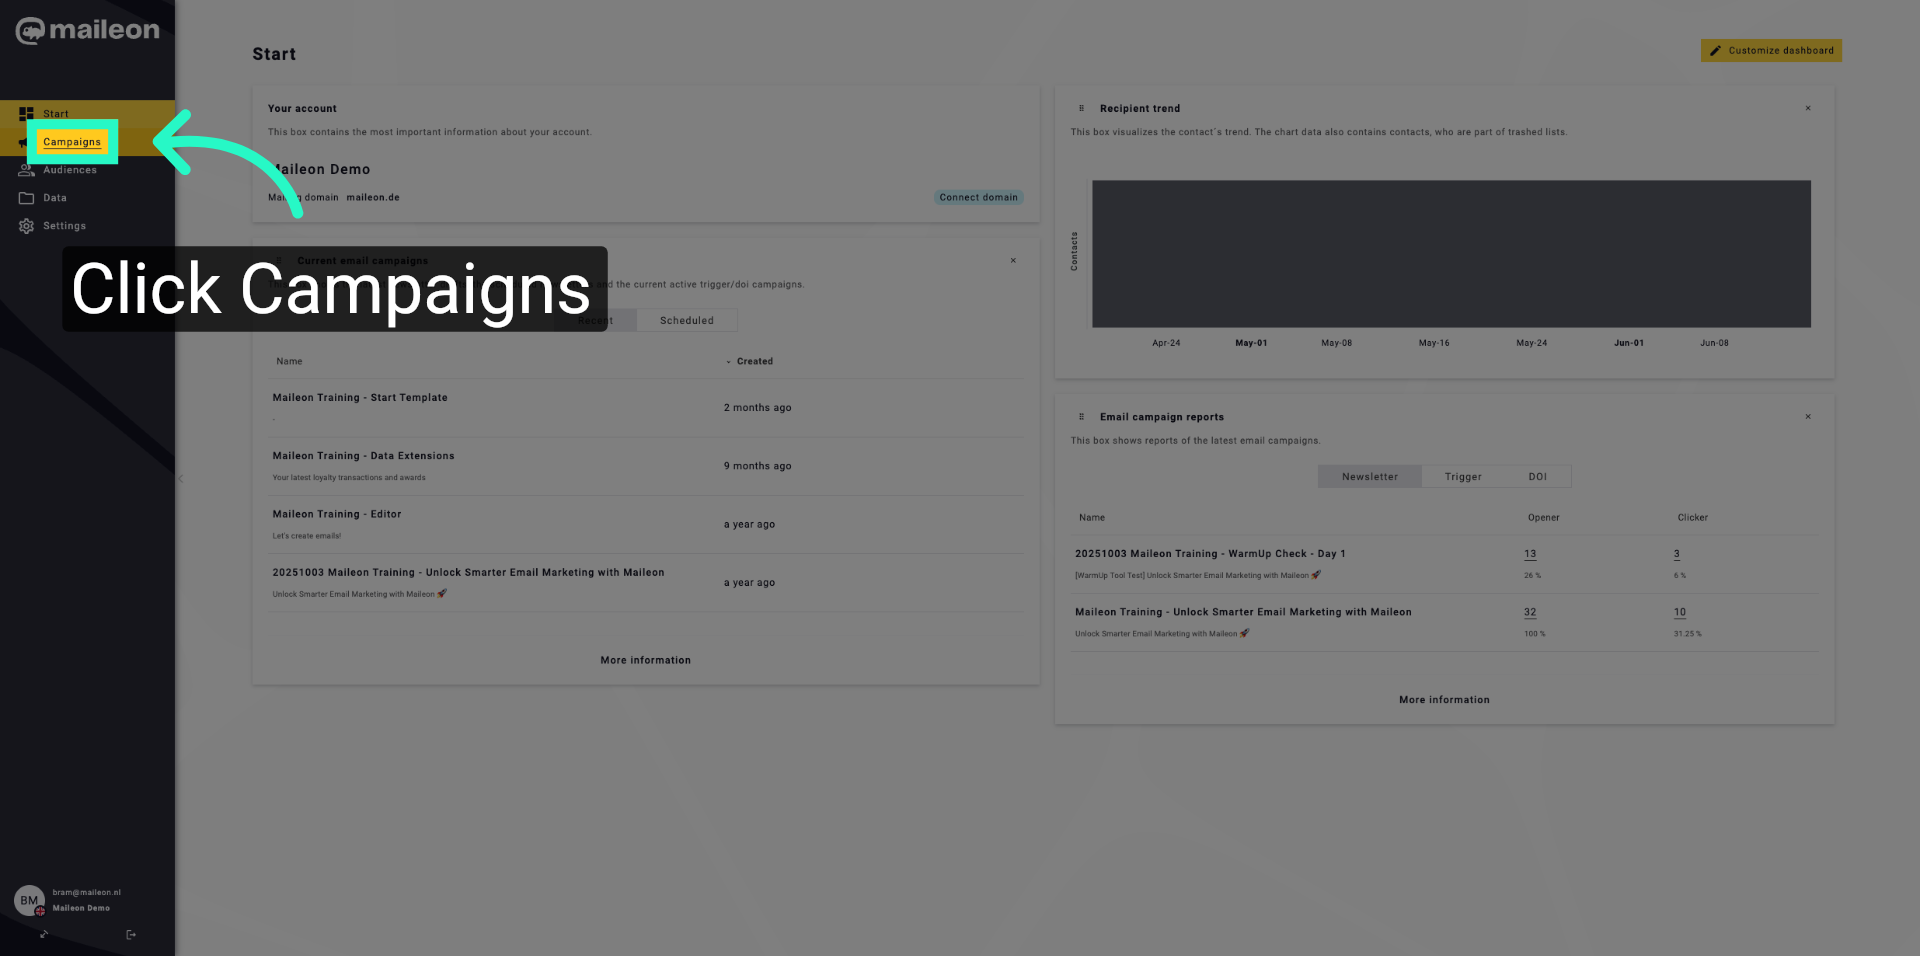
3. Open Double Opt-In Settings
Click Double opt-in to access the settings for subscriber confirmation processes.
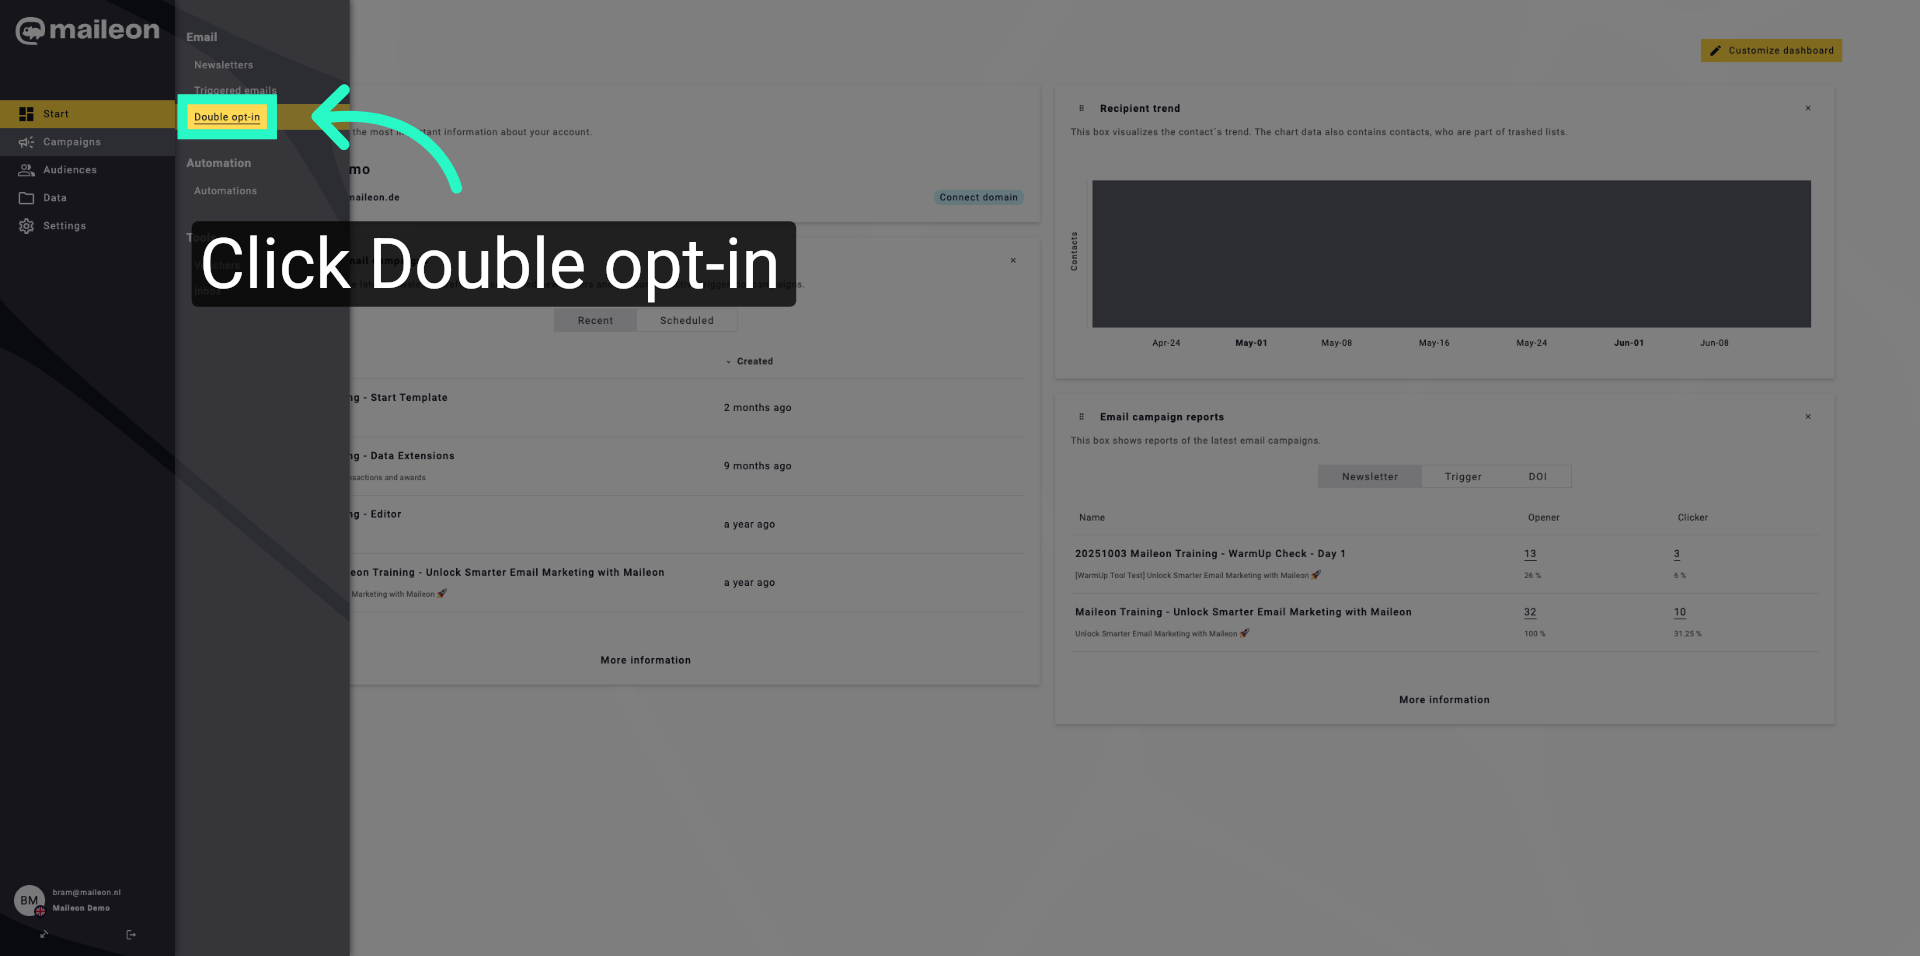
4. Select Demo Double Opt-In
Create your Double Opt-In Campaign or open an existing version.
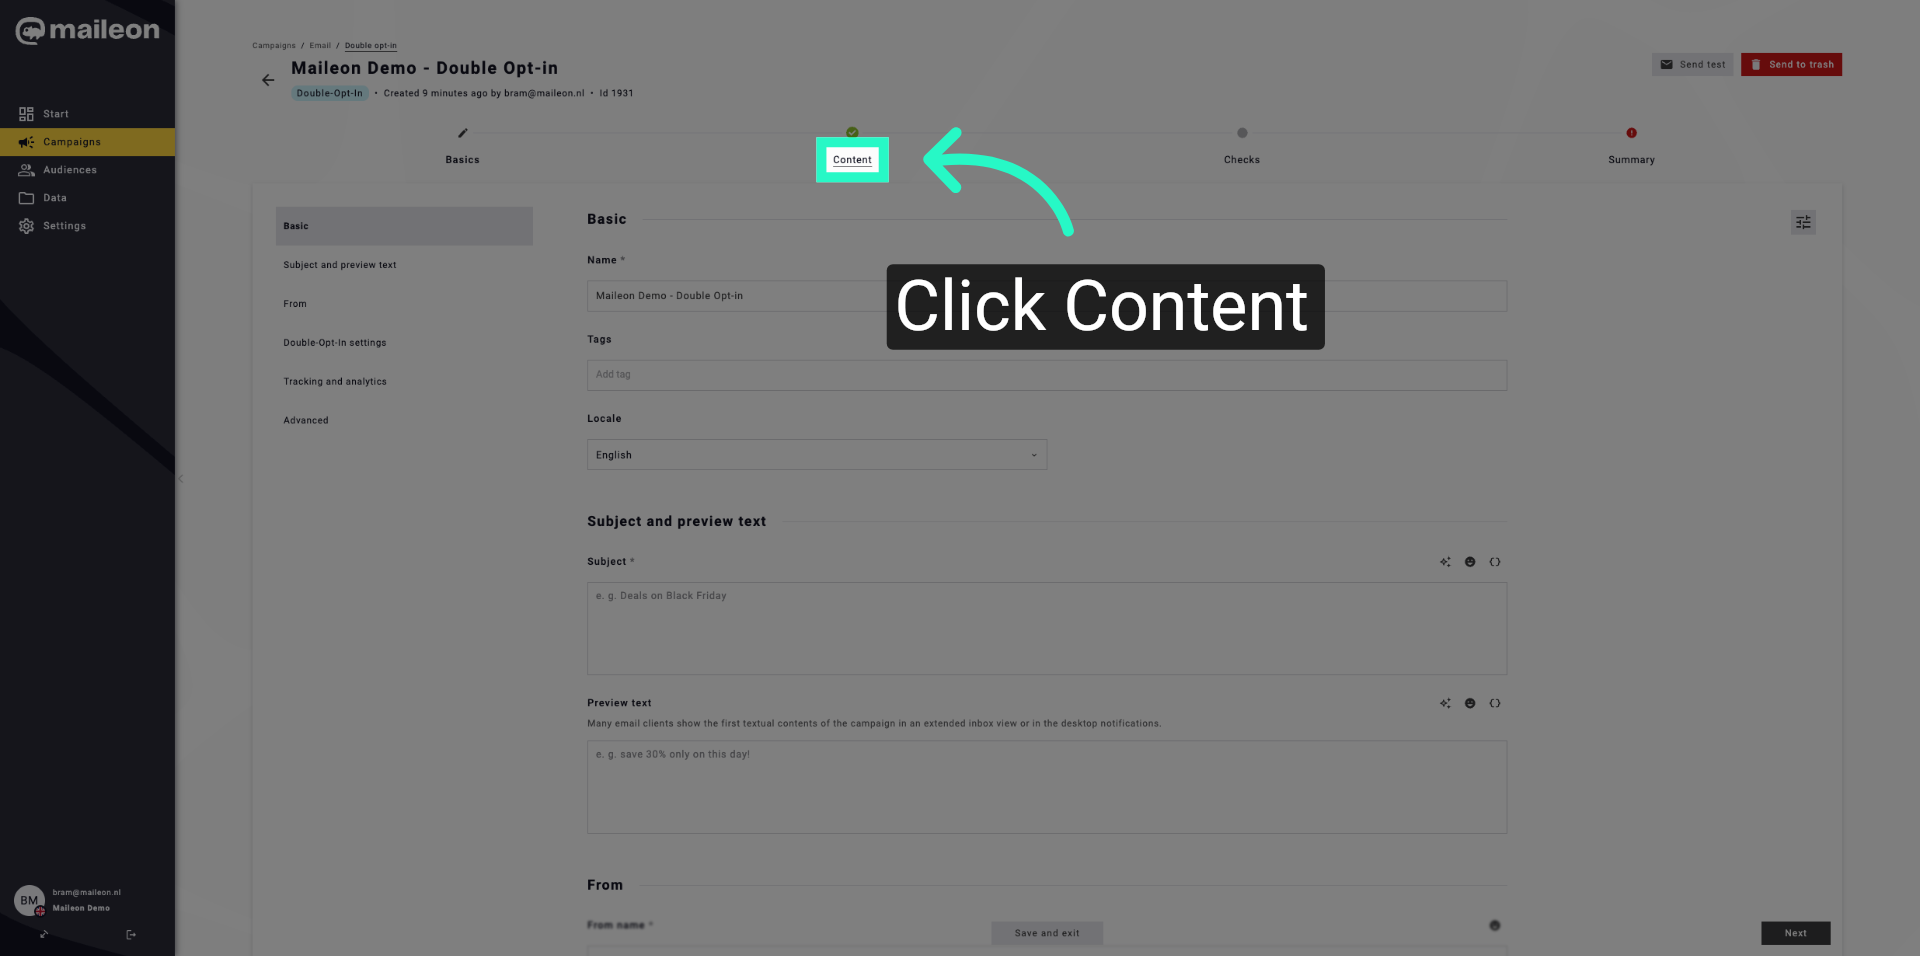
5. Navigate To Content Tab
Click the Content tab to modify the content related to the double opt-in process.
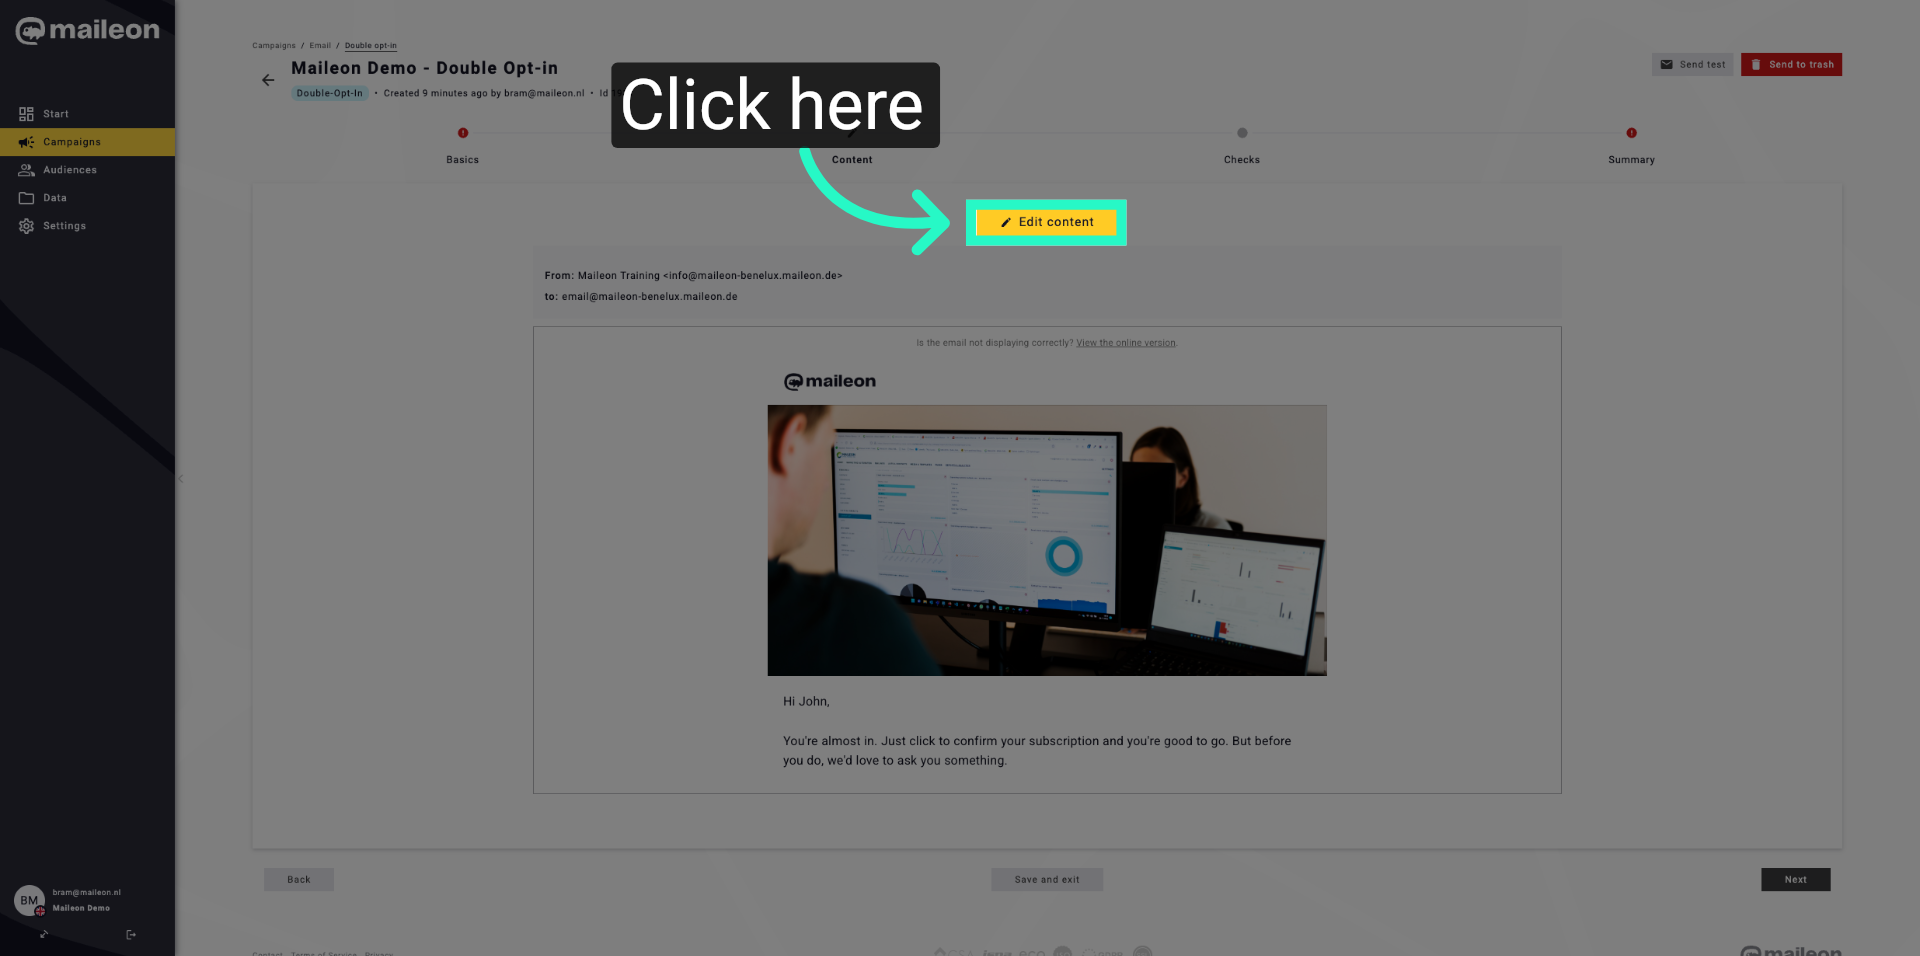
6. Access Personalisation Settings
Click here to proceed to personalisation options within the content settings.
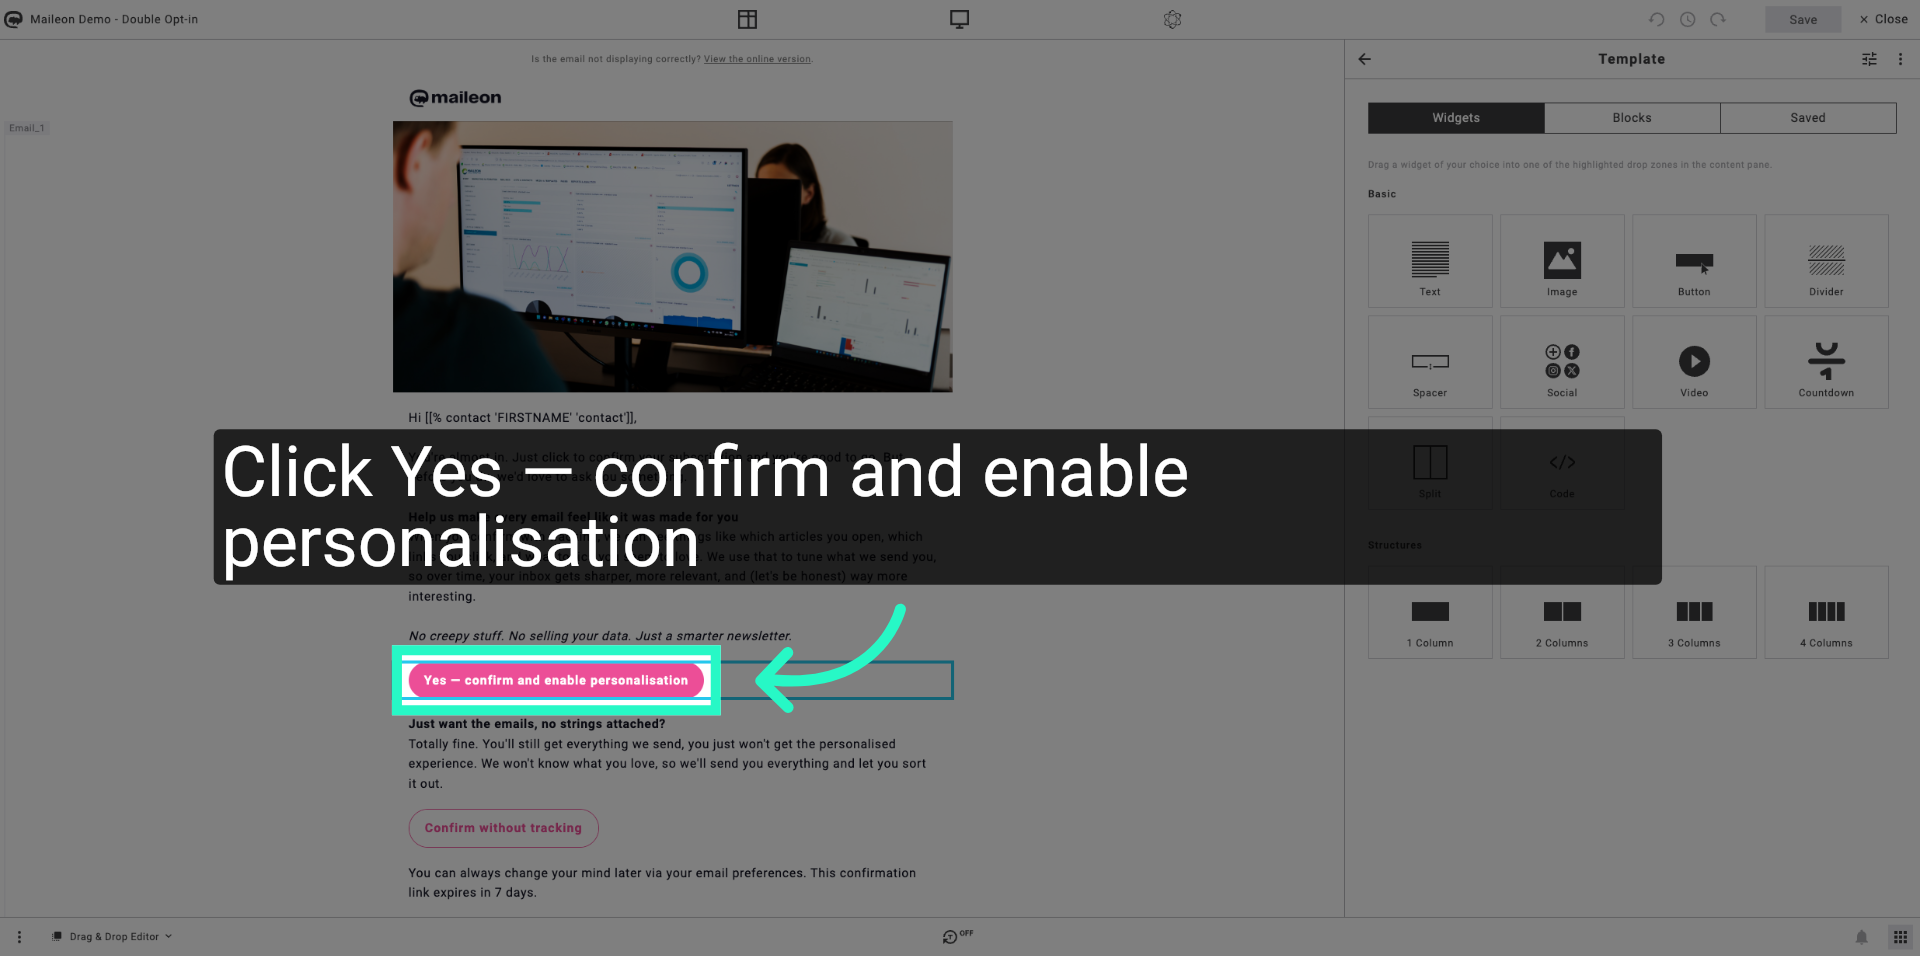
7. Enable Personalisation
Click Yes — confirm and enable personalisation to activate personalised content in your double opt-in messages.
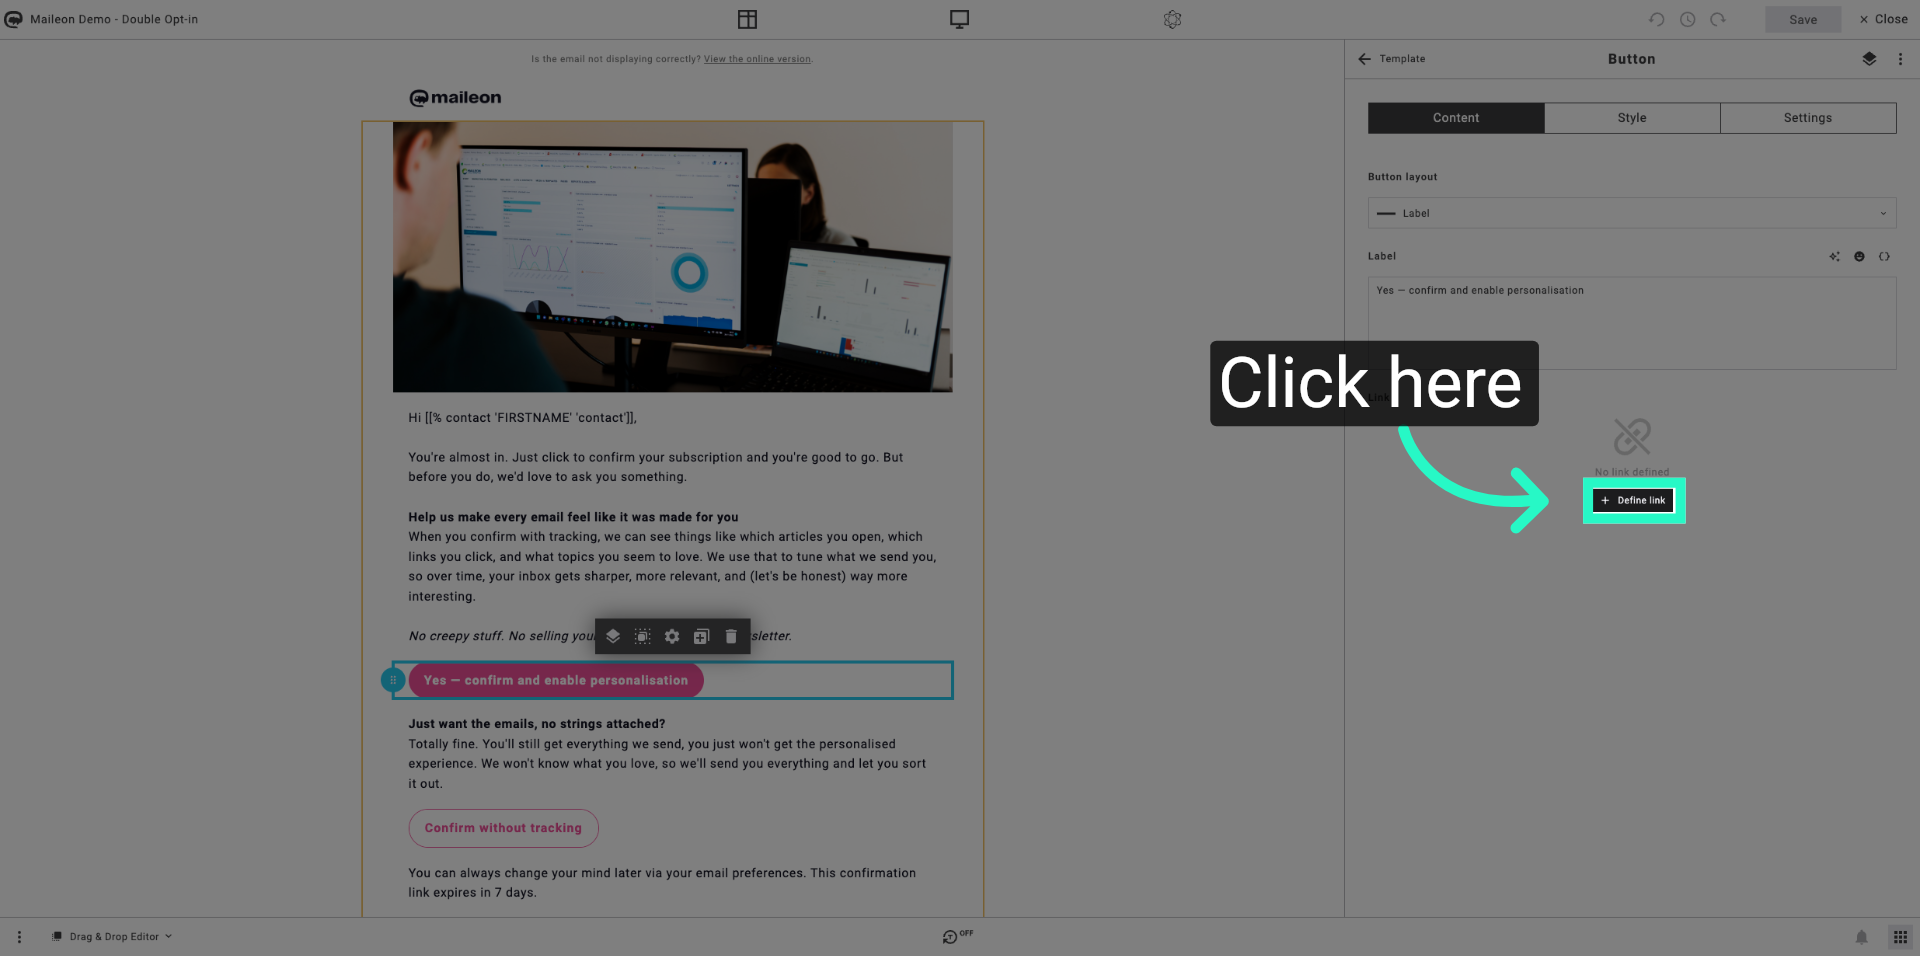
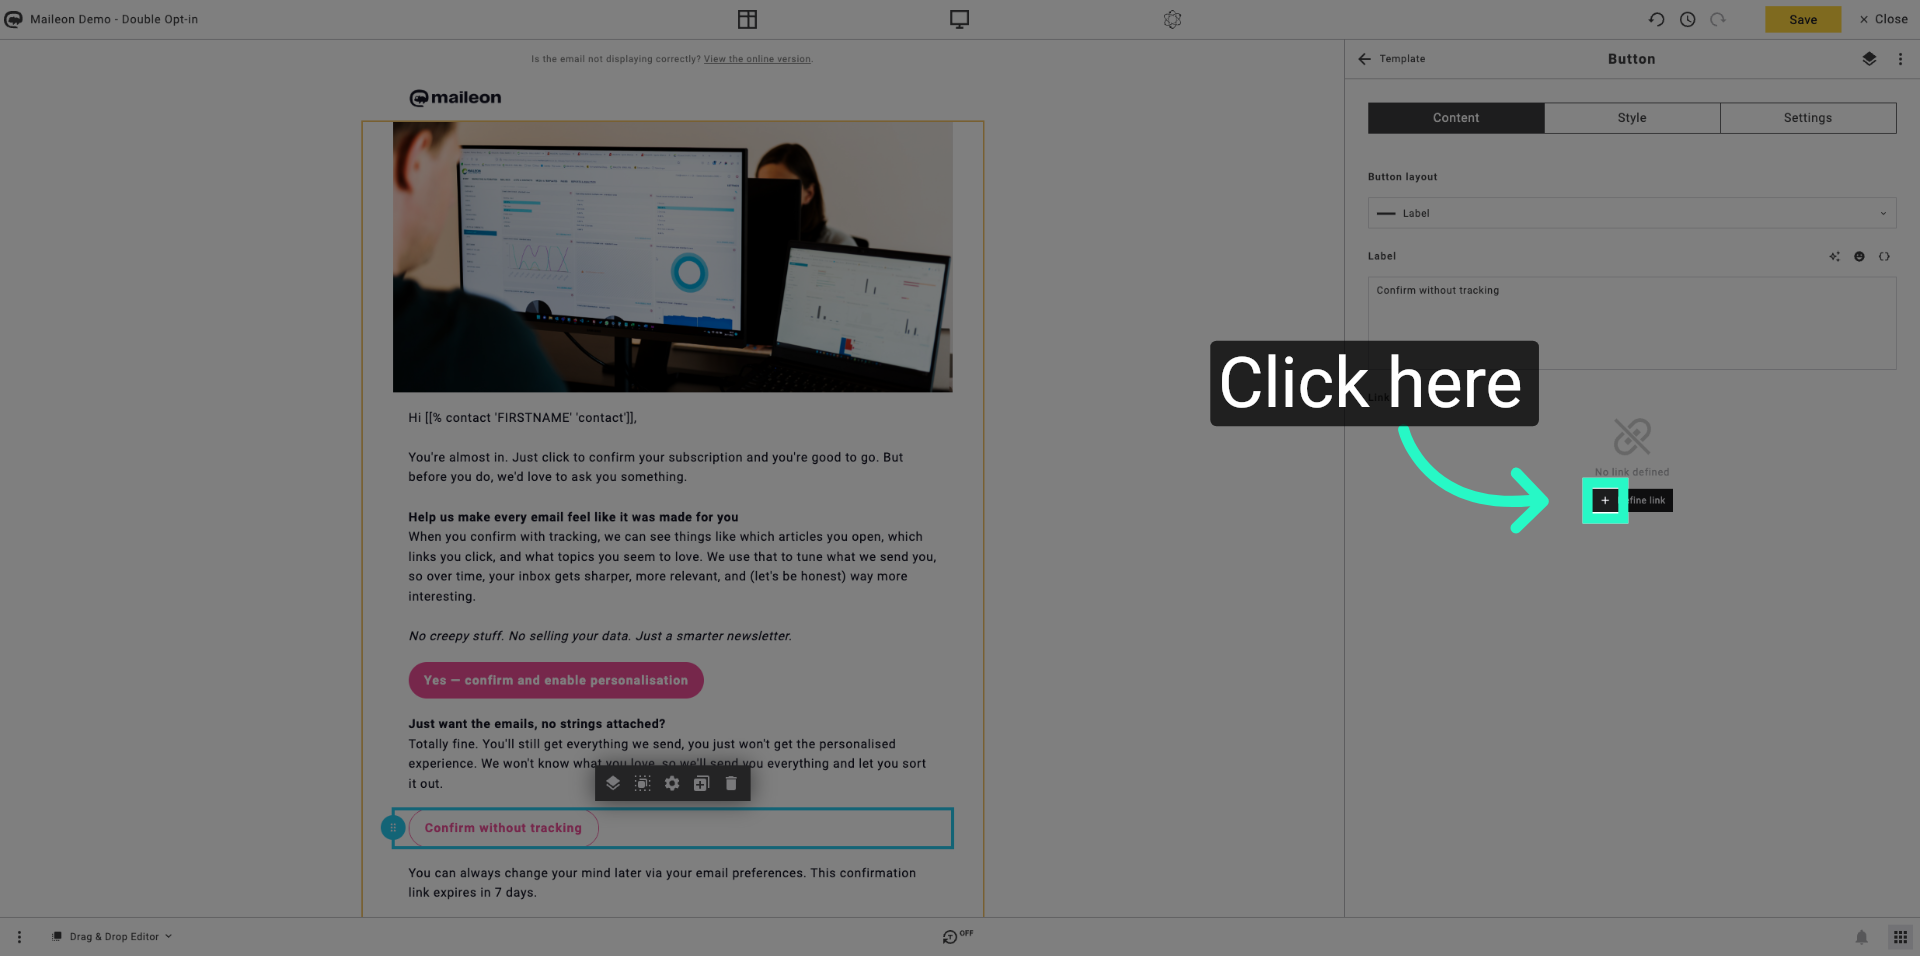
8. Open Standard Links Settings
Click here to access the standard links configuration for your campaign.
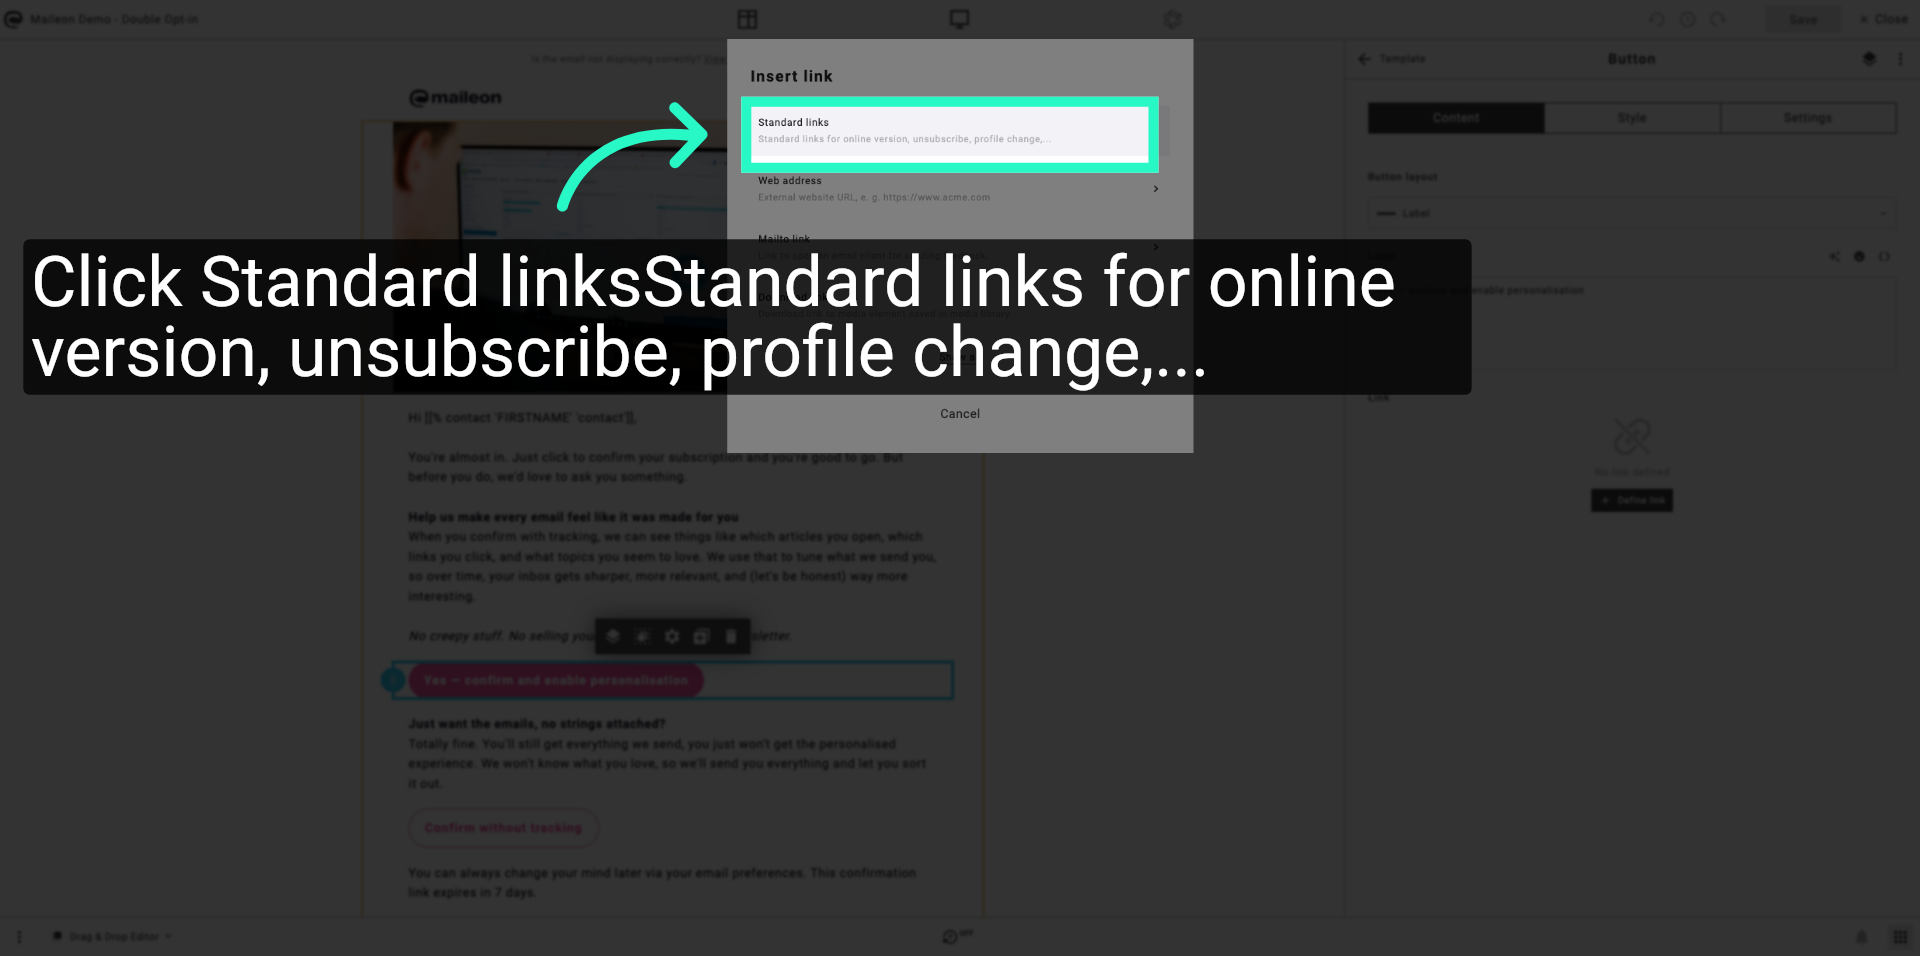
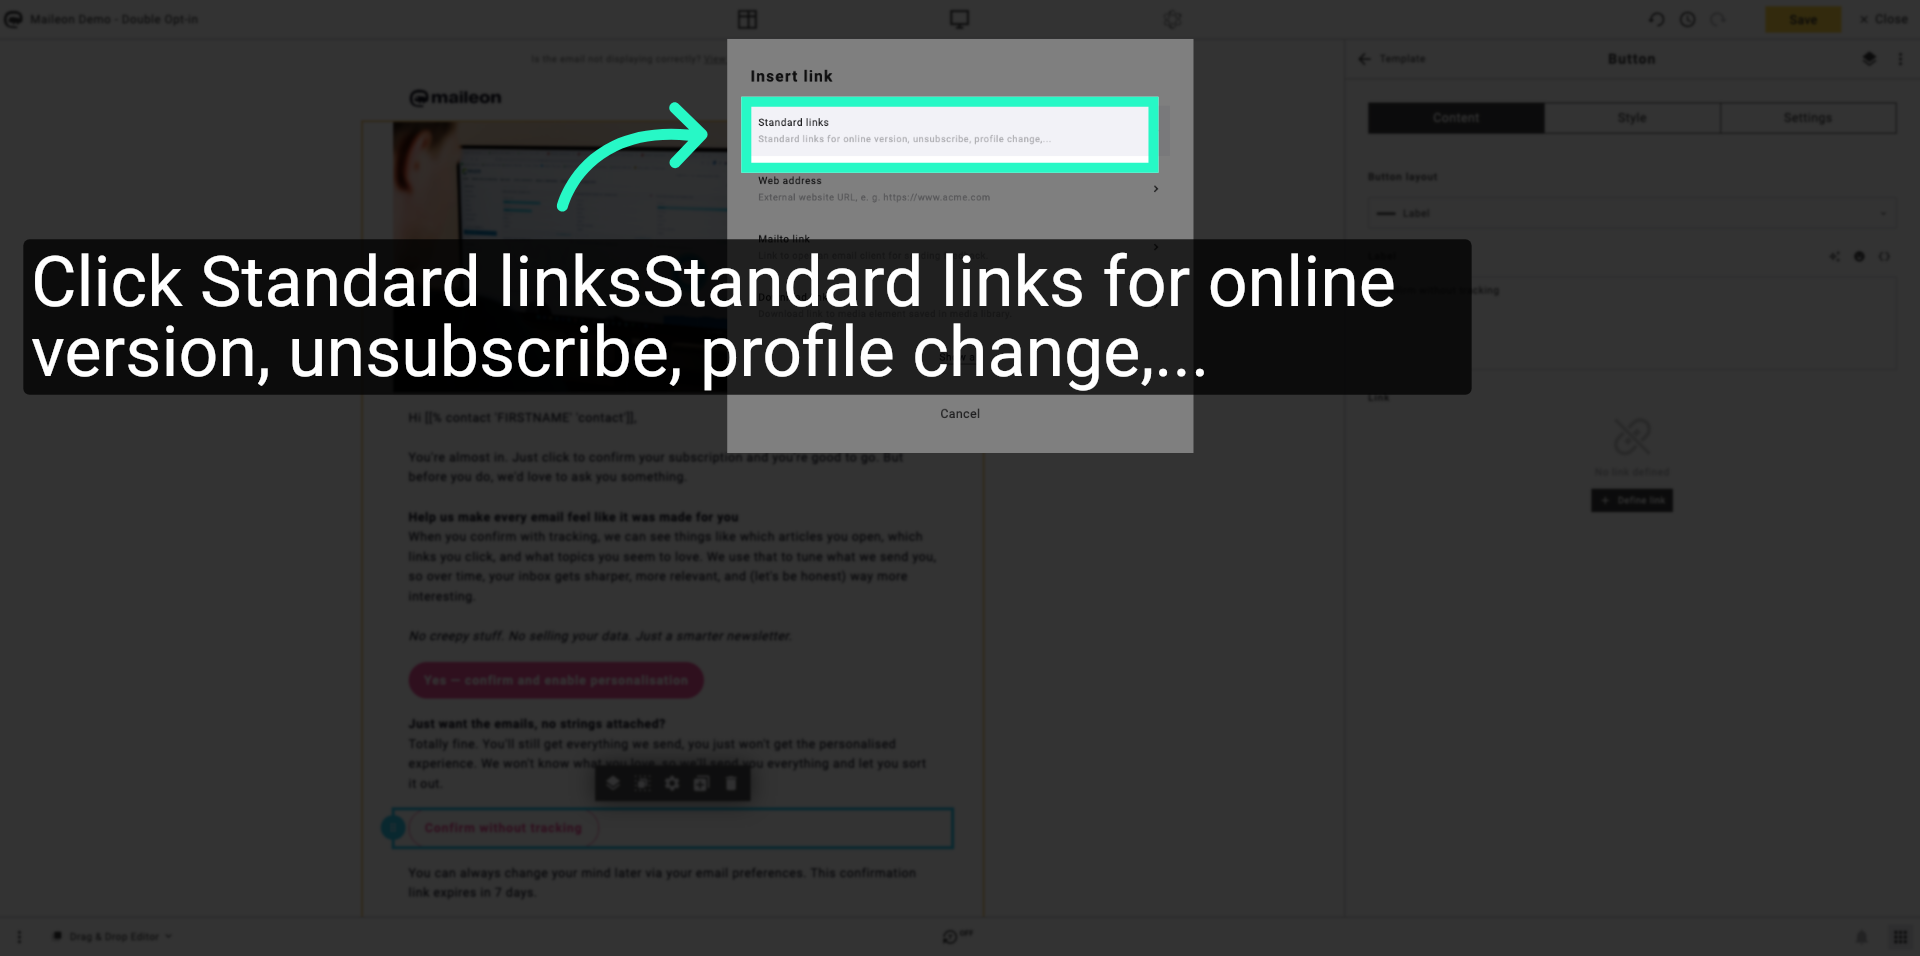
9. Select Standard Links Option
Click Standard linksStandard links for online version, unsubscribe, profile change,... to manage default link settings.
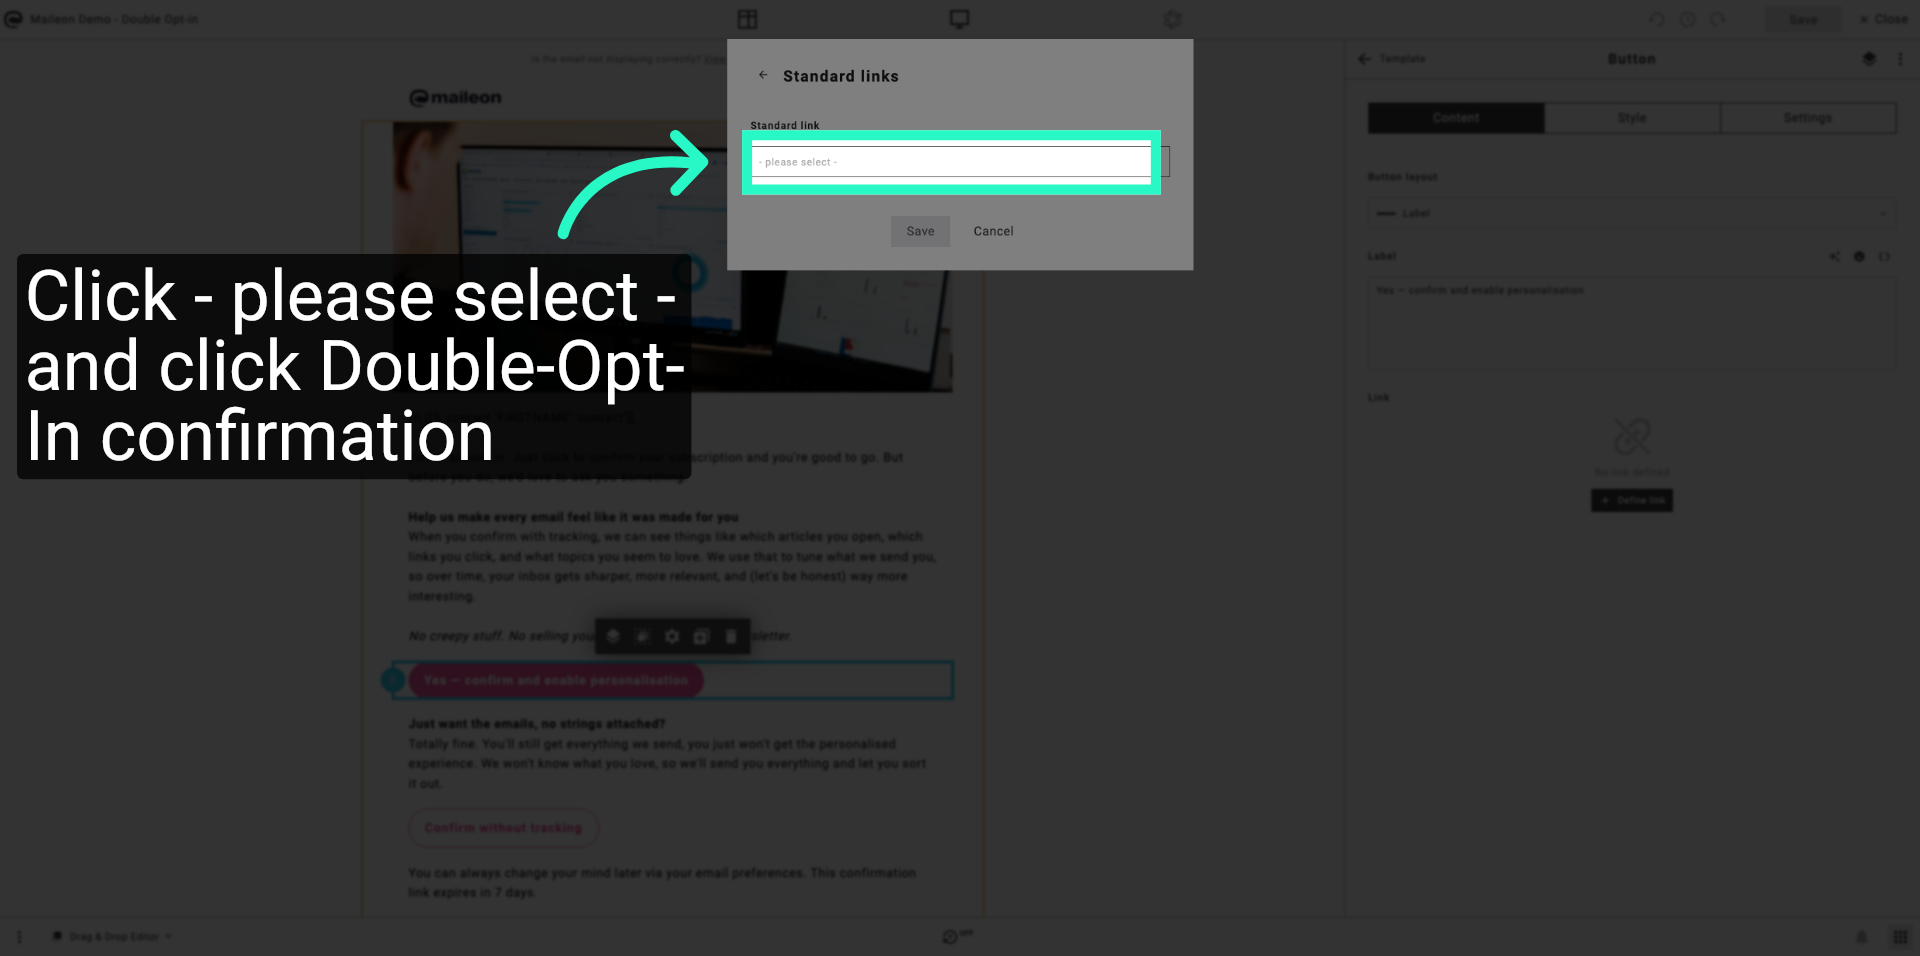
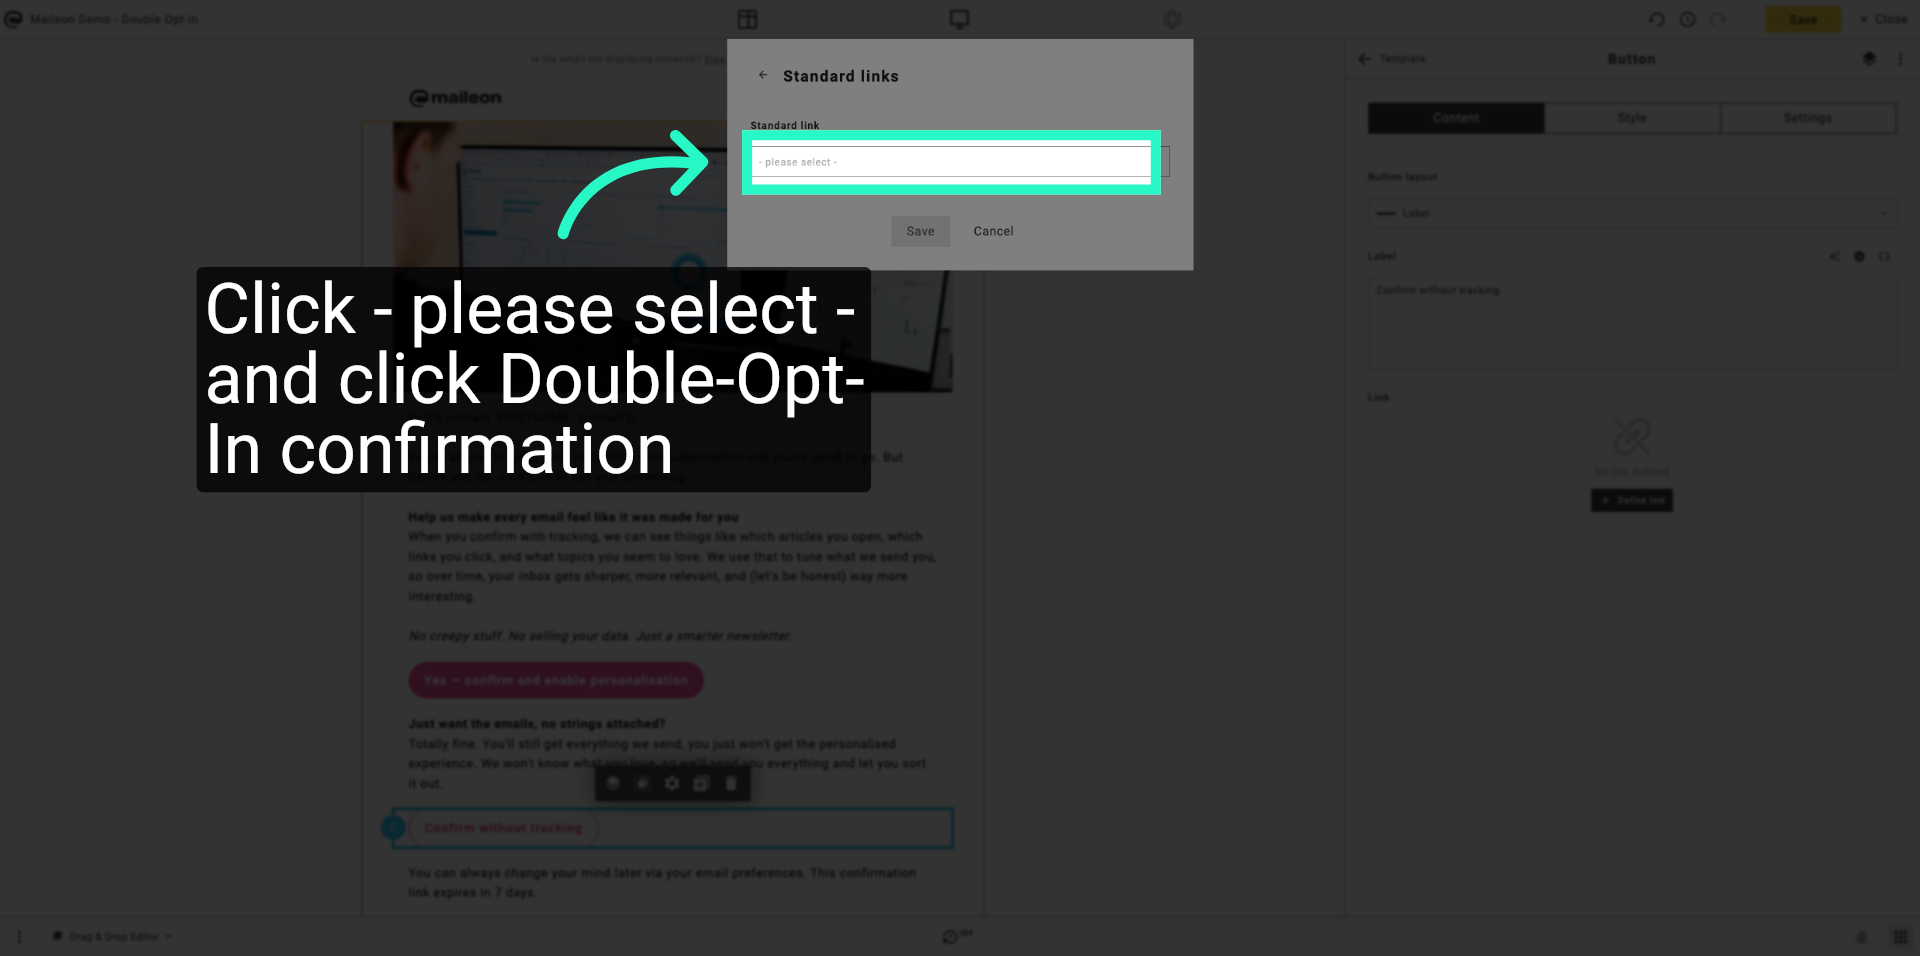
10. Choose Link Selection Dropdown
Click - please select - to open the dropdown menu for link selection.
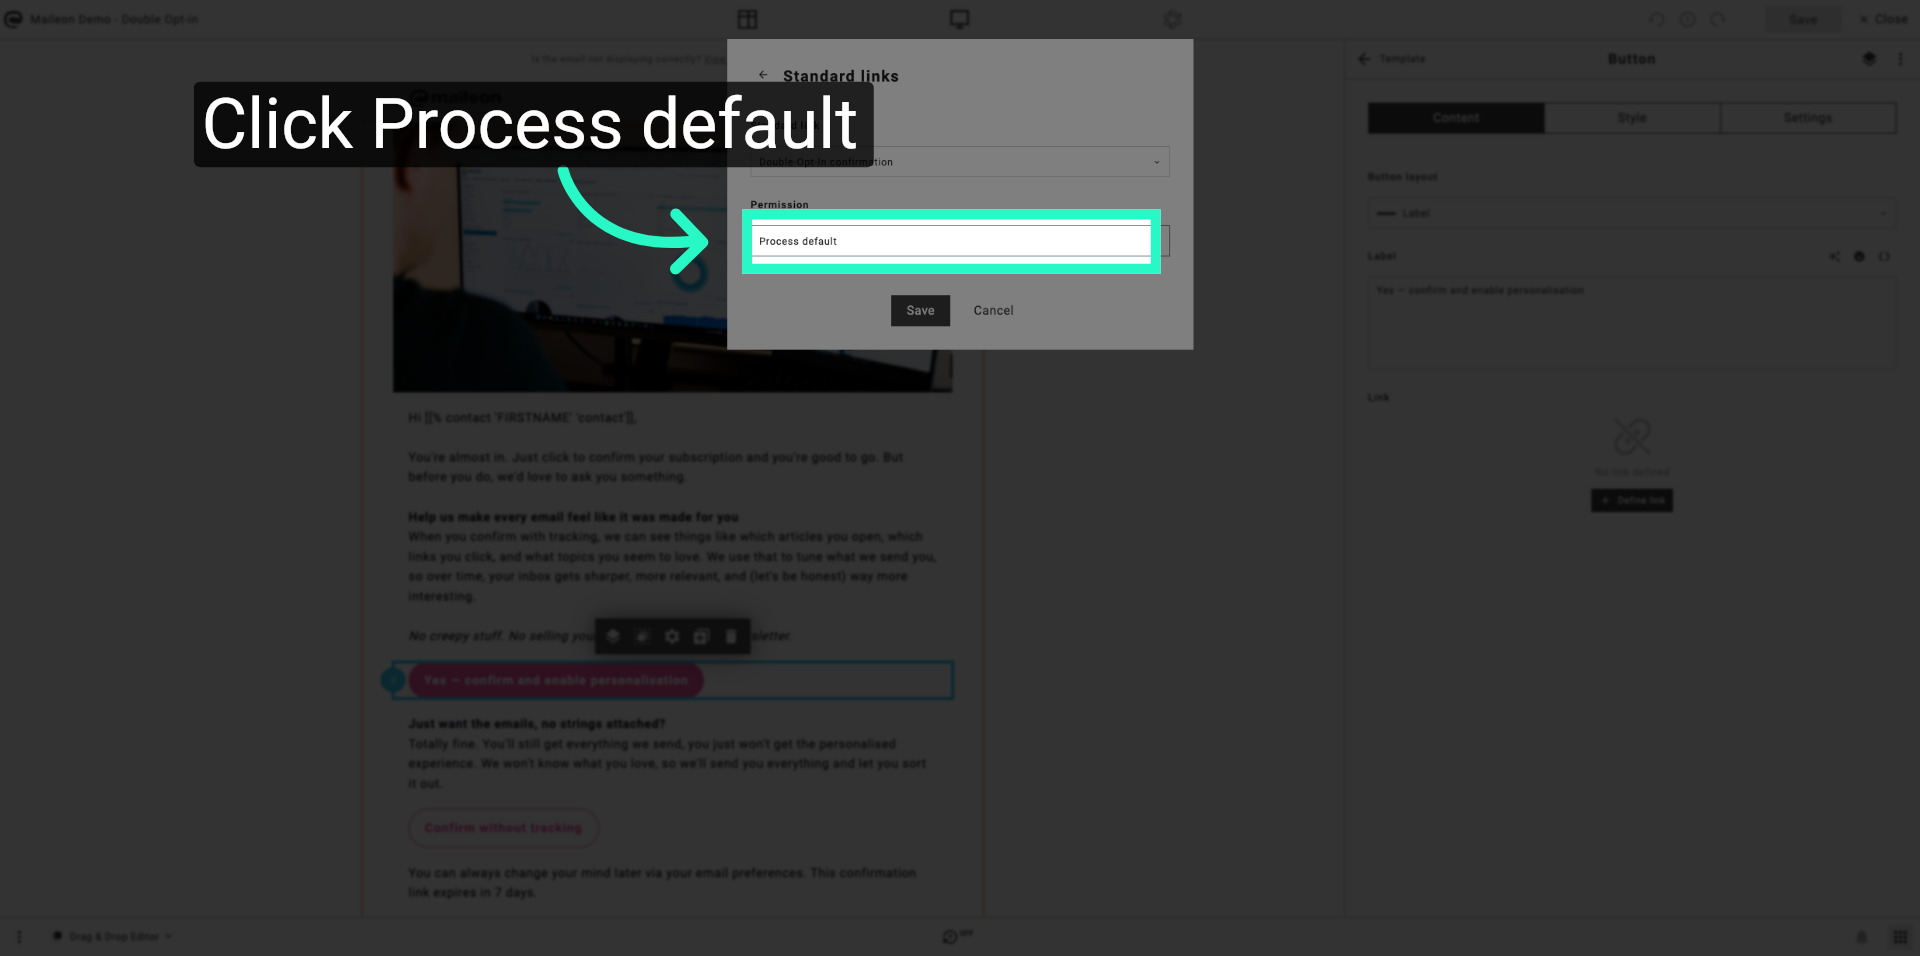
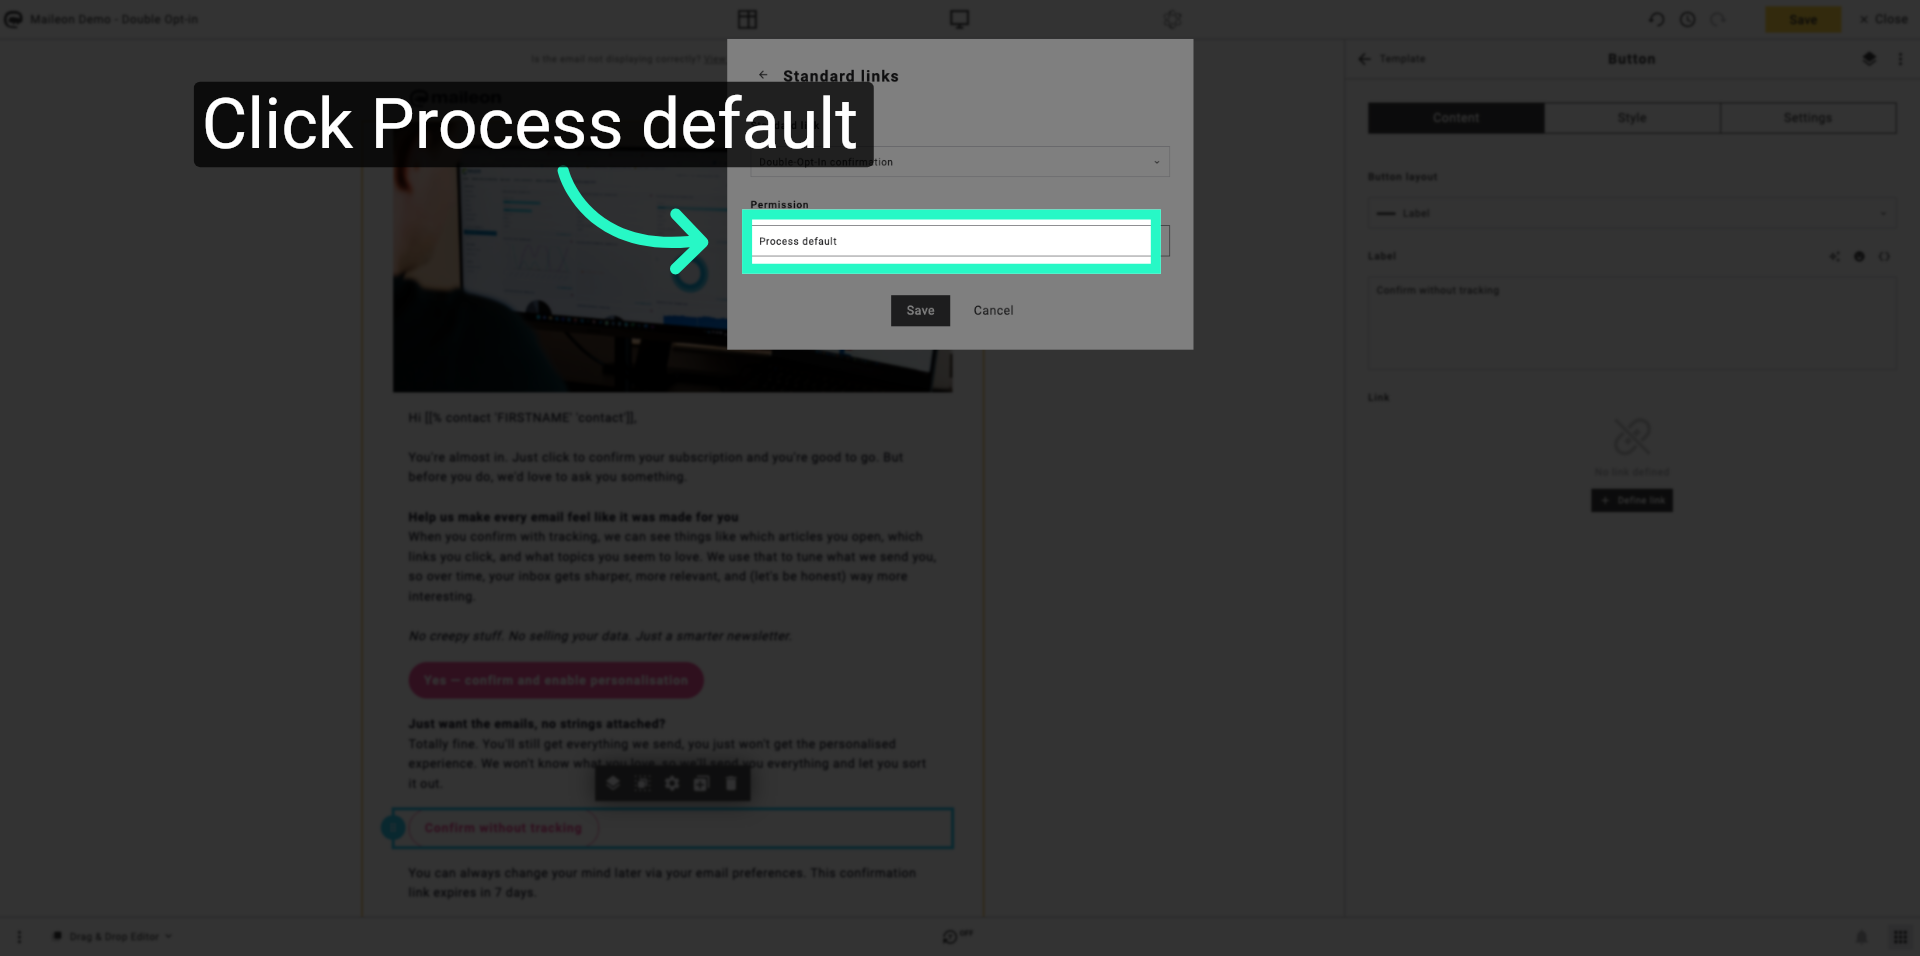
11. Open Process Default Settings
Click Process default to configure the default processing options for your campaign.
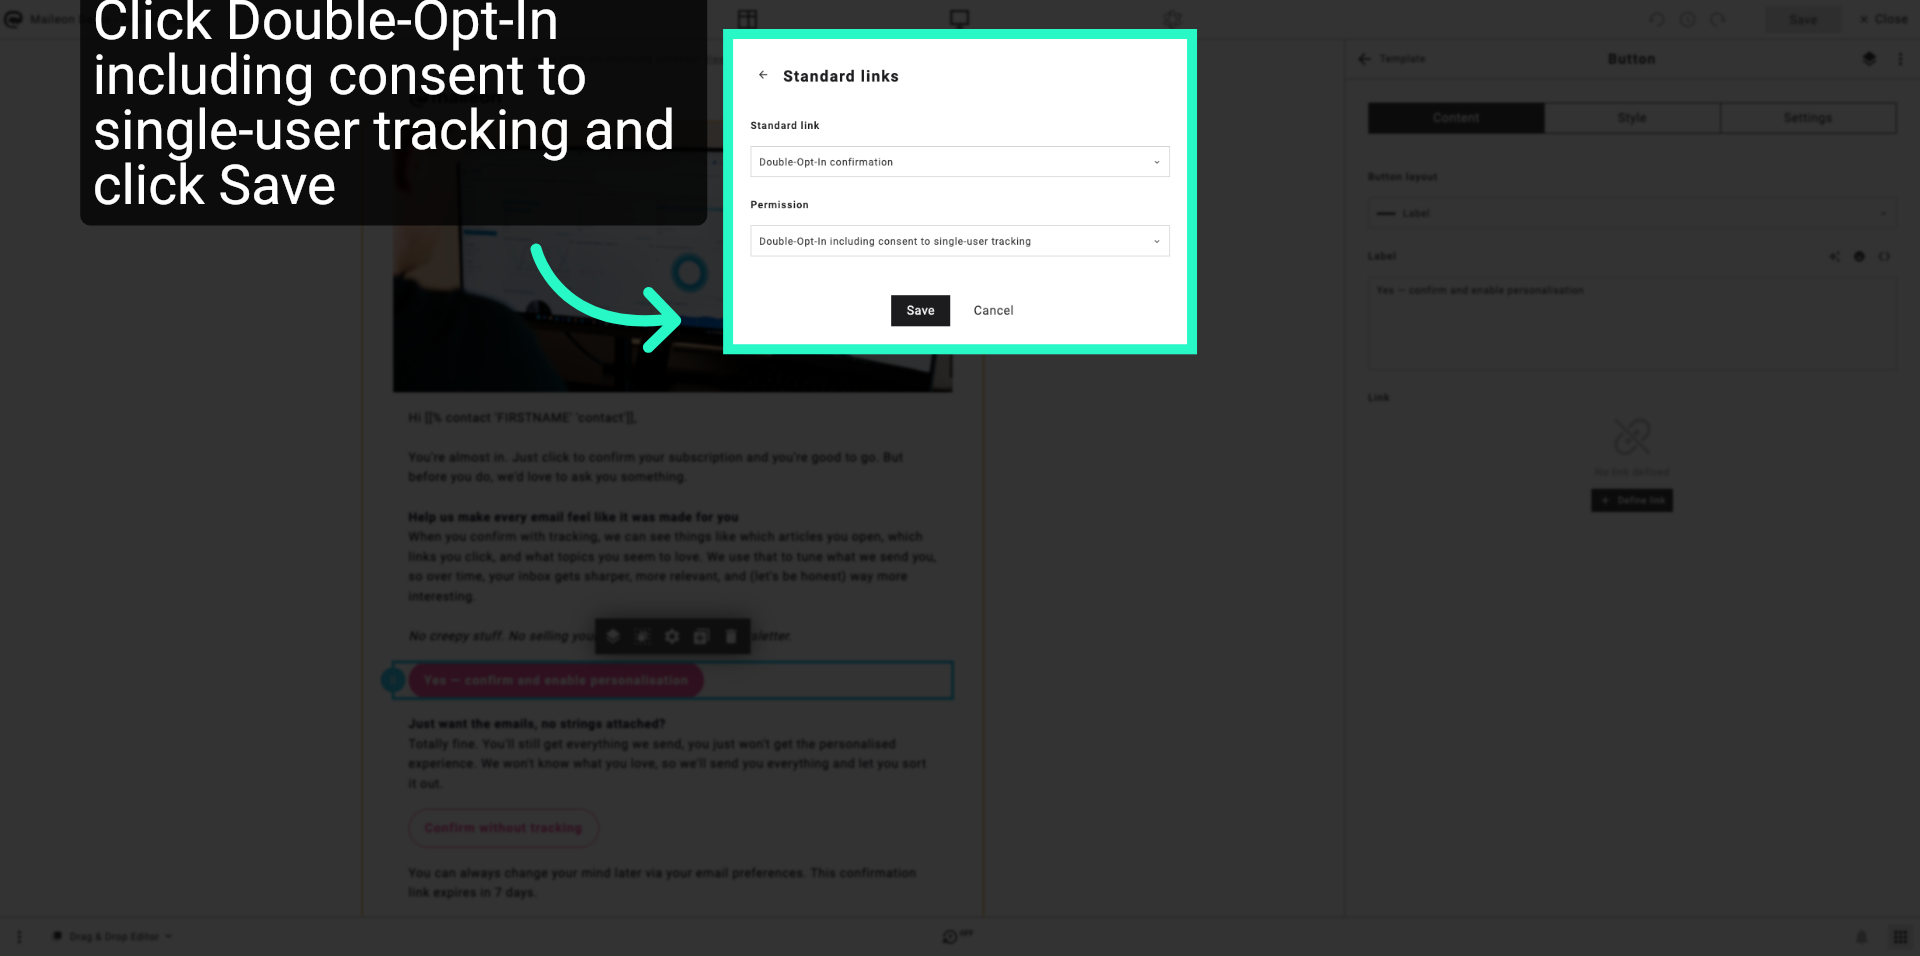
12. Click Double-Opt-In including consent to single-user tracking and click Save
Click Save to apply the changes made to the tracking consent configuration.
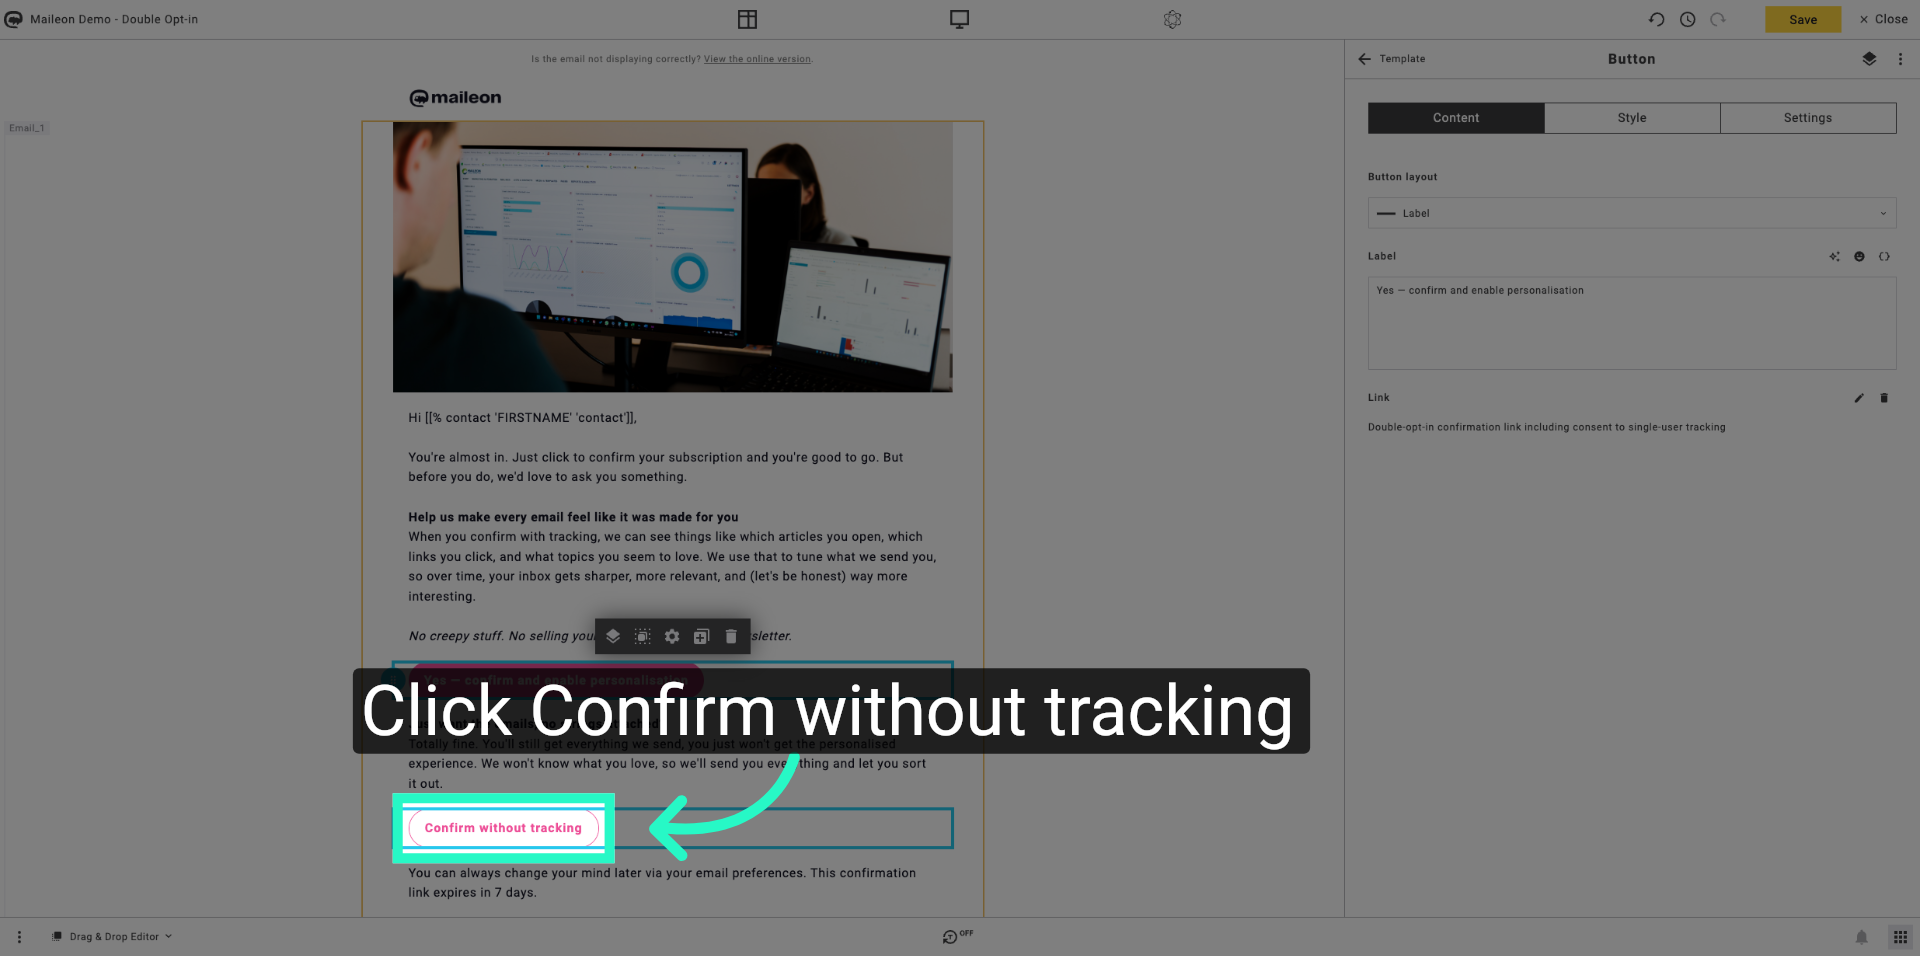
13. Confirm Without Tracking
Click Confirm without tracking to proceed with confirmation settings that exclude single-user tracking.
14. Access Standard Links Again
Click here to revisit the standard links configuration for further adjustments.
15. Select Standard Links Option Again
Click Standard linksStandard links for online version, unsubscribe, profile change,... to manage the standard links once more.
16. Open Link Selection Dropdown Again
Click - please select - to open the dropdown menu for link selection again.
17. Open Process Default Settings Again
Click Process default to configure the default processing options again.
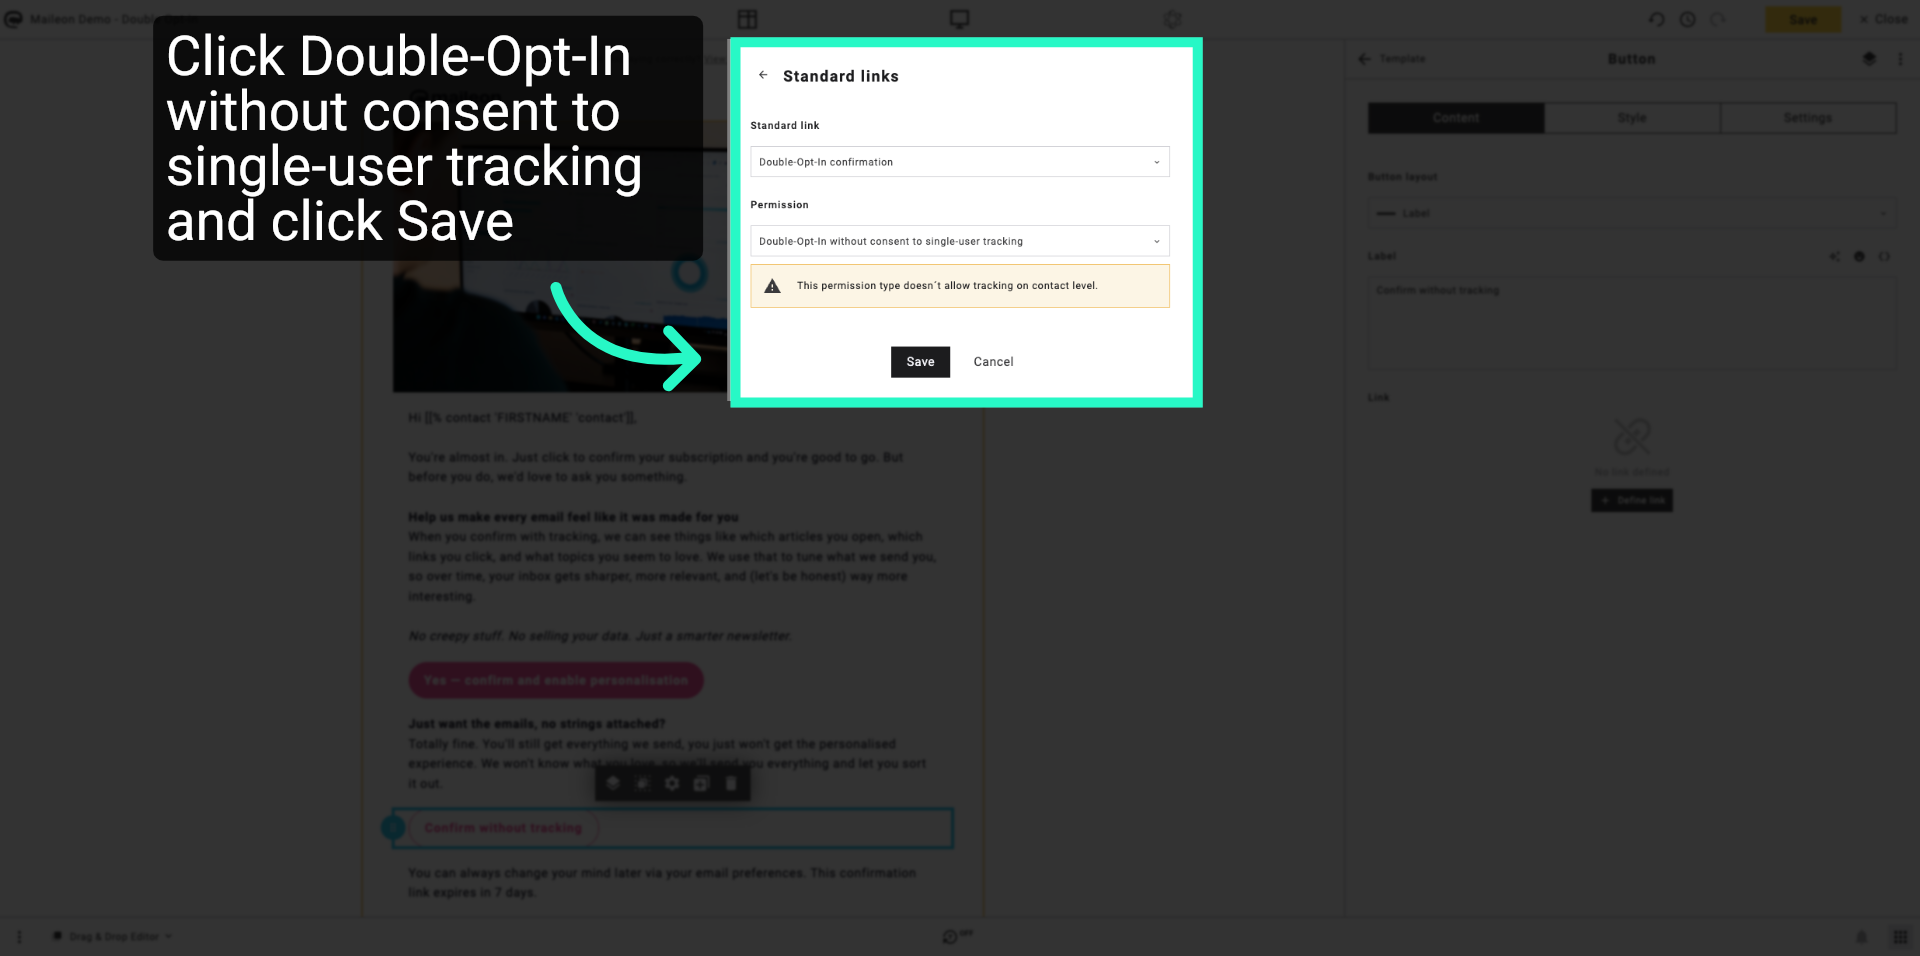
18. Click Double-Opt-In without consent to single-user tracking and click Save
Click Save to apply the confirmation settings without tracking consent.
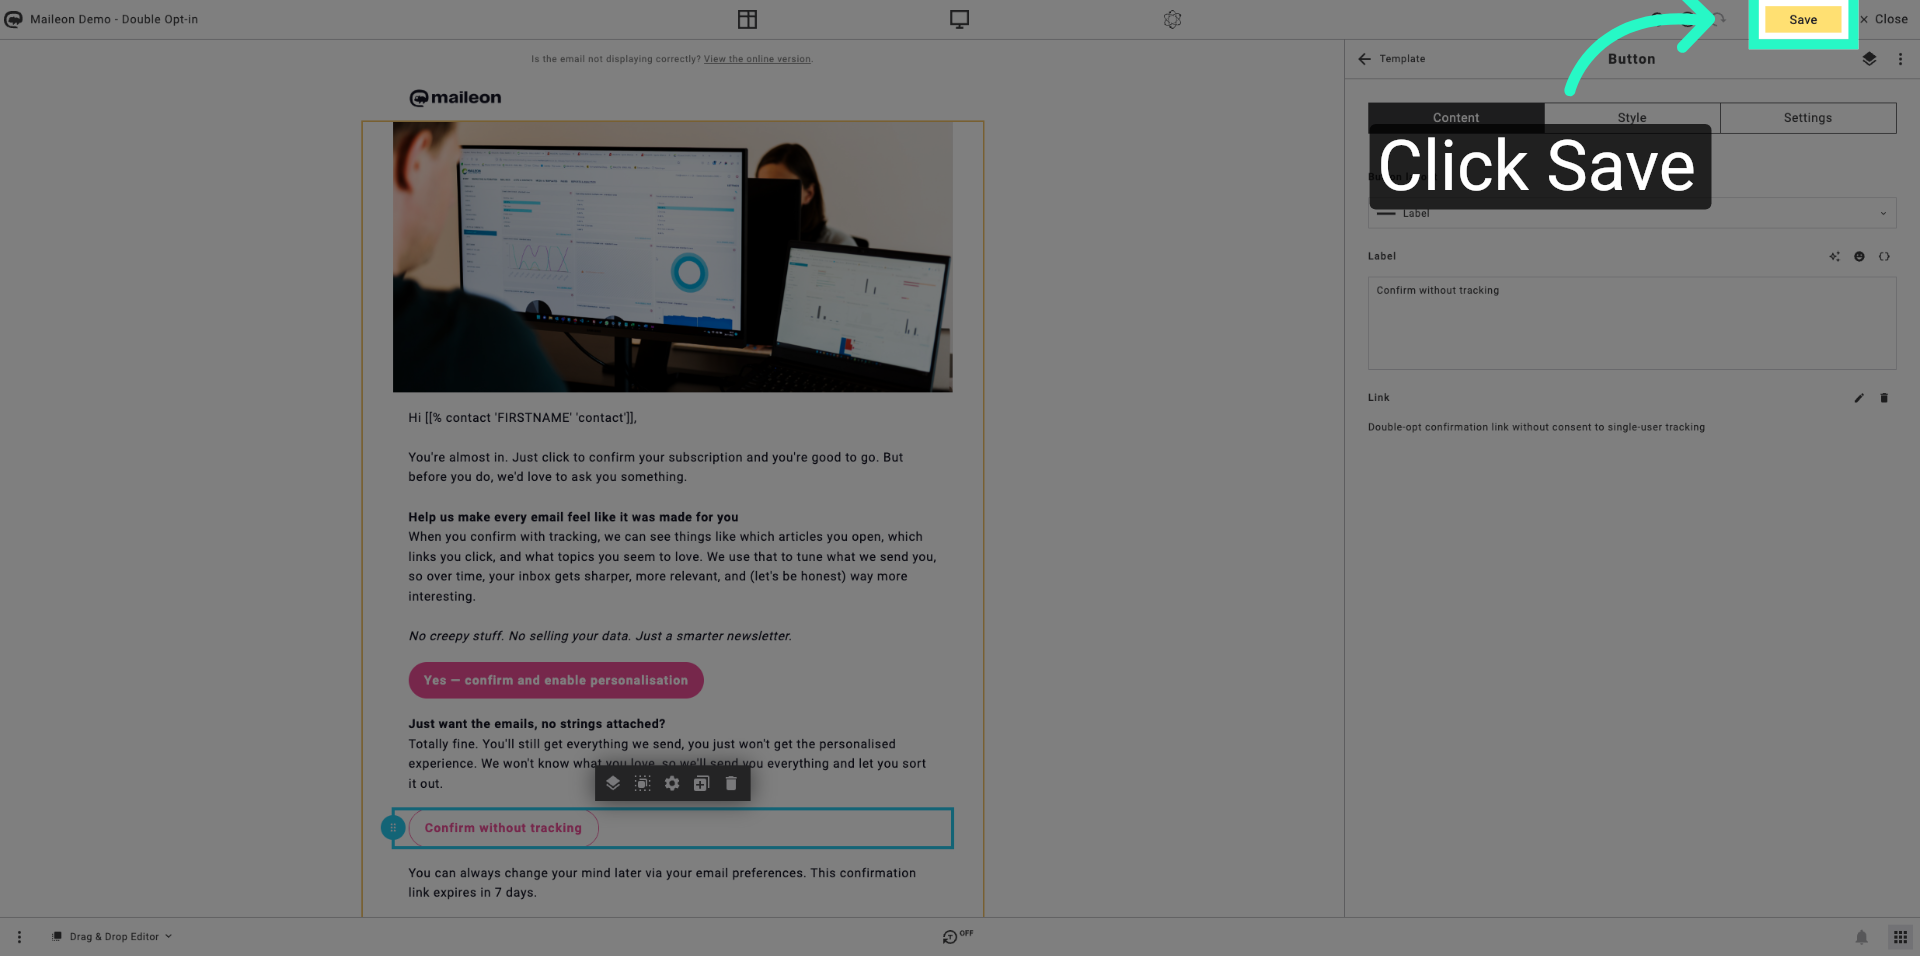
19. Save All Changes
Click Save to finalise and save all changes made to the double opt-in campaign configuration.
20. Close Configuration Window
Click Close to exit the double opt-in configuration interface and return to the main dashboard.

You have successfully configured the double opt-in campaign settings in Maileon, including enabling personalisation and selecting appropriate confirmation processes. You can now proceed to test your campaign or adjust other campaign parameters as needed.