This tutorial guides you through creating and configuring a countdown timer in Maileon.
⚠️ This feature first needs to be enabled by your account manager / partner.
Go to maileon-benelux-maileon-de.maileon.com
1. Introduction
You will learn how to set up the timer, customise its appearance, and integrate it into your campaign.
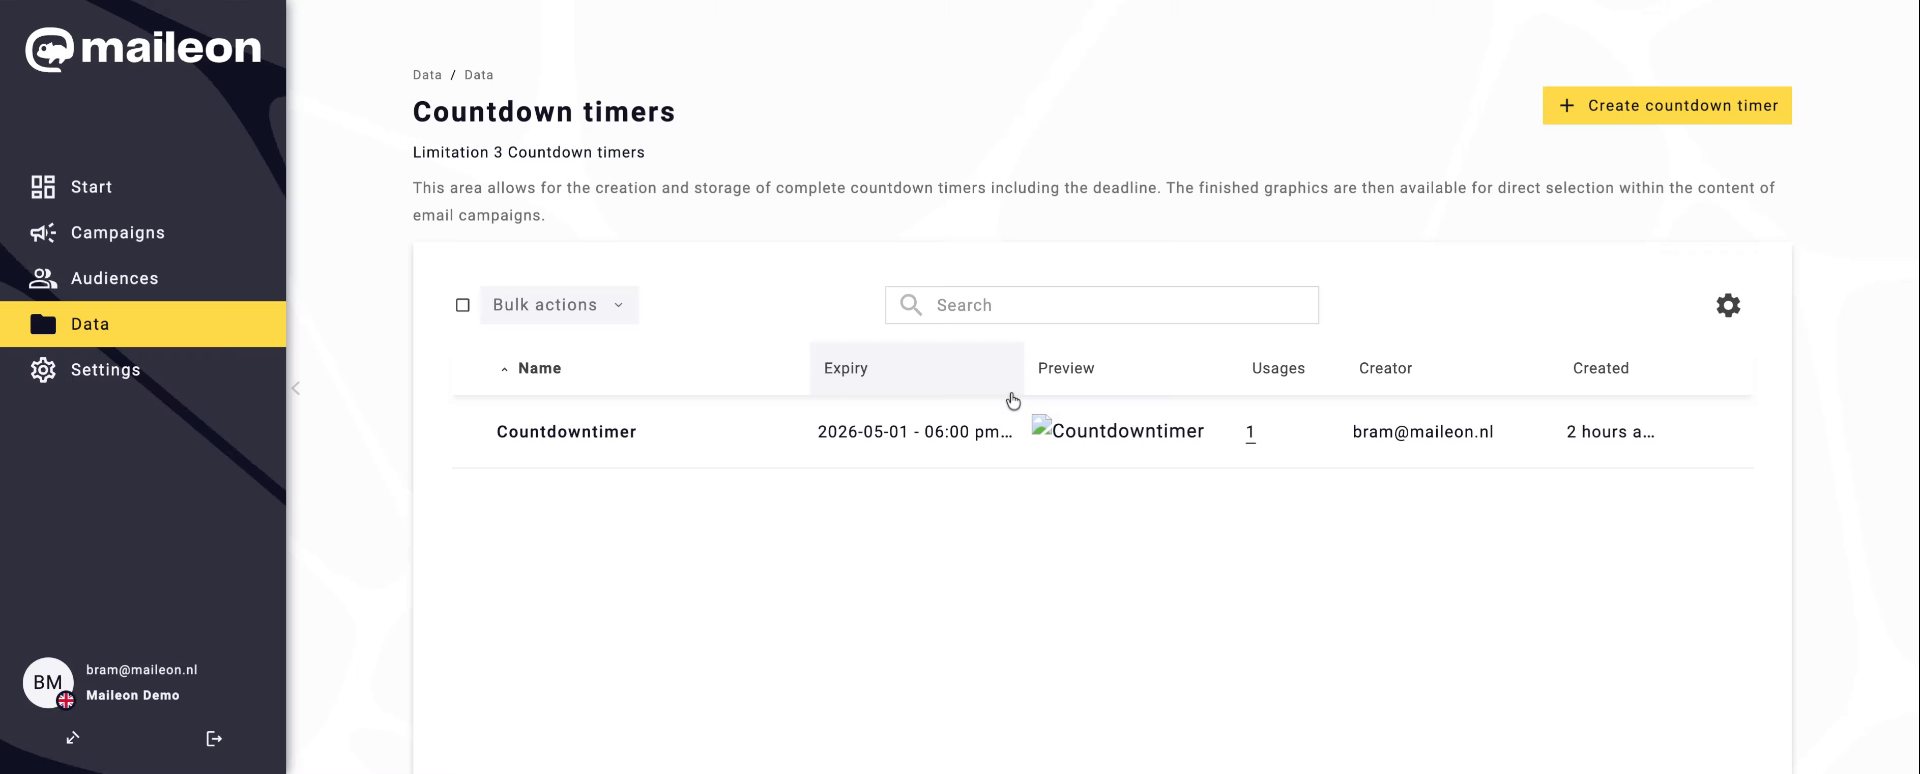
2. Initiate Countdown Timer Creation
Click "Create countdown timer" to start setting up a new countdown timer in Maileon.

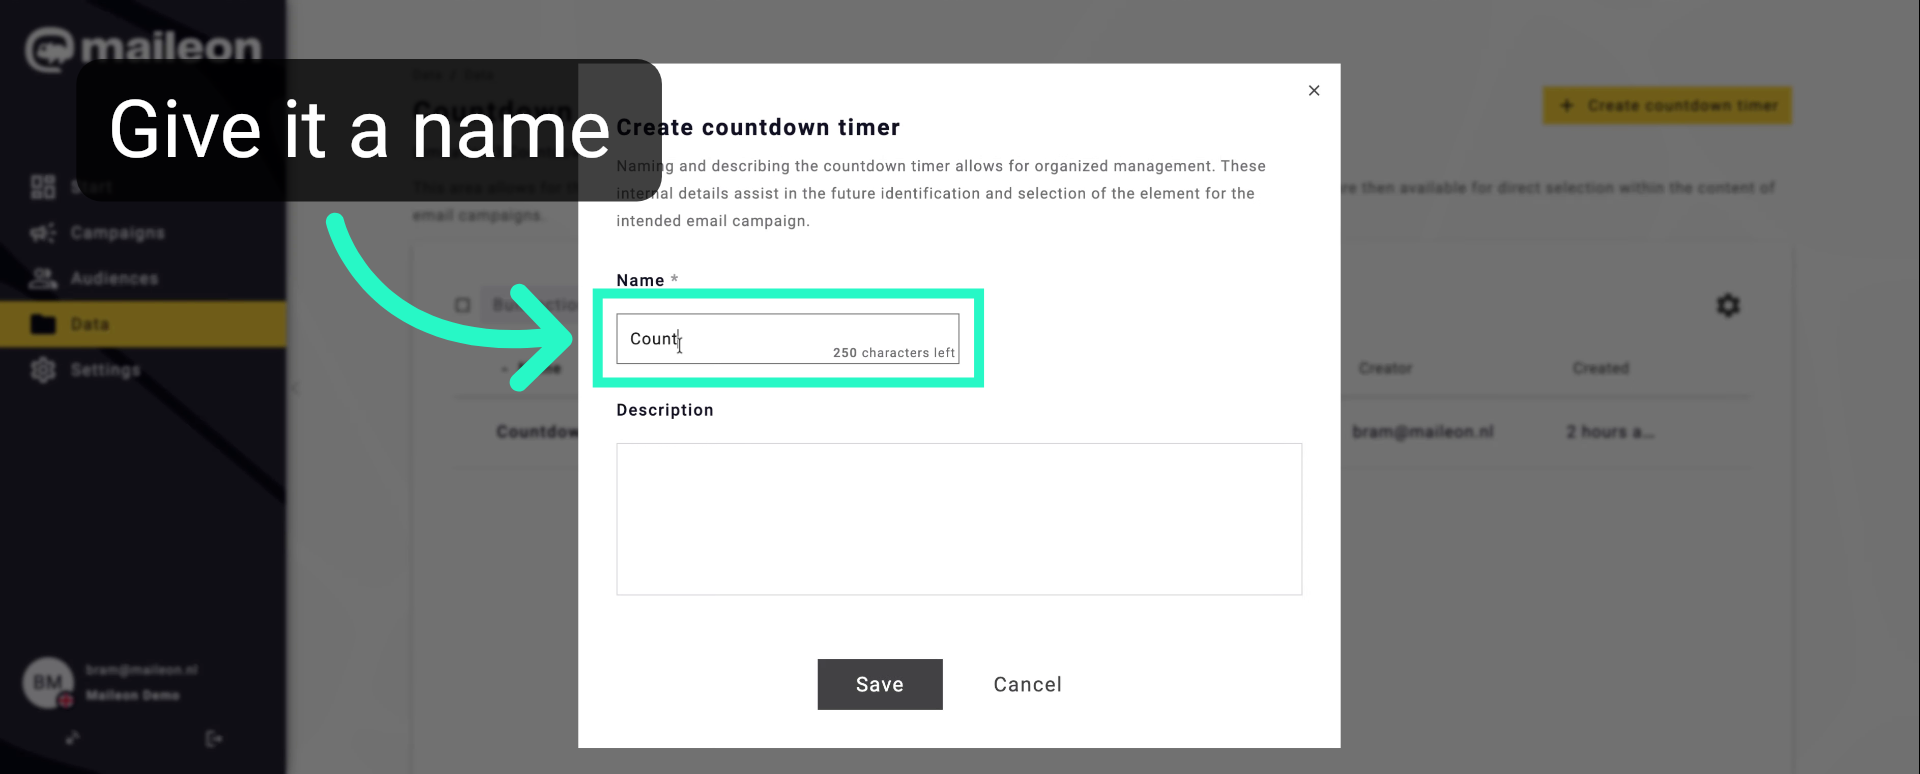
3. Enter Timer Name
Fill "Countdown Timer v2" as the name to identify your timer version.
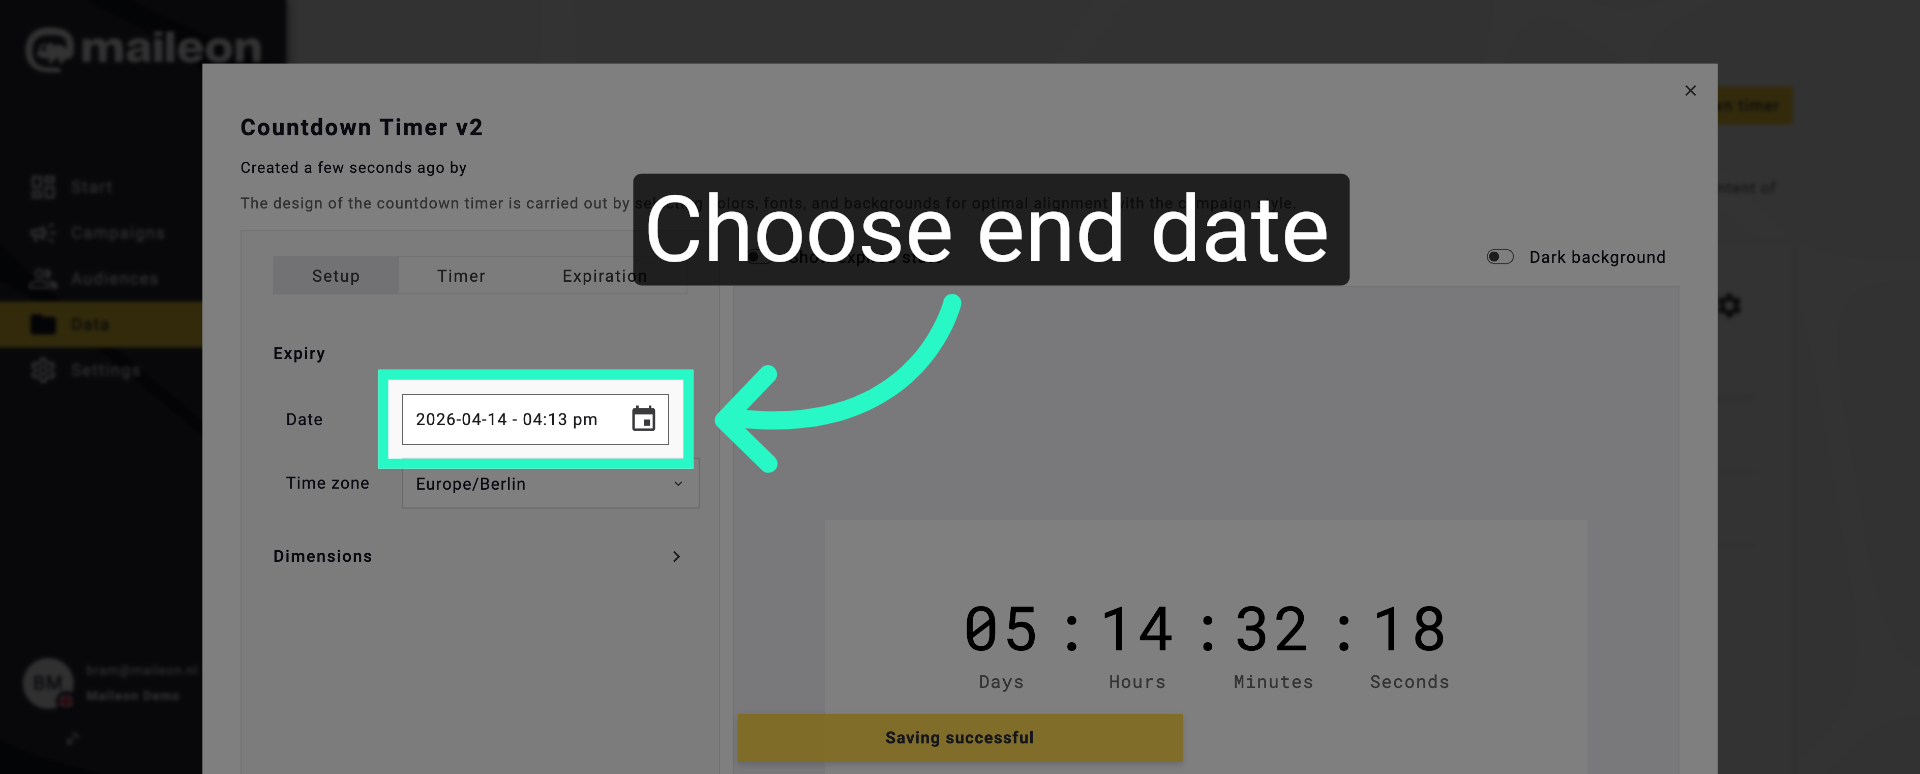
4. Select Timer End Date
Click "2026-04-14 - 04:13 pm" to choose the countdown timer's expiration date and time.
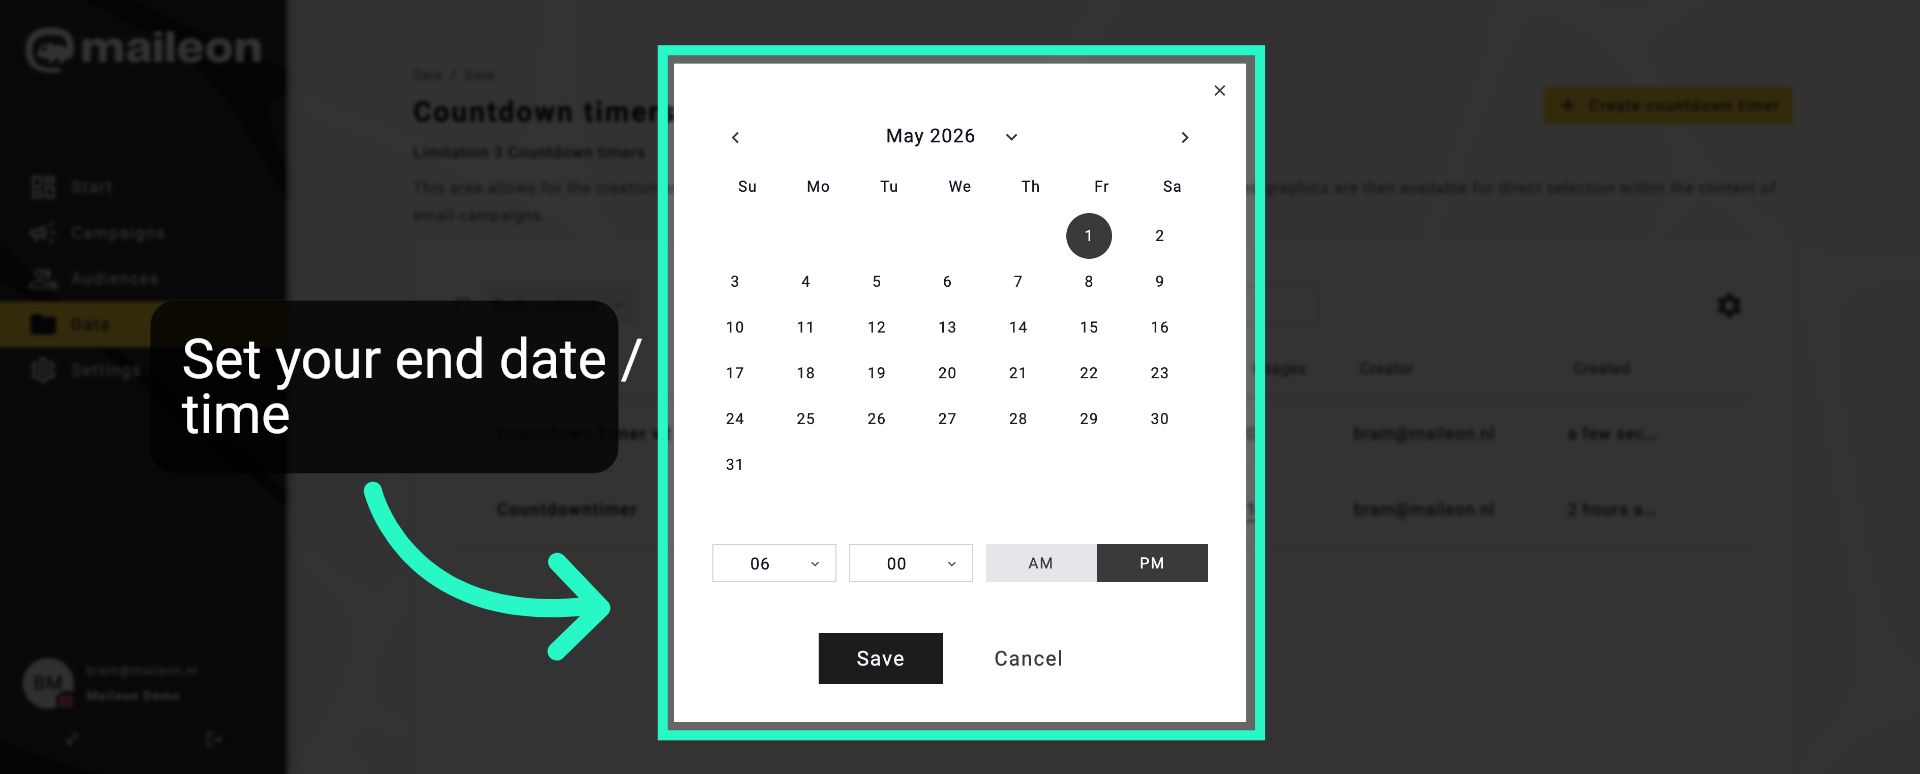
5. Save Timer Settings
Click "Save" to confirm the countdown timer's date and time settings.
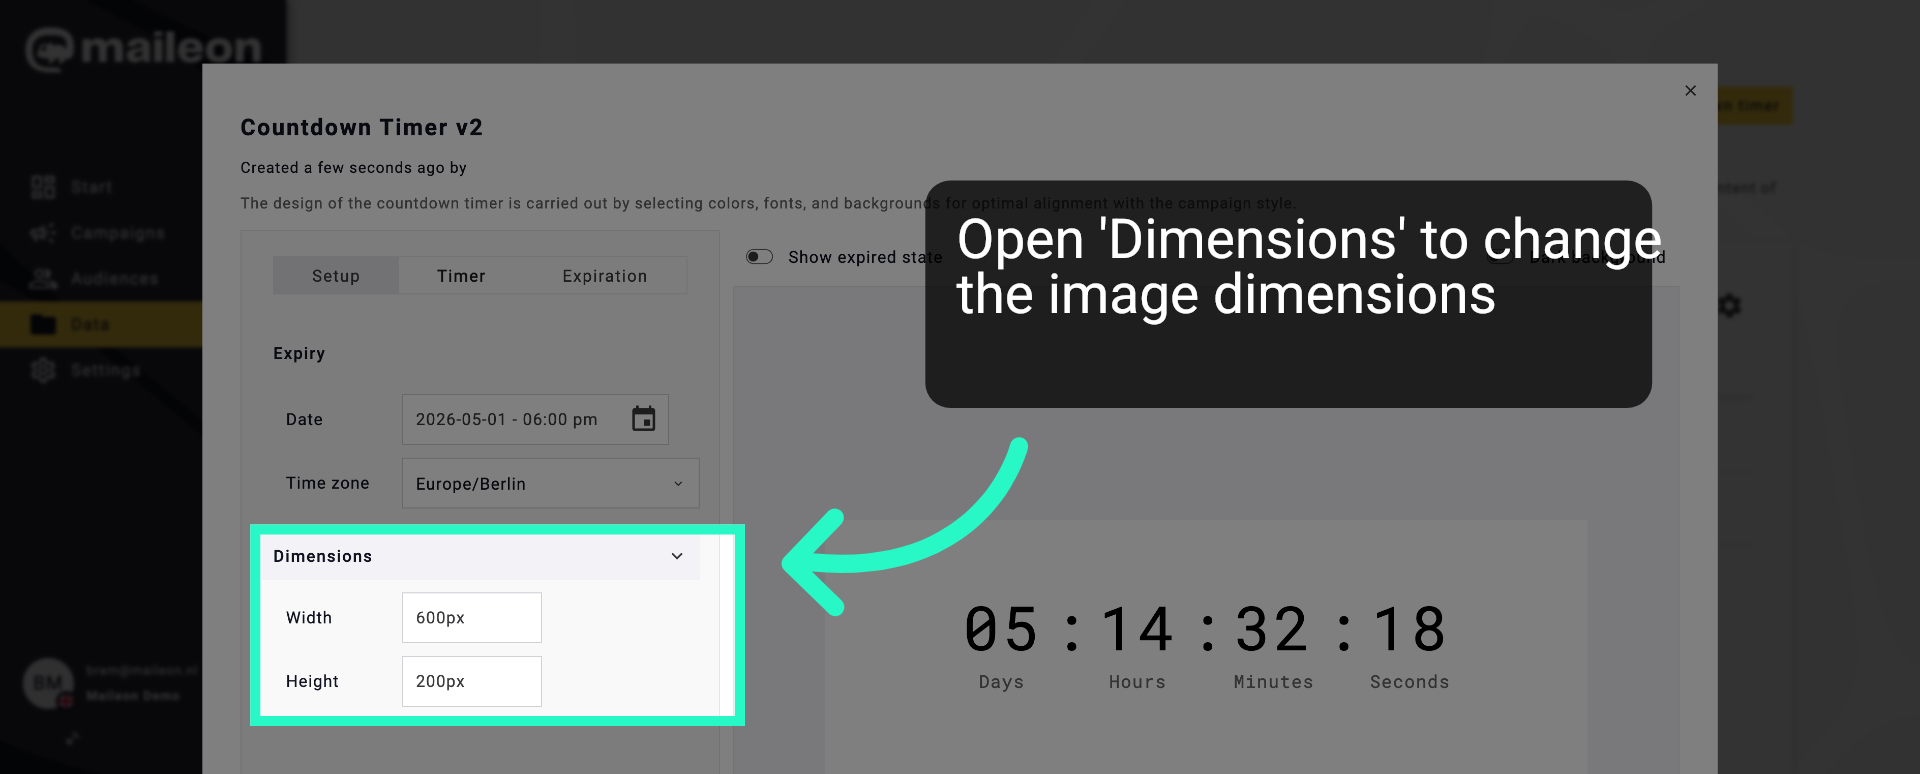
6. Access Dimensions Settings
Click "Timer" to configure specific timer display options.
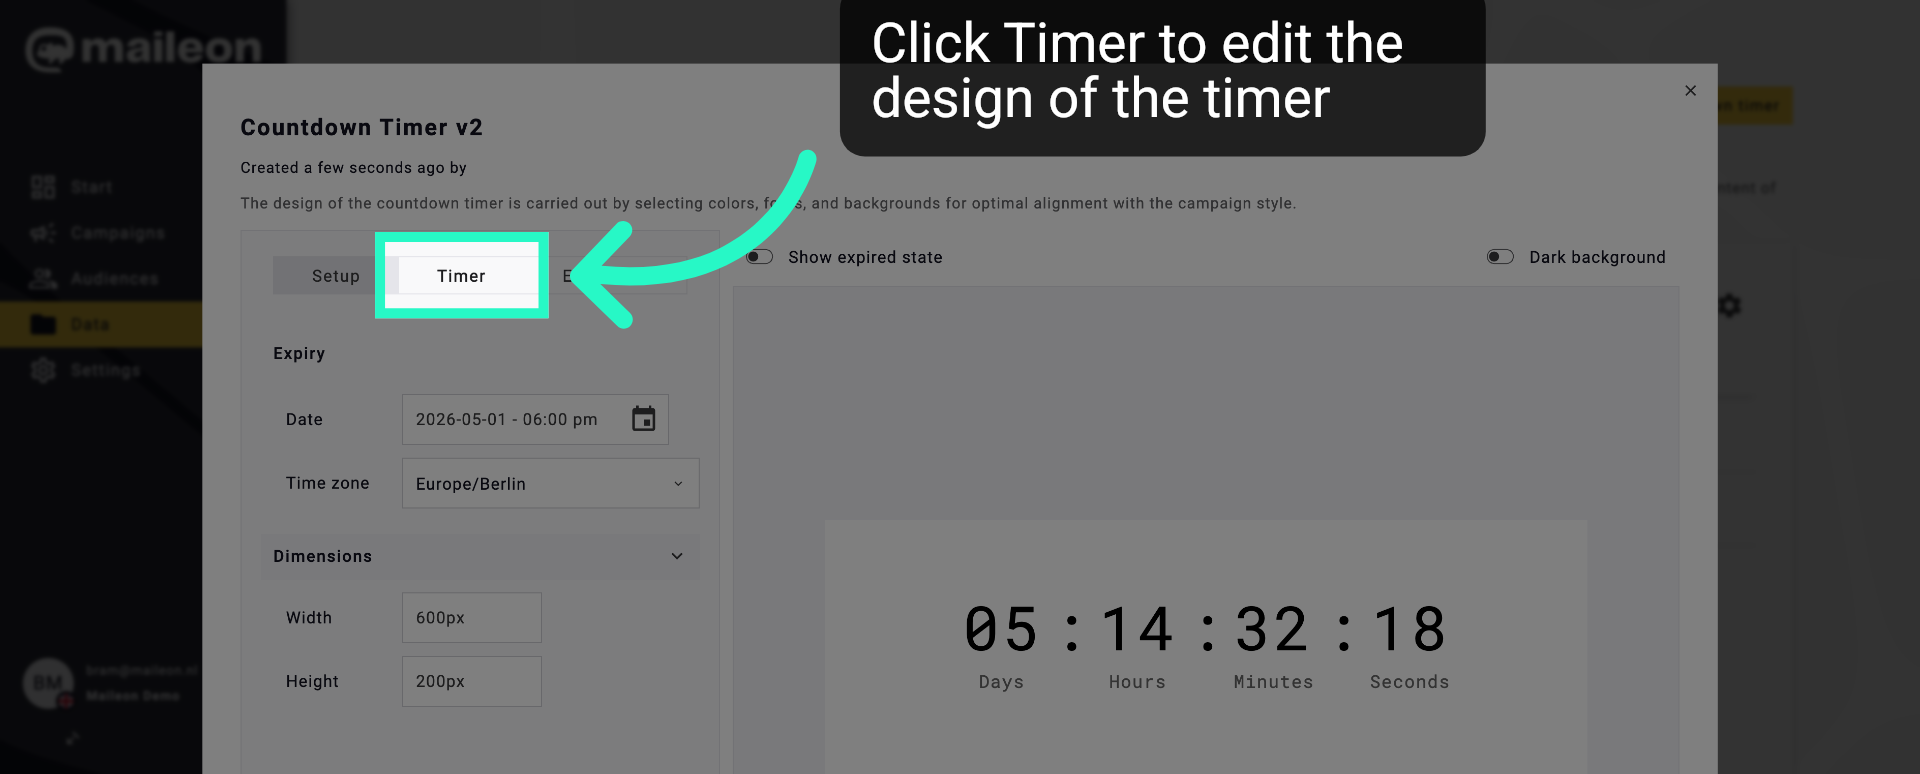
7. Select Timer Element
Click "Timer" to configure specific timer display options.
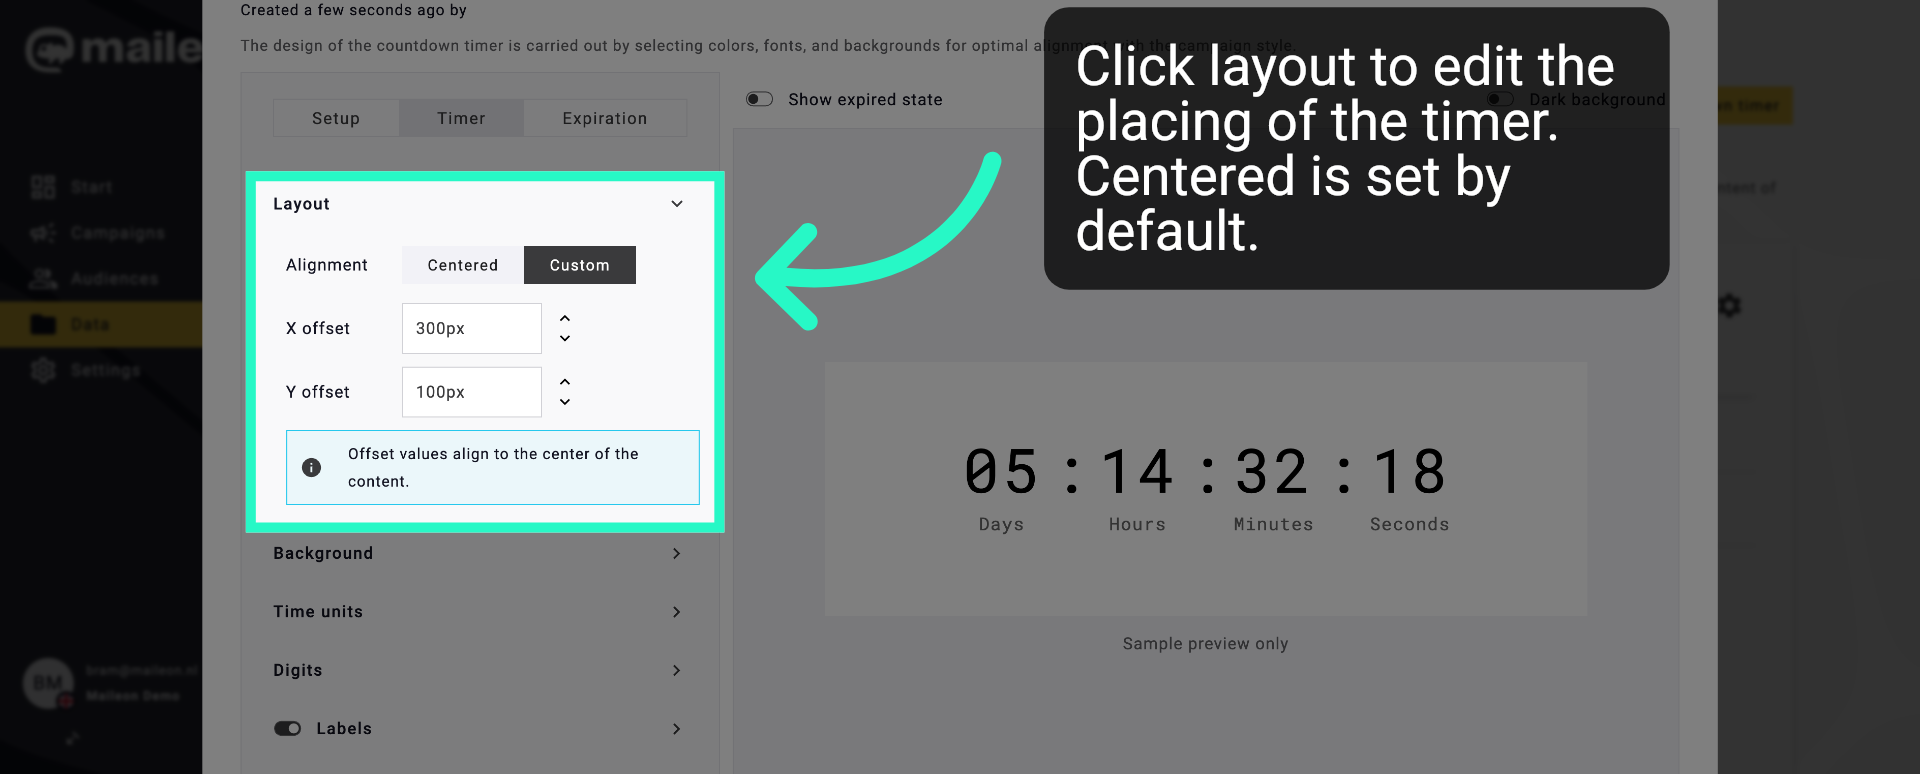
8. Set Layout Alignment
Click "Centered" to align the countdown timer centrally within its container.
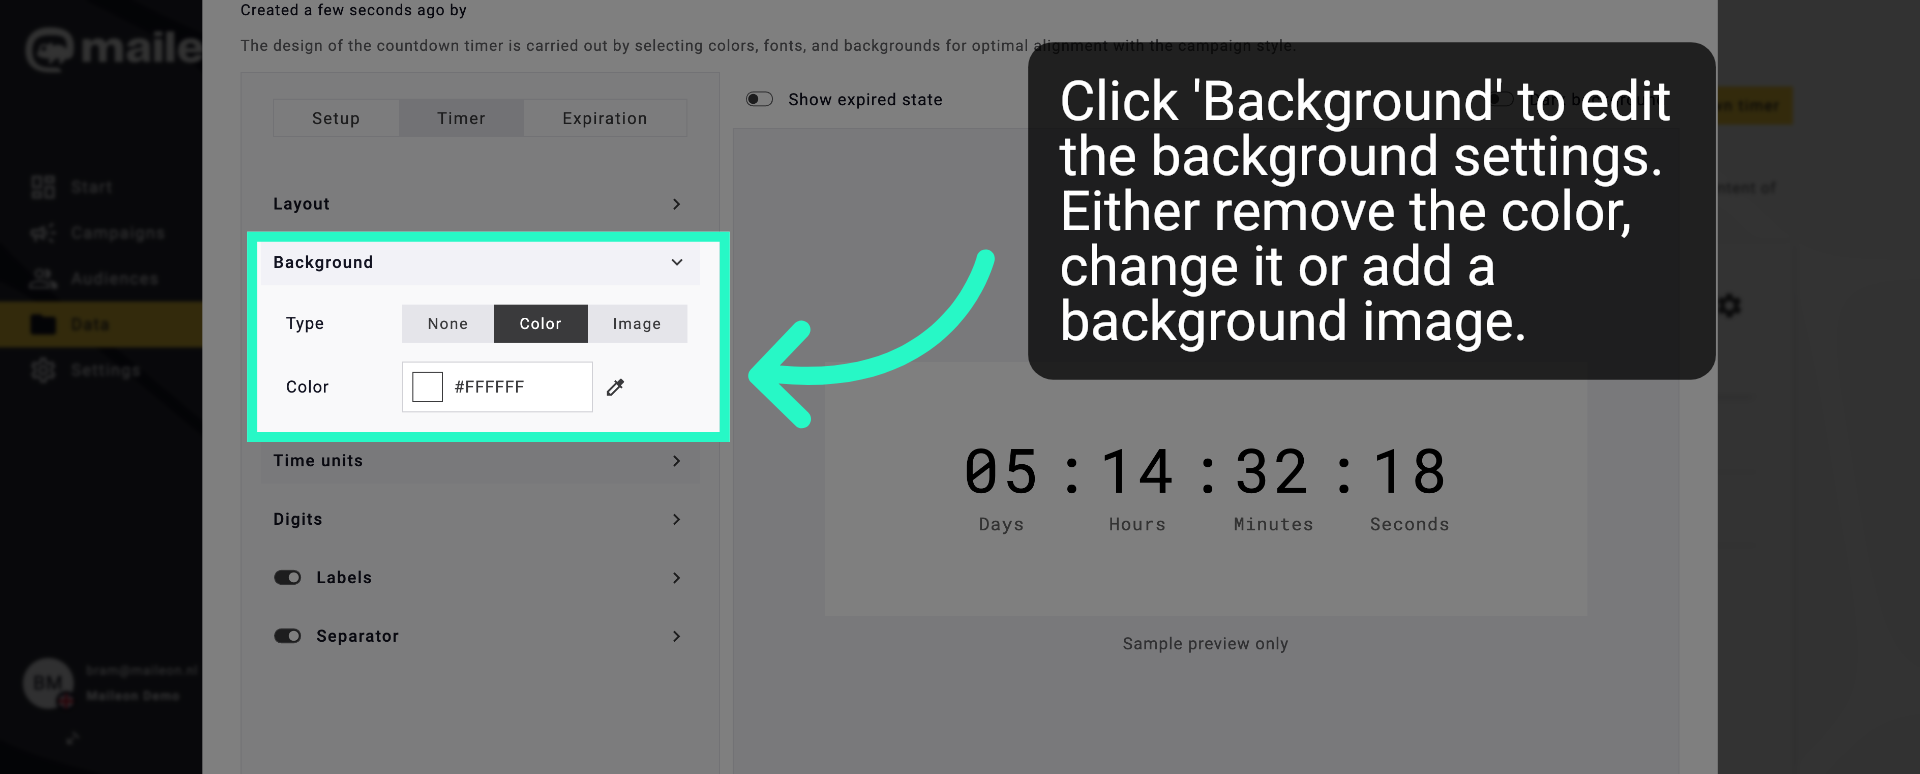
9. Configure Background
Click "Time units" to adjust which units (days, hours, minutes) are displayed.
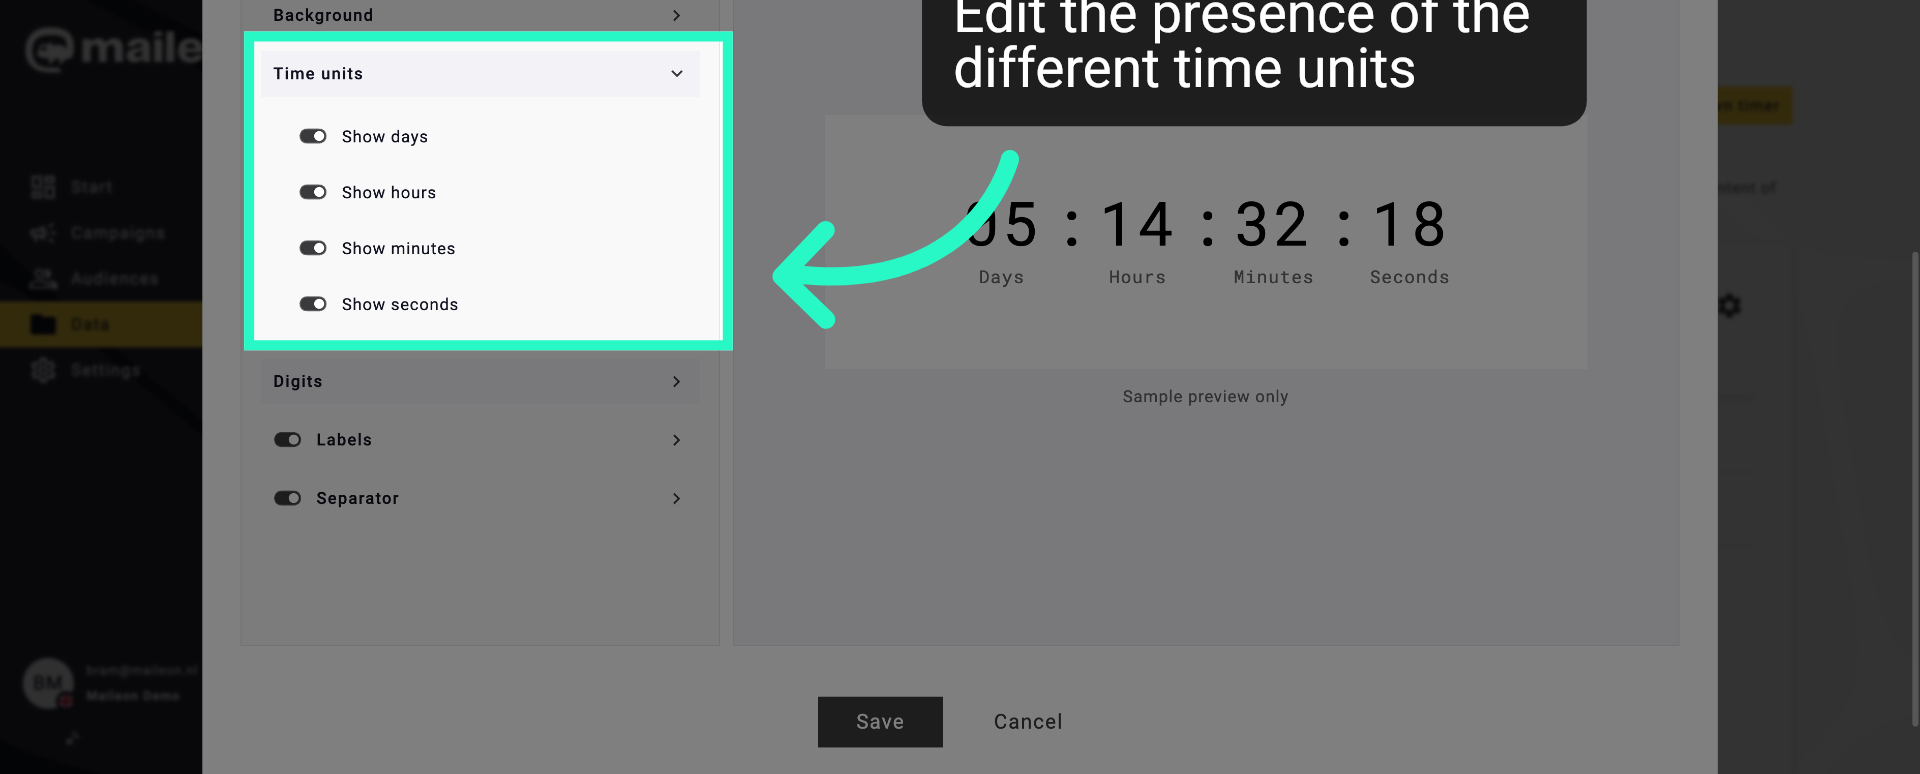
10. Configure Time Units
Click "Digits" to customise the appearance of the timer's numerical digits.
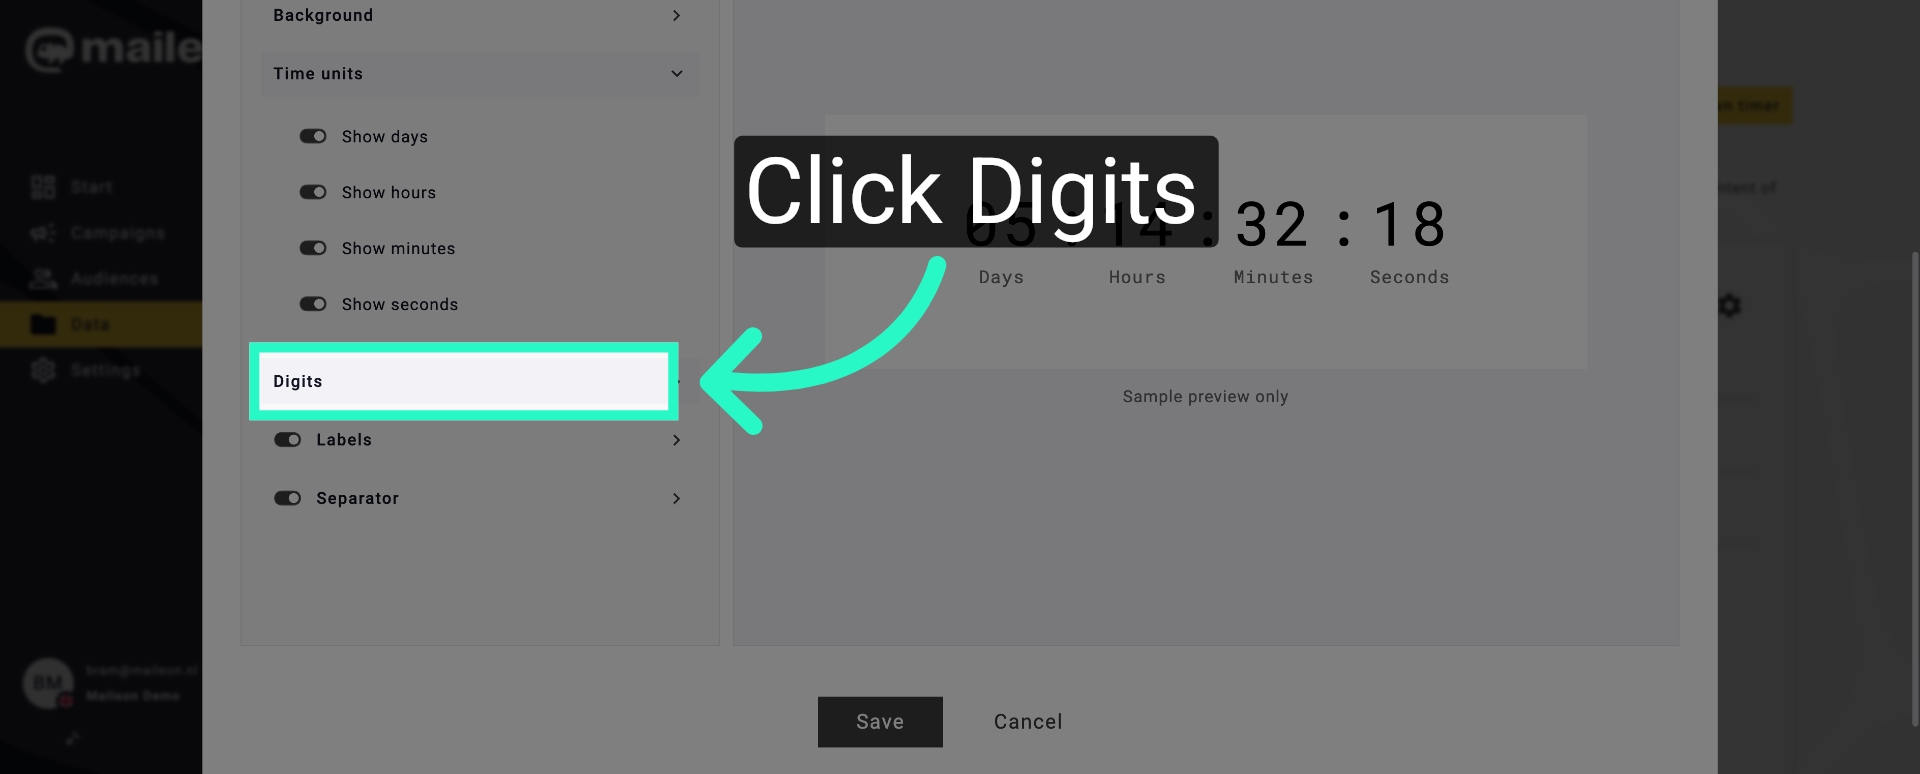
11. Adjust Digit Display
Click "Digits" to customise the appearance of the timer's numerical digits.
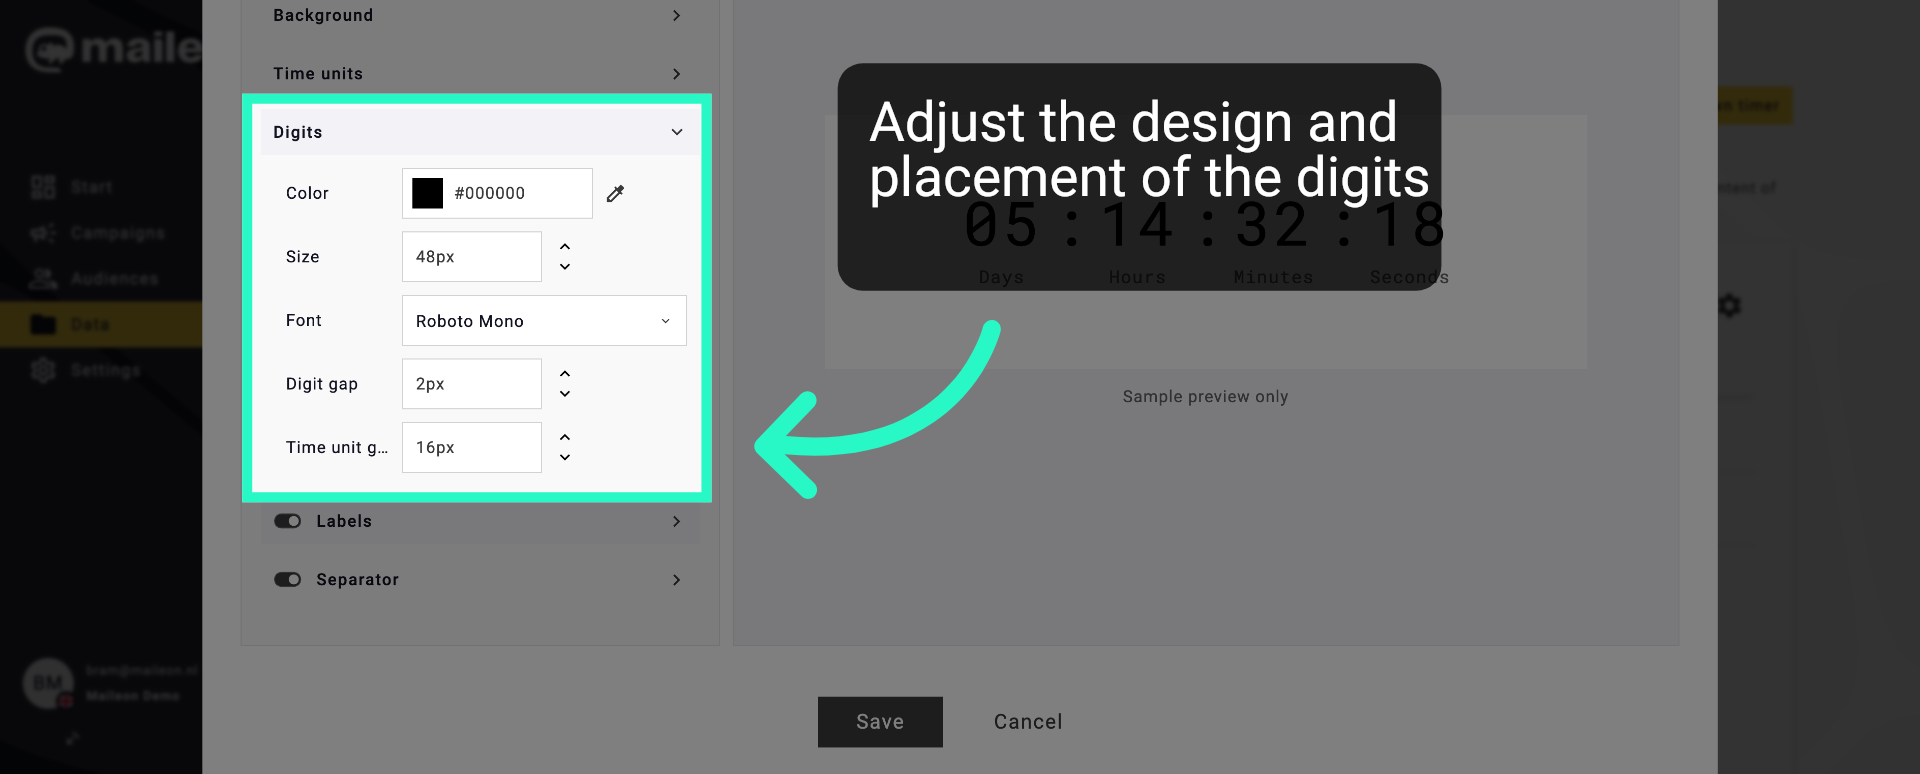
12. Adjust Digit Display
Click "Labels" to edit the text labels for time units on the countdown timer.
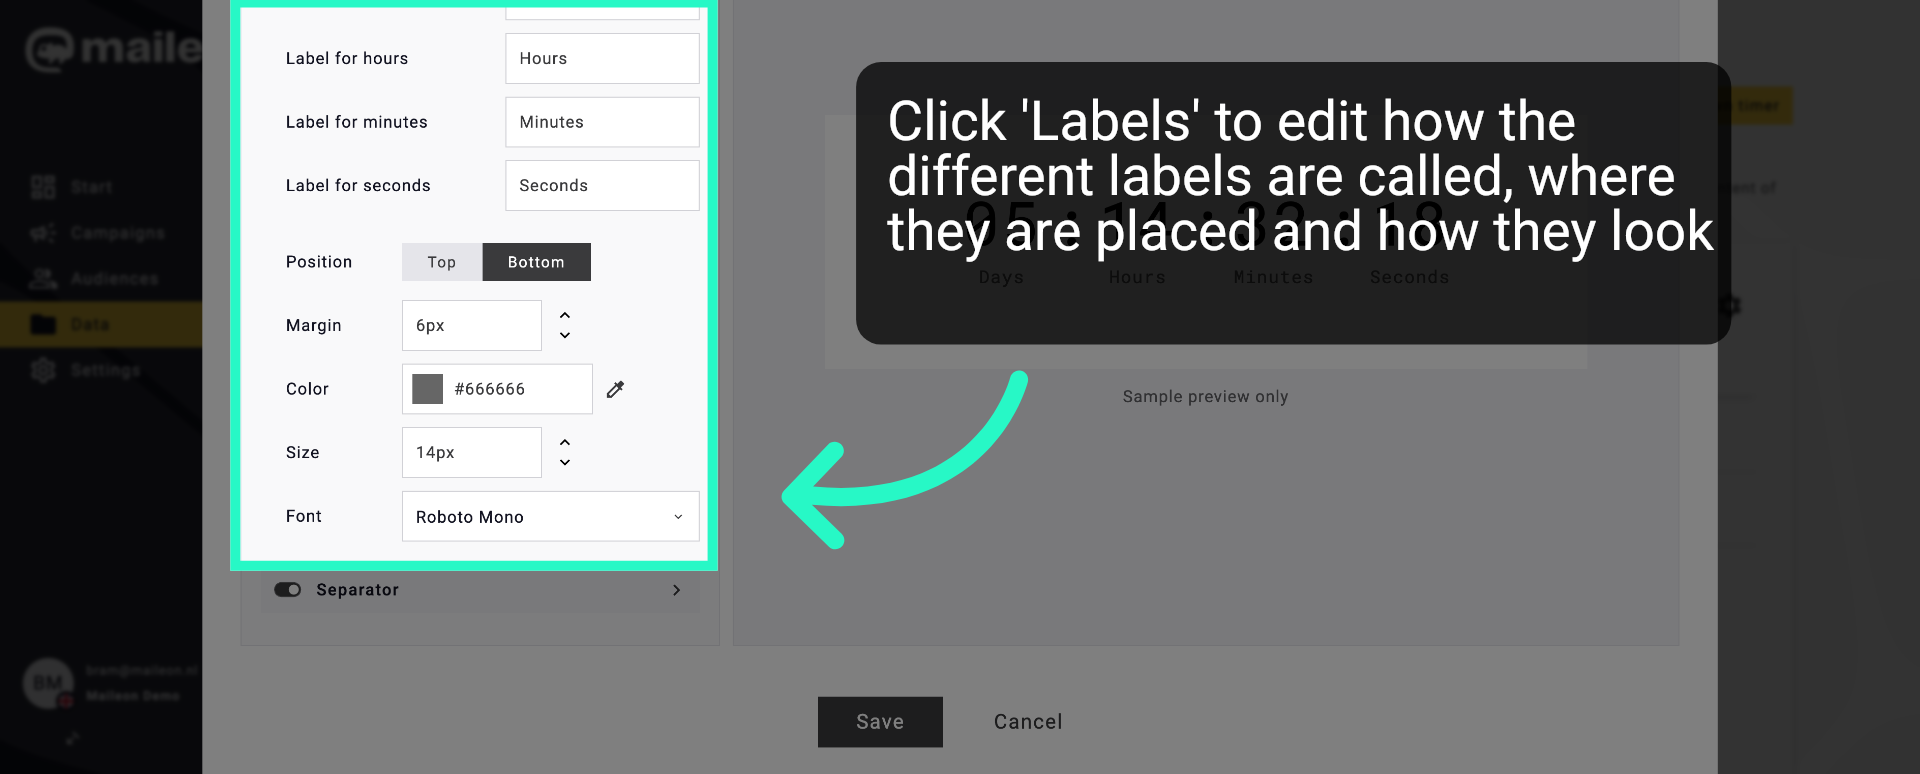
13. Modify Label Settings
Click "Separator" to choose the style of separators between time units.
14. Set Separator Style
Click "Separator" to choose the style of separators between time units.

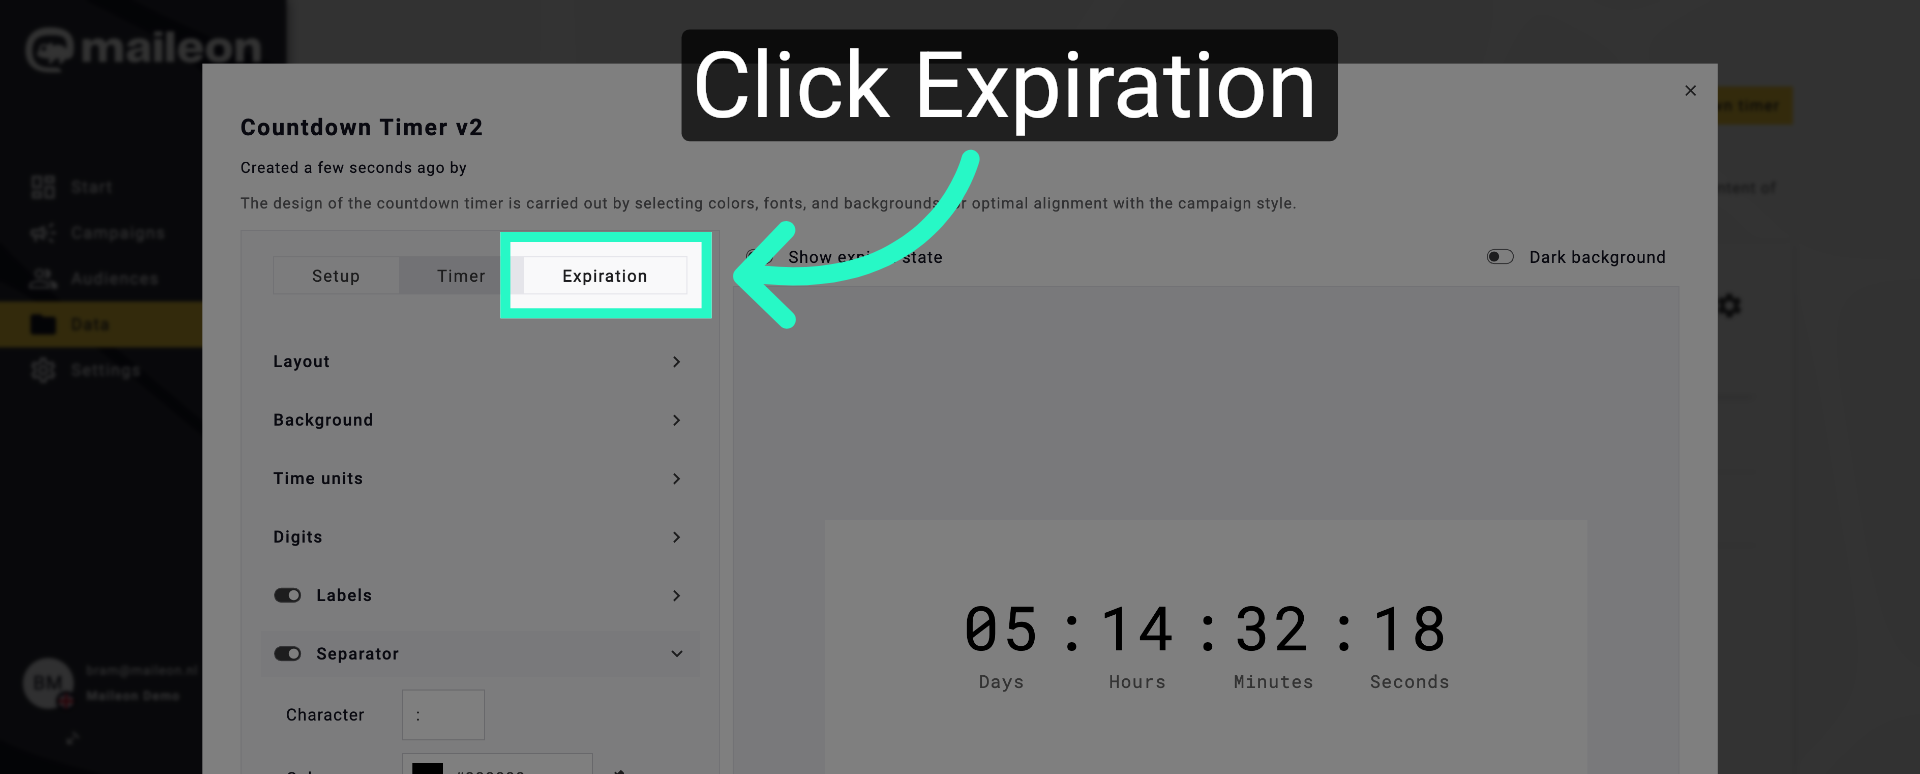
15. Access Expiration Settings
Click "Expiration" to configure actions that occur when the timer reaches zero.
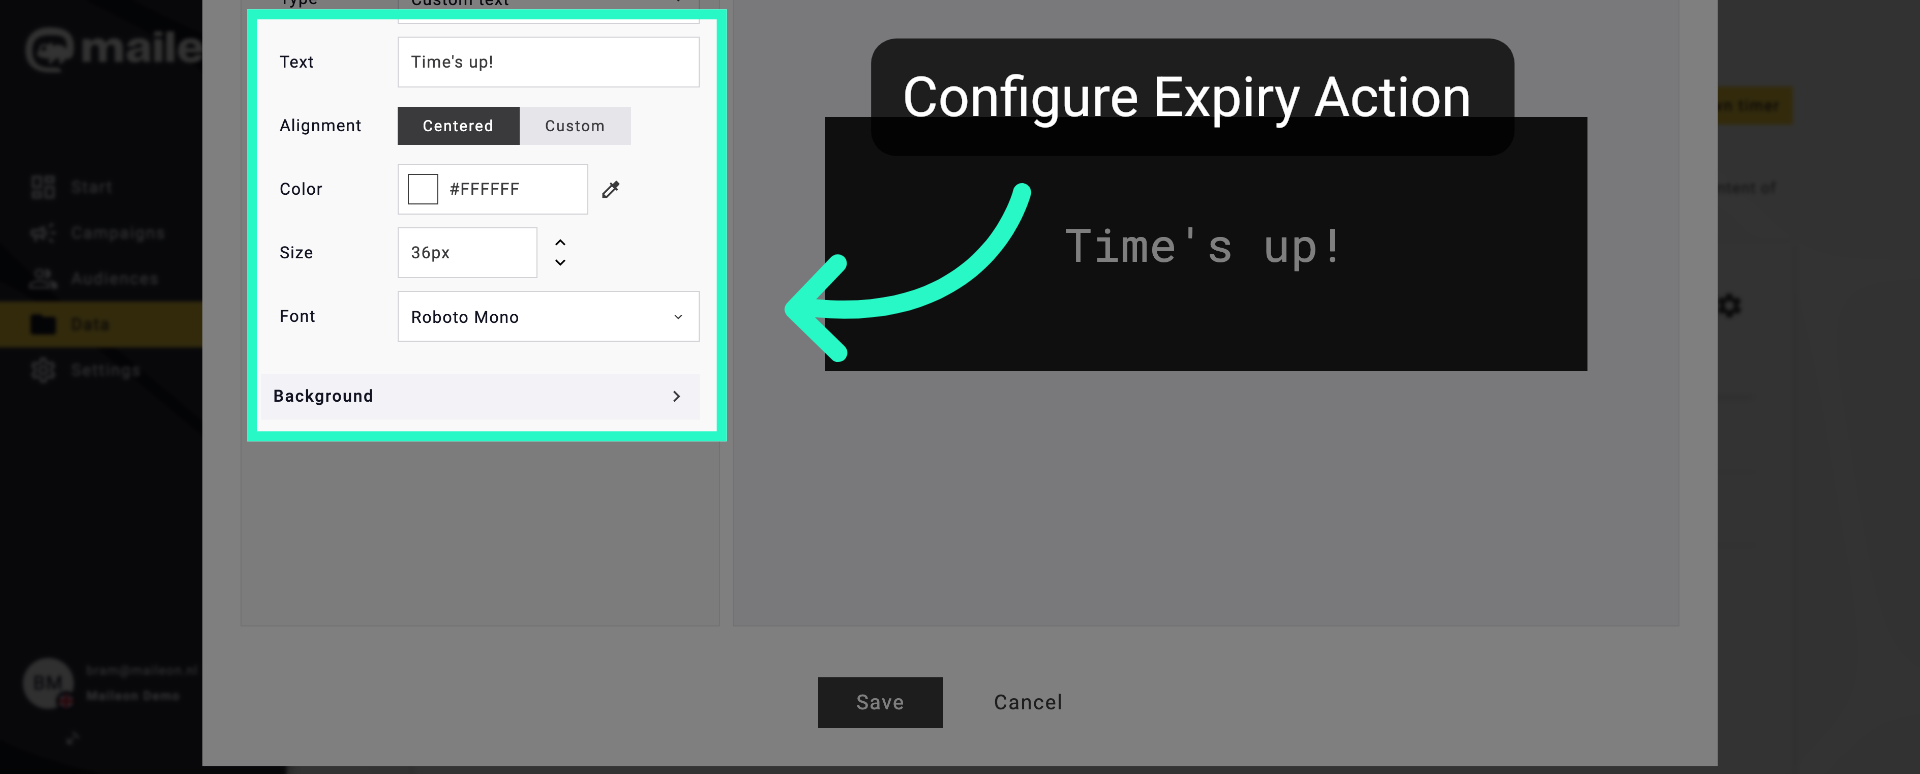
16. Modify Expiry Background
Click "Background" to set the background appearance after the timer expires.
17. Save Timer Configuration
Click "Save" to apply all countdown timer settings and finalise the configuration.

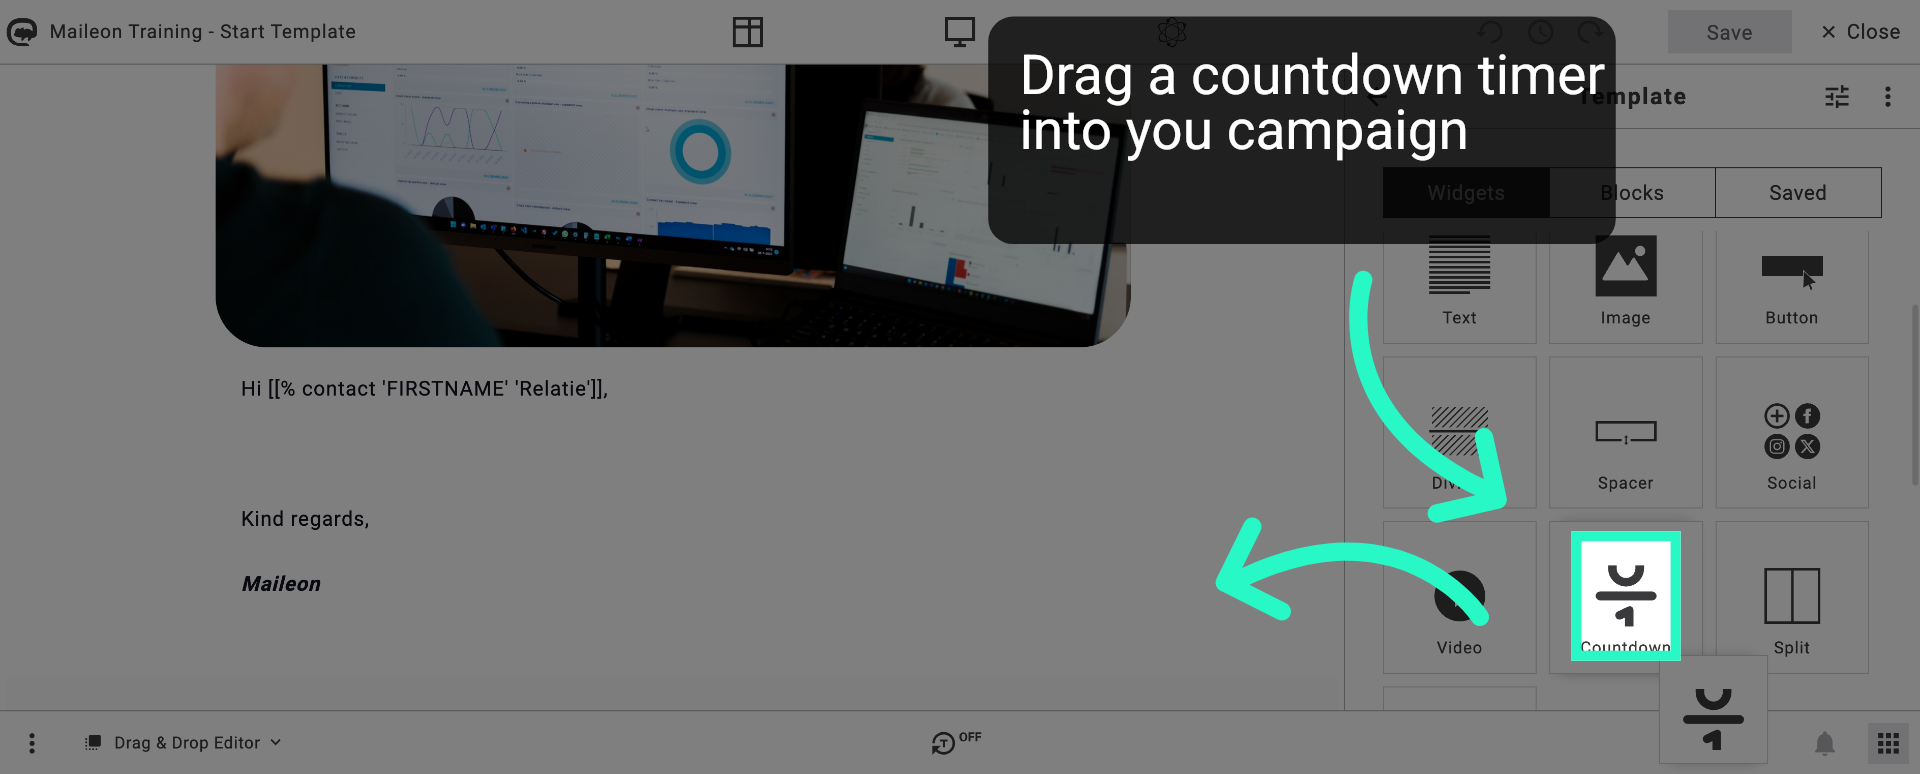
18. Adding the timer to a campaign.
19. Navigate to Campaigns
Click "Campaigns" to access your email campaigns within Maileon.

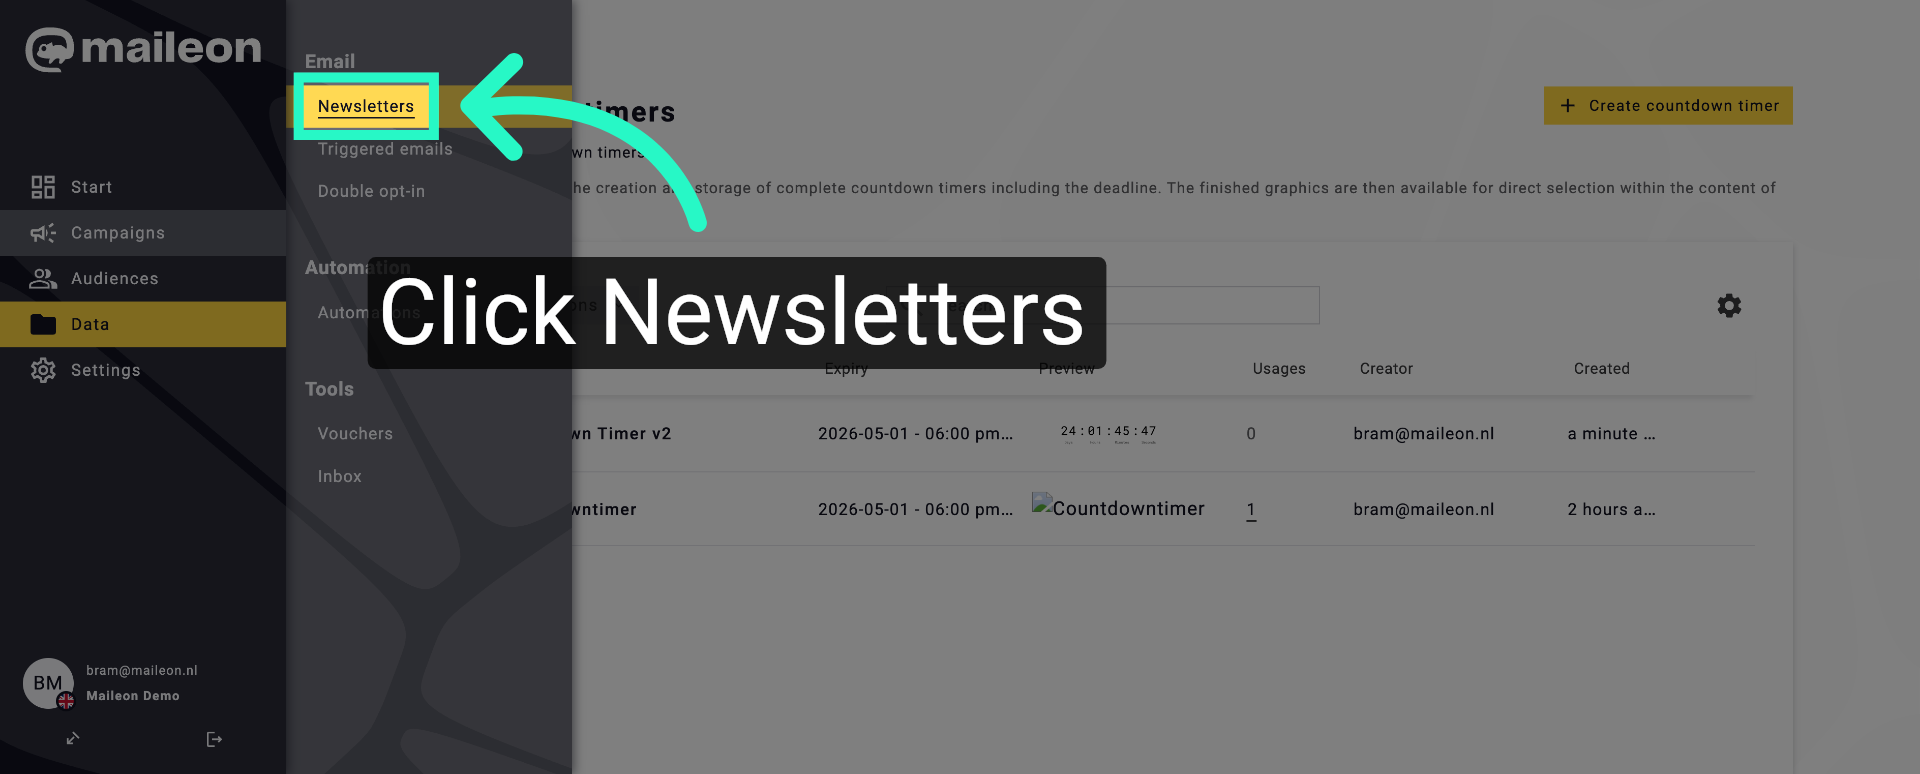
20. Open Newsletters Section
Click "Newsletters" to view and manage your newsletter templates.
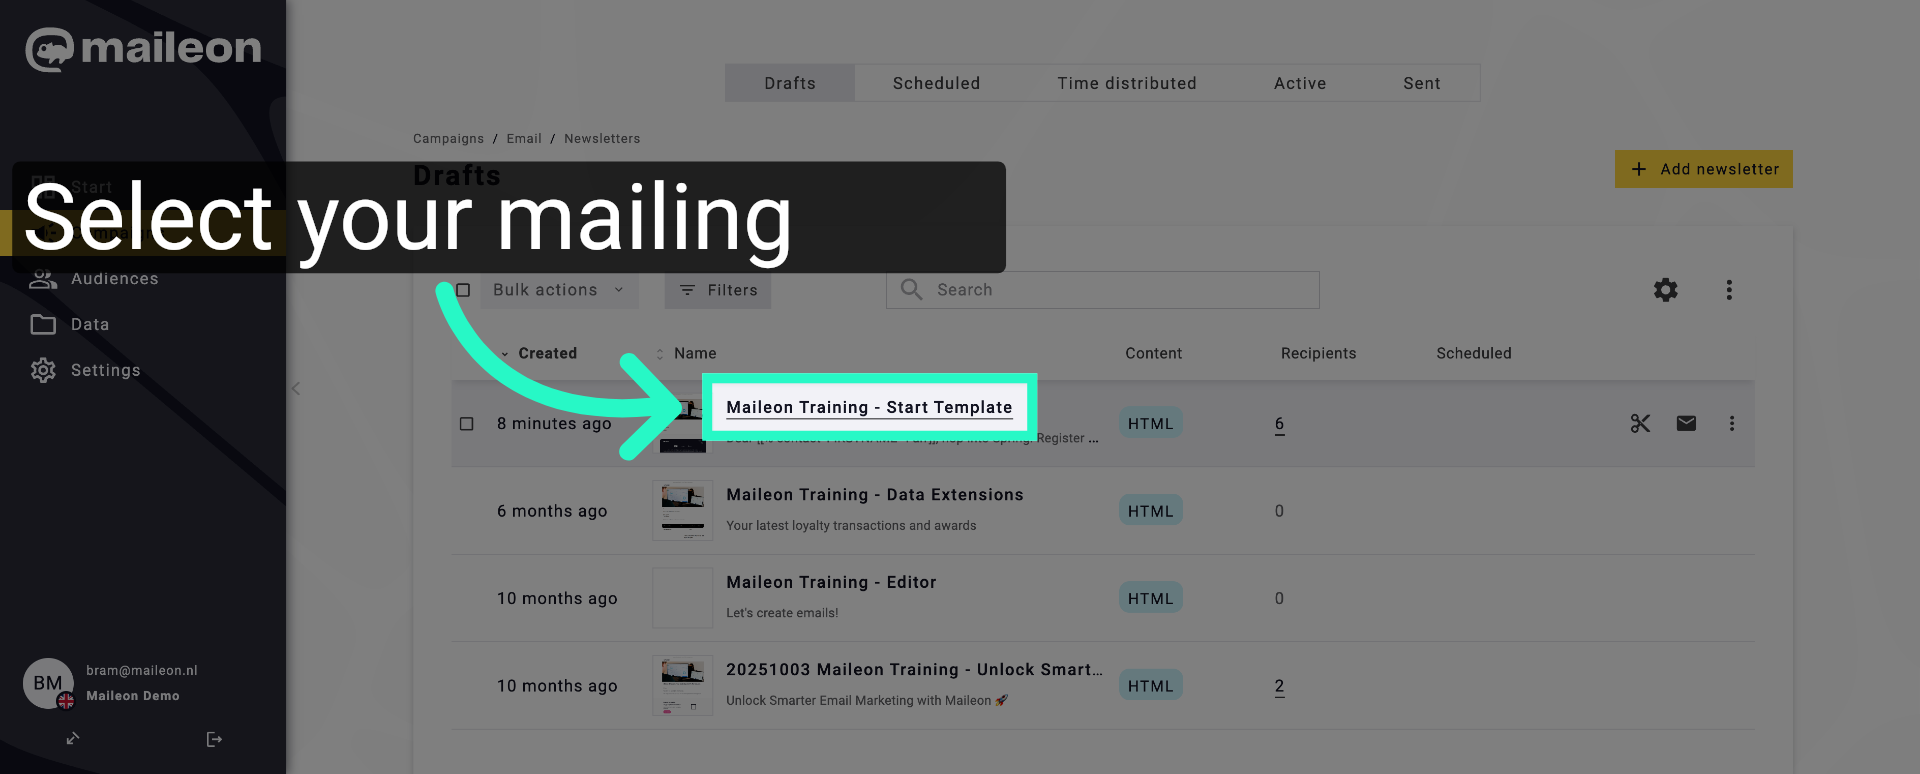
21. Select Training Template
Click "Maileon Training - Start Template" to open the training email template.
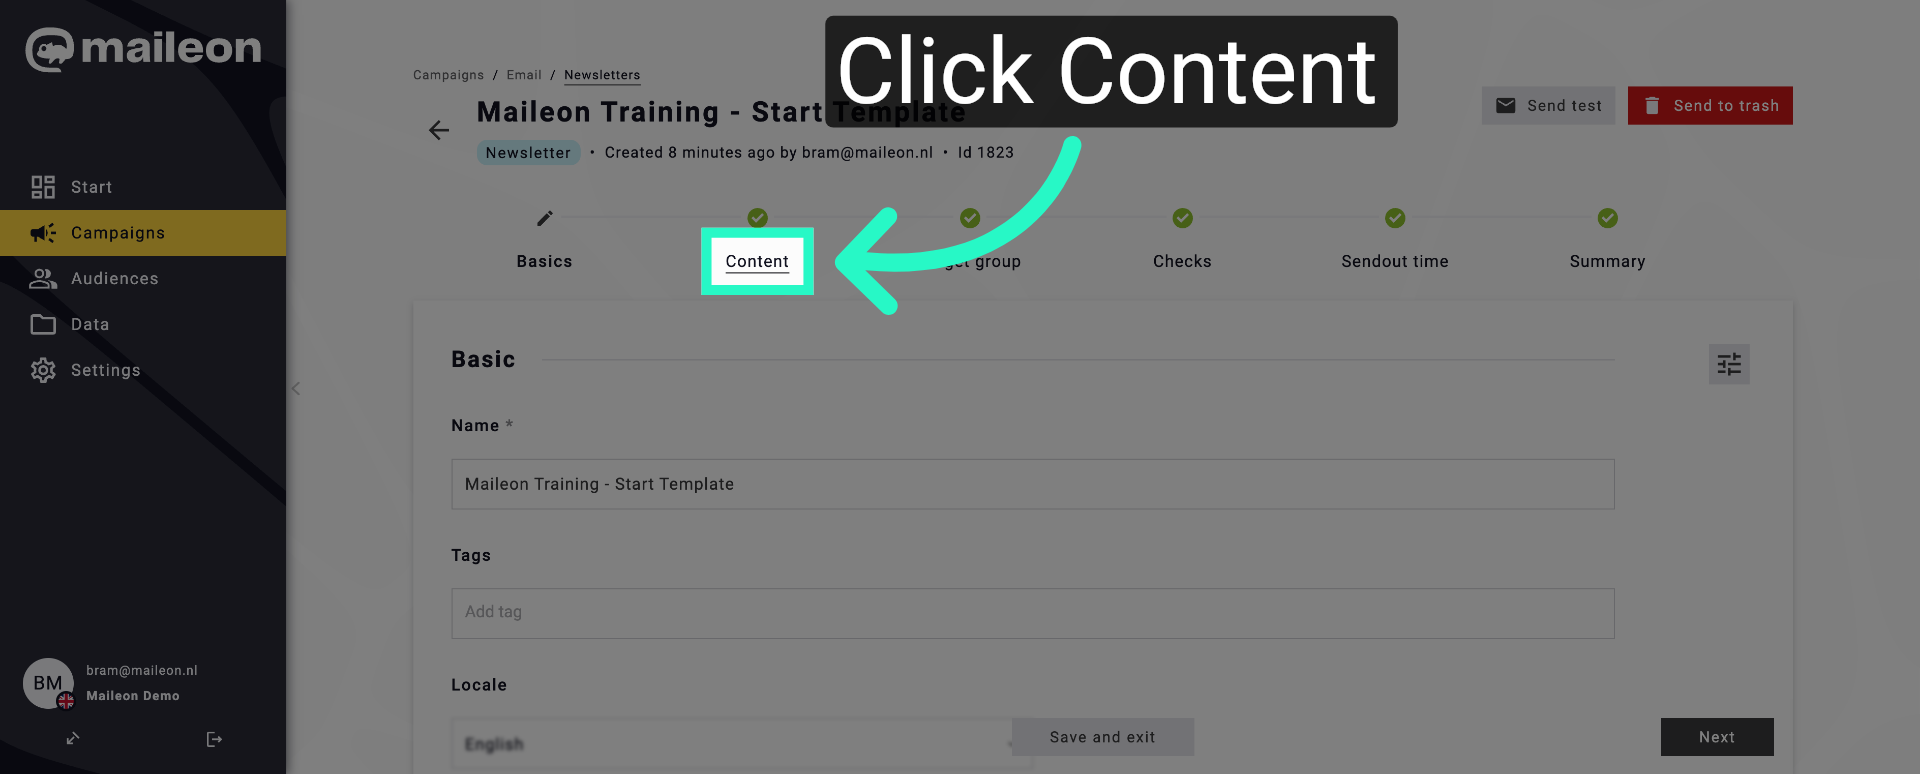
22. Access Content Tab
Click "Content" to view and edit the email content of the selected template.
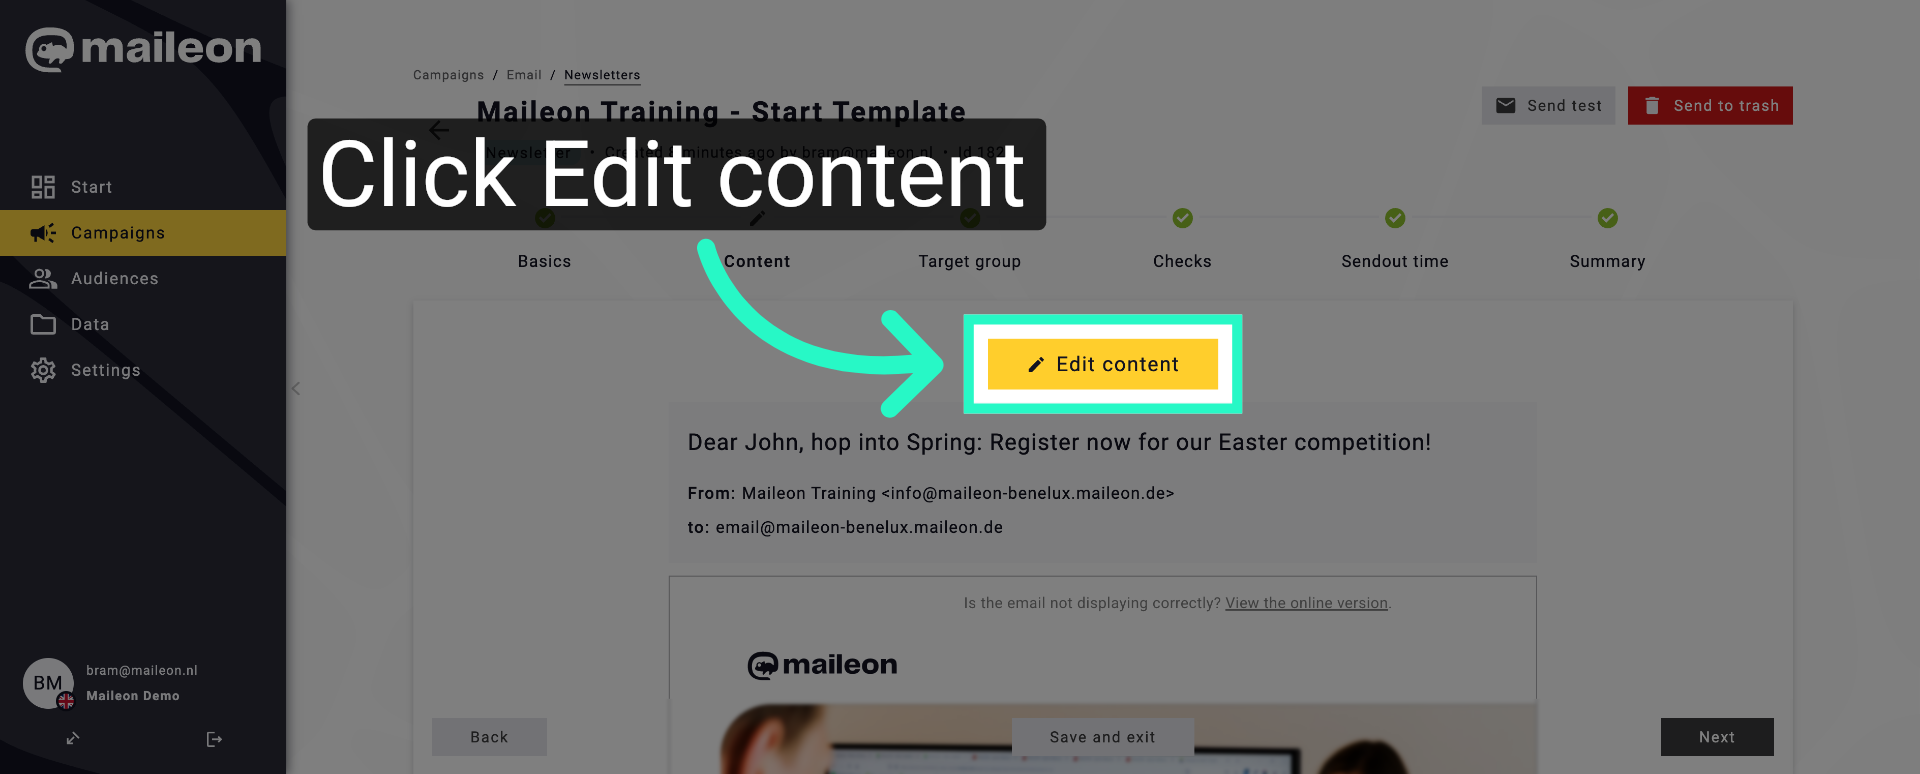
23. Edit Email Content
Click "Edit content" to modify the newsletter's text and design elements.
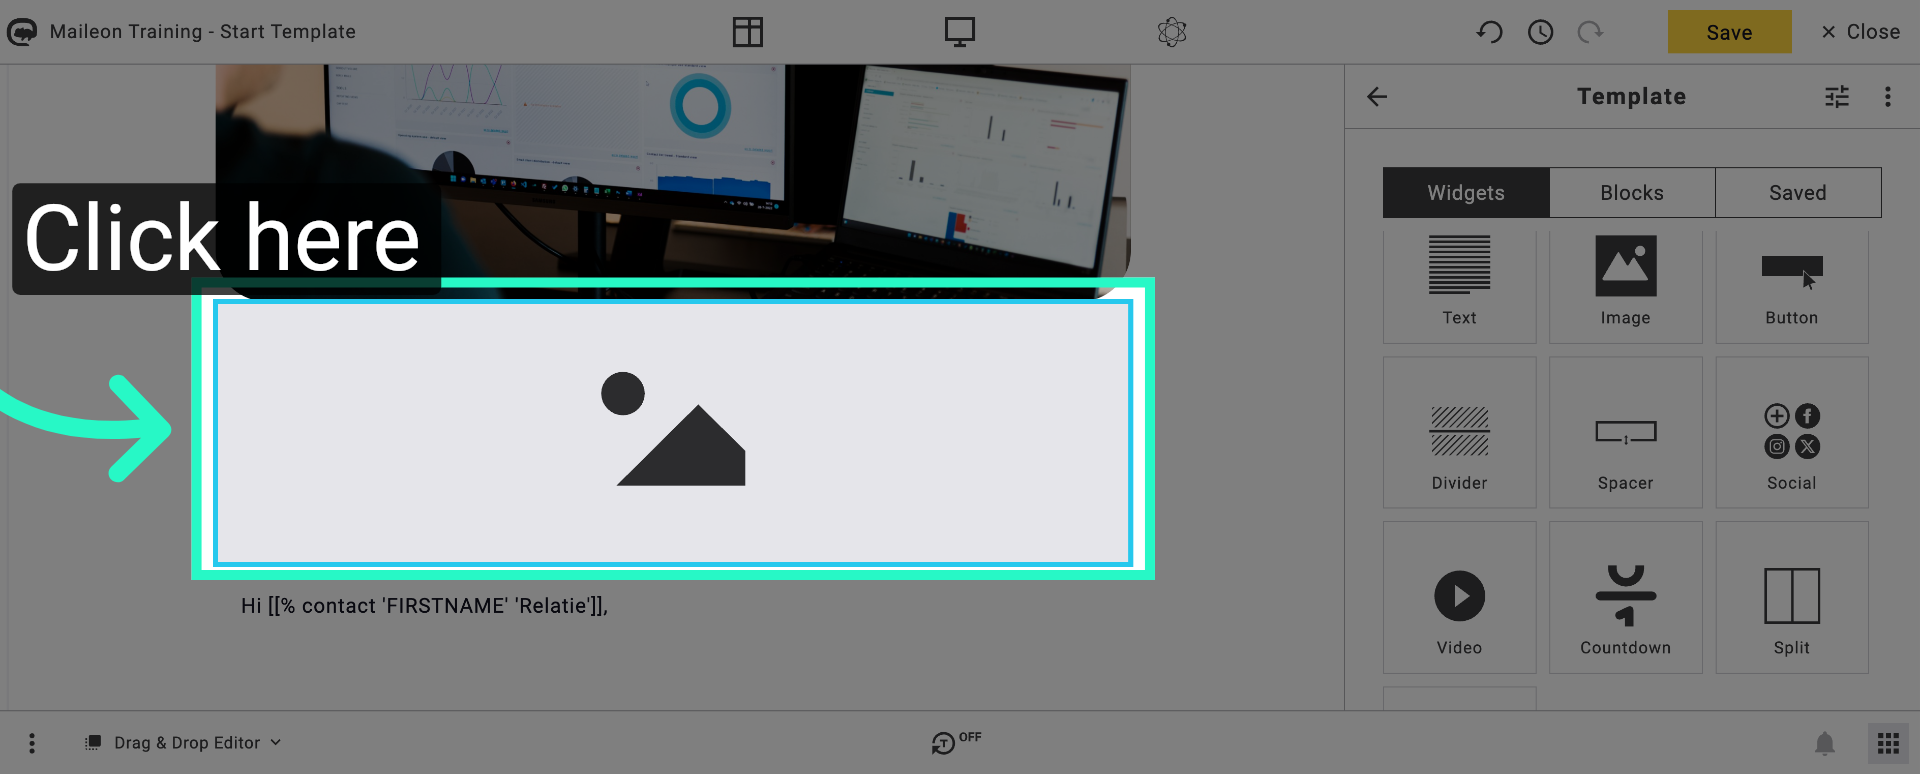
24. Open Content Options
Click here to access additional content editing options within the template.
25. Access More Content Settings
Click here to reveal further content configuration settings.
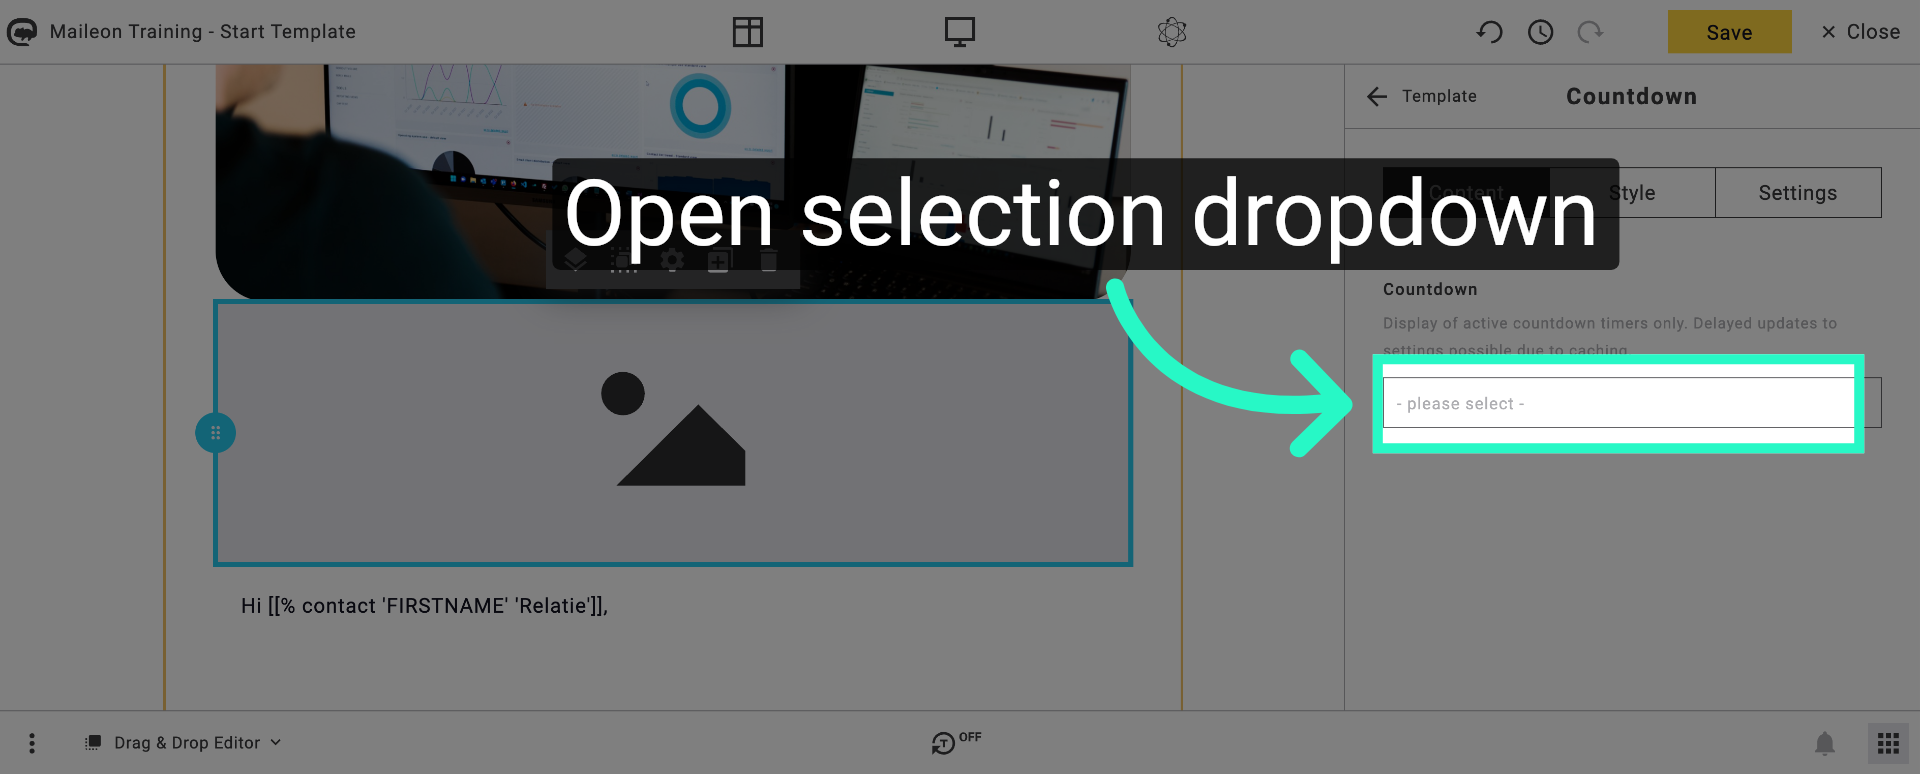
26. Open Selection Dropdown
Click "- please select -" to choose an option related to the countdown timer integration.
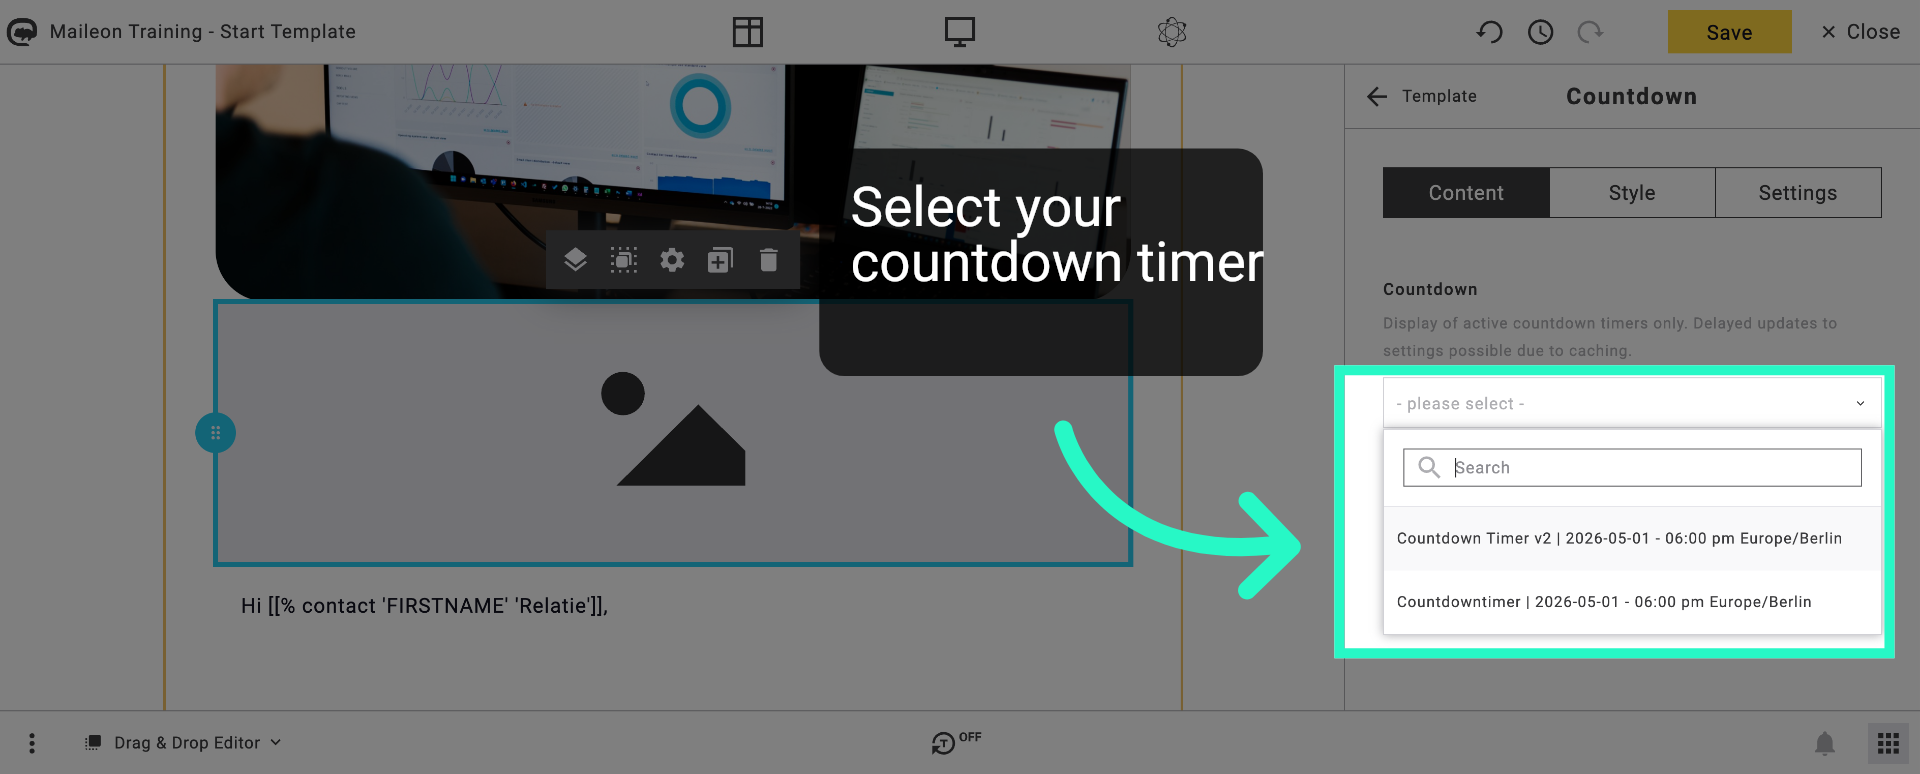
27. Choose Countdown Timer
Click "Countdown Timer v2 2026-05-01 - 06:00 pm Europe/Berlin" to link the timer to your newsletter.
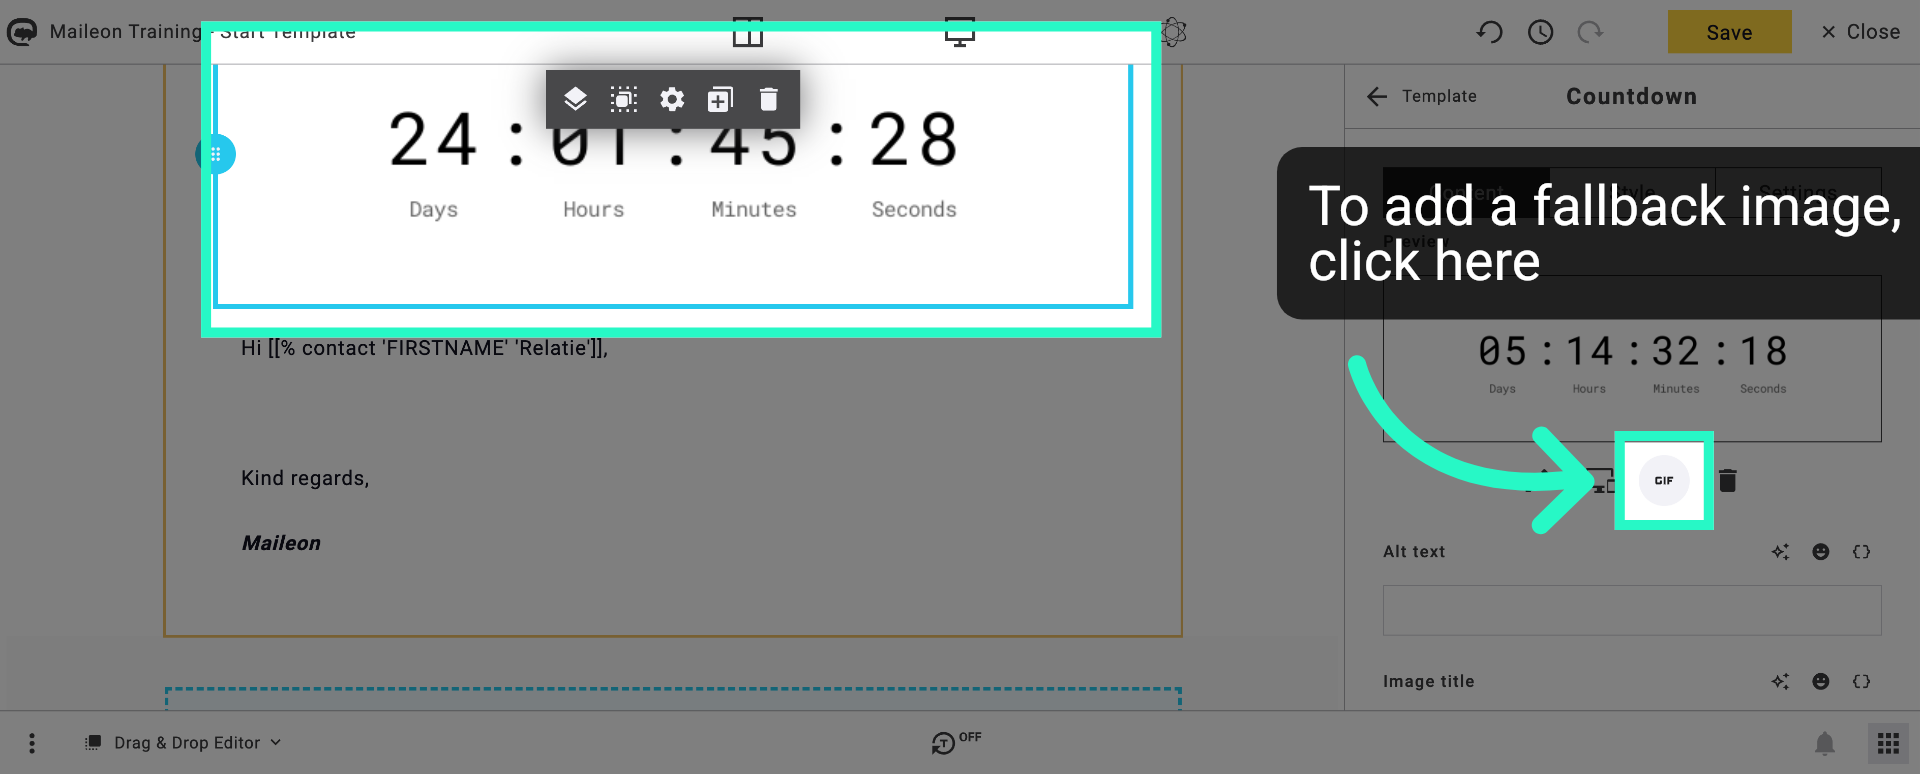
28. Open Additional Options
Click here to access more settings related to the countdown timer within the newsletter.
29. Cancel Current Action
Click "Cancel" to exit the current menu without saving changes.
You have successfully created and customised a countdown timer in Maileon, integrating it into your newsletter campaign. Next, explore advanced timer settings or test the timer within your email to ensure proper functionality.