This tutorial explains how to send multiple variables to a webhook address using Maileon
1. Introduction
You will learn to configure JSON attributes and save the webhook setup for marketing automation.
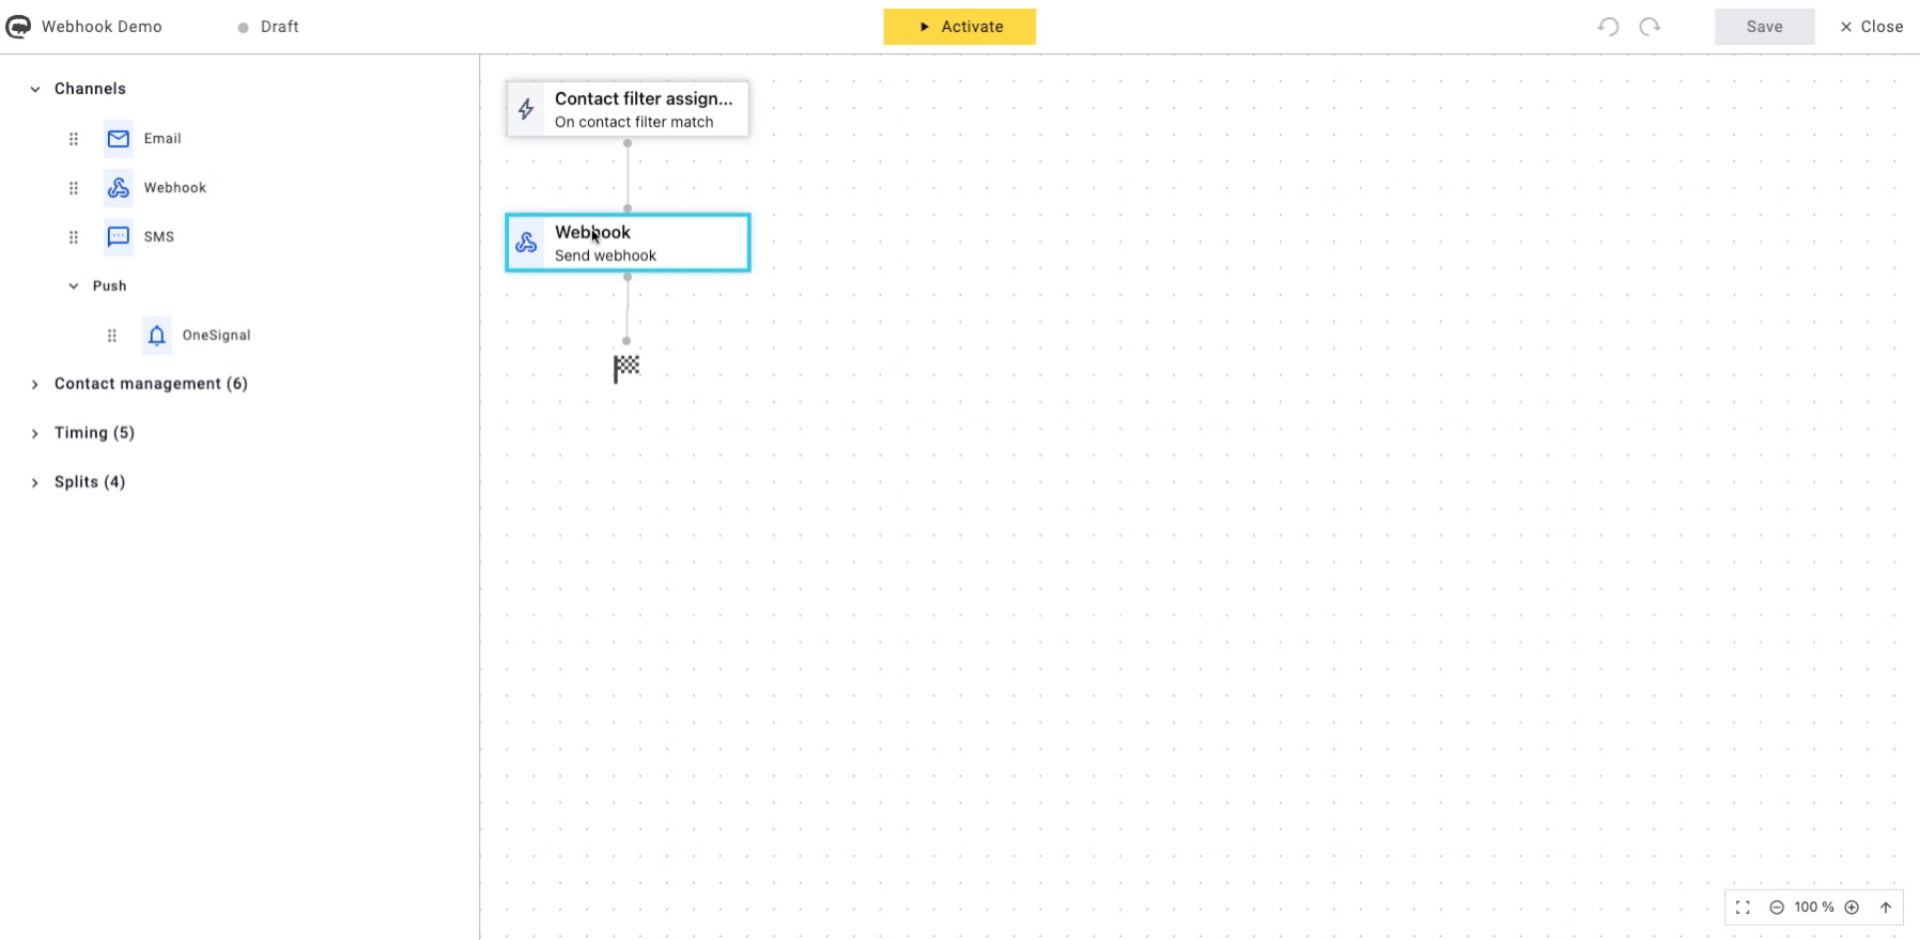
2. Click Send Webhook Button
Click the Send webhook button to start configuring your webhook settings.
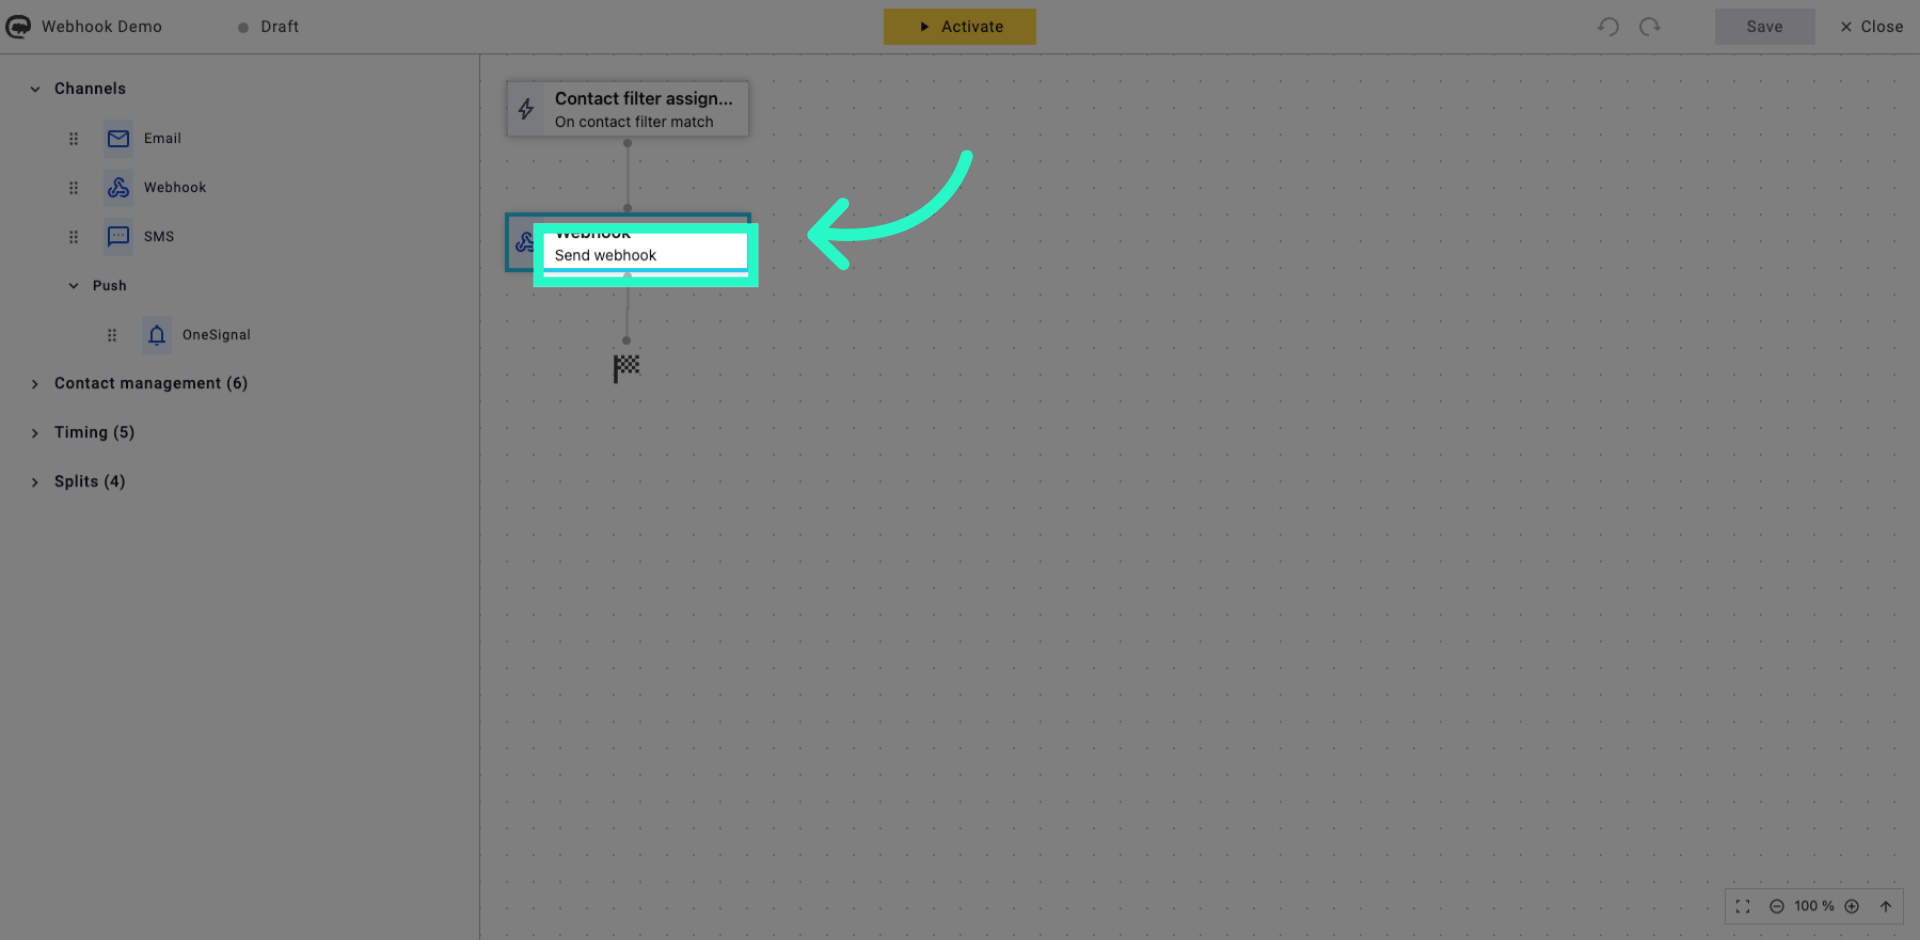
3. Select Webhook URL Field
Click the field to specify the webhook URL where data will be sent.
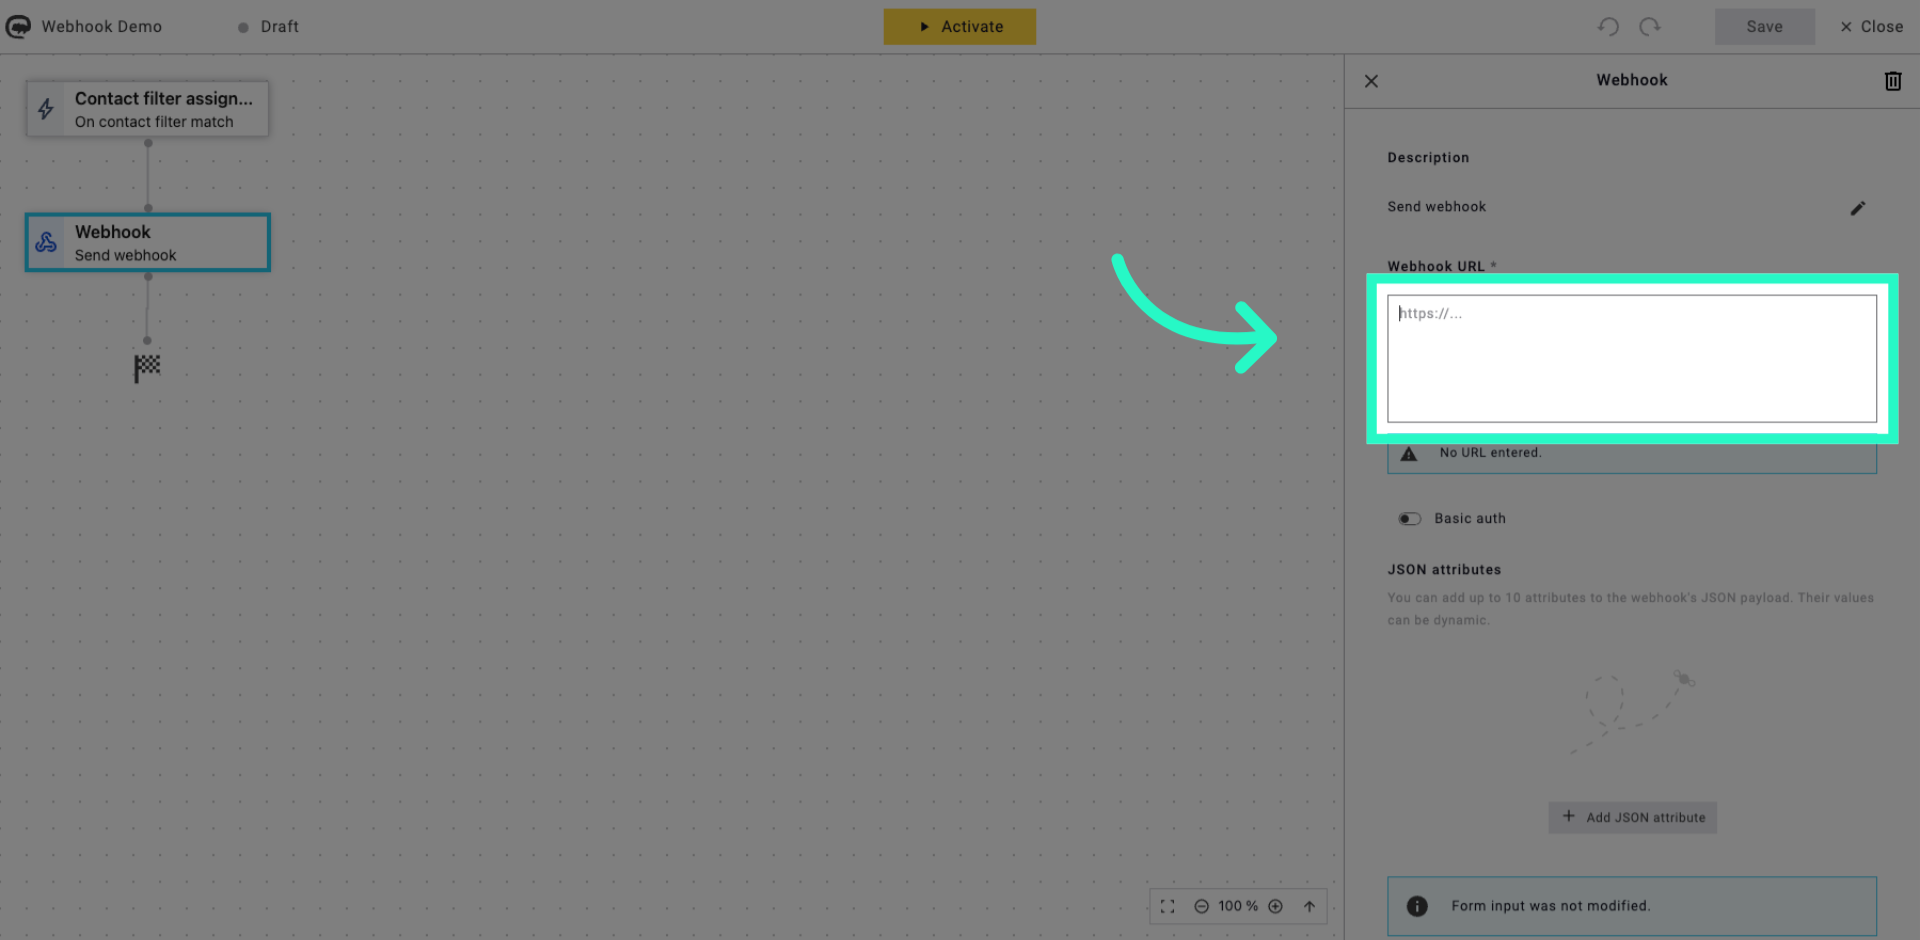
4. Enter Webhook URL
Enter your webhook URL to define the destination for the data transmission.
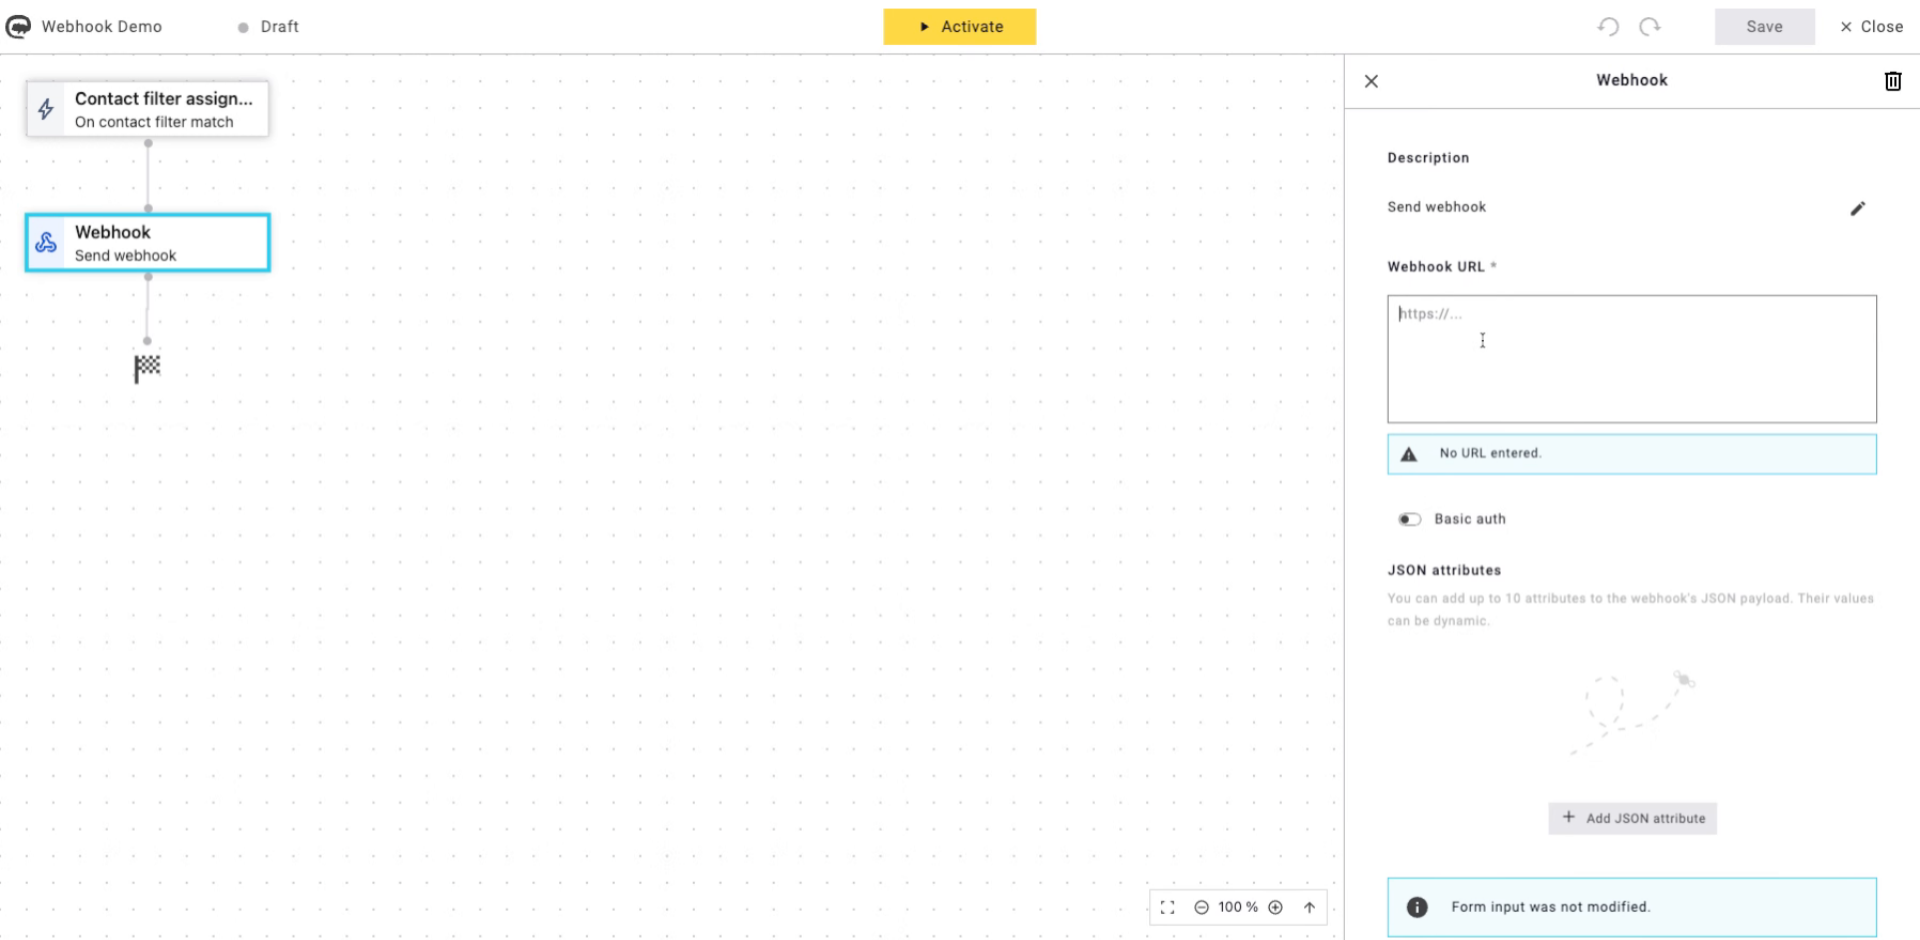
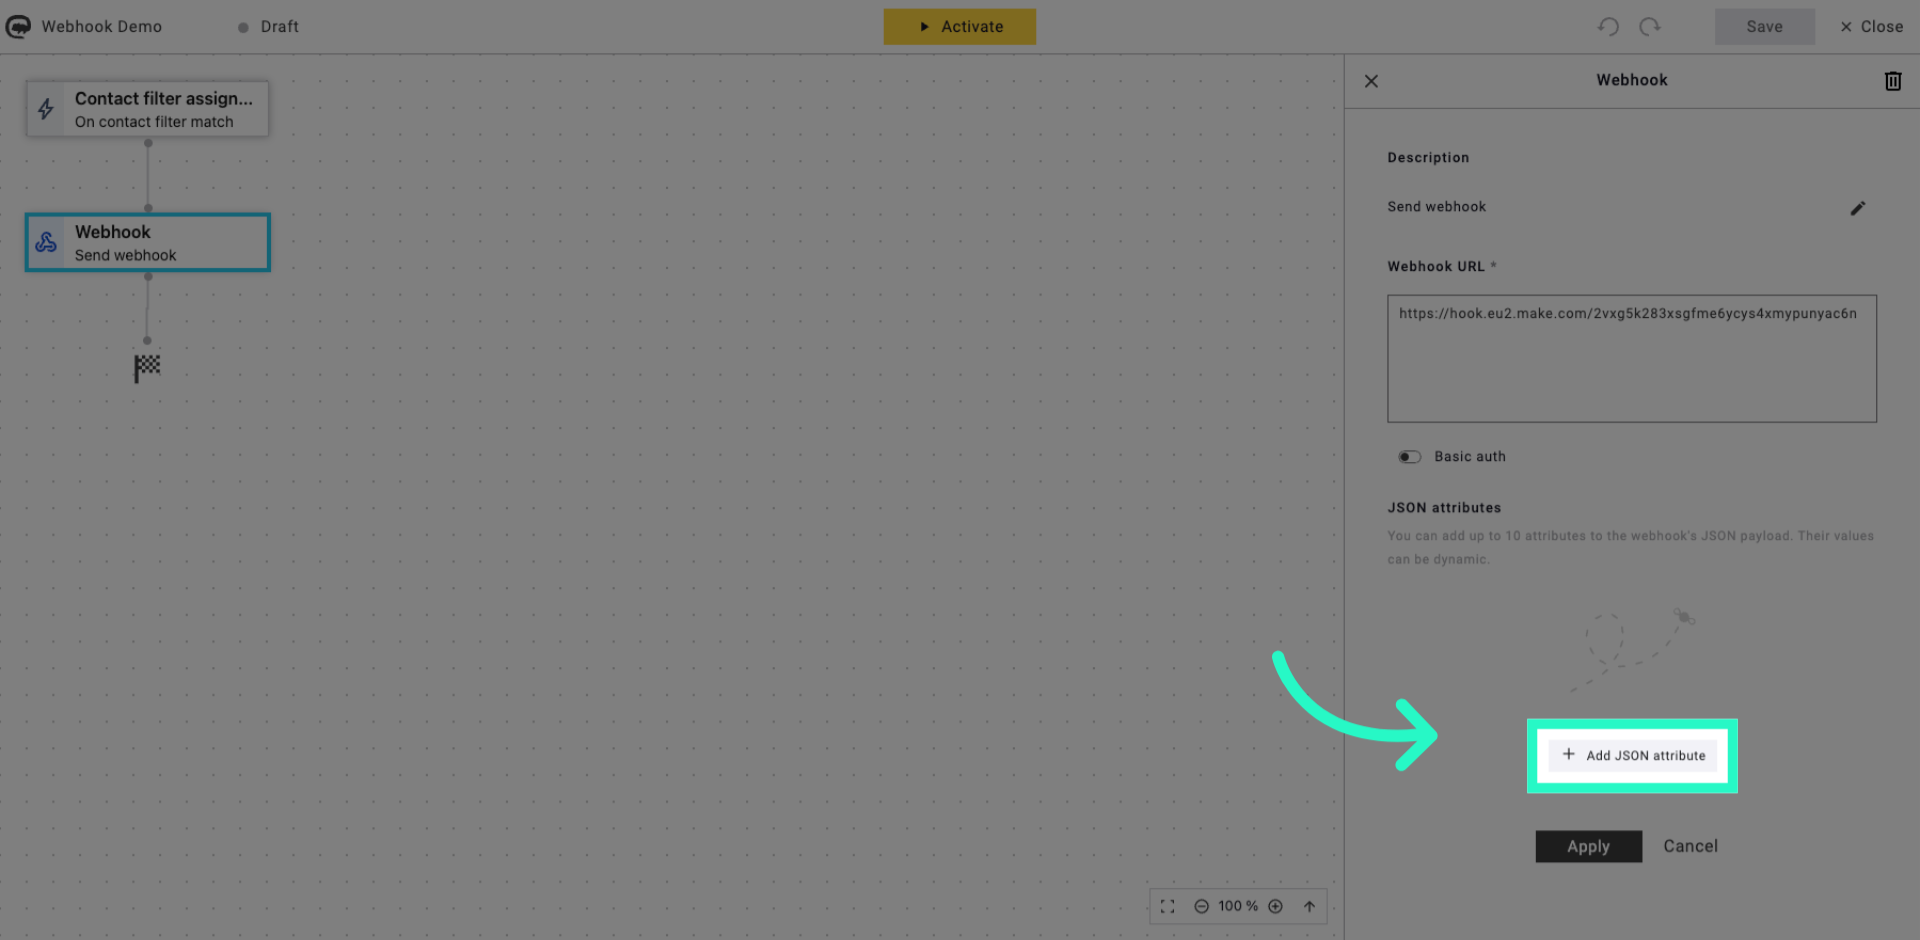
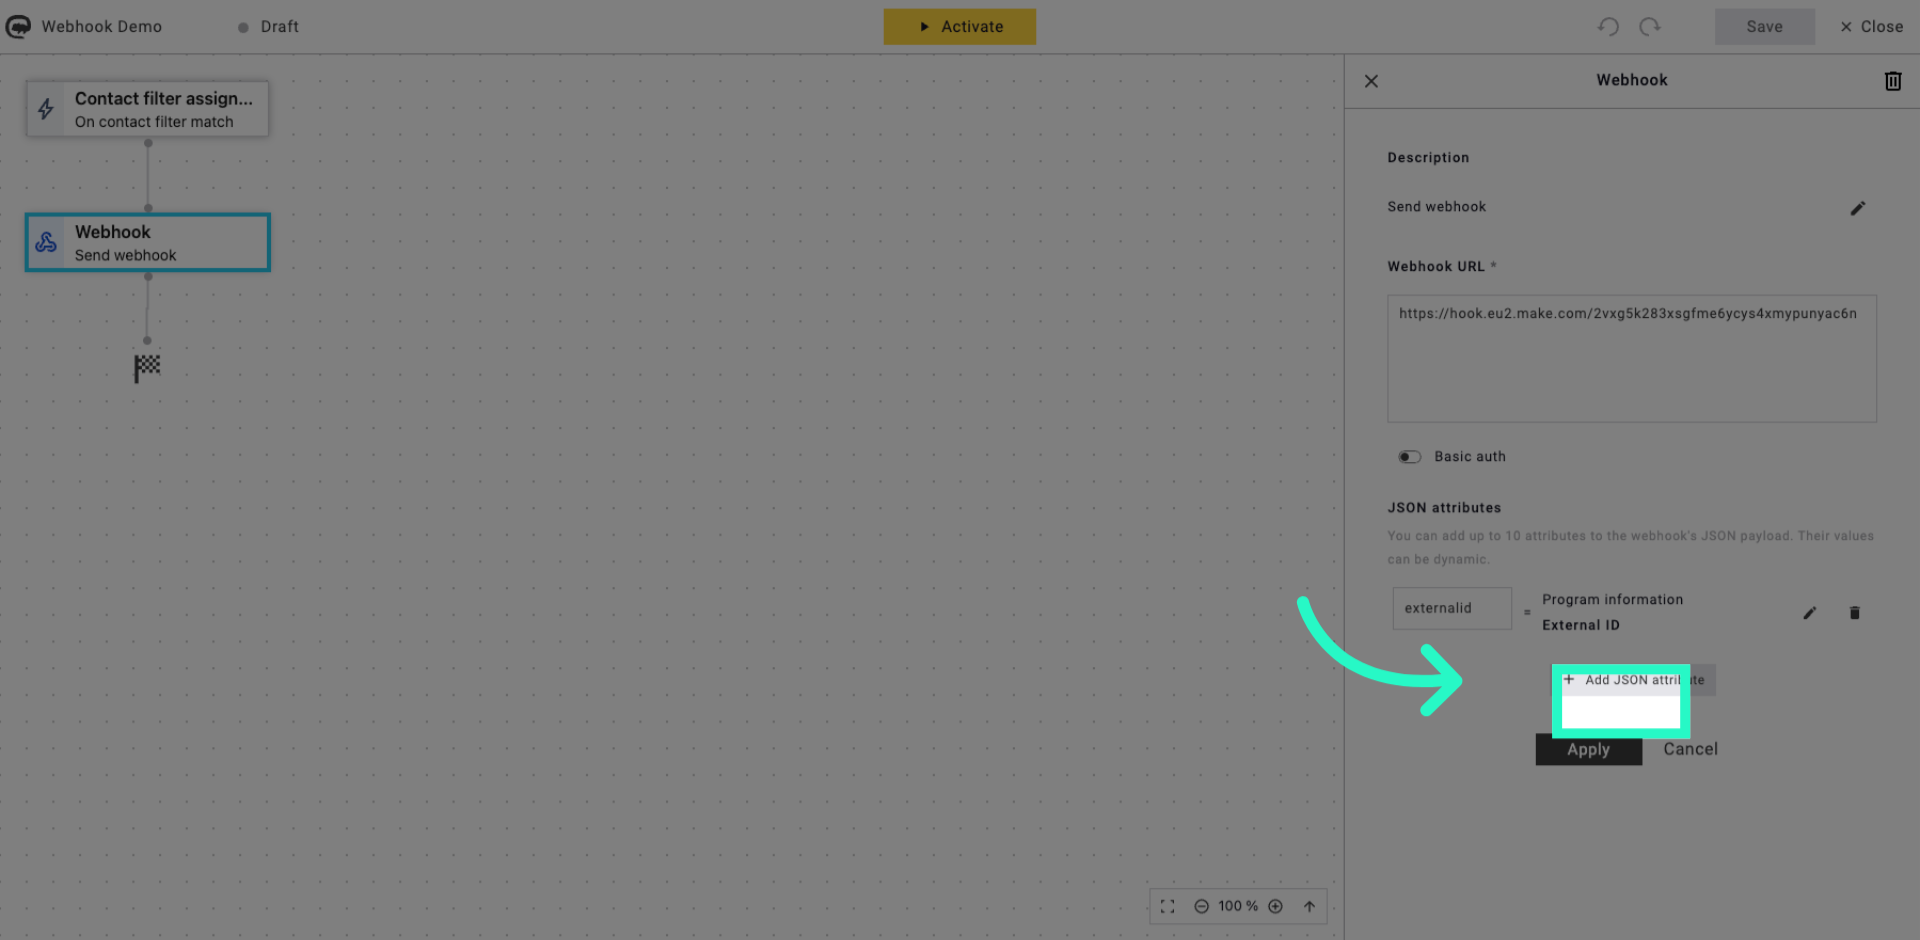
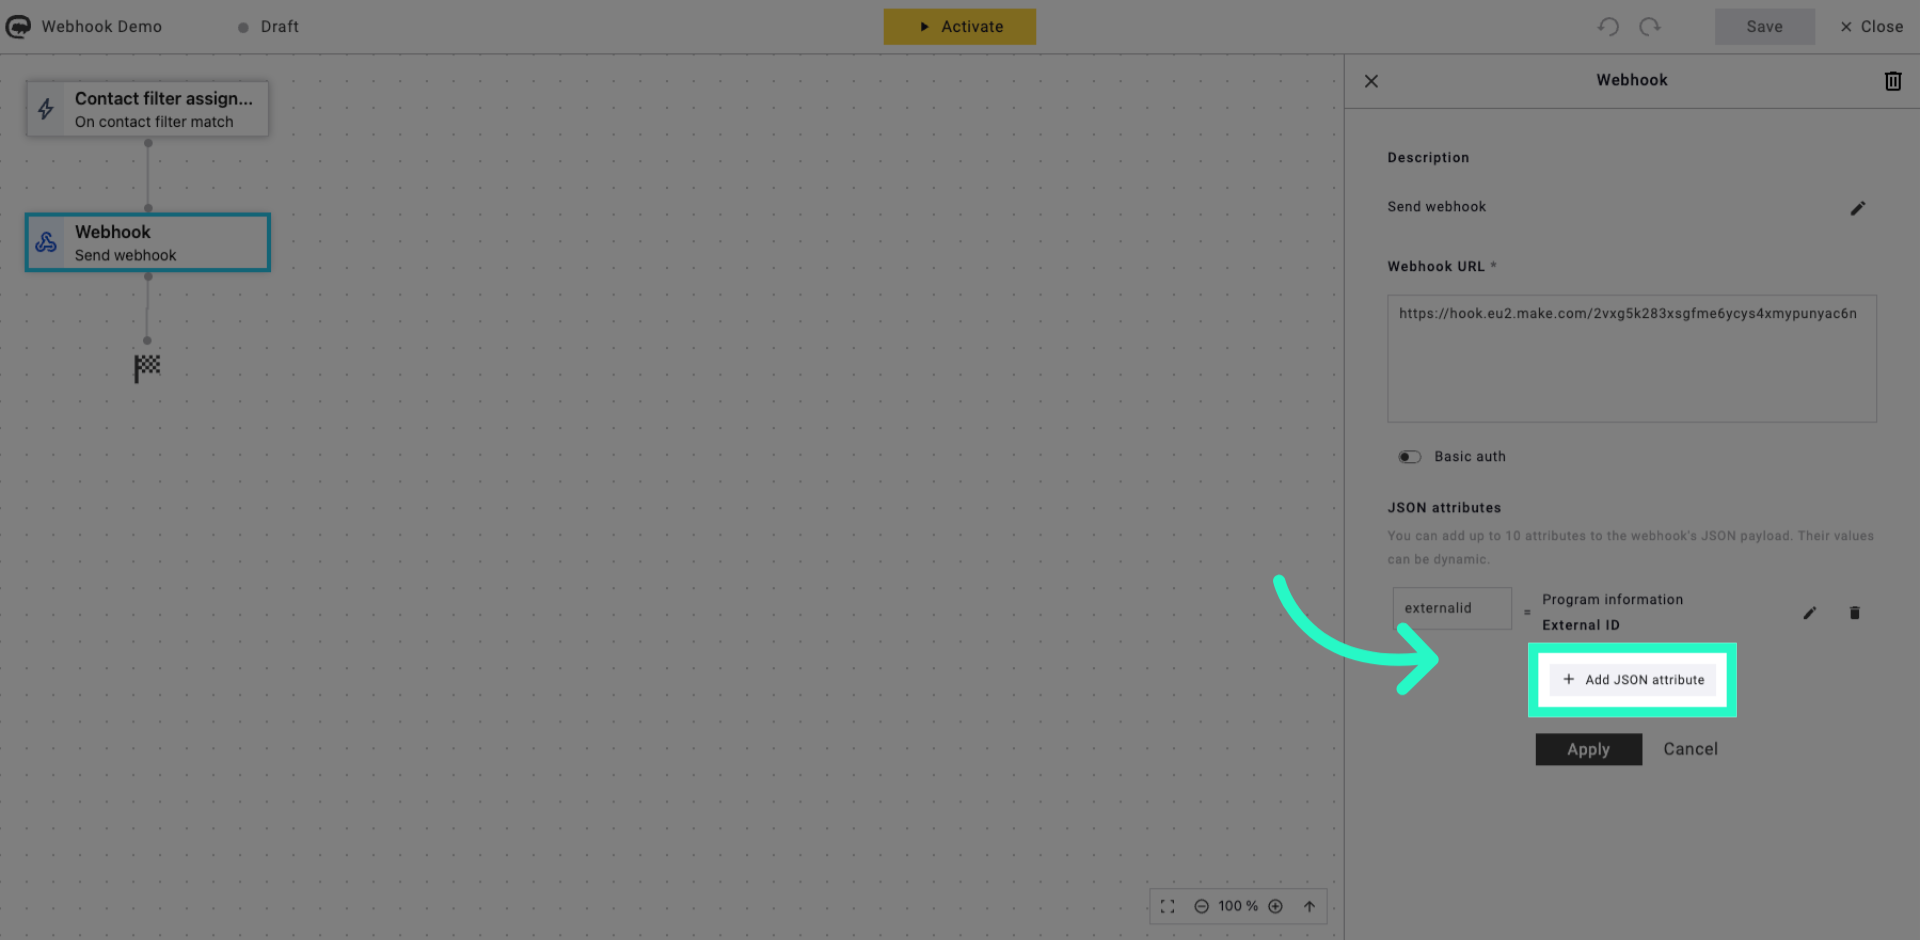
5. Add JSON Attribute
Click Add JSON attribute to include a new data variable in the webhook payload.
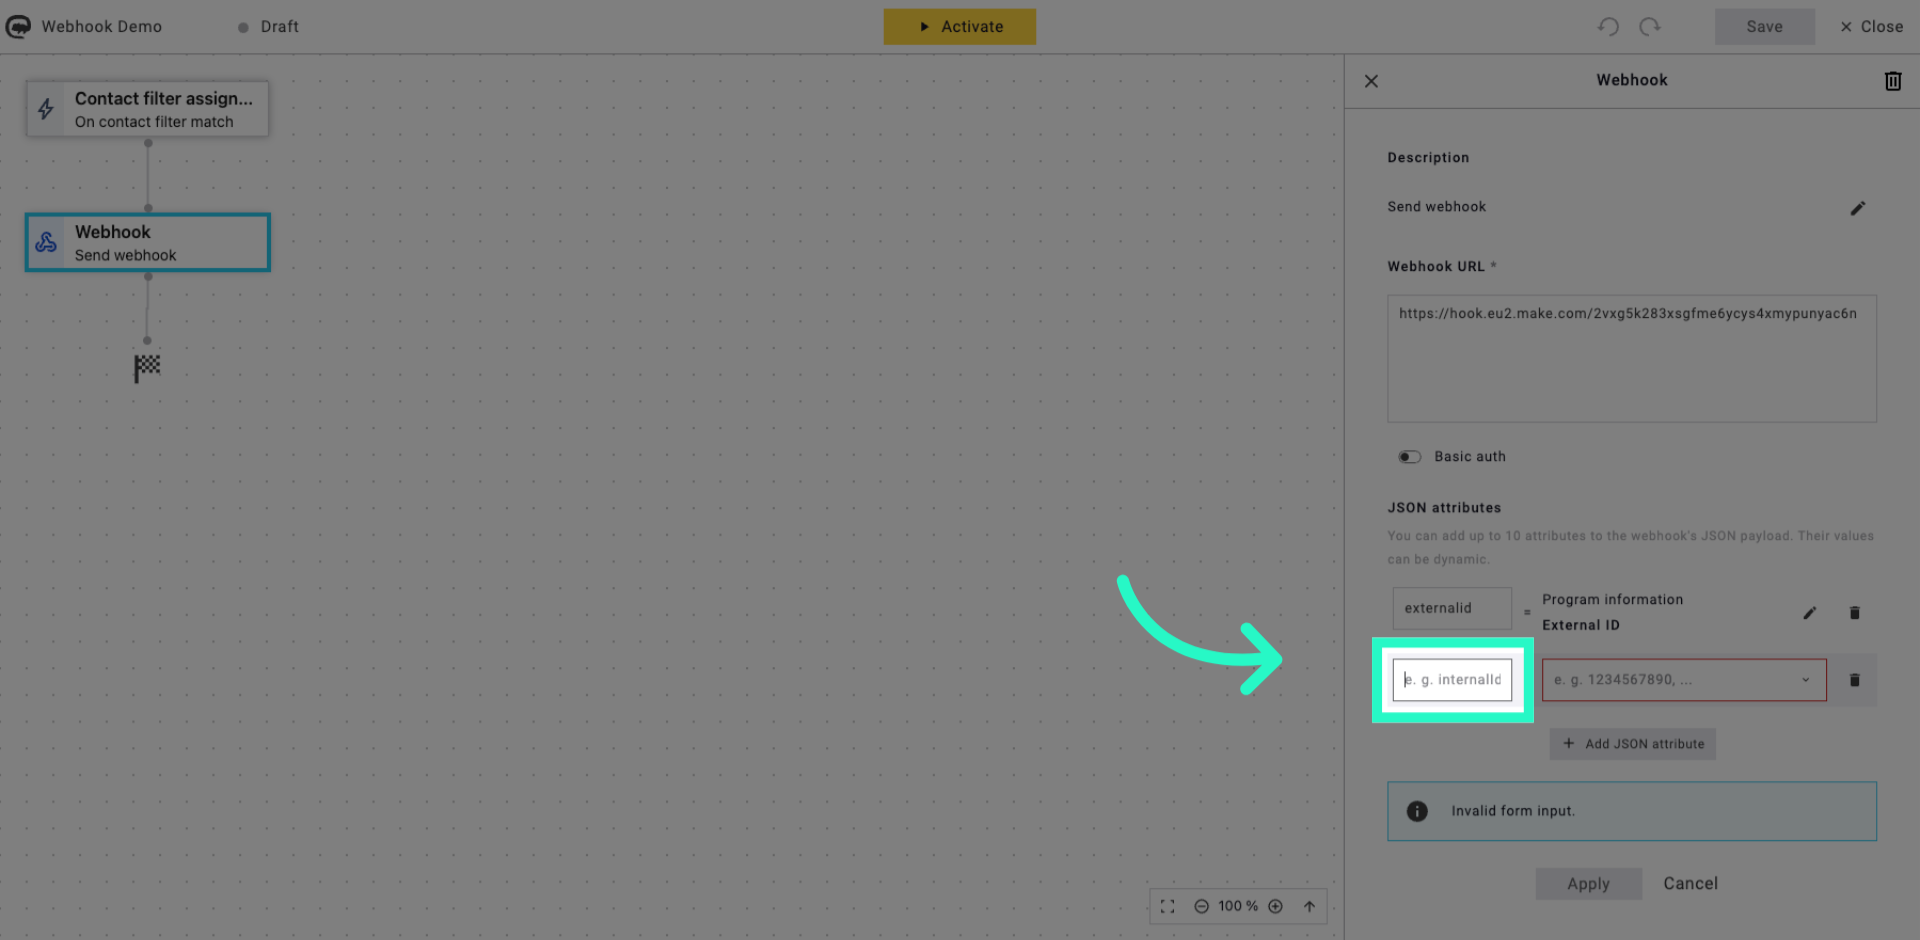
6. Select JSON Attribute Textbox
Click the textbox to specify the key name for the JSON attribute.
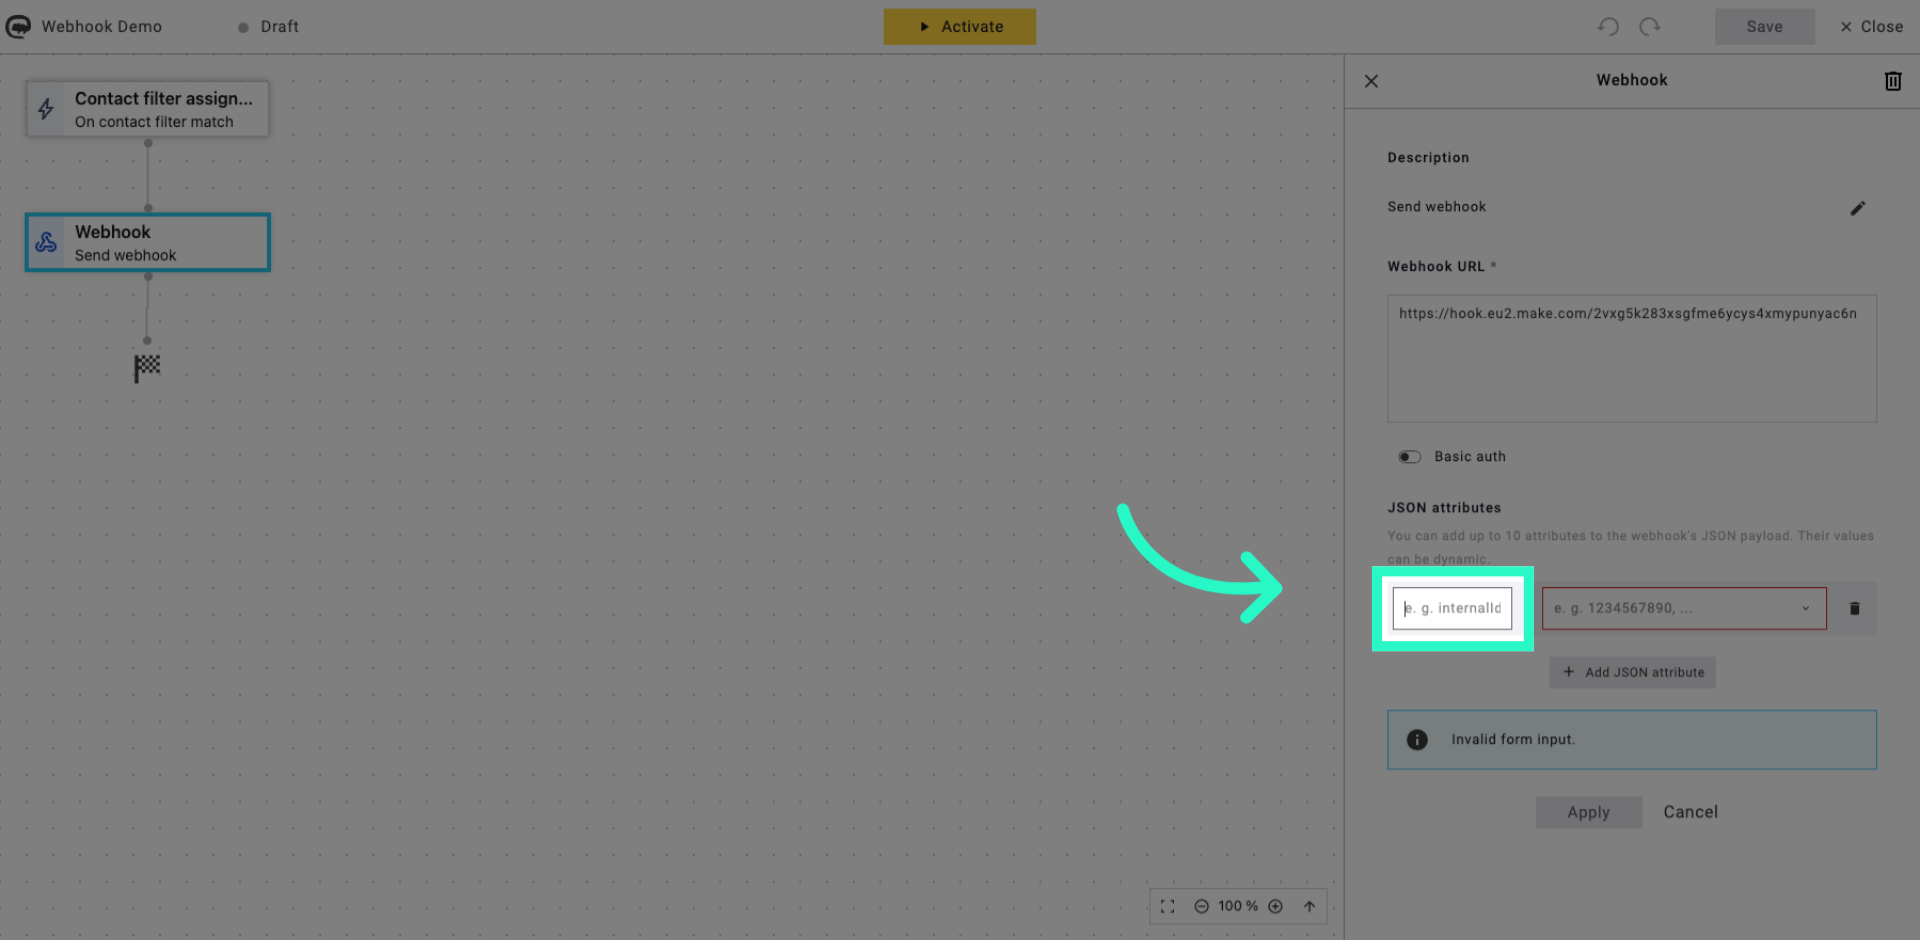
7. Enter JSON Attribute Key
Enter the key name for the JSON attribute, such as externalid.
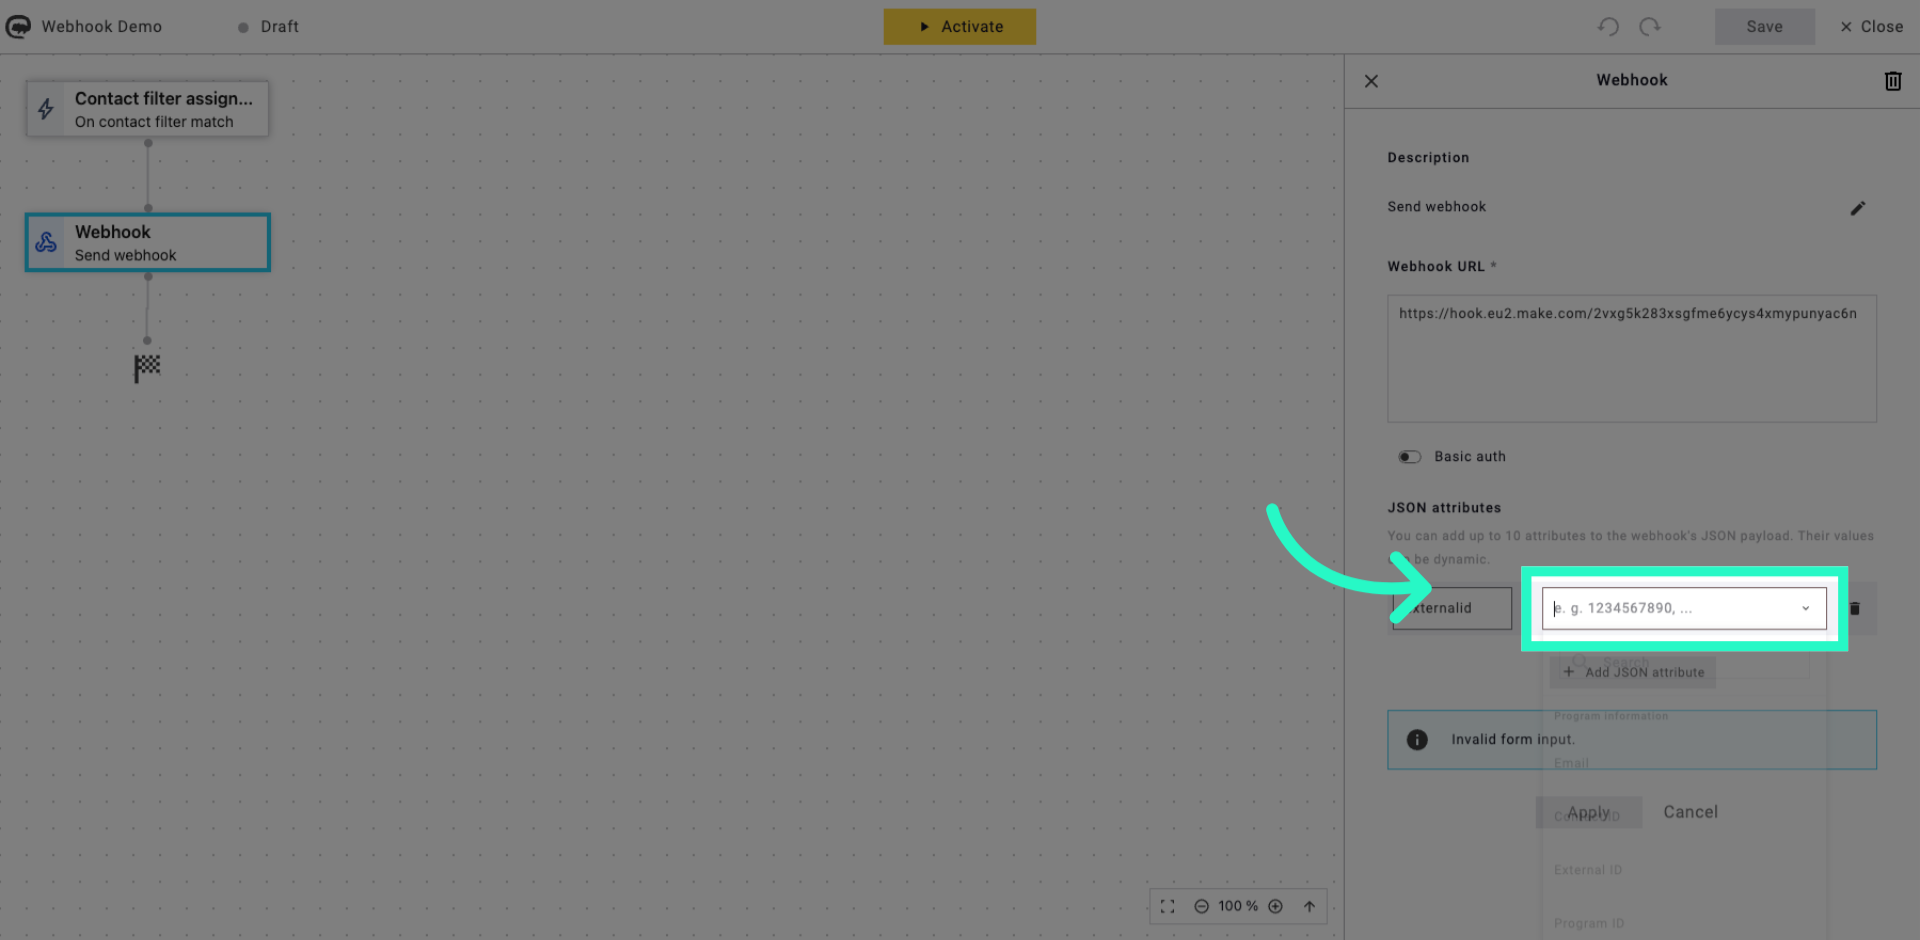
8. Select Next JSON Attribute Textbox
Click the next textbox to add another JSON attribute key.
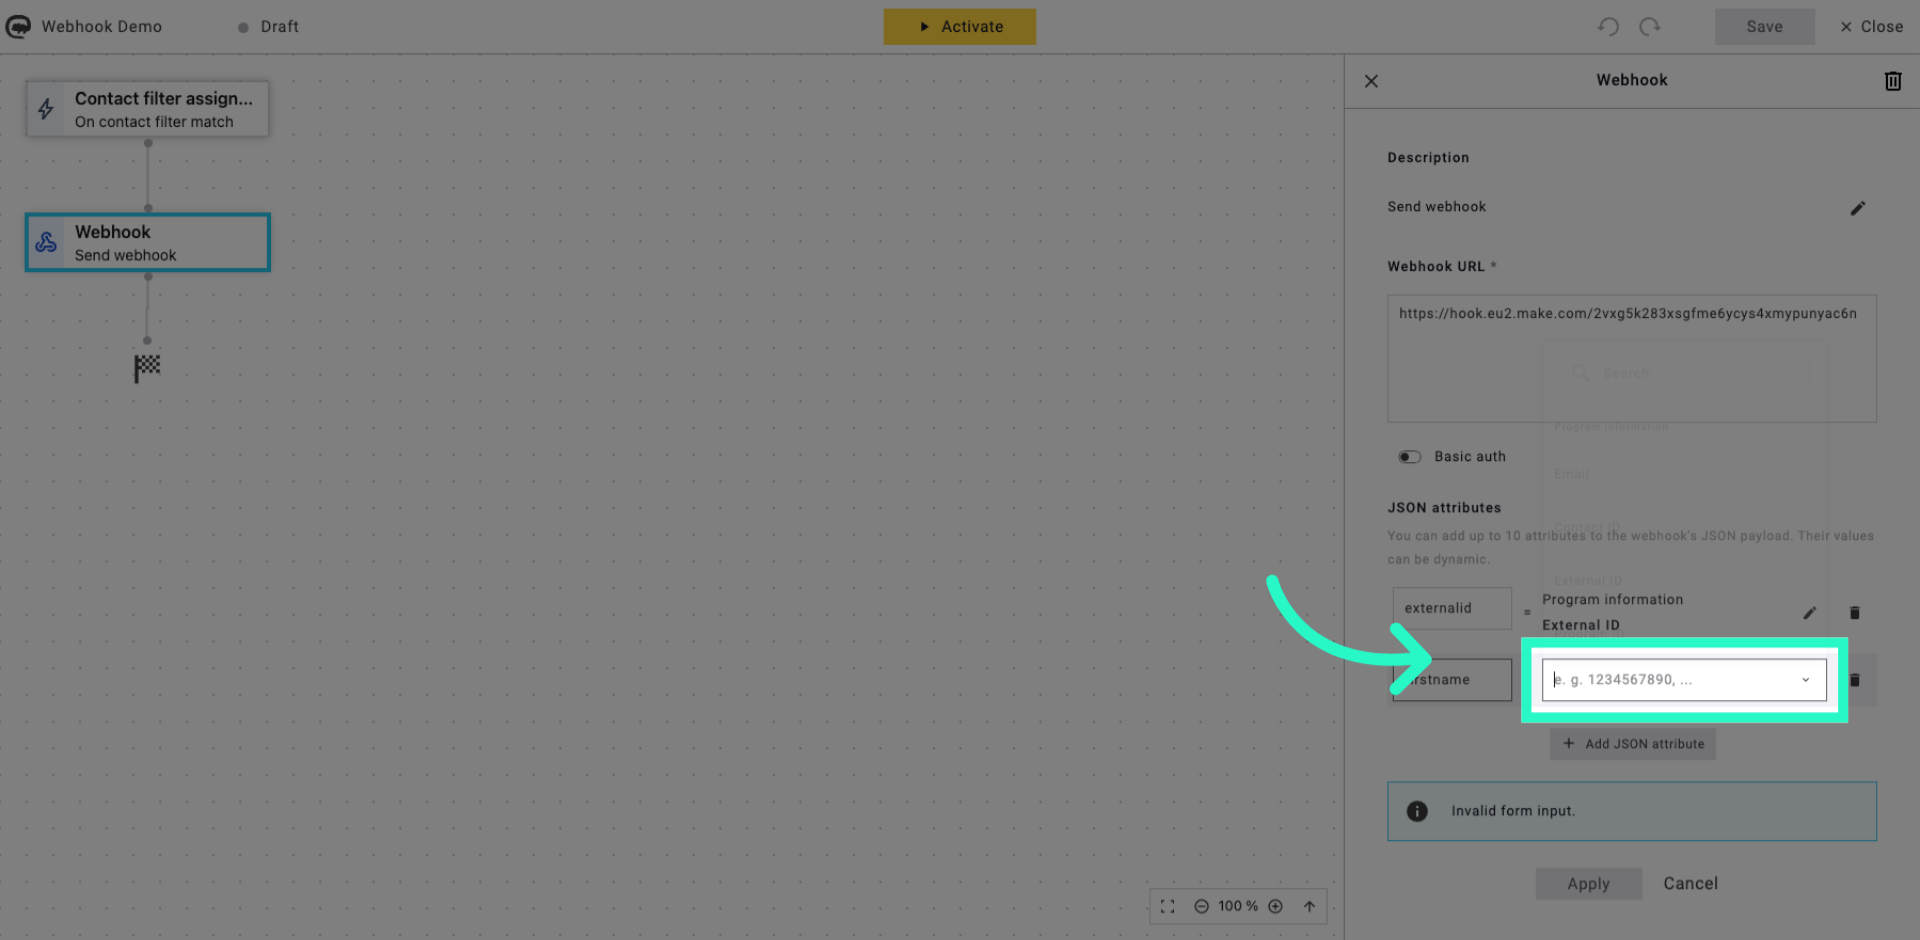
9. Choose External ID Attribute
Click External ID to map this JSON attribute to the corresponding data field.
10. Add Another JSON Attribute
Click Add JSON attribute to add more variables to the webhook data.
11. Select JSON Attribute Textbox
Click the textbox to enter the key name for the new JSON attribute.
12. Enter variable name (example: firstname)
Enter the key name firstname to include the user's first name in the webhook.
13. Select a contact field
Click the textbox to map the JSON attribute to the data field.
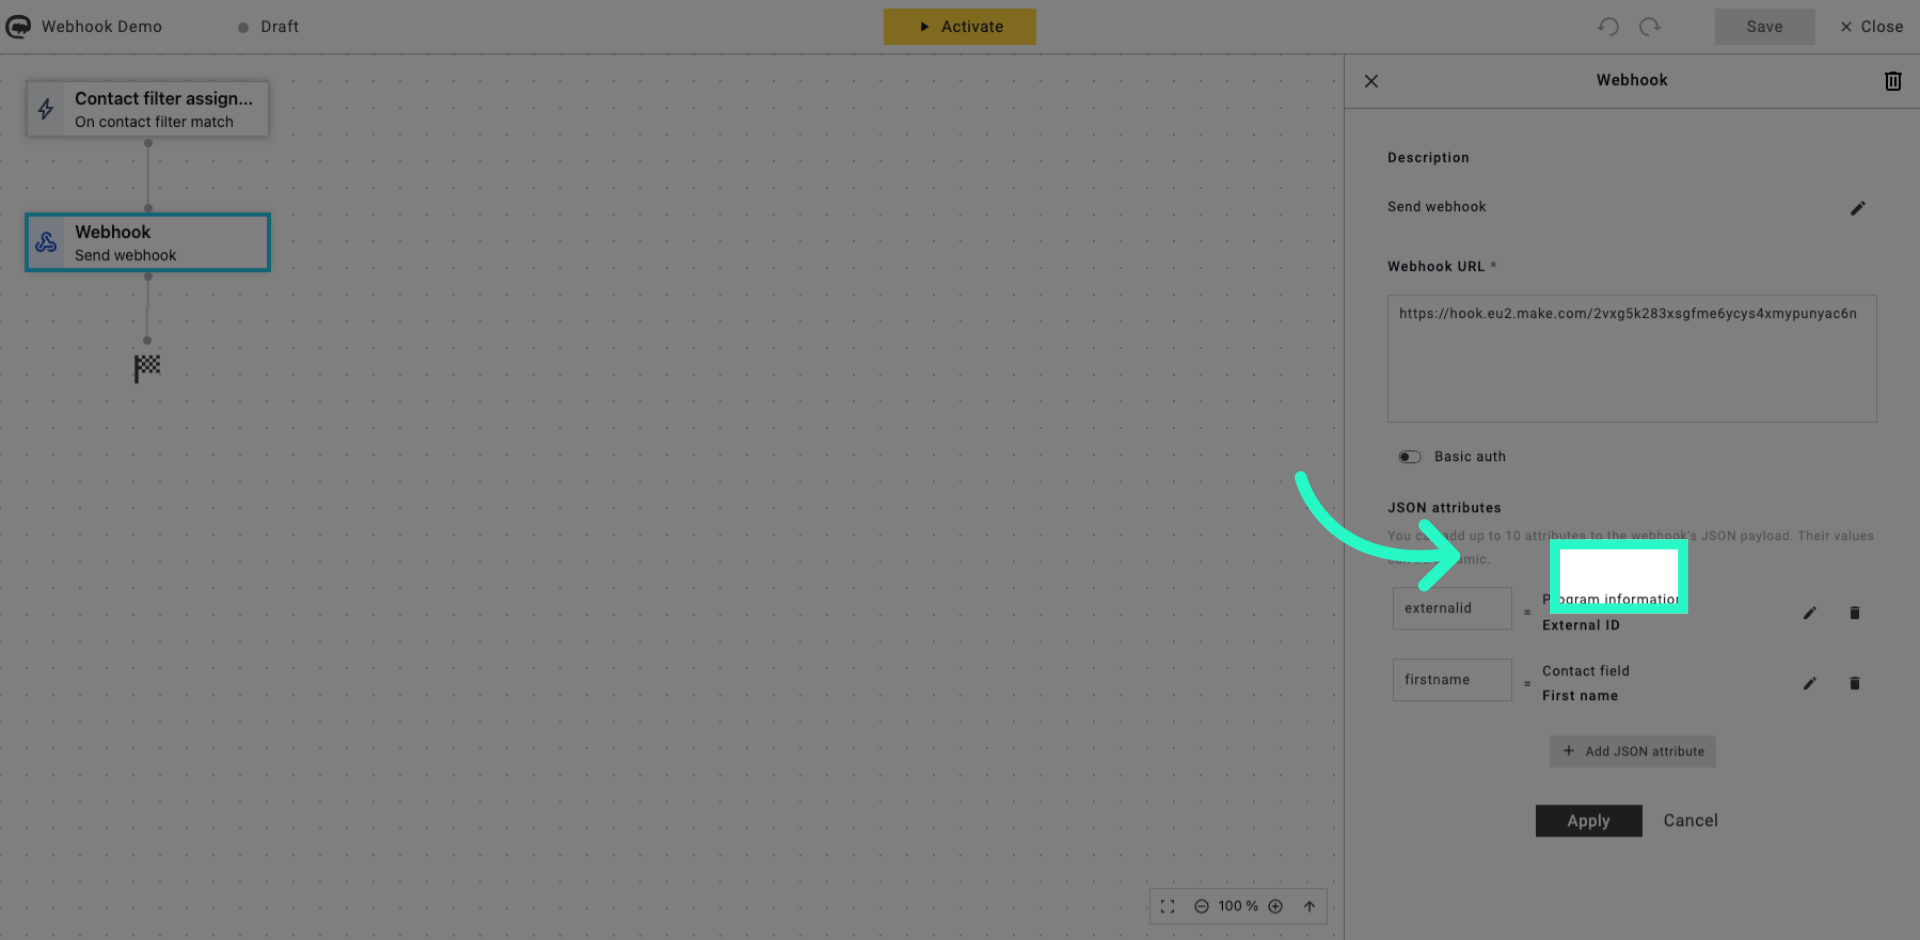
14. Choose First Name Attribute
Click First name to link this JSON attribute to the user's first name data.
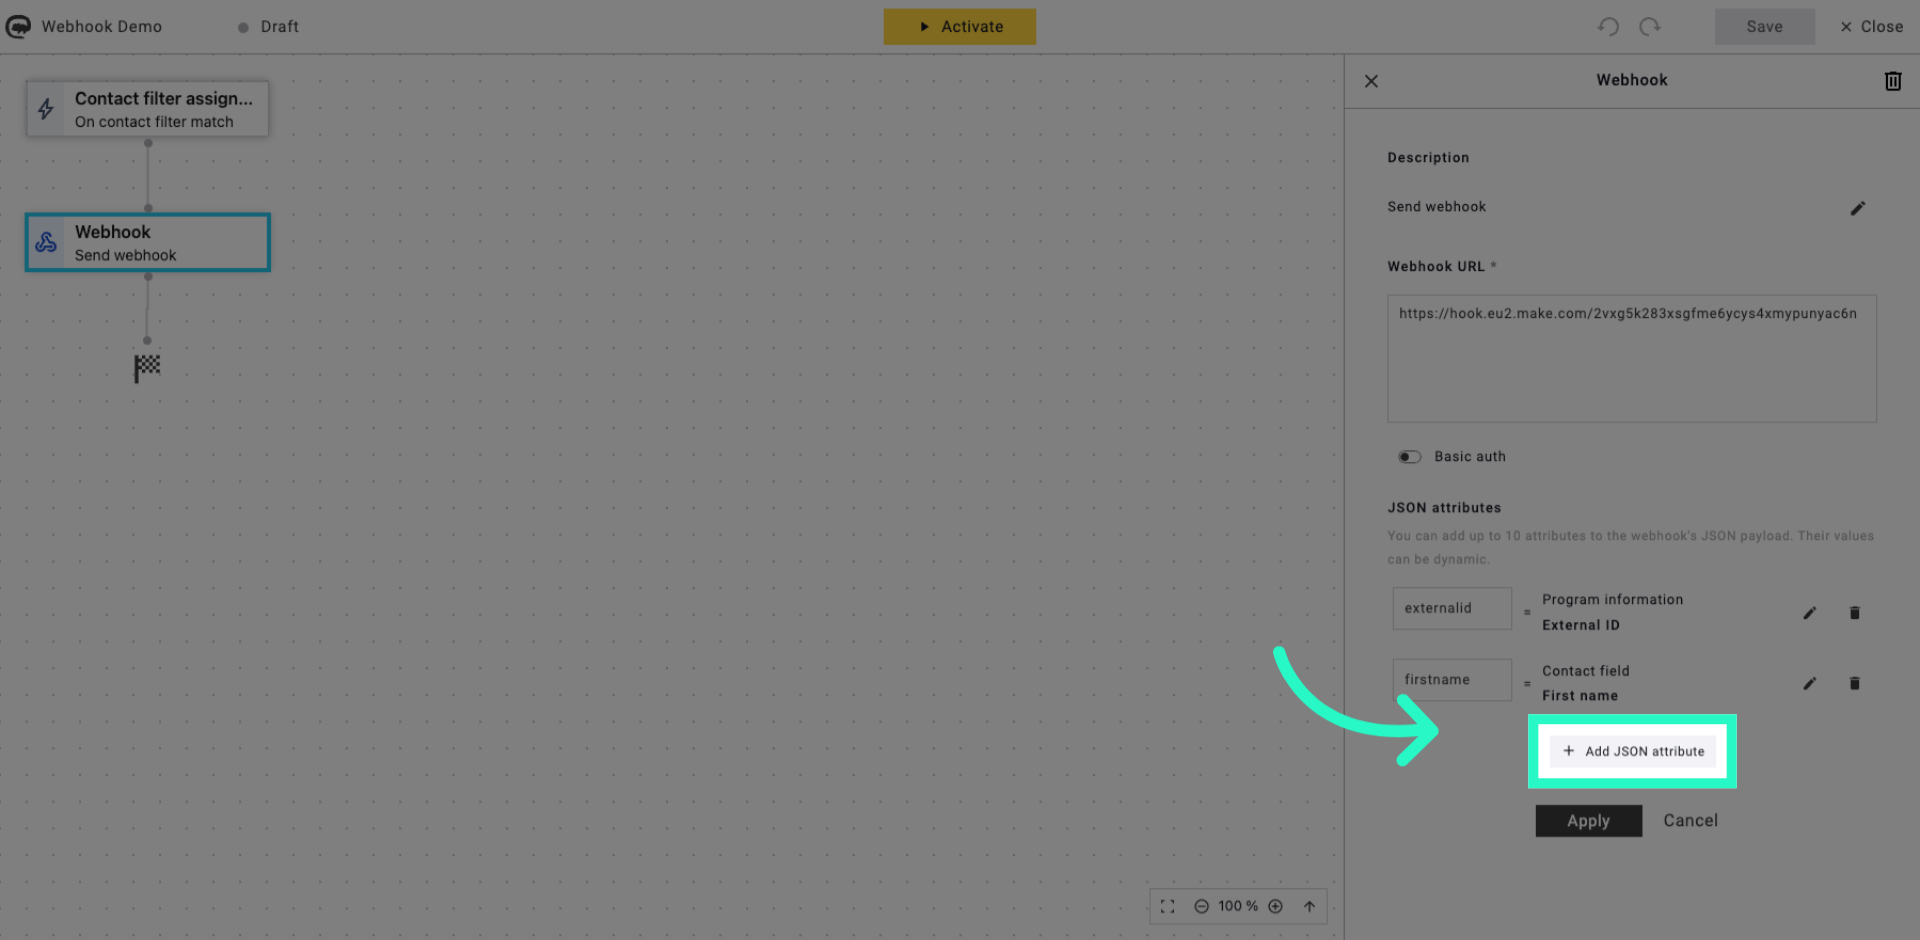
15. Add Additional JSON Attribute
Click Add JSON attribute to continue adding variables to the webhook payload.
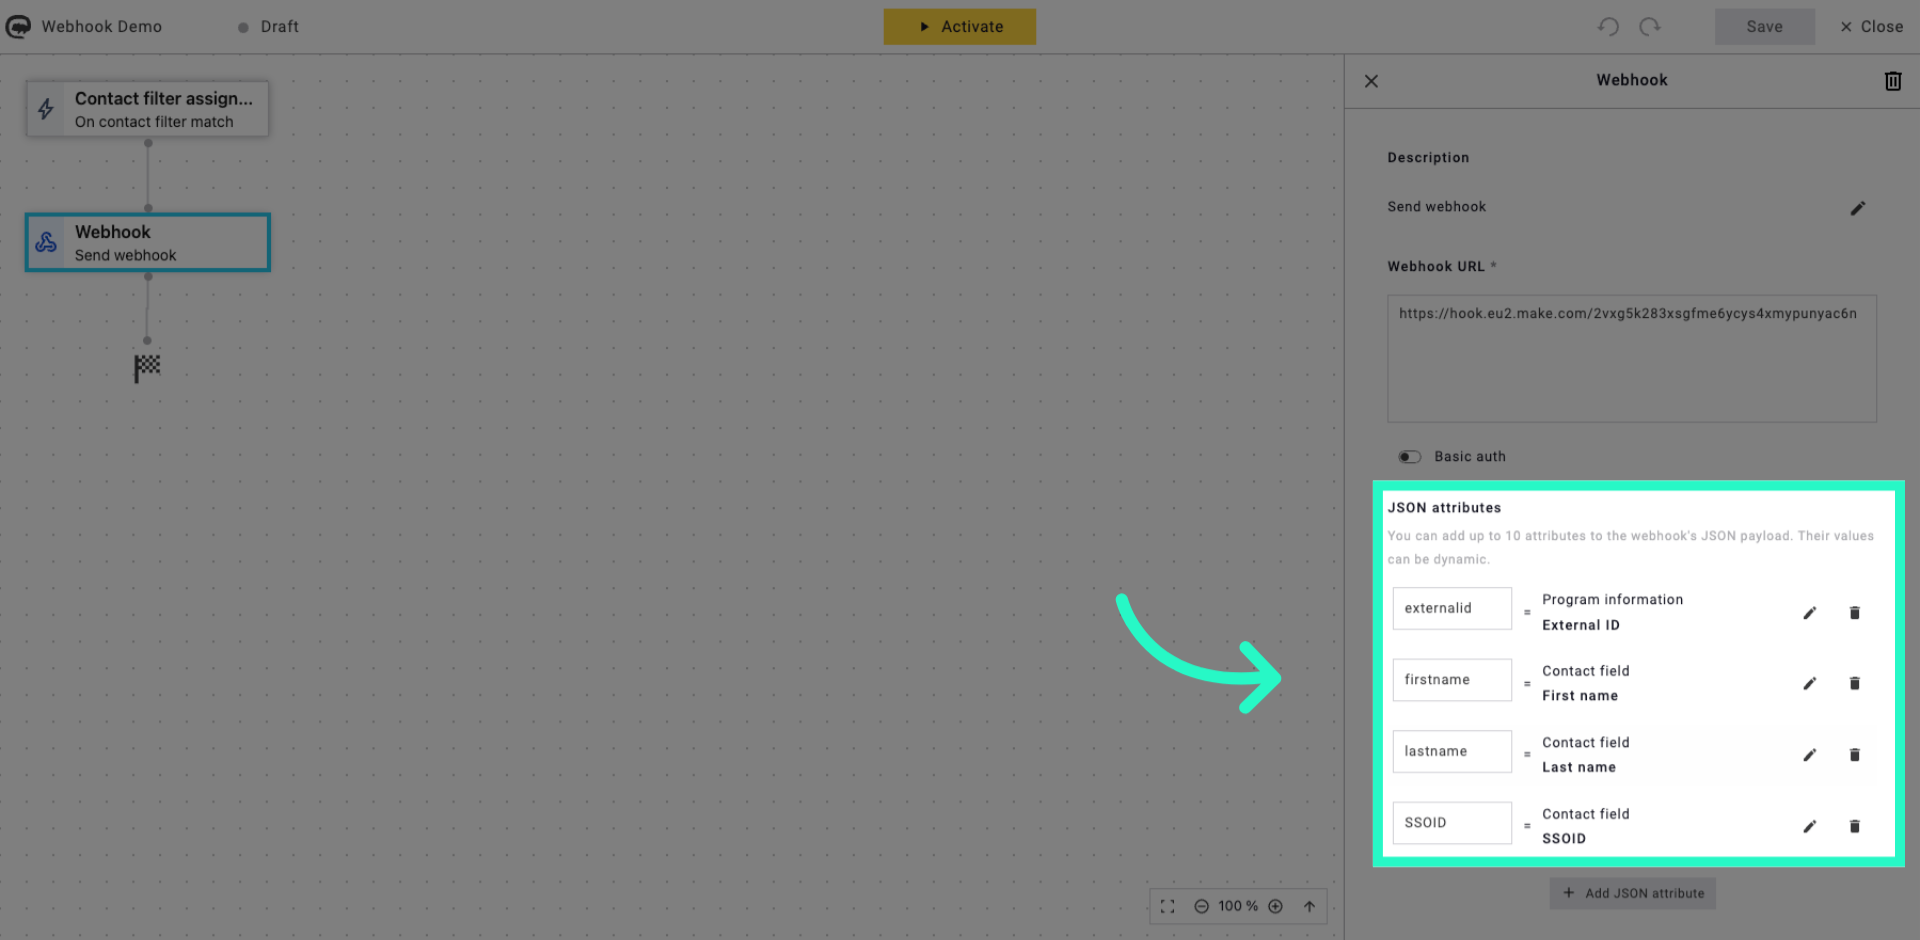
16. Choose SSOID Attribute
Click SSOID to link this JSON attribute to the single sign-on identifier.
17. Apply Webhook Configuration
Click Apply to confirm and apply all JSON attribute settings to the webhook.

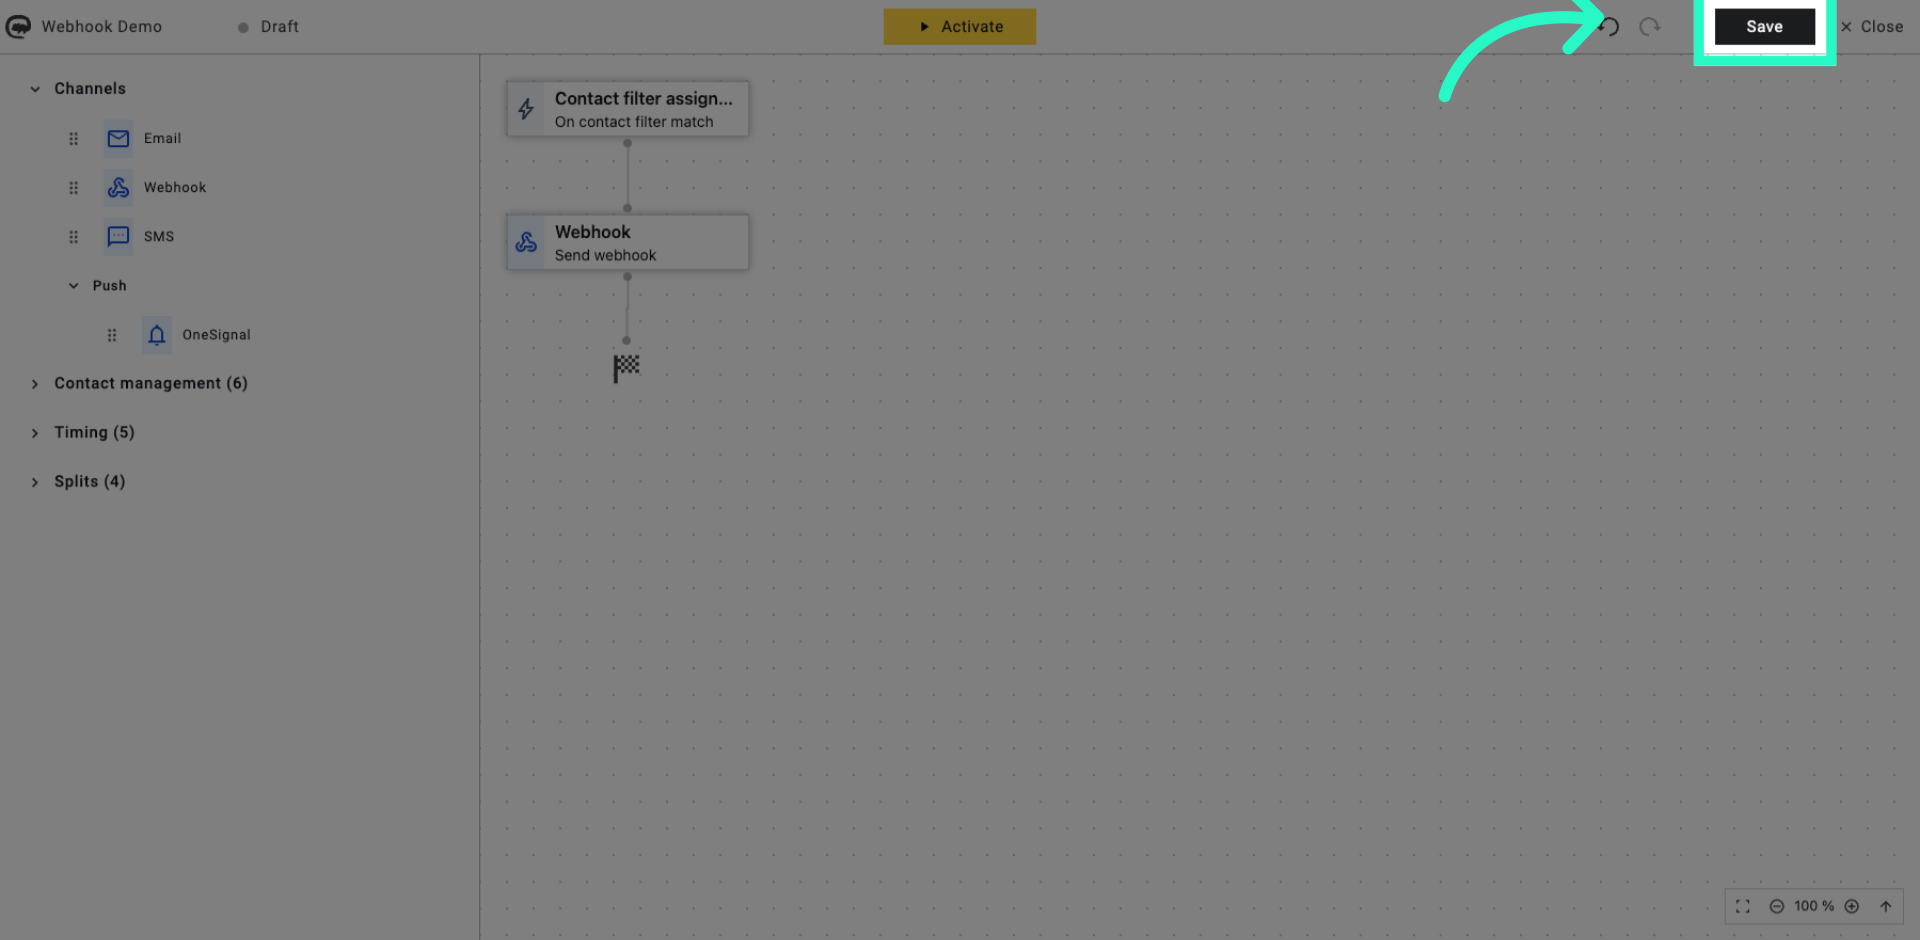
18. Save Webhook Setup
Click Save to finalise and store your webhook configuration for marketing automation.
You have successfully configured multiple JSON attributes and sent them to a webhook address in Maileon. This setup enables automated data transmission for your marketing campaigns.