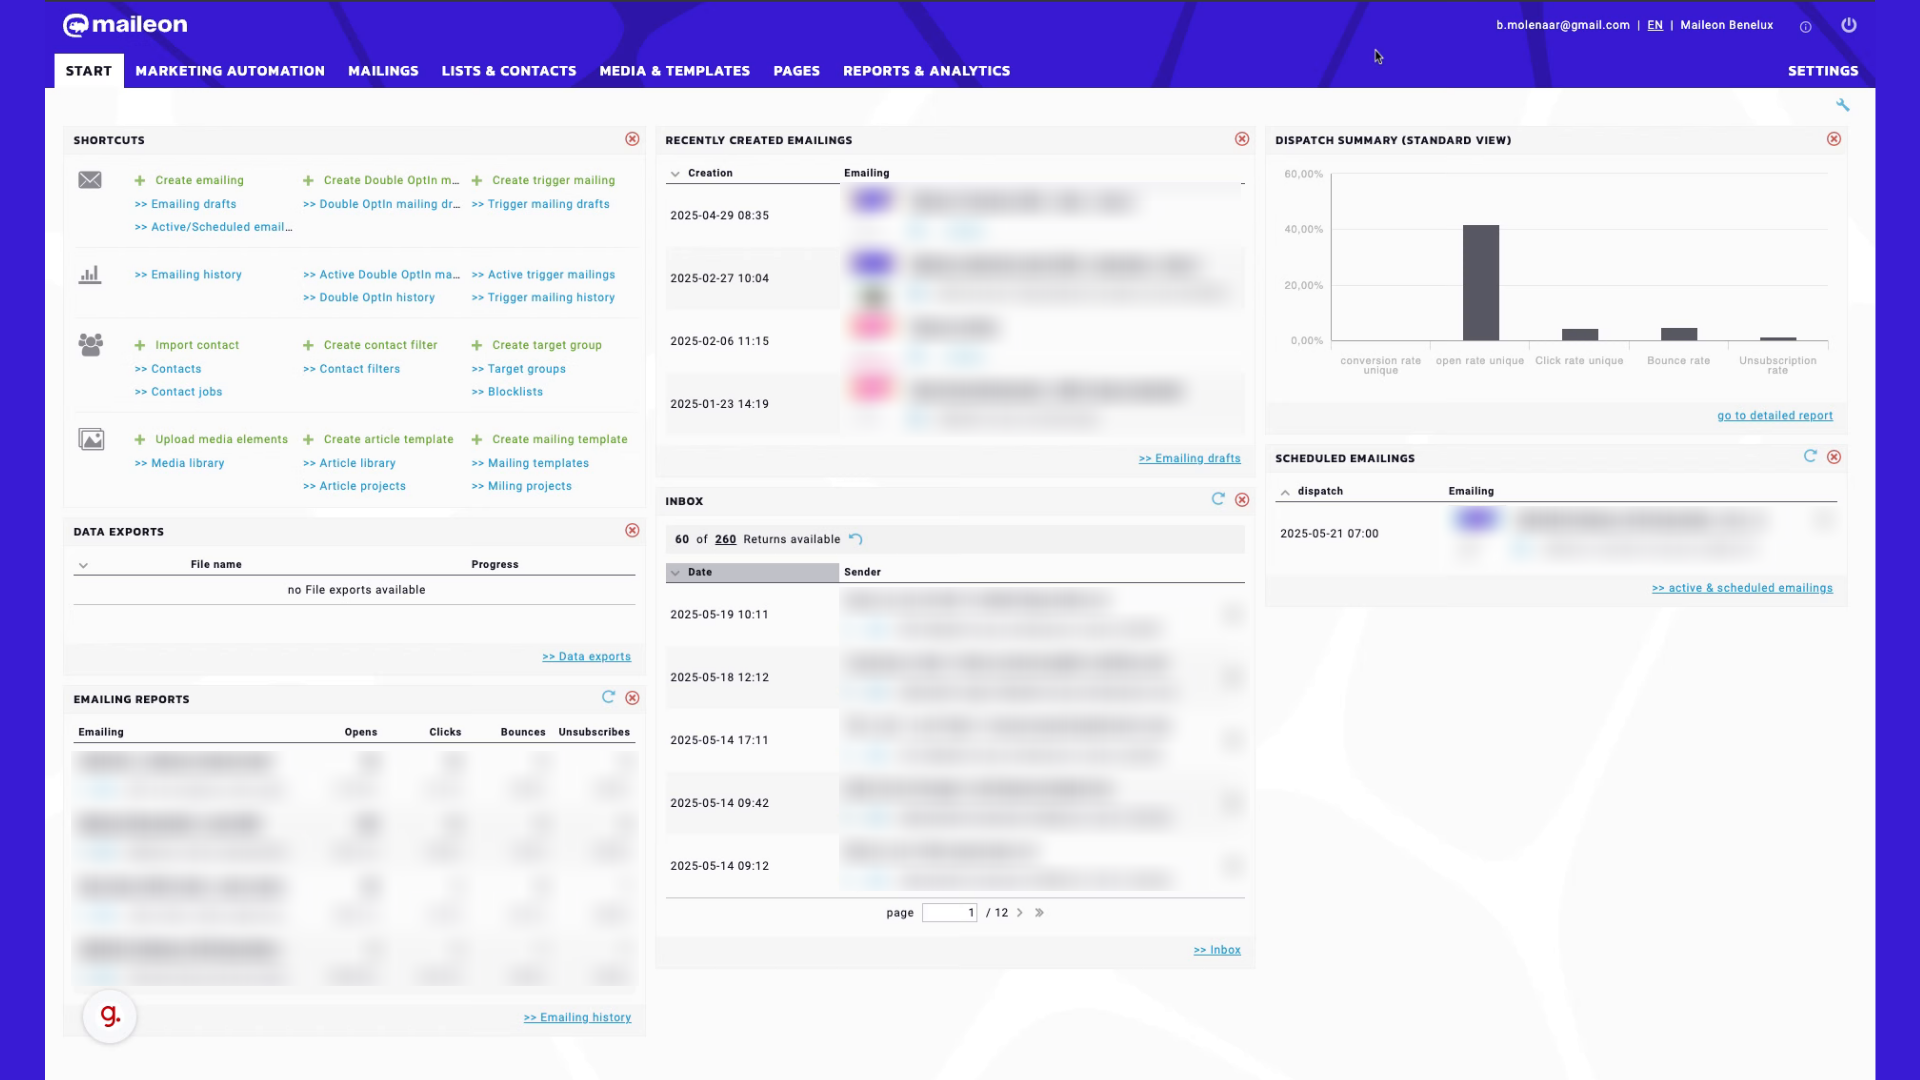
Learn how to efficiently set up account reporting emails in Maileon
Go to www.maileon.com
1. Introduction
Follow the engaging instructions below to configure your email reporting preferences seamlessly.
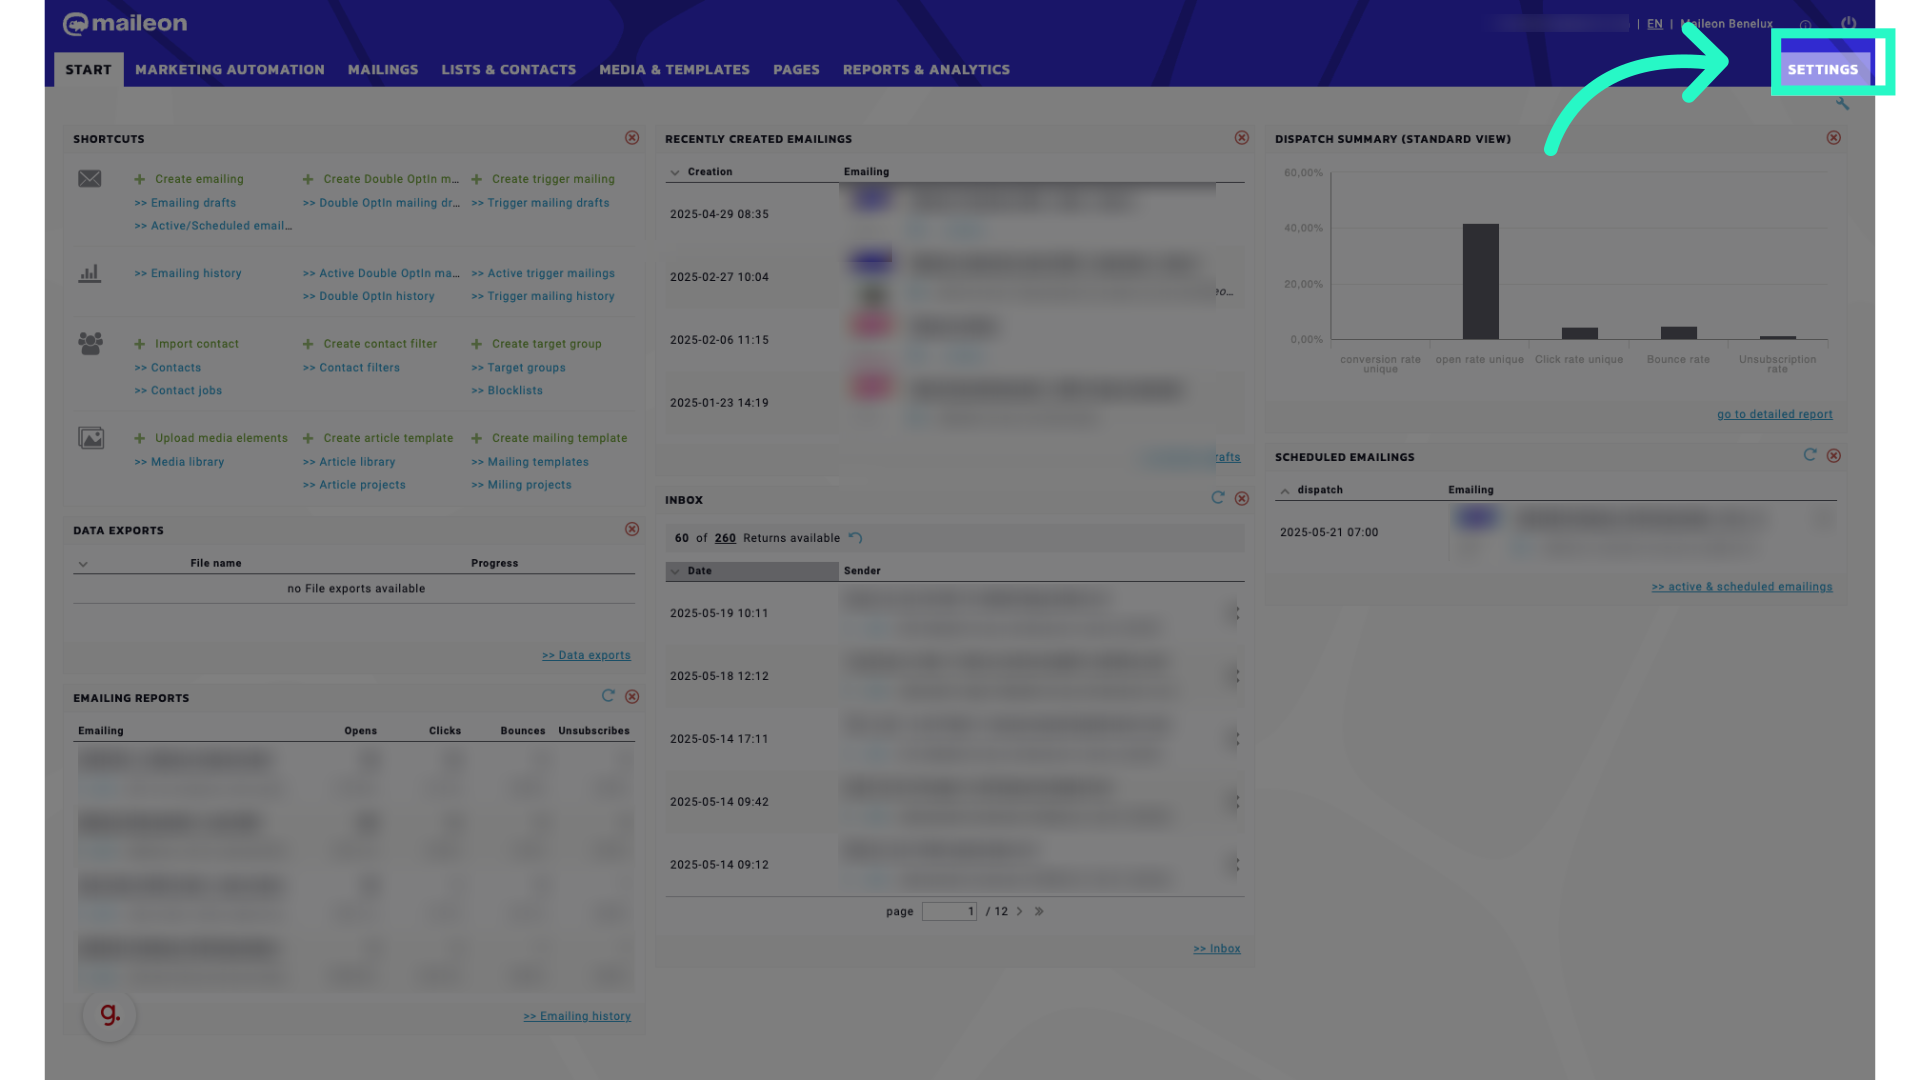
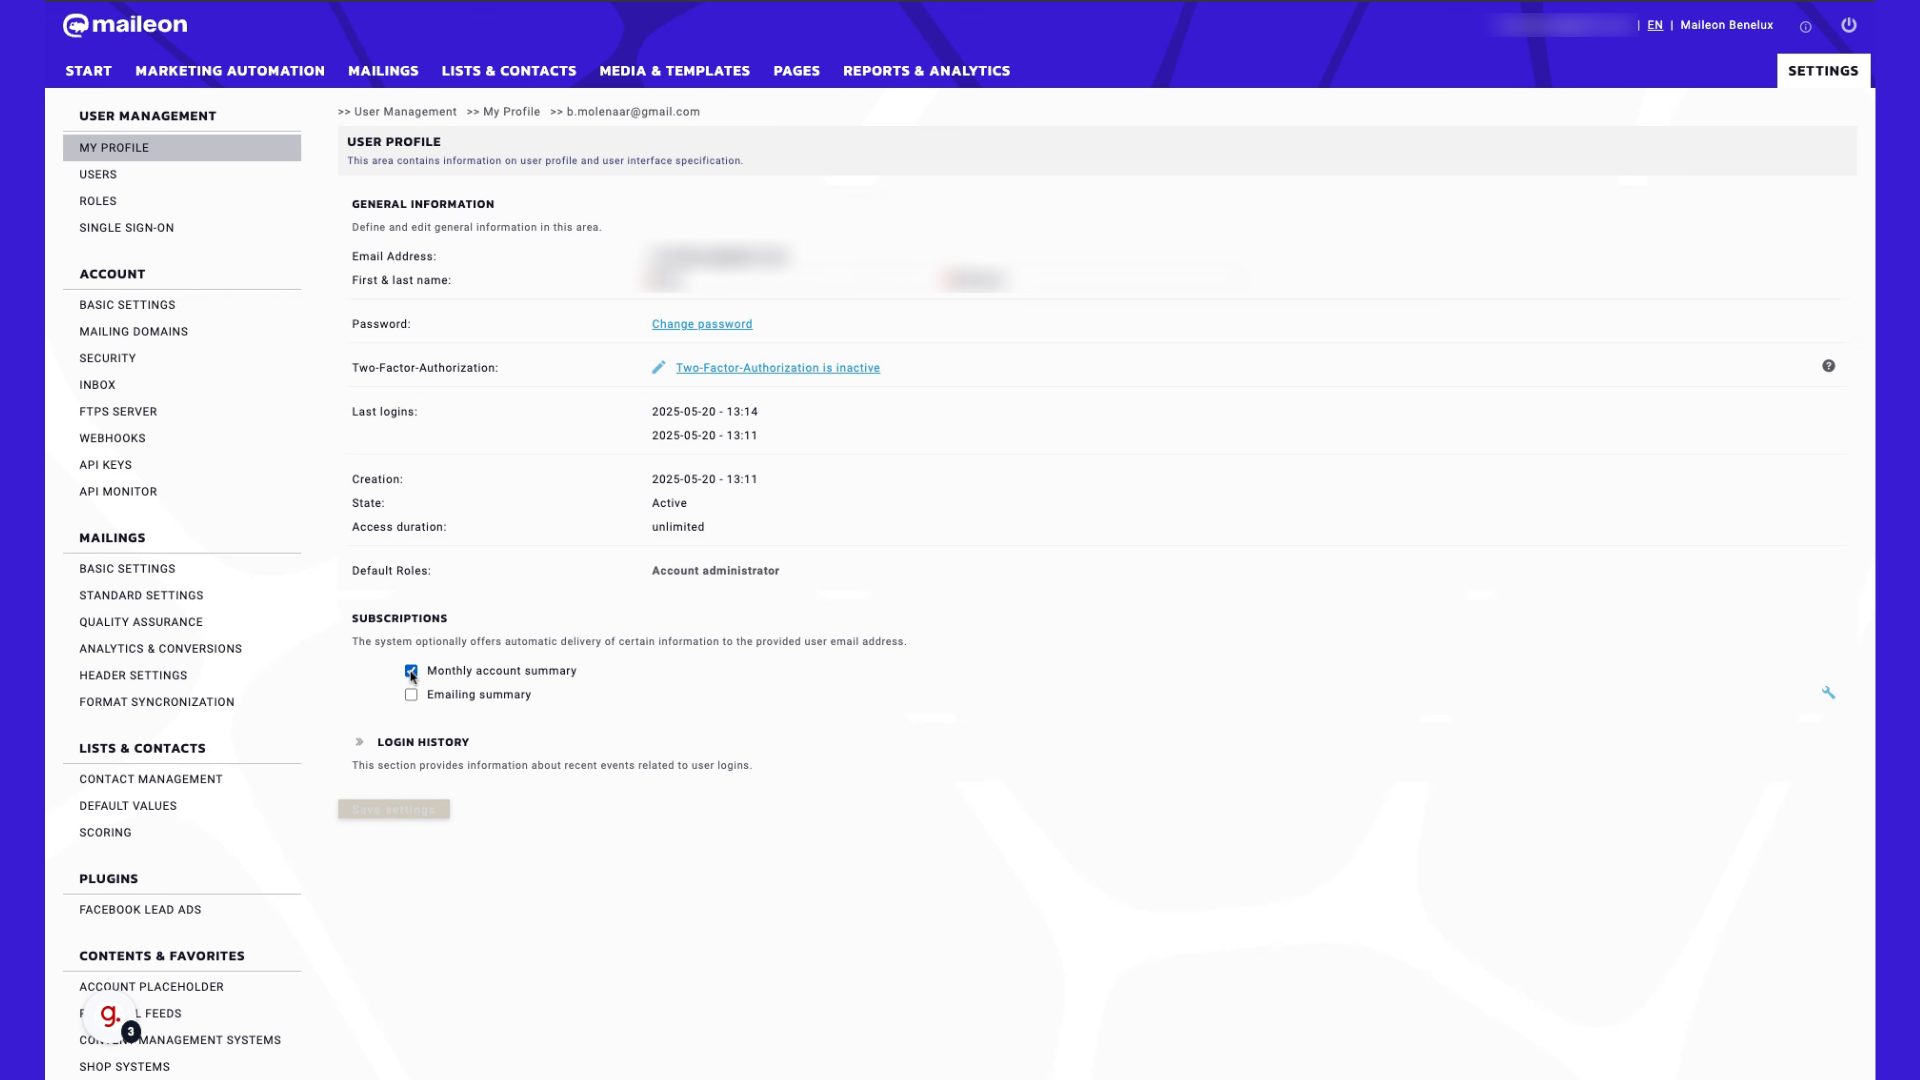
2. Click "Settings"
Access the settings to configure account reporting emails.
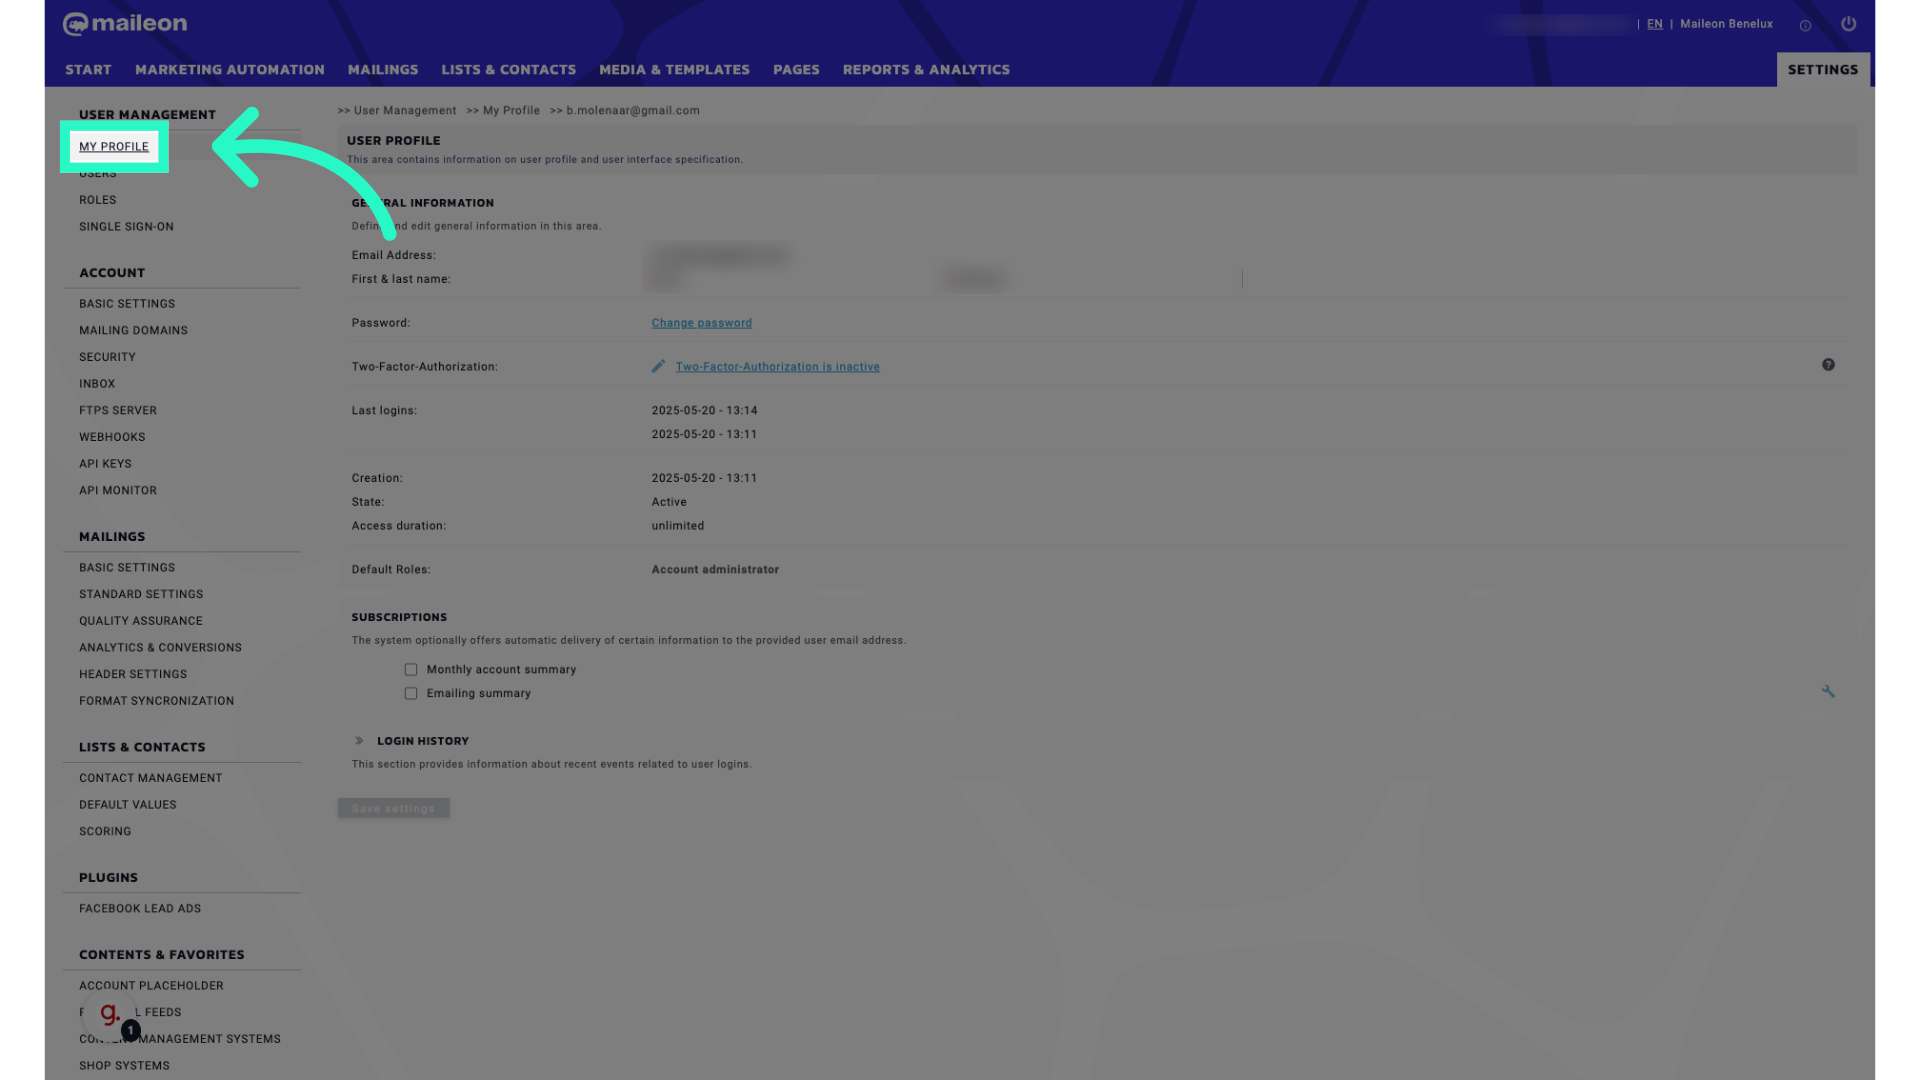
3. Click "My Profile"
Navigate to your profile settings.
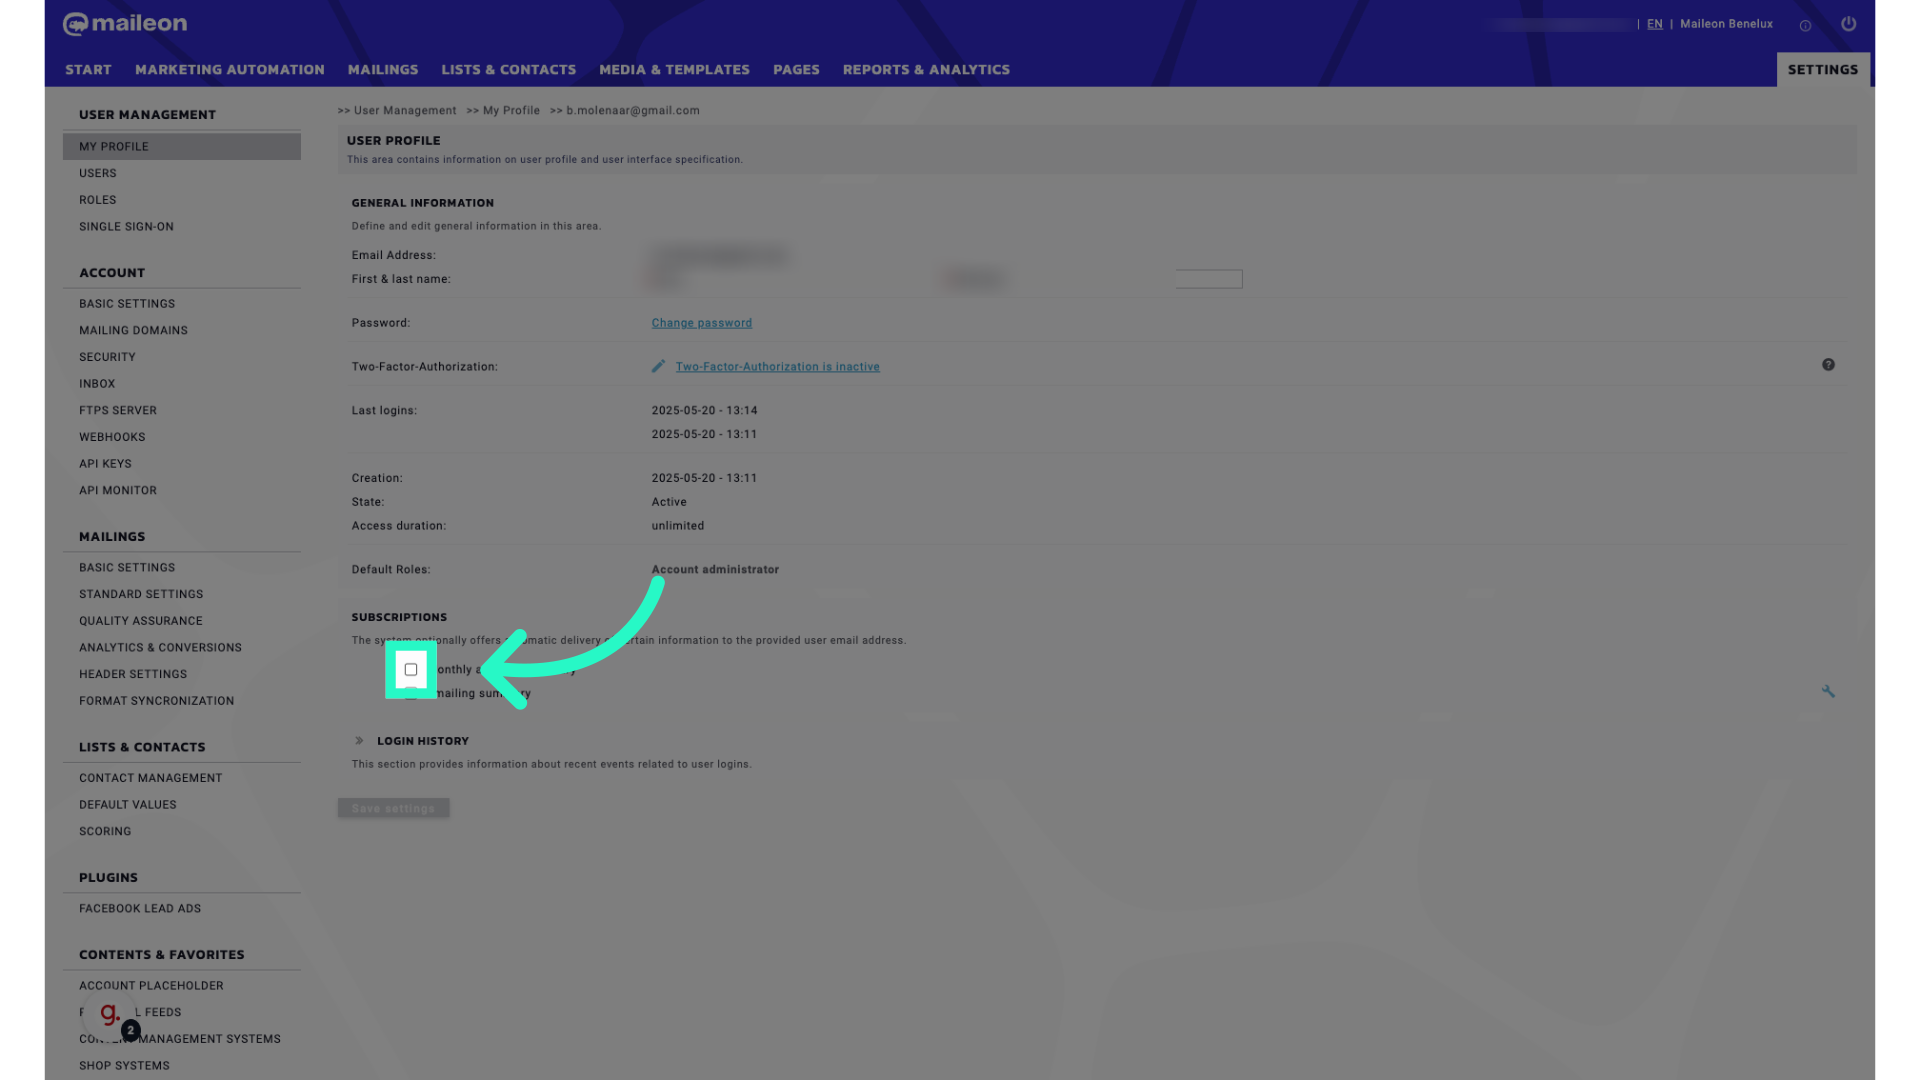
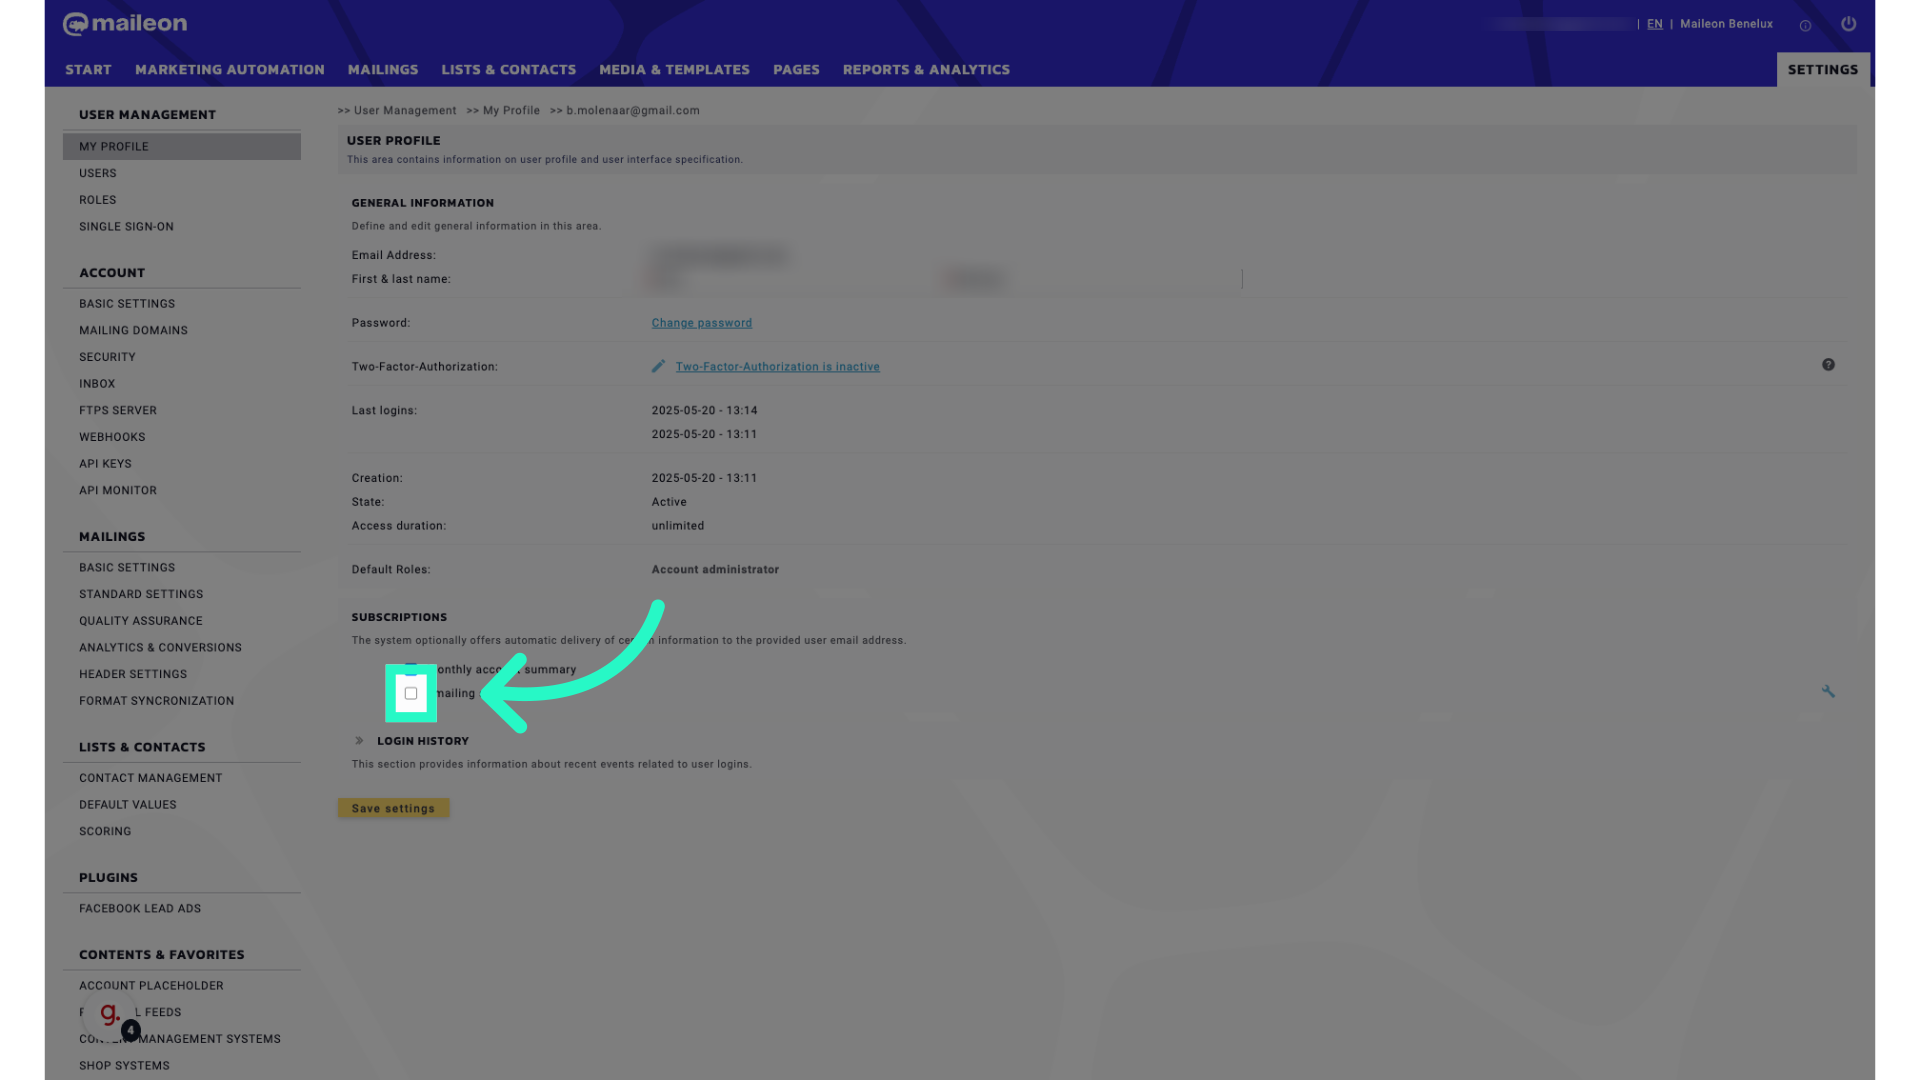
4. Click "true"
Select the option labeled "true."
5. Fill "true"
Fill in "true"
6. Click "true"
Choose the option labeled "true."
7. Fill "true"
Enter "true" in the provided field

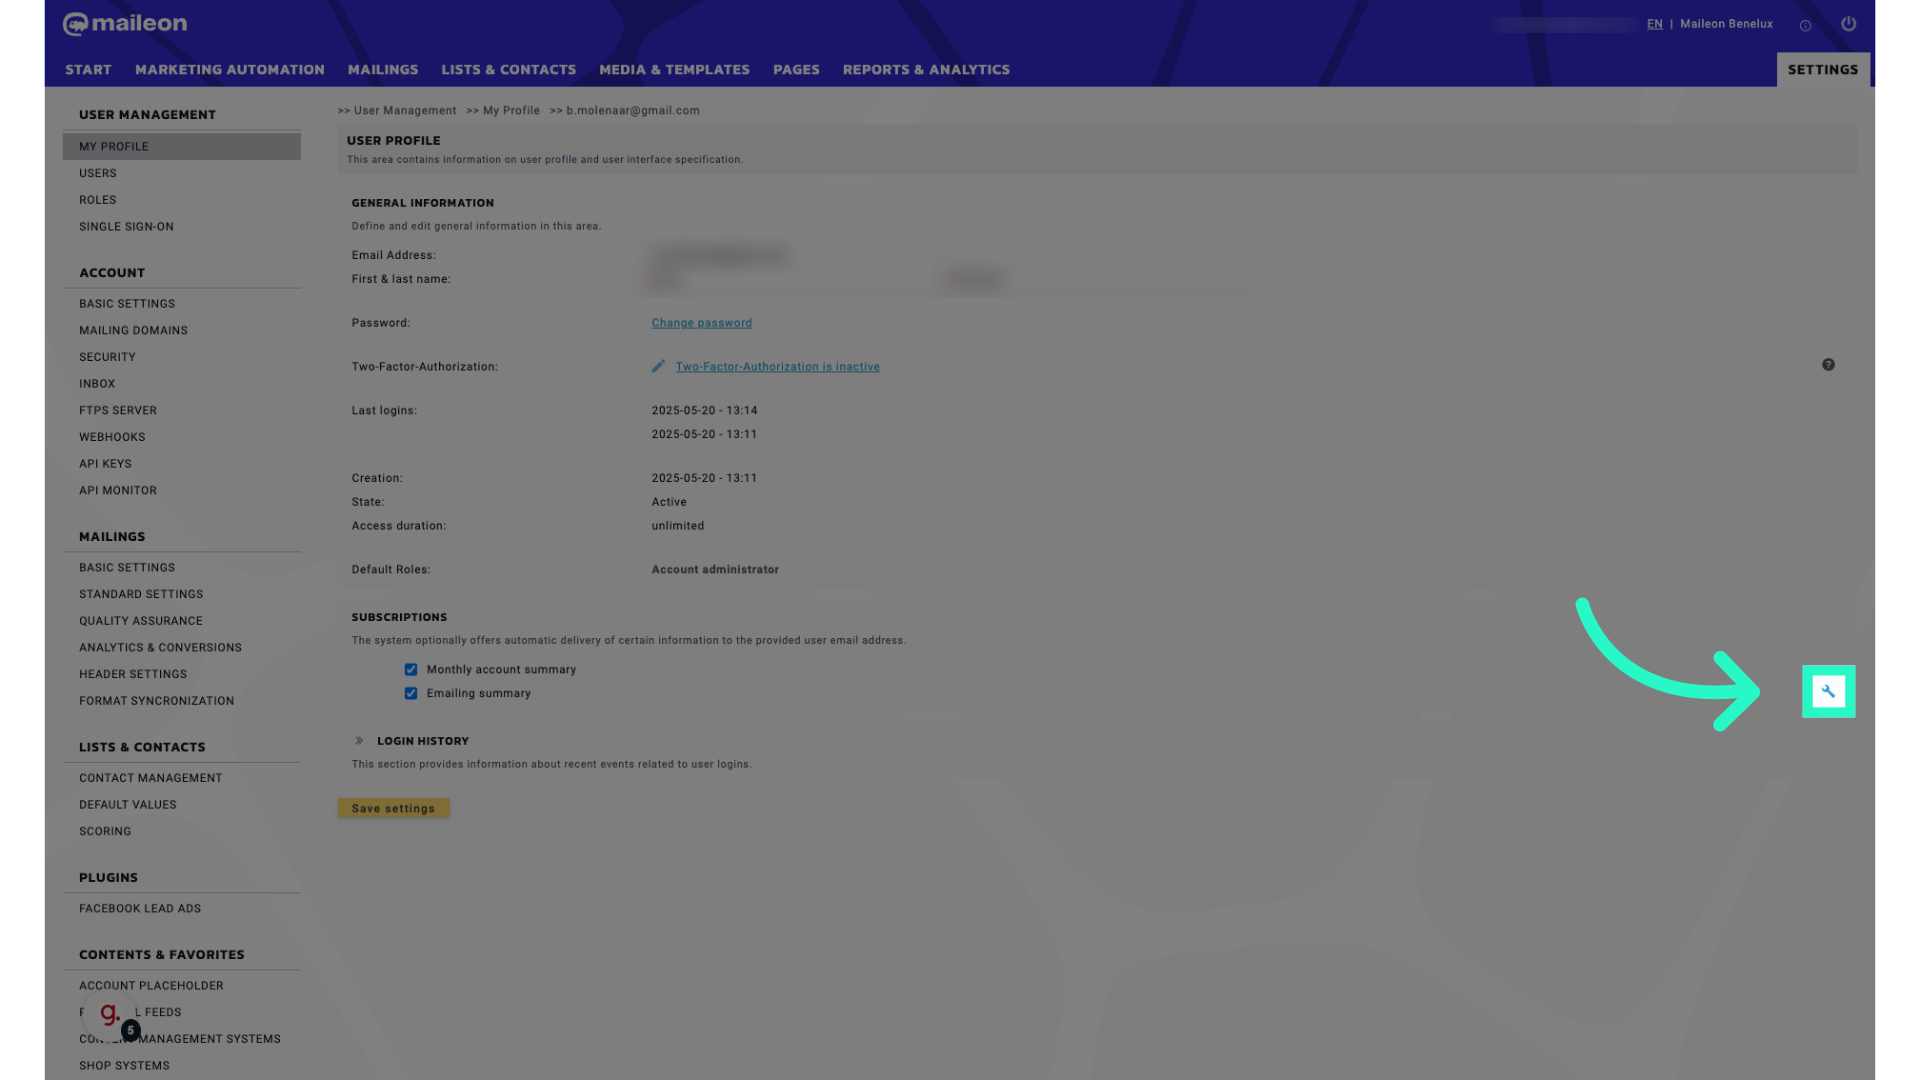
8. Click here for more settings
Click on the specified link.
9. Select the number of days when a report will be dispatched
Enter the code "1234567."
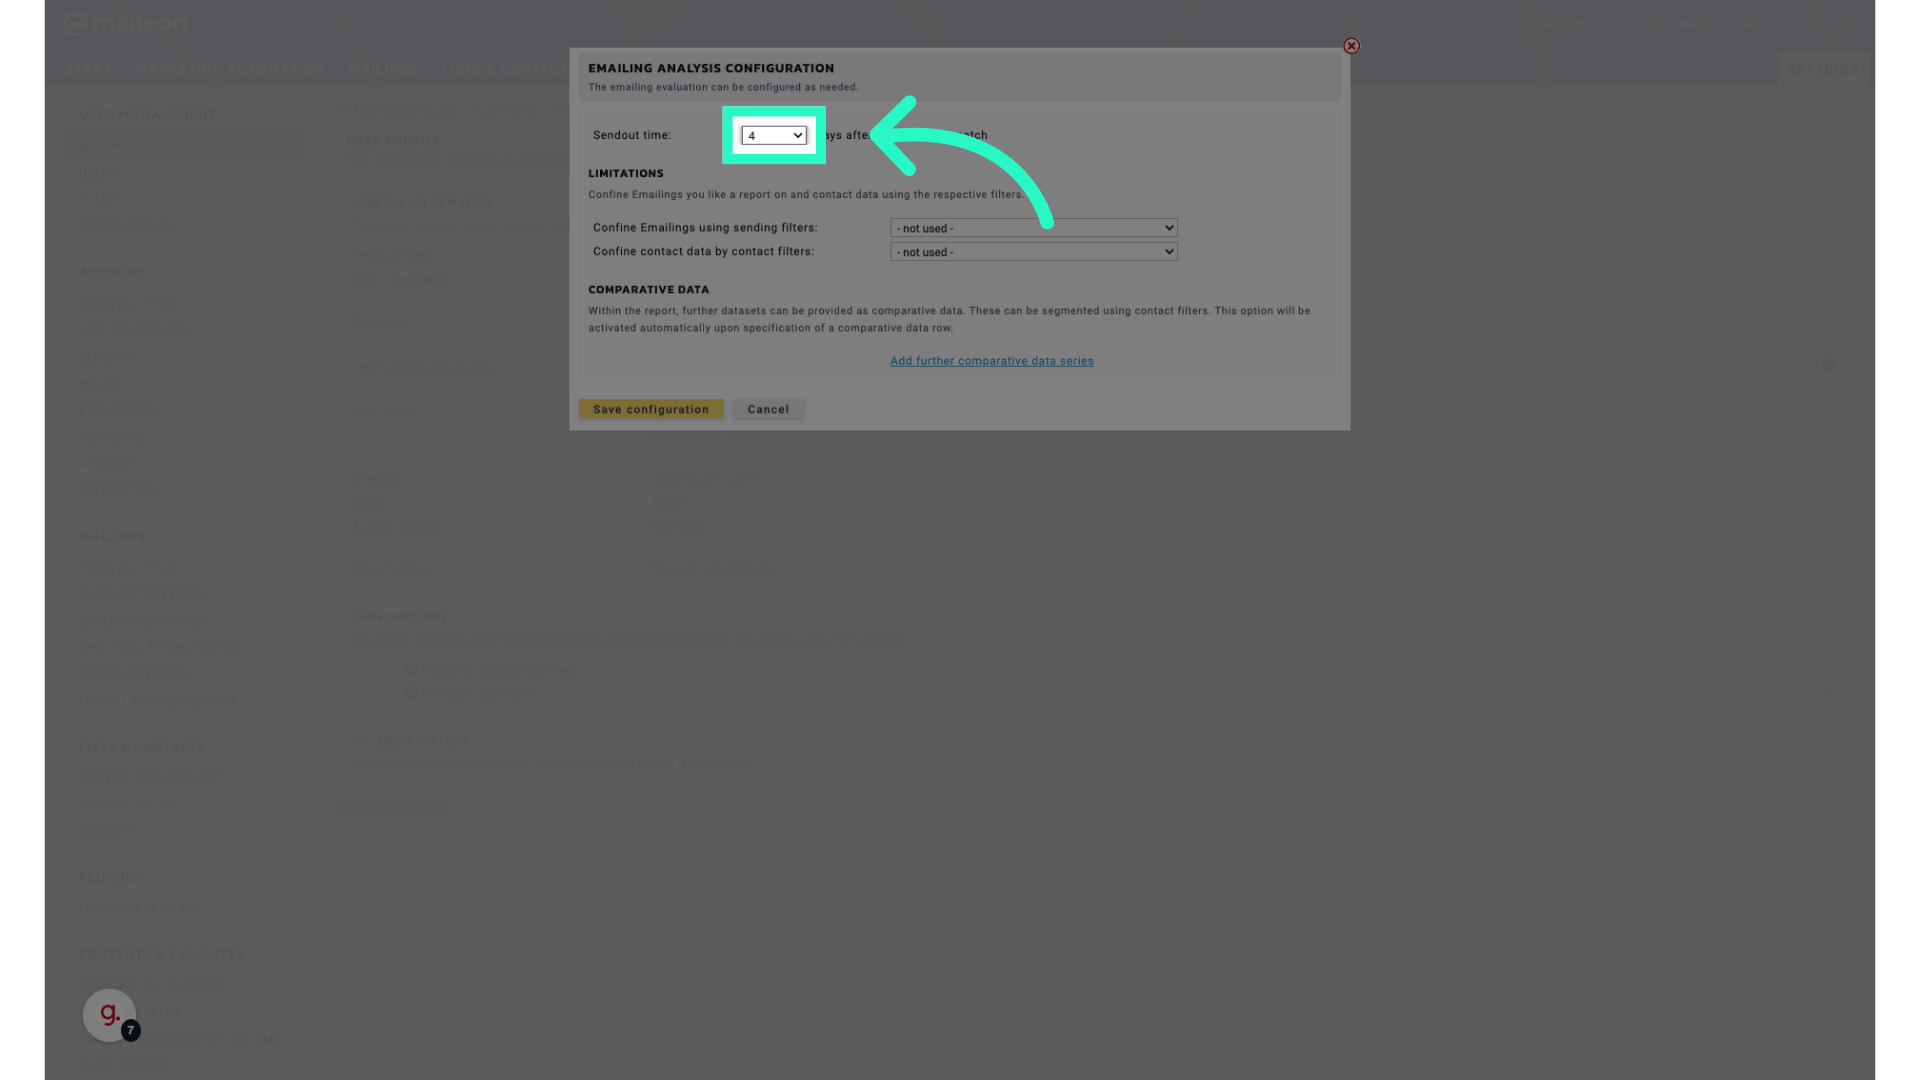
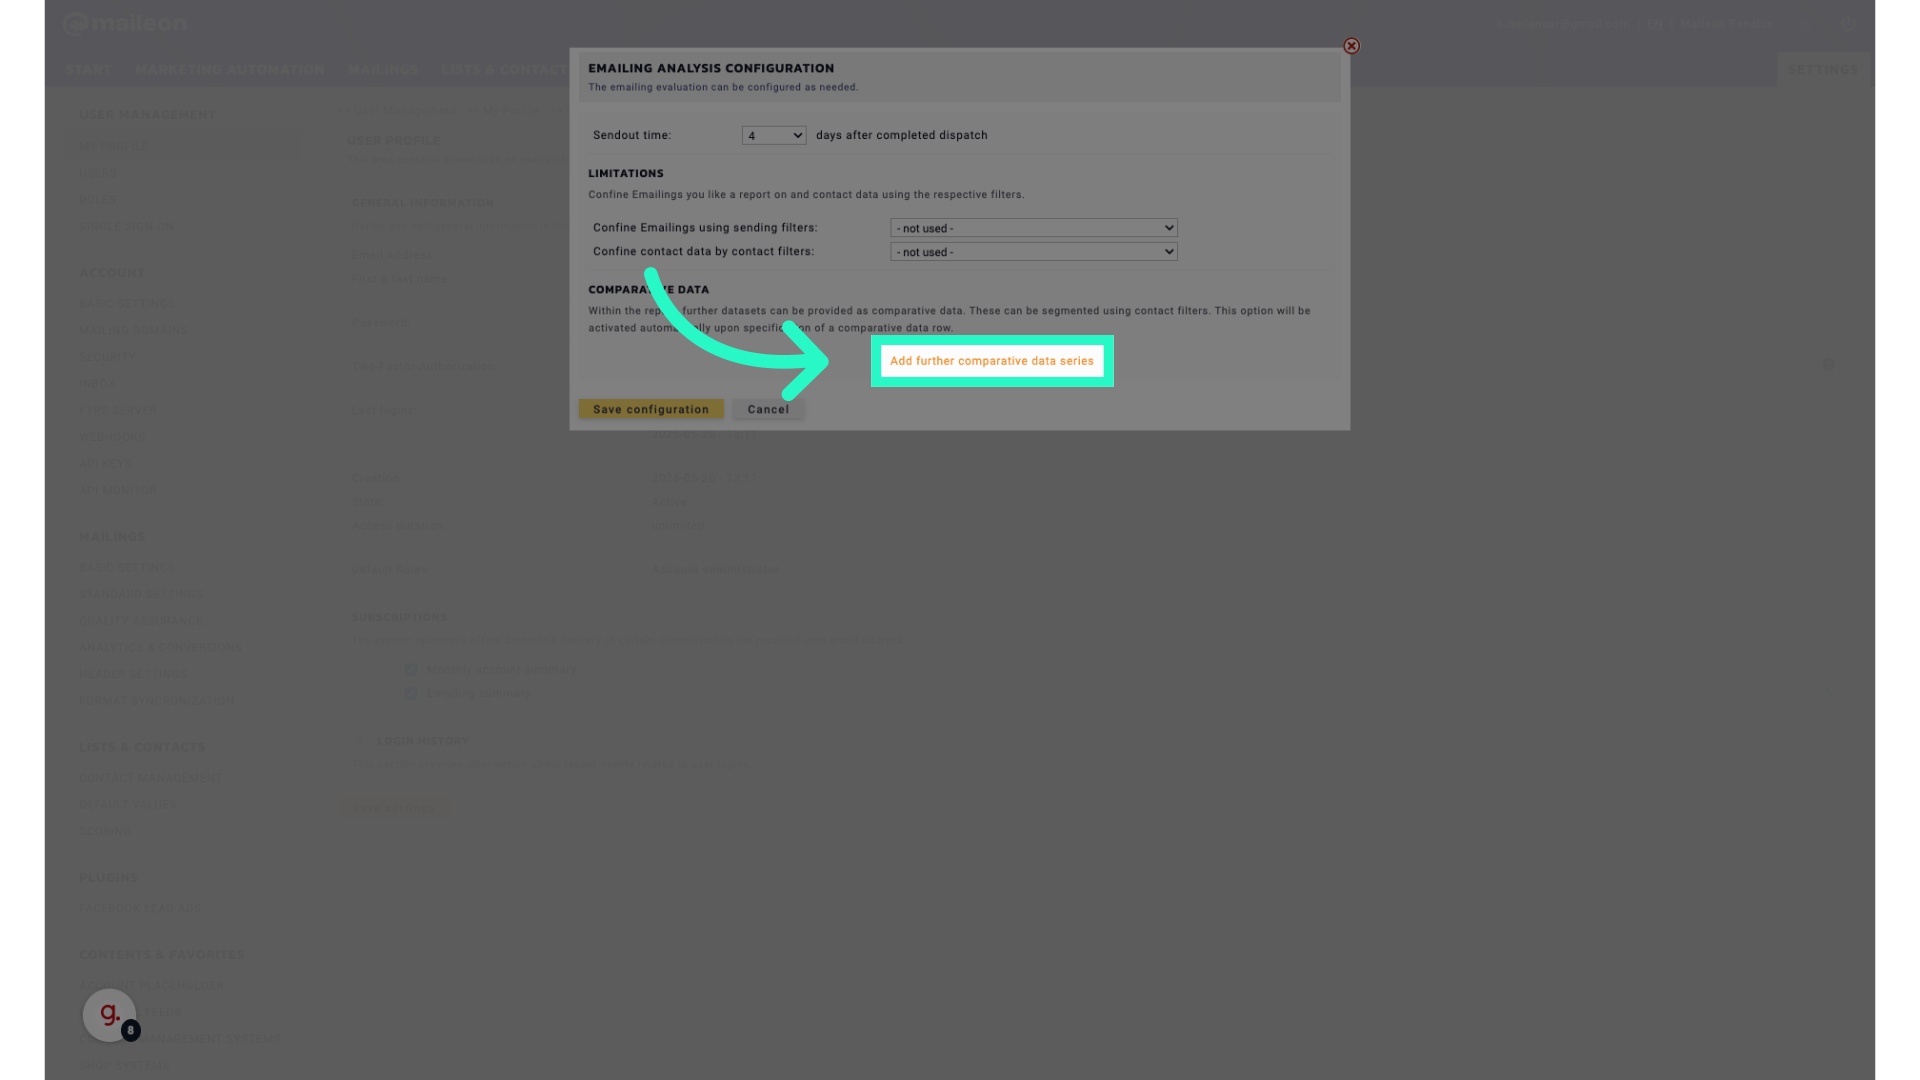
10. Select comparitive data (if required)
Add additional data series for comparison.
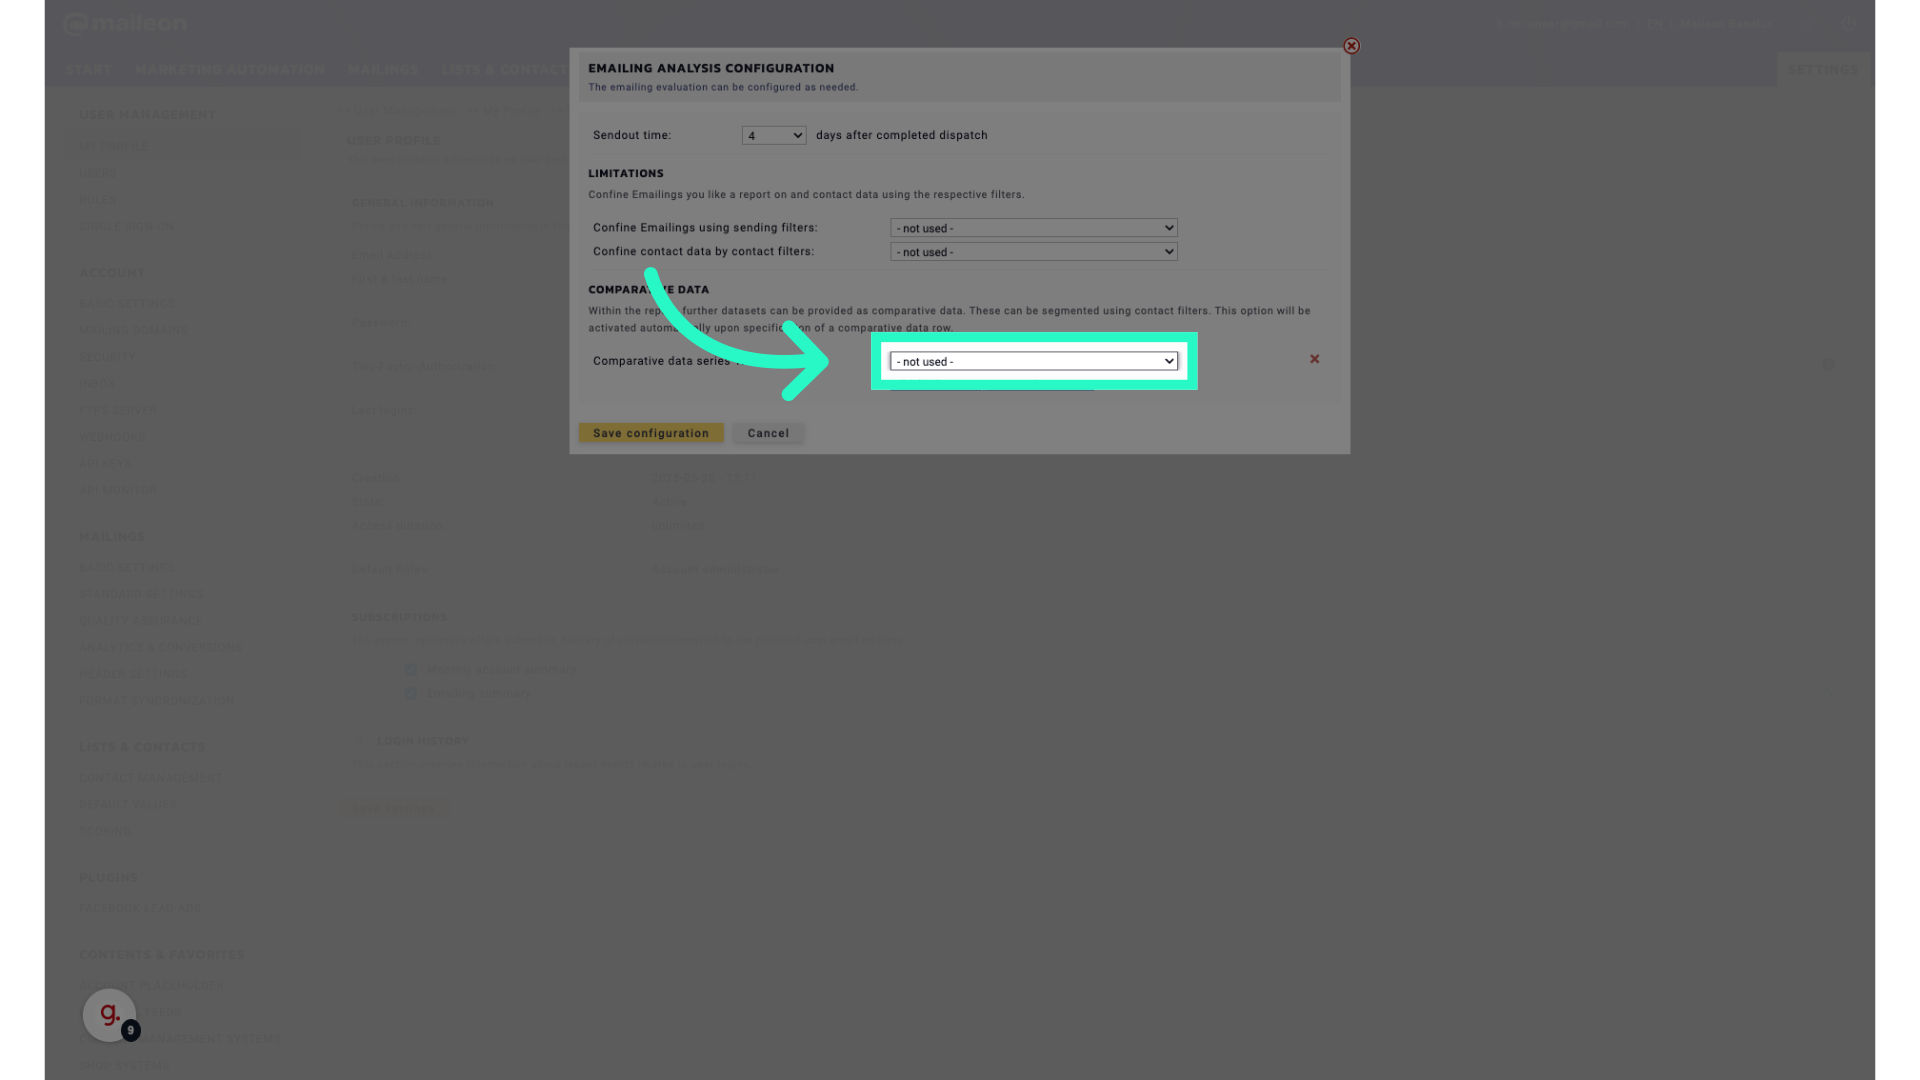
11. Select a contact filter
Select the relevant data series.
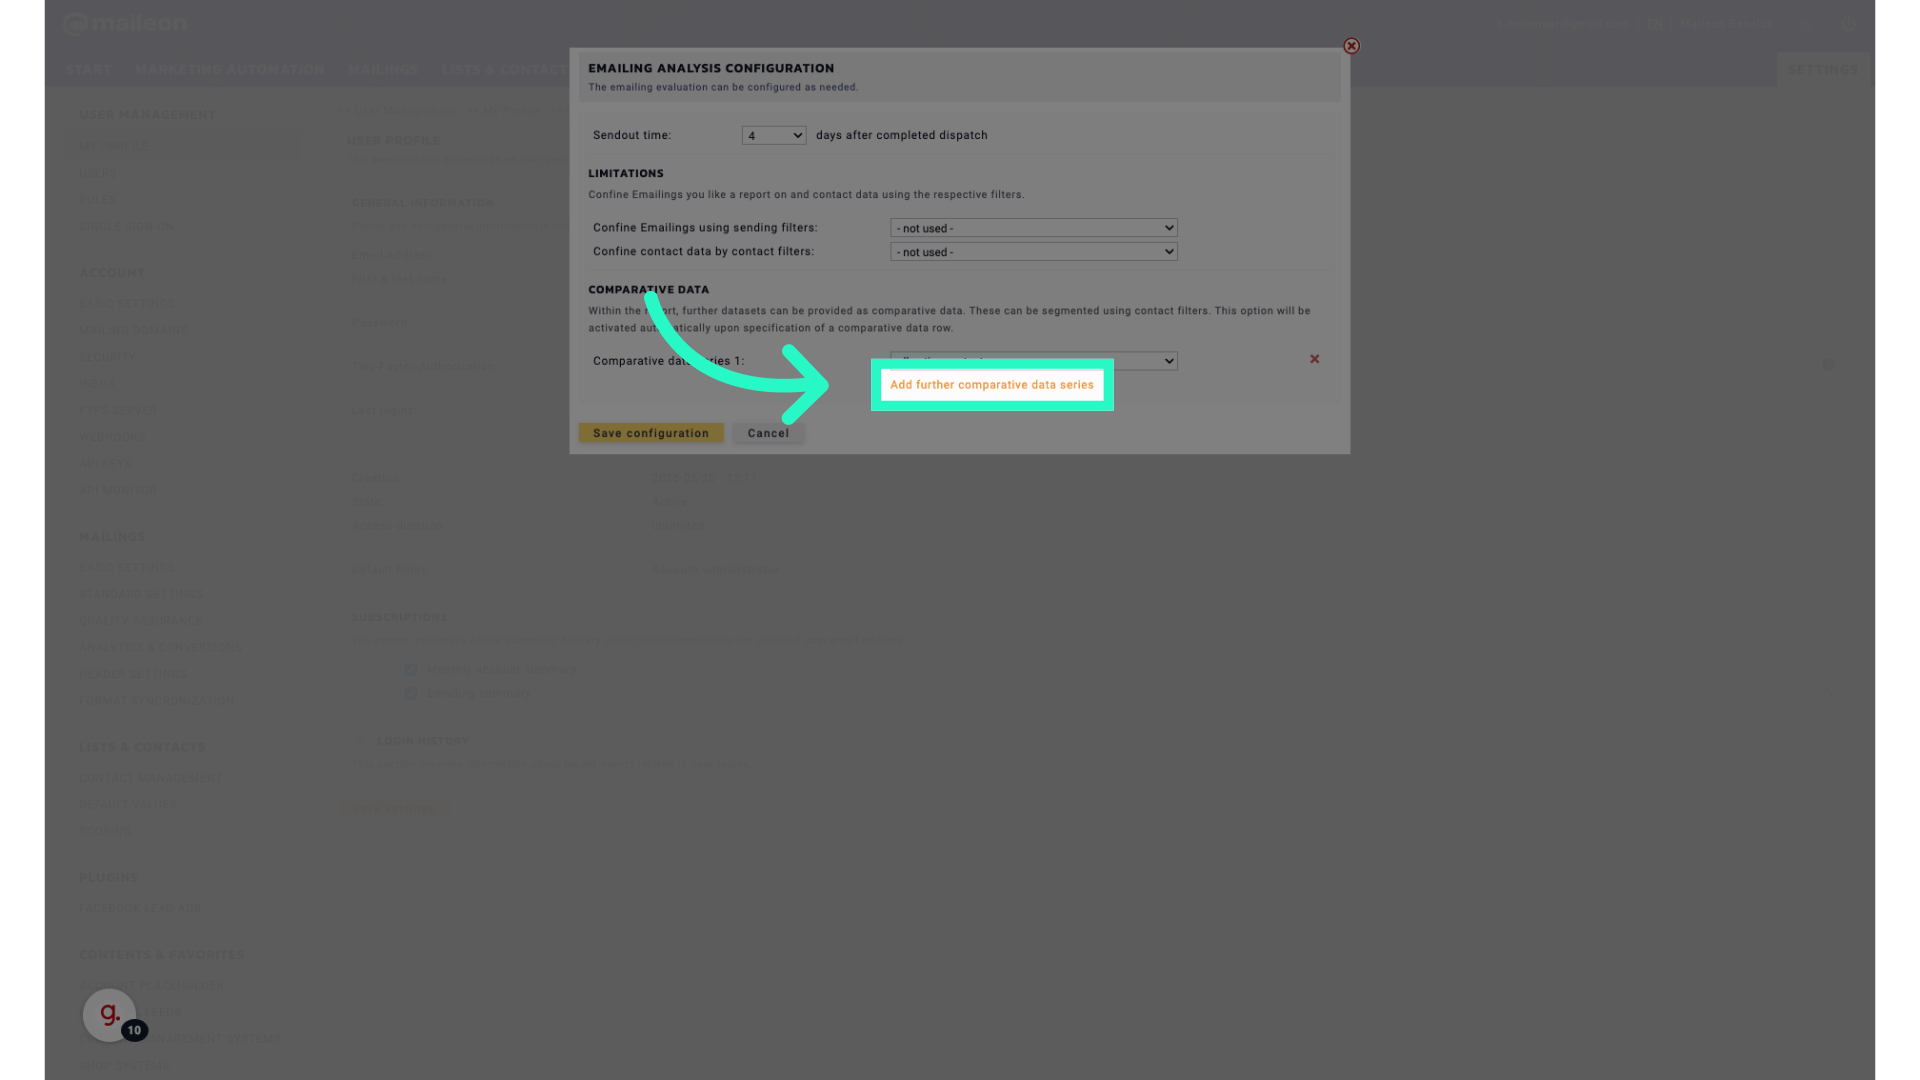
12. Click "Add further comparative data series"
Include more data series for comparison.
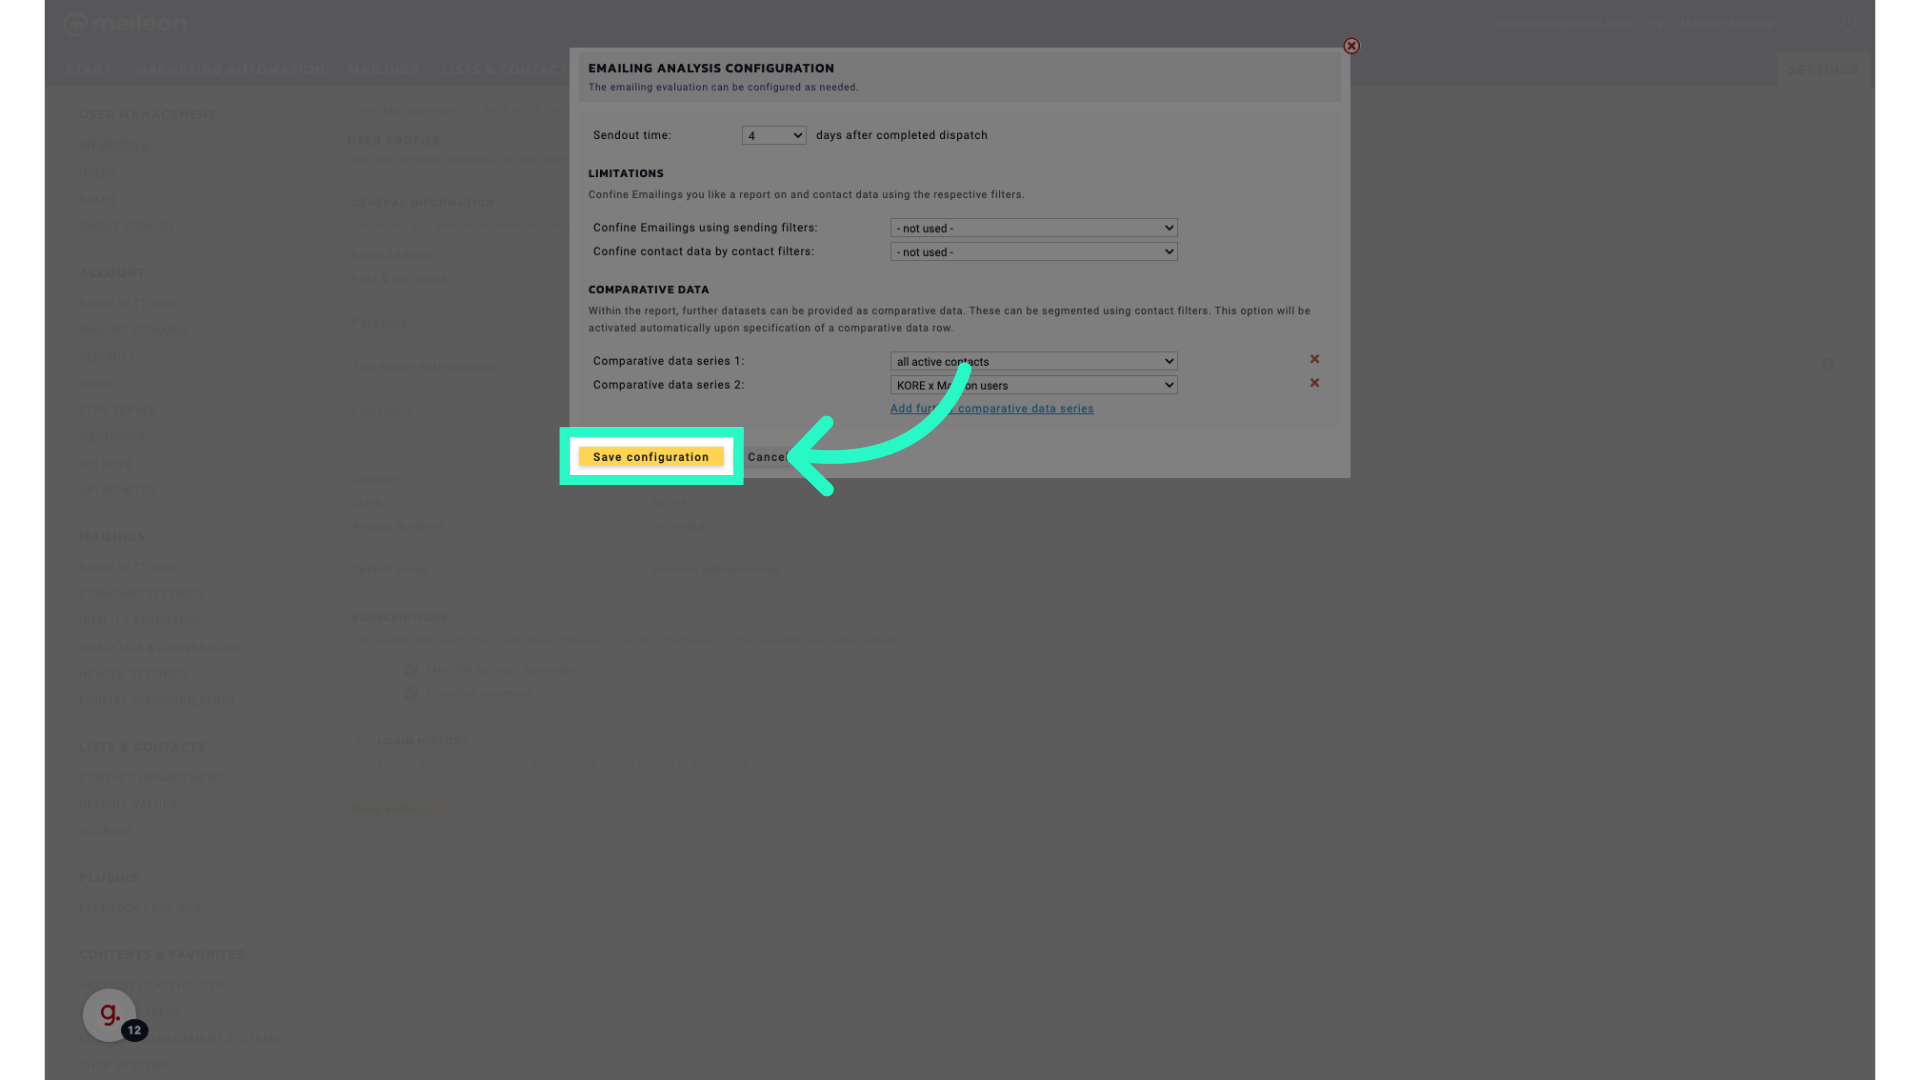
13. Click "Save configuration"
Save the configuration settings.
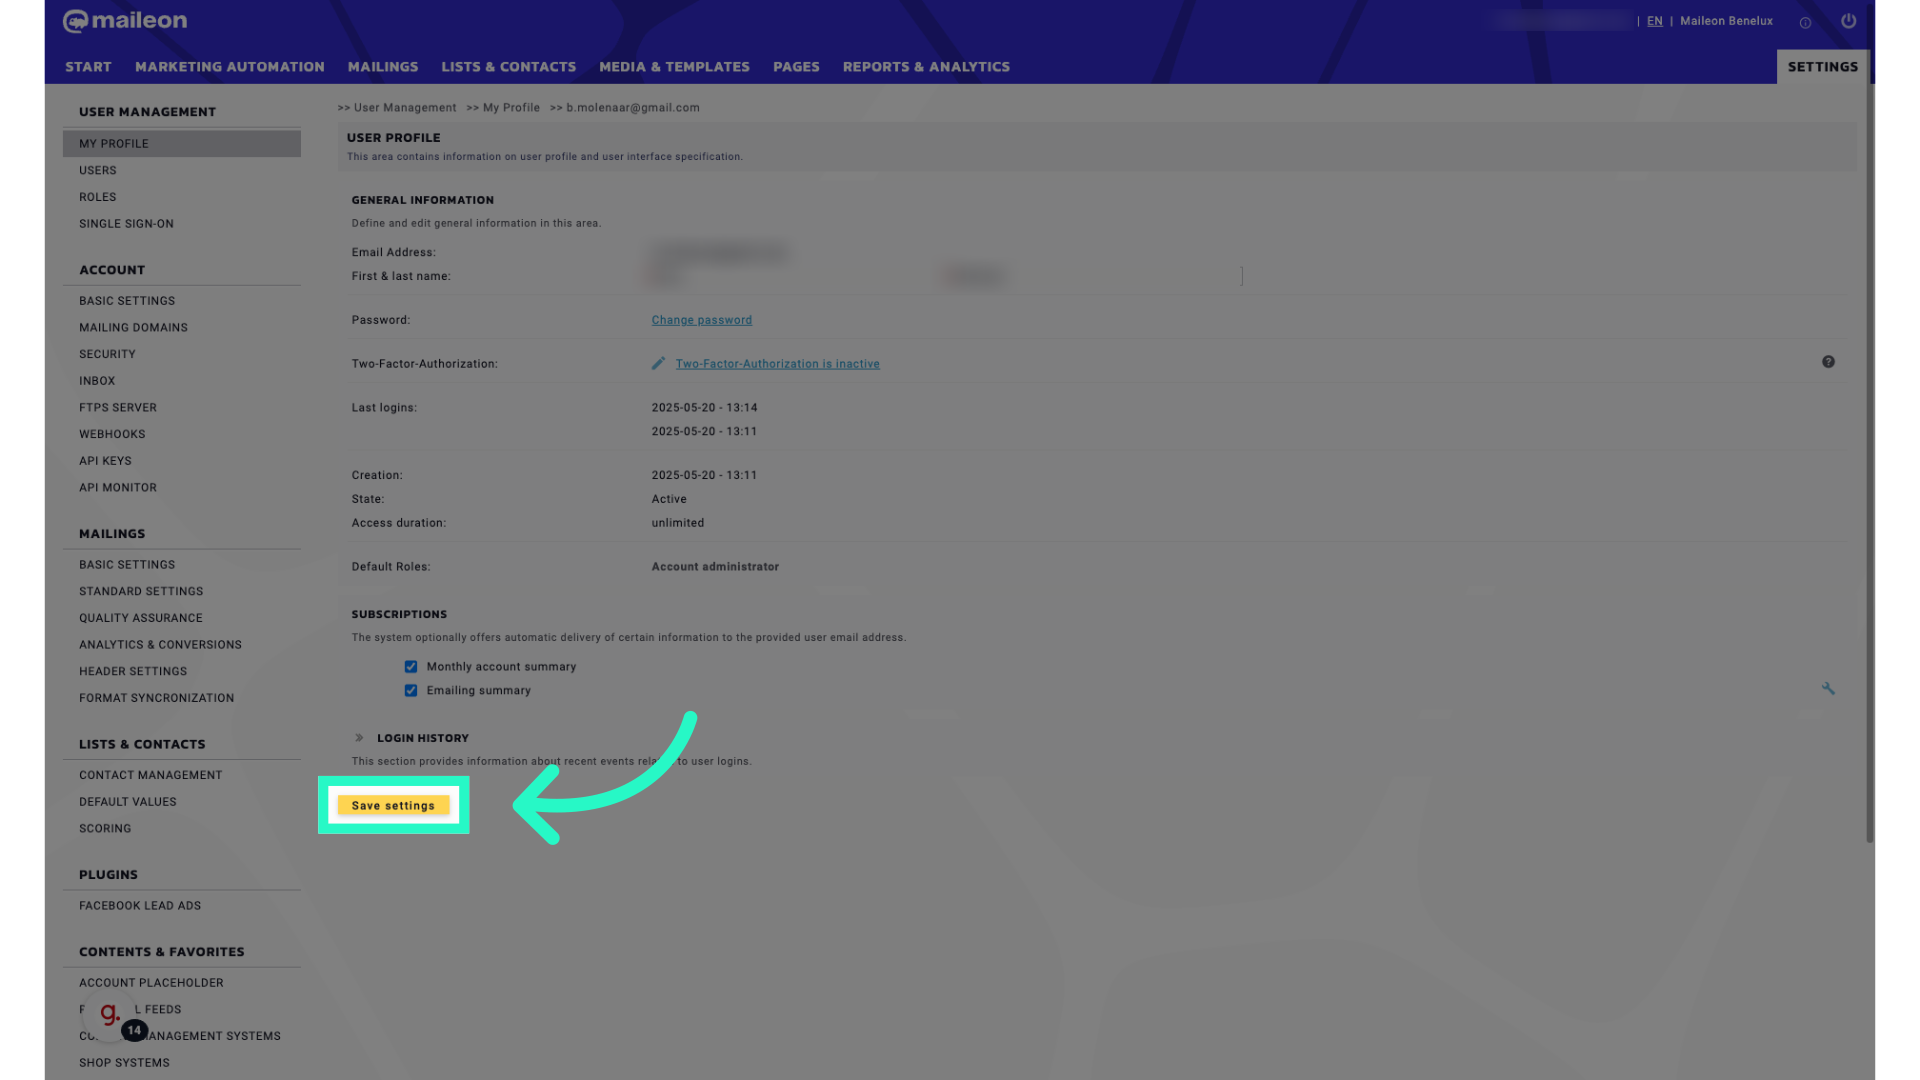
14. Click "Save settings"
Save the changes to your settings.
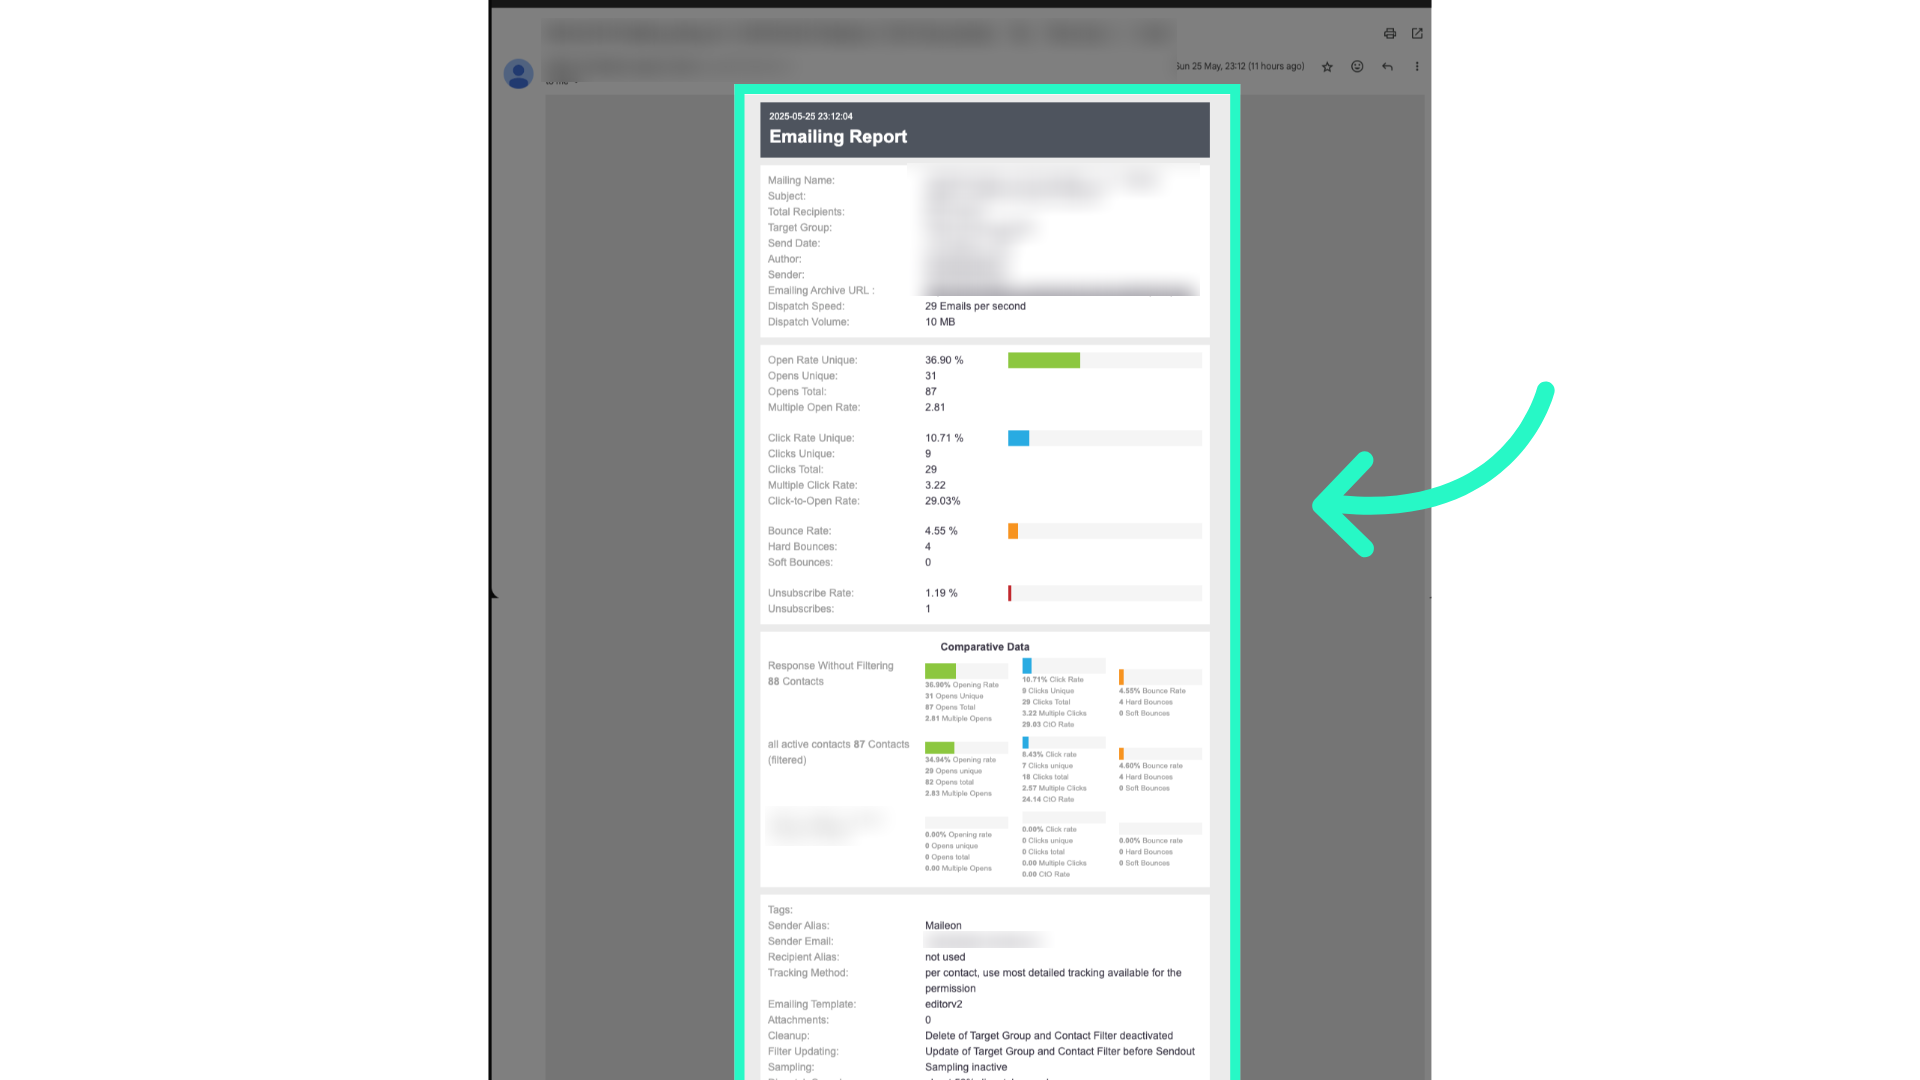
15. You'll receive an update like this x days after the dispatch
This guide covered the process of configuring account reporting emails in Maileon, including accessing settings, selecting options, adding data series, and saving configurations.