
Classic UI, see further down
UI
This tutorial guides you through configuring the sender email settings for your campaign.
1. Introduction
You will learn how to select the appropriate email addresses and proceed with the setup process.
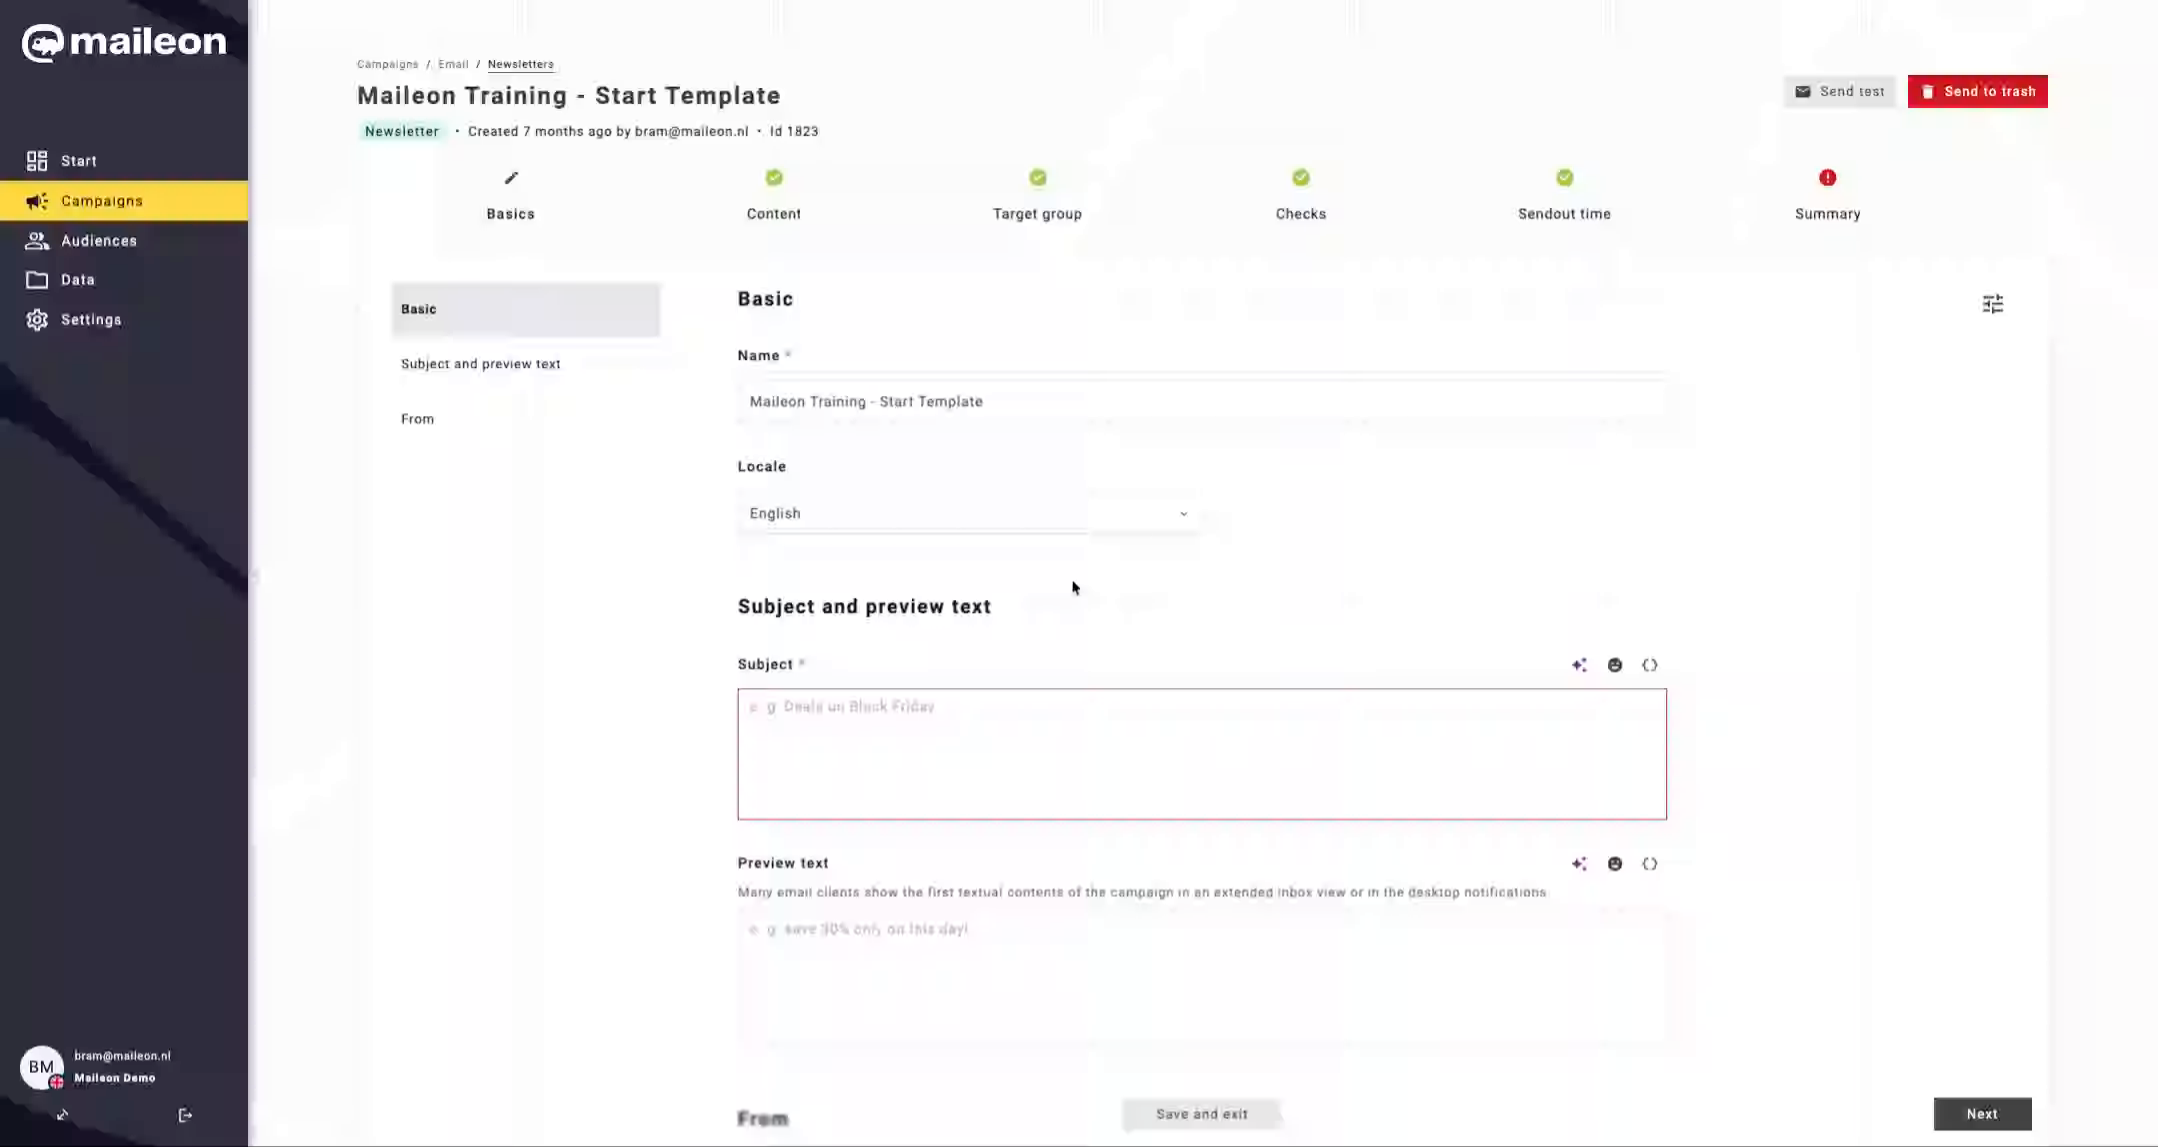
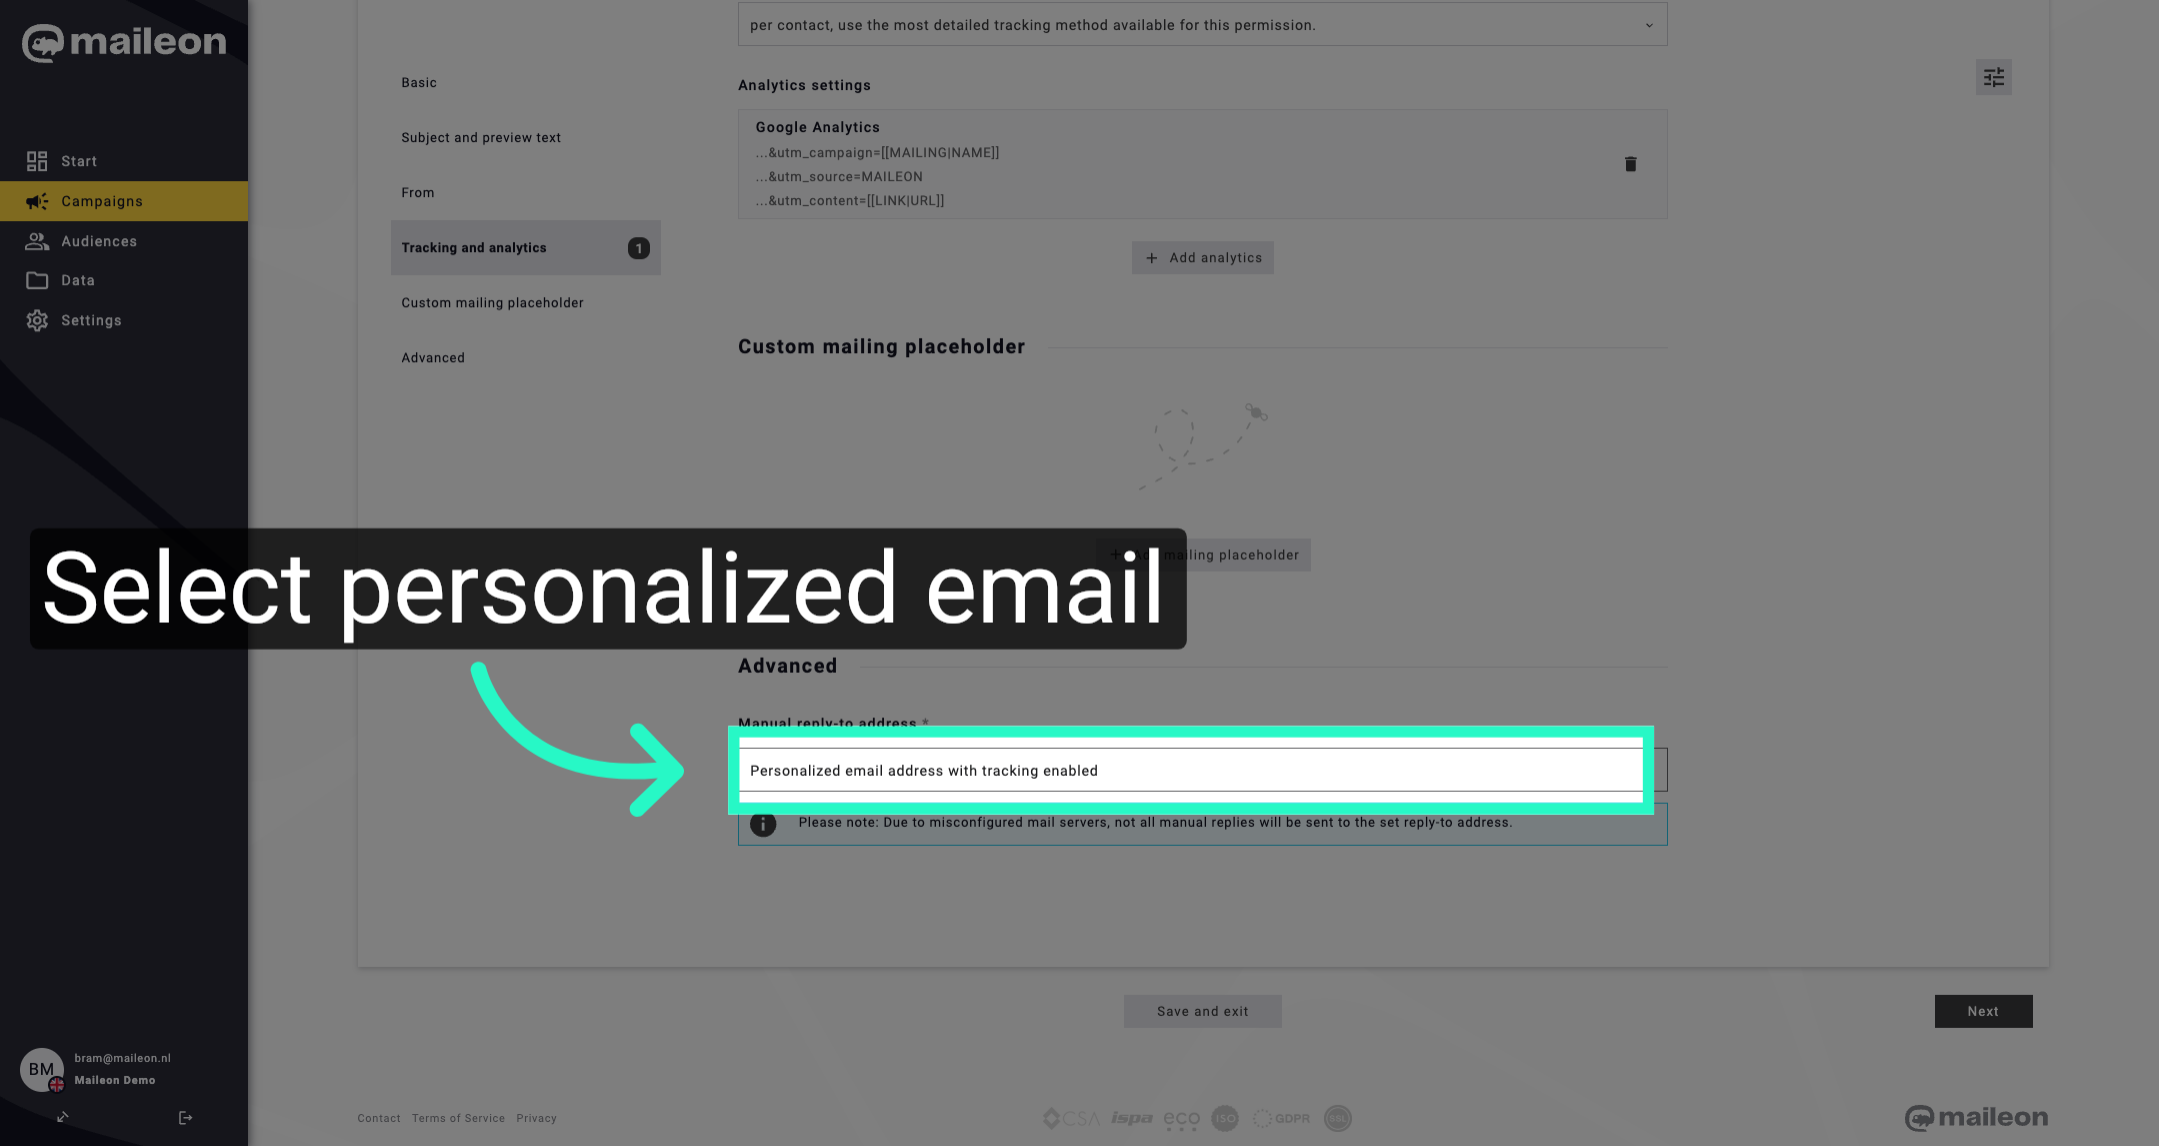
2. Select Personalized Email Address
Begin by clicking to open the email address options, then choose the personalized email address with tracking enabled to ensure your campaign's performance can be monitored.
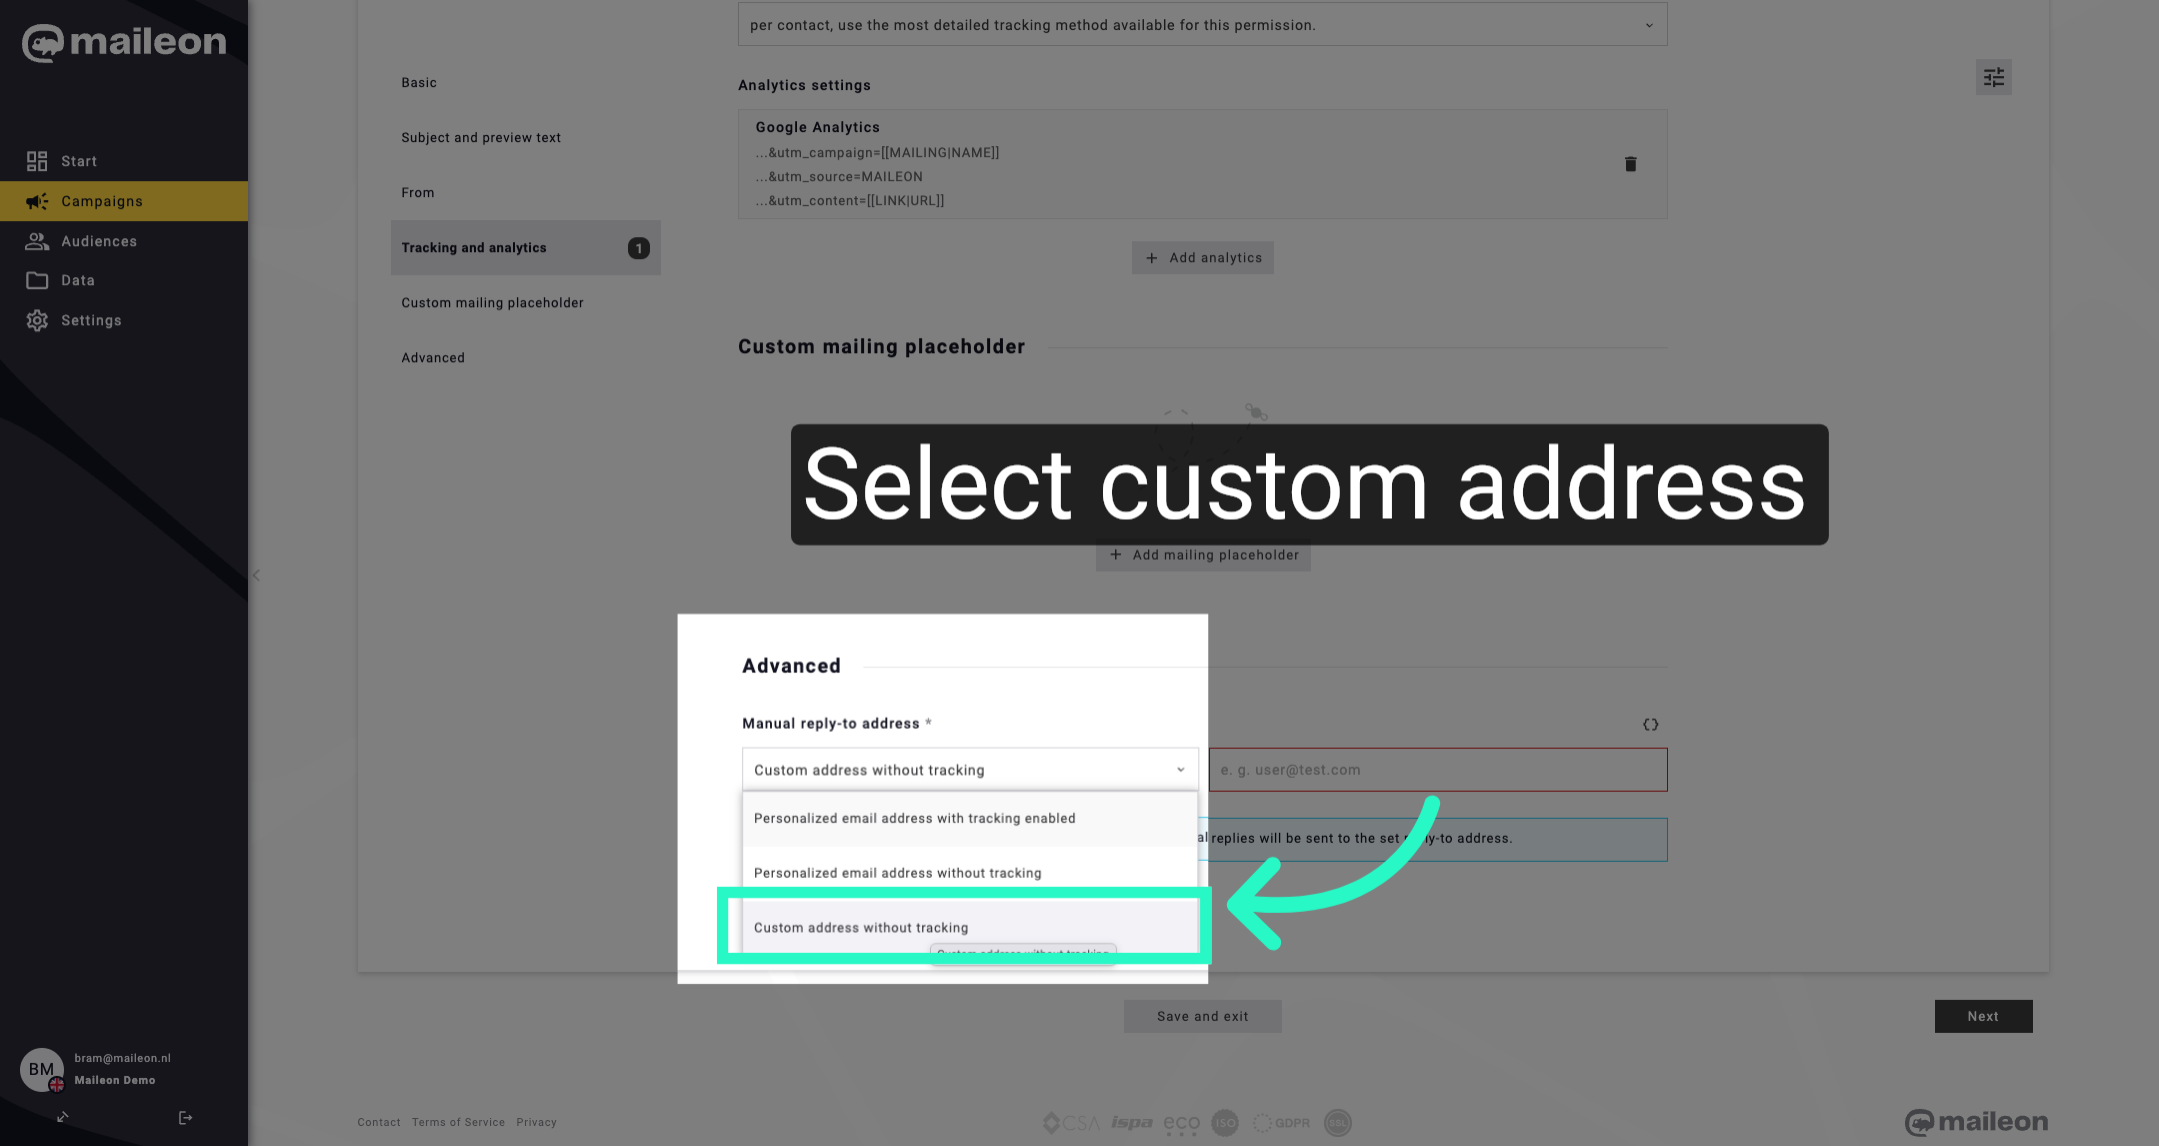
3. Choose Custom Address Without Tracking
Next, click the option for a custom address without tracking to specify an alternative sender address without tracking features.
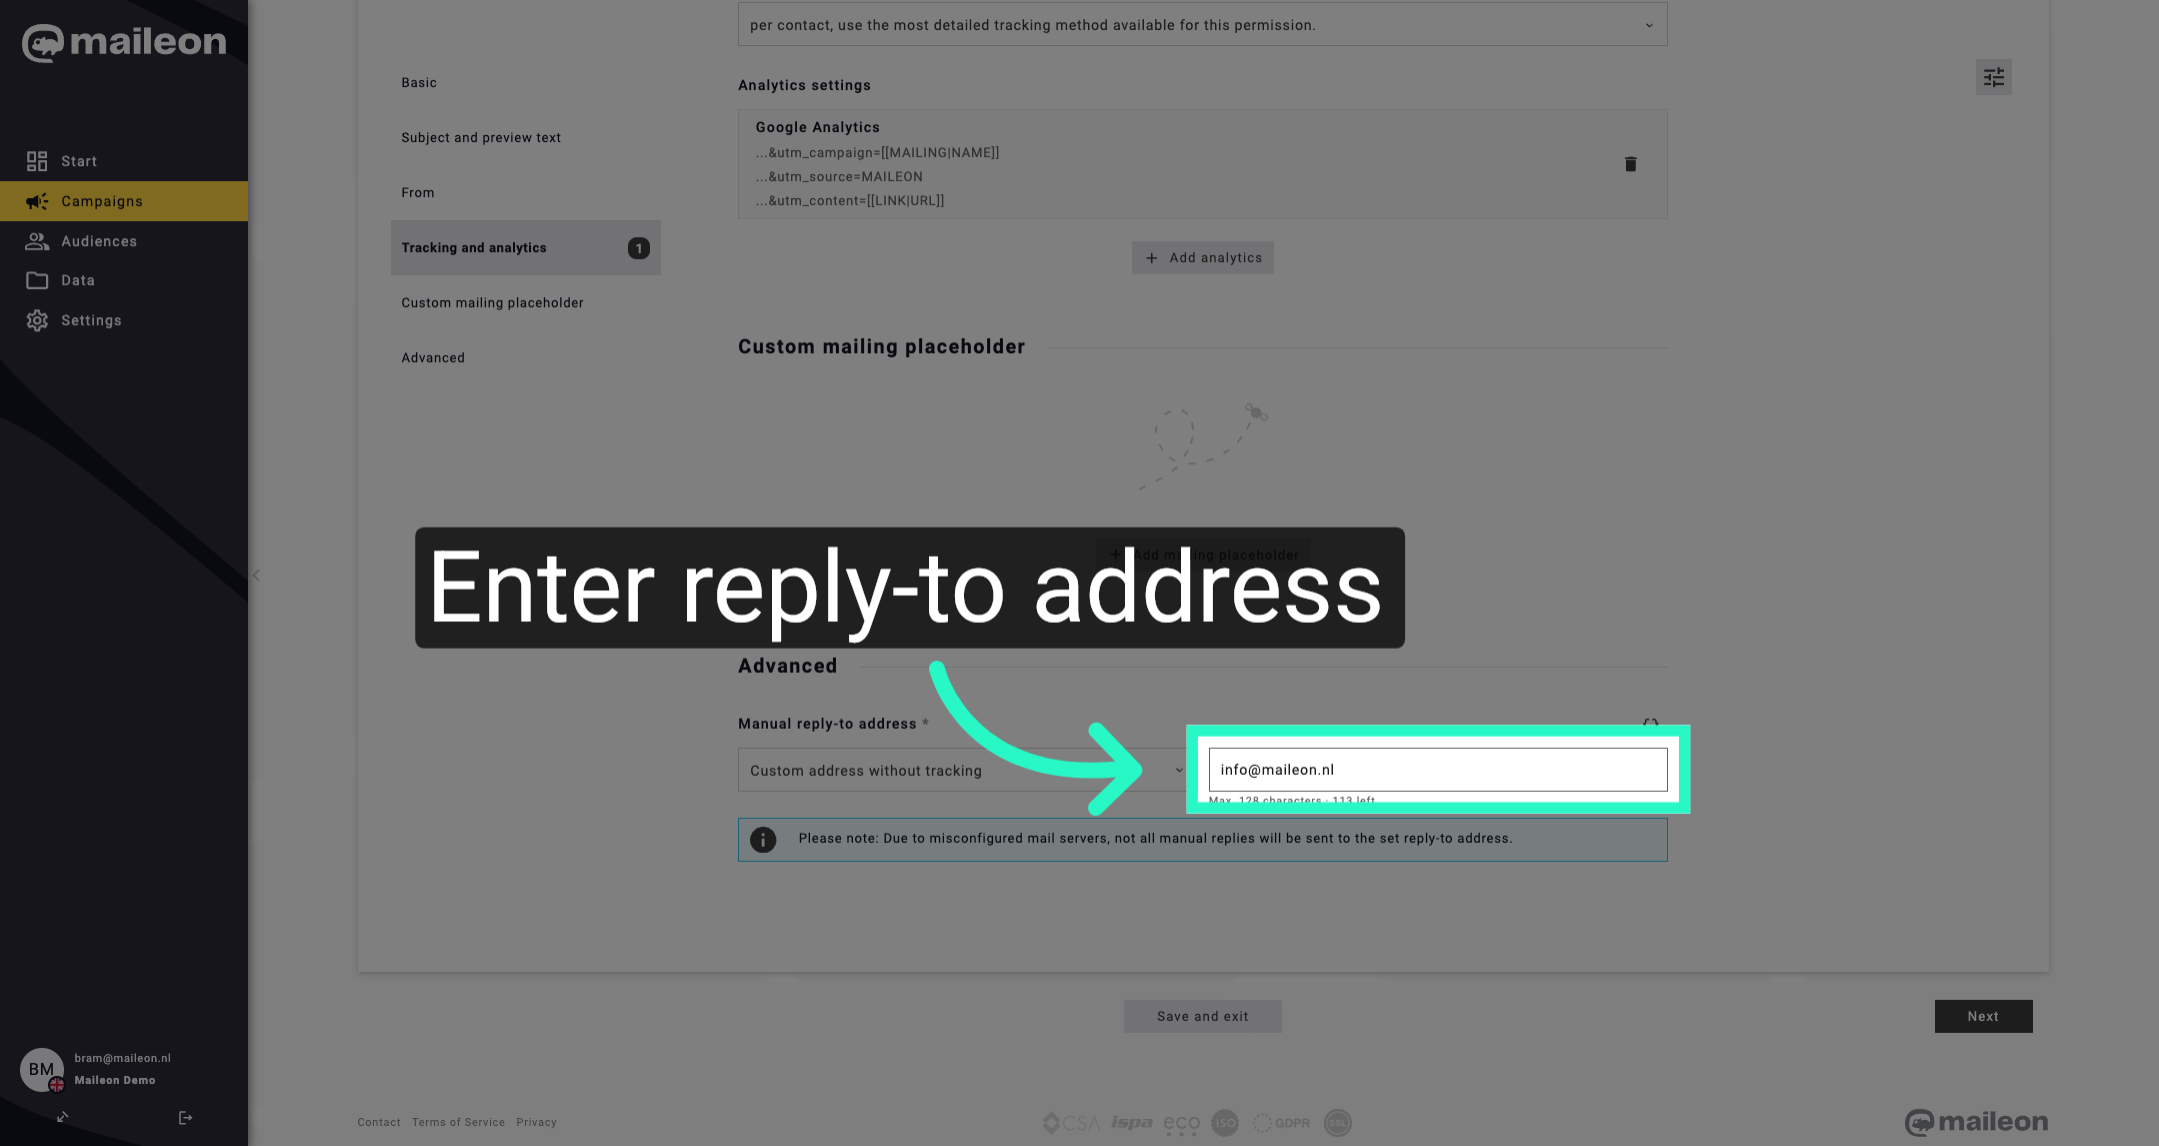
4. Enter Manual Reply-To Address
Click to activate the manual reply-to address field, then enter your reply-to email address to direct responses appropriately.
5. Proceed to Next Step
Finally, click the Next button to continue with the email campaign setup process.
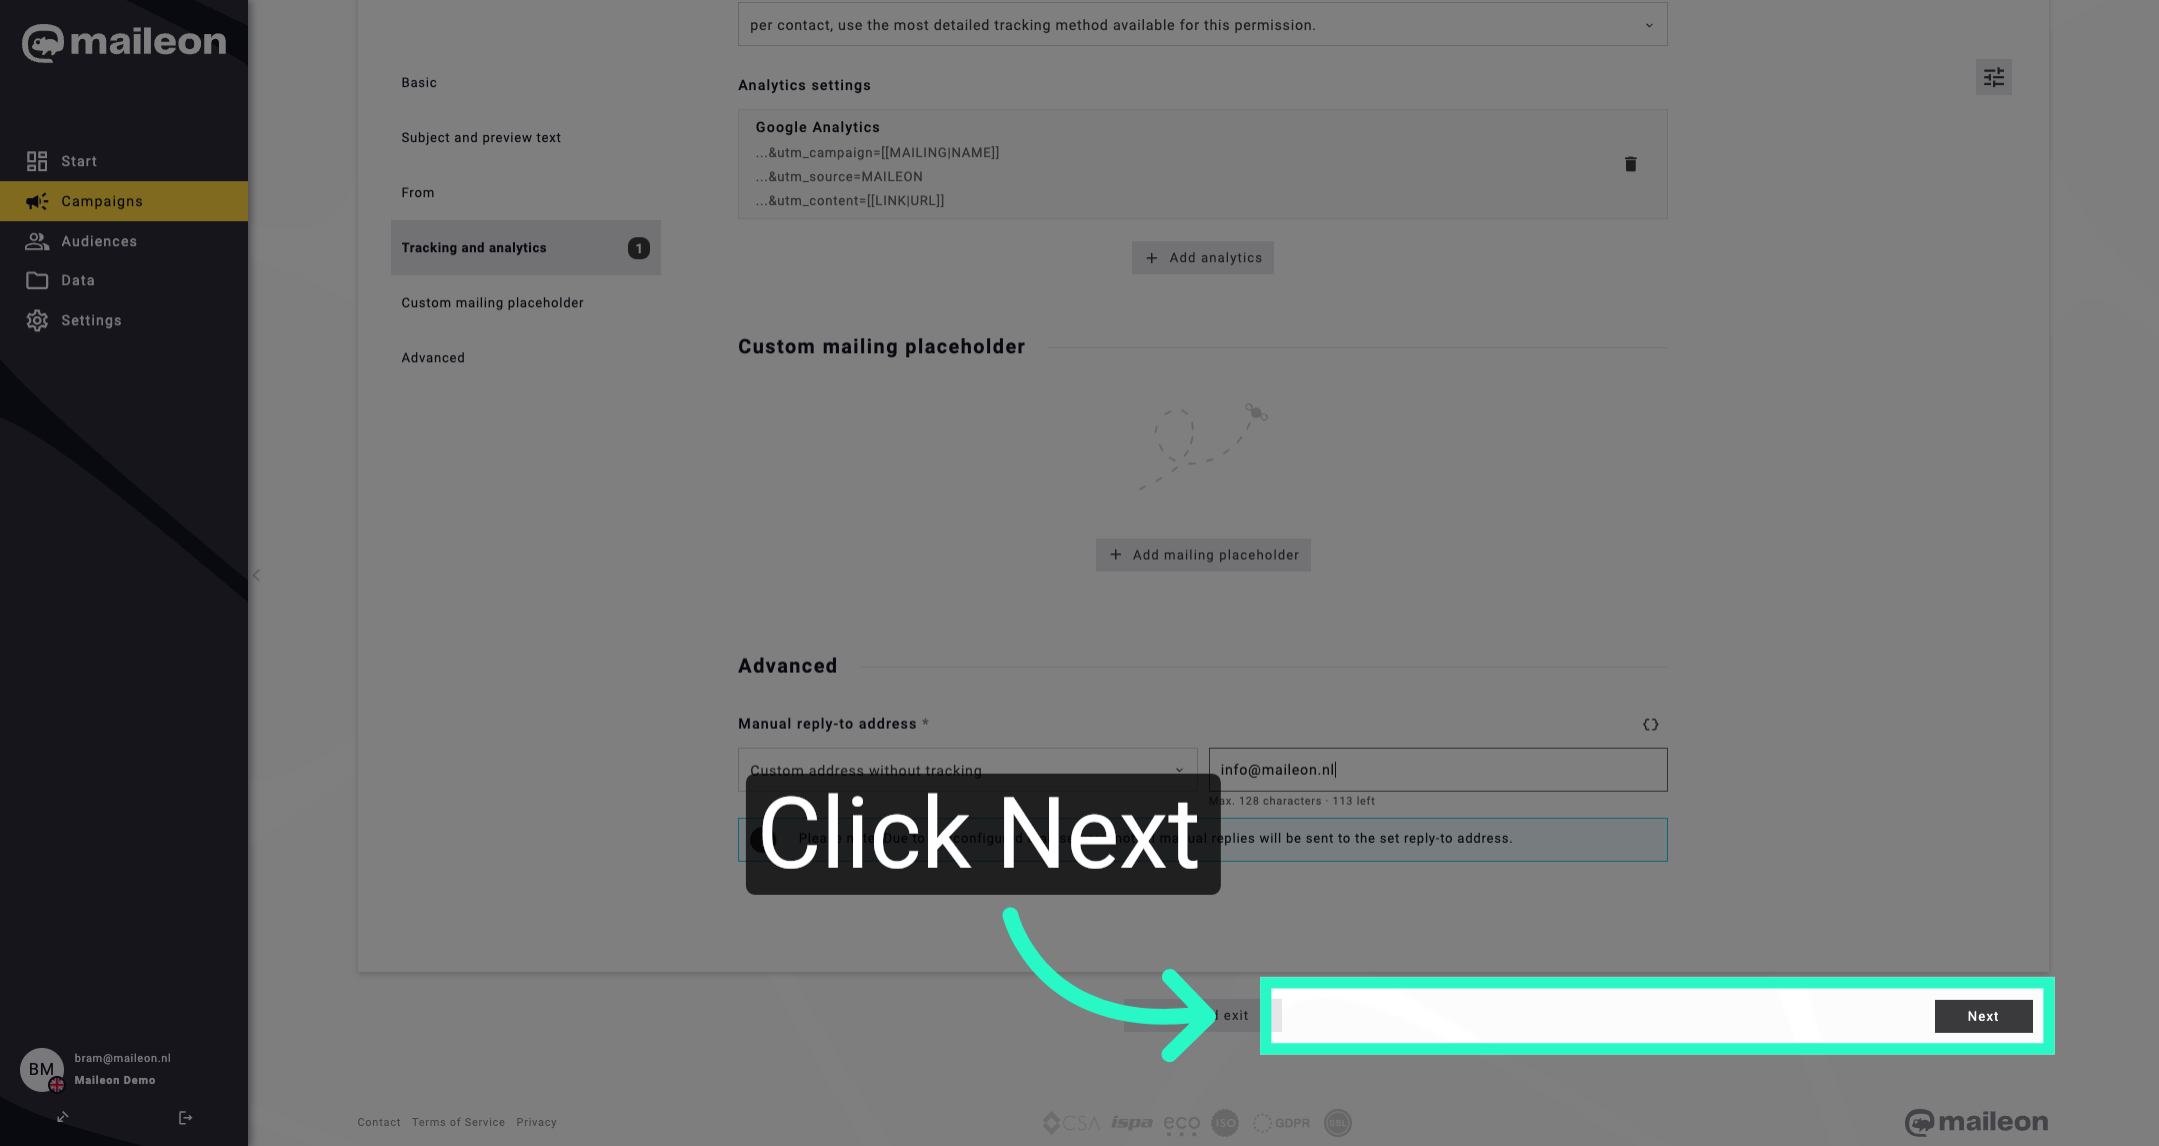
You have successfully configured the email sender settings by selecting the personalized address with tracking, choosing a custom address without tracking, entering a manual reply-to address, and proceeding to the next step. You can now continue setting up your campaign or review these settings as needed.
Classic UI
Enhance your email management by setting up a manual reply-to address in Maileon
1. Introduction
This guide will walk you through the steps to customize your email preferences and improve communication efficiency.

2. Click "Settings"
Access the settings to customize your email preferences.

3. Click "Header Settings"
Navigate to the header settings for your emails.

4. Select "Defined"
Select the automatic (VERP)Defined option for email responses.

5. Fill your emailaddres
Enter the email address you want to select as reply-to address, or insert this placeholder: [[MAILING|SENDER]] to use the sending address as reply-to address.

6. Click "Save settings"
Save your changes to update the email settings.

7. Click "Close window"
Close the settings window to finish the process.

This guide covered the process of setting a manual reply-to address in Maileon. From accessing settings to saving changes, you can now efficiently manage email responses for enhanced communication.