Learn how to utilize the "send time options" feature to send emails in waves efficiently. This guide will walk you through the necessary steps in Maileon to set up this functionality for improved email delivery management.
Go to login.maileon.com
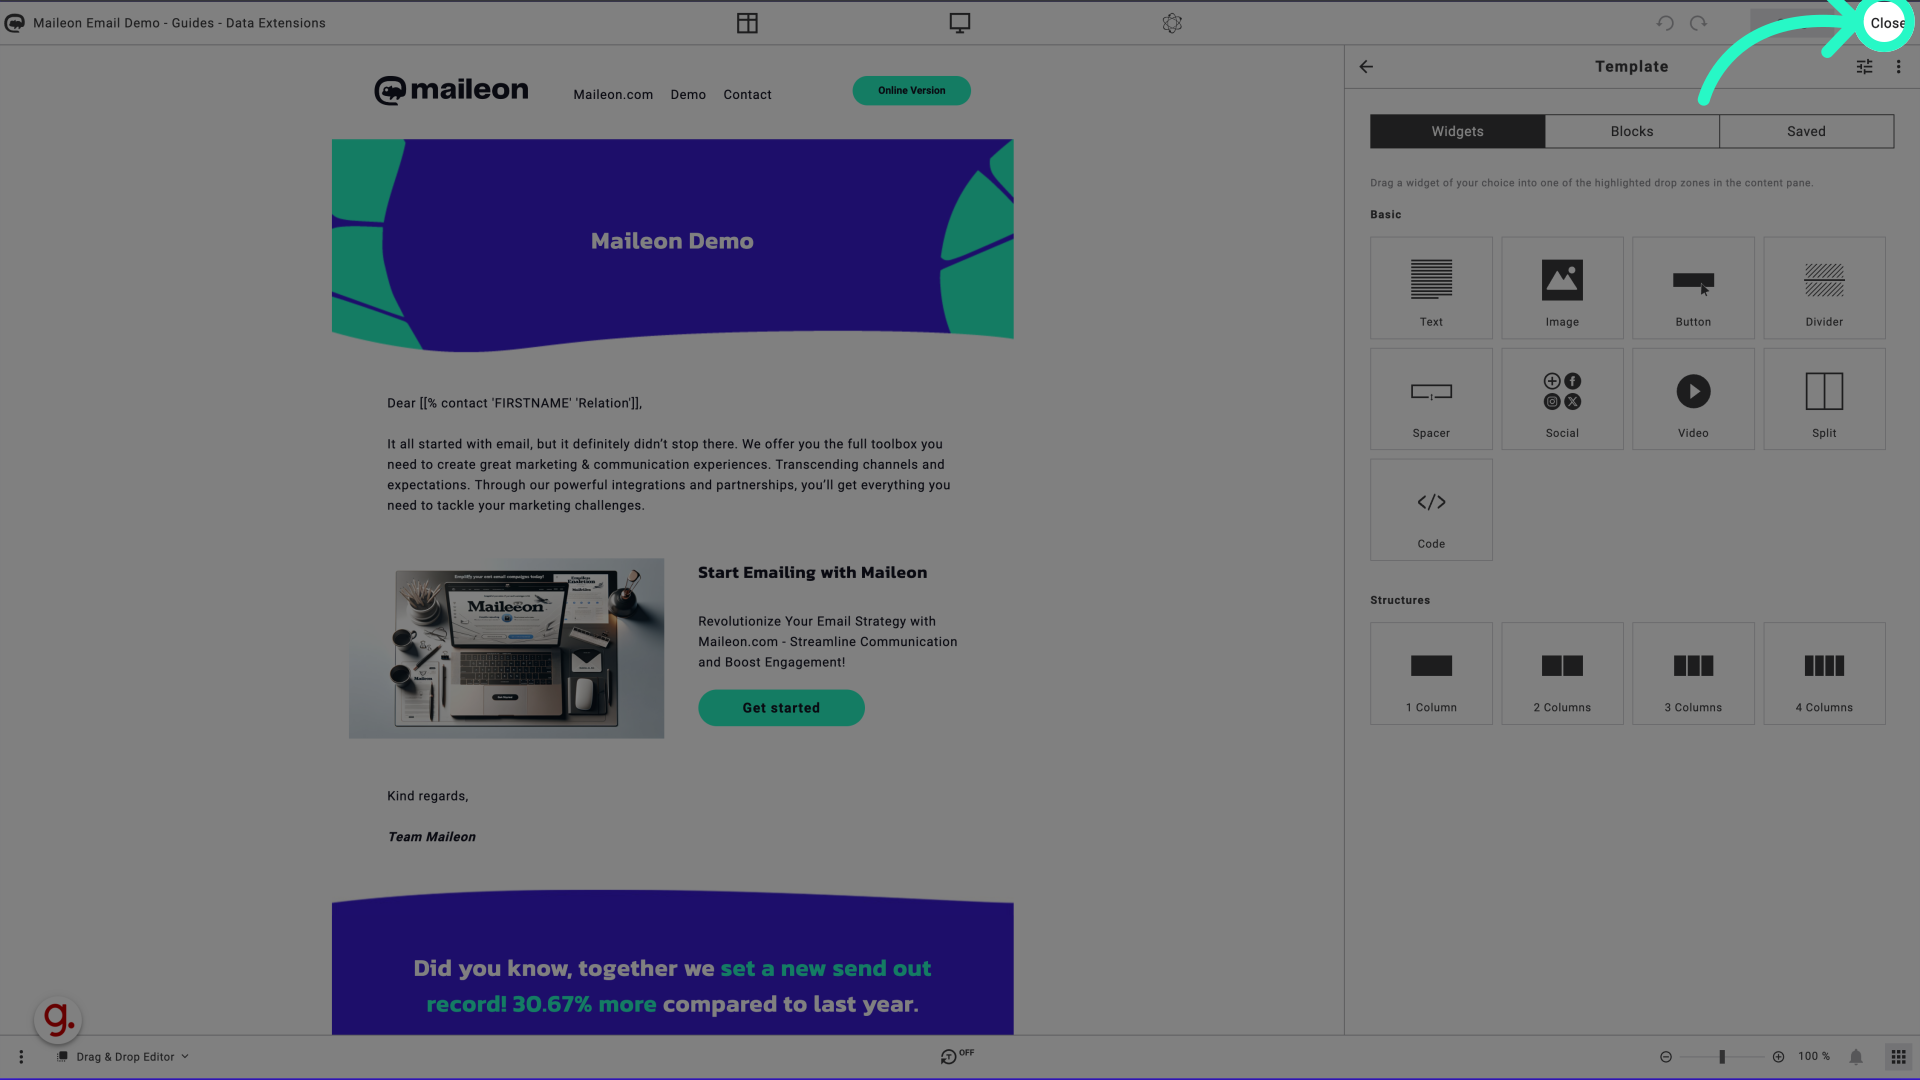
1. Save your email and click "close"
Close the current window.
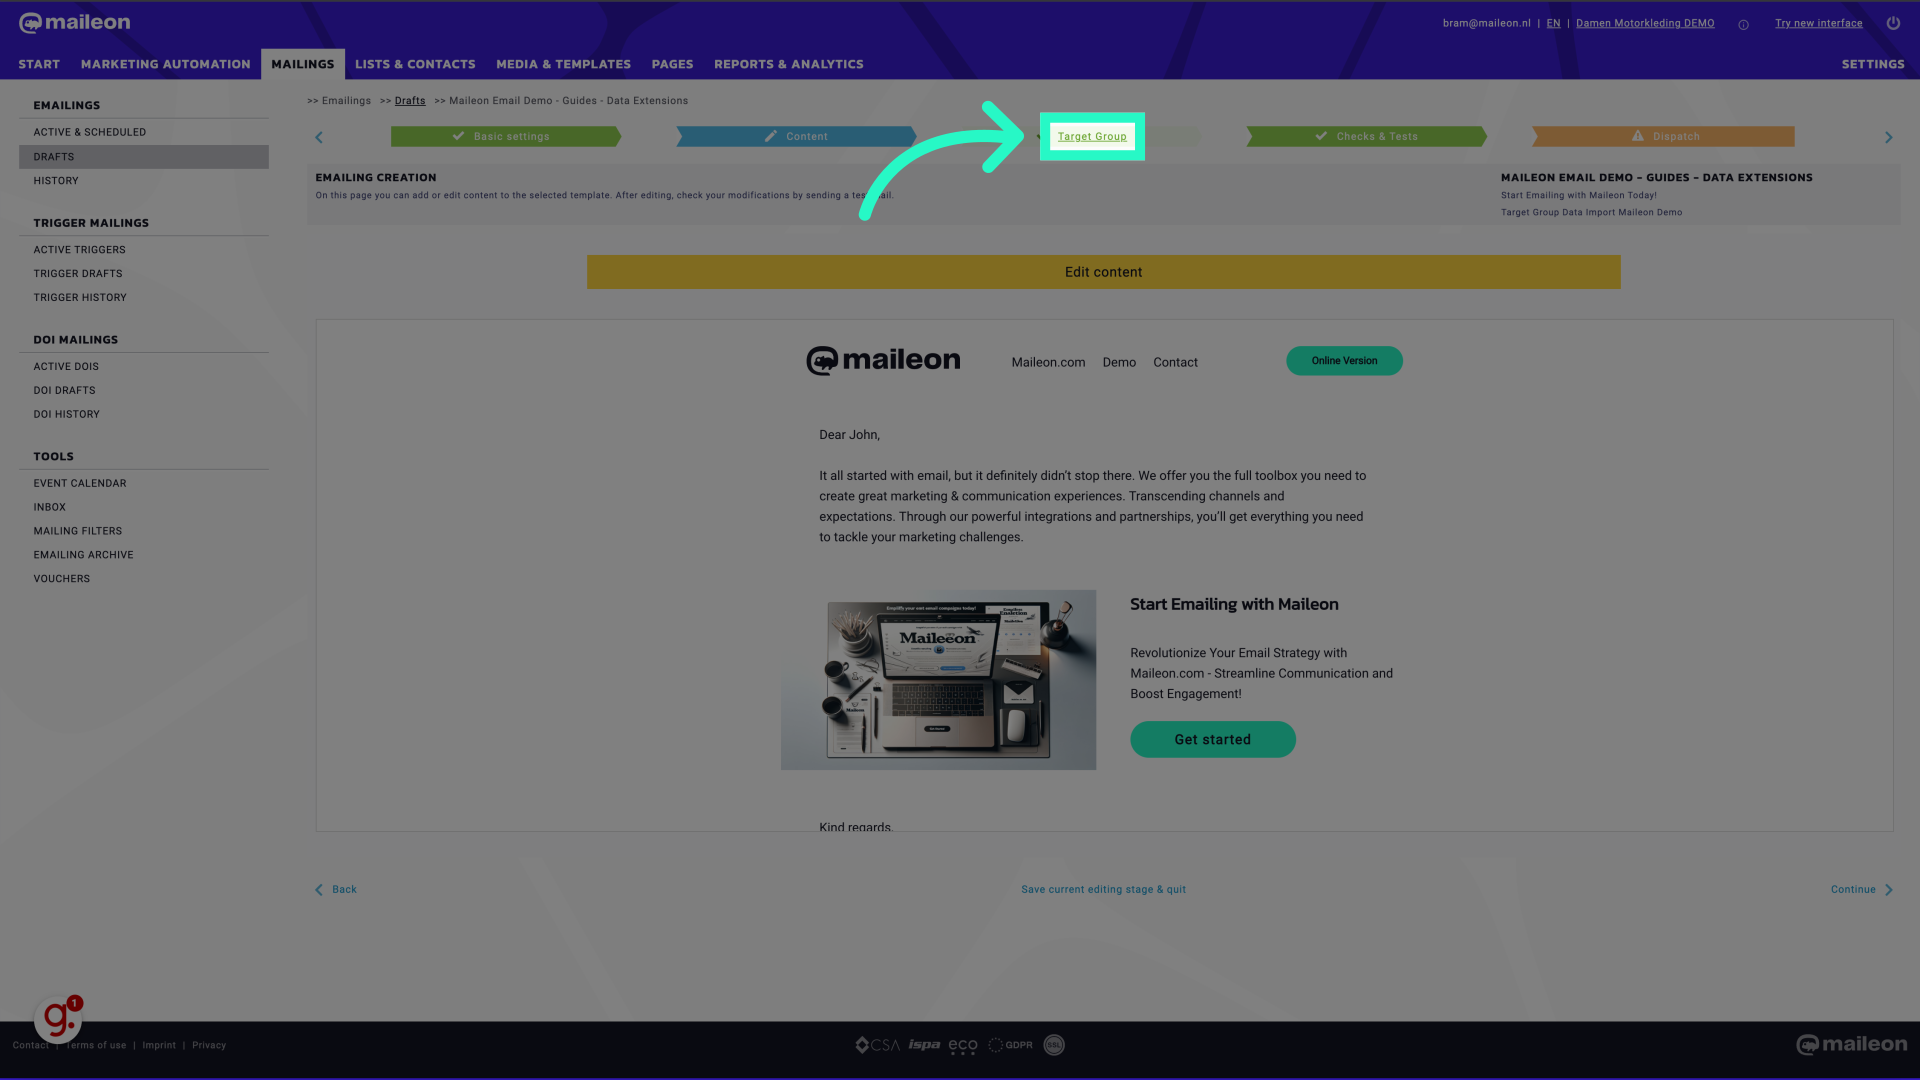
2. Continue to "Target Group"
Navigate to the target group section.
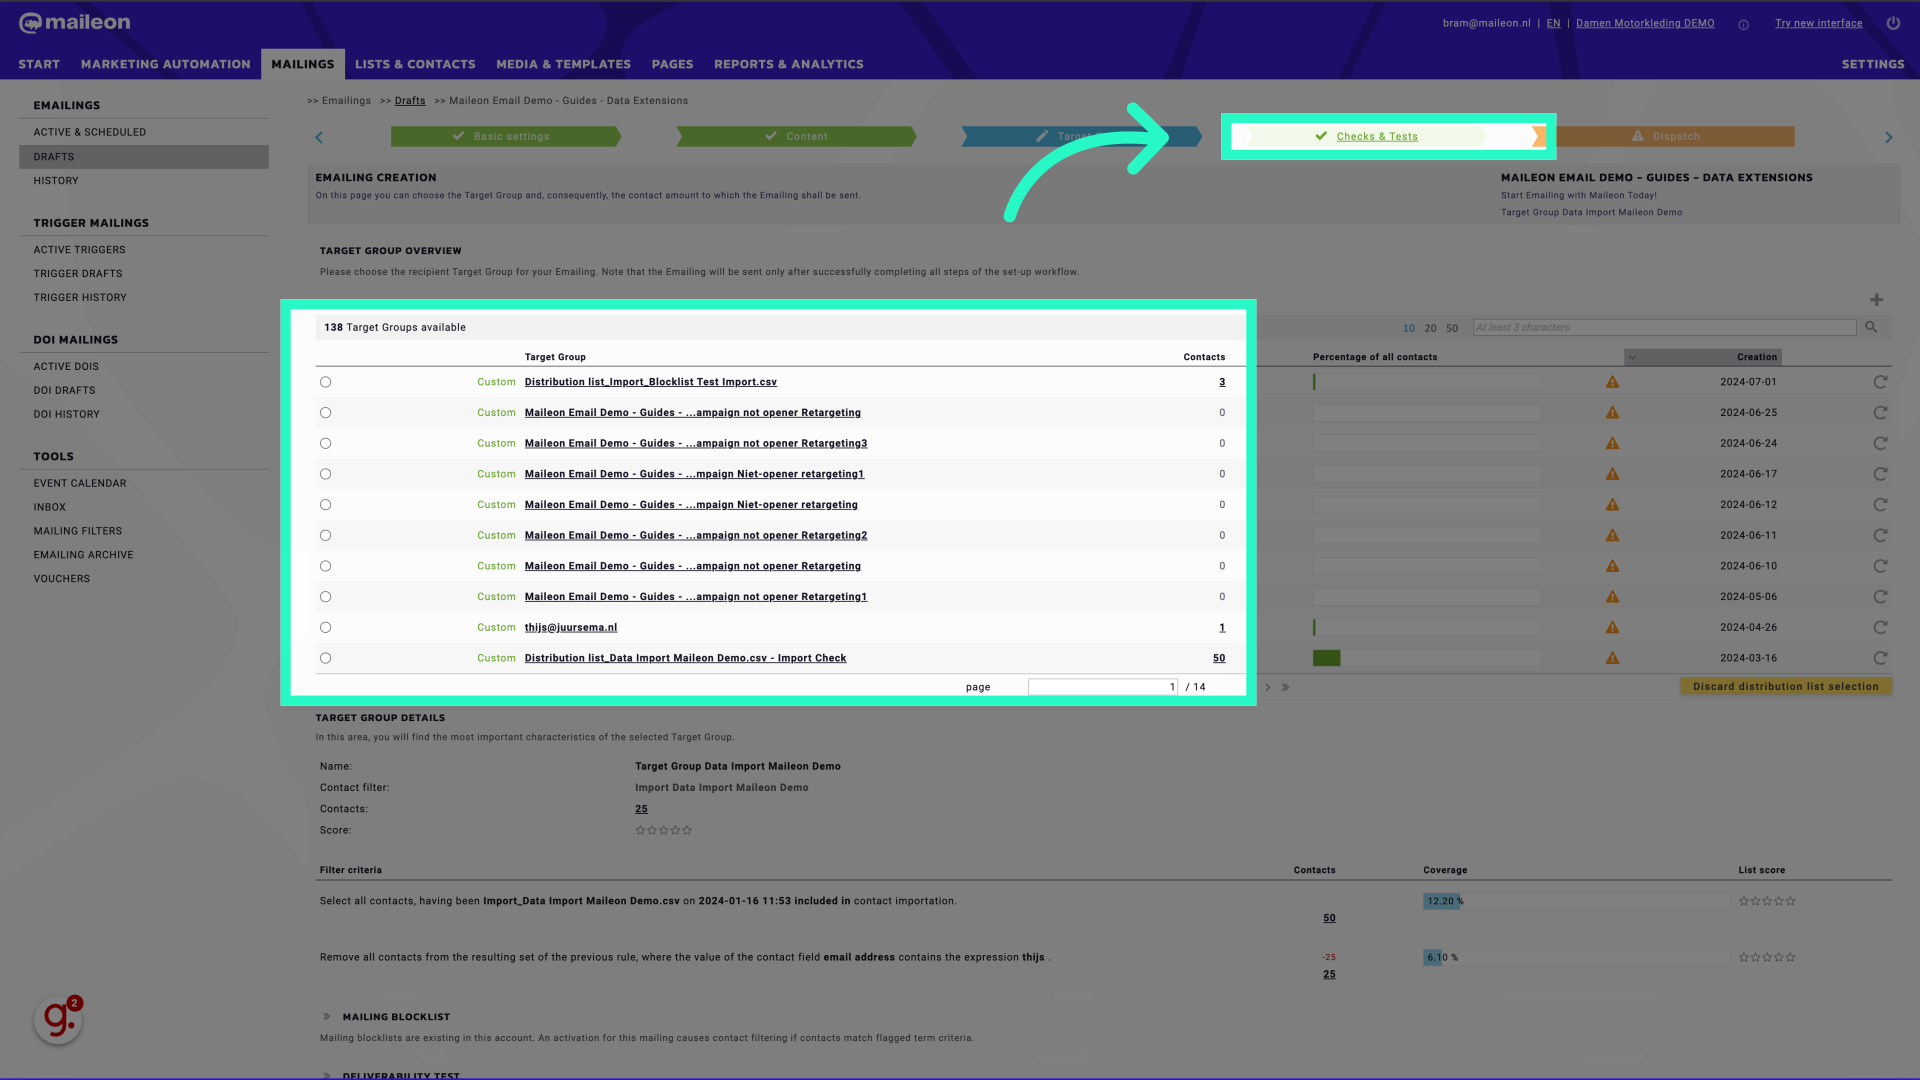
3. Select a target group and continue to "Checks & Tests"
Access the checks and tests settings.
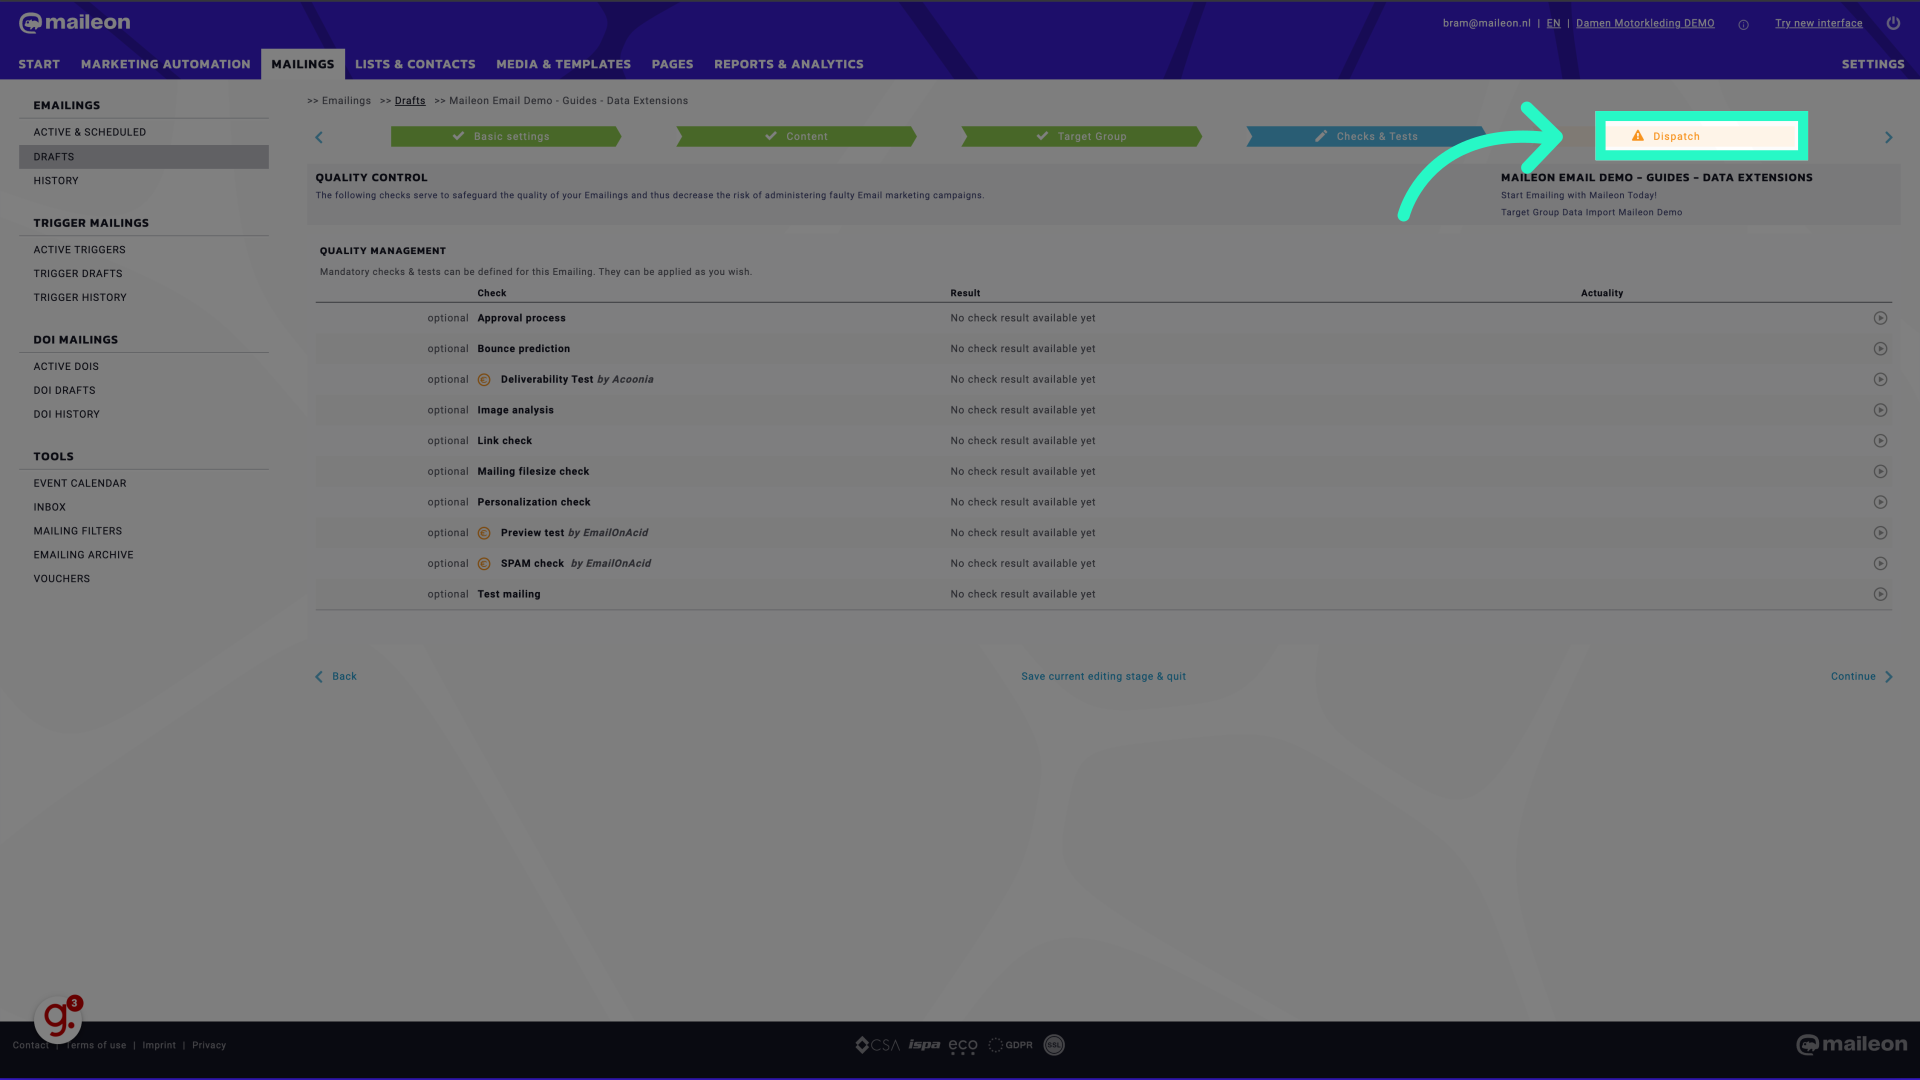
4. Do your checks & tests and continue to "Dispatch"
Follow the link or button.
5. Click "ASAP" or schedule your campaign
Enter the required information for "asap."
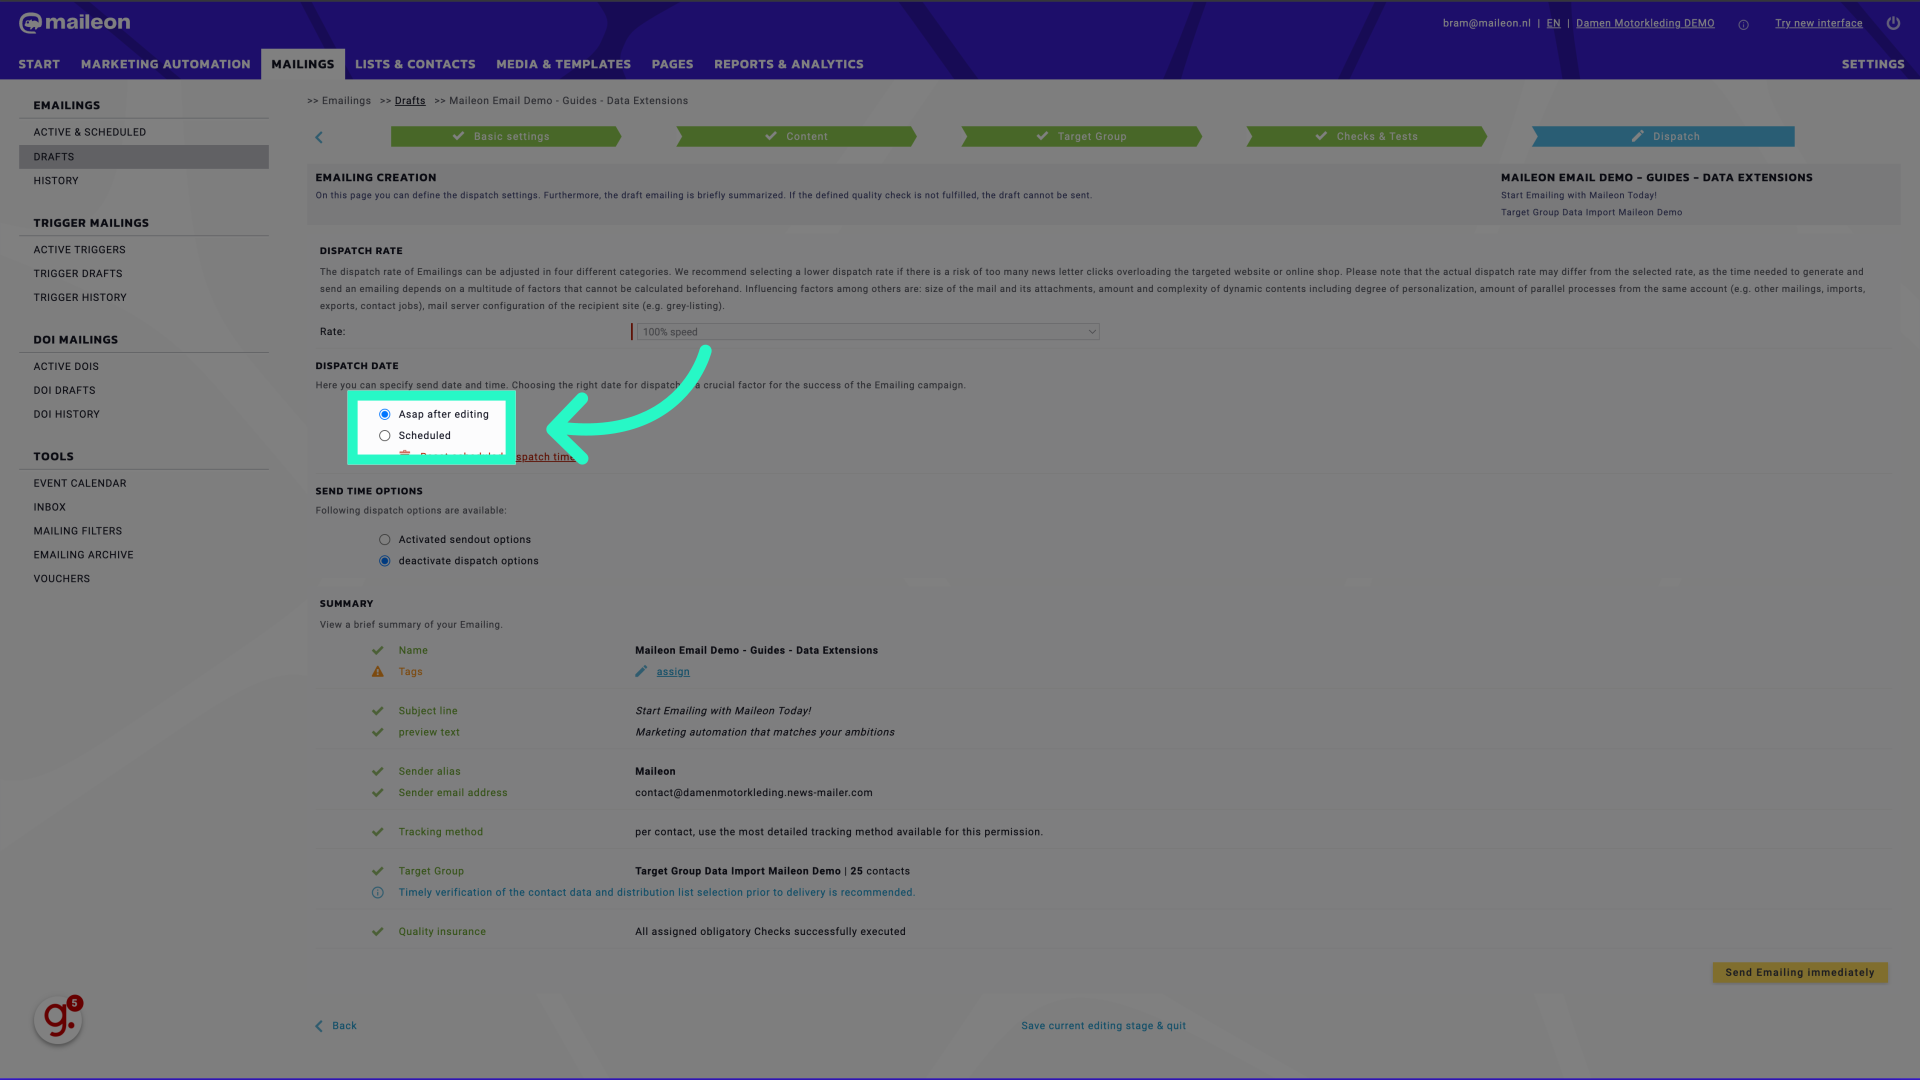
6. Click "true"
Choose the "true" option.
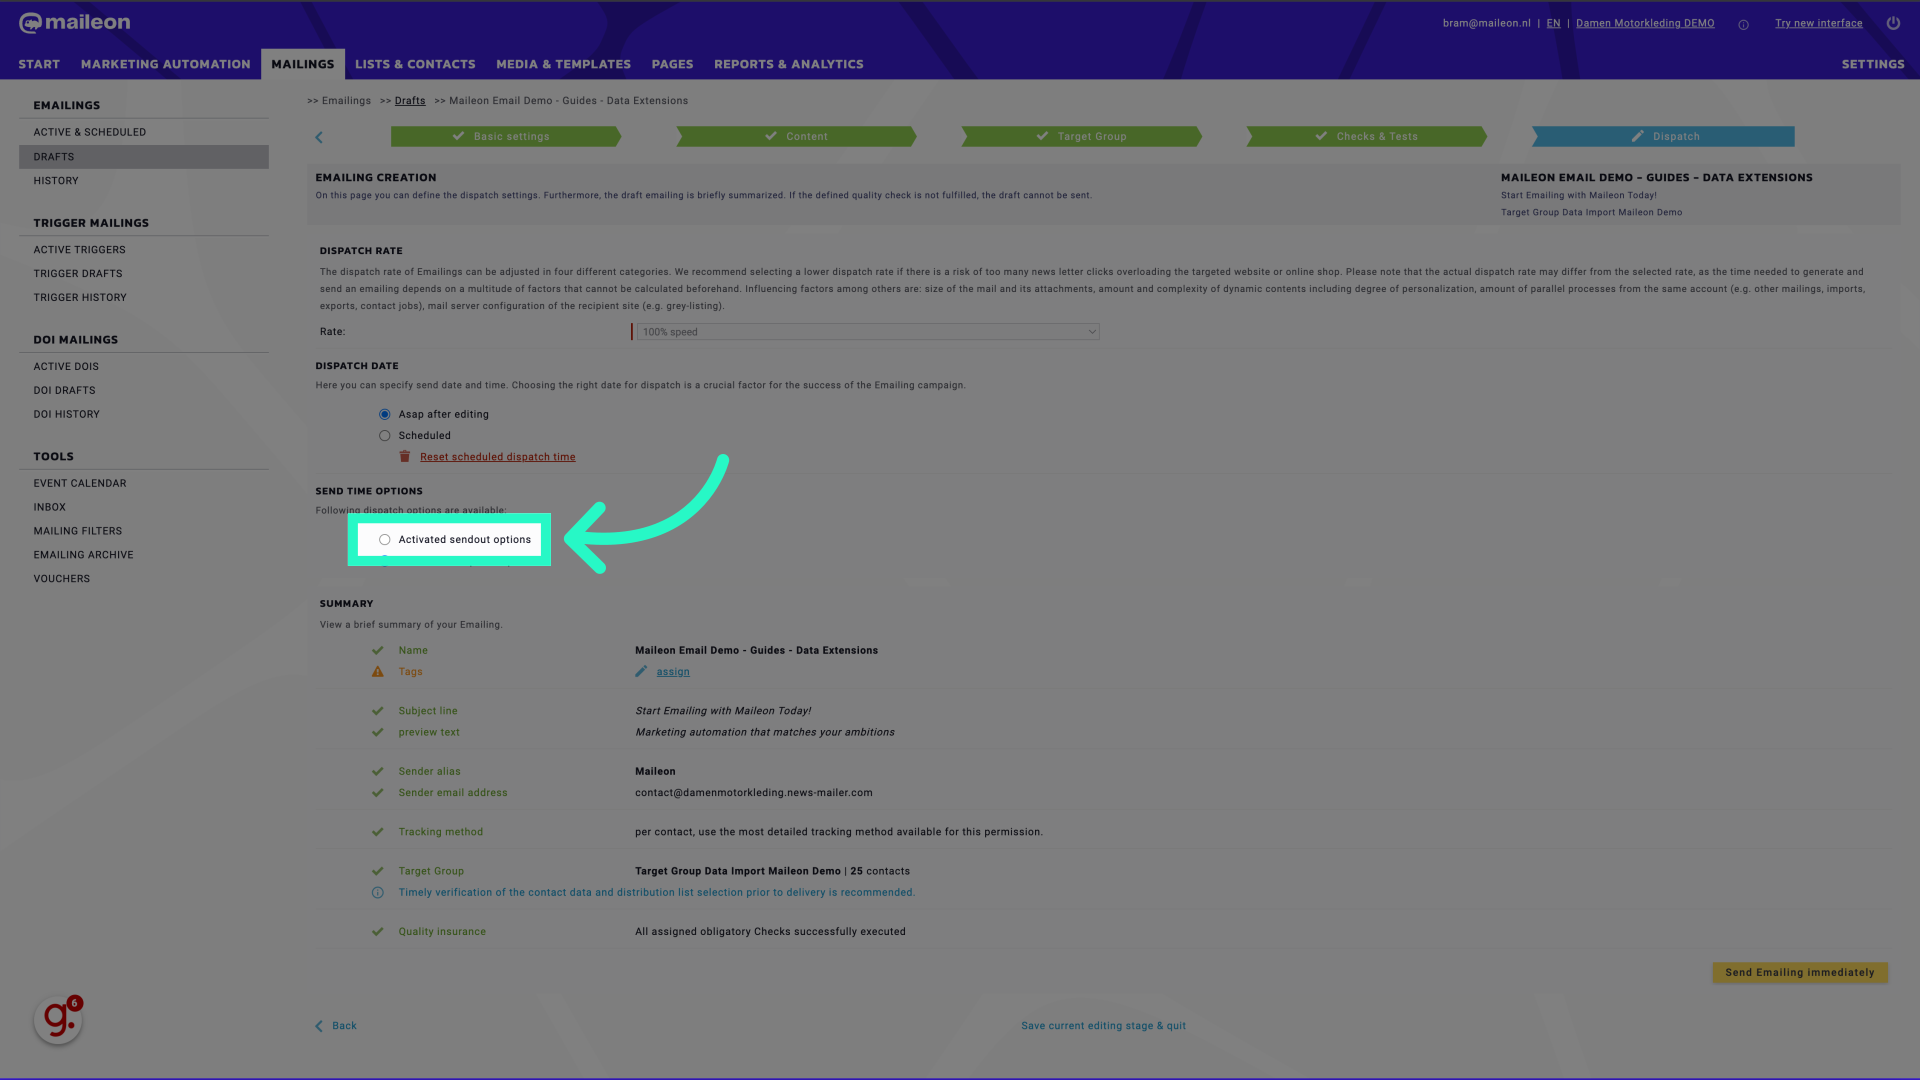
7. Click "Activated sendout options"
Input the necessary details for "true."
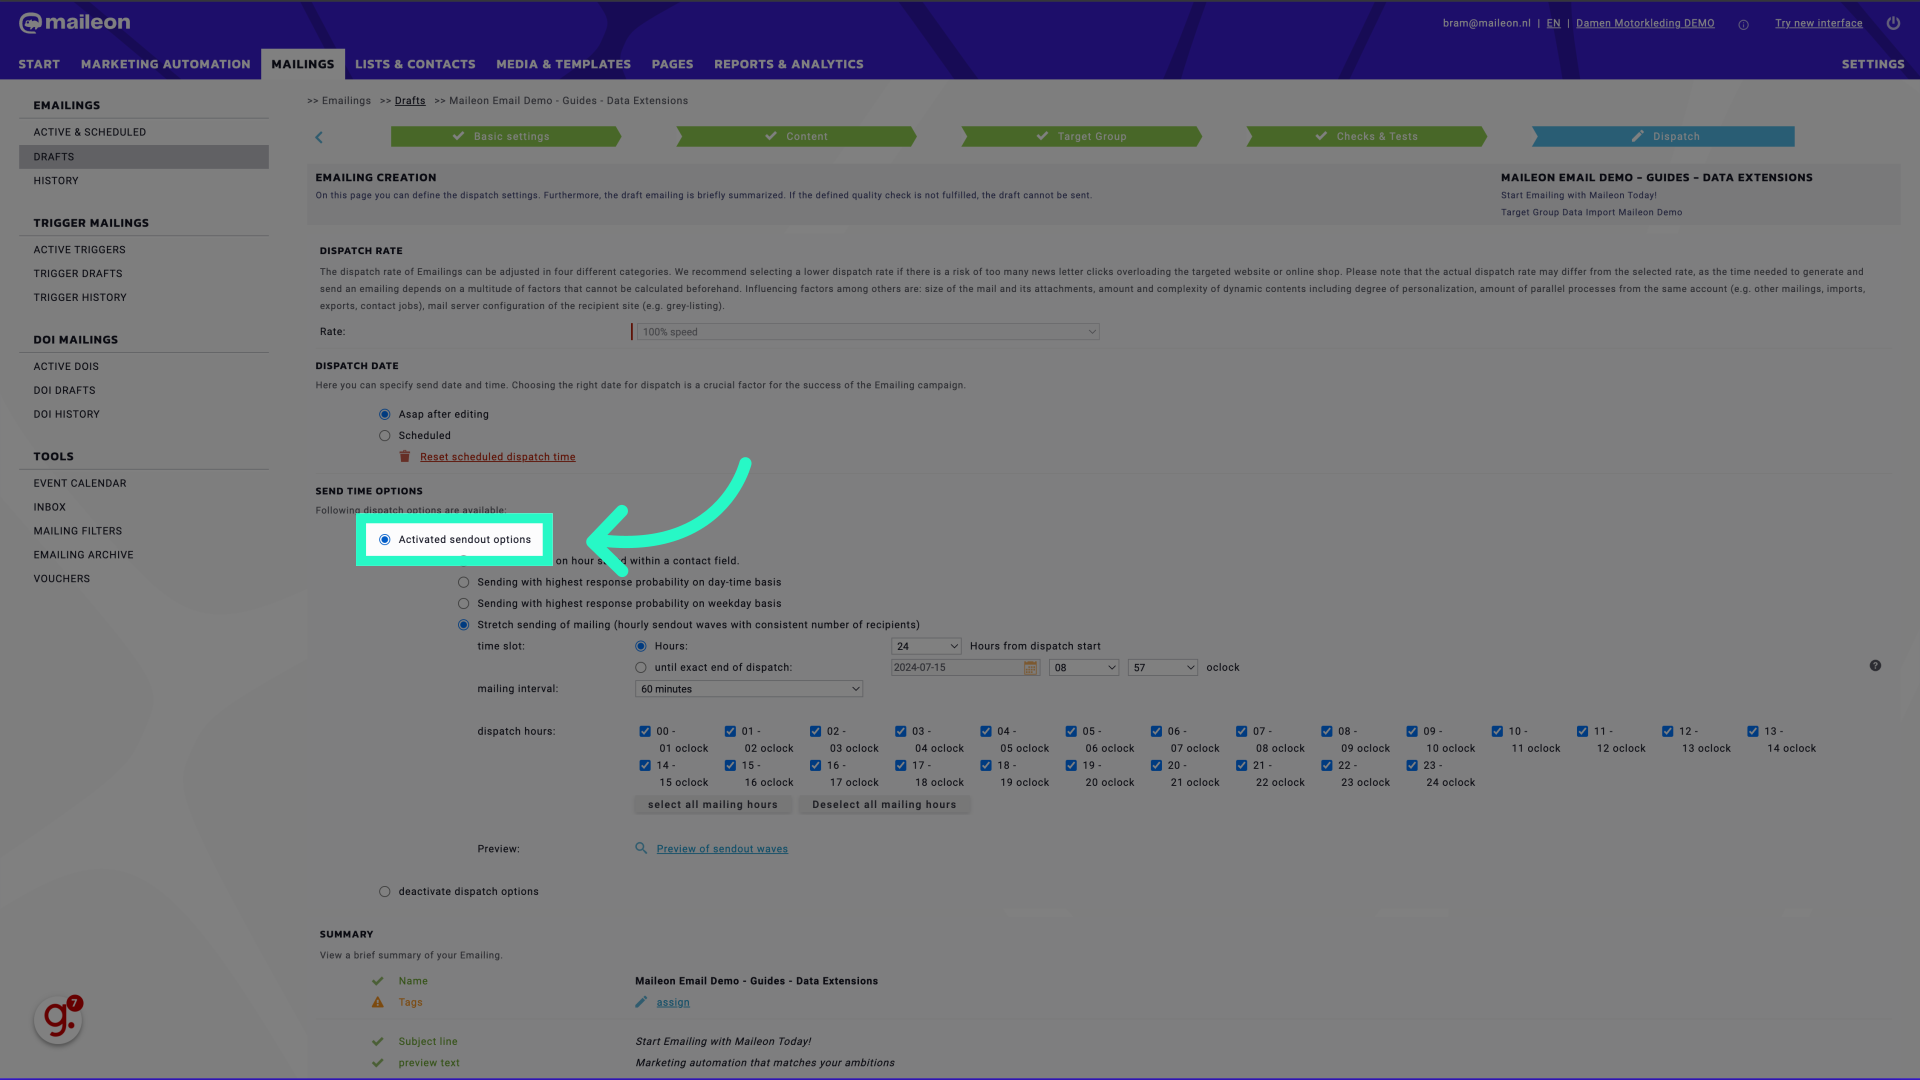
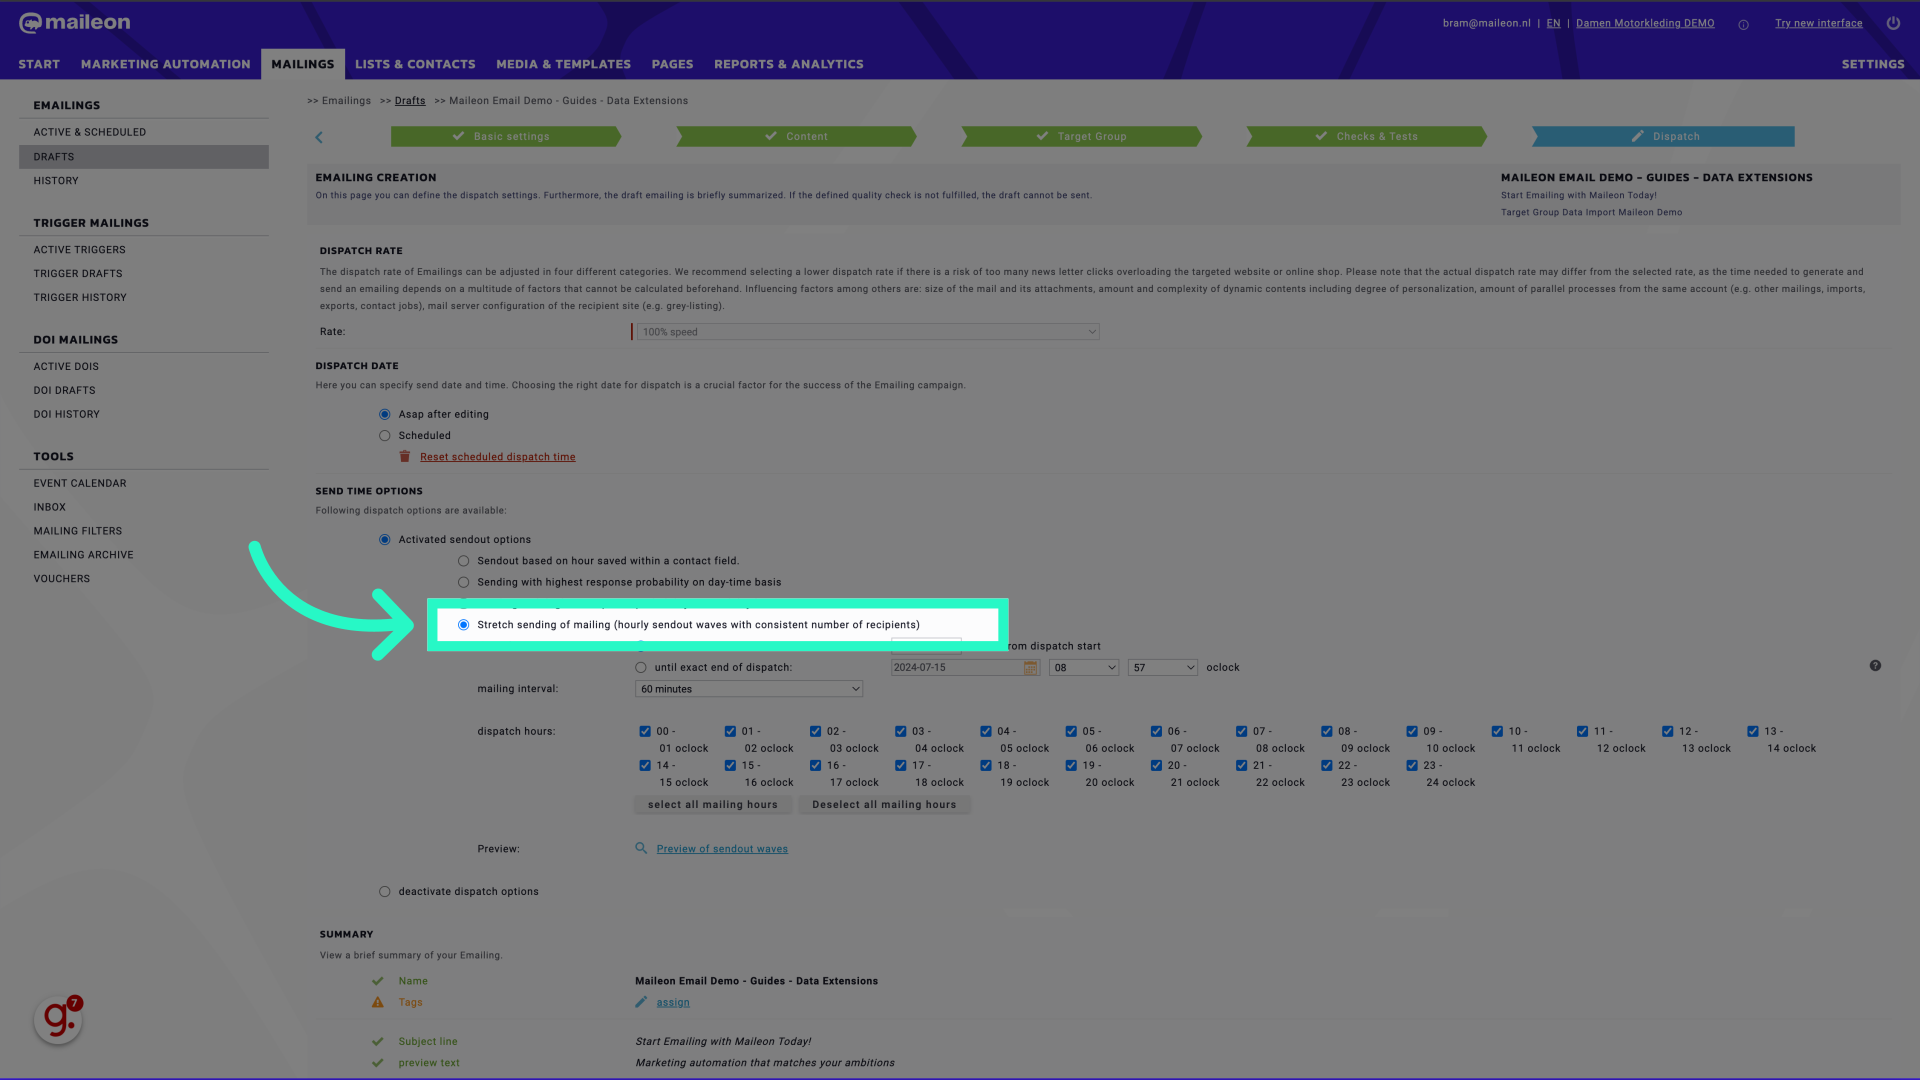
8. Click "Stretch sending of mailing (hourly sendout waves with consistent number of recipients)"
Enable the feature for sending emails in waves.
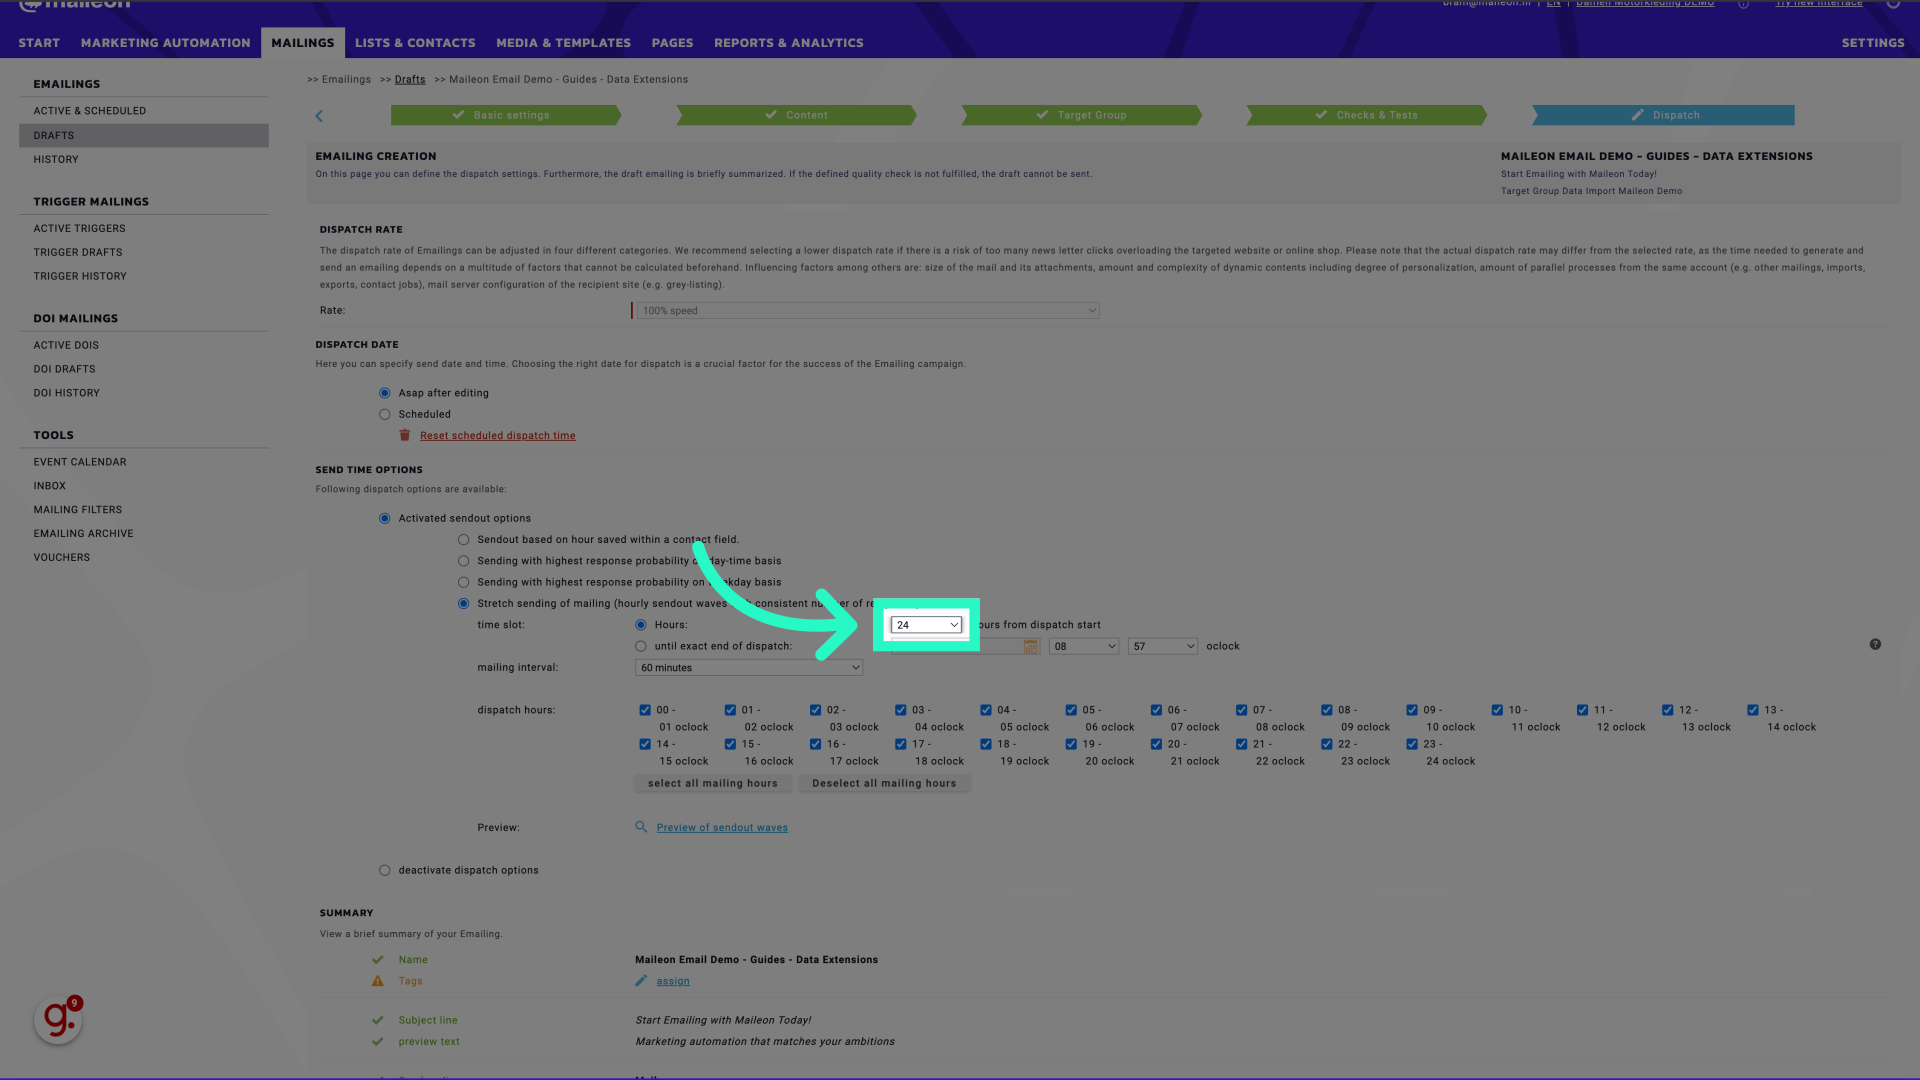
9. Select the number of hours in which the campaign will be sent
Access additional options.
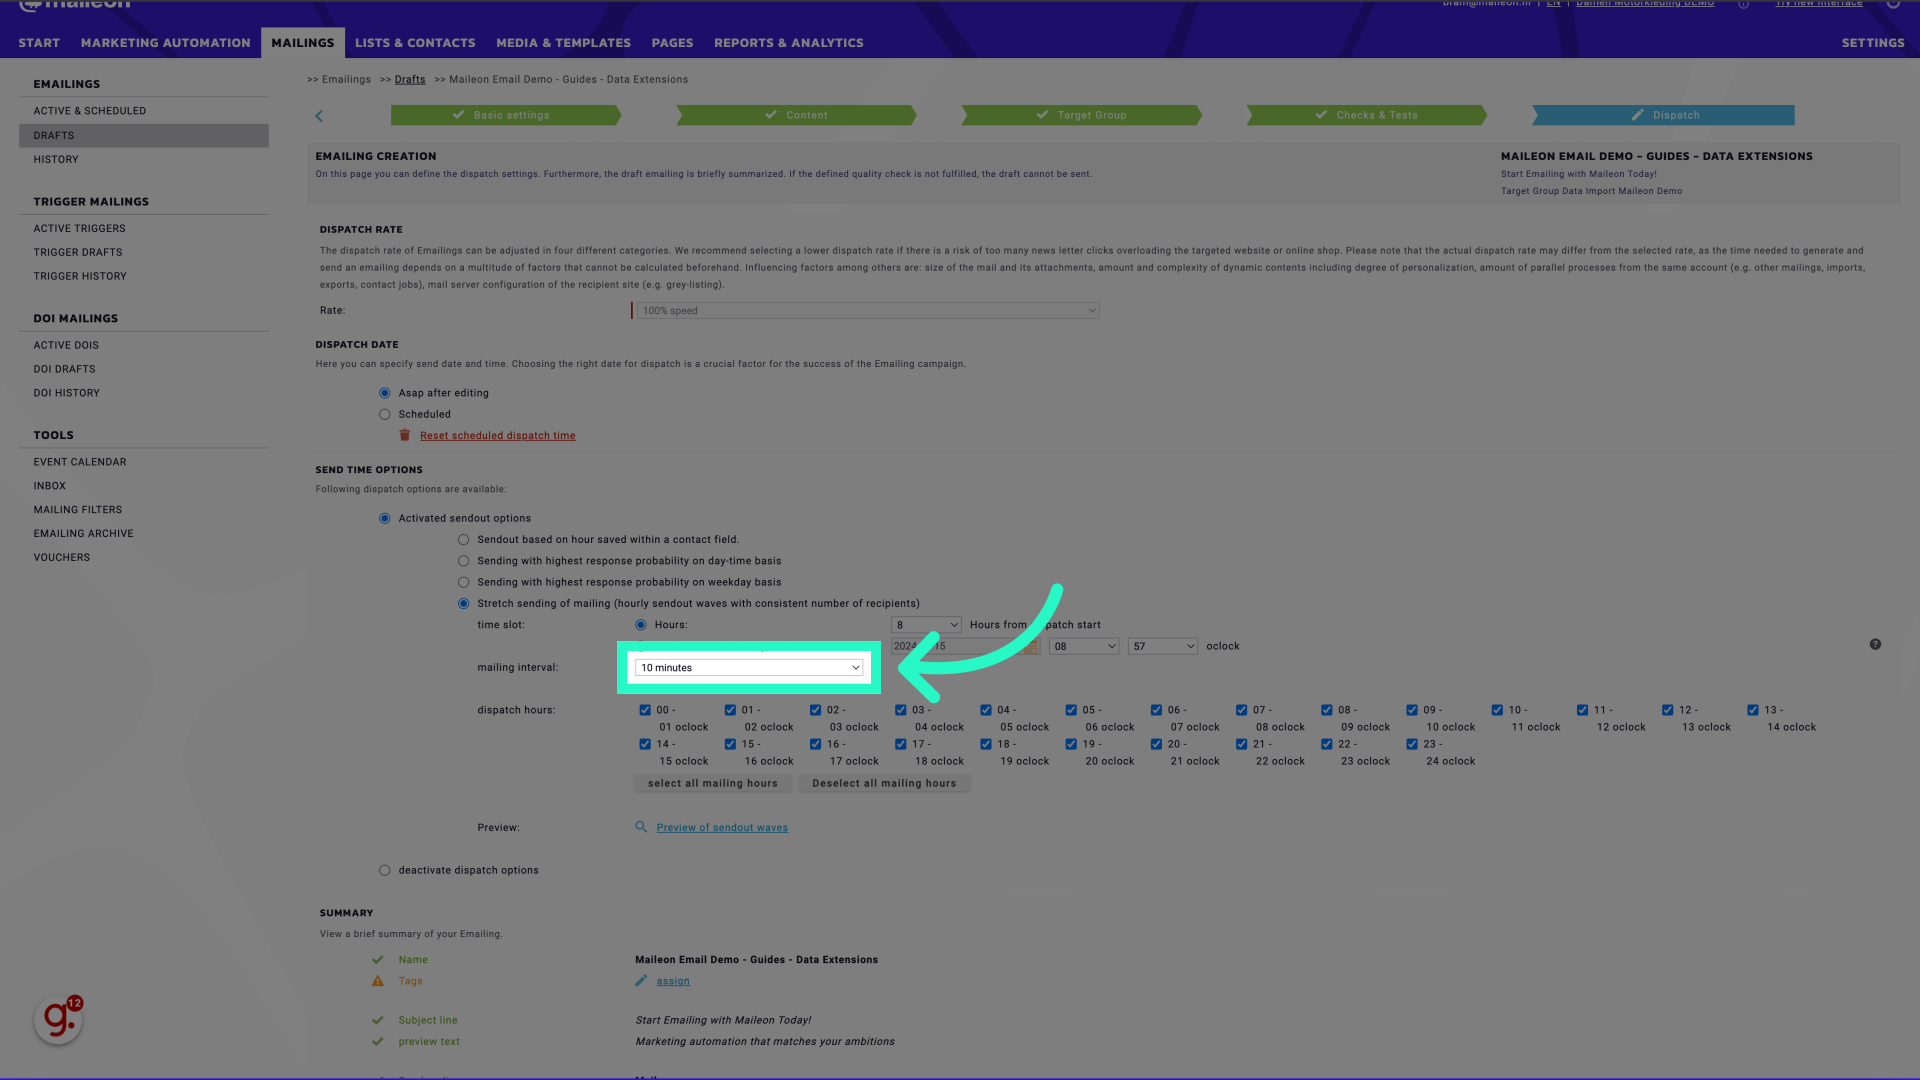
10. Select the Mailing Interval
Select the desired time intervals.

11. Select the Mailing Interval. This means that every x minutes a wave will be sent.
Enter the specified time intervals.
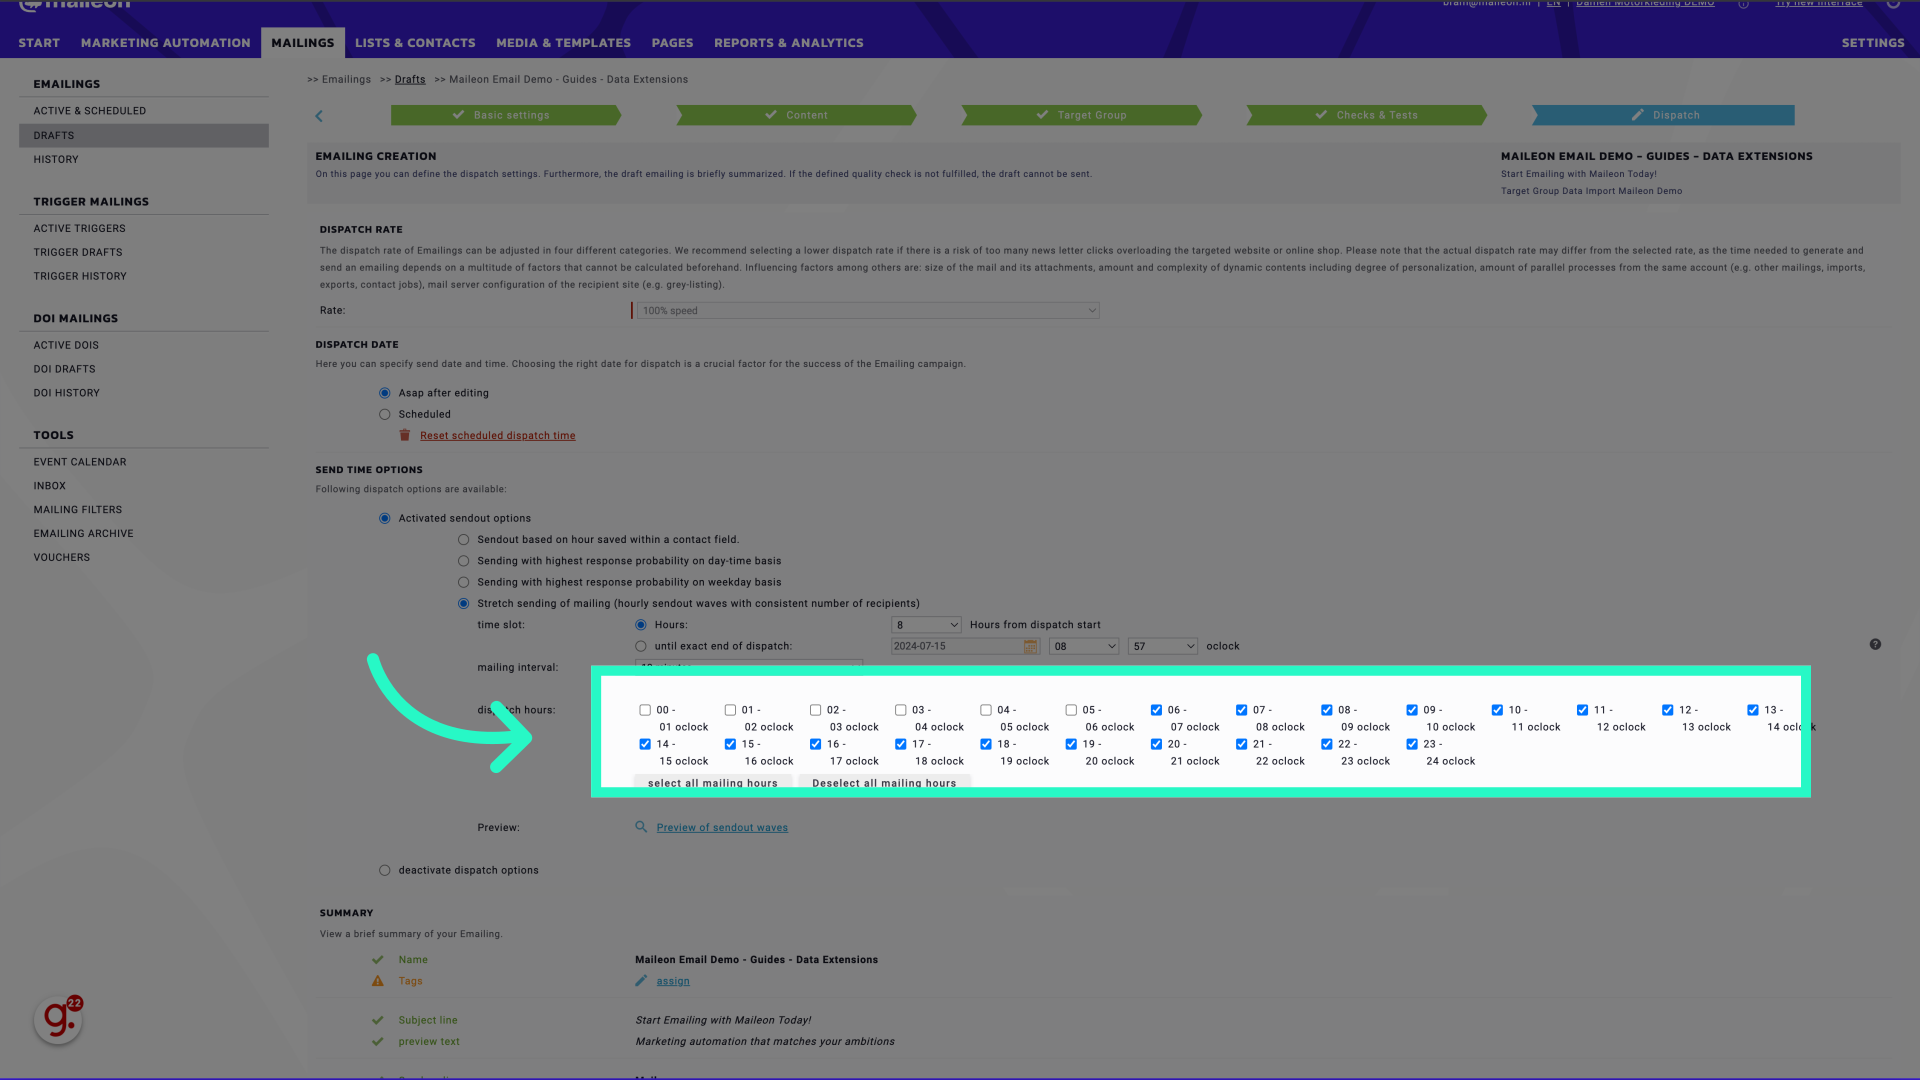
12. Select the hours of the day in which the mailing may be dispatched. For example: avoid lunchtime or during the night.
Enter the required information for "true."
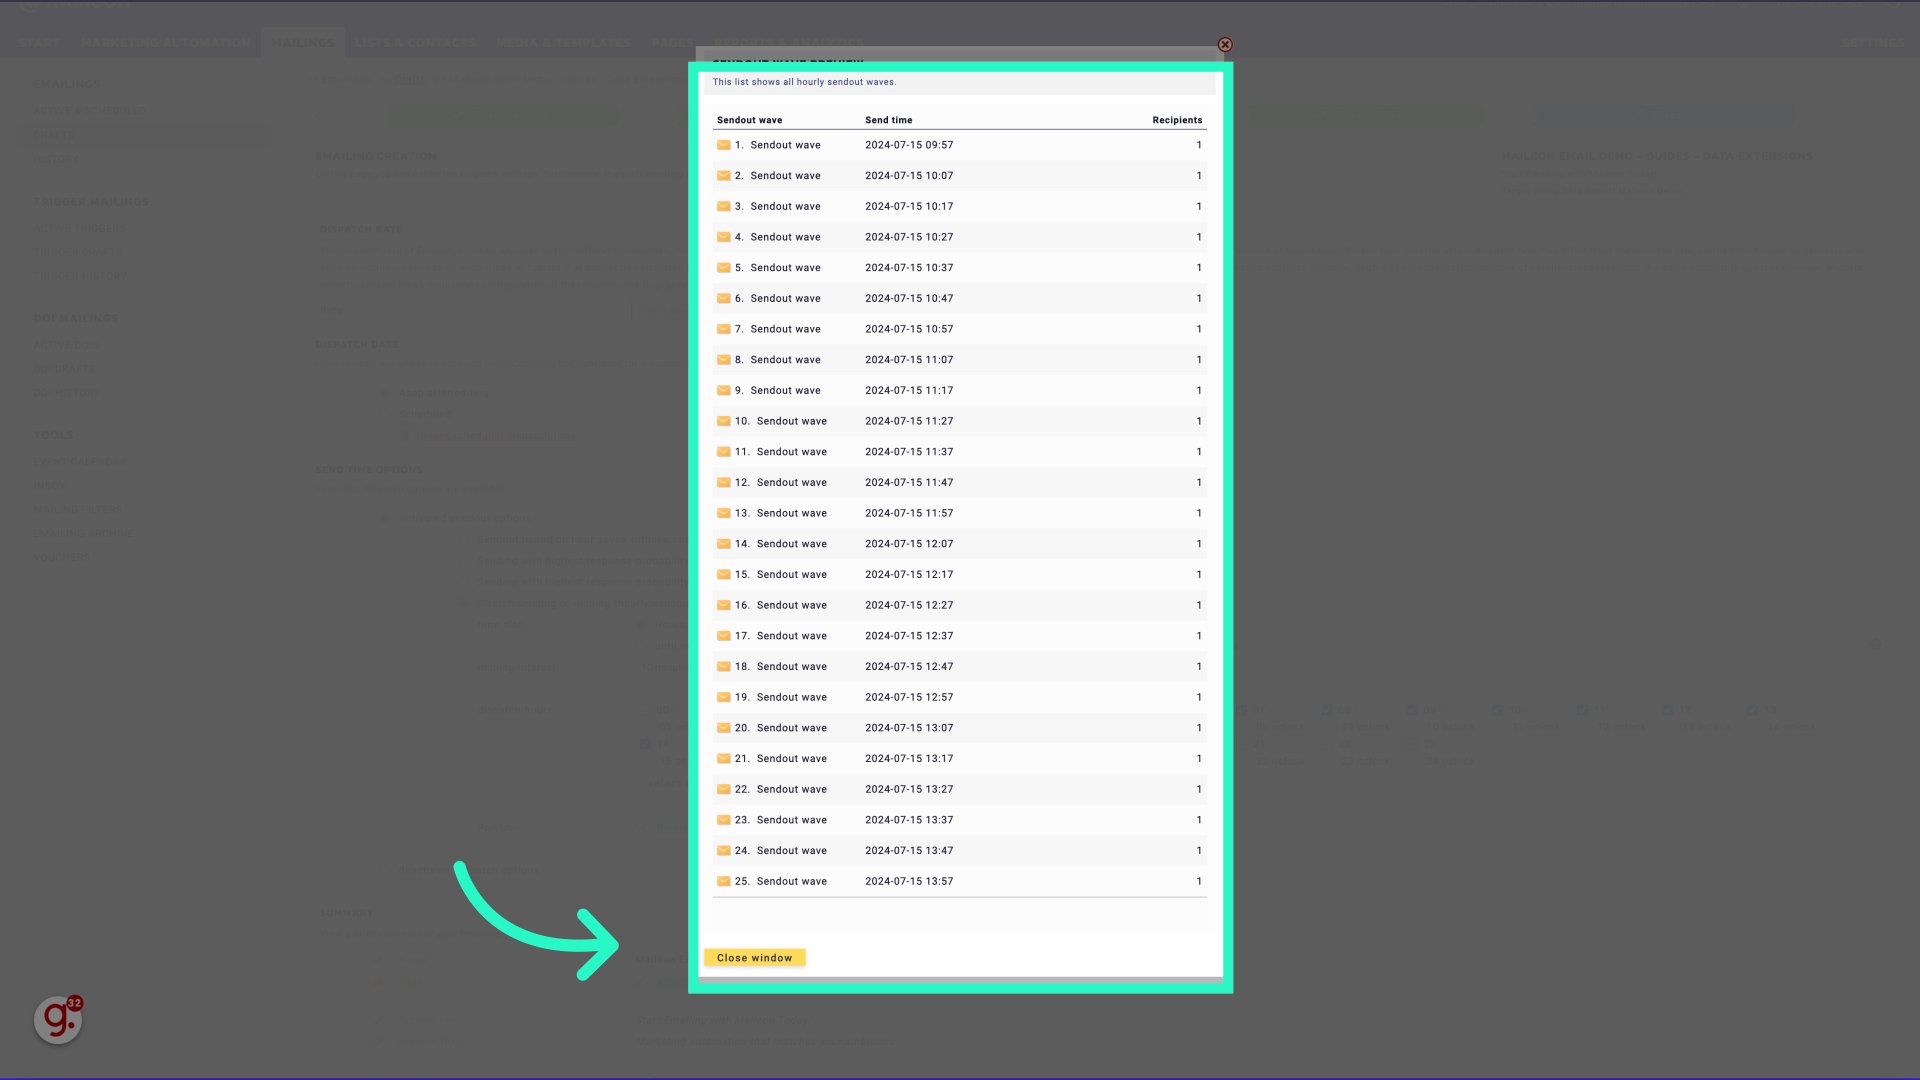
13. Click "Preview of sendout waves"
View the preview of the sendout waves.
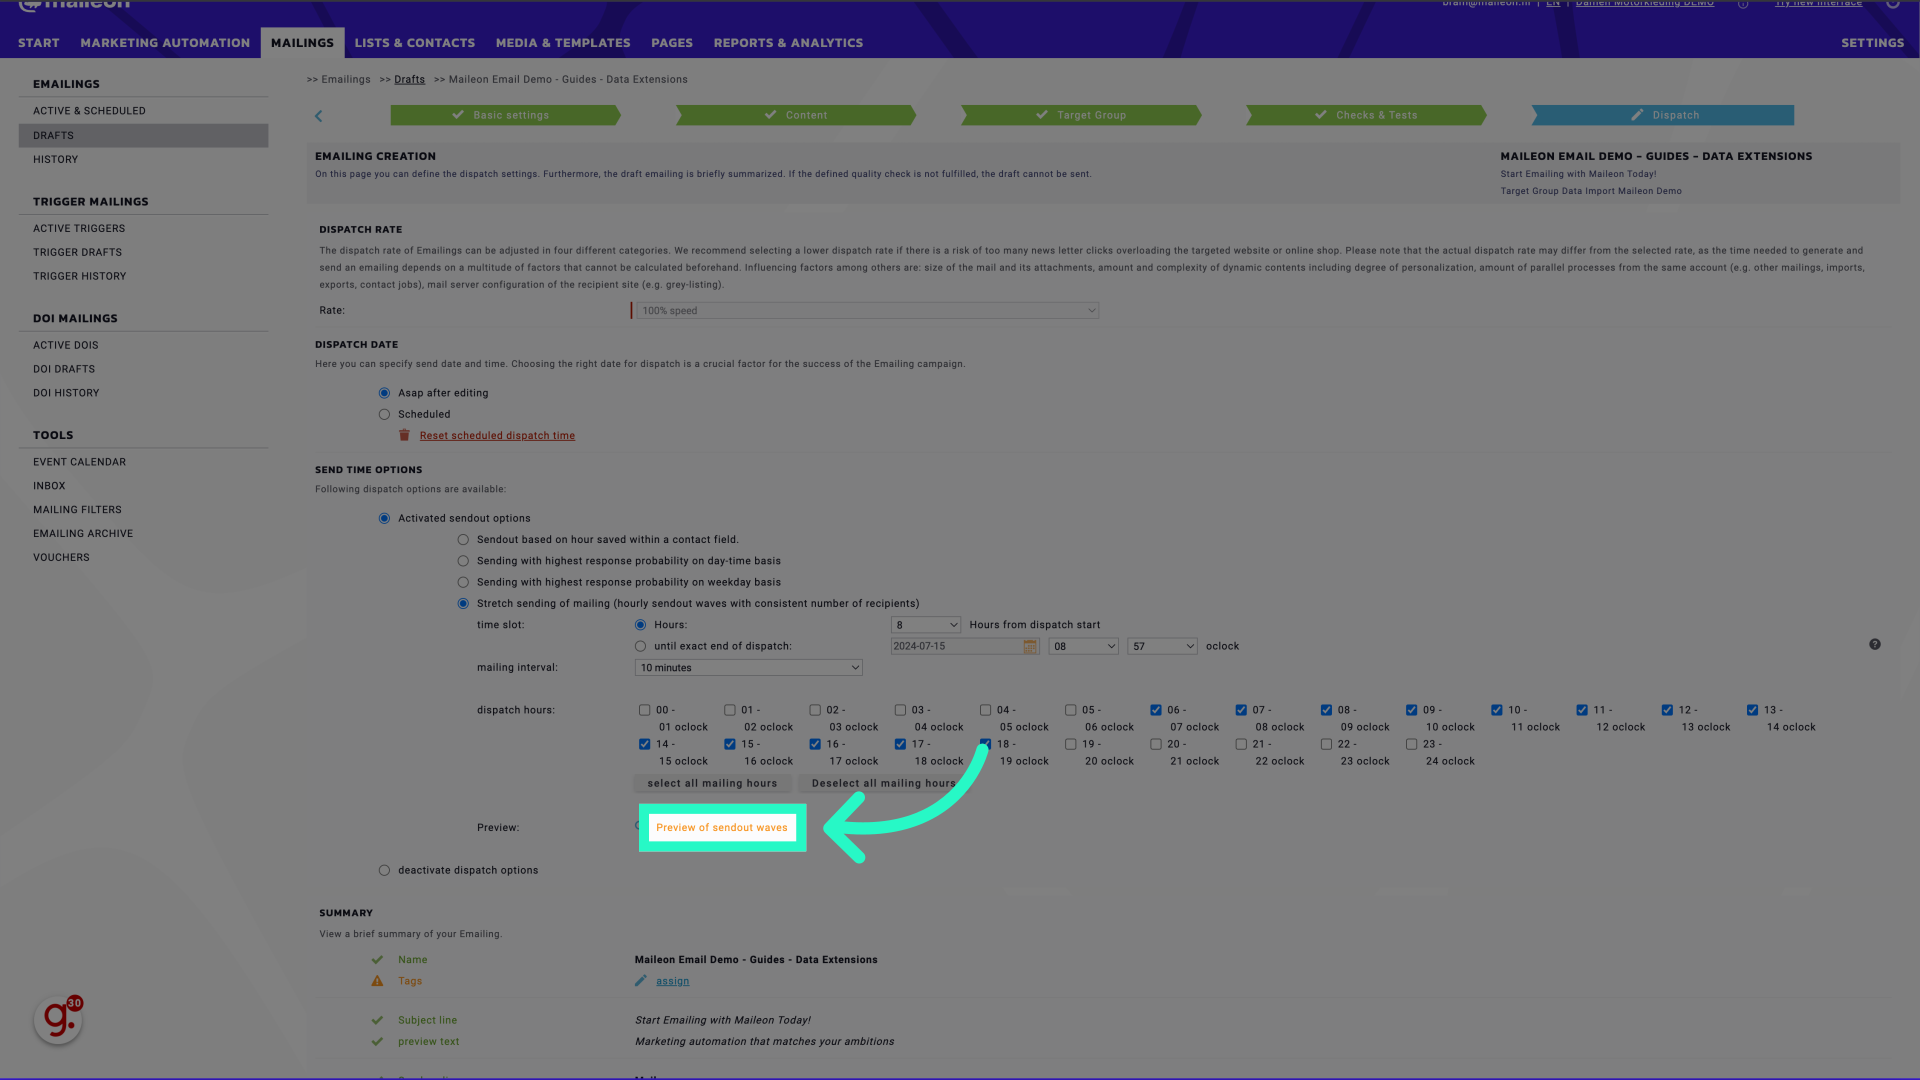
14. Preview the sendout waves. Click "Close window" to continue.
Follow the link or button.
15. Click "Save current editing stage & quit" to save settings or "Send Emailing immediately" or "Schedule Emailing" if the campaign is ready to be sent.
Save the current edits and exit.

This guide covered the process of sending emails in waves using the "send time options" feature in Maileon. From setting up time intervals to previewing sendout waves, you are now equipped to optimize your email campaigns for better engagement.