This guide will walk you through the process of uploading a page to the Pages Module in Maileon, focusing on employee training. From creating a page to assigning roles, follow these detailed instructions for a seamless experience.
Go to damenmotorkleding-news-mailer.maileon.com
1. Click "Create page"
Start by clicking on "Create page."

2. Select the type of page you need
Select the appropriate page type from the dropdown menu.

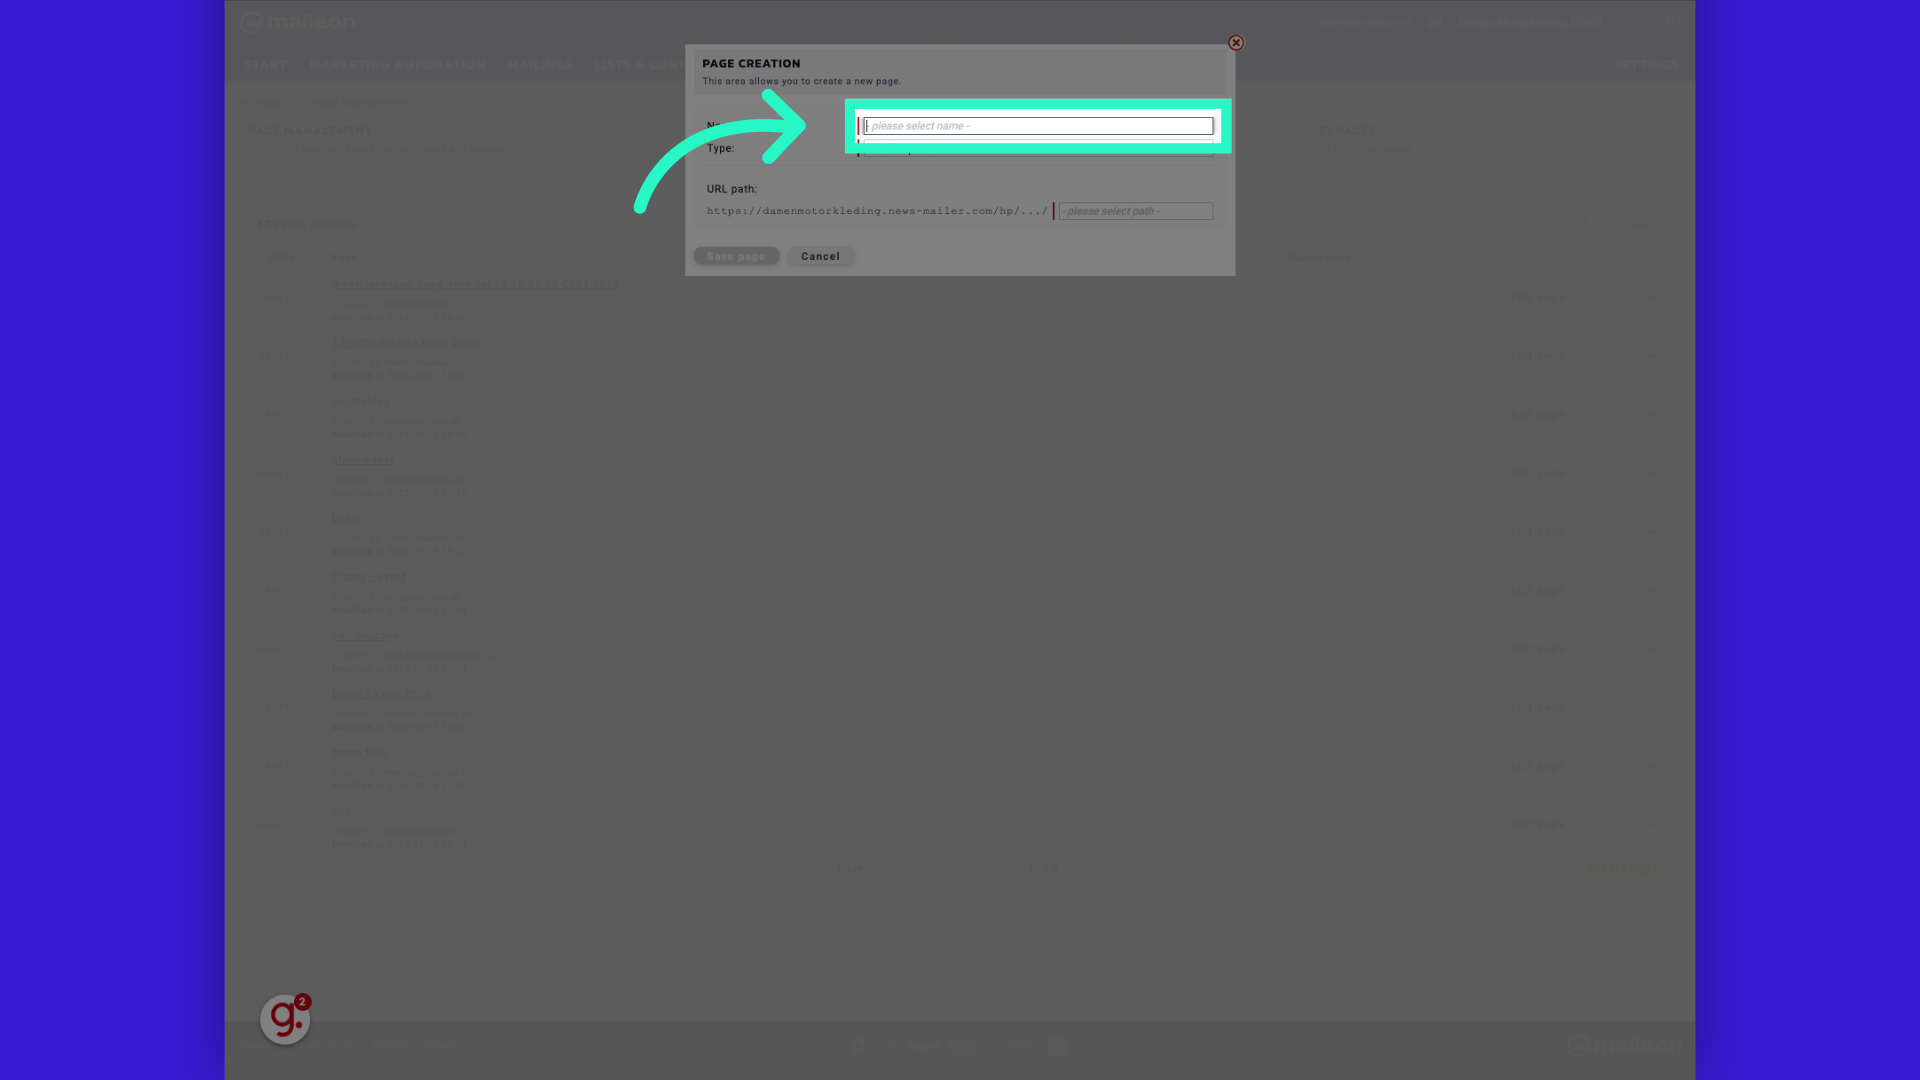
3. Give your page a name
Give your page a name
4. Fill (example) "Profile Update"
Enter the name of the page as "Profile Update."

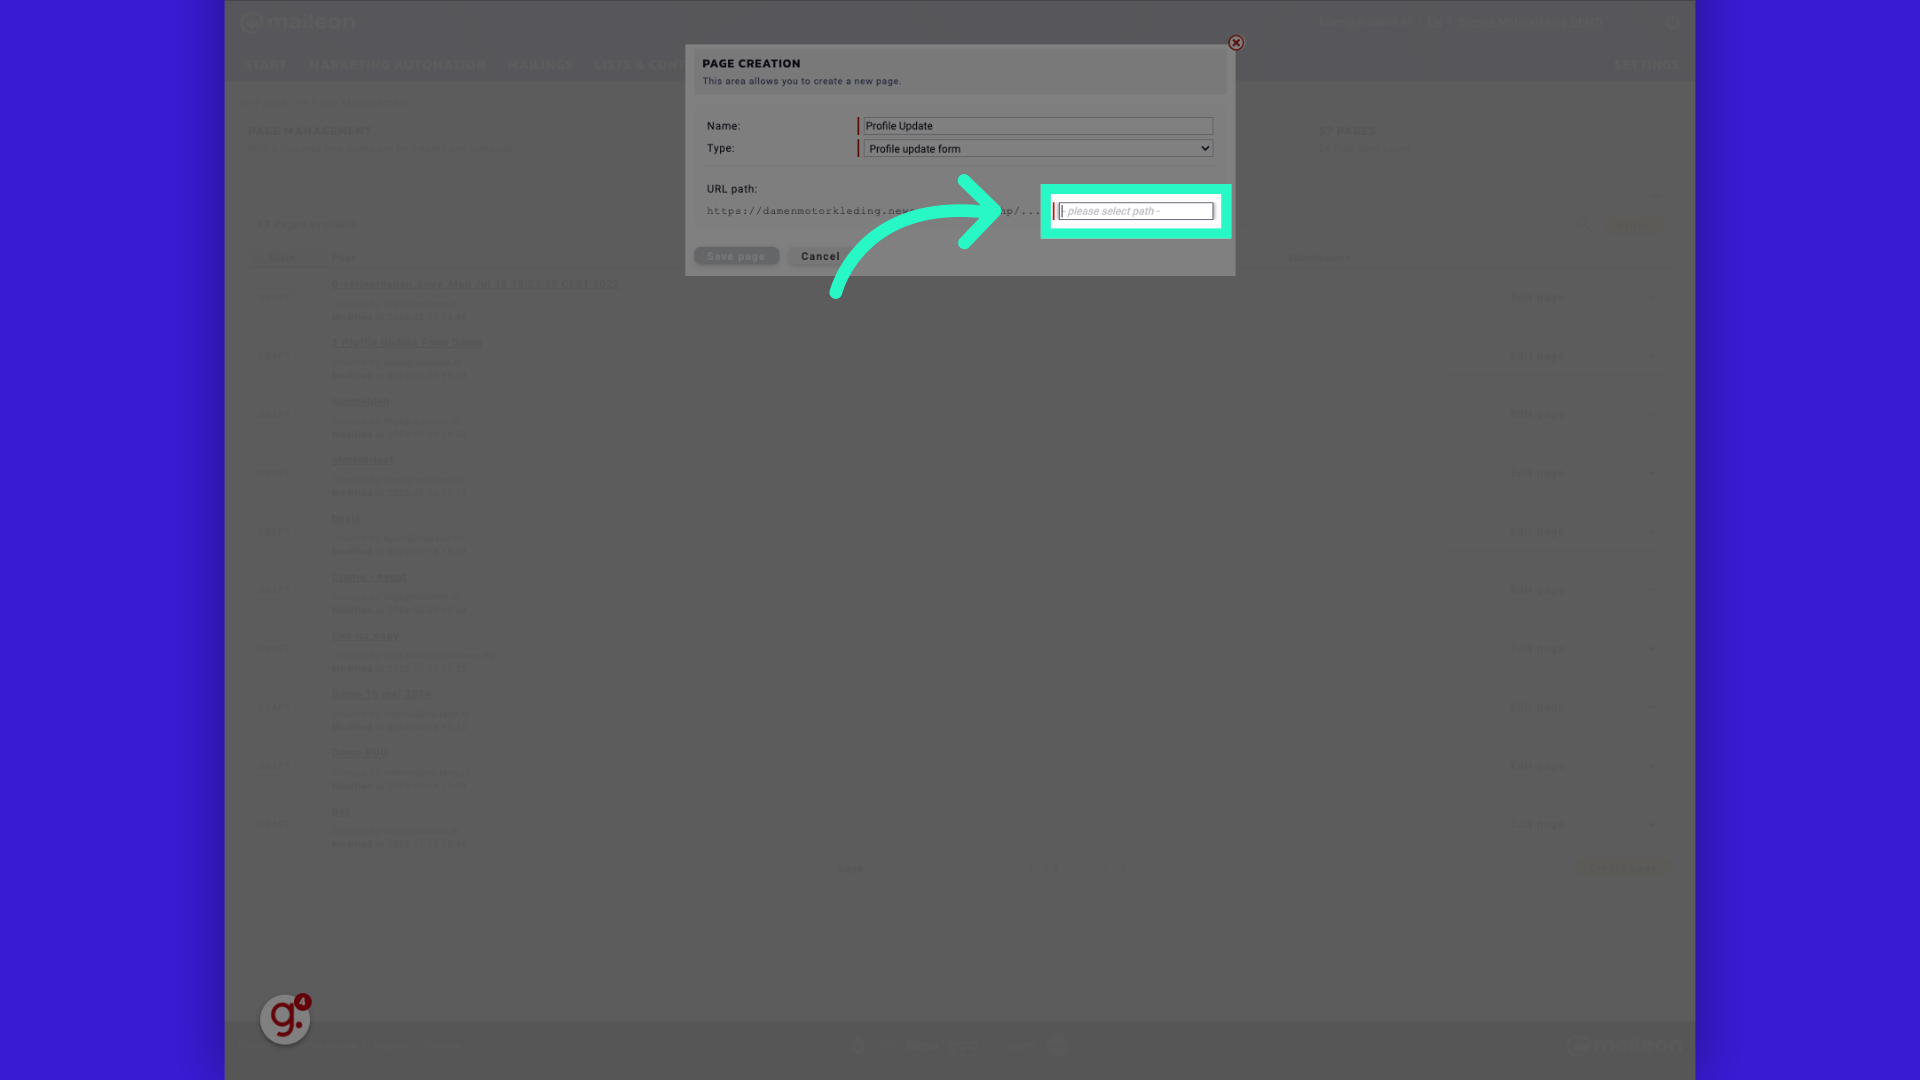
5. Enter the page path
Select the path for the page.
6. Fill (example) "profile-update"
Enter the path as "profile-update."

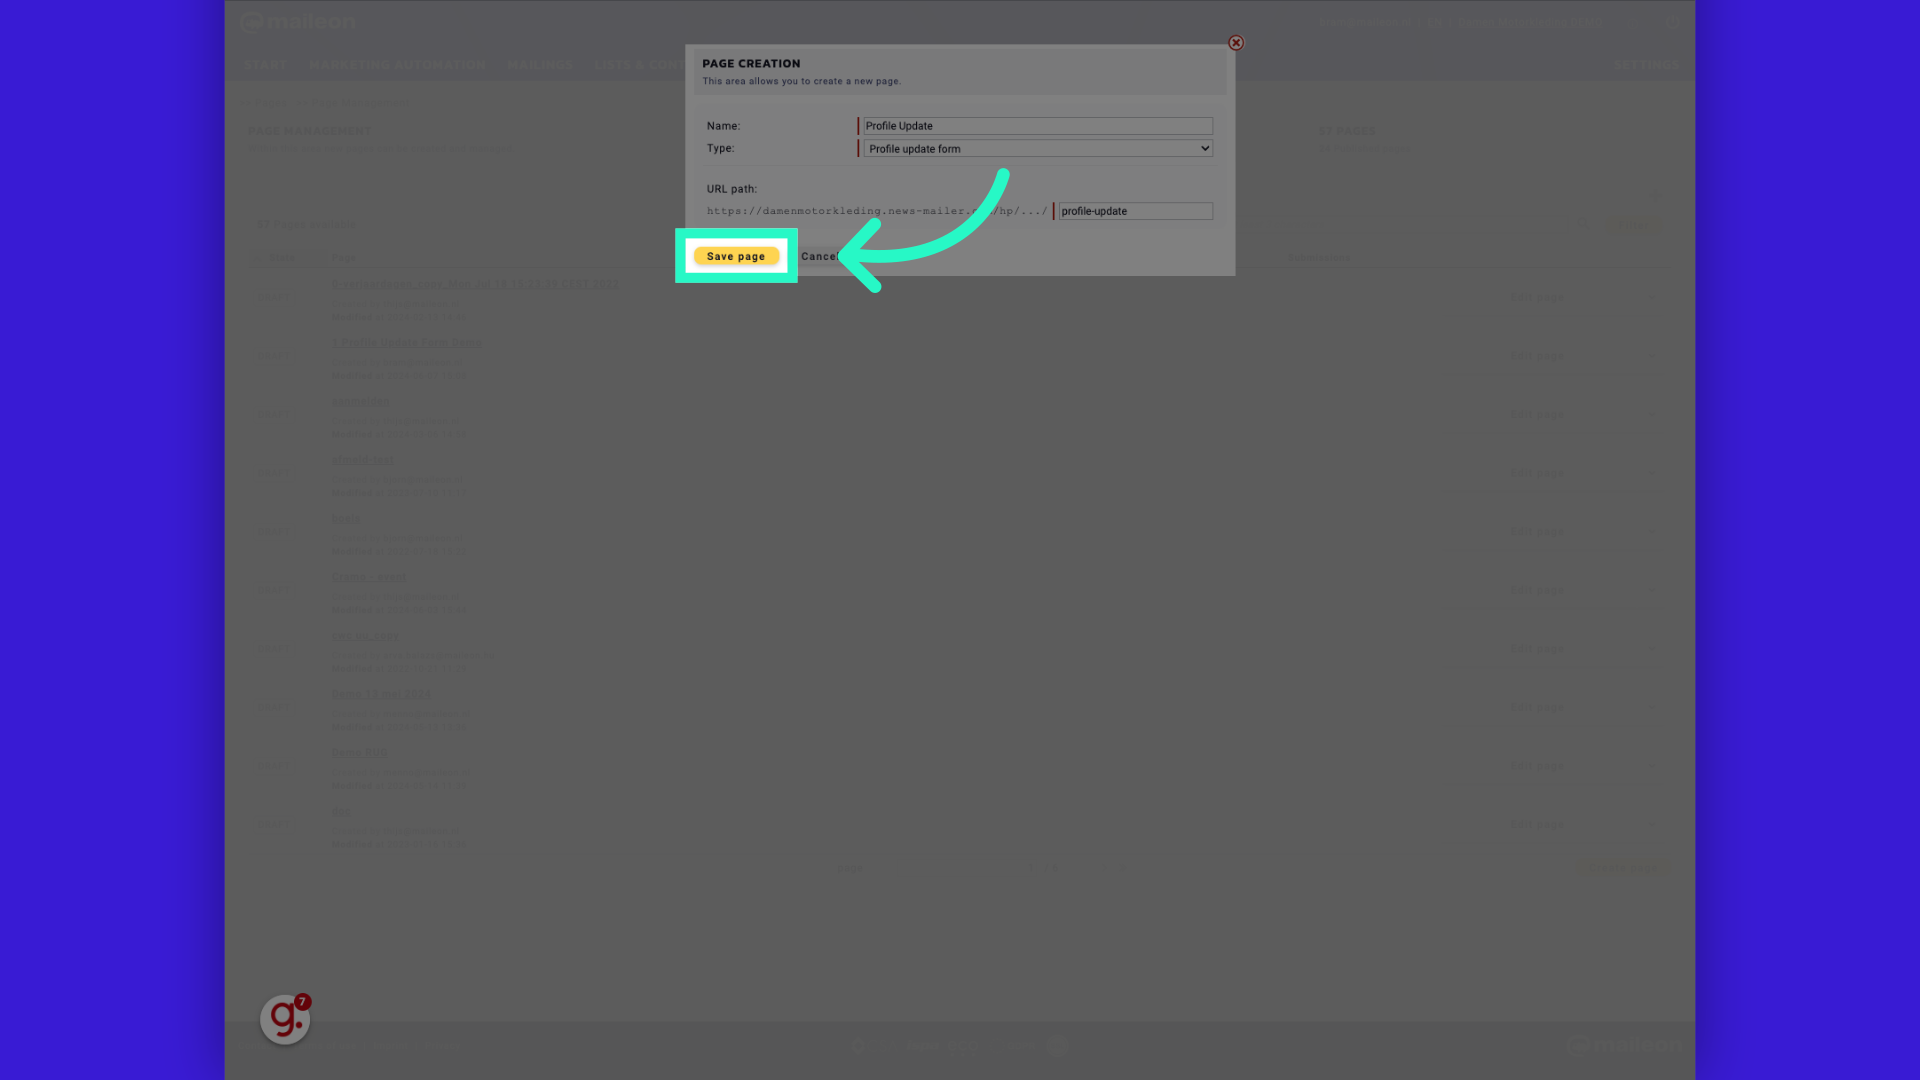
7. Click "Save page"
Save the page.
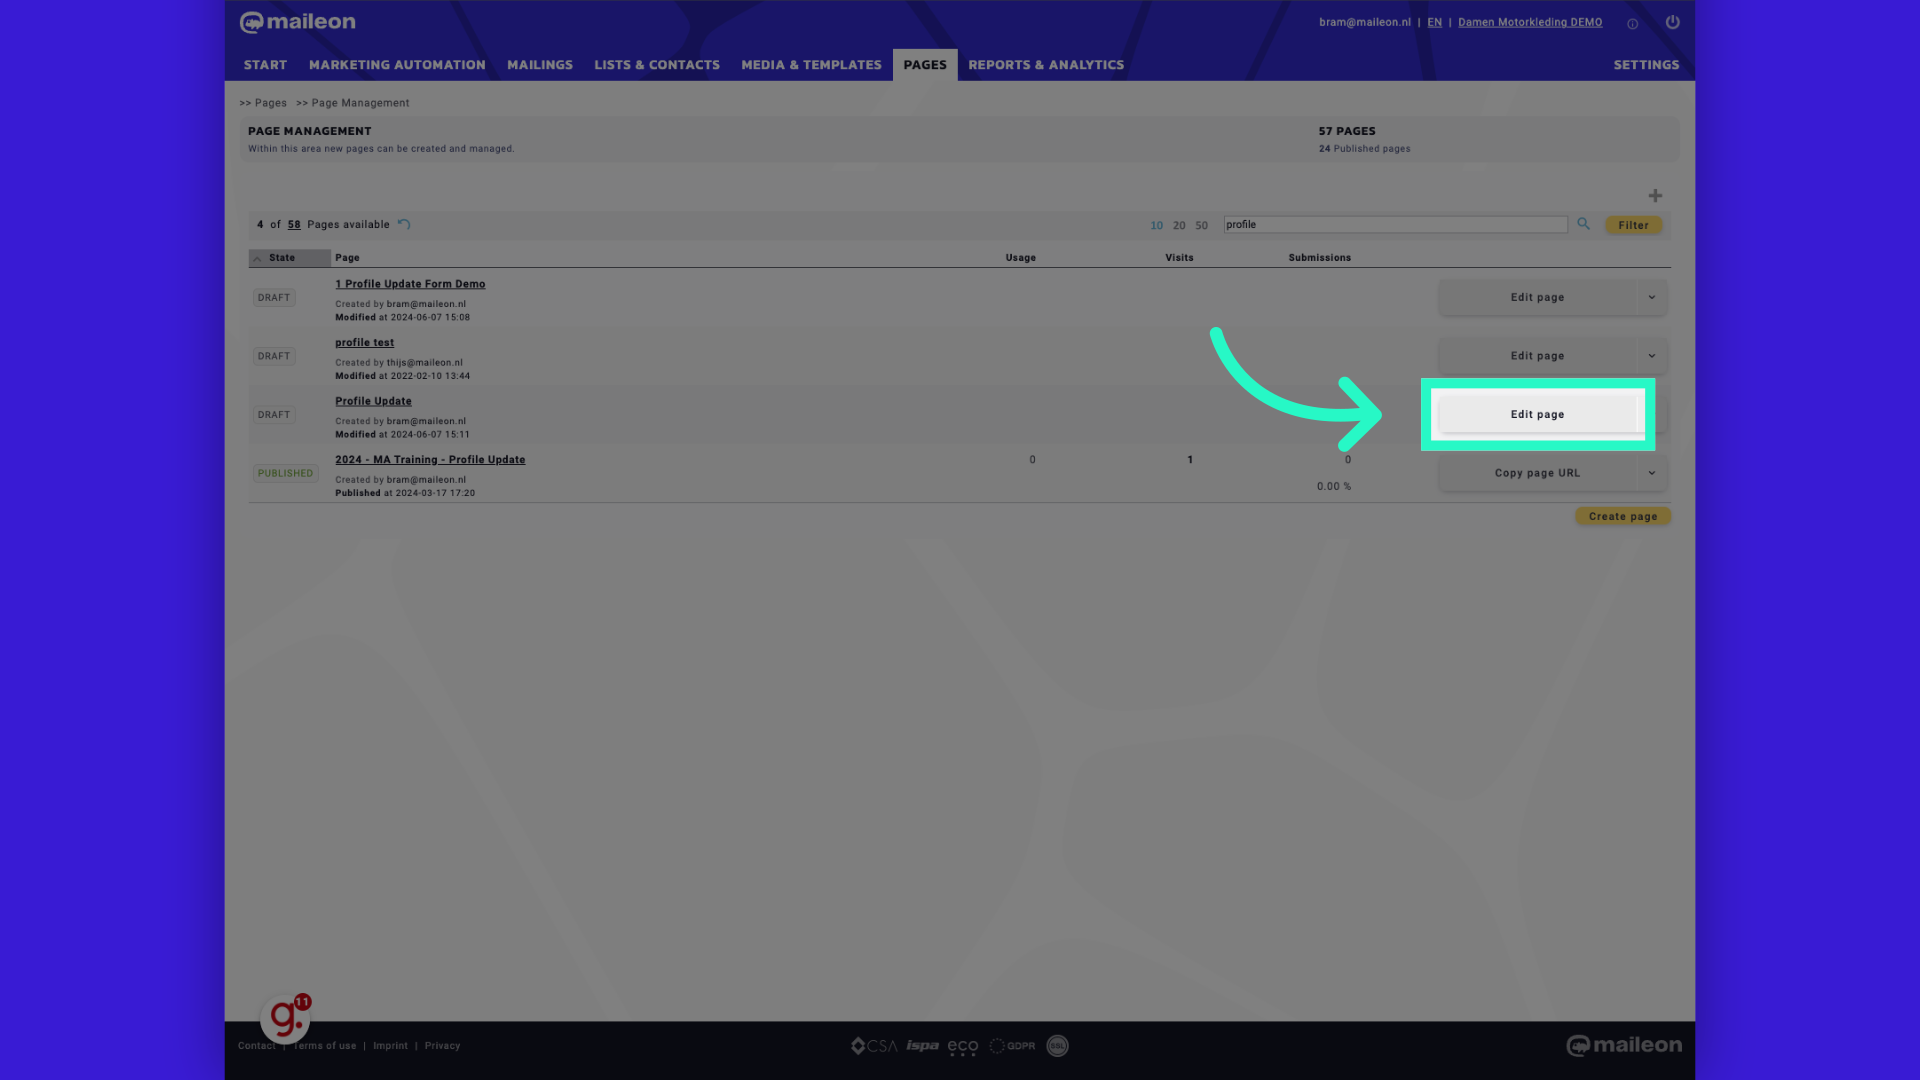
8. Click "Edit page"
Select "Edit page."
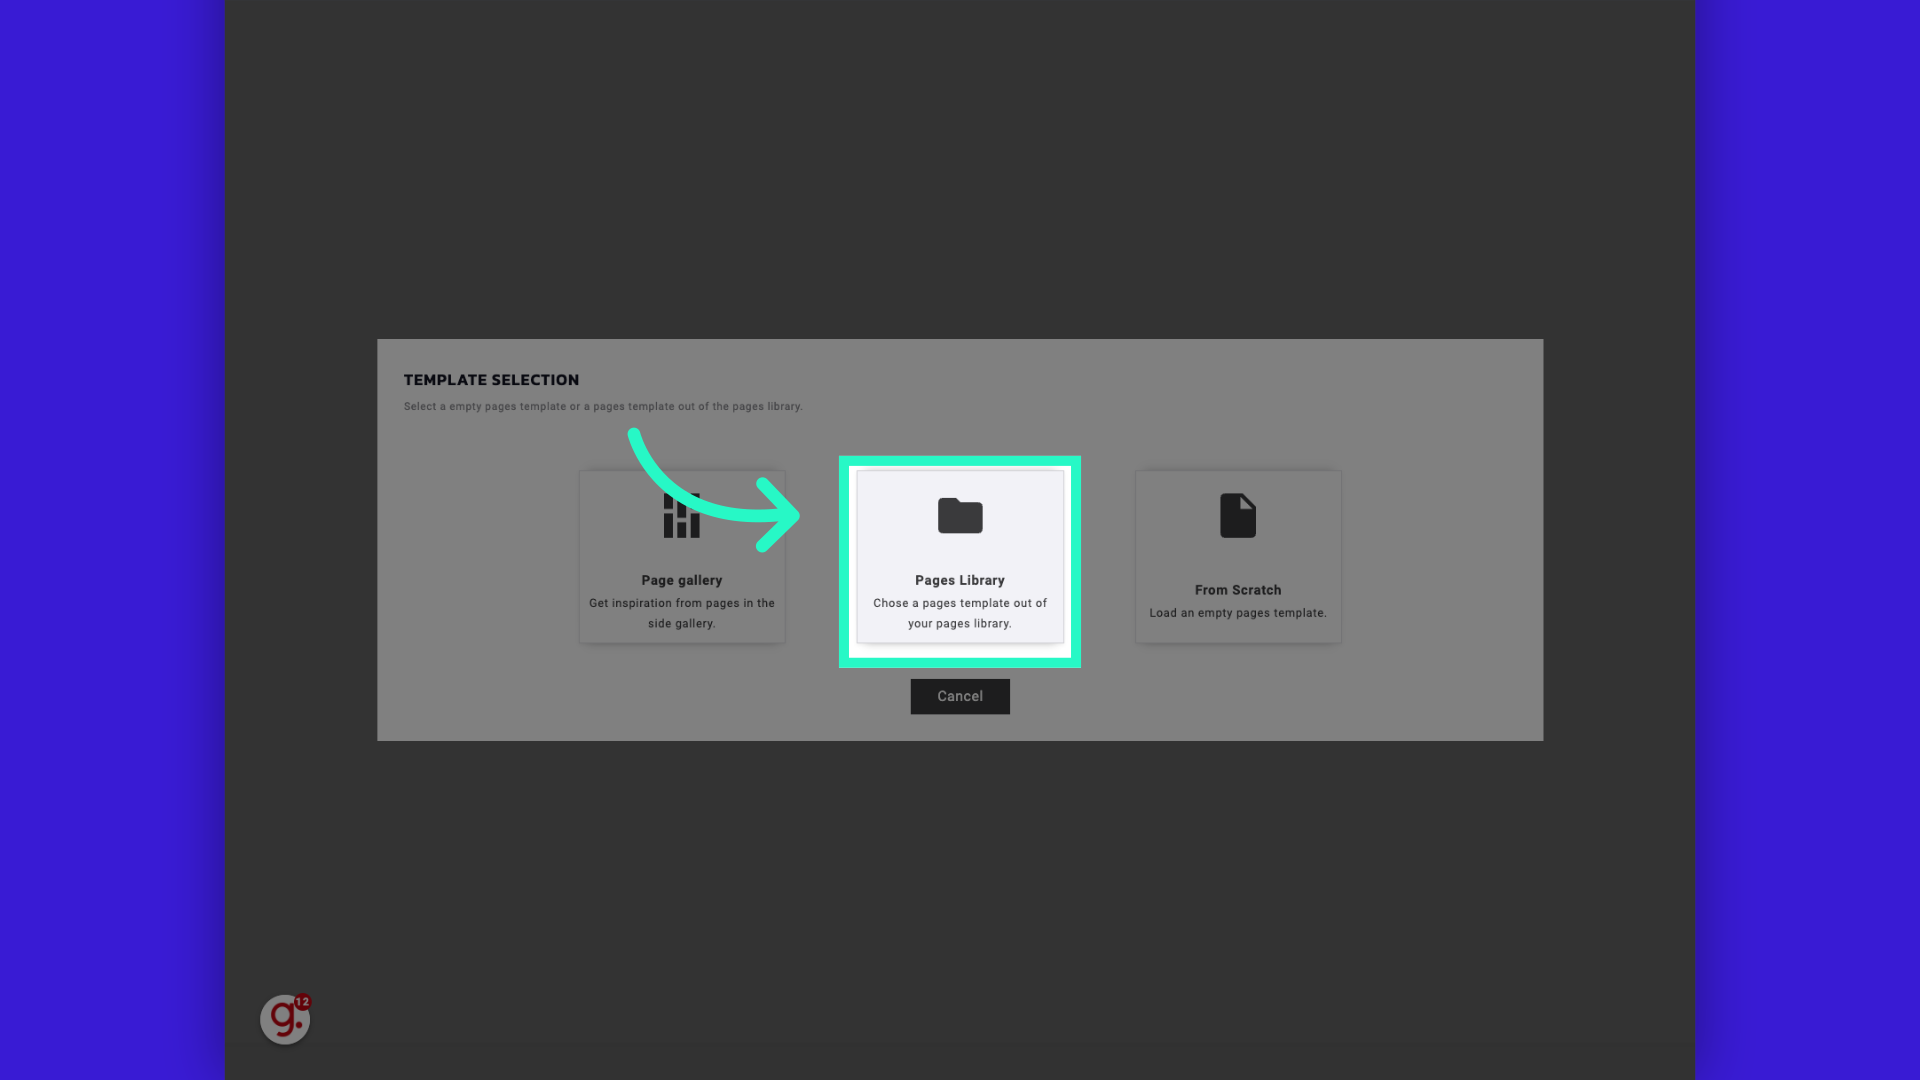
9. Click Pages Library
Click the selected button
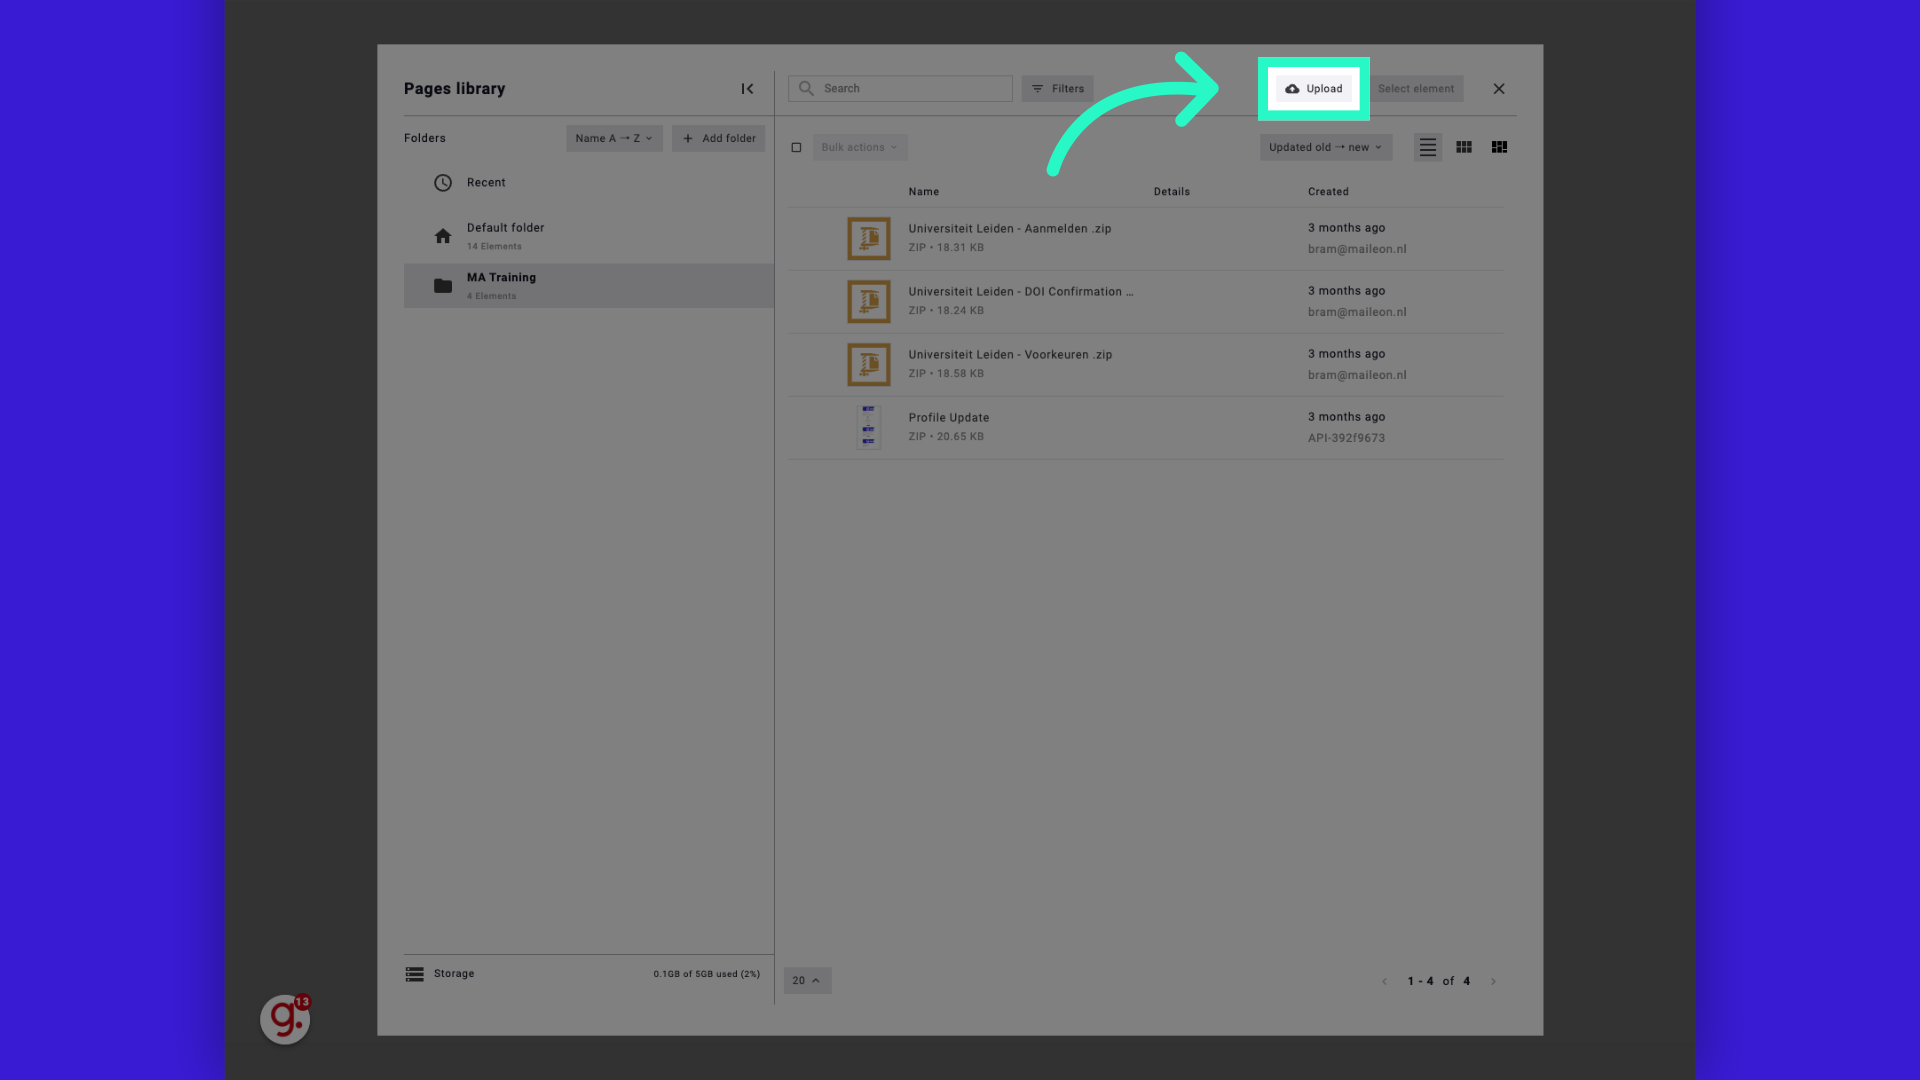
10. Click "Upload"
Choose to upload a file.
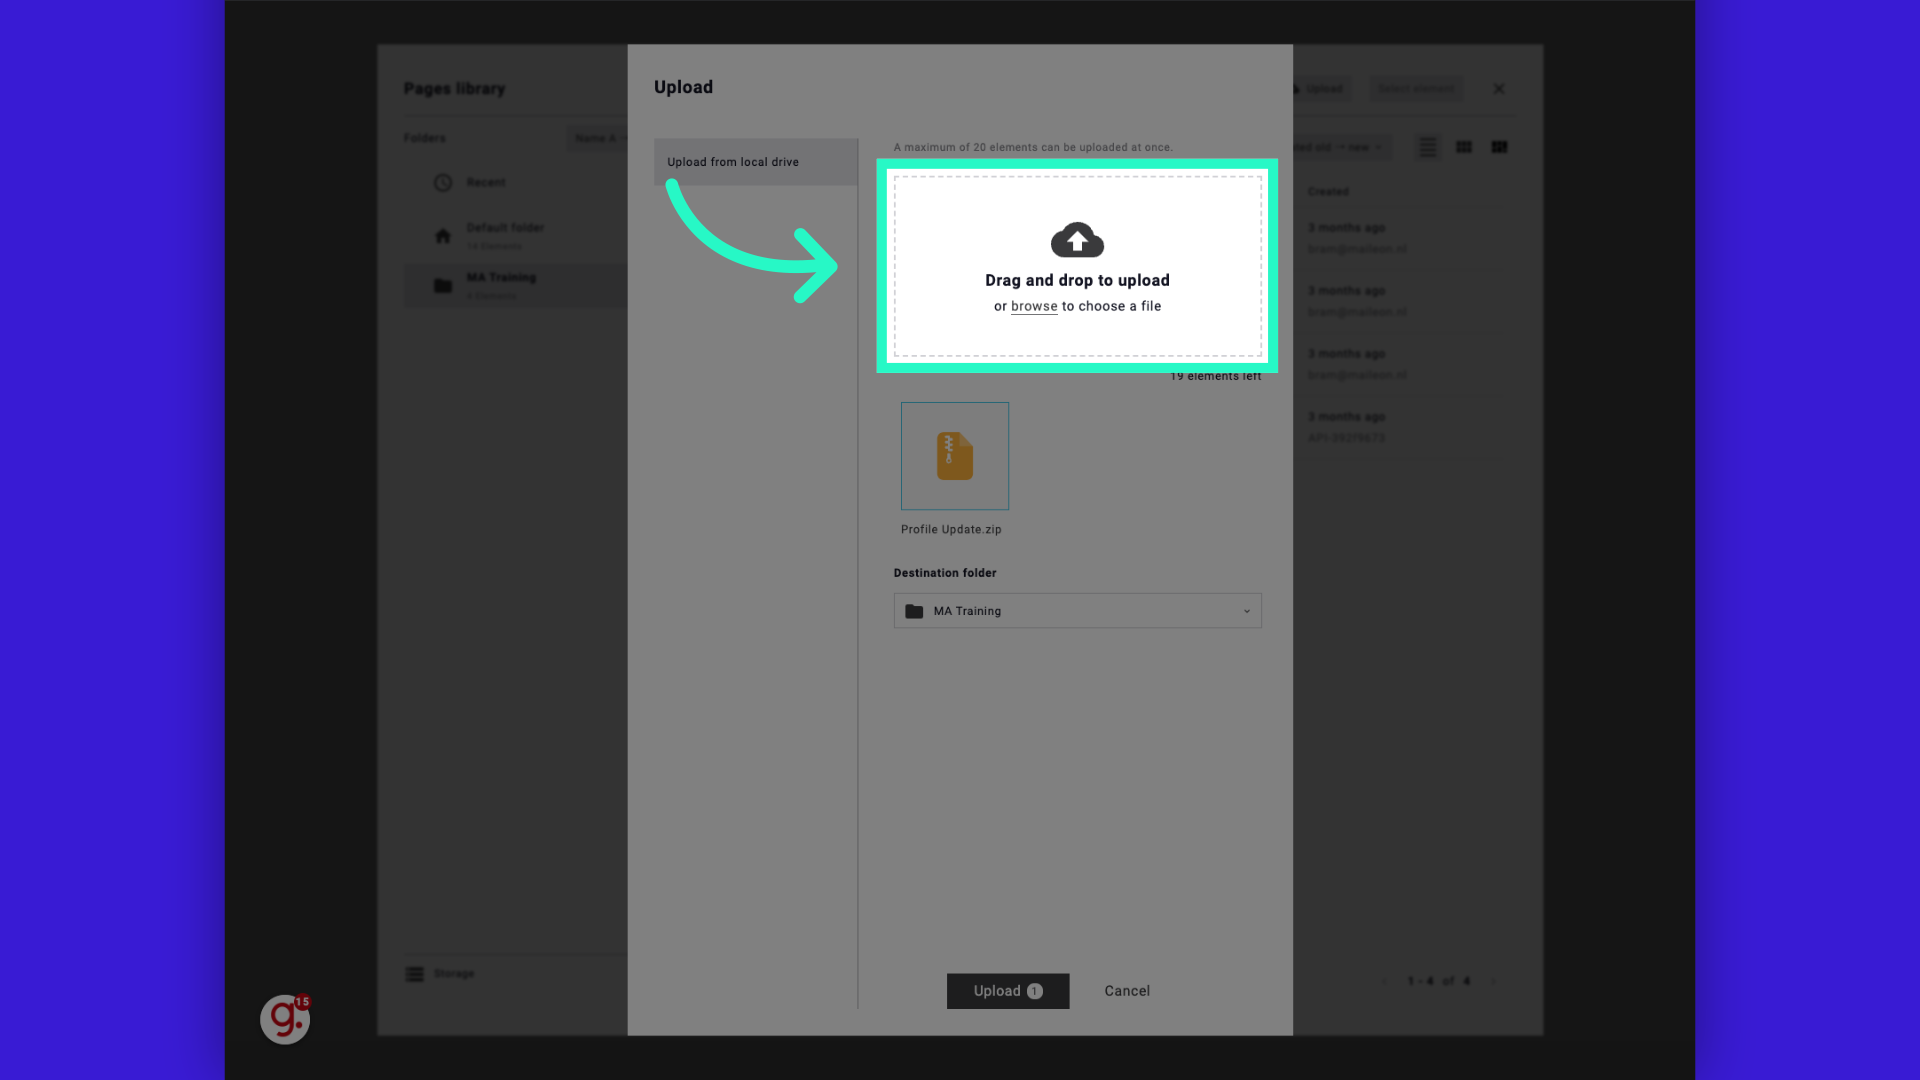
11. Click "browse"
Navigate to the file location by clicking on "browse."

12. Select your downloaded .zip file.
Select the file "Profile Update.zip" for upload.
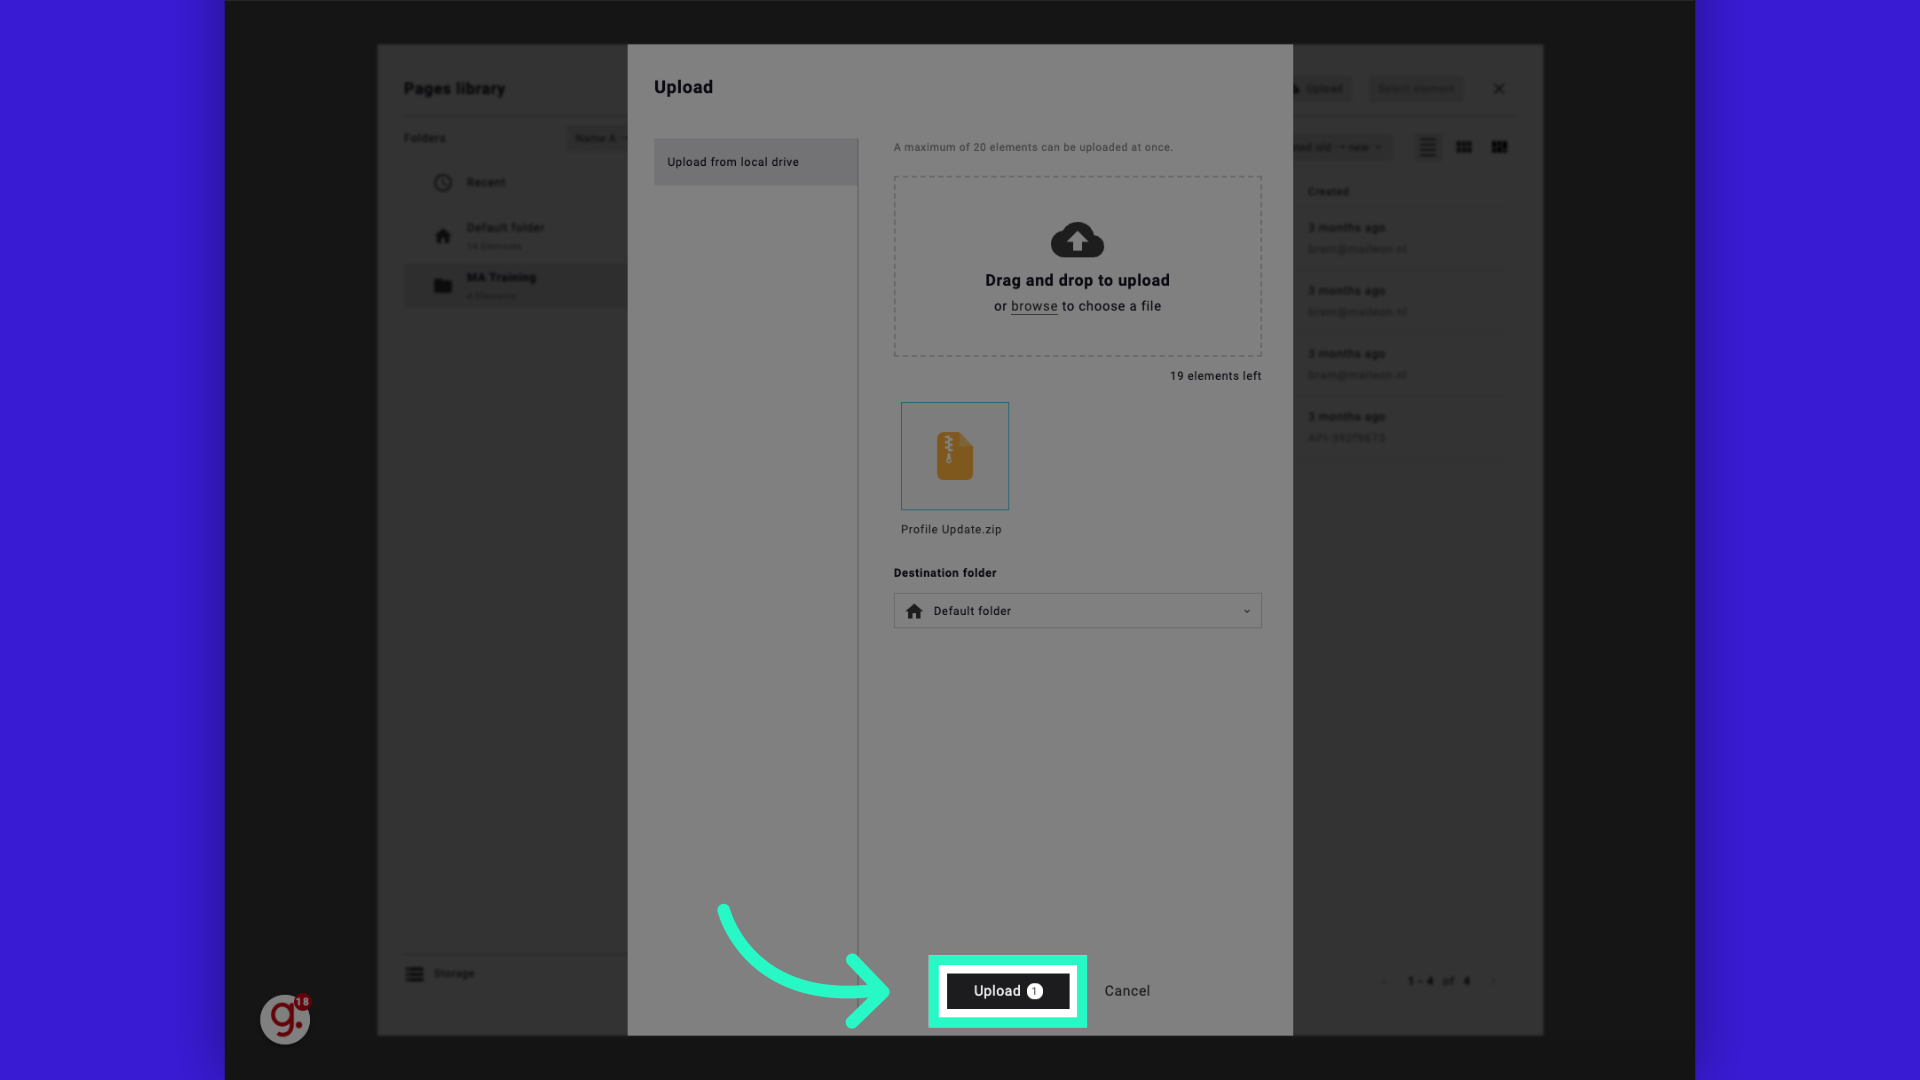
13. Click "Upload"
Click on "Upload" to initiate the upload process.
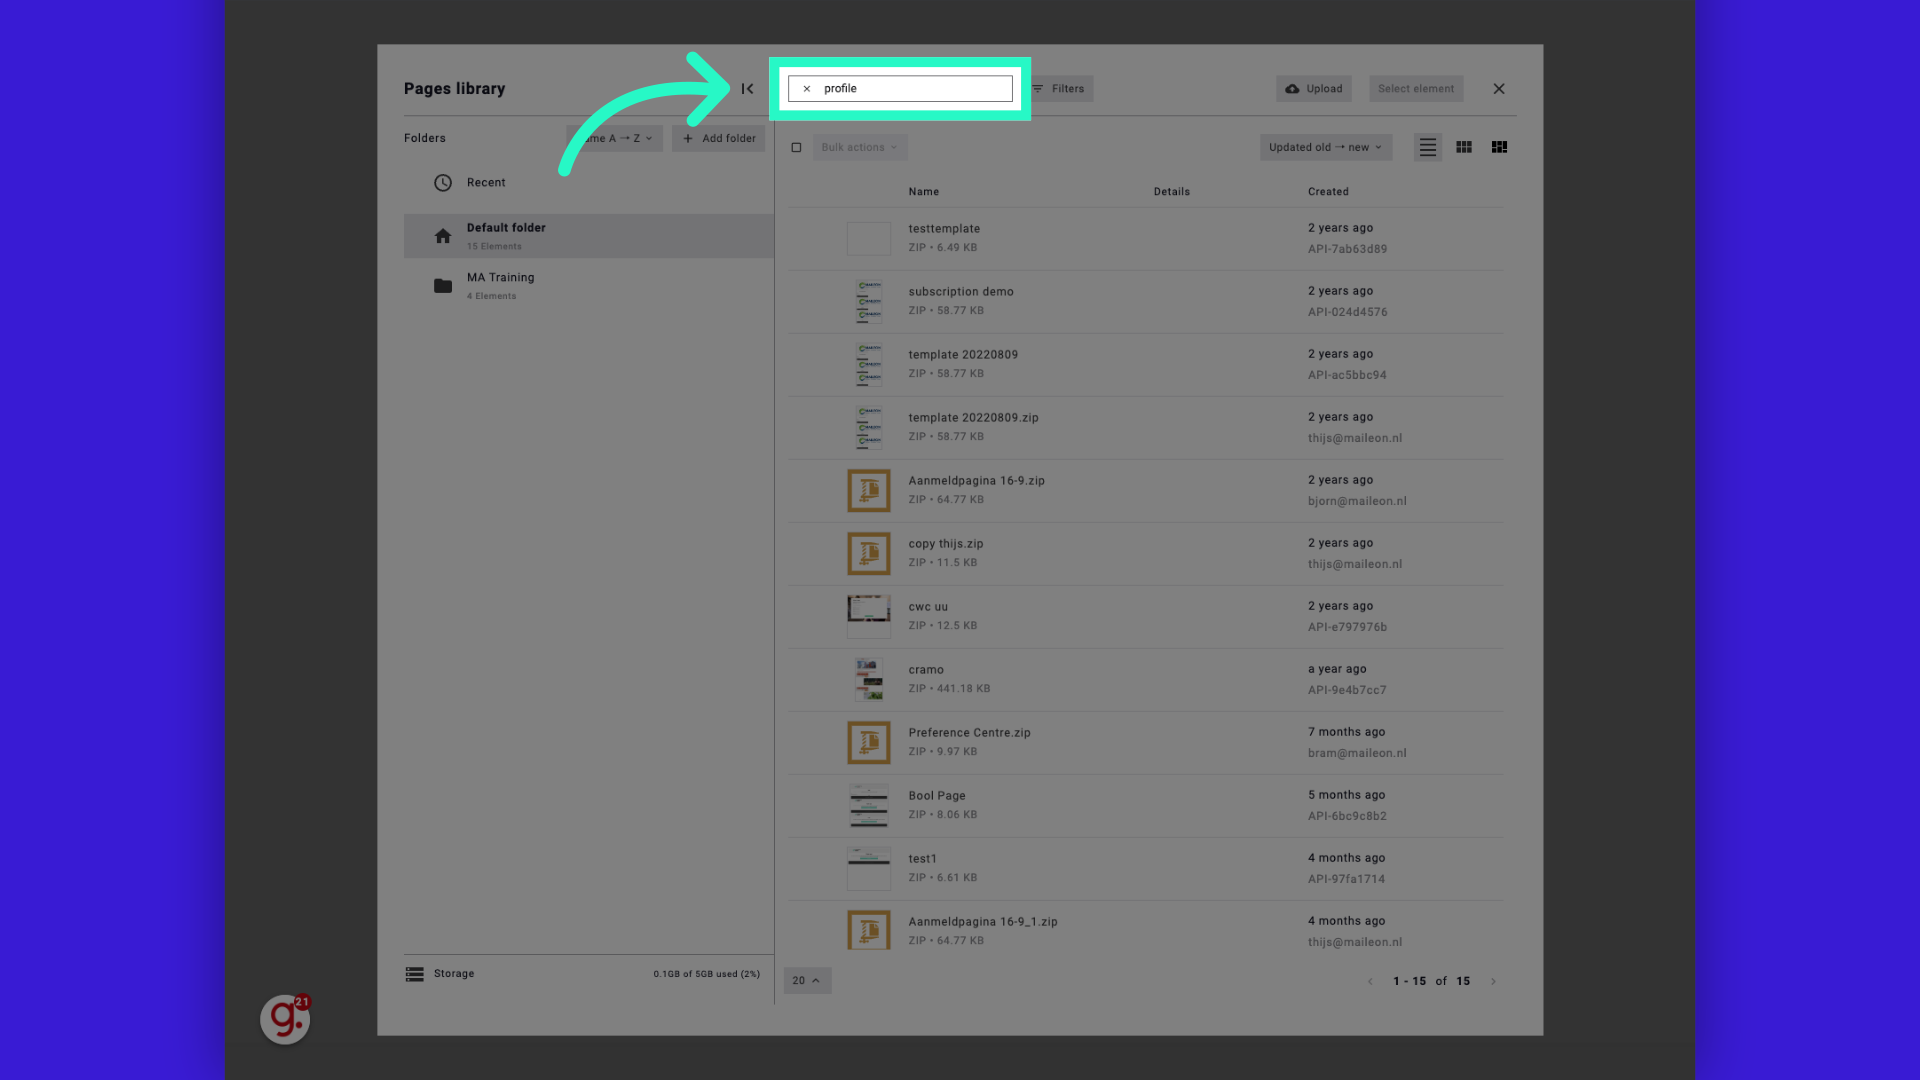
14. Search for your uploaded page if needed
Enter "profile" in the search field.
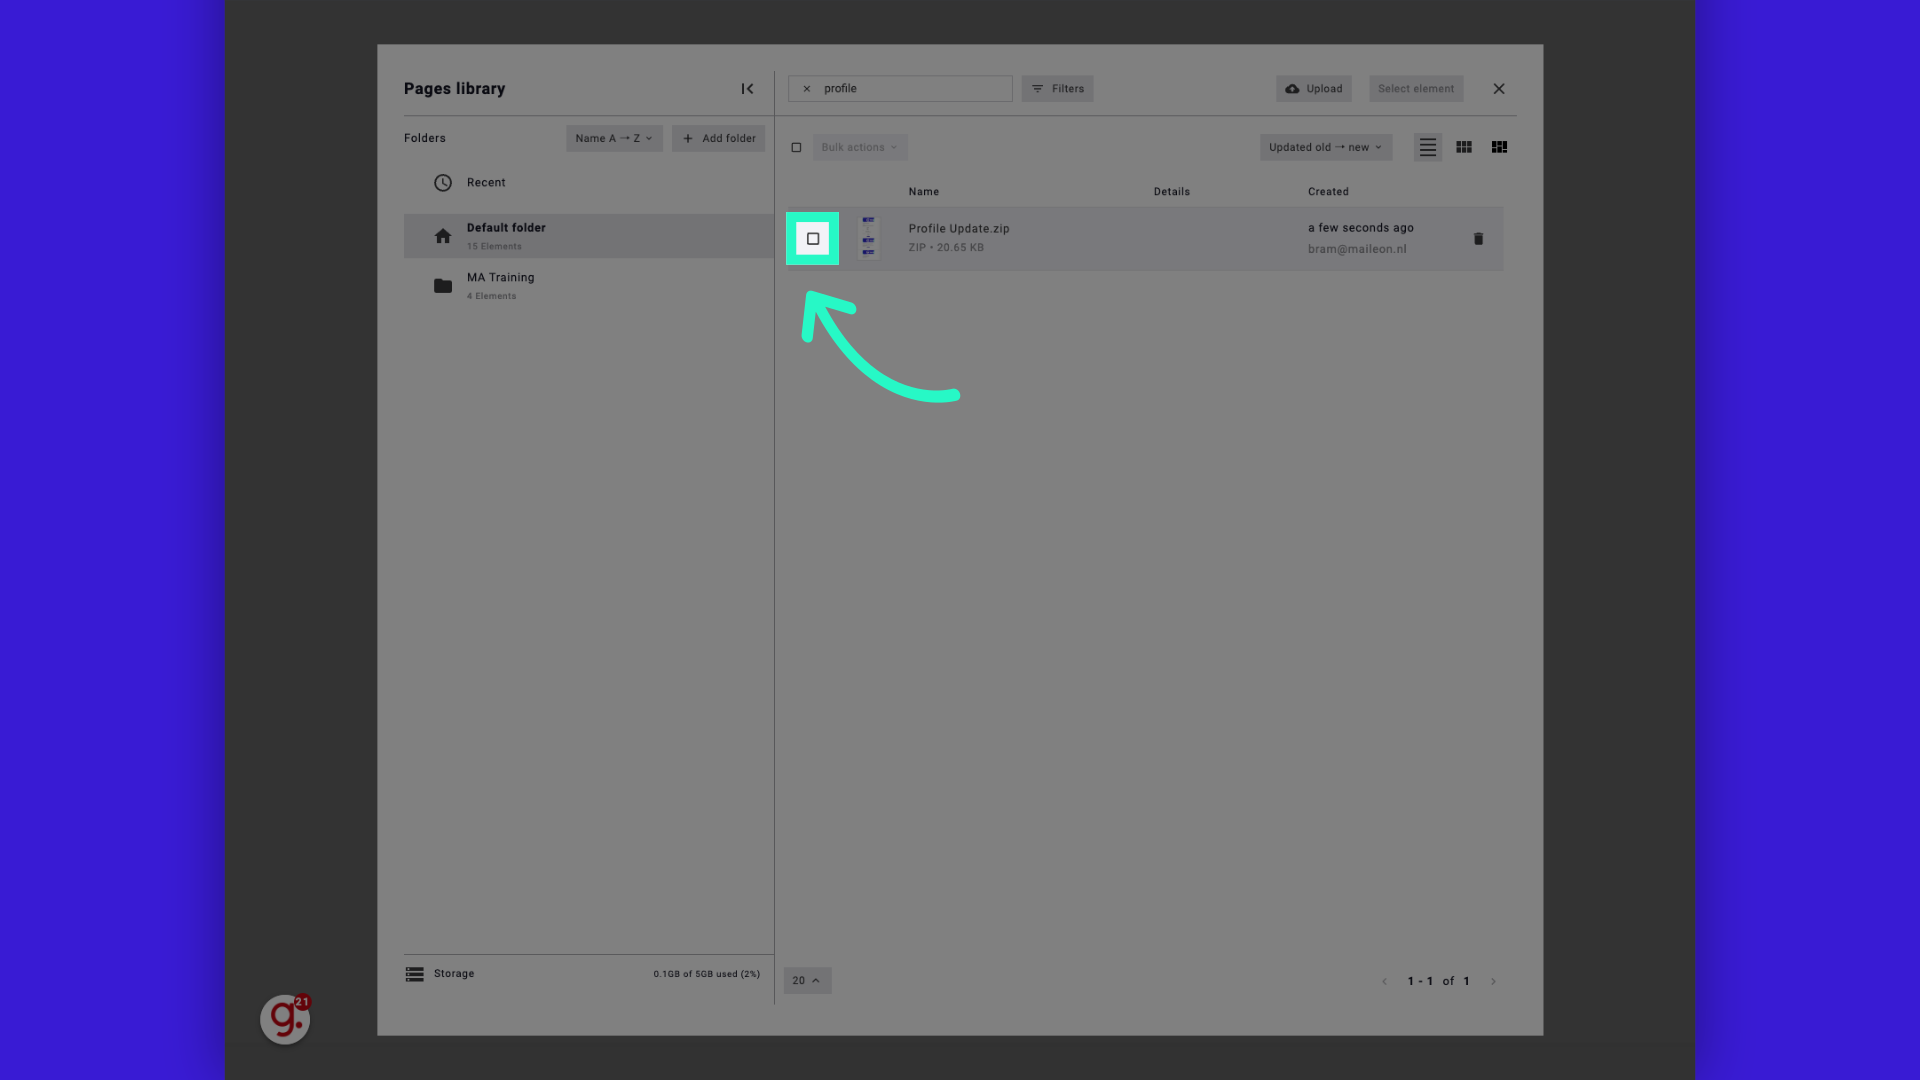
15. Click the checkbox to select your page
Click the checkbox to select your page
16. Click "Select element"
Select the specific element.

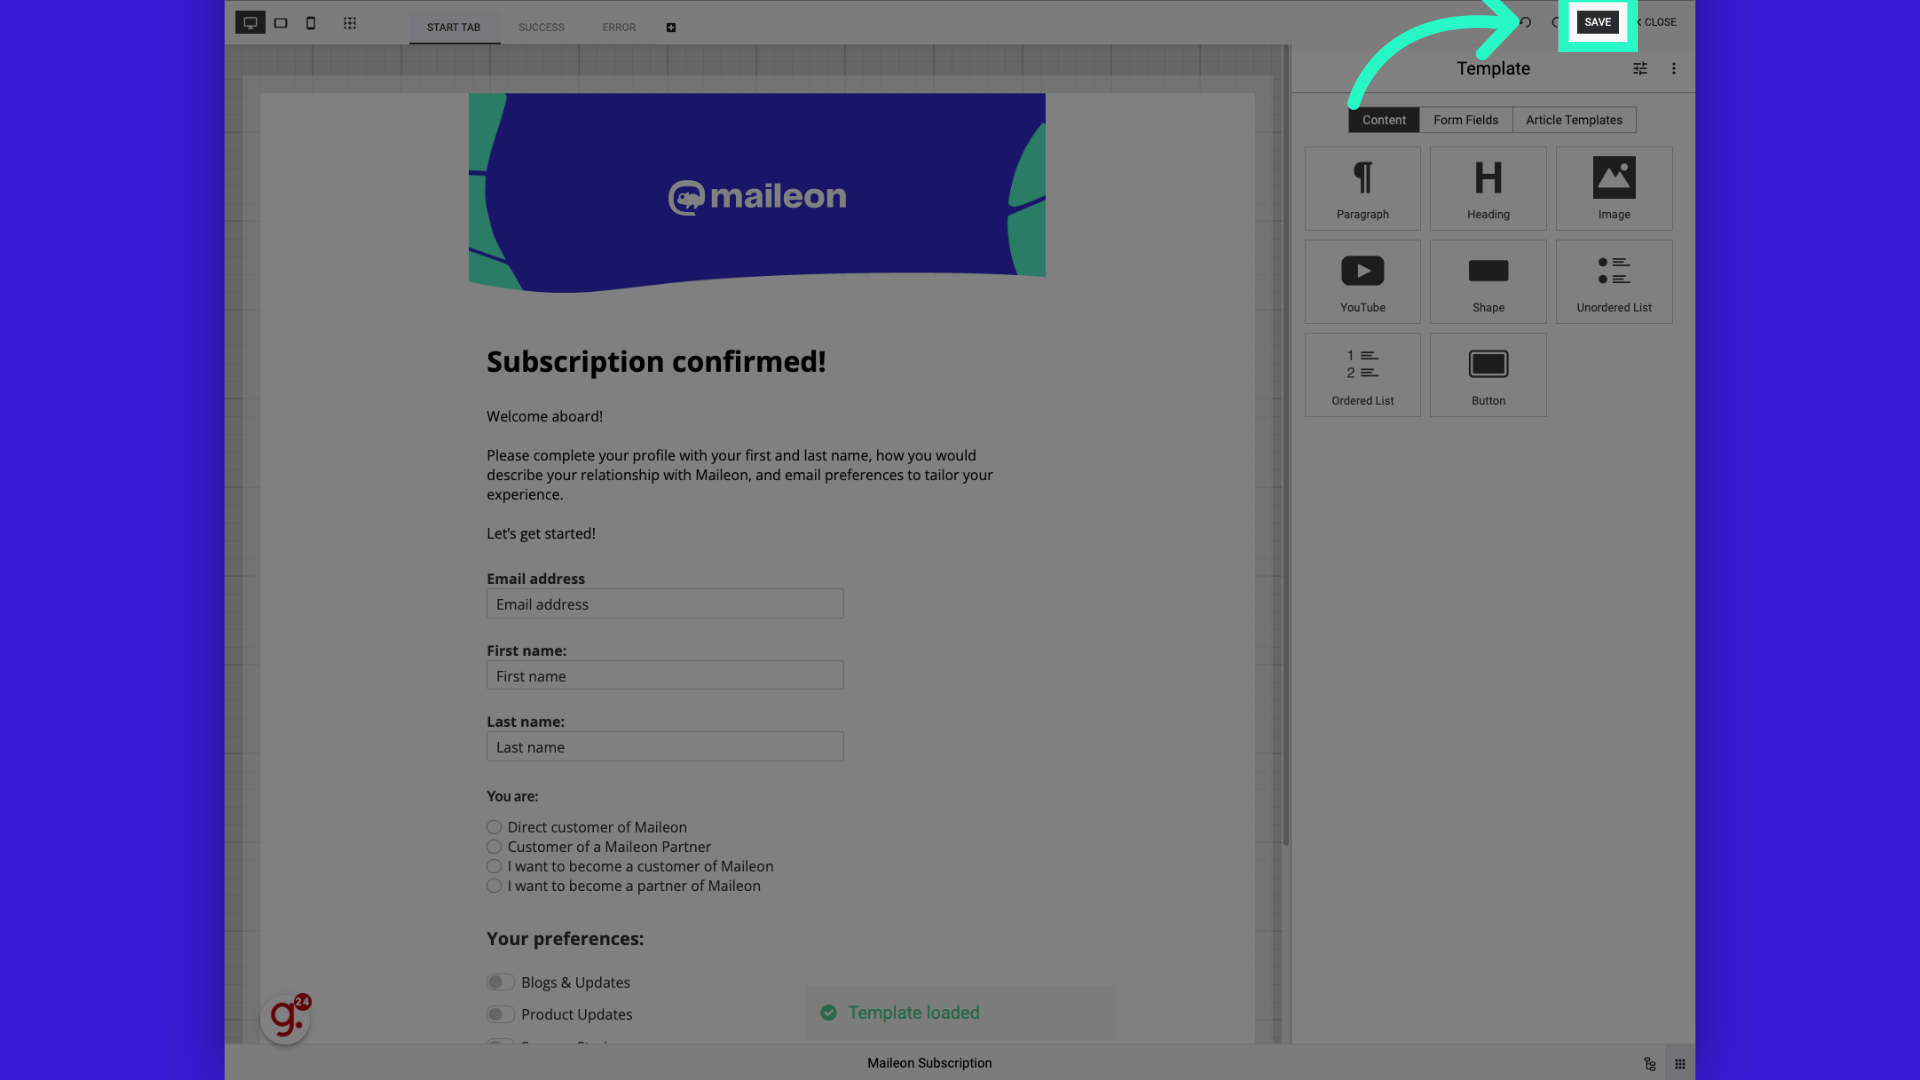
17. Click "Save"
Save the changes made.
18. Reconnect the tabs
Reconnect the tabs

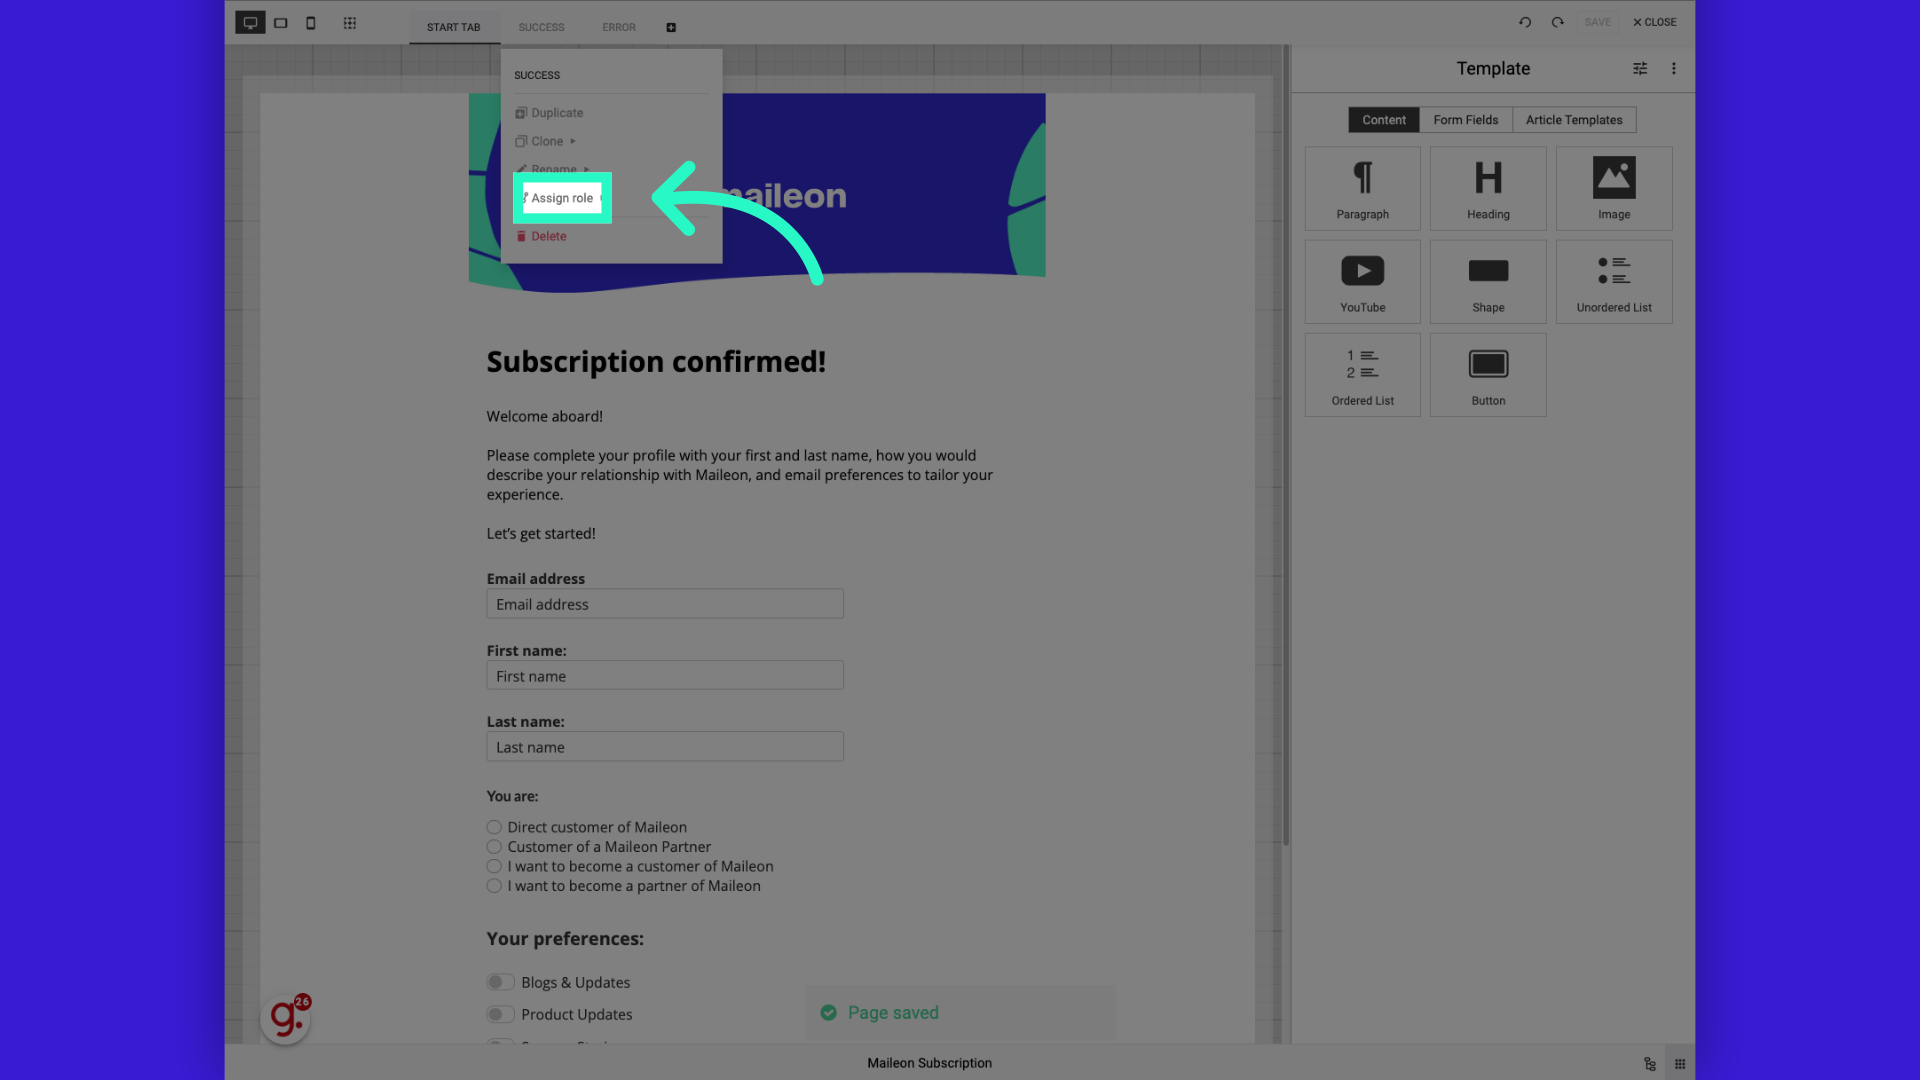
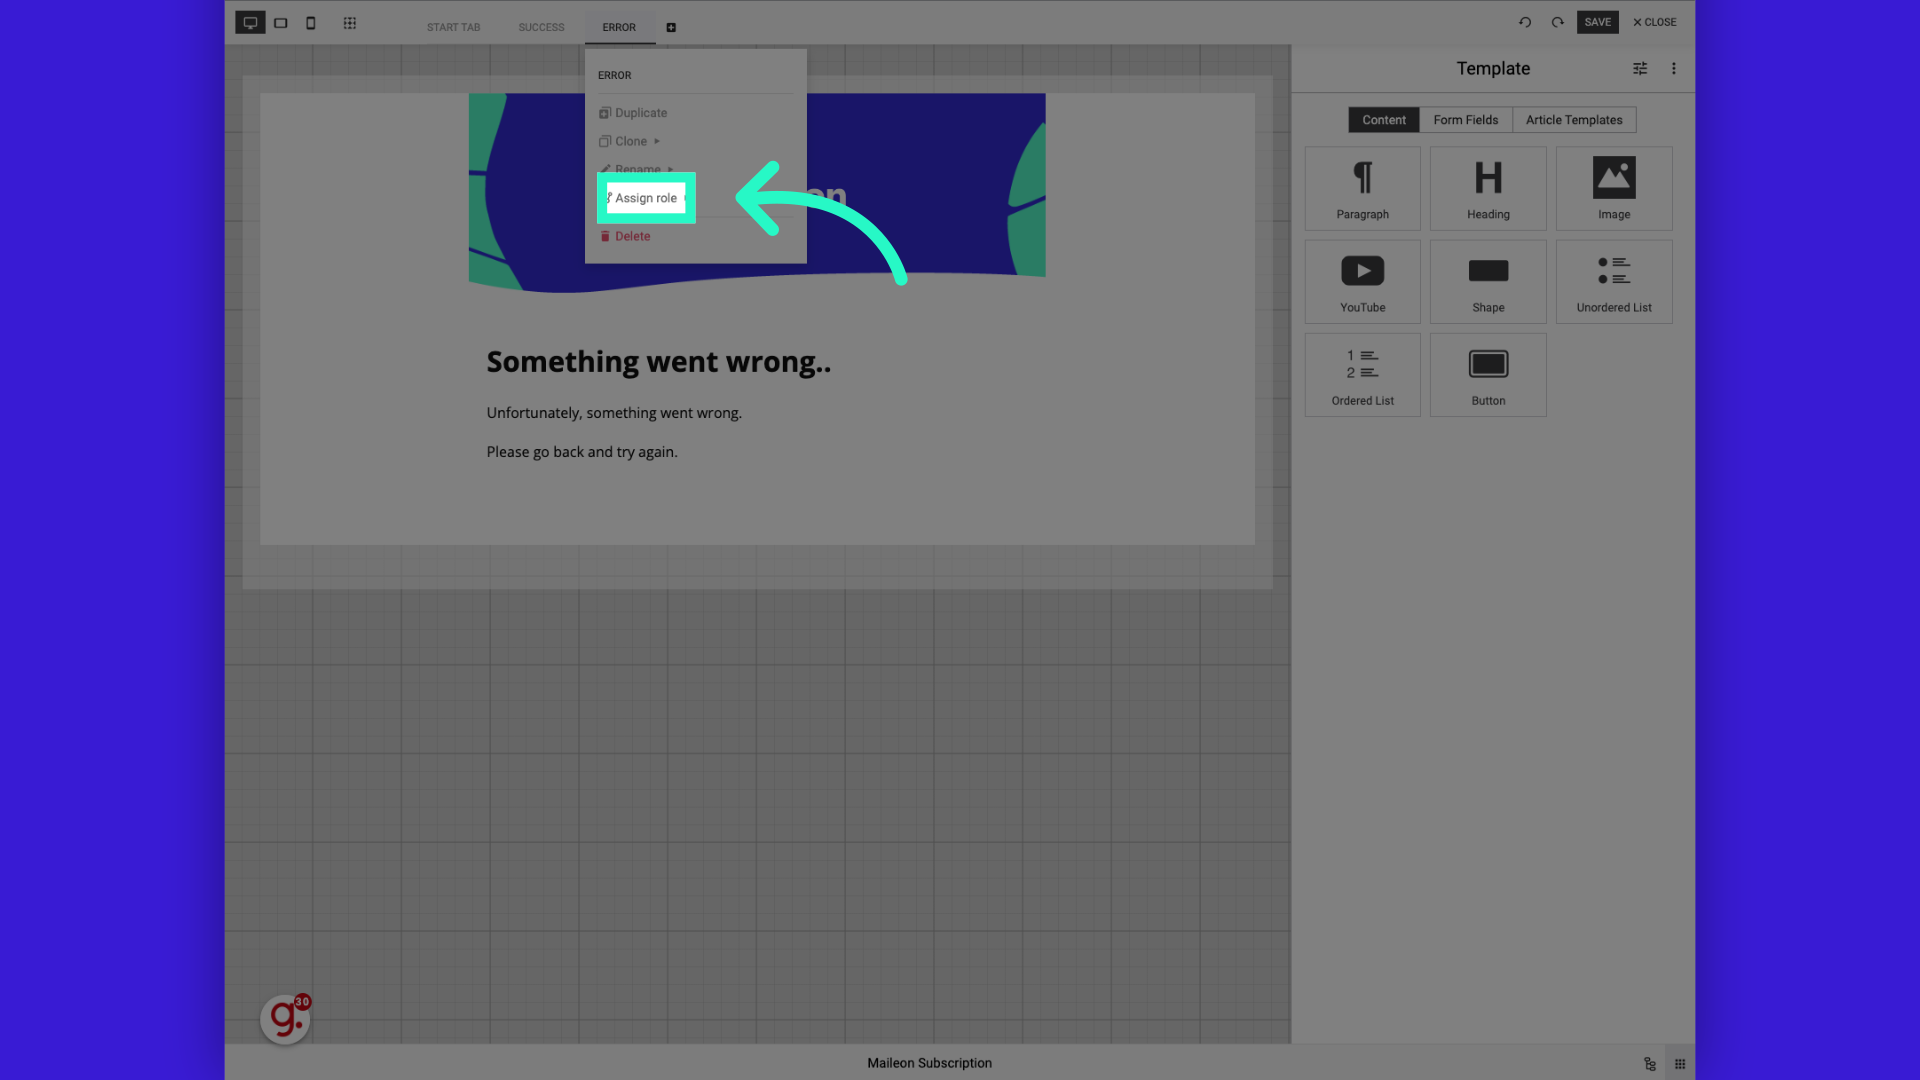
19. Click "Assign role"
Assign a role to a user.
20. Click "Signup Success"
Select "Signup Success."

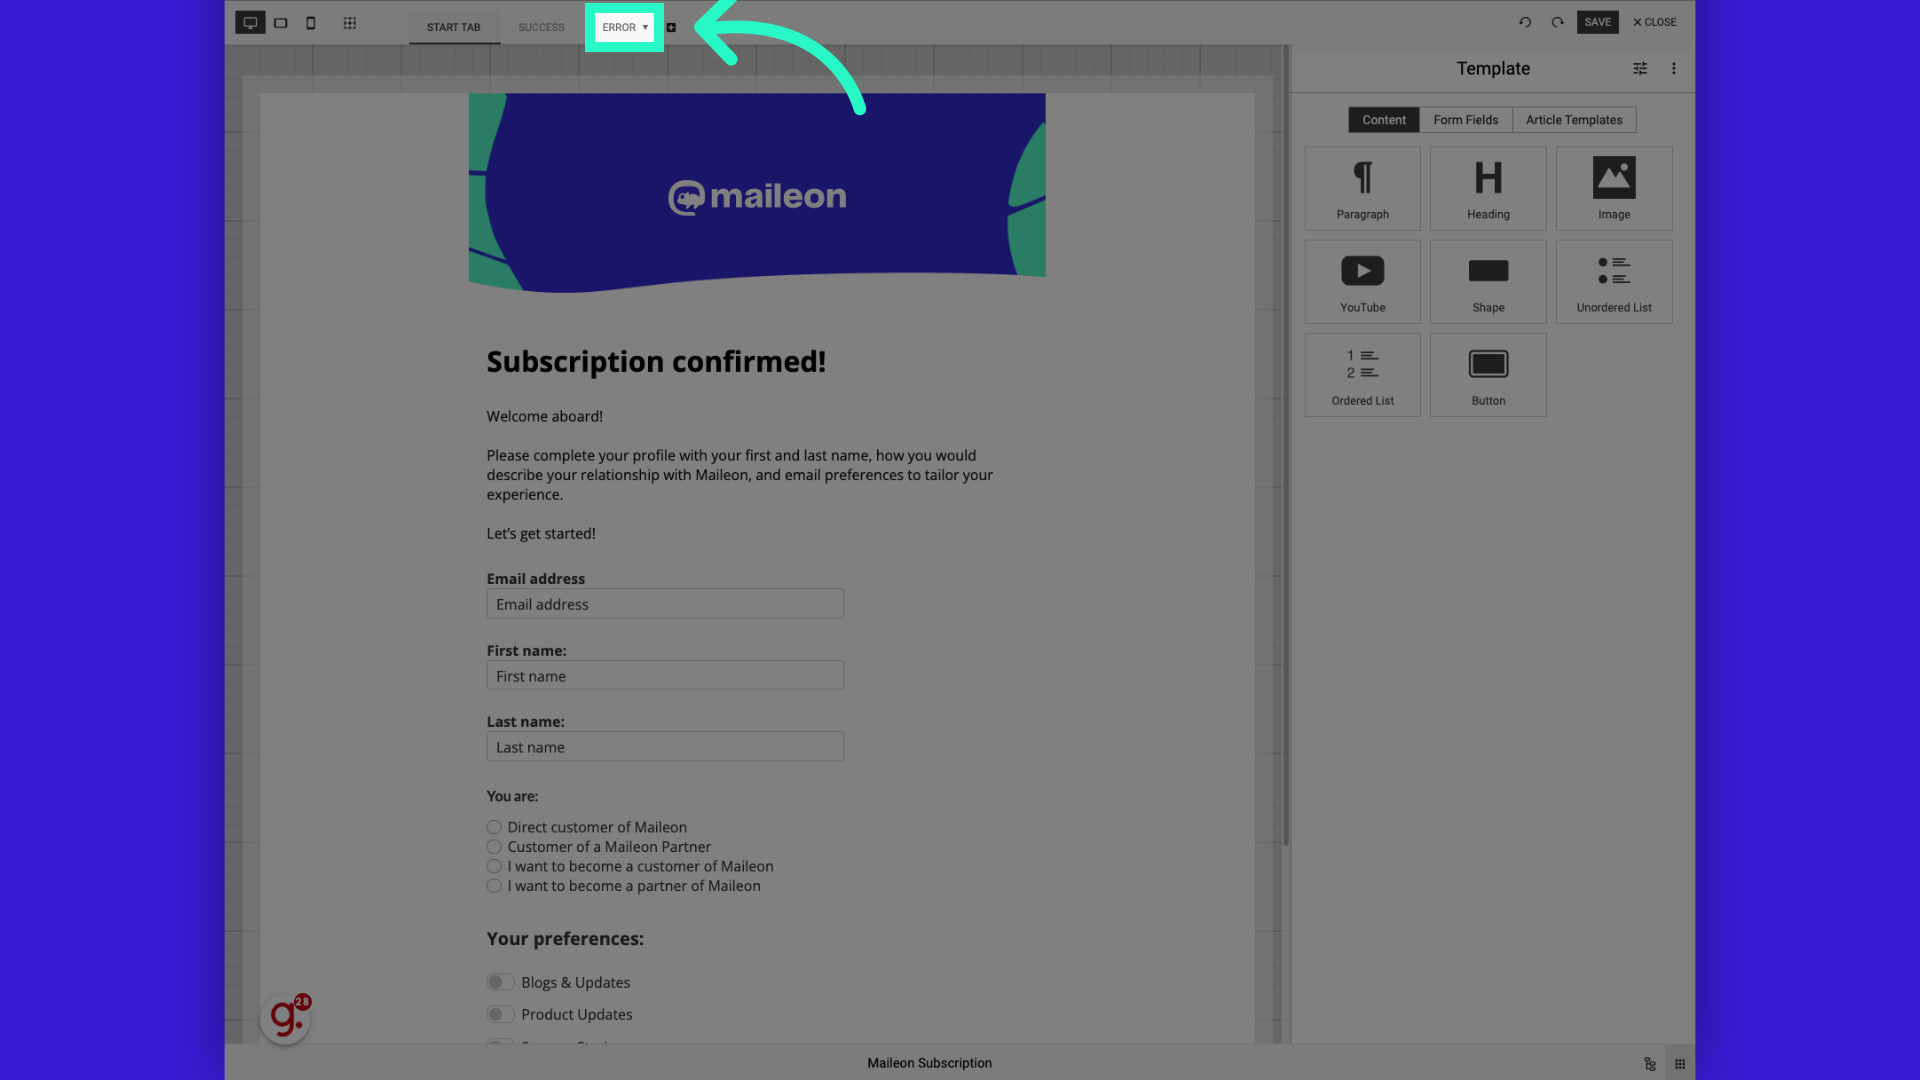
21. Click "Error"
Choose the "Error" option.
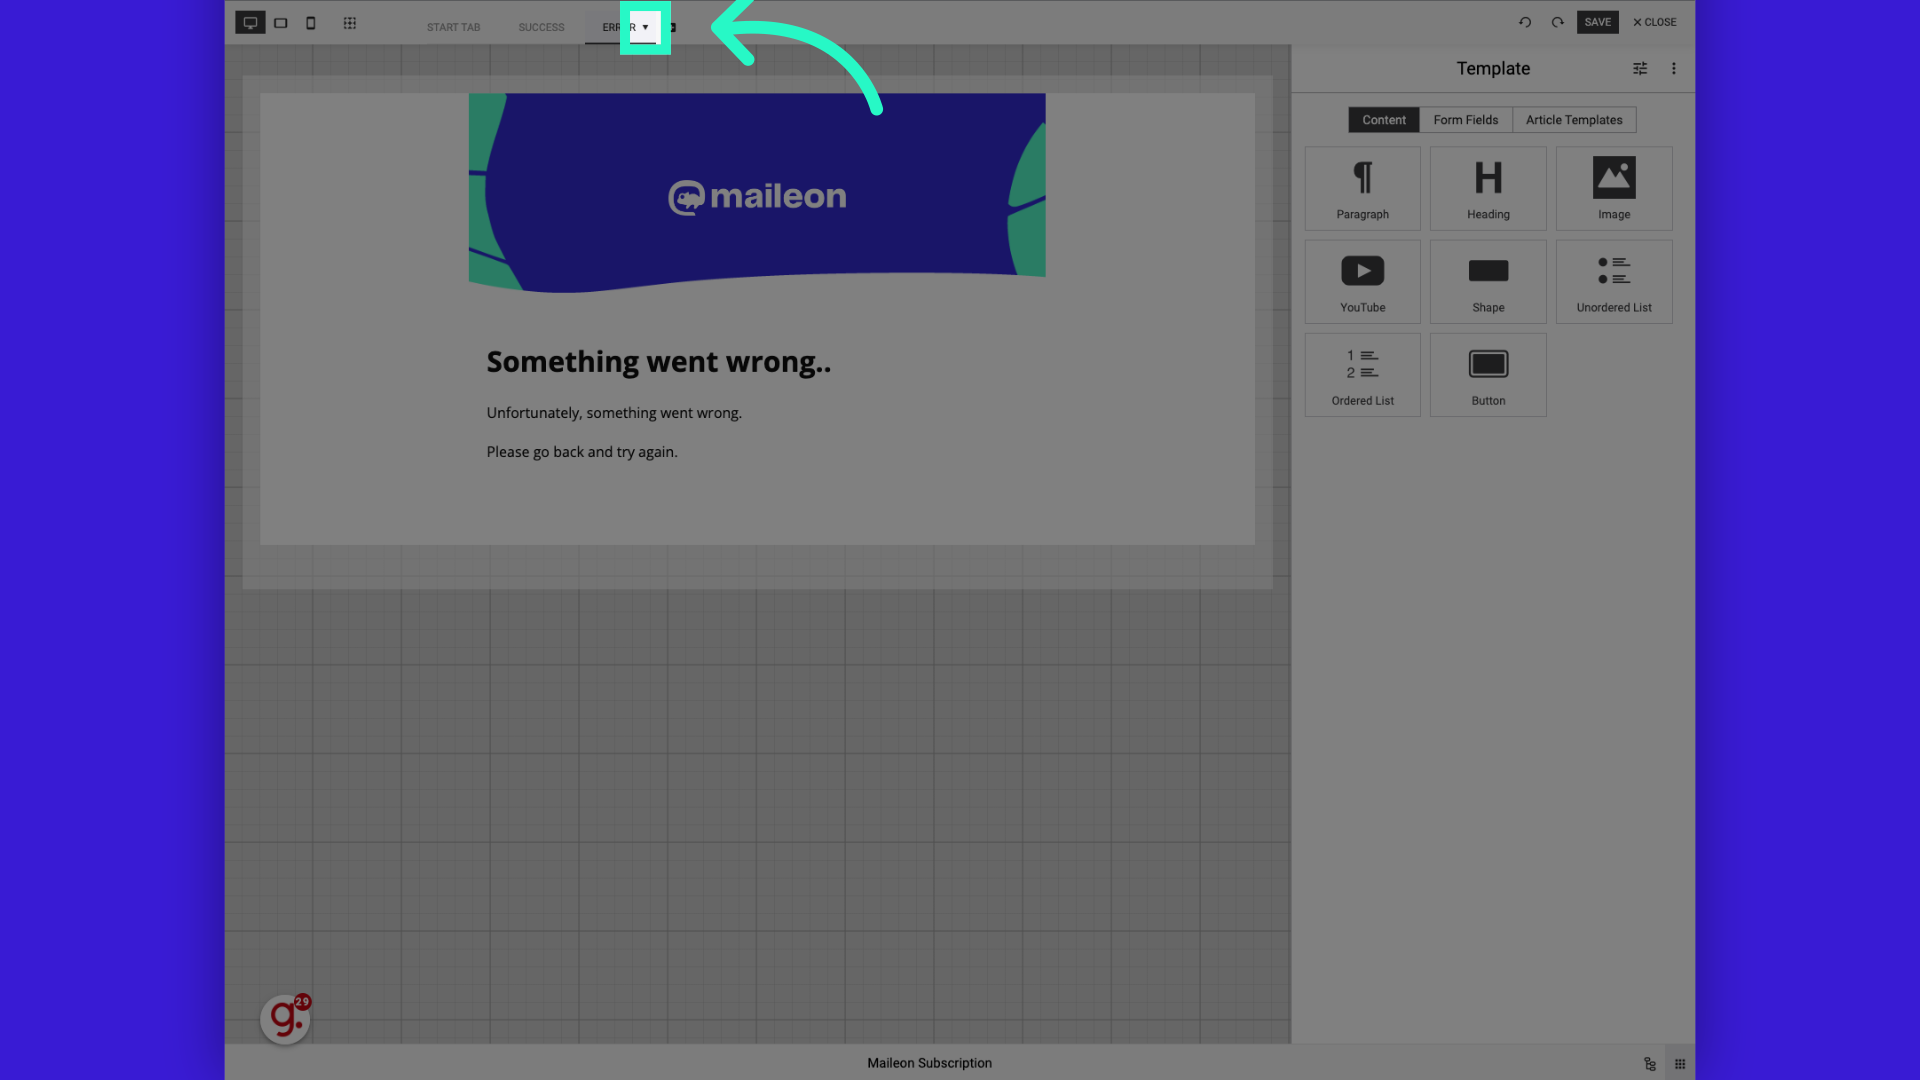
22. Click here
Navigate to this section
23. Click "Assign role"
Assign a role to a user.
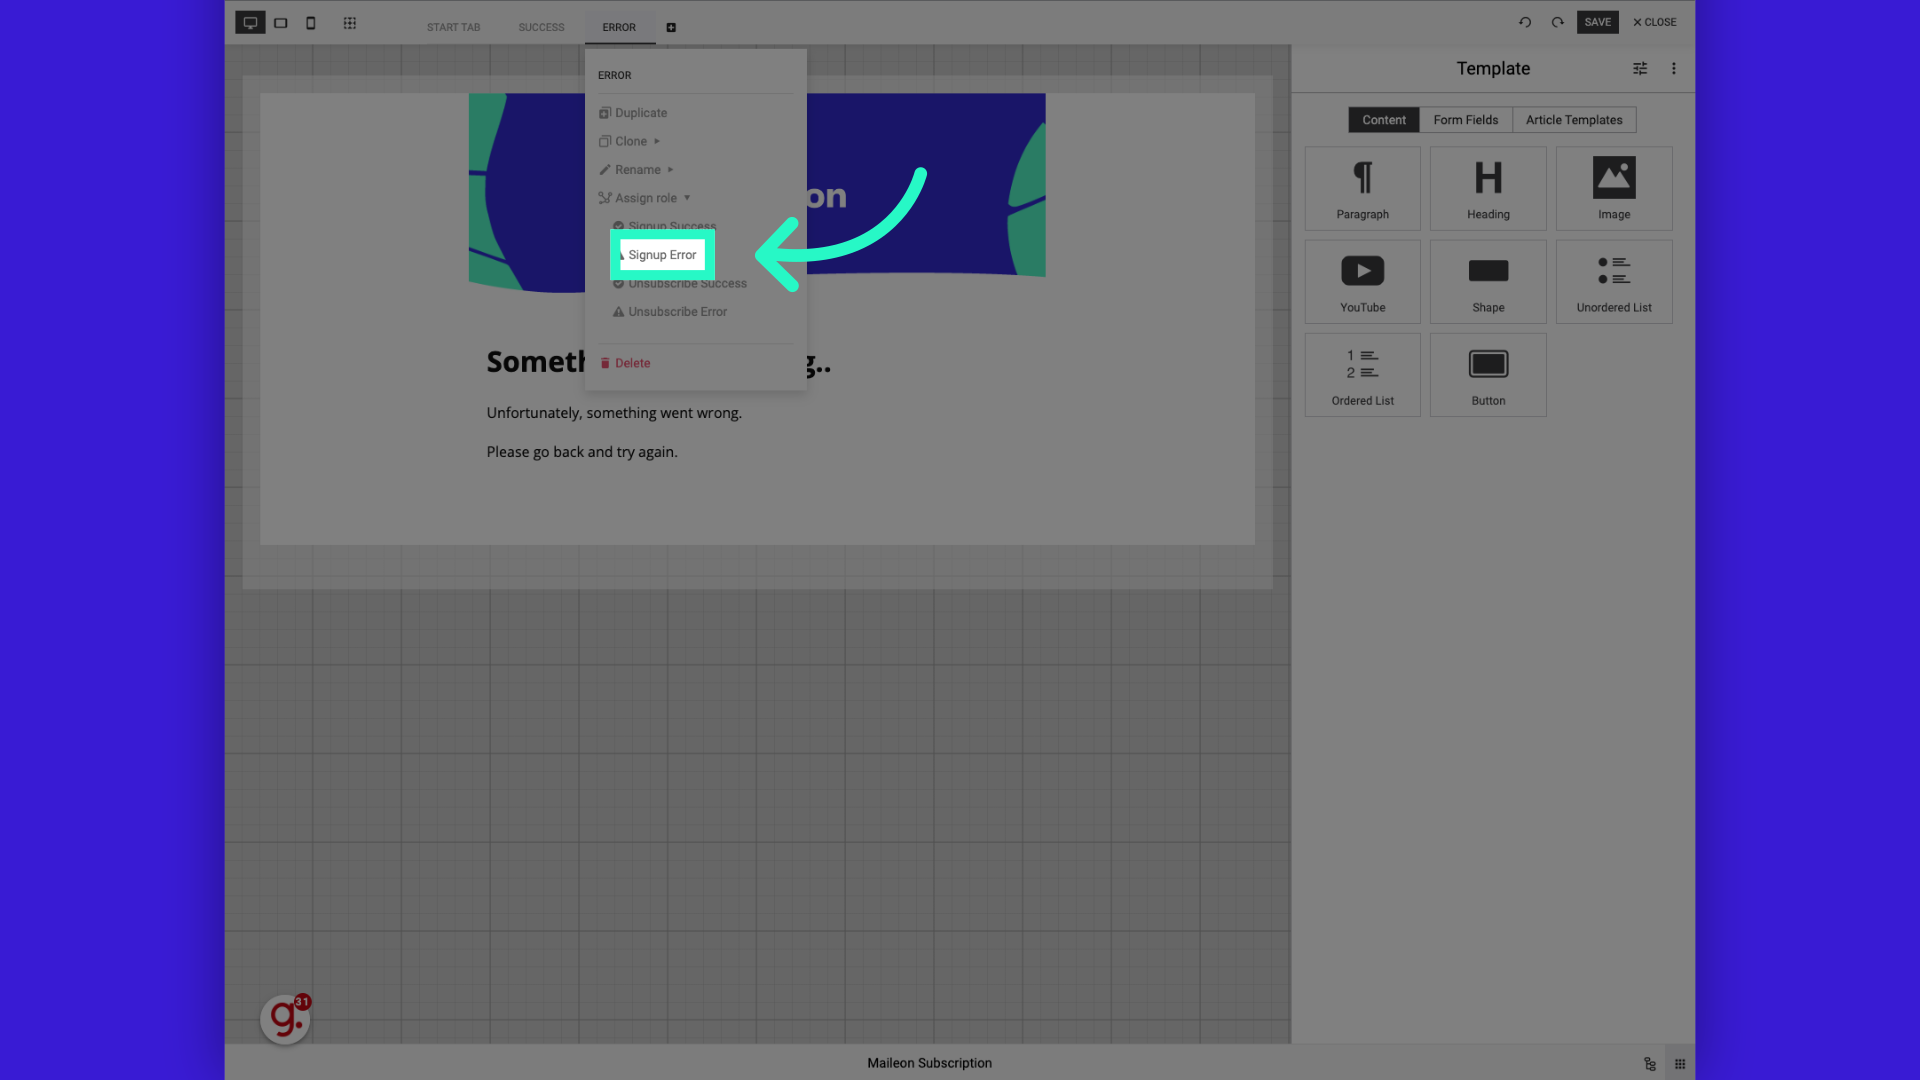
24. Click "Signup Error"
Select "Signup Error."
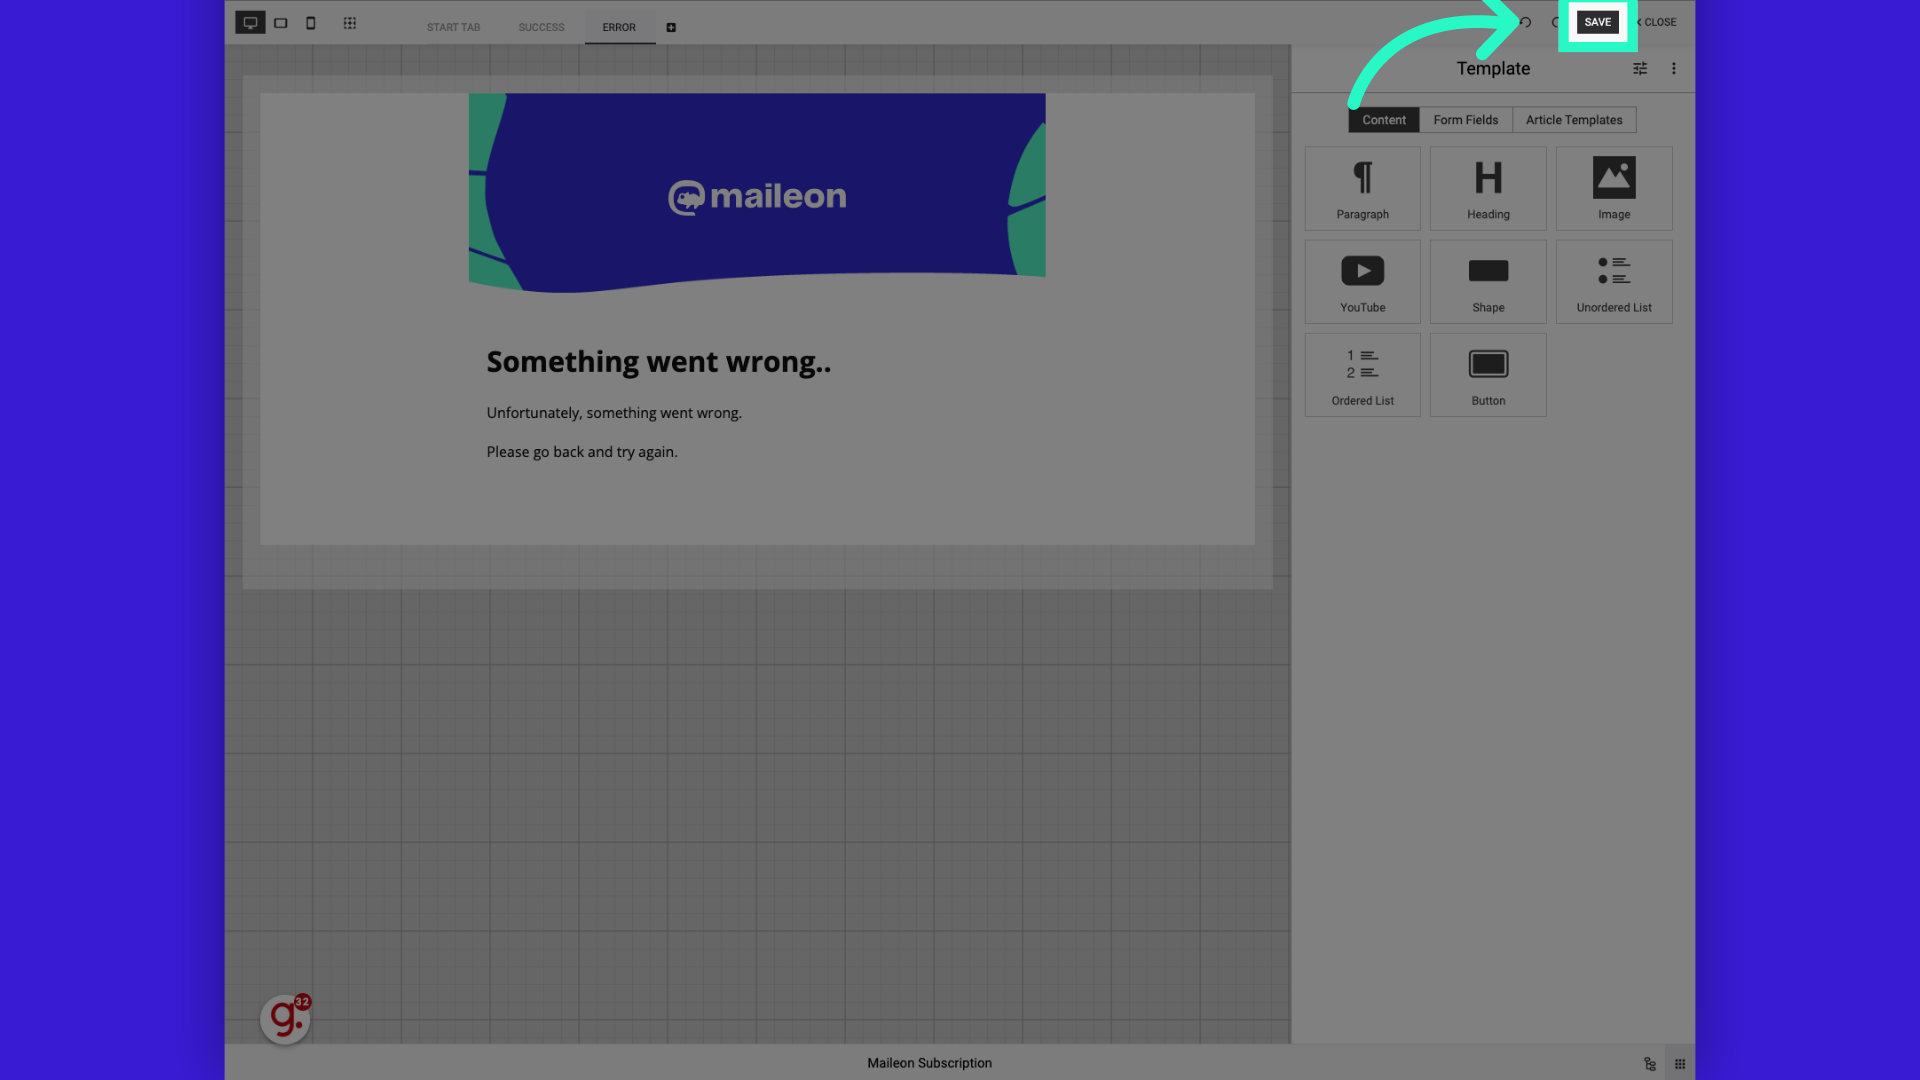
25. Click "Save"
Save the changes.
From creating and filling in page details to uploading files and assigning roles, this guide covered the step-by-step process of uploading a page to the Pages Module in Maileon for employee training purposes. Follow these instructions for a successful page upload.