In Maileon, customizing visibility conditions for elements is key for effective email campaigns. This guide will walk you through adding a visibility condition to an element, ensuring your content reaches the right audience with precision.
Go to www.maileon.com/login
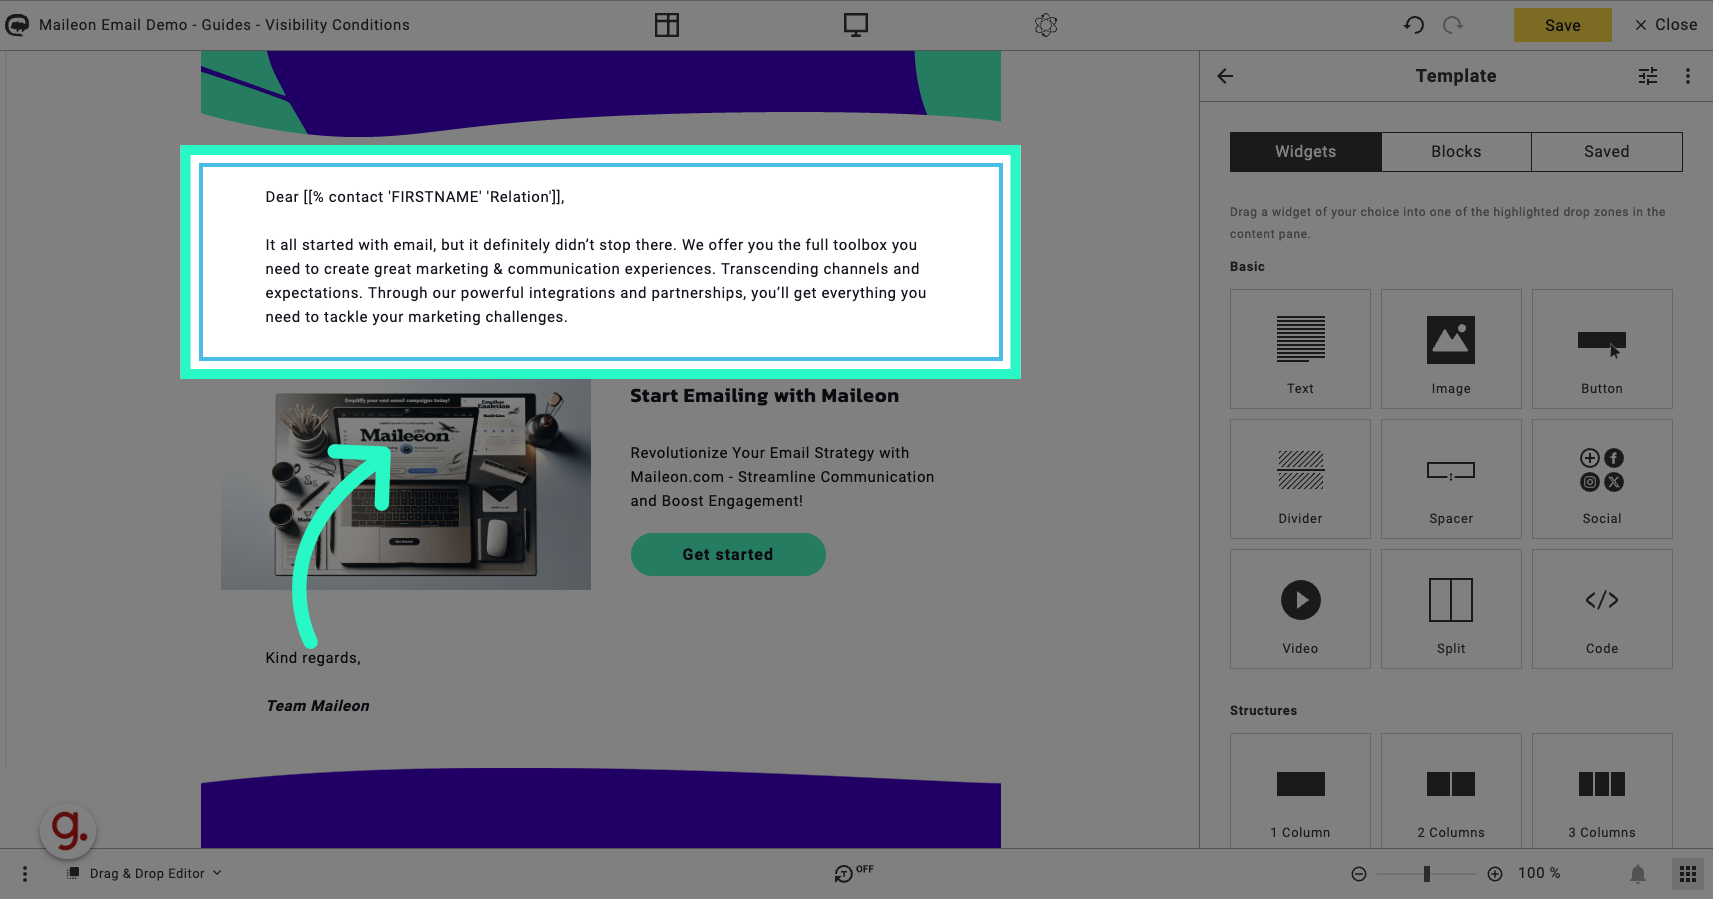
1. Select an element where you want to apply a visibility condition
Select an element where you want to apply a visibility condition. For example the text of the email when the content is made up out of multiple languages.
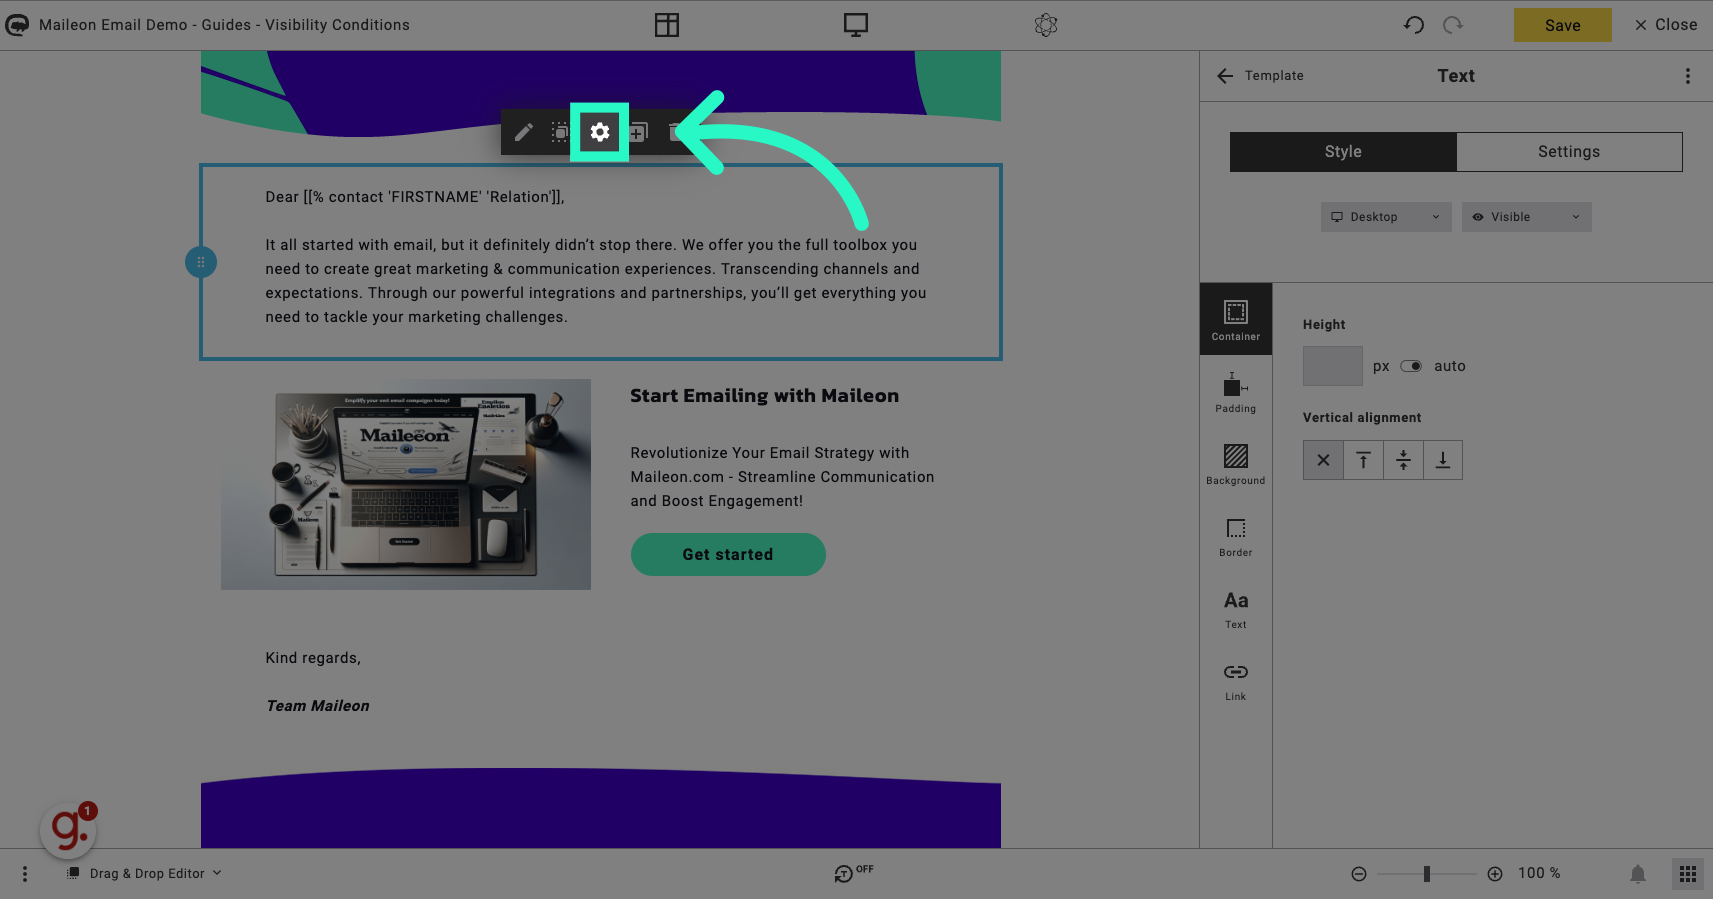
2. Open the configuration / settings option
Open the configuration / settings option by clicking on the cogwheel in the pop-up menu.
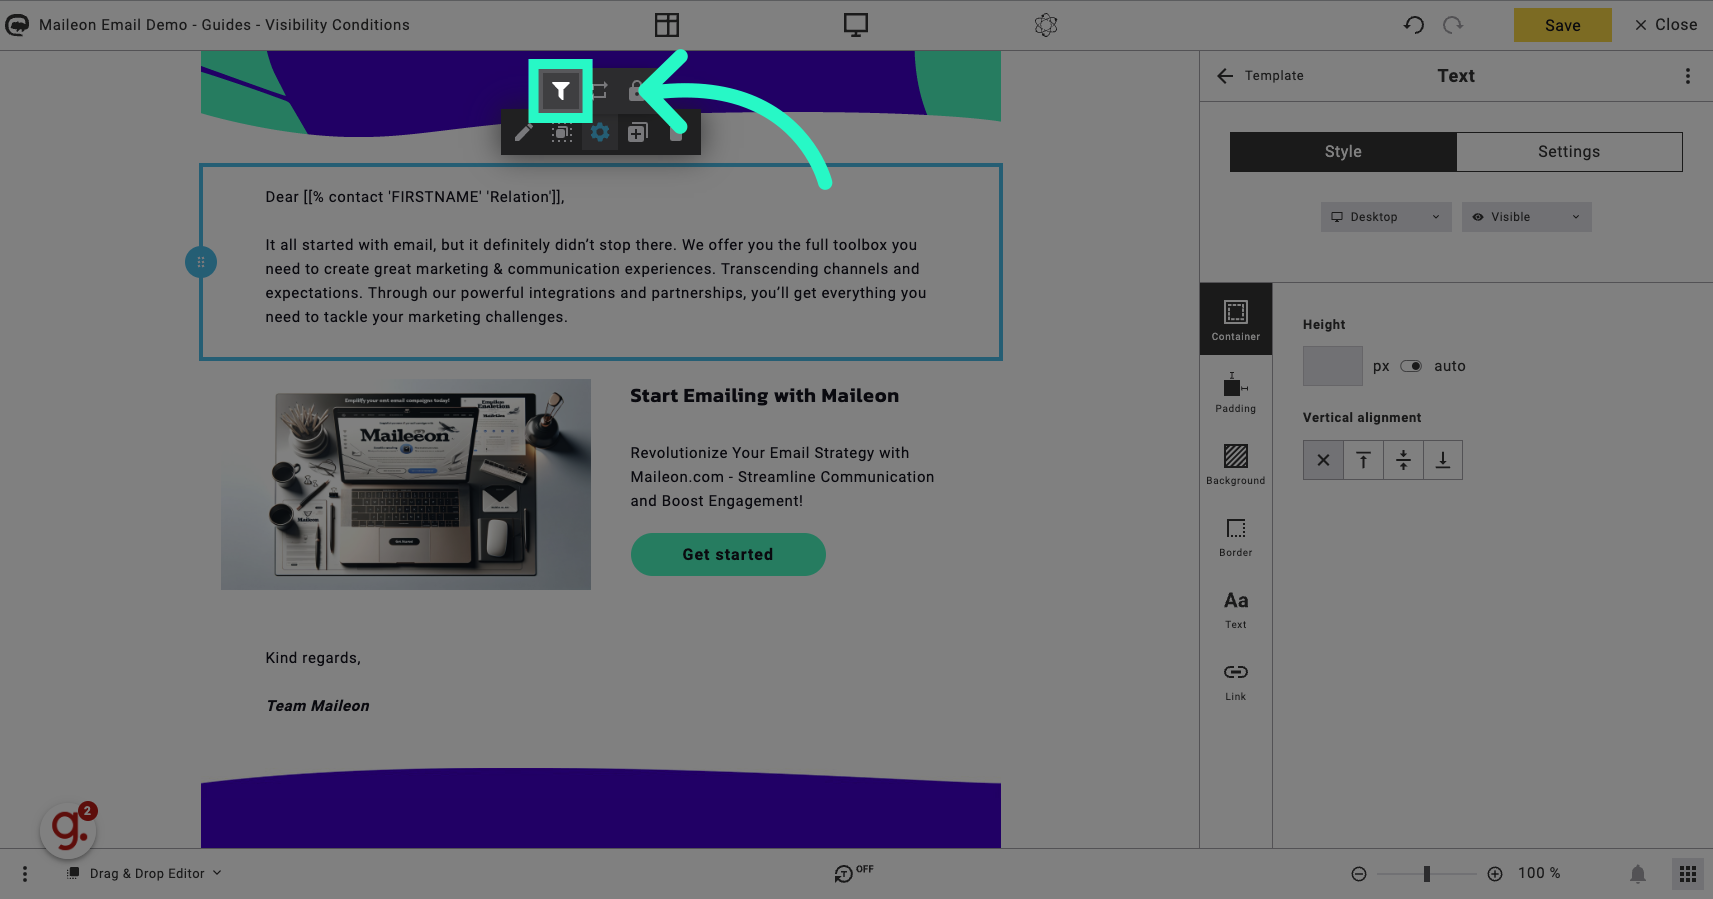
3. Click on the filter settings option
Open the configuration / settings option to open the visibility conditions tab.
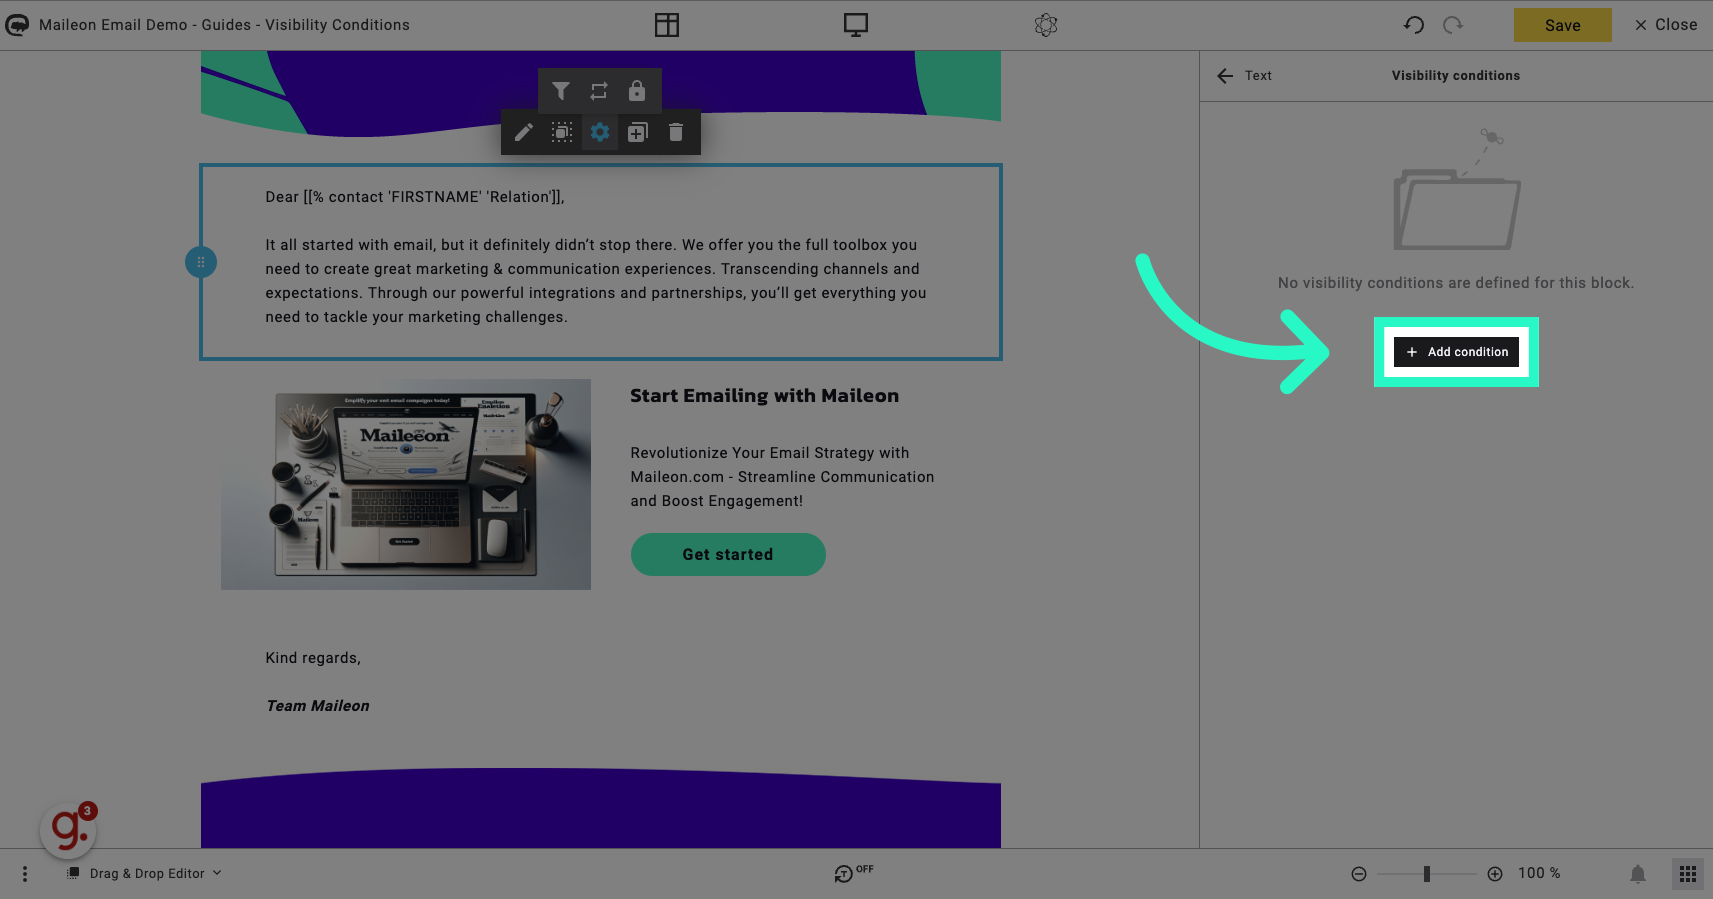
4. Click "Add condition"
Navigate to the option to add a condition for visibility.
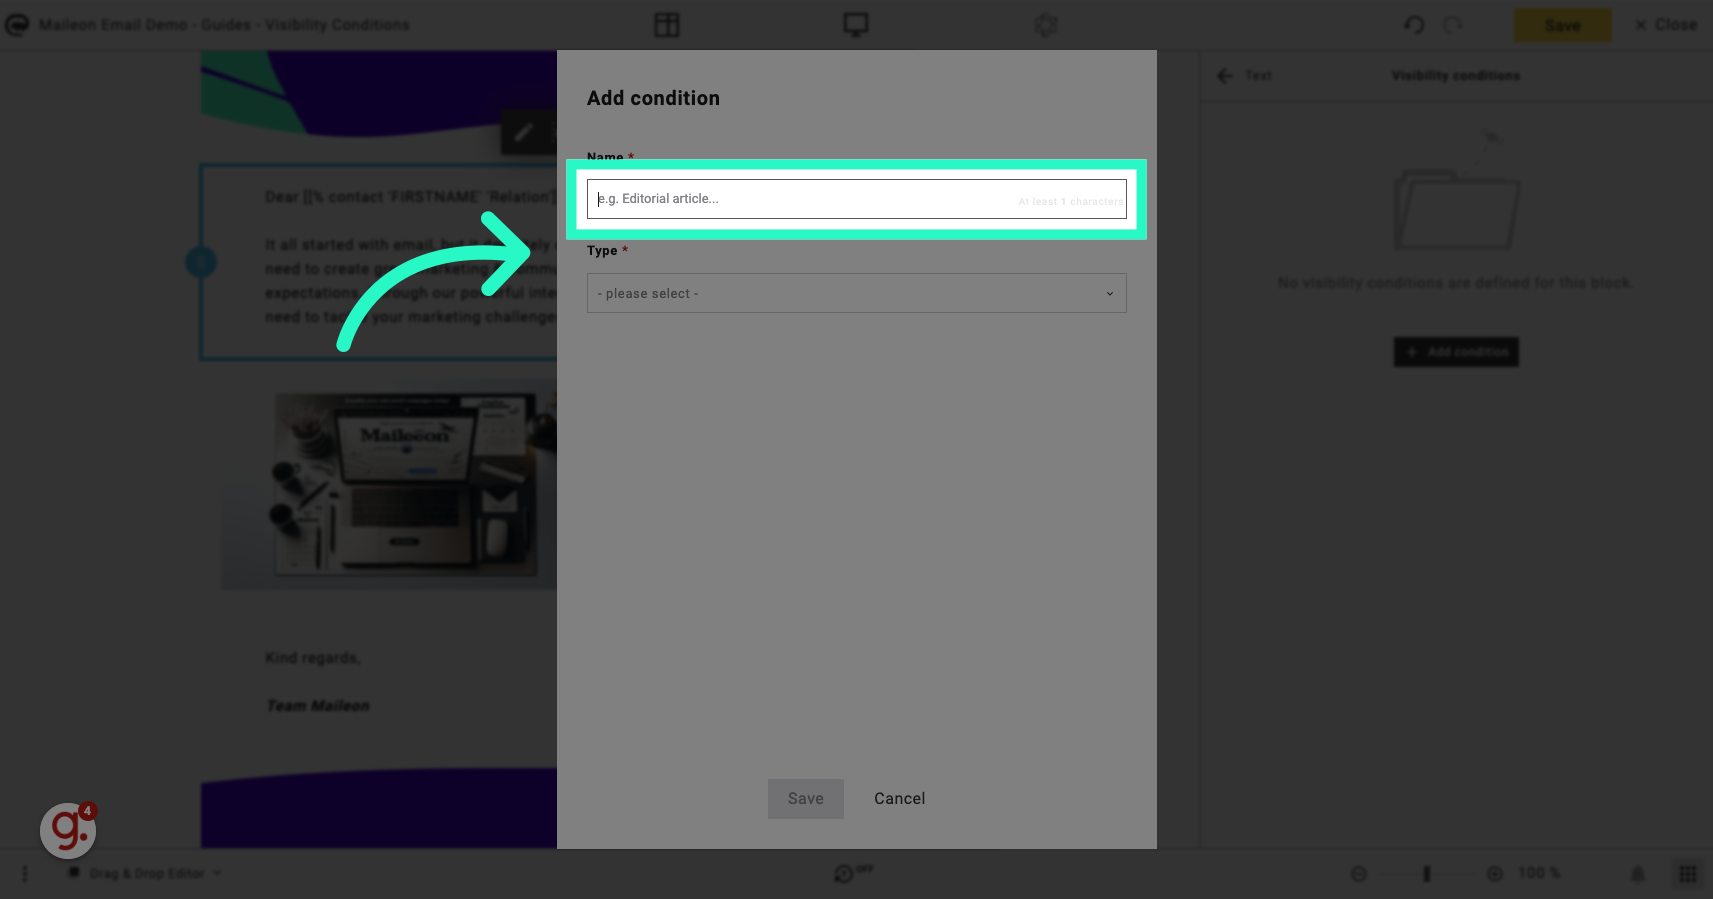
5. Give your visibility condition a name
6. Click "- please select -"
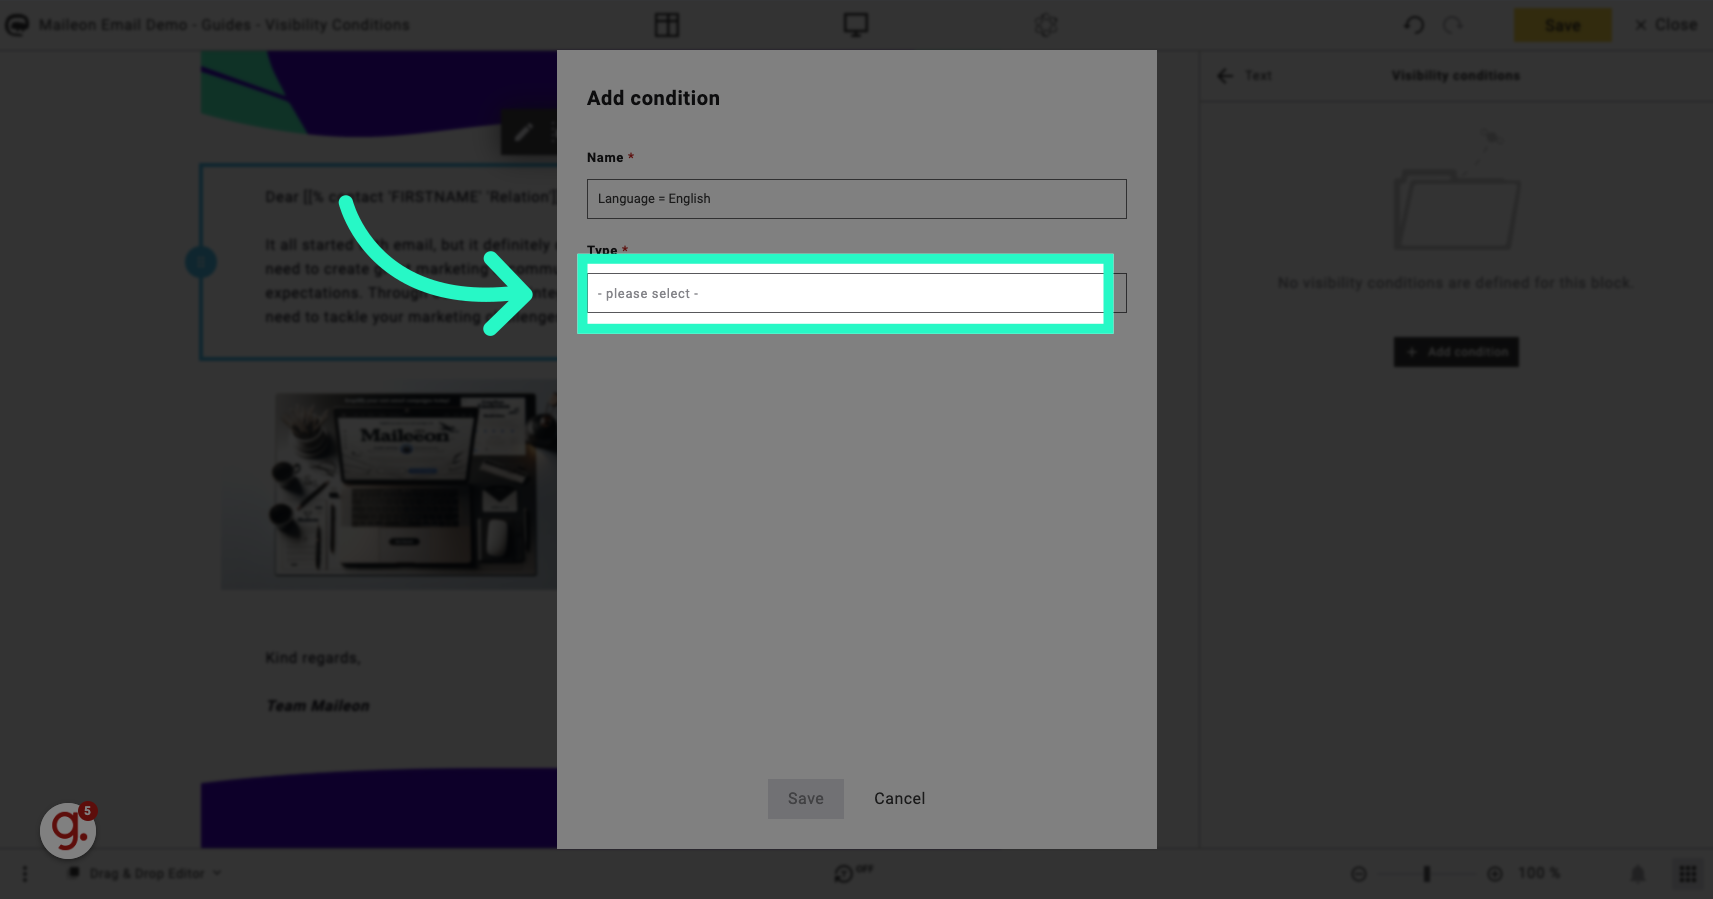
7. Click "Contact field"
More options are available. A contact field is the easiest option to base a visibility condition on.
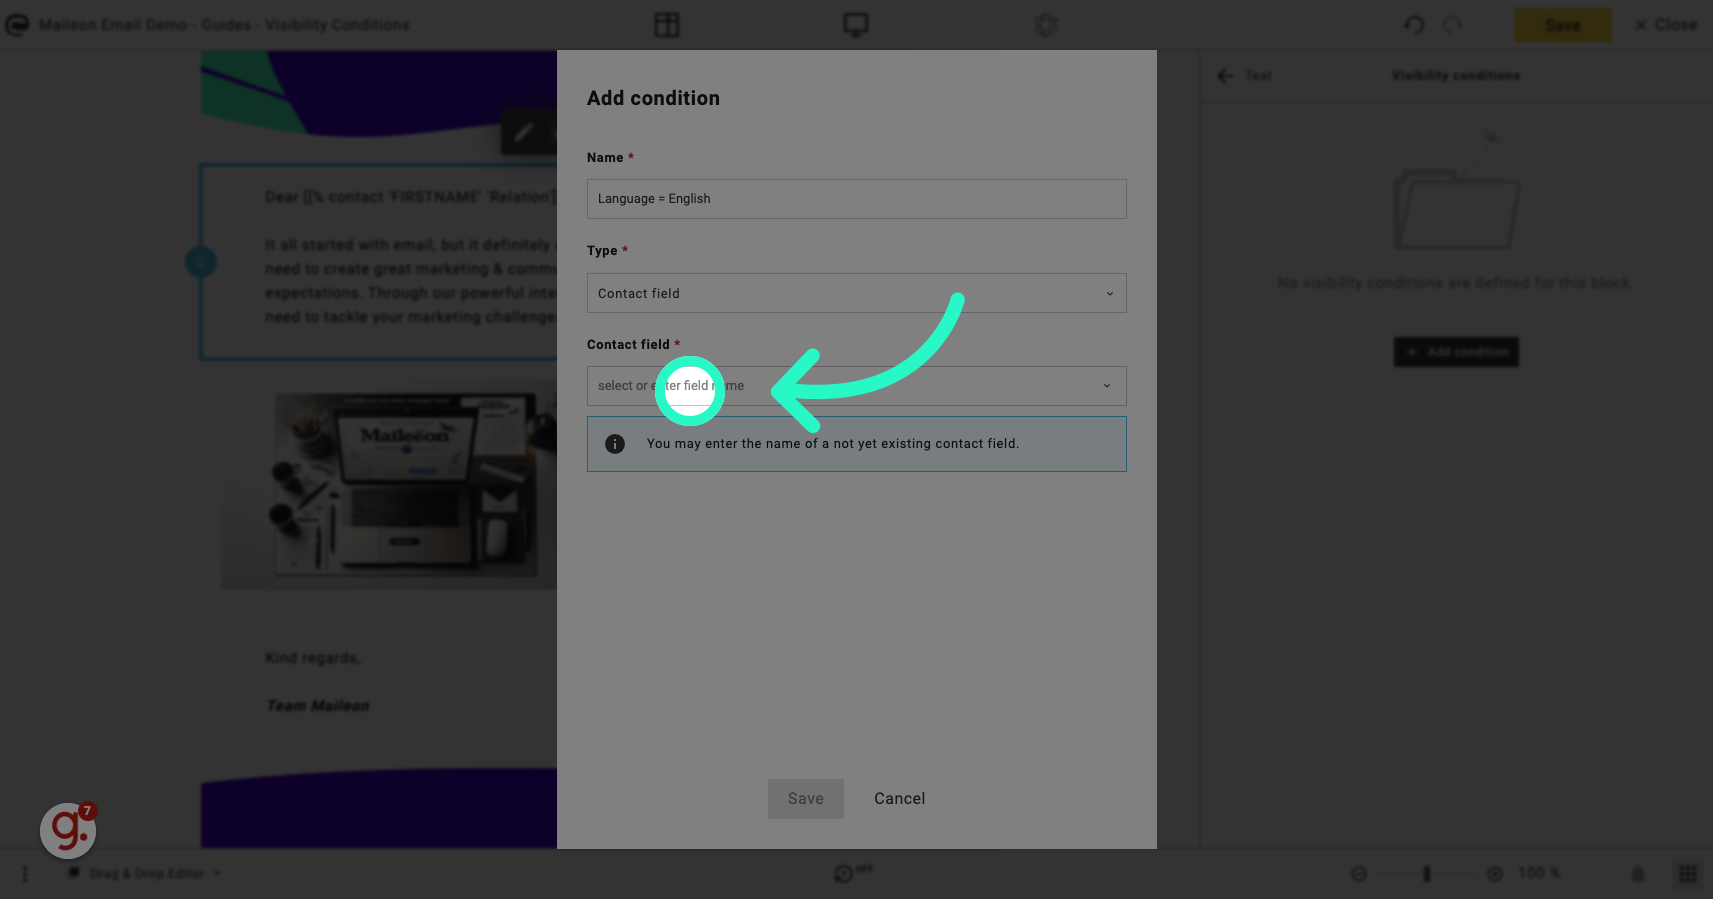
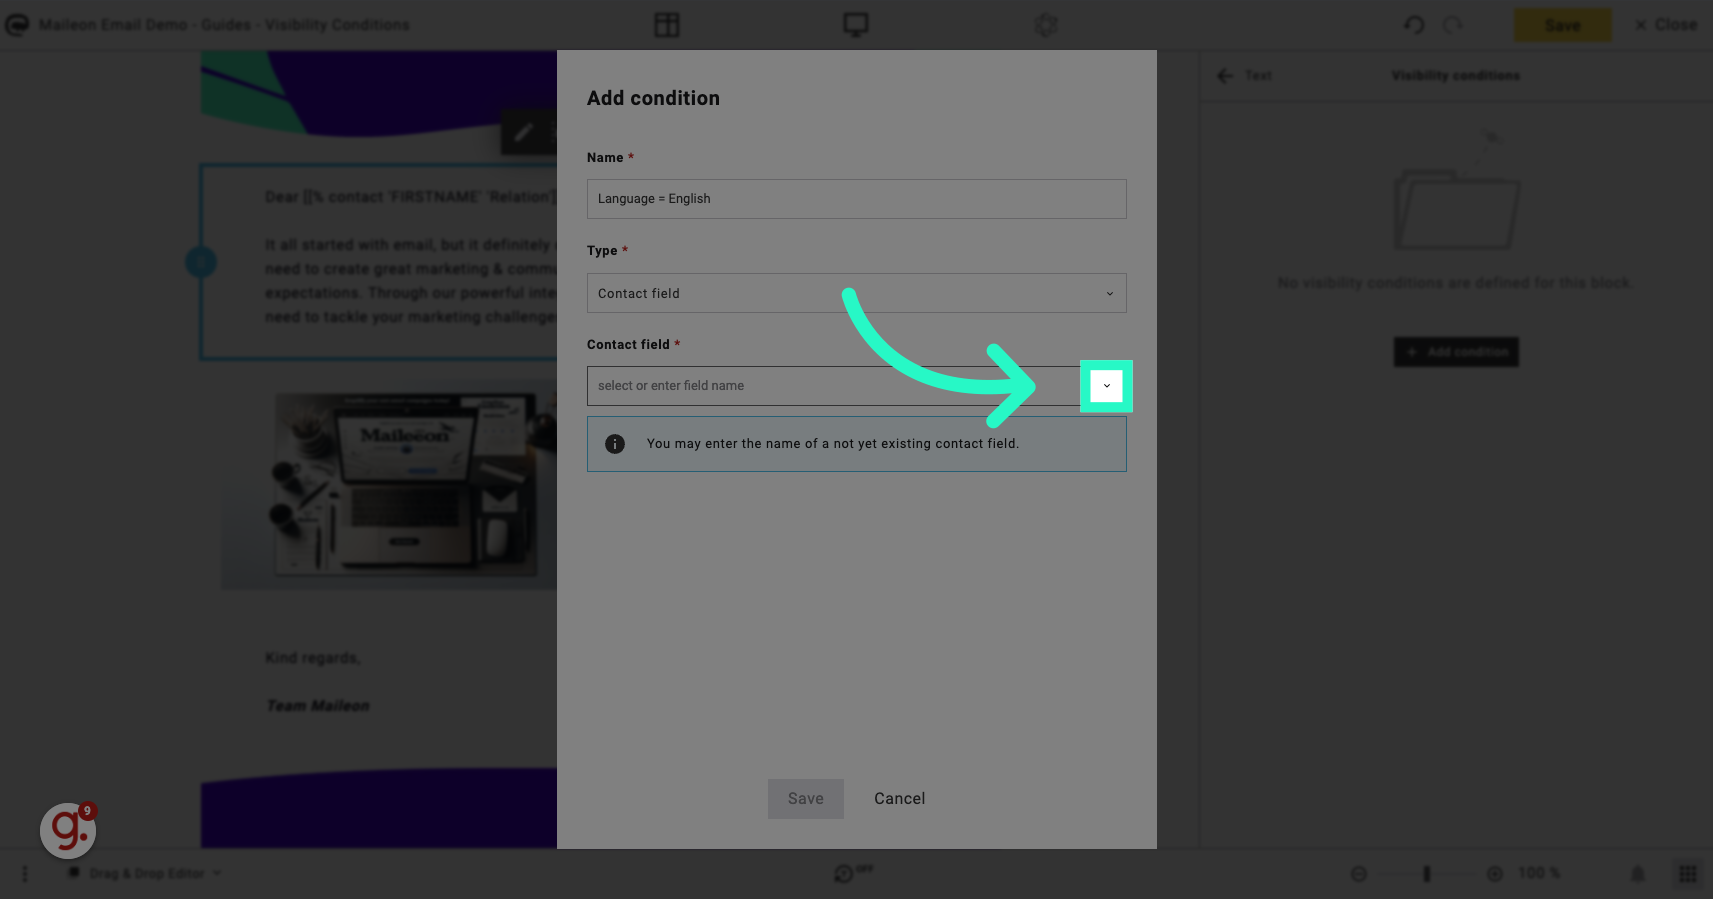
8. Click "select or enter field name"
9. Click here
Click the selected option
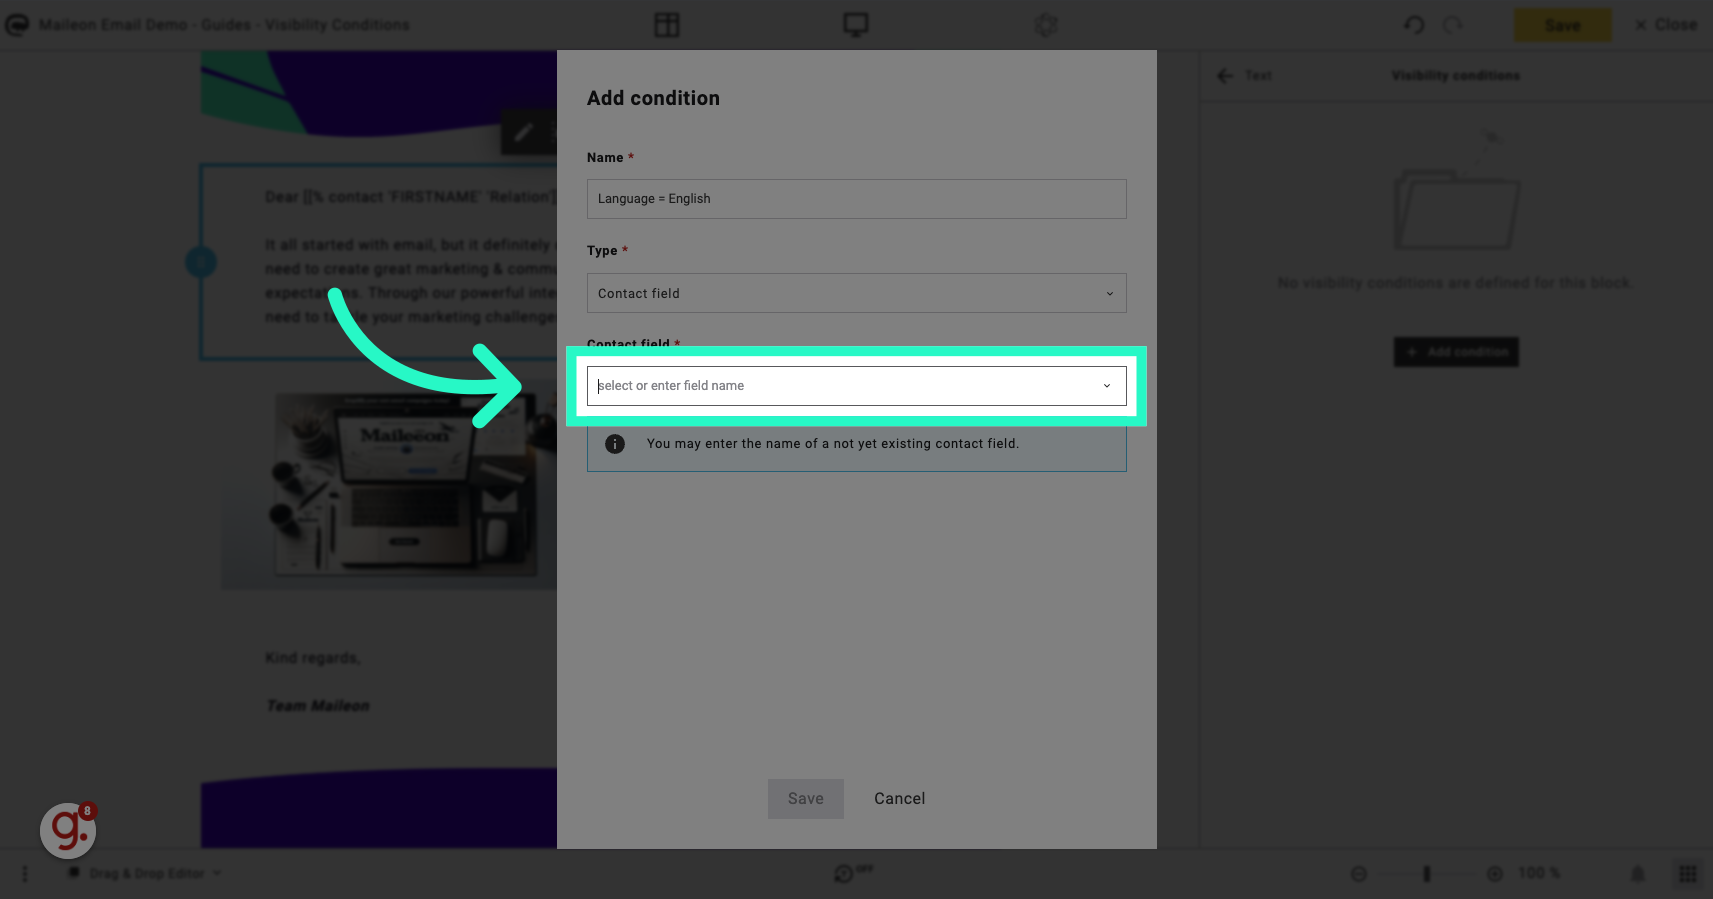
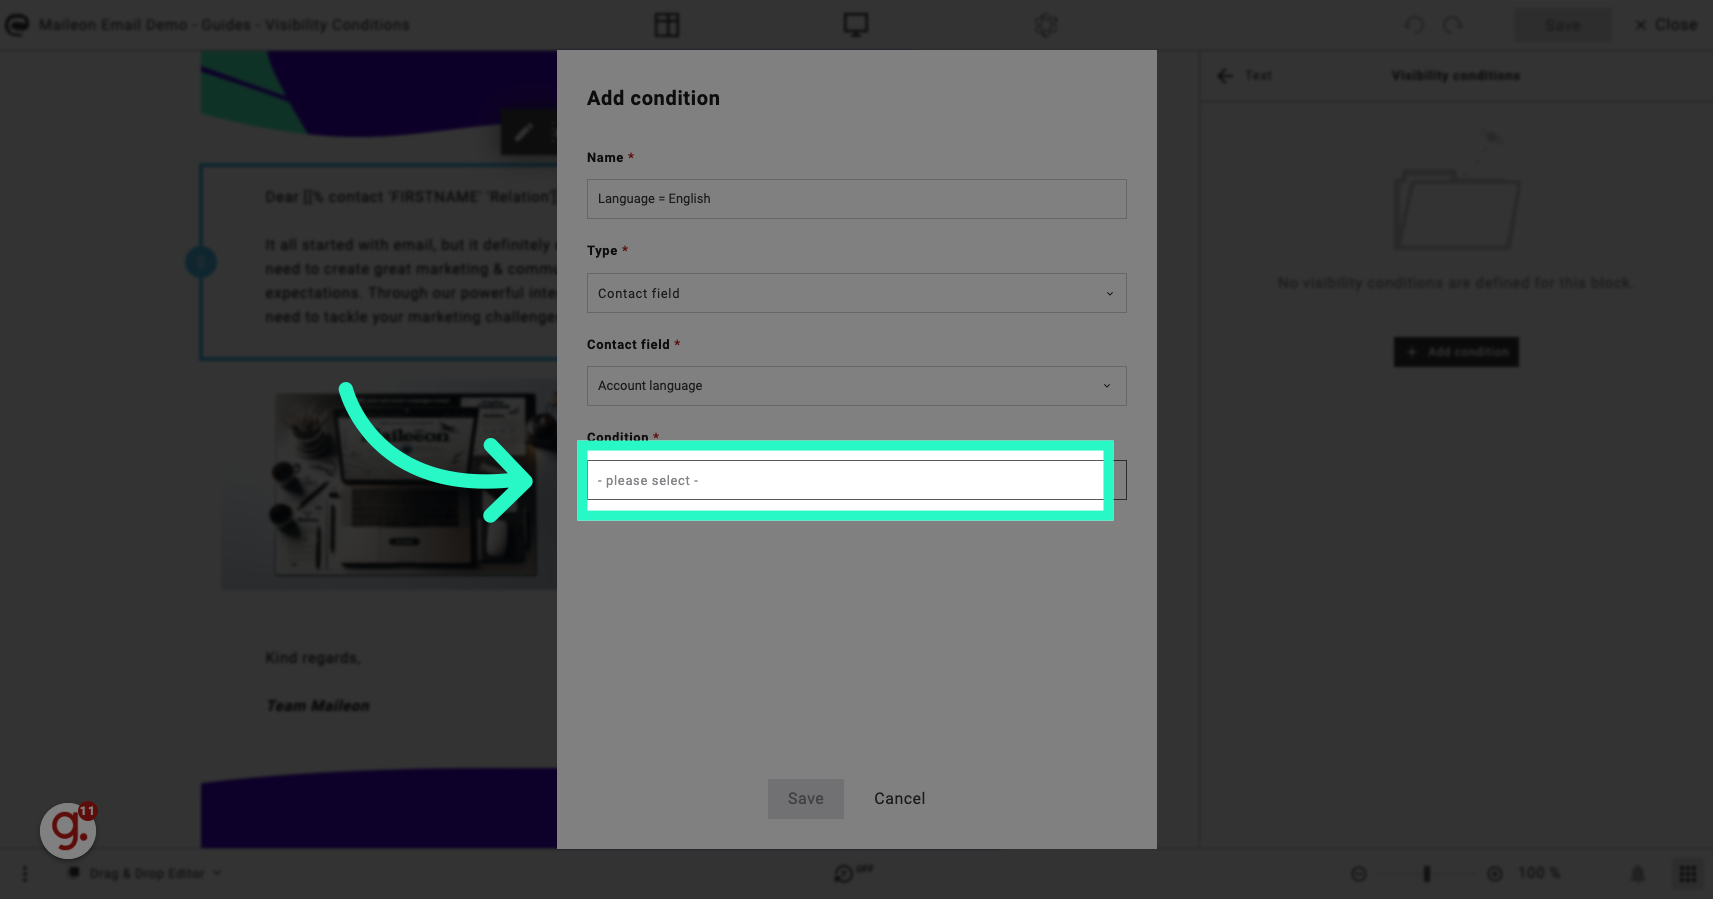
10. Select the preferred contact field
Select the field related to the condition, such as "Account language".

11. Click "- please select -"
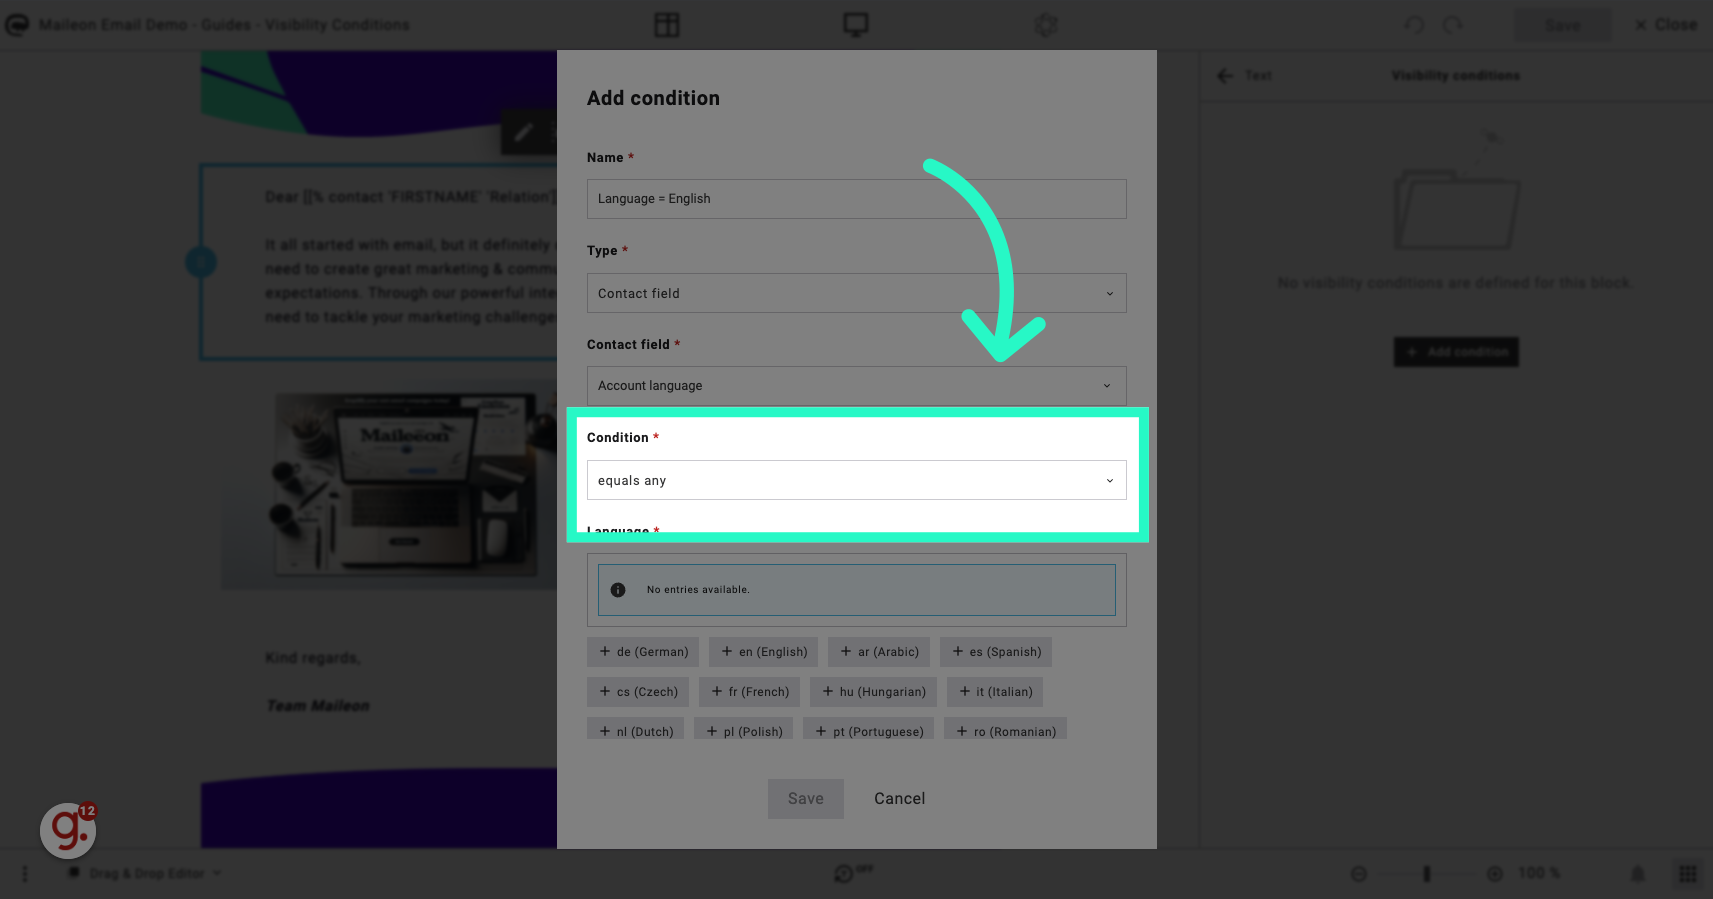
12. Click "equals any"
You can select multiple options here. In this case we want to use the equals any option.
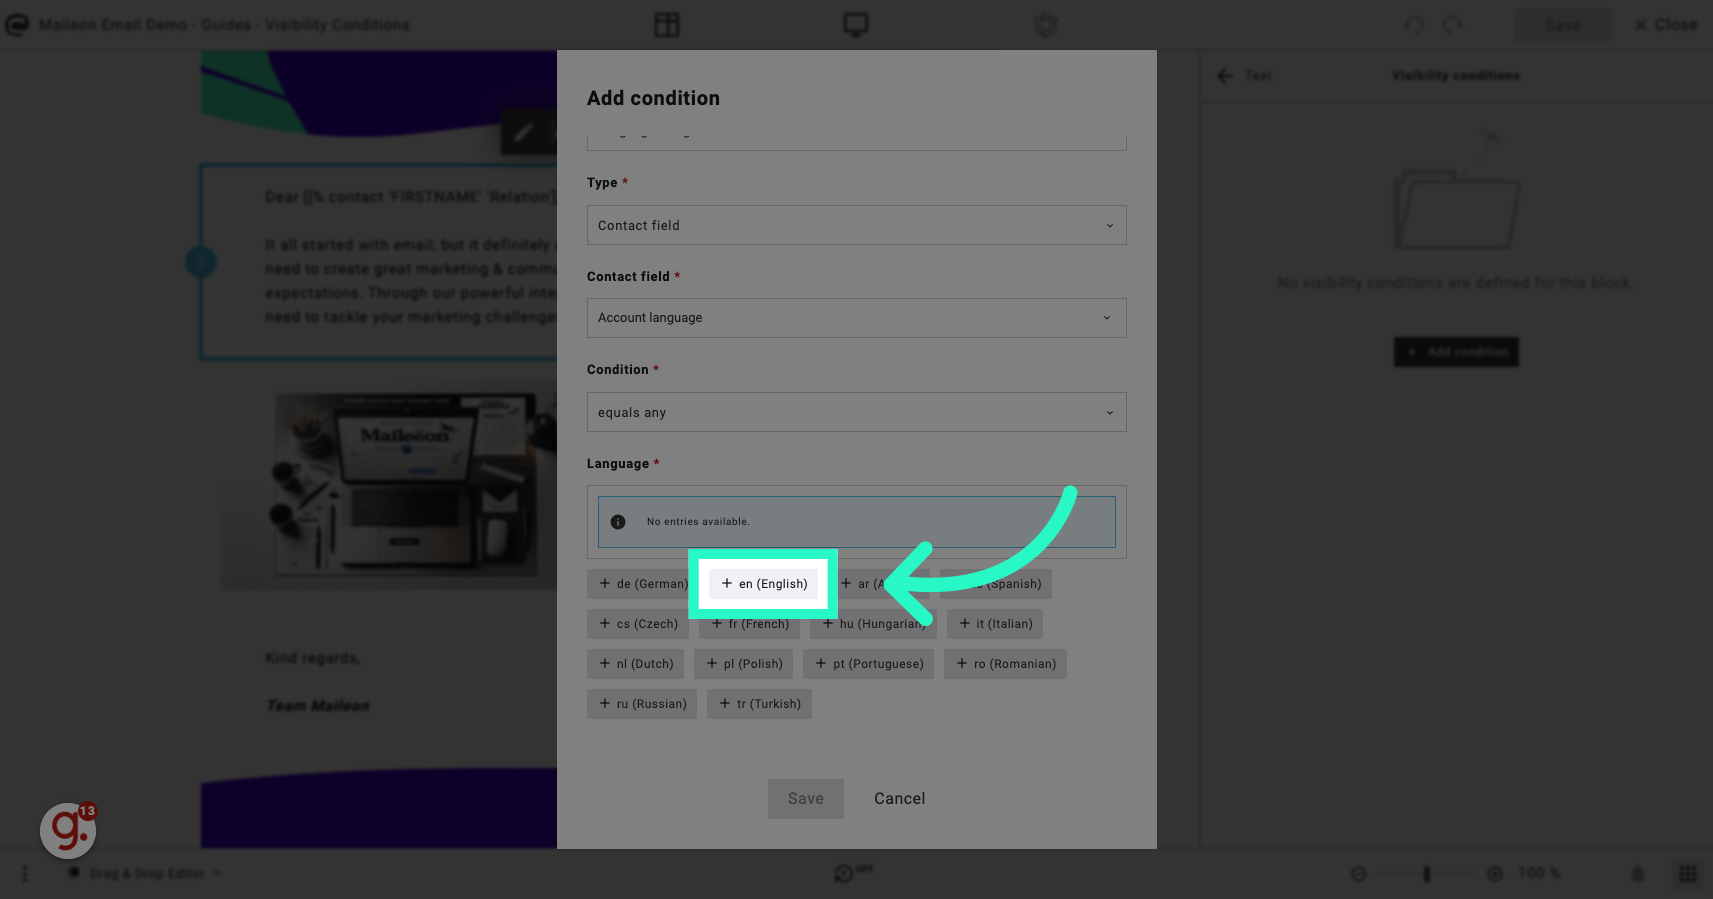
13. Click "en (English)"
Choose the specific value for the condition, like "en (English)". Depending on the contact field you will either have the option to type a value, select a date, select an option or select TRUE or FALSE.
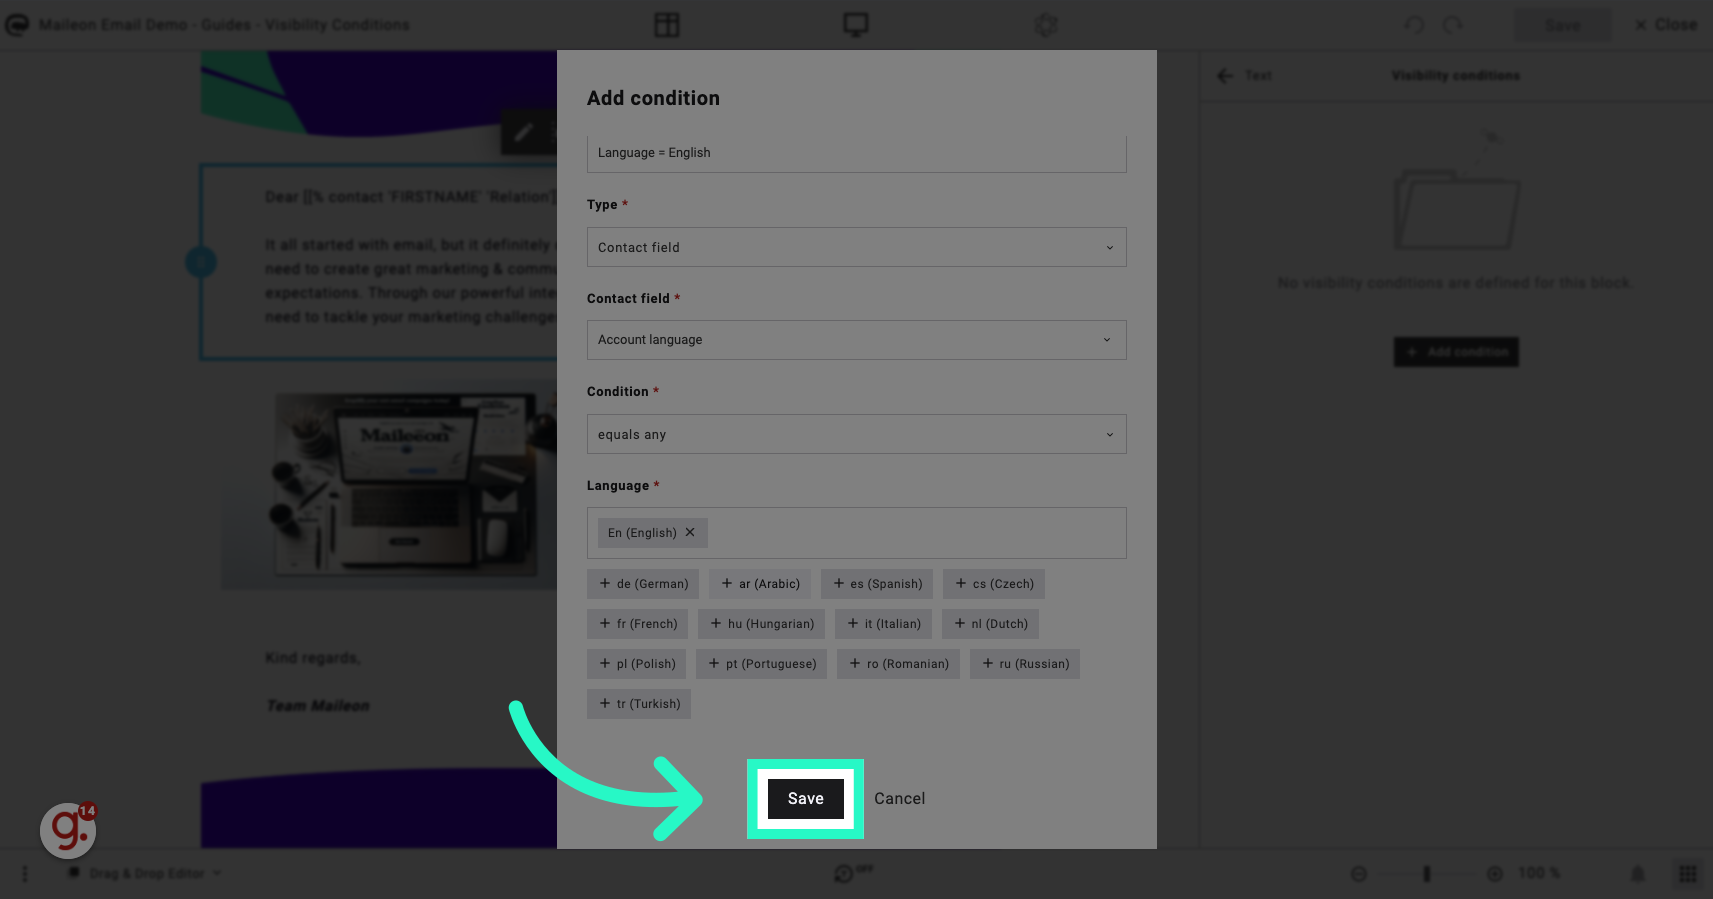
14. Click "Save"
Save the visibility condition settings.
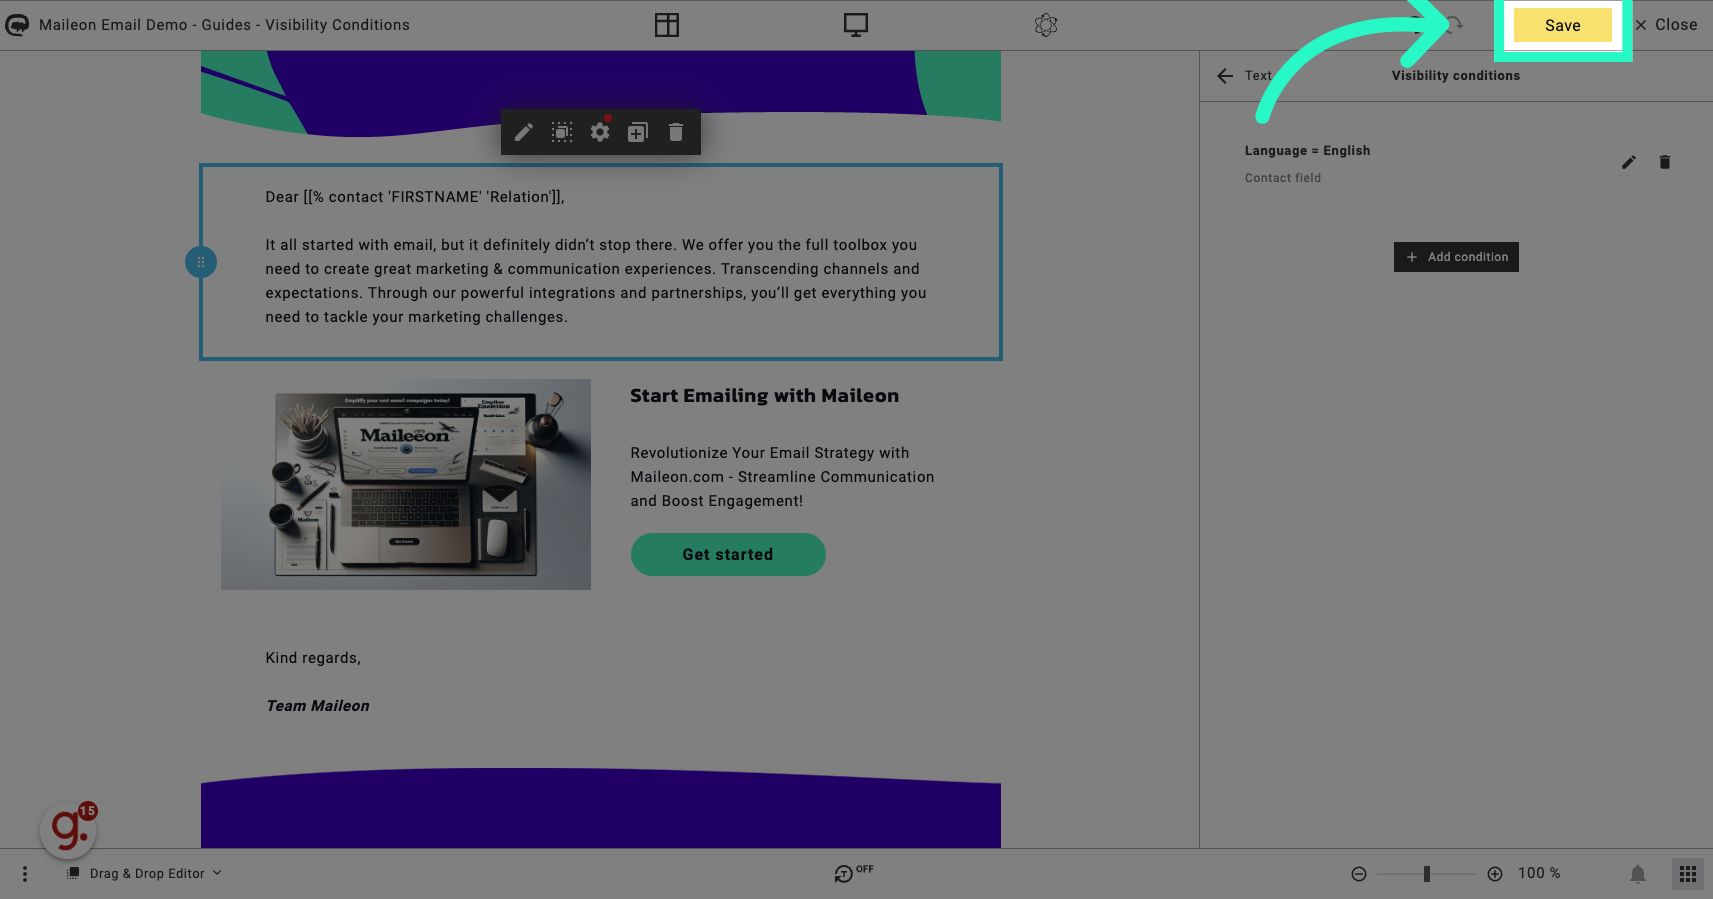
15. Click "Save"
Confirm and save the changes.
This guide in Maileon covered the process of adding a visibility condition to an element, allowing you to tailor your email content based on specific criteria. From setting conditions to saving changes, you are now equipped to enhance your email marketing strategies through targeted visibility settings.
Keep track of your visibility conditions