Sending a test email directly from the Maileon Editor is crucial for quality assurance. This guide will walk you through the necessary steps to ensure your test emails are correctly sent and received, aiding in employee training and improving email campaign efficiency.
Go to www.maileon.com/login
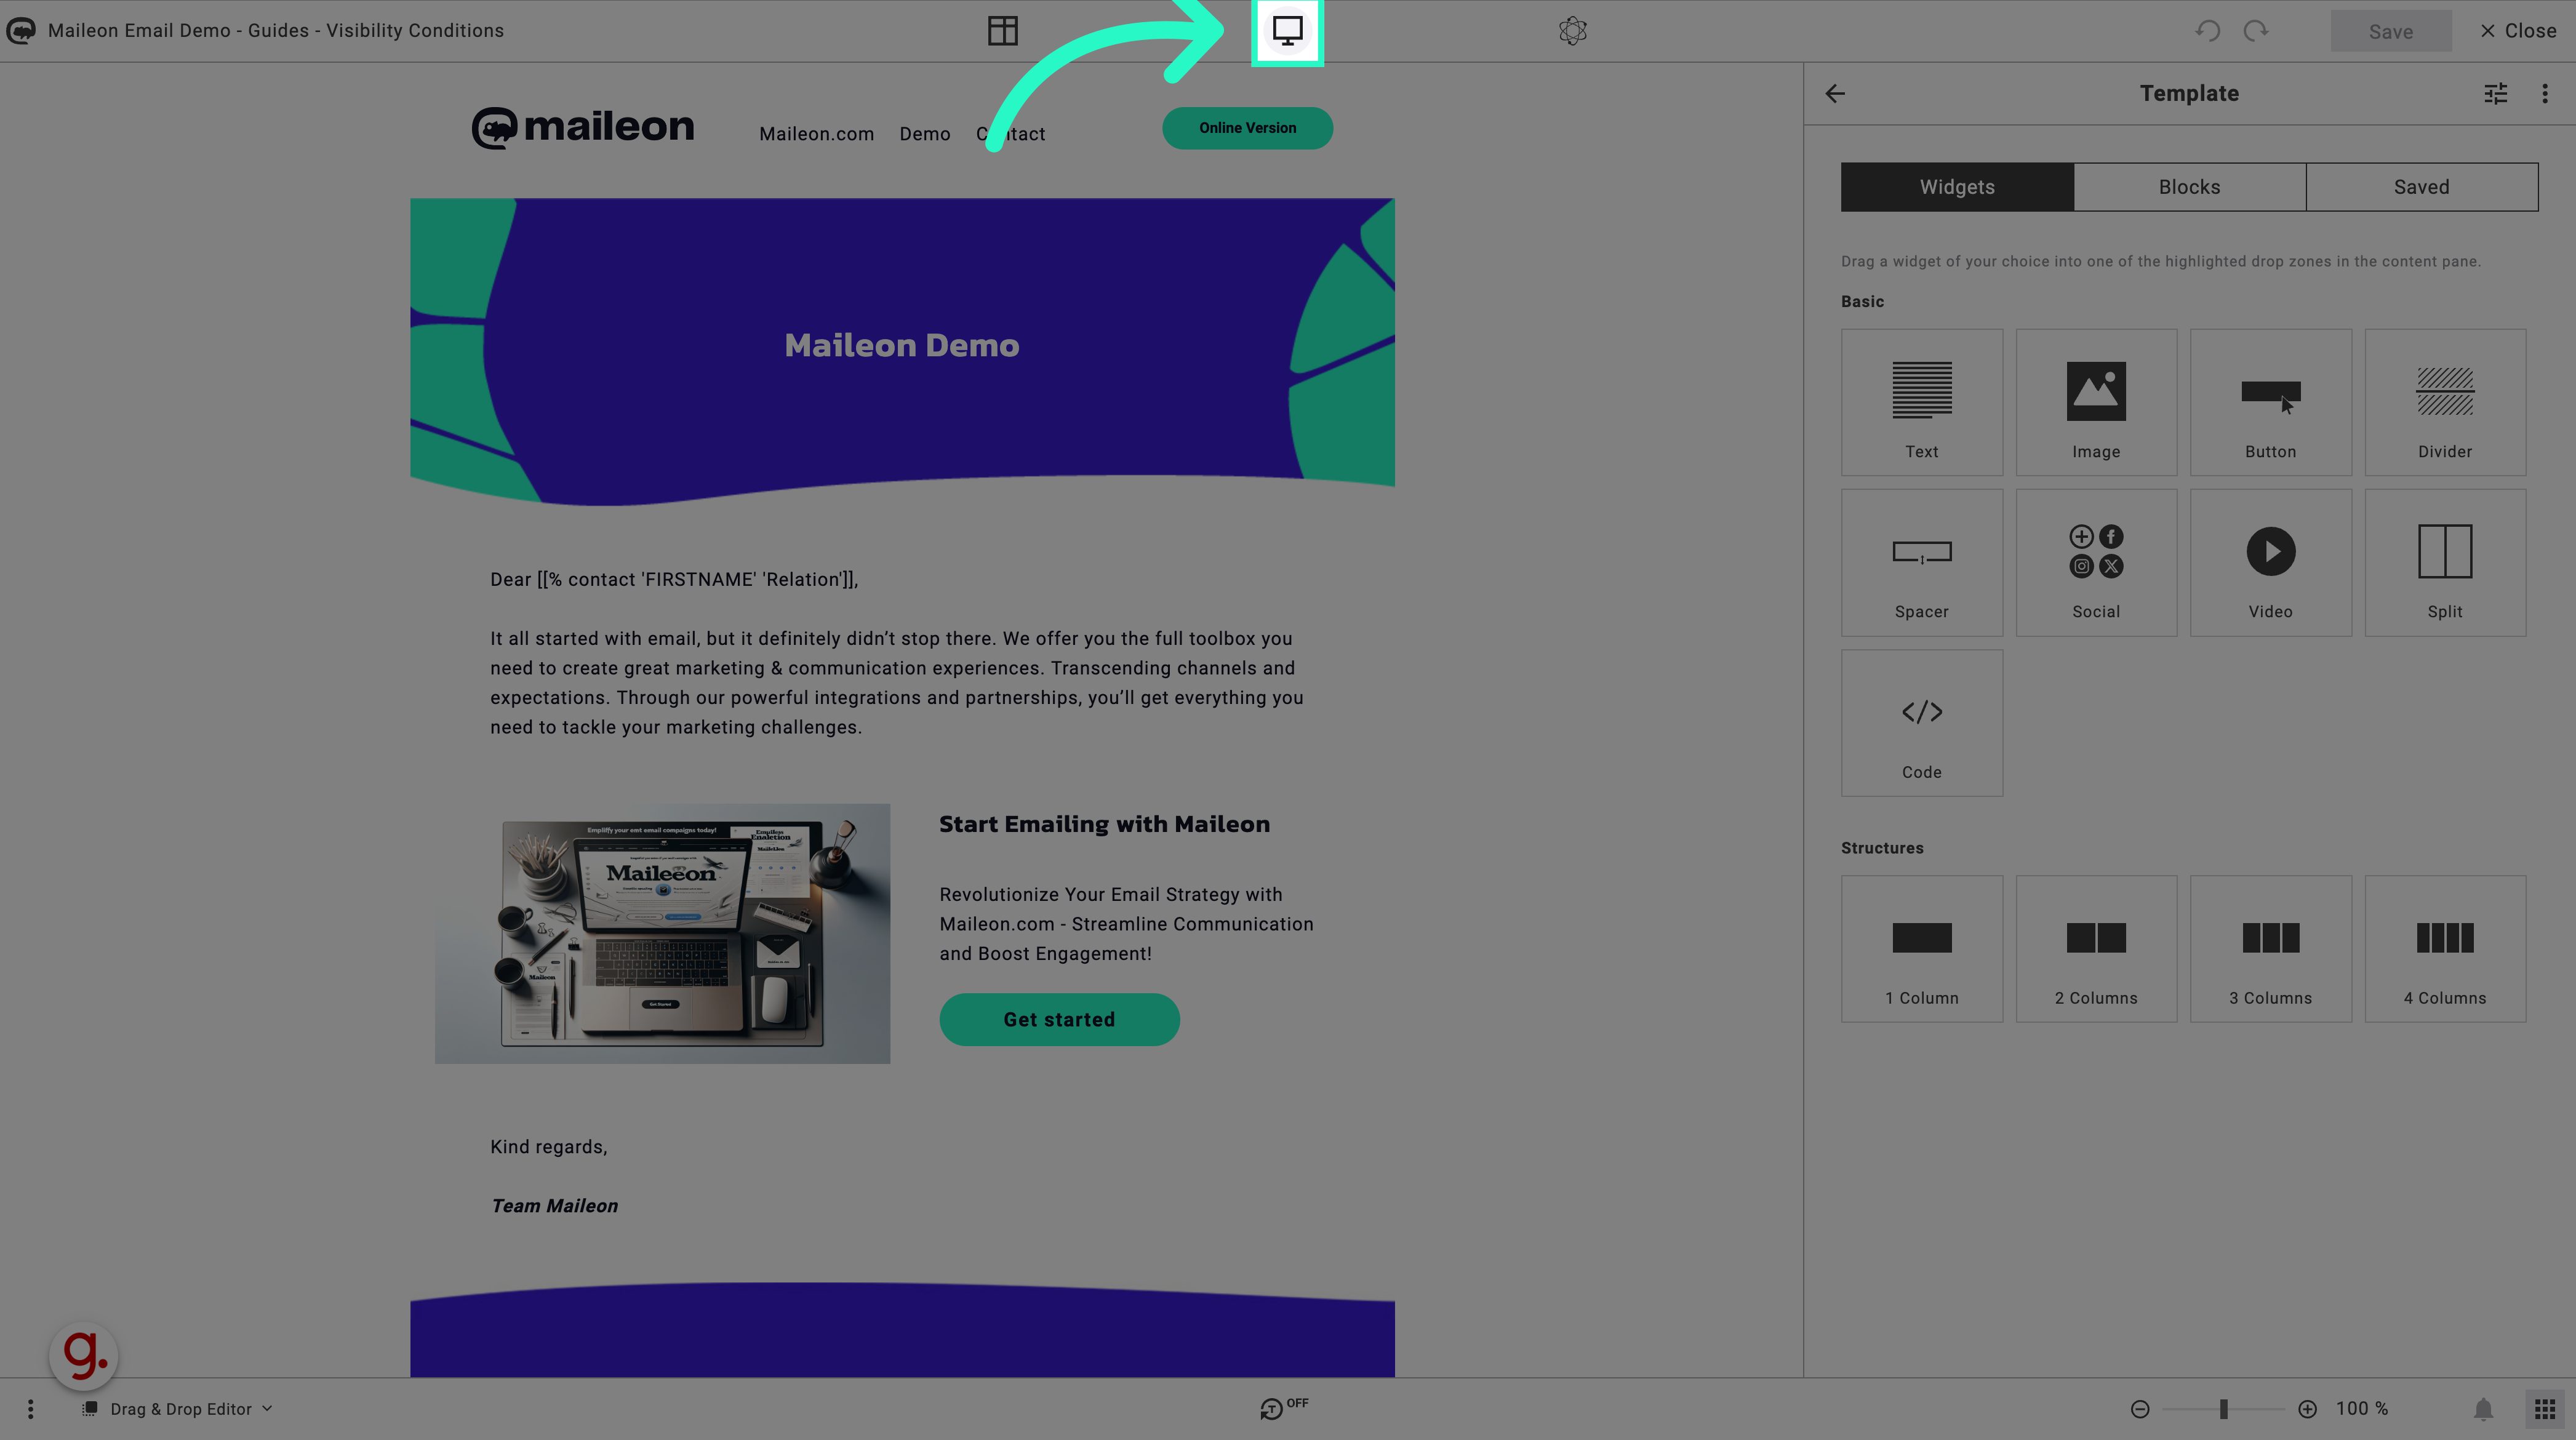
1. Open the preview window
Open the preview window by clicking on the screen in the top of the editor.
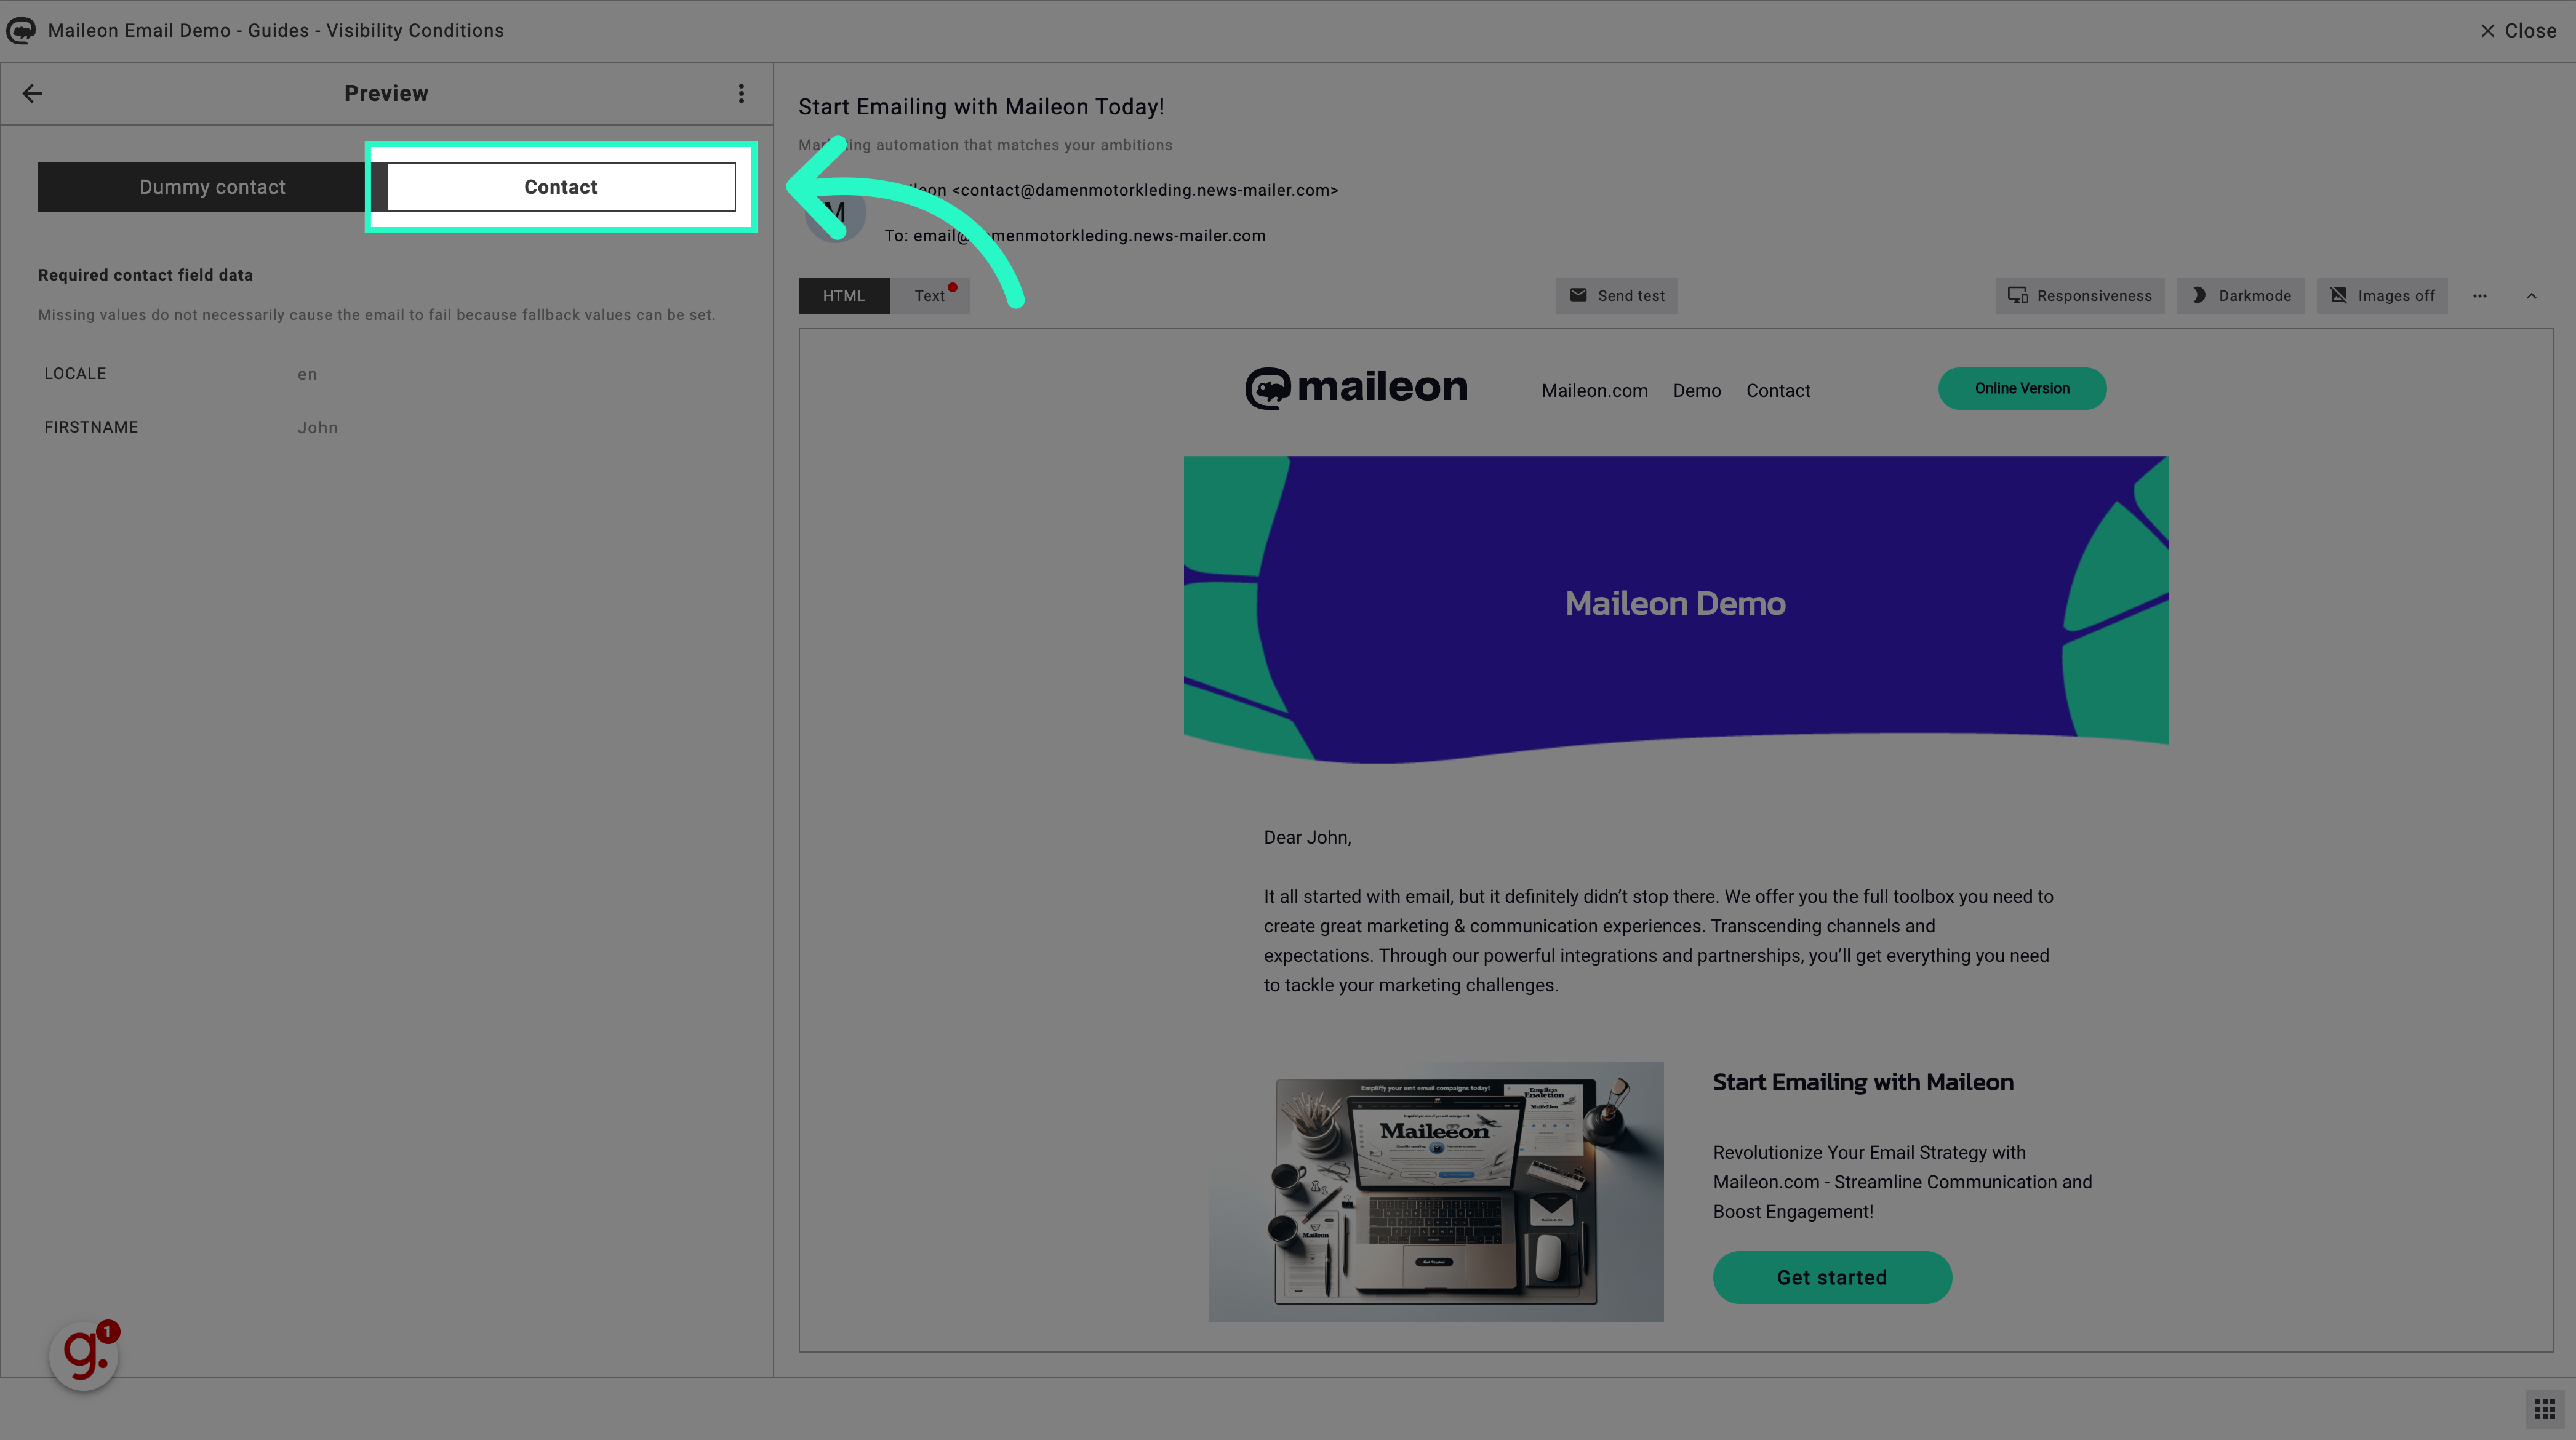
2. Click "Contact" to select a contact to base the test email on
Click "Contact" to select a contact to base the test email on.
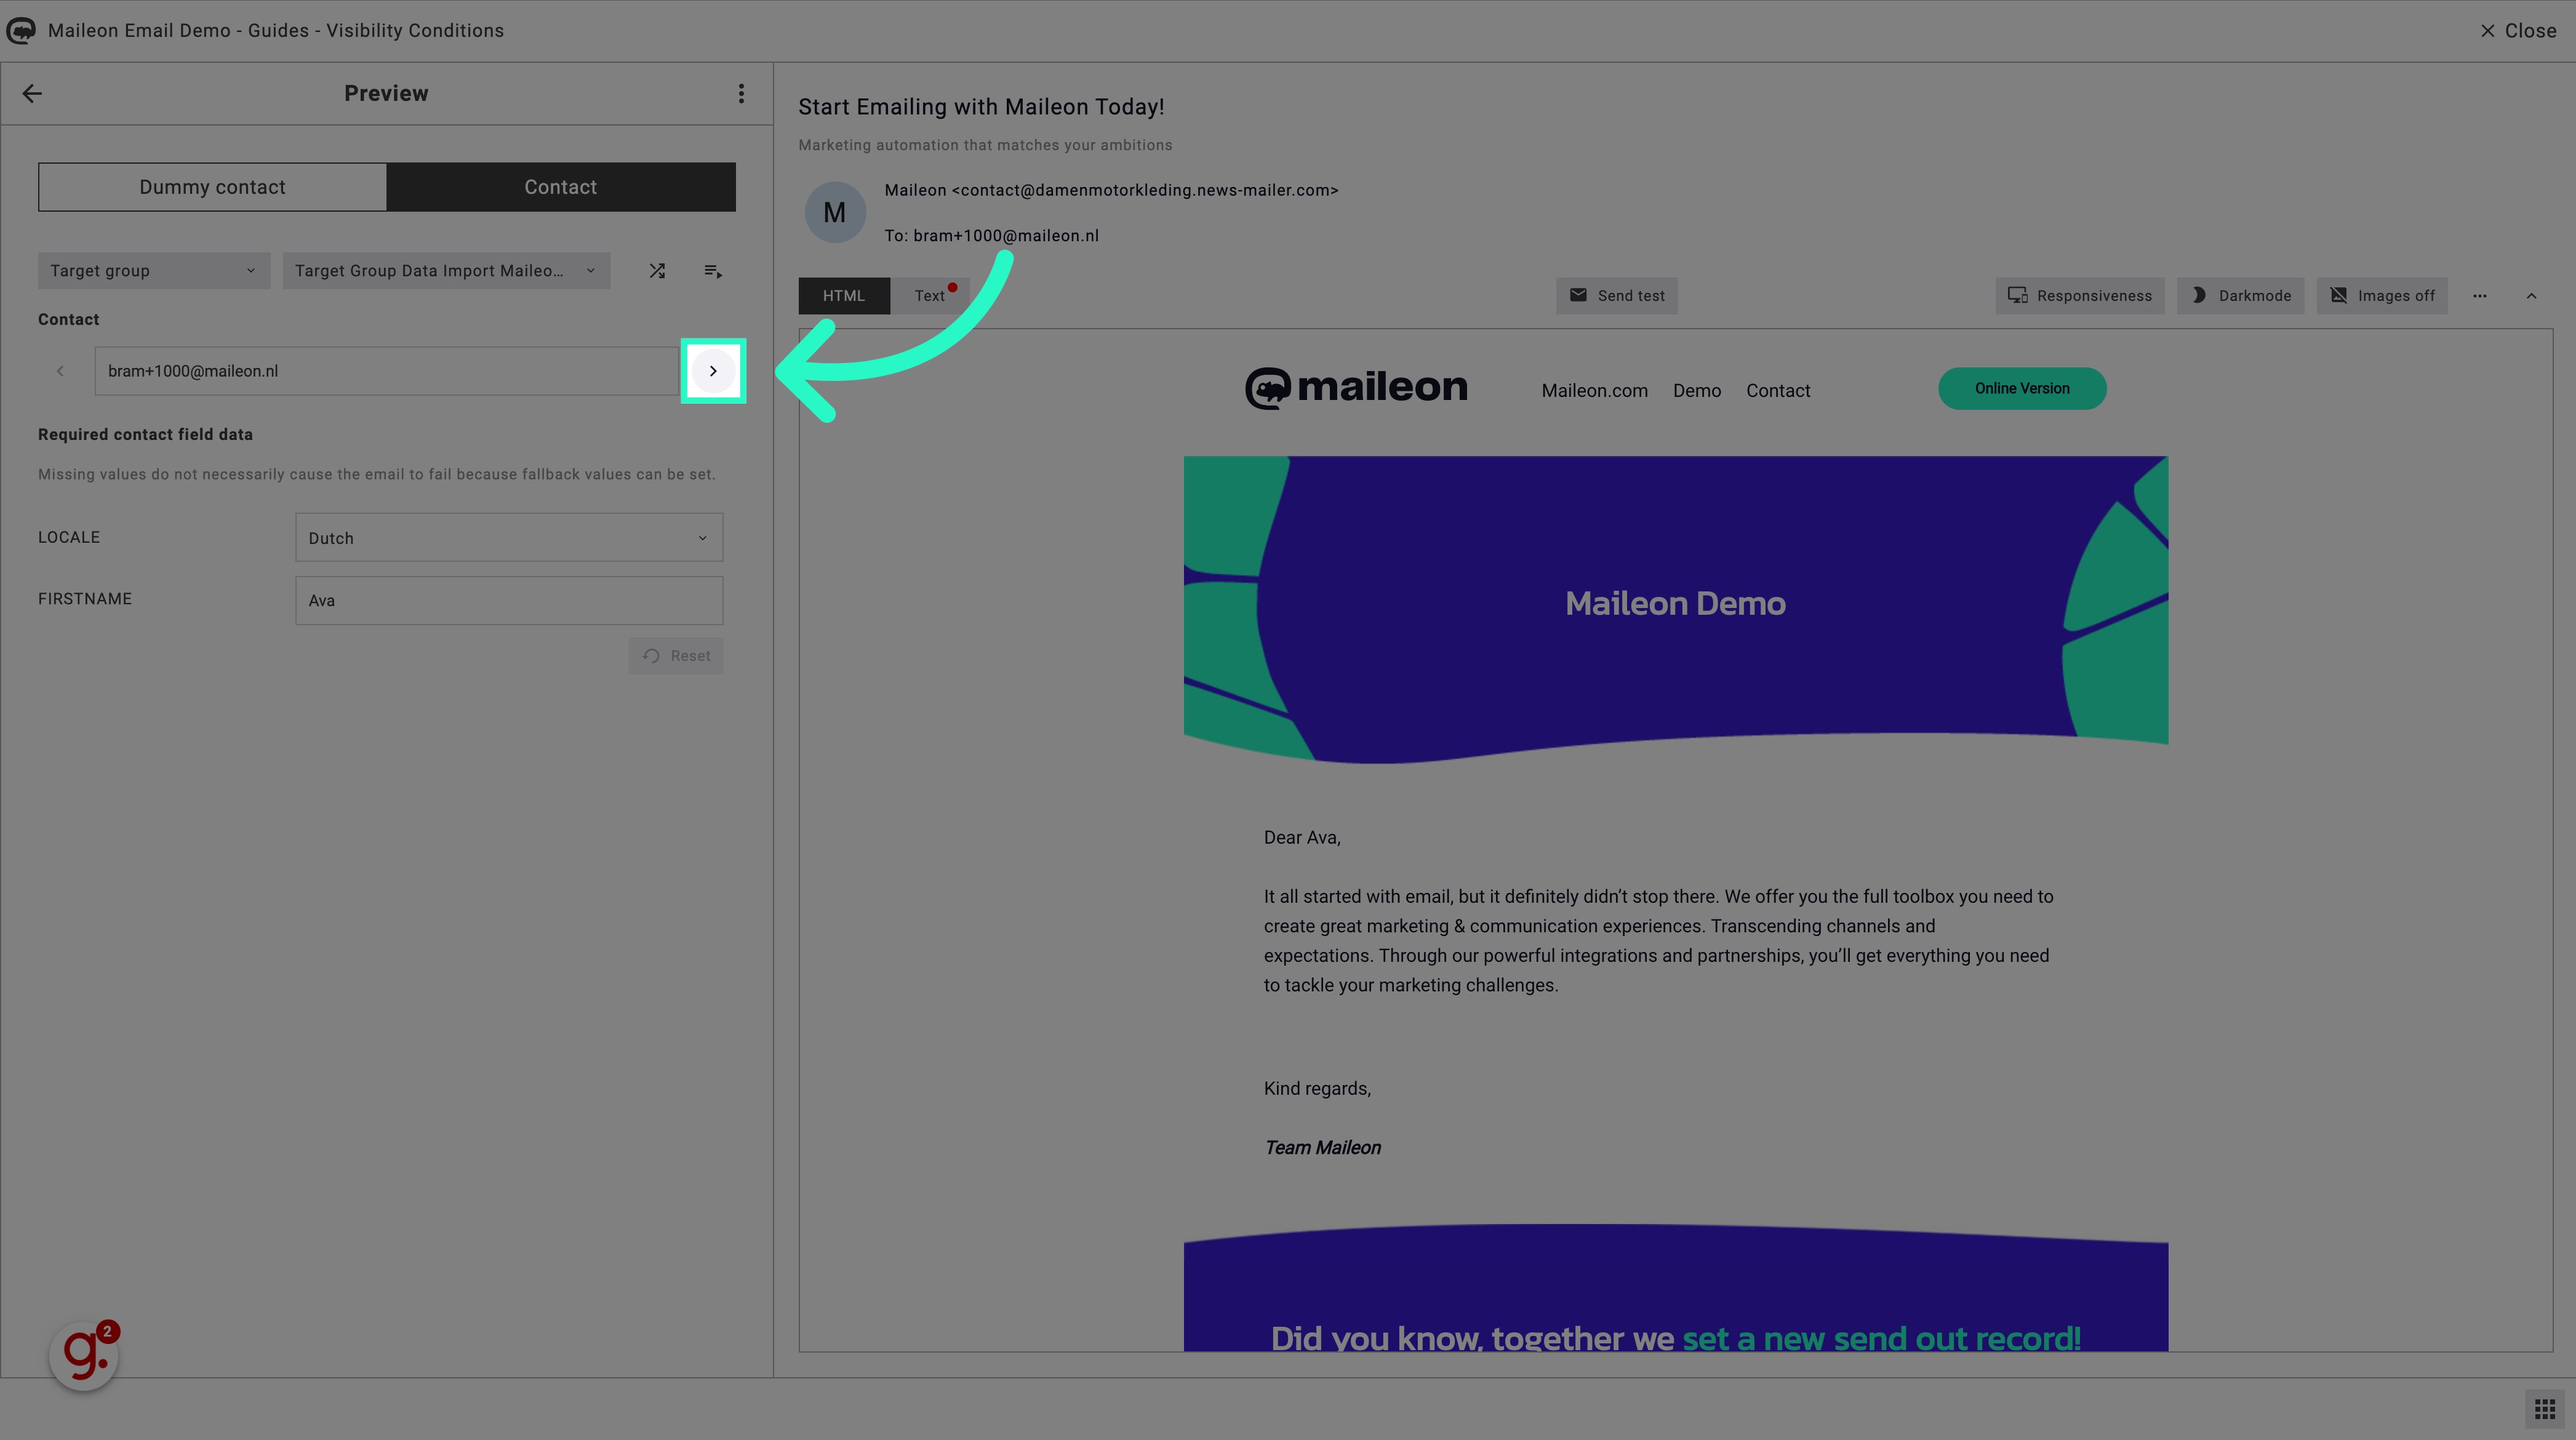
3. Select a contact
You can select a random contact or click on the arrows until you find a suitable contact.
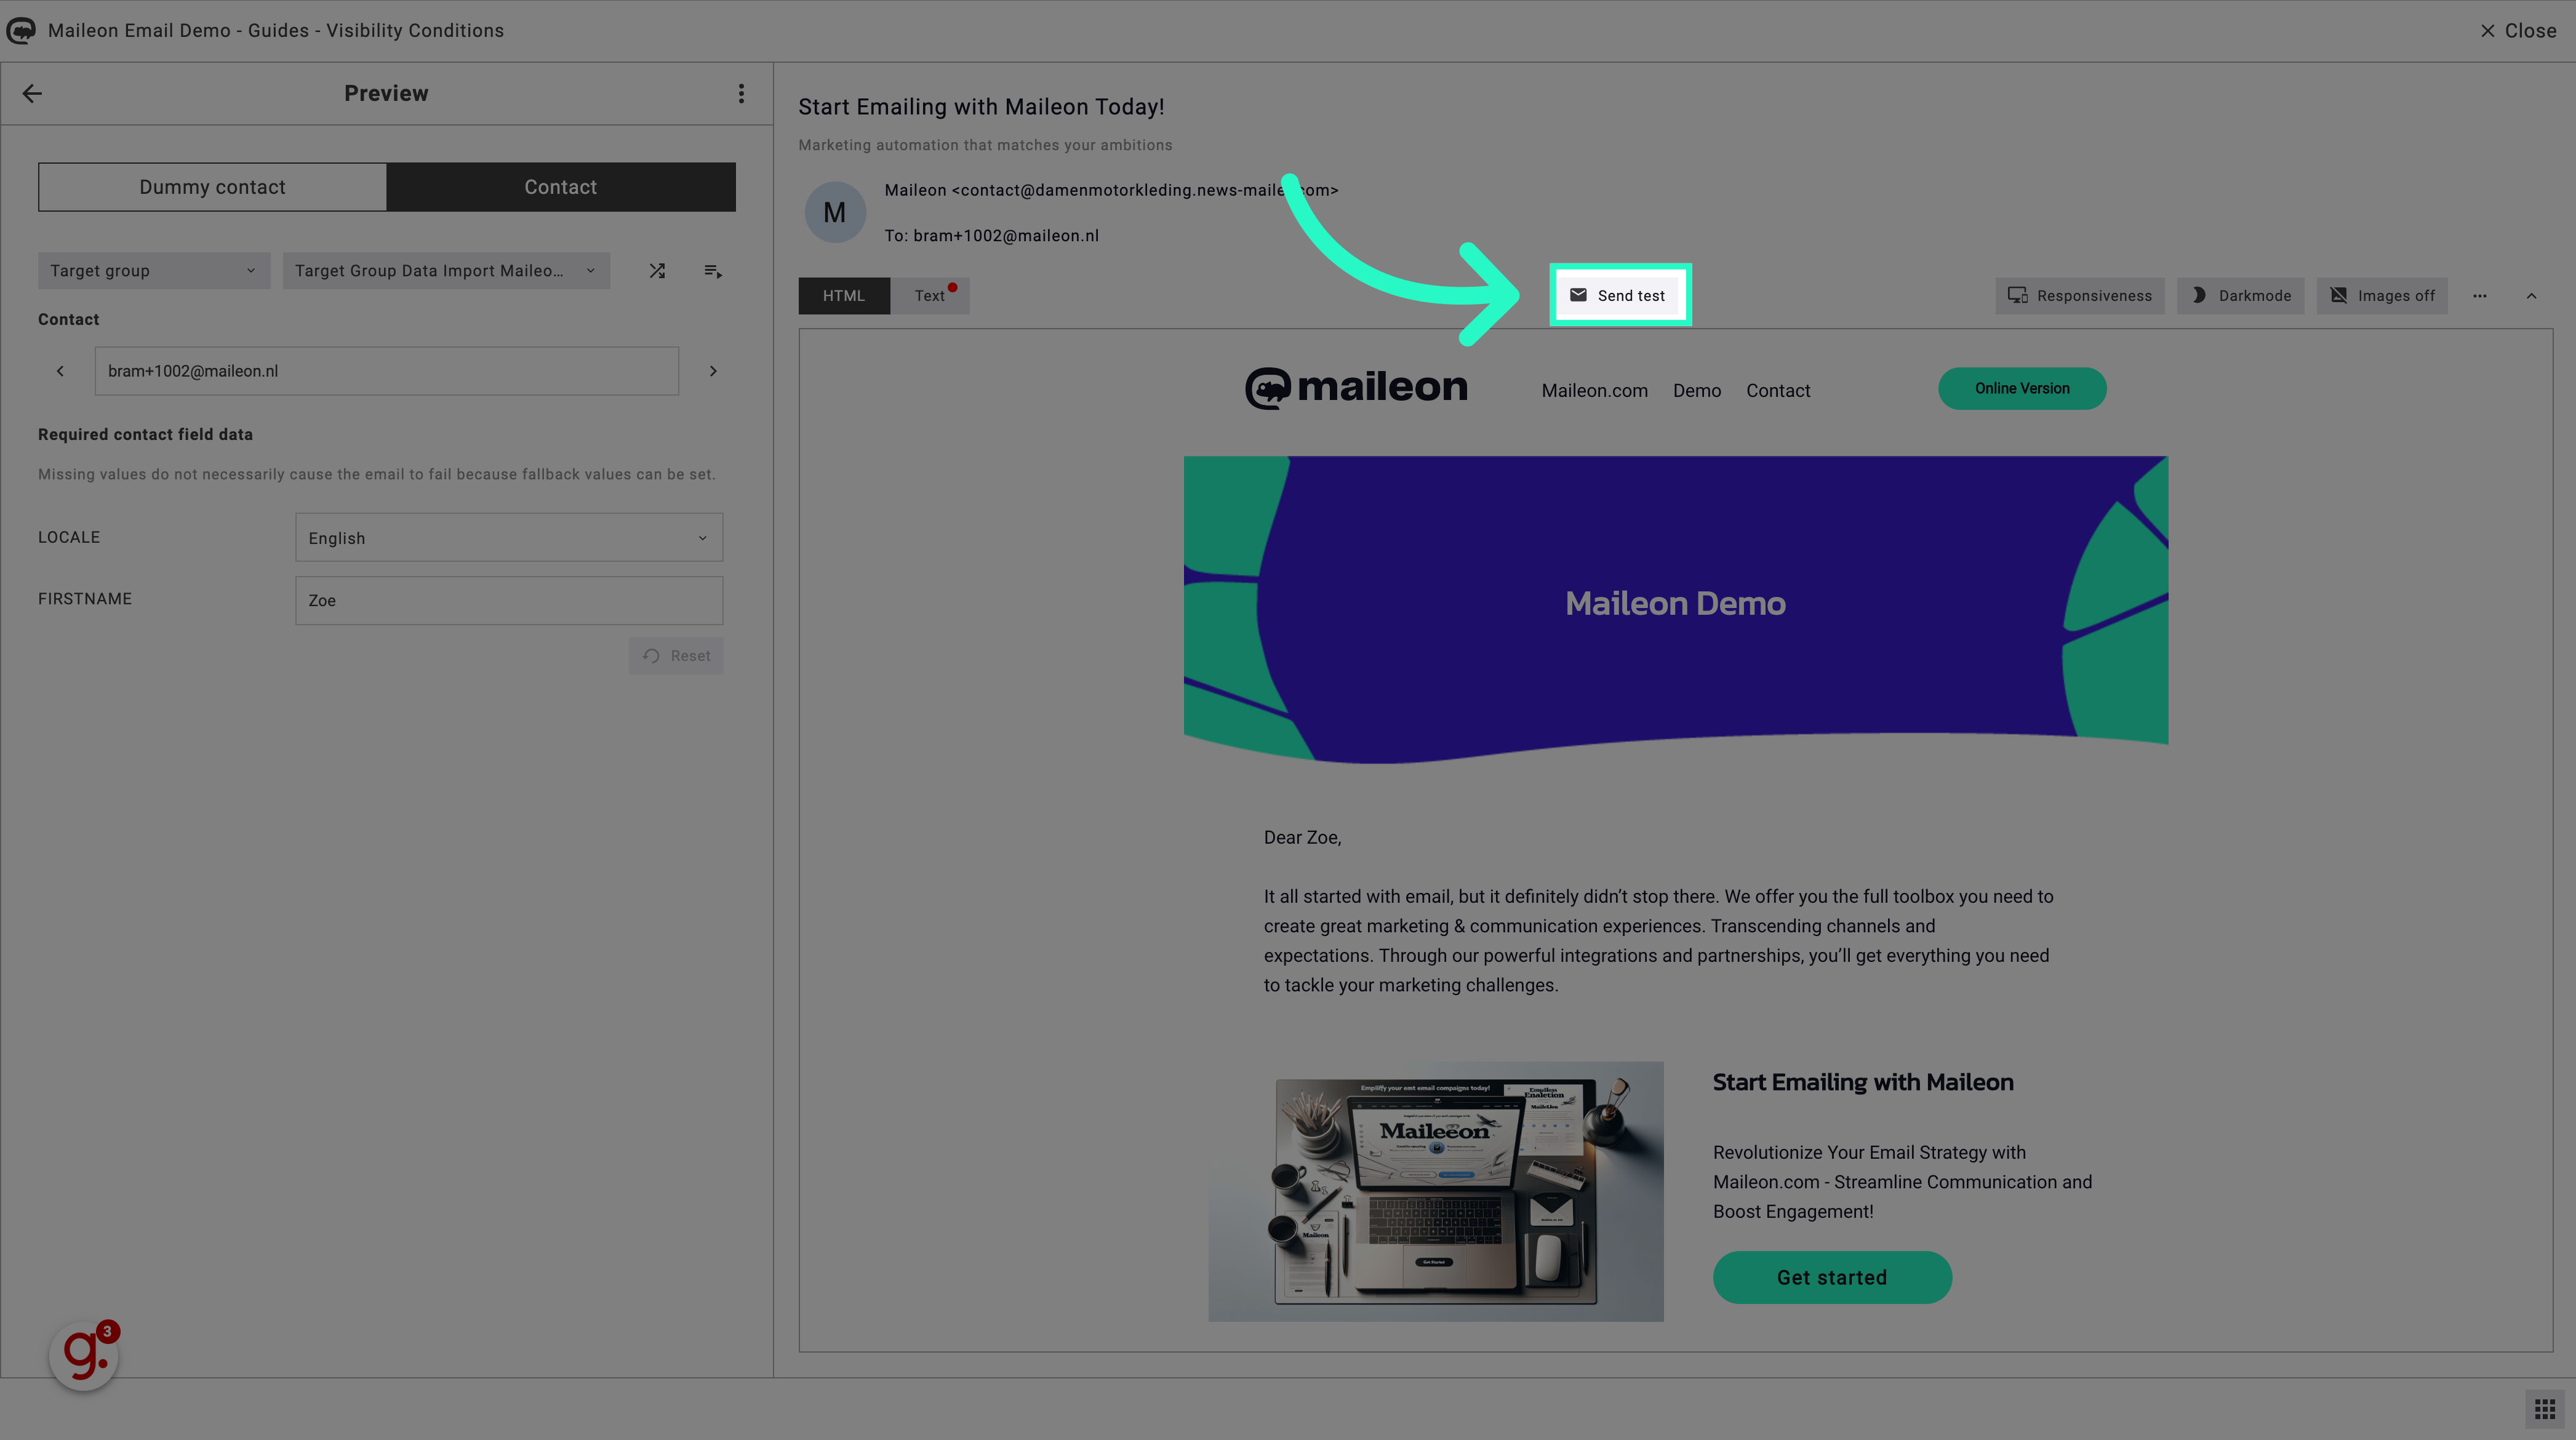
4. Click on 'Send test'
Click on 'Send test' to open the test email window.
5. Click on the email address
Ensure the email address is correct.

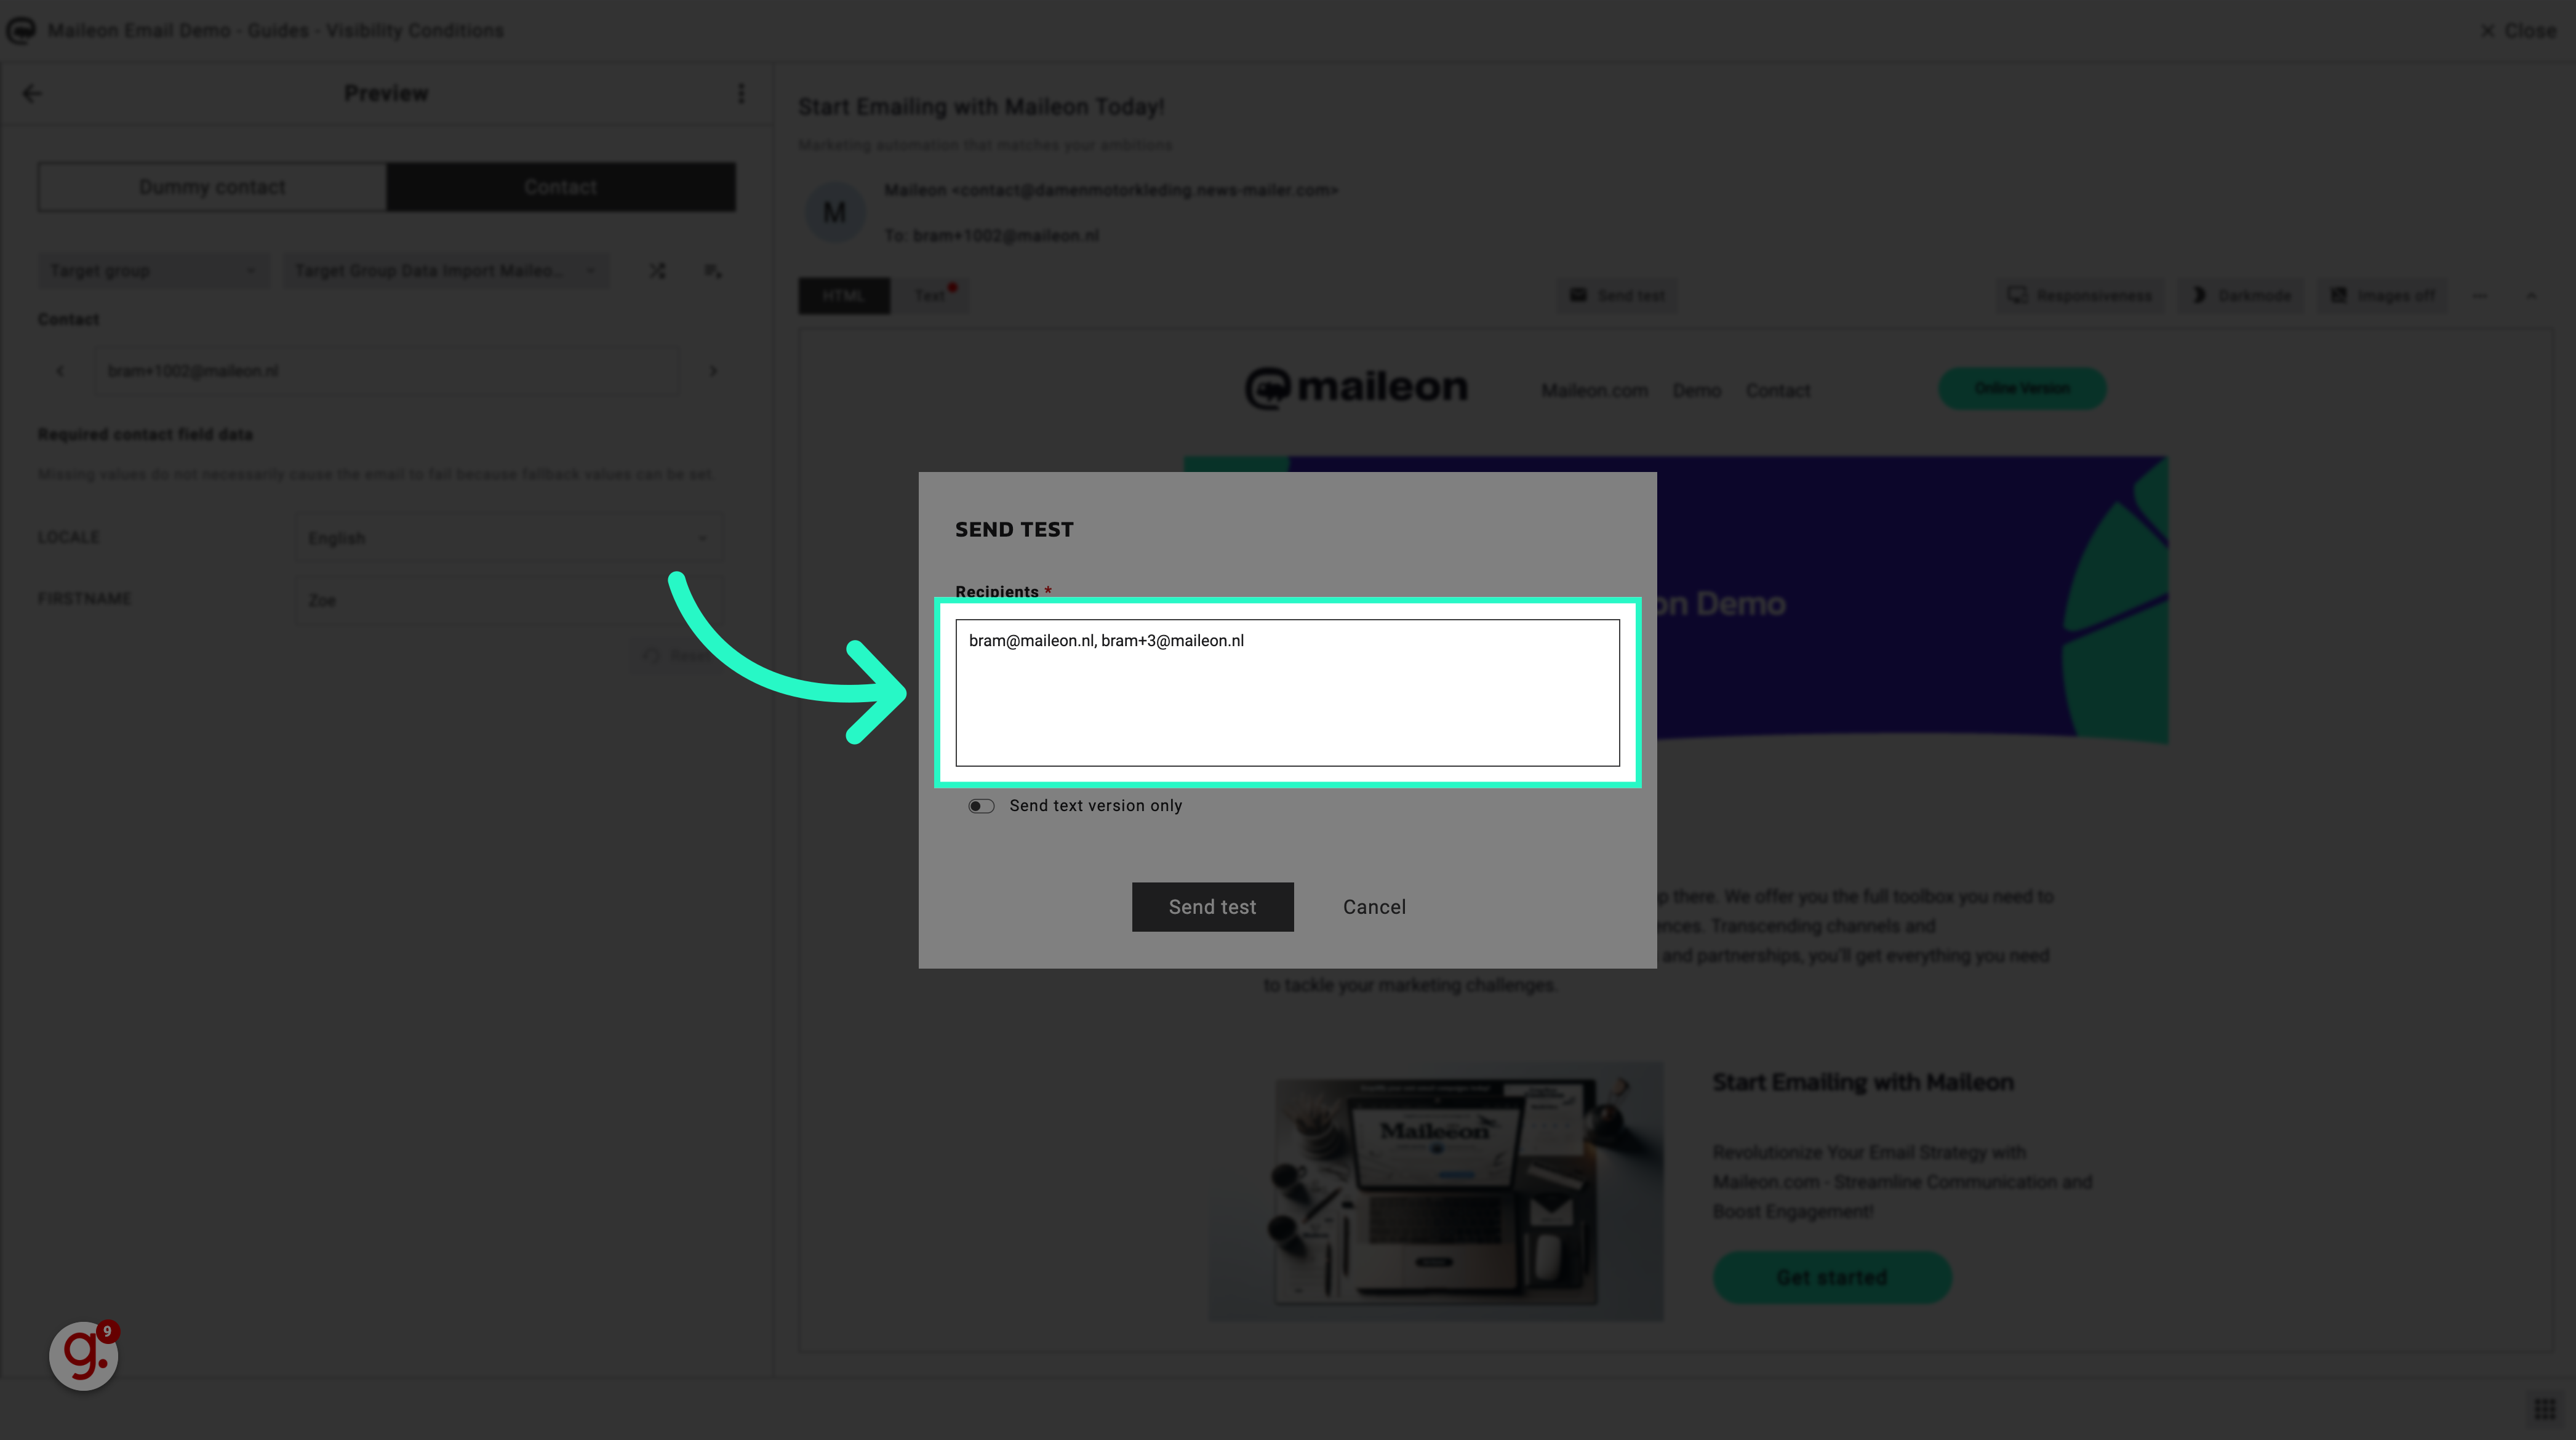
6. Fill with more email addresses
Enter the test email addresses you would like to use. Seperate them by using a comma / ,
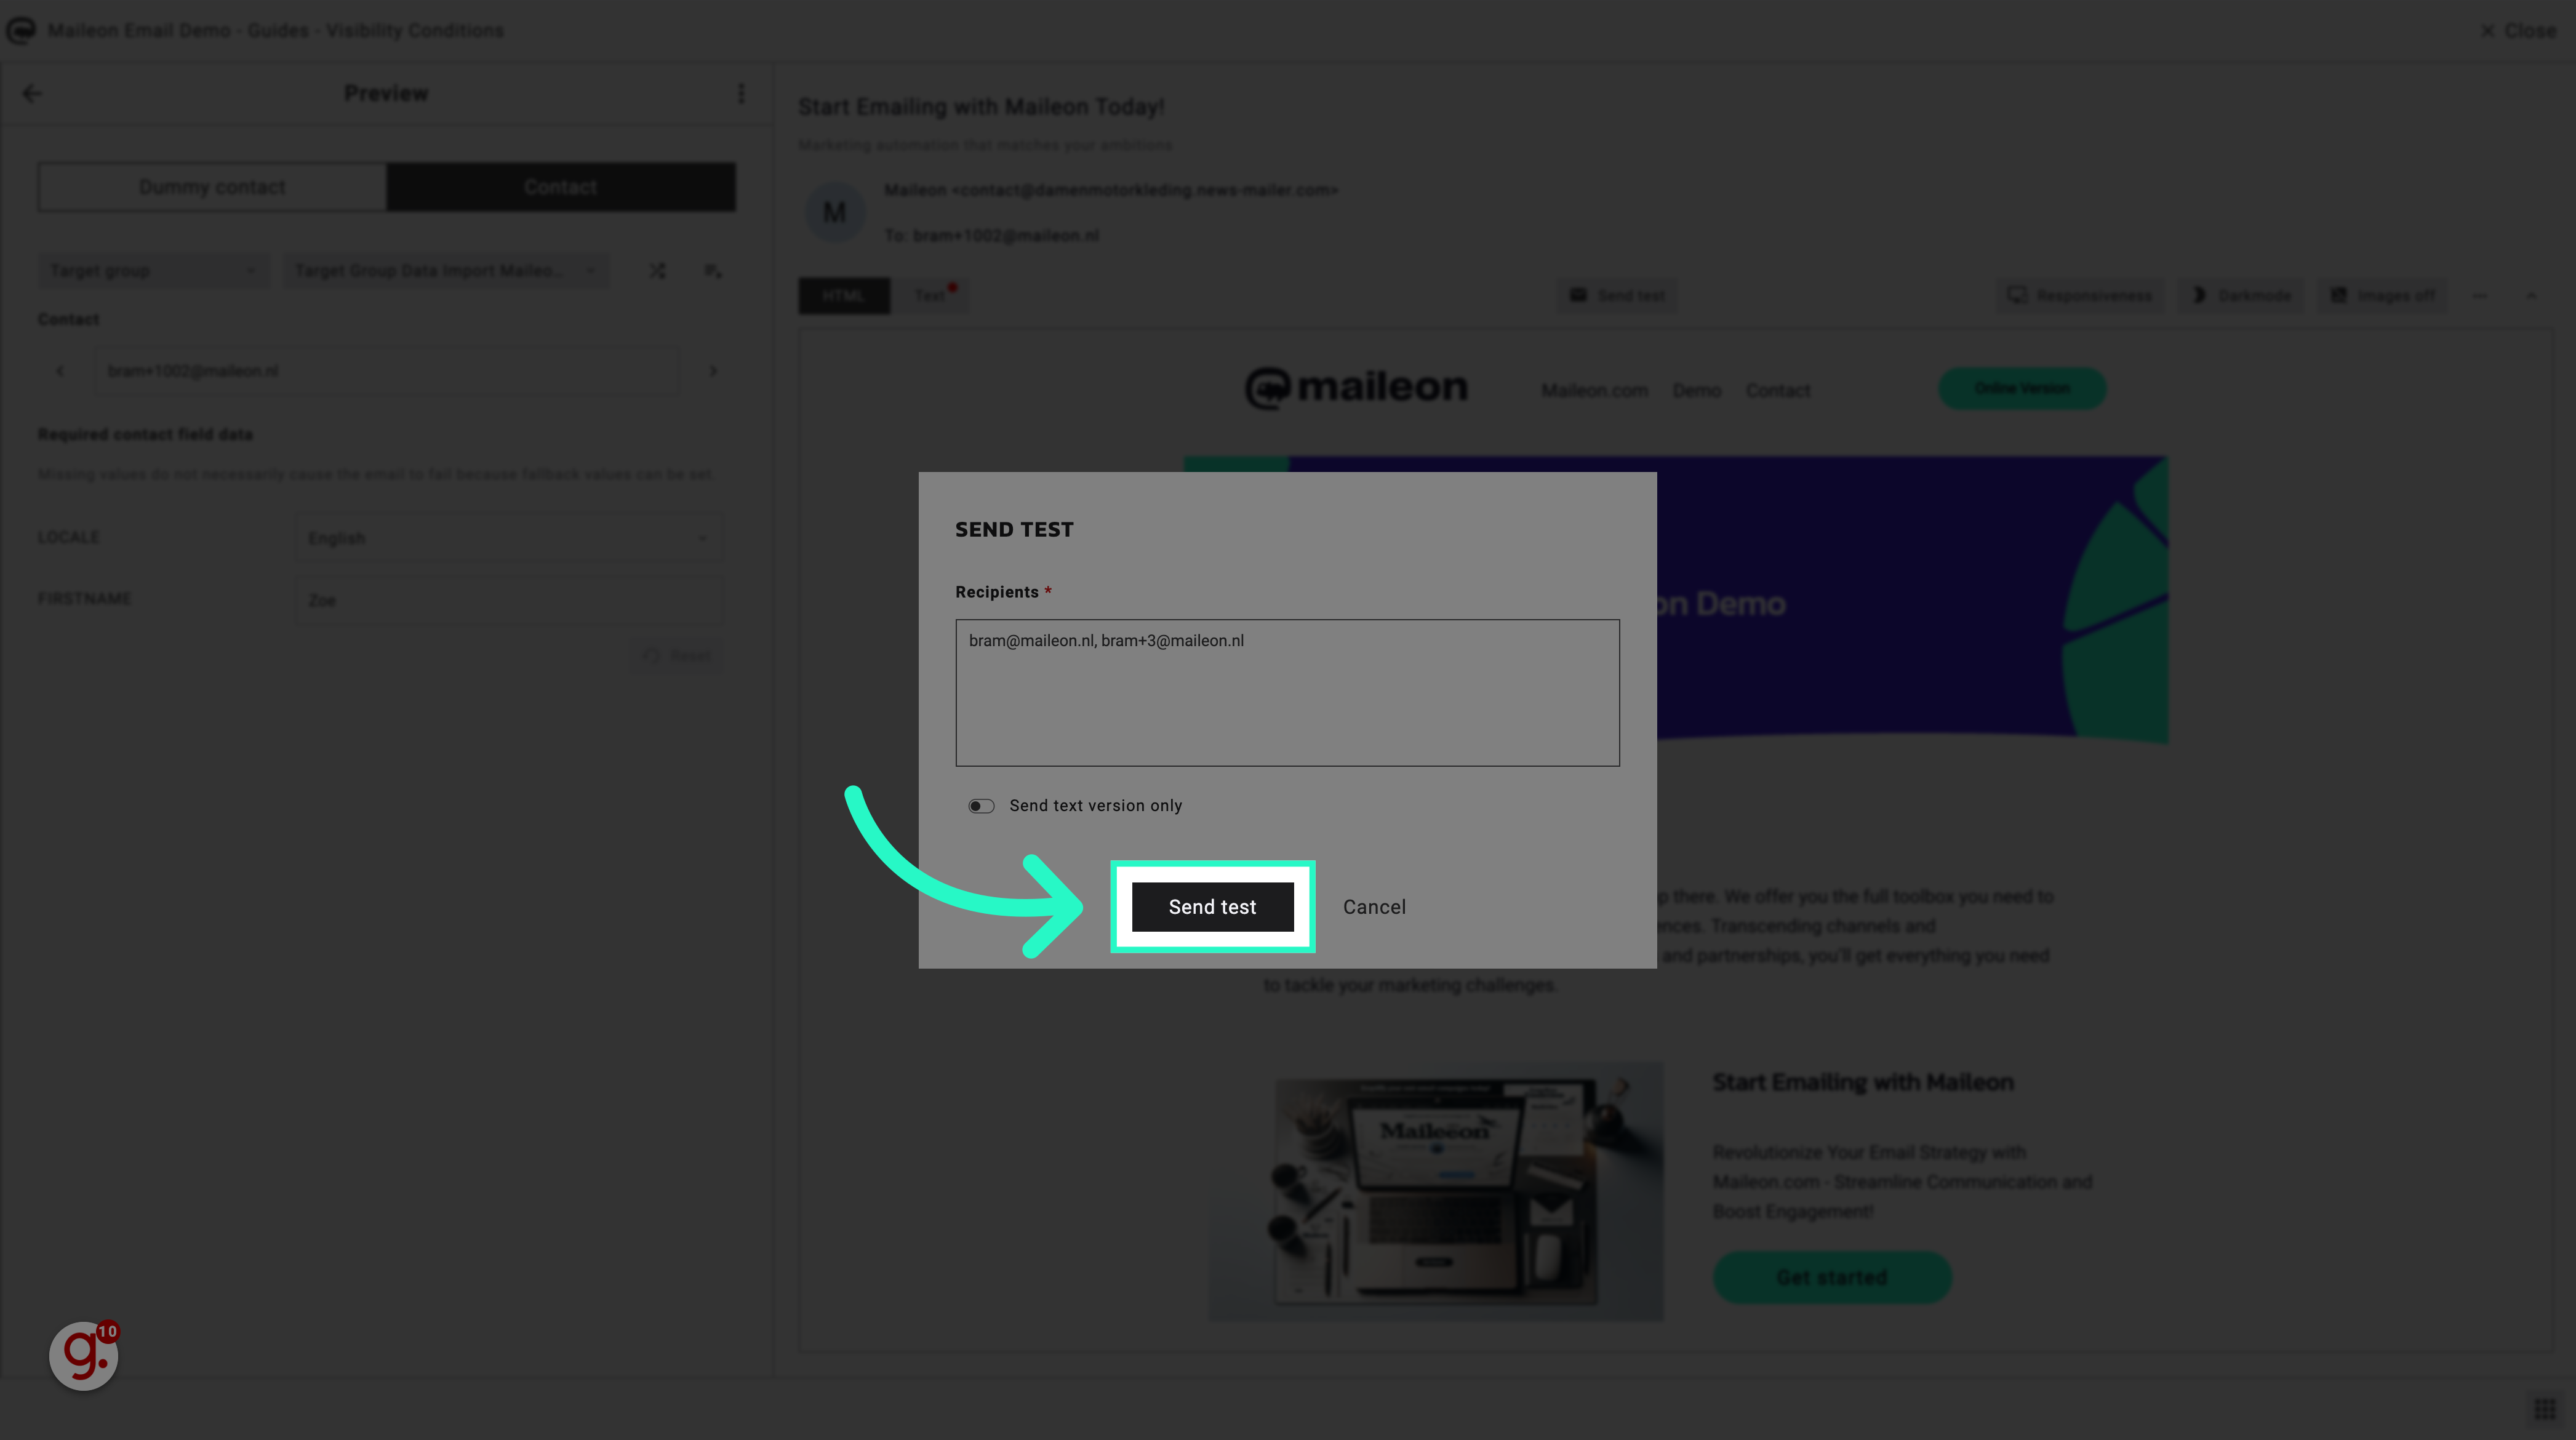
7. Click "Send test"
Initiate sending the test email.
The guide covered accessing the Maileon Editor, navigating to the "Contact" section, selecting, confirming, and verifying email addresses, entering test email addresses, and sending a test email for quality assurance. This process enhances employee training and optimizes email campaigns in Maileon.