This guide will show you how to locate the blocks where you have enabled visibility conditions in the Maileon editor. By following these steps, you will be able to easily identify and manage the visibility settings in your Maileon templates.
Go to www.maileon.com
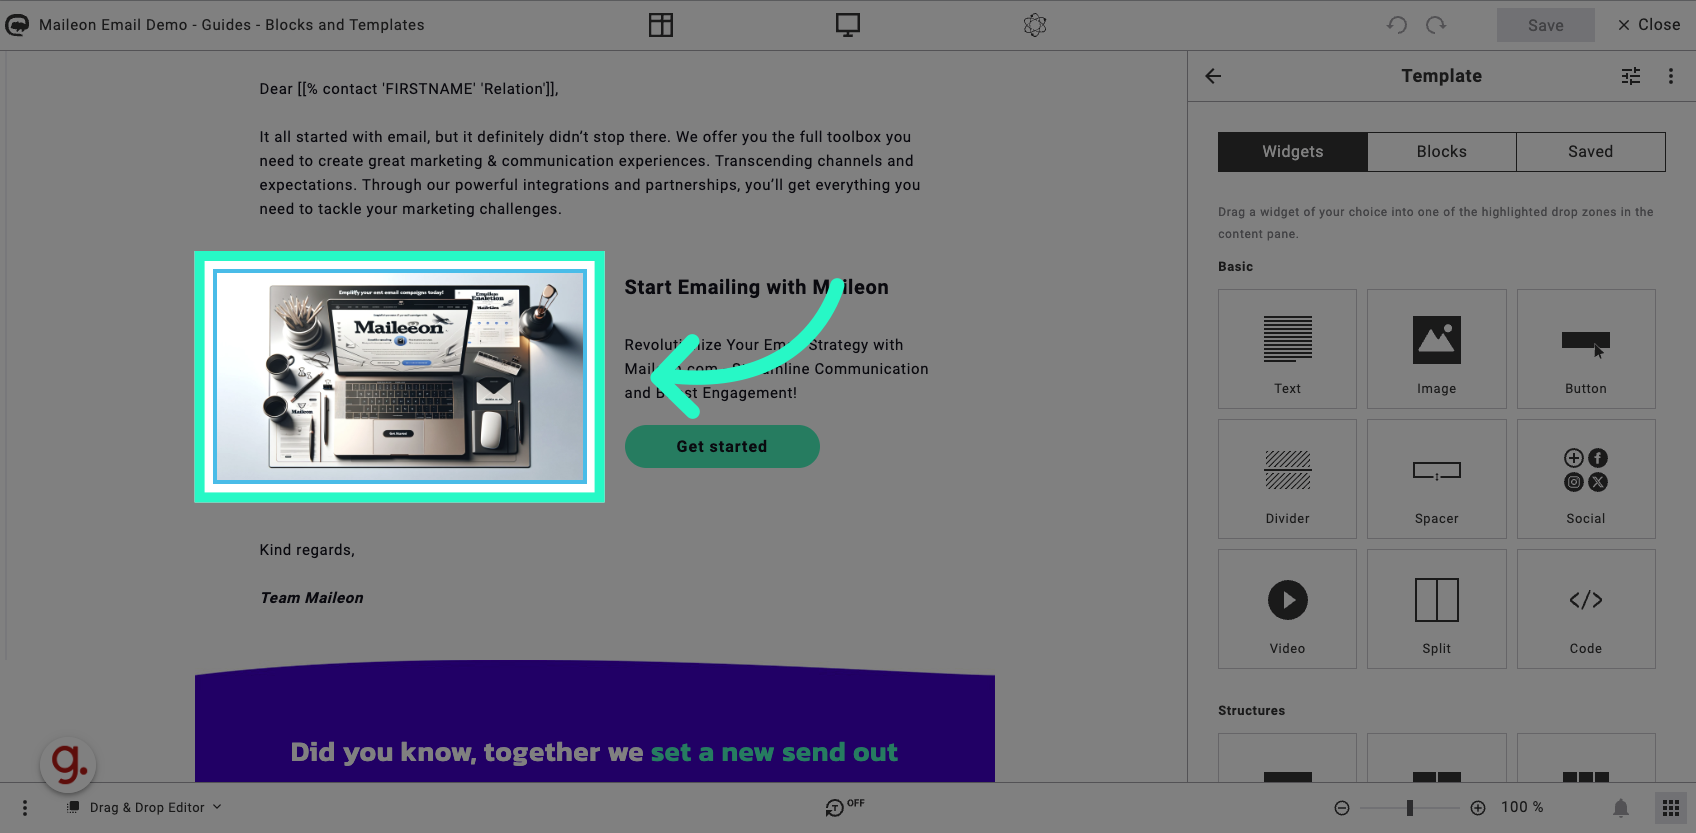
1. Select an element
Select an element.
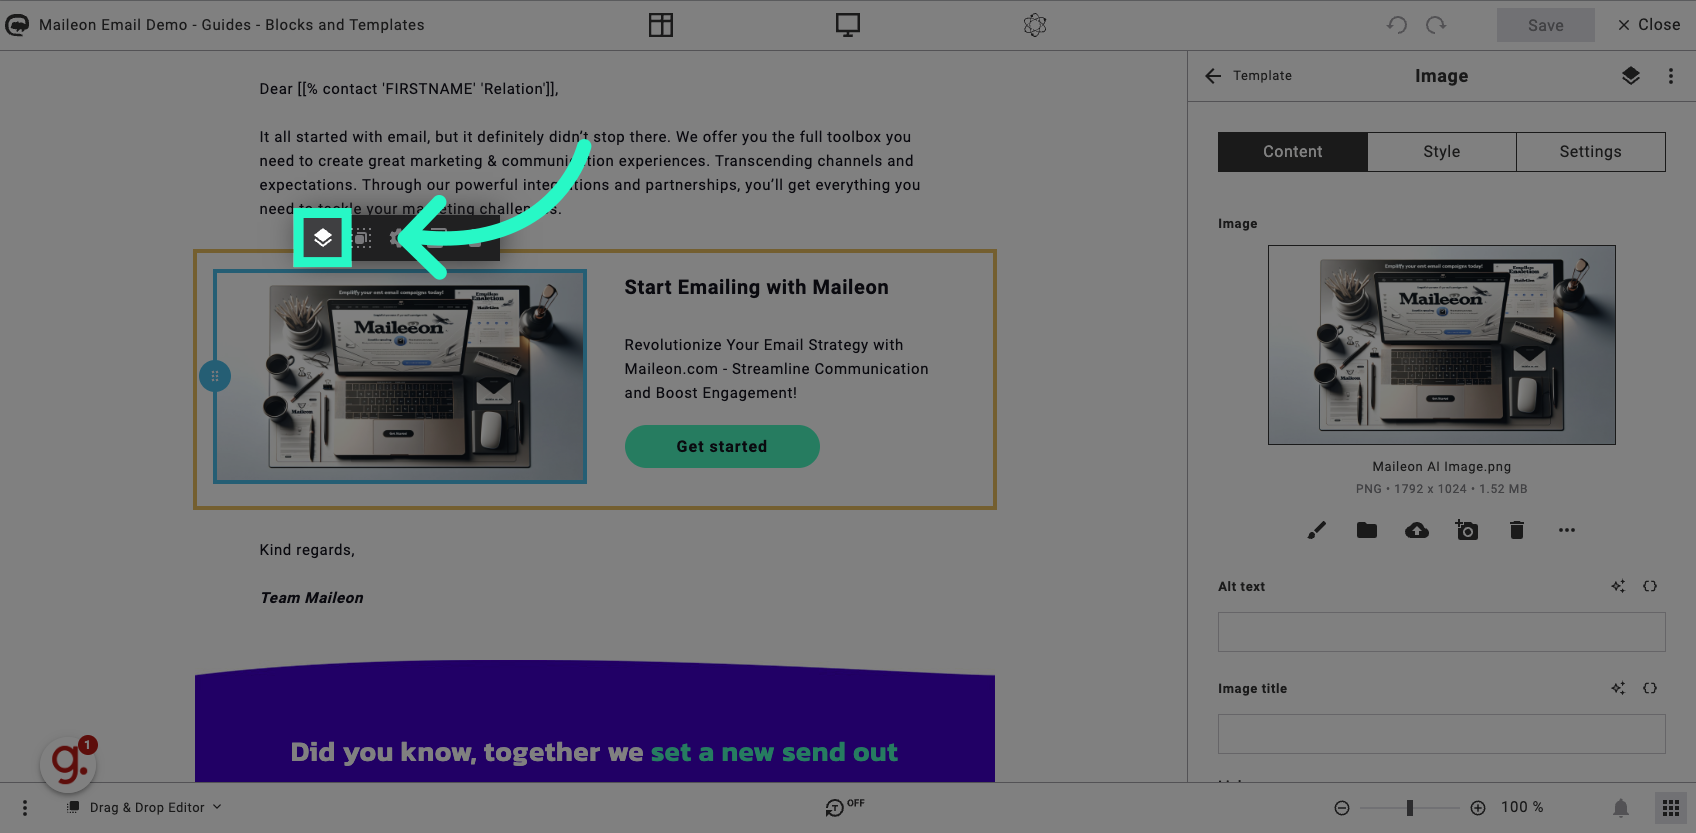
2. Click on the layer icon to select the parent element
Click on the layer icon to select the parent element.
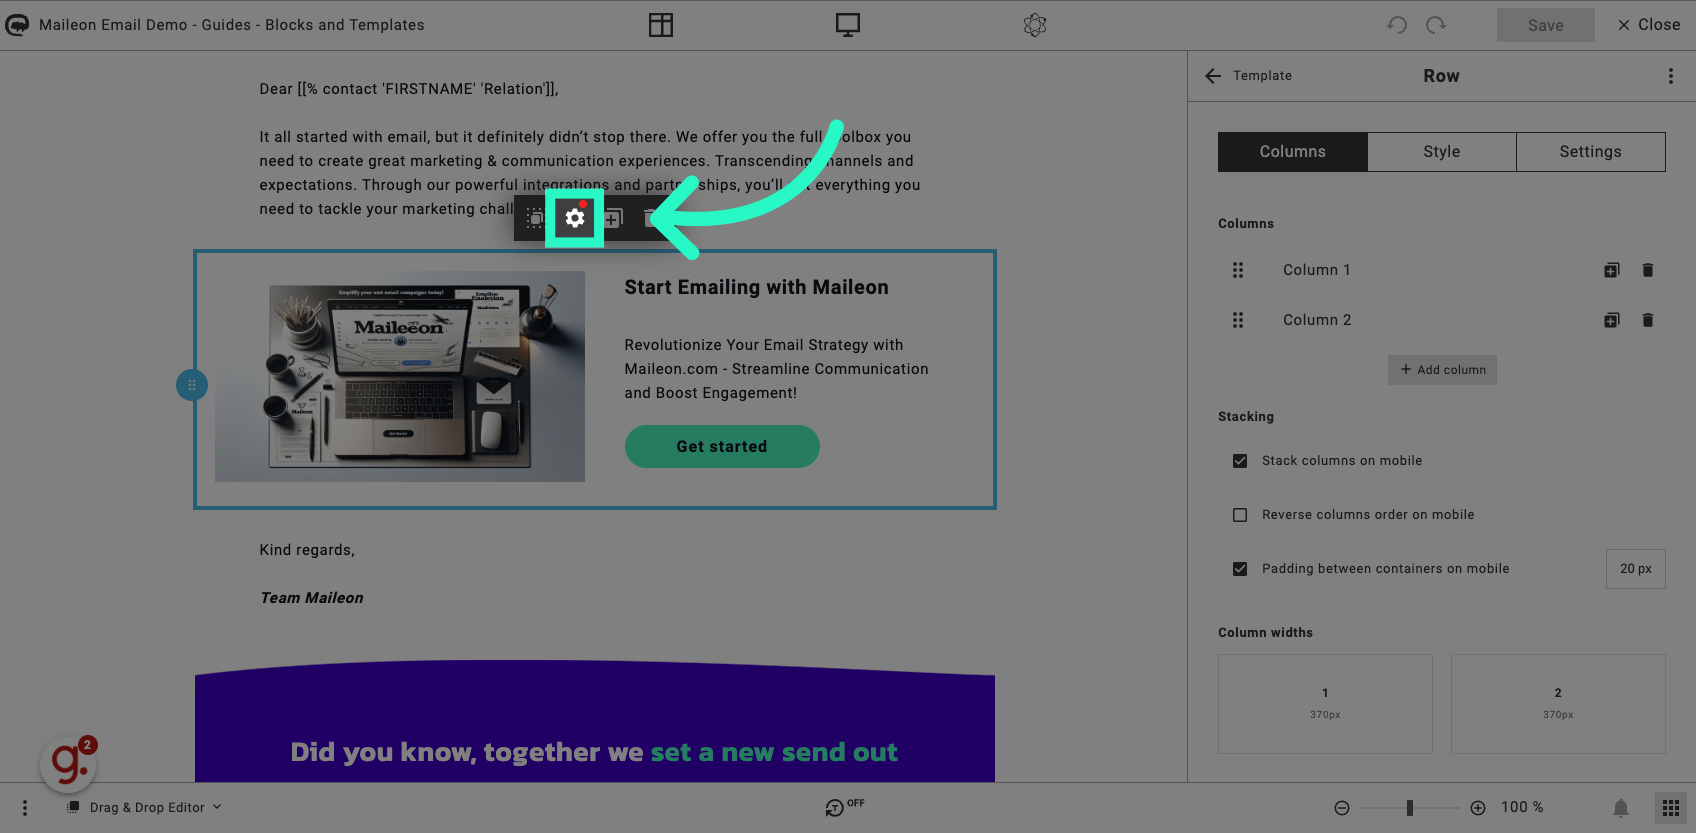
3. Click on the settings icon
Click on the settings icon.
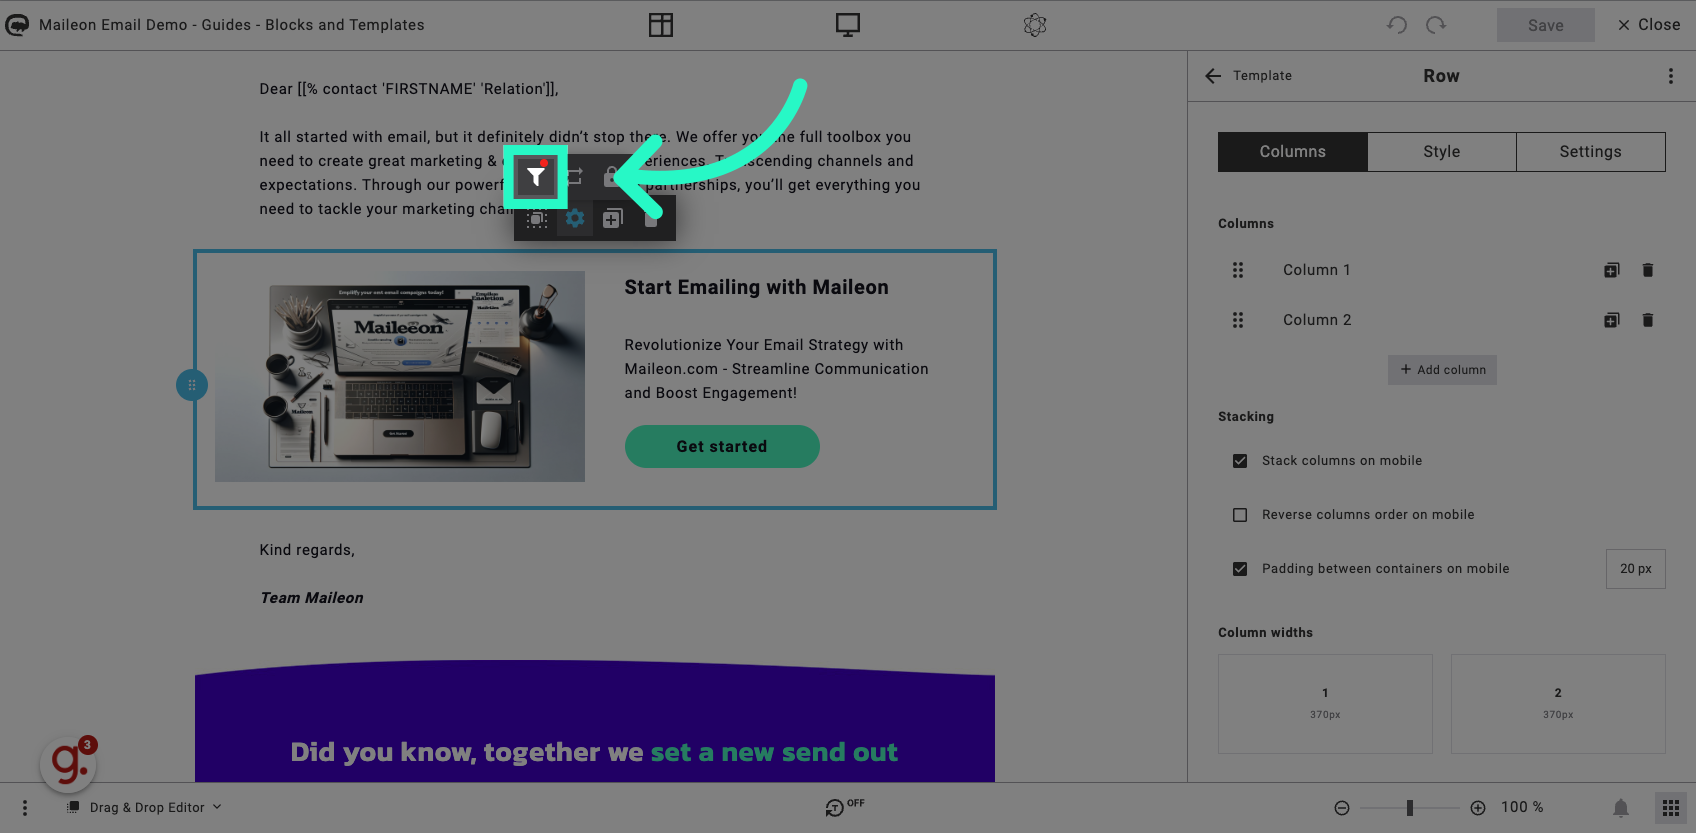
4. Click on the filter icon
Click on the filter icon.
5. Review your visibility conditions on the right
Click on "Drop block here Drop block here Drop block..."
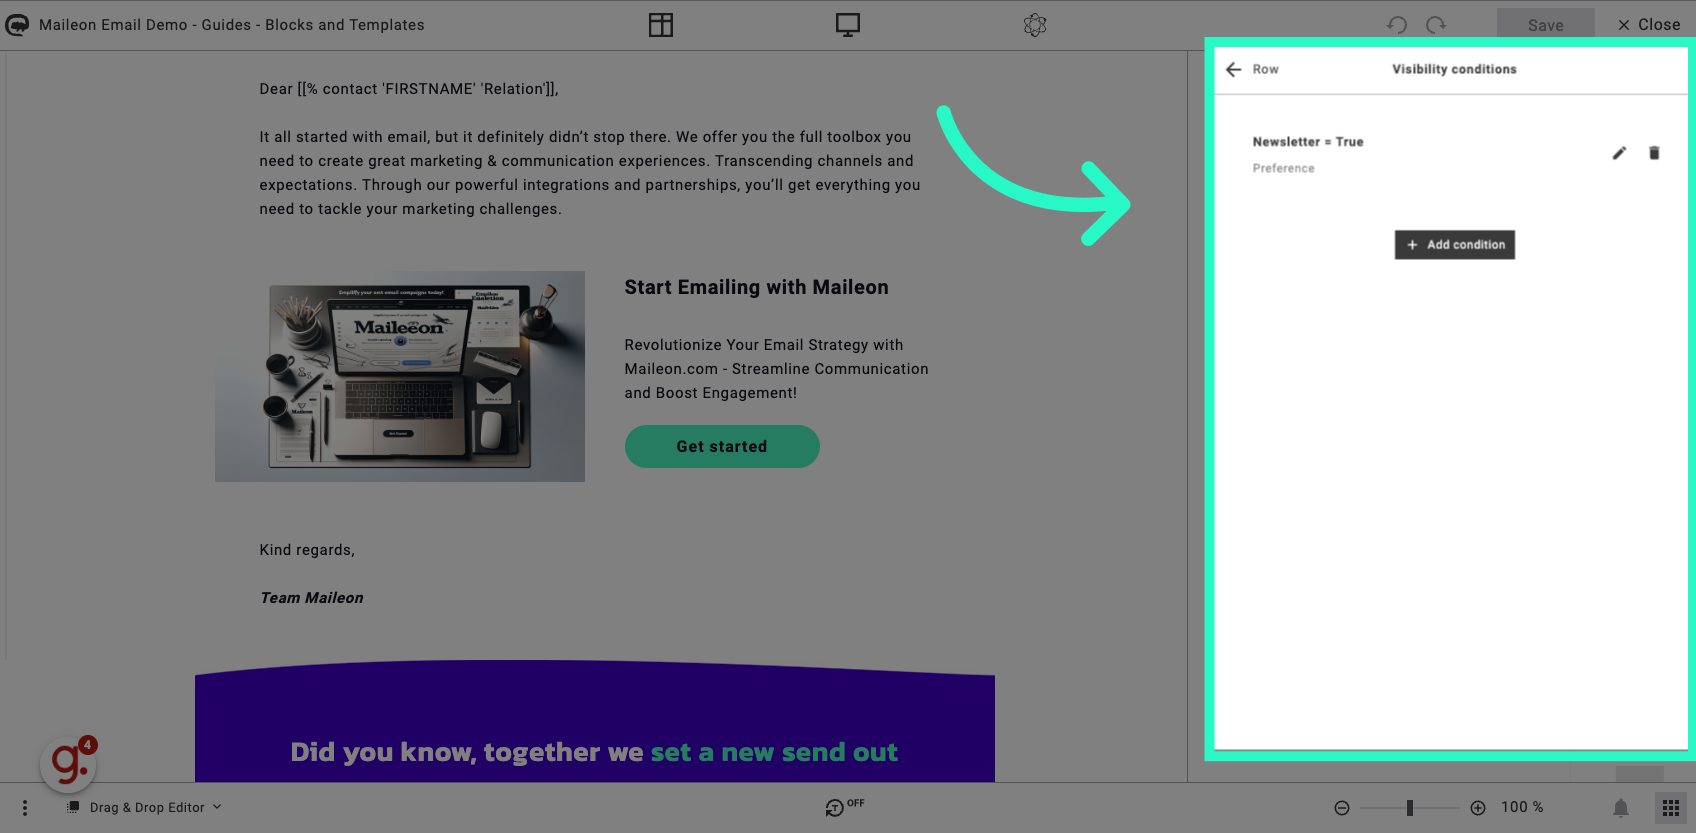
6. Enable Meta Information
To get a better overview, you can enable the Meta Information option in the editor.

7. Click on the three dots in the bottom left corner of the editor
Click on the three dots in the bottom left corner of the editor to open the option menu.
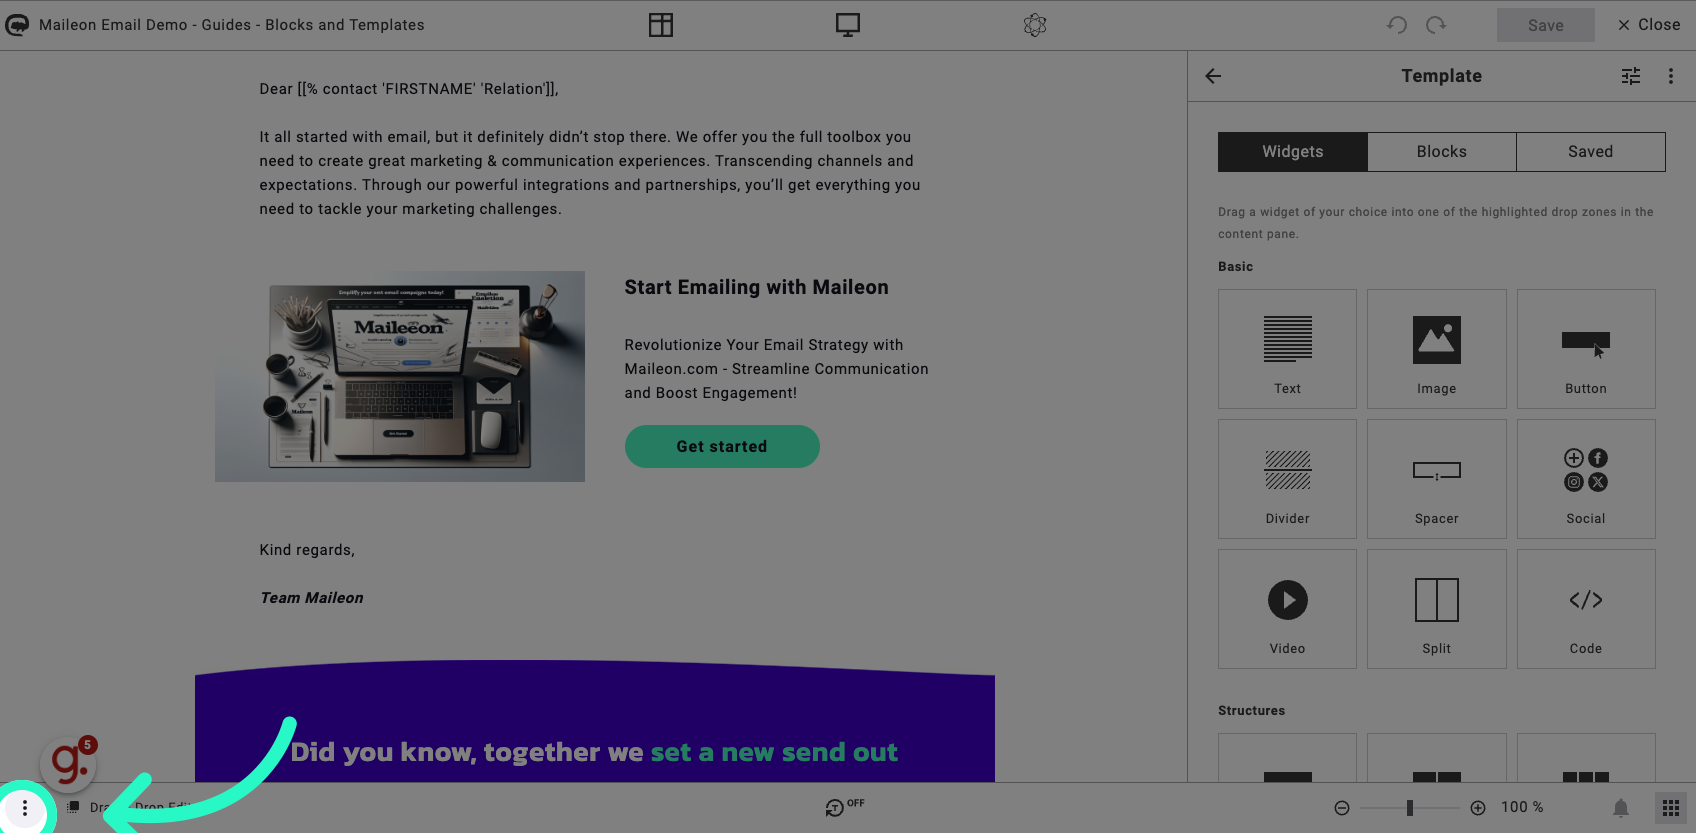
8. Click here
Enable the meta information option or any of the other options.
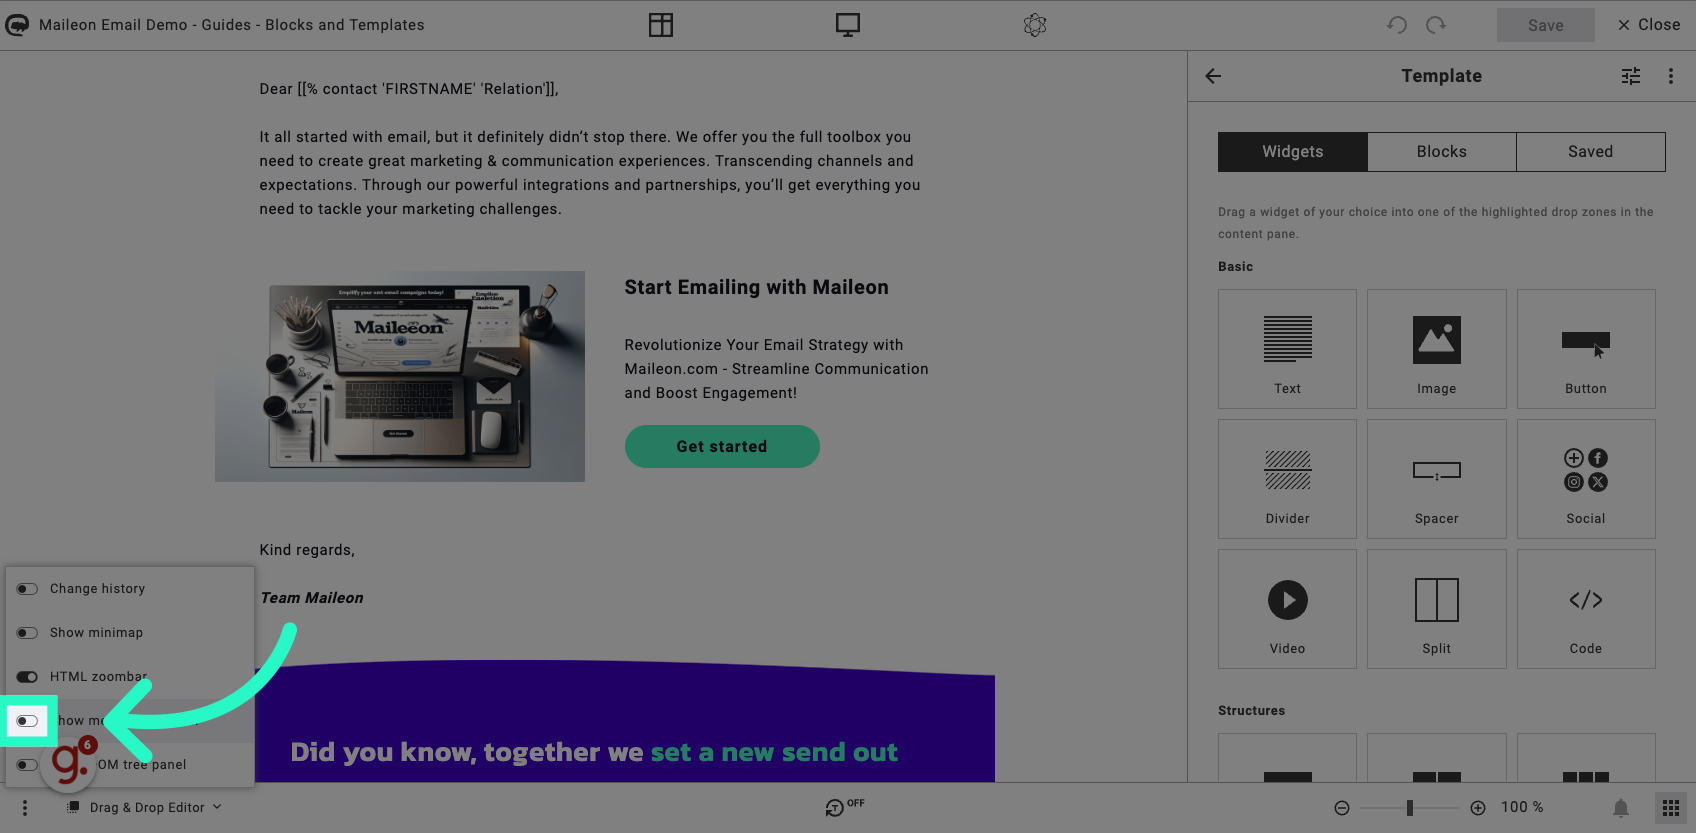
9. Enable the meta information option
Enable the meta information option or any of the other options.
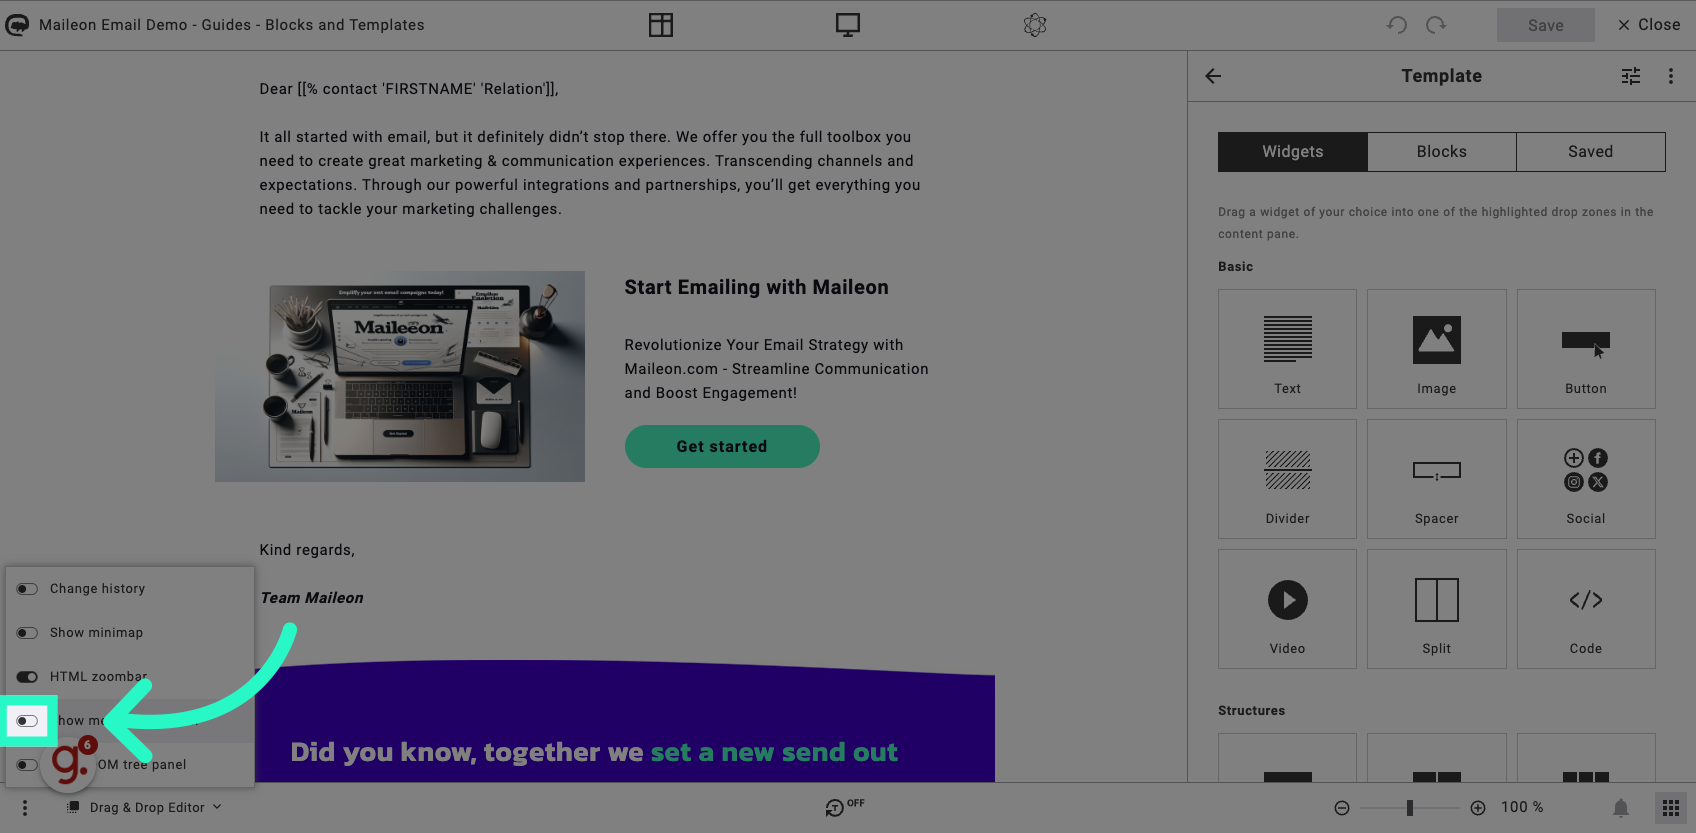
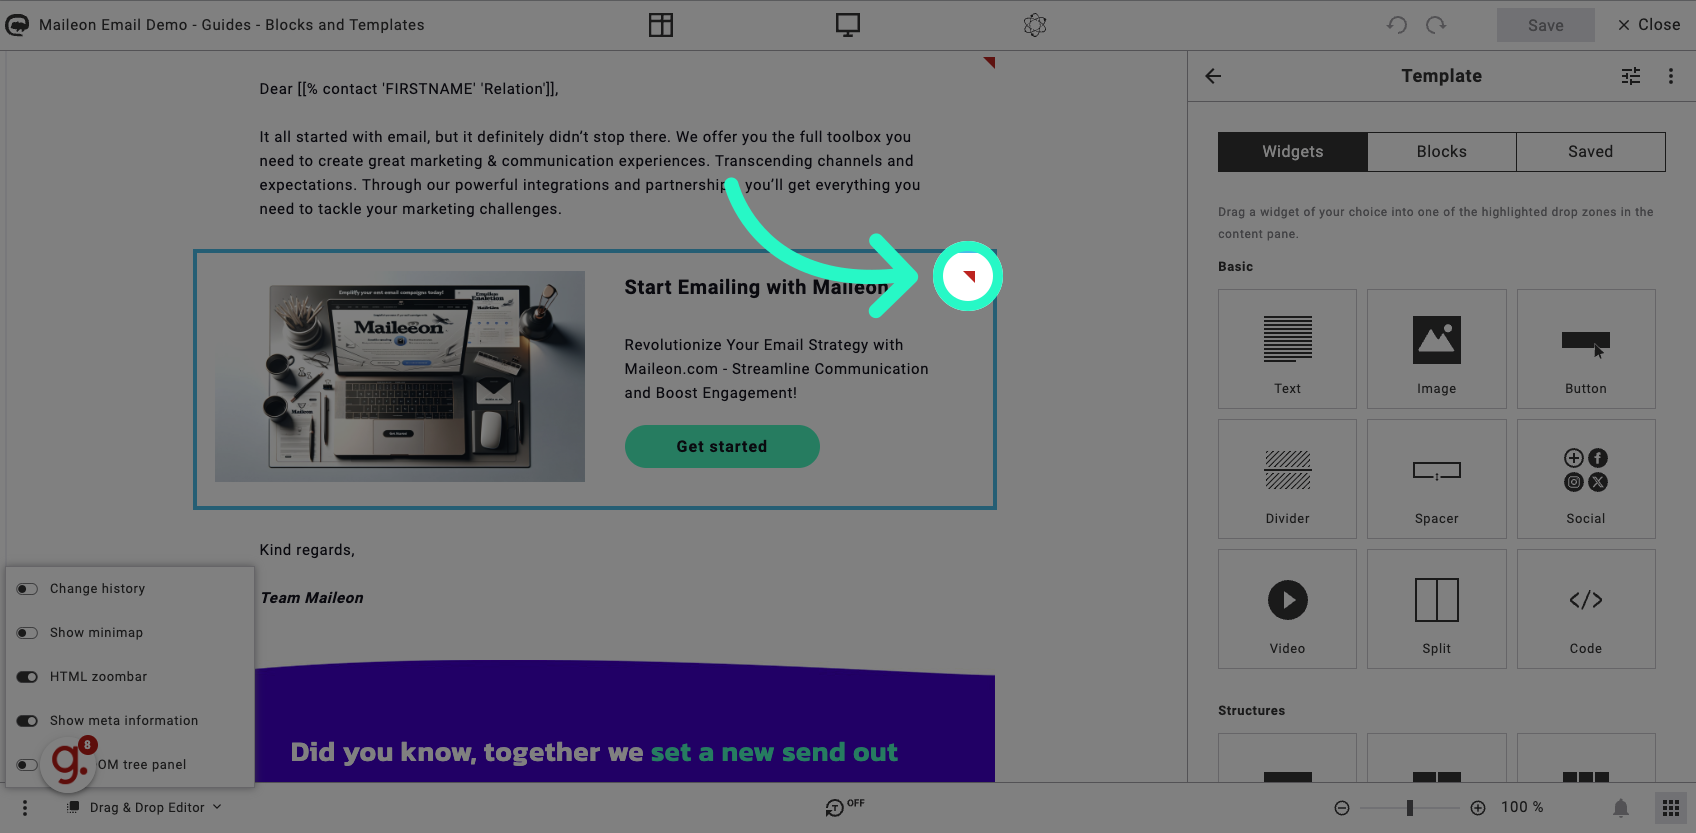
10. When enabled, you should see red triangles in your template, highlighting areas where visibility conditions or loops are enabled.
When enabled, you should see red triangles in your editor. Each red triangle highlights a block, element or area with a visibility condition or loop enabled.
In this guide, you learned how to locate the blocks where you have enabled visibility conditions in the Maileon editor. By clicking on the specific blocks, you can easily manage the visibility settings for your templates. This will help you customize the content based on different conditions and improve your email marketing strategies.
